• TalkBass has been independent since 1998. Add your voice.
    Create a free account to reply to discussions, view embedded media, and browse with fewer display ads.
    Join freeLog in
    Want zero display ads or expanded classifieds tools? Compare plans.

The Hossenfeffer IV Build

Shiny it is then! Natural wear and tear will tend to knock it back to satin anyway, but might as well start out with some bling. One or two more coats and it's done then, and I'll start assembling it. I still have to make another brass nut, and the wiring is going to be... a challenge....

I use wipe-on 'warm-satin' poly (Minwax) on bodies & necks and it cures somewhere between matte & shiny, more shiny than matte.
 
  • Like
Reactions: Gilmourisgod
Shiny it is then! Natural wear and tear will tend to knock it back to satin anyway, but might as well start out with some bling. One or two more coats and it's done then, and I'll start assembling it. I still have to make another brass nut, and the wiring is going to be... a challenge....

calling @GBassNorth :bassist:
 
The pickups are pretty straightforward, but I’m using a “Freeway” 6 position switch, Master Volume and Master tone, which is something like 8 wires to the toggle switch. I have a diagram, just have to be careful and methodical….might help if I actually understood how it works.

I shouted out to George as he recently wired a 3-pu bass with a really cool configuration. I'm the same way - if I have a clear diagram I'm good. :)

My 3-pu Bass IV has a cool switching set-up; N-pu/Middle pu/B-pu and the 4th switch bypasses V/T pots direct to the jack. So whatever pu selection you have gets a clean boost at the flip of the switch. Pretty handy. All off acts as a kill switch.

upload_2024-5-4_11-21-21.jpeg
 
Last edited:
  • Like
Reactions: InstantEctobass
The pickups are pretty straightforward, but I’m using a “Freeway” 6 position switch, Master Volume and Master tone, which is something like 8 wires to the toggle switch. I have a diagram, just have to be careful and methodical….might help if I actually understood how it works.

I shouted out to George as he recently wired a 3-pu bass with a really cool configuration. I'm the same way - if I have a clear diagram I'm good. :)

My 3-pu Bass IV has a cool switching set-up; N-pu/Middle pu/B-pu and the 4th switch bypasses V/T pots direct to the jack. So whatever pu selection you have gets a clean boost at the flip of the switch. Pretty handy. All off acts as a kill switch.

View attachment 5437954
The oak leaf Ric is a beautiful build! I vote satin on the finish.

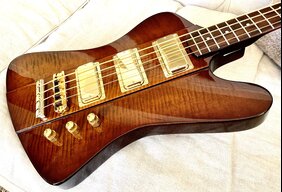
As for electronics, the Freeway switch is a really solid option (assuming you have the vertical room in the cavity) but to be honest I’m kind of less excited about switching options in my basses these days, and seem to gravitate more towards a stacked volume/tone pot for each pickup. This layout offers the most flexibility but has a down side - if you’re a performing artist it’s not as stage friendly as a switch, great for studio work though. Here’s a shot of my last 3 pup build (called the BlingBird for obvious reasons)…
IMG_0520.jpeg


The other layout feature that I’ve kind of gotten over is series/parallel switching. It’s probably just me, but I find I’m in series mode 90% of the time and don’t really even need the parallel function. I do find coil switching very useful if the bass is equipped with splittable humbuckers. I normally play in humbucker mode but there are many times where single coil clarity comes in handy in the signal chain.

All that said, if it were my 3 pickup bass and I wanted to set it up for studio or home use I’d put three vol/tone stacks in (with each tone knob capped to a specific range) and I’d install three coil switches for maximum tonal options. If I wanted to set it up for stage use I’d probably go with a freeway or less option switch.

No matter what you do, you’ve built an absolutely beautiful bass that I’m sure will sound equally stunning.
 
The freeway switch is just deep enough to fit in the cavity, so I'll run with it. It's probably more settings than I'll ever need, but with three pickups, it will be interesting to see which combinations sound best. I'll post some images of the wiring when I get it done, if anybody has an critique or suggestions on that, I'd appreciate it. See you in a couple weeks when this has hardened up enough to install all the hardware.
 
The freeway switch is just deep enough to fit in the cavity, so I'll run with it. It's probably more settings than I'll ever need, but with three pickups, it will be interesting to see which combinations sound best. I'll post some images of the wiring when I get it done, if anybody has a critique or suggestions on that, I'd appreciate it. See you in a couple weeks when this has hardened up enough to install all the hardware.
Lots of moving air! Once enough longer sticky, direct a couple fans at it.
 
  • Like
Reactions: Gilmourisgod
Lost count, but I think this is about 8 coats, flattened with grey scotchbrite every other coat. I think I'll just do one more coat and try to make it as perfect and dust free as possible. The pollen is really tuning up, so that may be impossible, but I'll give it a shot. Then it has to hang for at least a couple weeks. Waddya think? Keep it real shiny, or knock it back to satin?

TWELVE PAGES OF BUILD HEAVEN!! :drool::drool::drool:
I would keep it shiny, not mirror shiny, but shiny!! What an awesome and splendid build... I have no vocabulary for this. This is such a tremendous work. Hats off to you, Sir.:)
 
  • Like
Reactions: Gilmourisgod
Just waiting for it to cure now, it's hanging in my nice warm boiler room gassing-off for at least 2 weeks. It's staying shiny, but I'm going to have to wetsand it with something very fine and then hand buff it out. In the meantime I have to make a new brass nut, I screwed up the first attempt. Metalworking is NOT my strong suit.

I guess you're reaching the end of this build soon!
Hang in there tight :)
 
  • Like
Reactions: Gilmourisgod
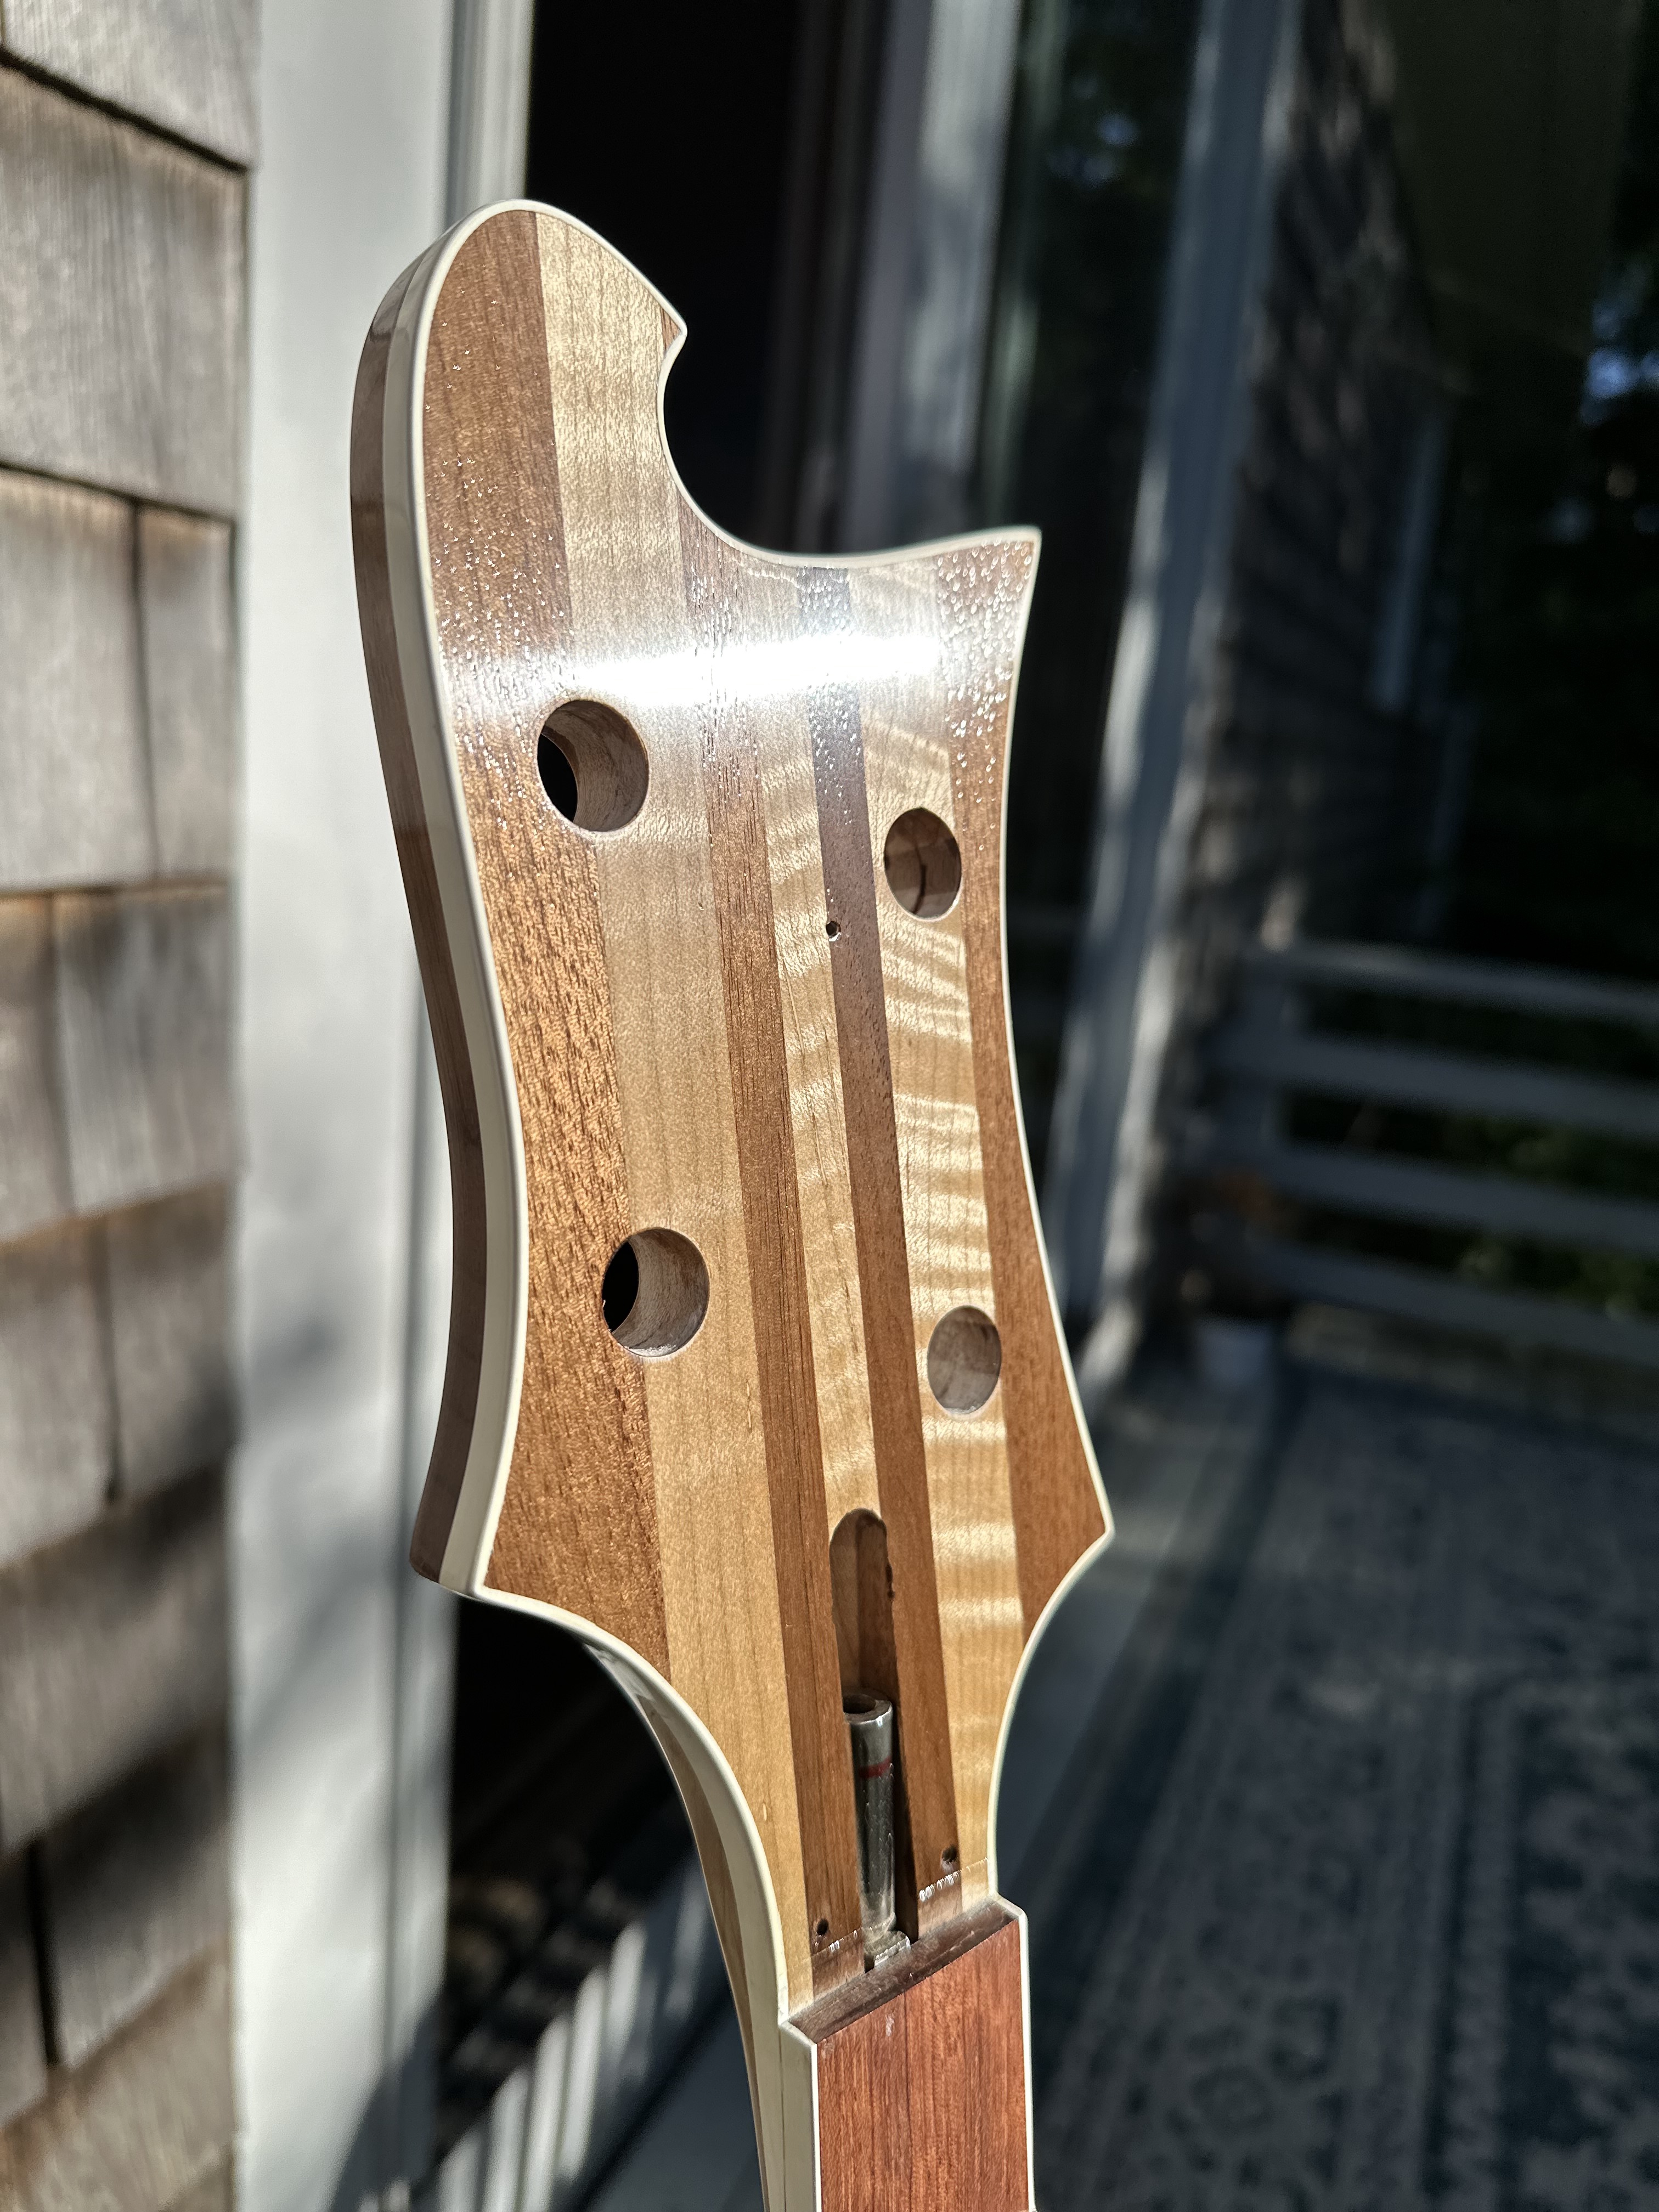
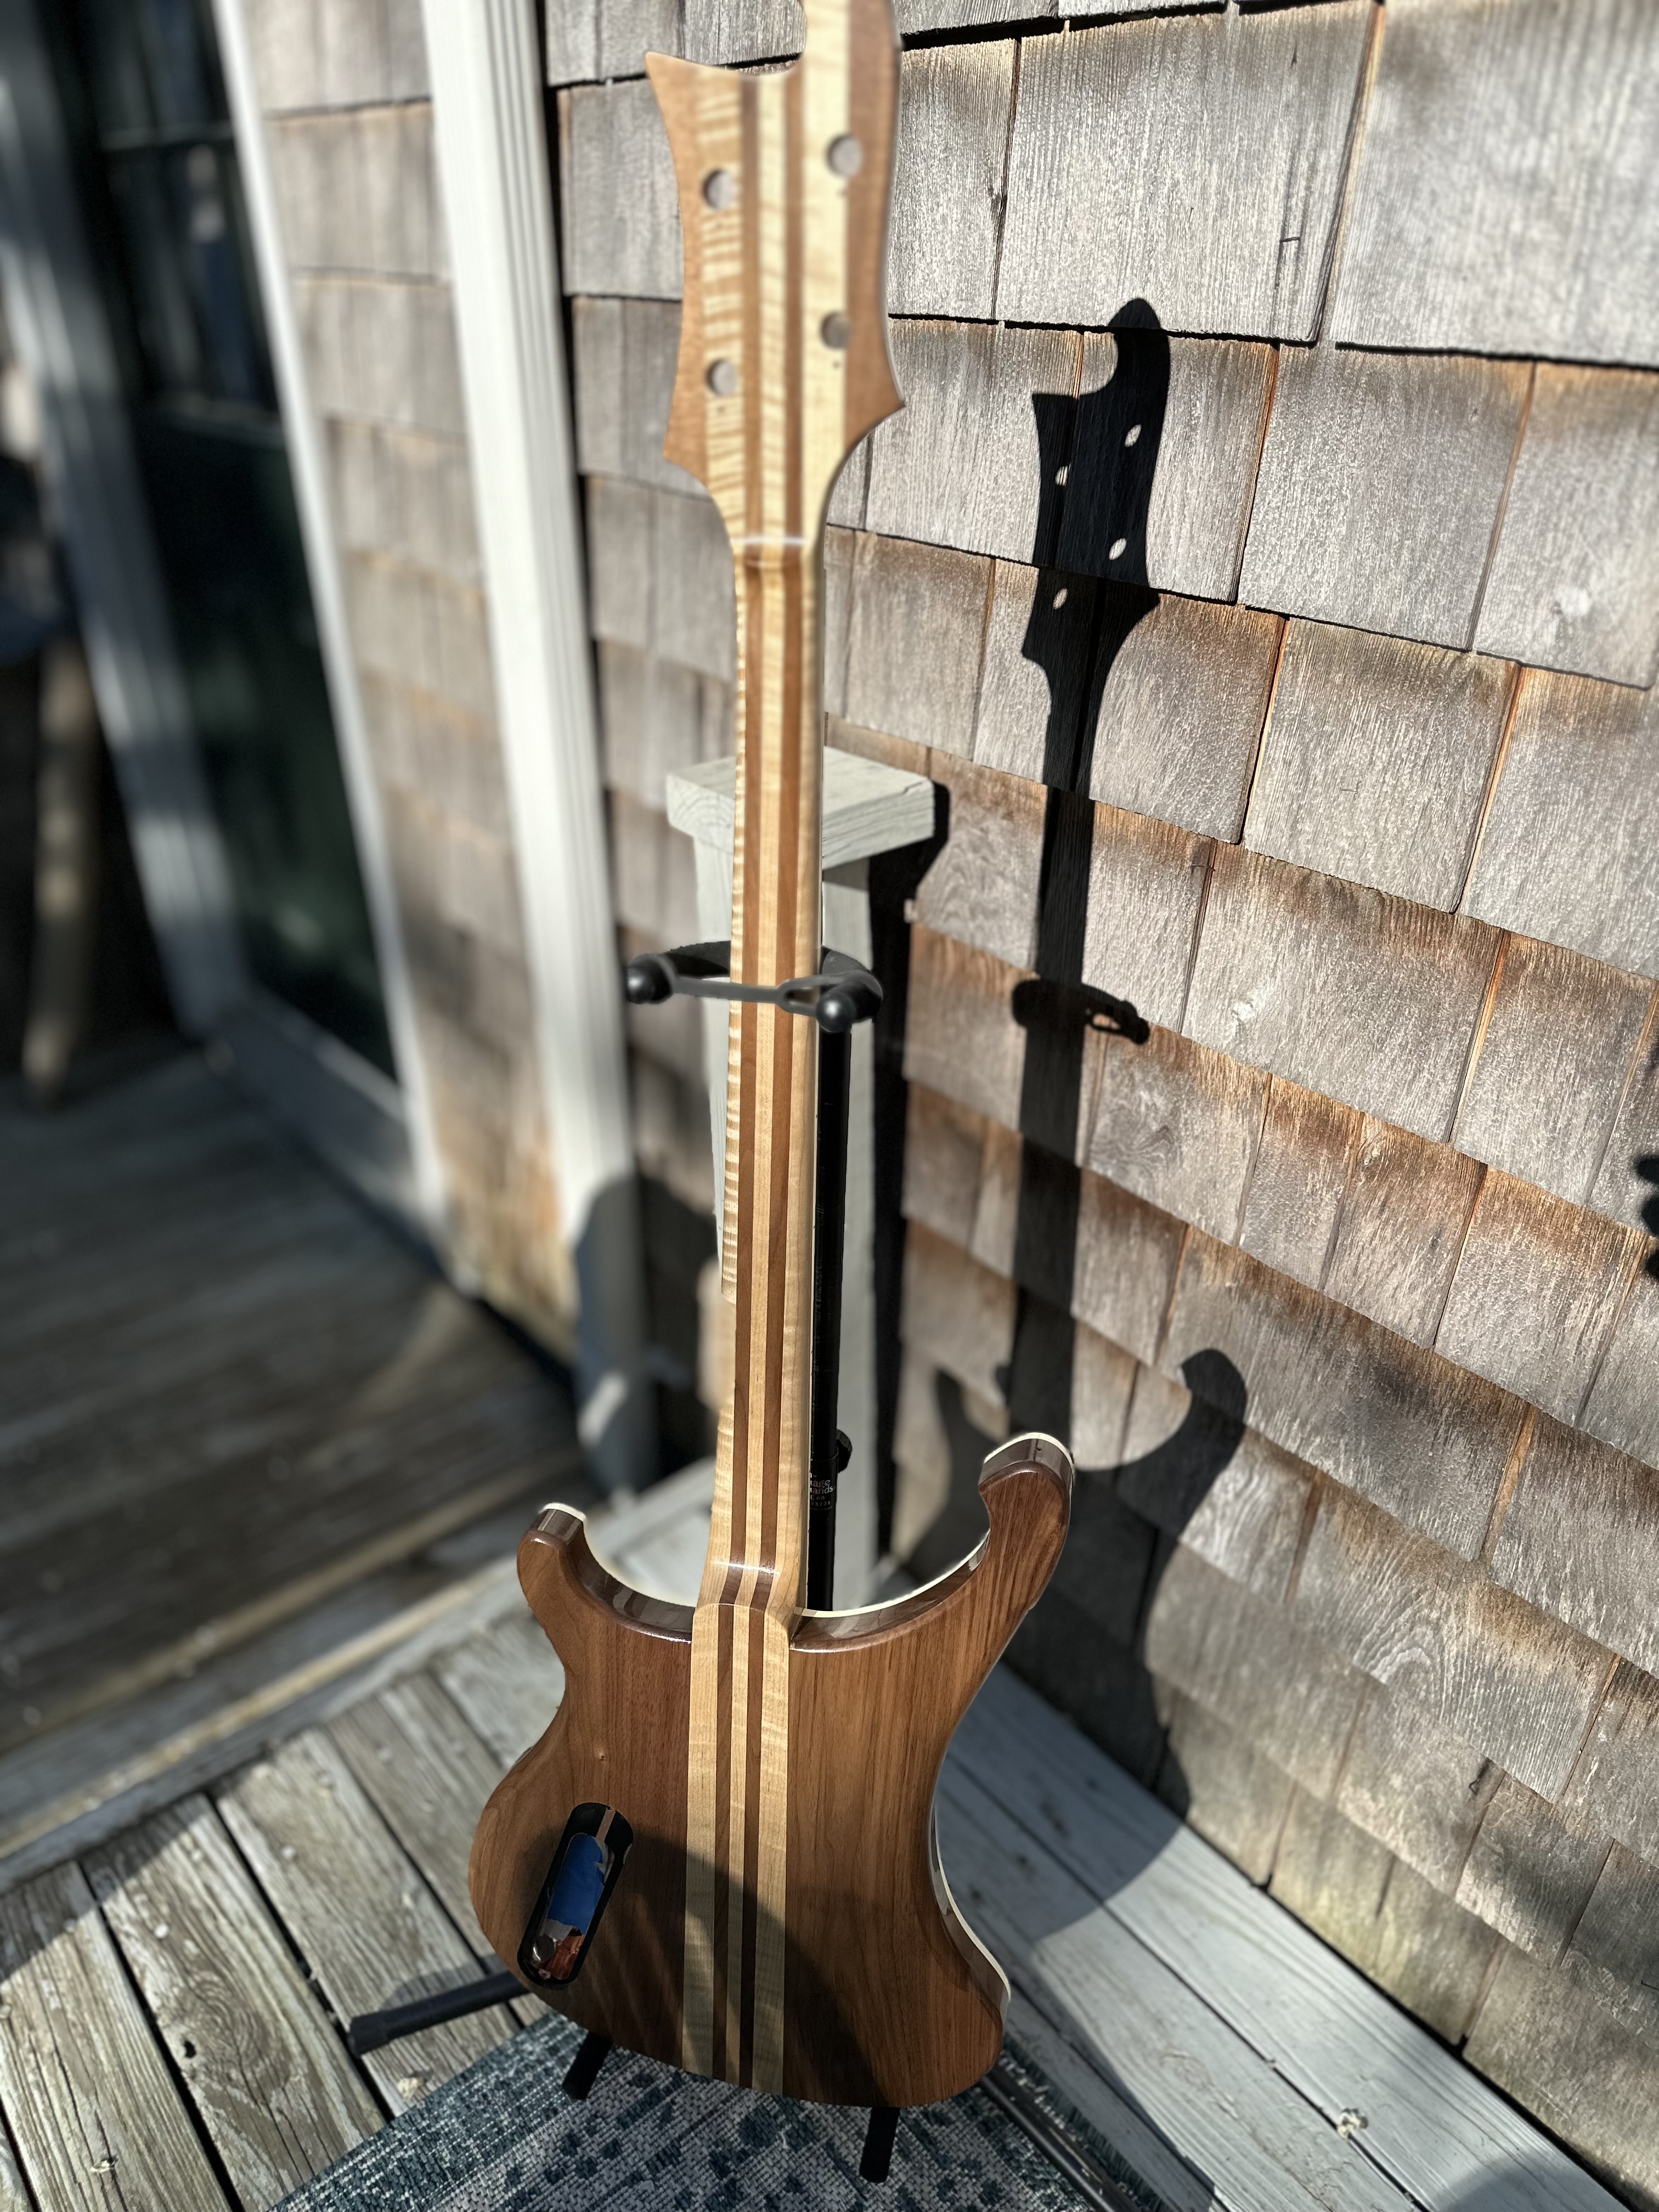
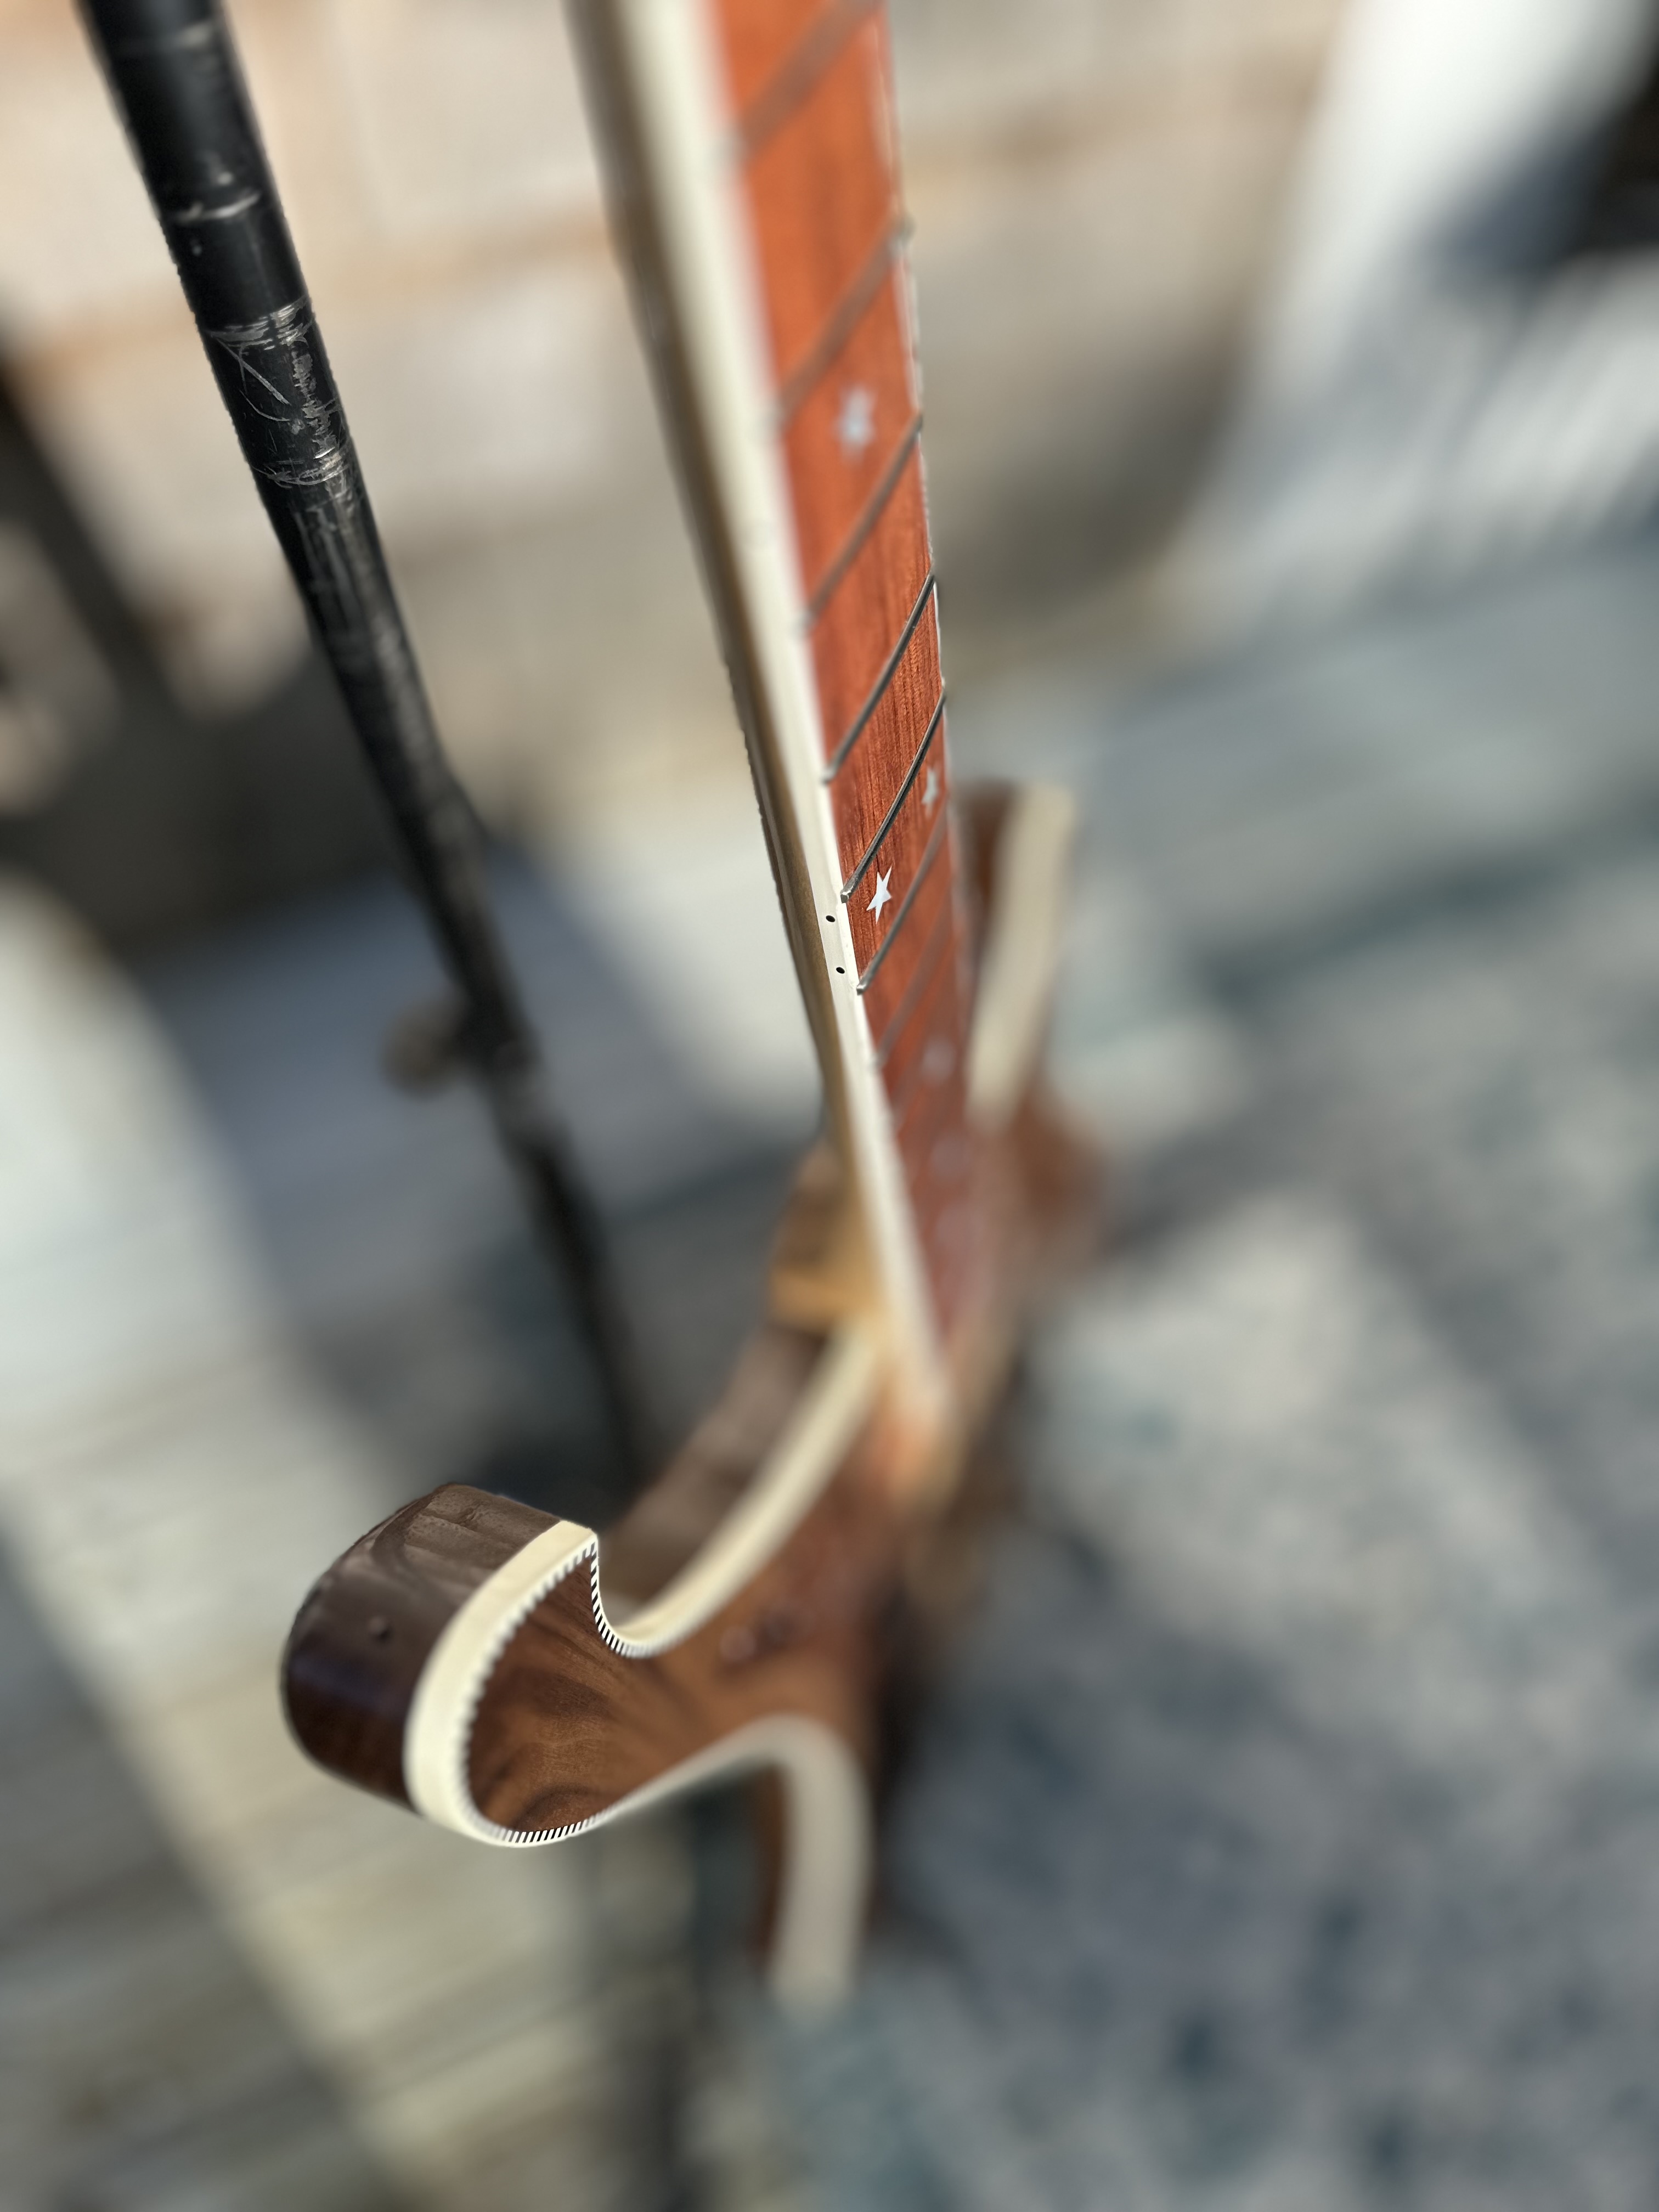
Ok, I let this thing hang for a month while I worked on my boat, which is finally in the water. Priorities! The Tru Oil seemed fully cured, no odor at all, so I lightly wetsanded it with 2000 and 3000 to remove any dust nibs, small lap marks, etc., which knocked it back to satin. Then I polished it back up to just below a high gloss with Micromesh 6000 -12000, so maybe this is somewhere around semi-gloss. I was going to use McGuiar's Fine Cut and Swirl Remover on it, but decided not to risk getting any of it in the carvings. Anyway, I like it. hard to photograph well in the late afternoon sun, but hopefully these convey the level of shine.

ZTX8sXC.jpg

aswhZoE.jpg

zbyjblW.jpg


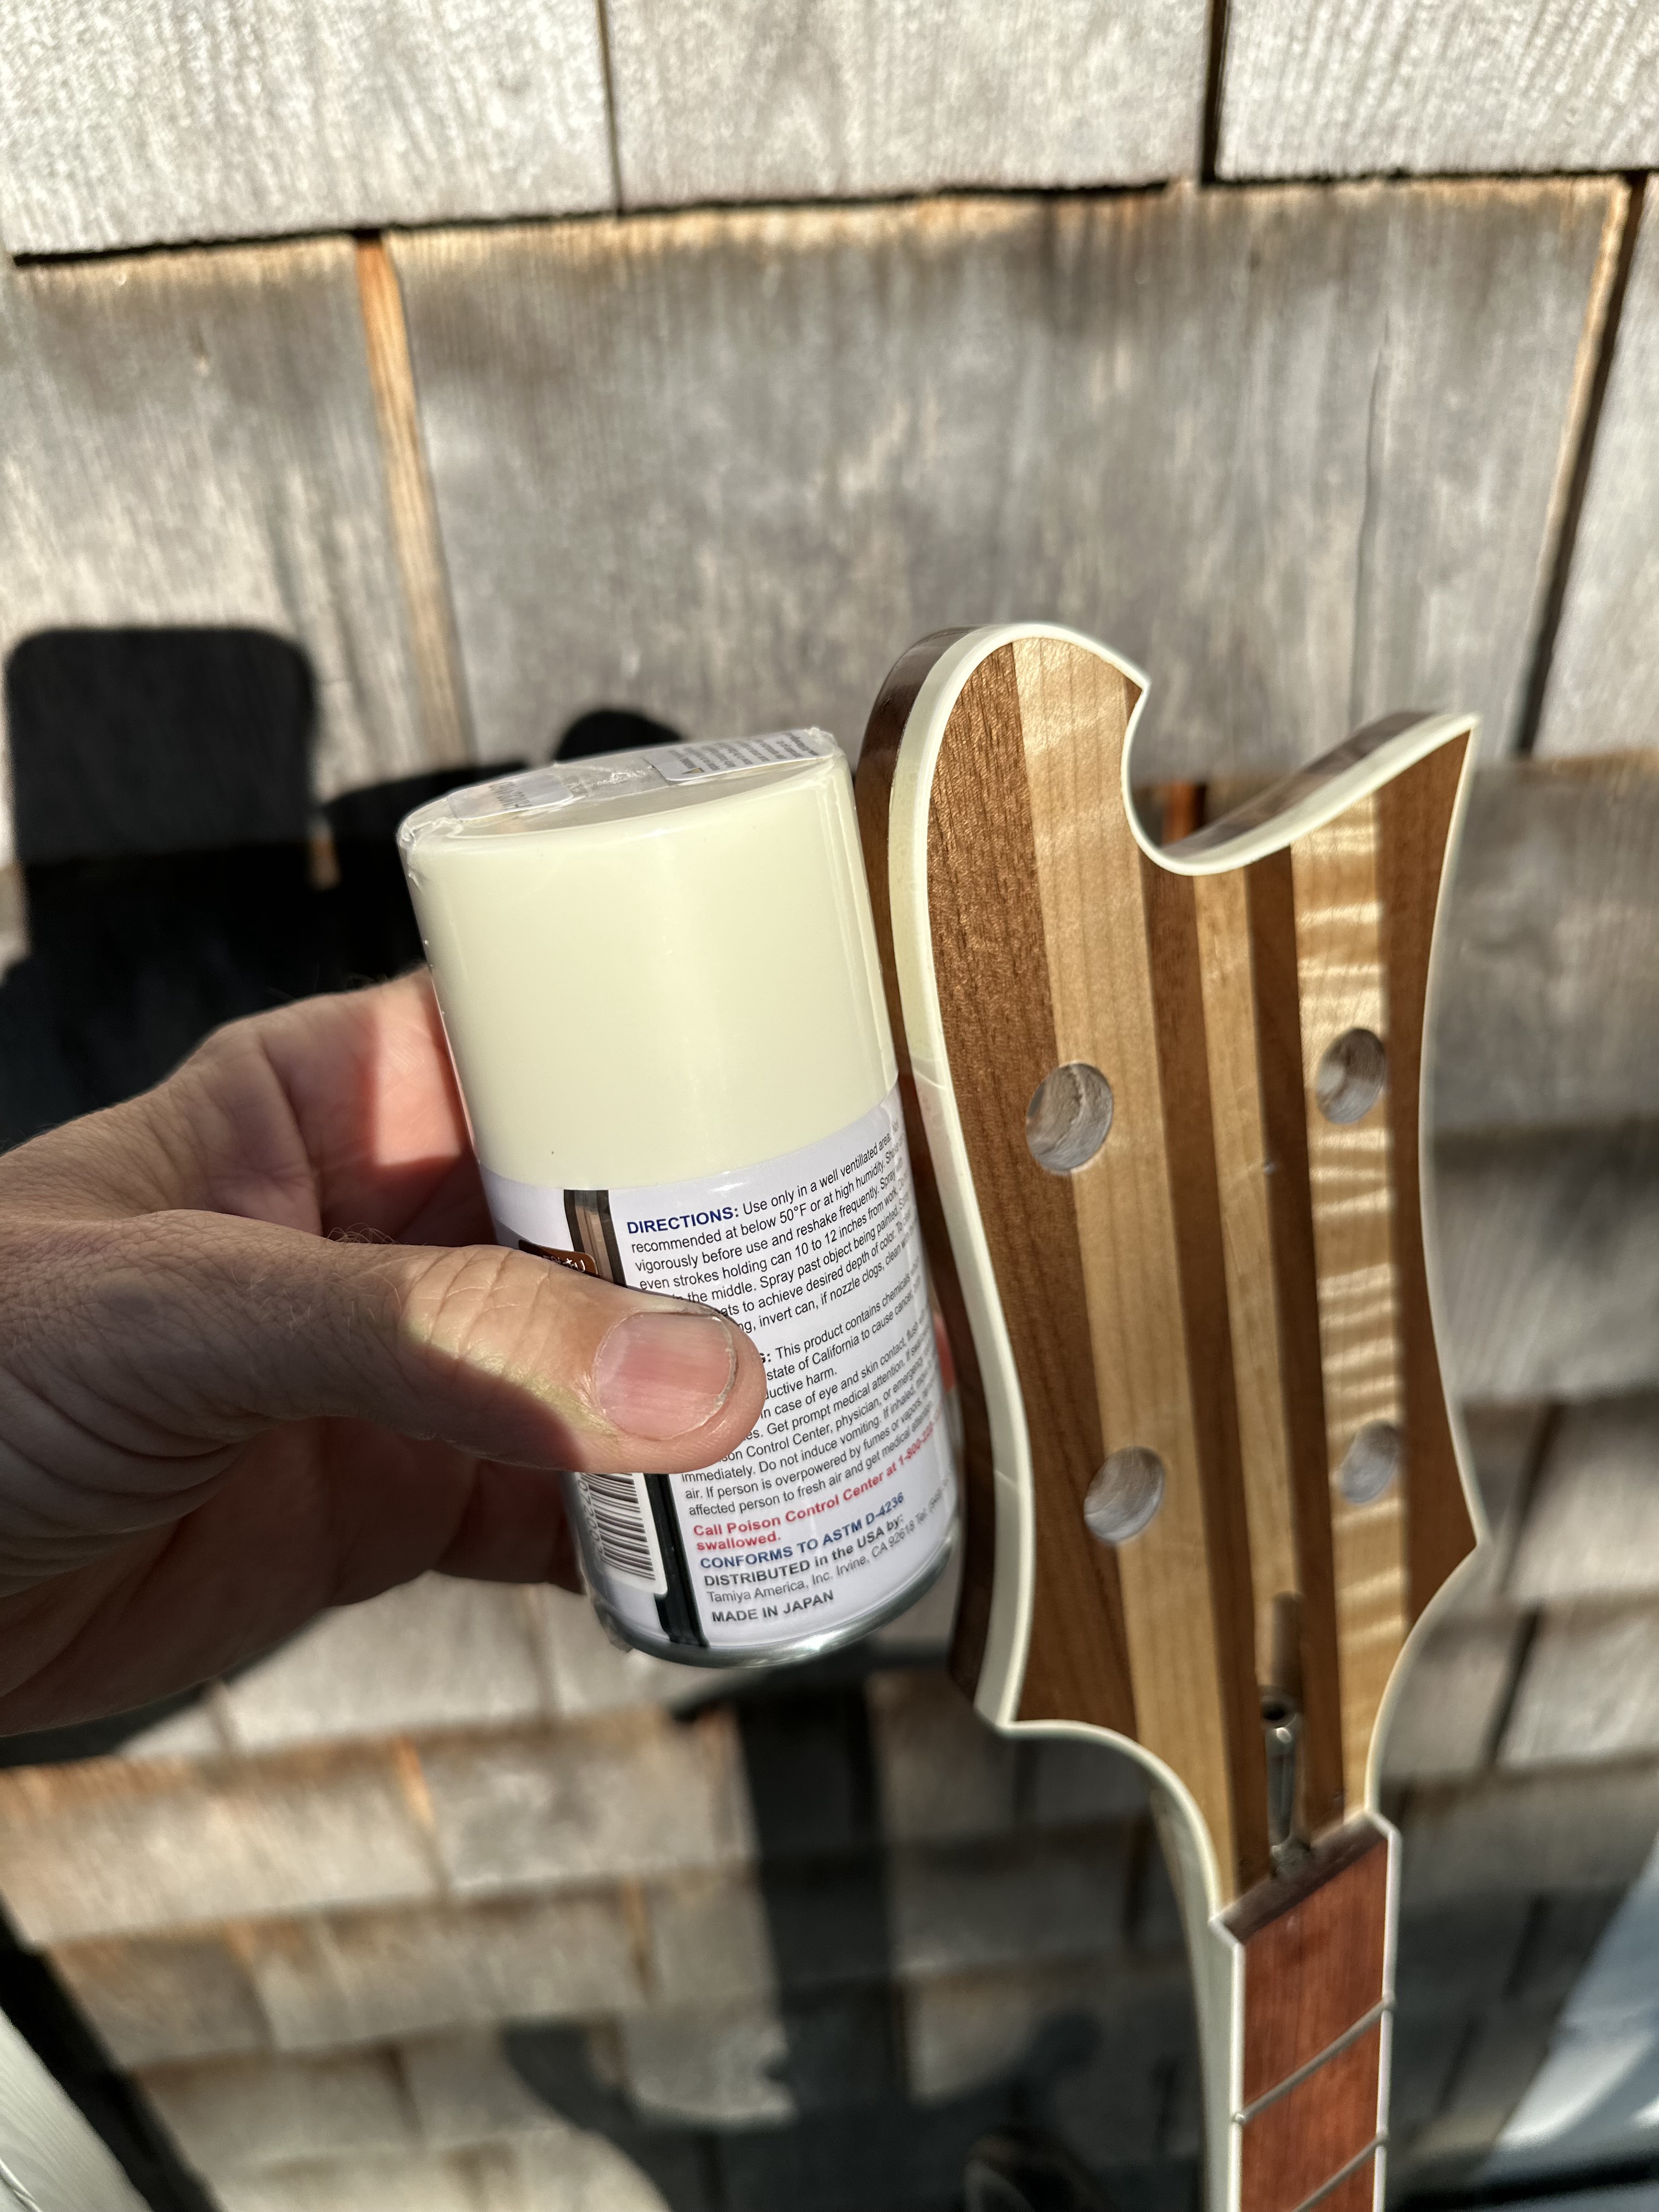
After some hunting, I found this Tamiya rattlecan at a model shop that's almost a perfect match for the white binding under 8 coats of Tru Oil, kind of a "pale cream". My TRC is getting backpainted with one coat per 24 hours until it's opaque on the back.
TfuiUxJ.jpg


Last bit of fabrication will be my third (!) attempt at a brass nut. Filed the second one a hair too narrow polishing it up.:banghead: I could probably run with it but.... OCD. Turns out I suck at metalwork, but I'll keep trying.
 
Last edited:
Ok, I let this thing hang for a month while I worked on my boat, which is finally in the water. Priorities! The Tru Oil seemed fully cured, no odor at all, so I lightly wetsanded it with 2000 and 3000 to remove any dust nibs, small lap marks, etc., which knocked it back to satin. Then I polished it back up to just below a high gloss with Micromesh 6000 -12000, so maybe this is somewhere around semi-gloss. I was going to use McGuiar's Fine Cut and Swirl Remover on it, but decided not to risk getting any of it in the carvings. Anyway, I like it. hard to photograph well in the late afternoon sun, but hopefully these convey the level of shine.

ZTX8sXC.jpg

aswhZoE.jpg

zbyjblW.jpg


After some hunting, I found this Tamiya rattlecan at a model shop that's almost a perfect match for the white binding under 8 coats of Tru Oil, kind of a "pale cream". My TRC is getting backpainted with one coat per 24 hours until it's opaque on the back.
TfuiUxJ.jpg


Last bit of fabrication will be my third (!) attempt at a brass nut. Filed the second one a hair too narrow polishing it up.:banghead: I could probably run with it but.... OCD. Turns out I suck at metalwork, but I'll keep trying.

It'll be worth it sound-wise.
 
The reality is considerably less impressive: it’s a 1986 Boston Whaler 15’ Sport CC with a 1996 Johnson 48 Special outboard. That little boat takes me a solid month of weekends to prep every year, I moor it in salt water here on Cape Cod, might as well be dipping it into acid, salt water EATS boats, and particularly engines. It’s worth it to see the smile on my wife’s face when we go out. Great harbor boat, but I don’t take it out much in open sea, it’s pretty low to the water. I’ll get photographic proof. :D
 
The reality is considerably less impressive: it’s a 1986 Boston Whaler 15’ Sport CC with a 1996 Johnson 48 Special outboard. That little boat takes me a solid month of weekends to prep every year, I moor it in salt water here on Cape Cod, might as well be dipping it into acid, salt water EATS boats, and particularly engines. It’s worth it to see the smile on my wife’s face when we go out. Great harbor boat, but I don’t take it out much in open sea, it’s pretty low to the water. I’ll get photographic proof. :D
That's one of the best salmon fishing boats of all time. Love 'em... :thumbsup: