• TalkBass has been independent since 1998. Add your voice.
    Create a free account to reply to discussions, view embedded media, and browse with fewer display ads.
    Join freeLog in
    Want zero display ads or expanded classifieds tools? Compare plans.

The Les Paul Twins

As you may have guessed I've been away for a few days but this is what I've been doing since the last update.

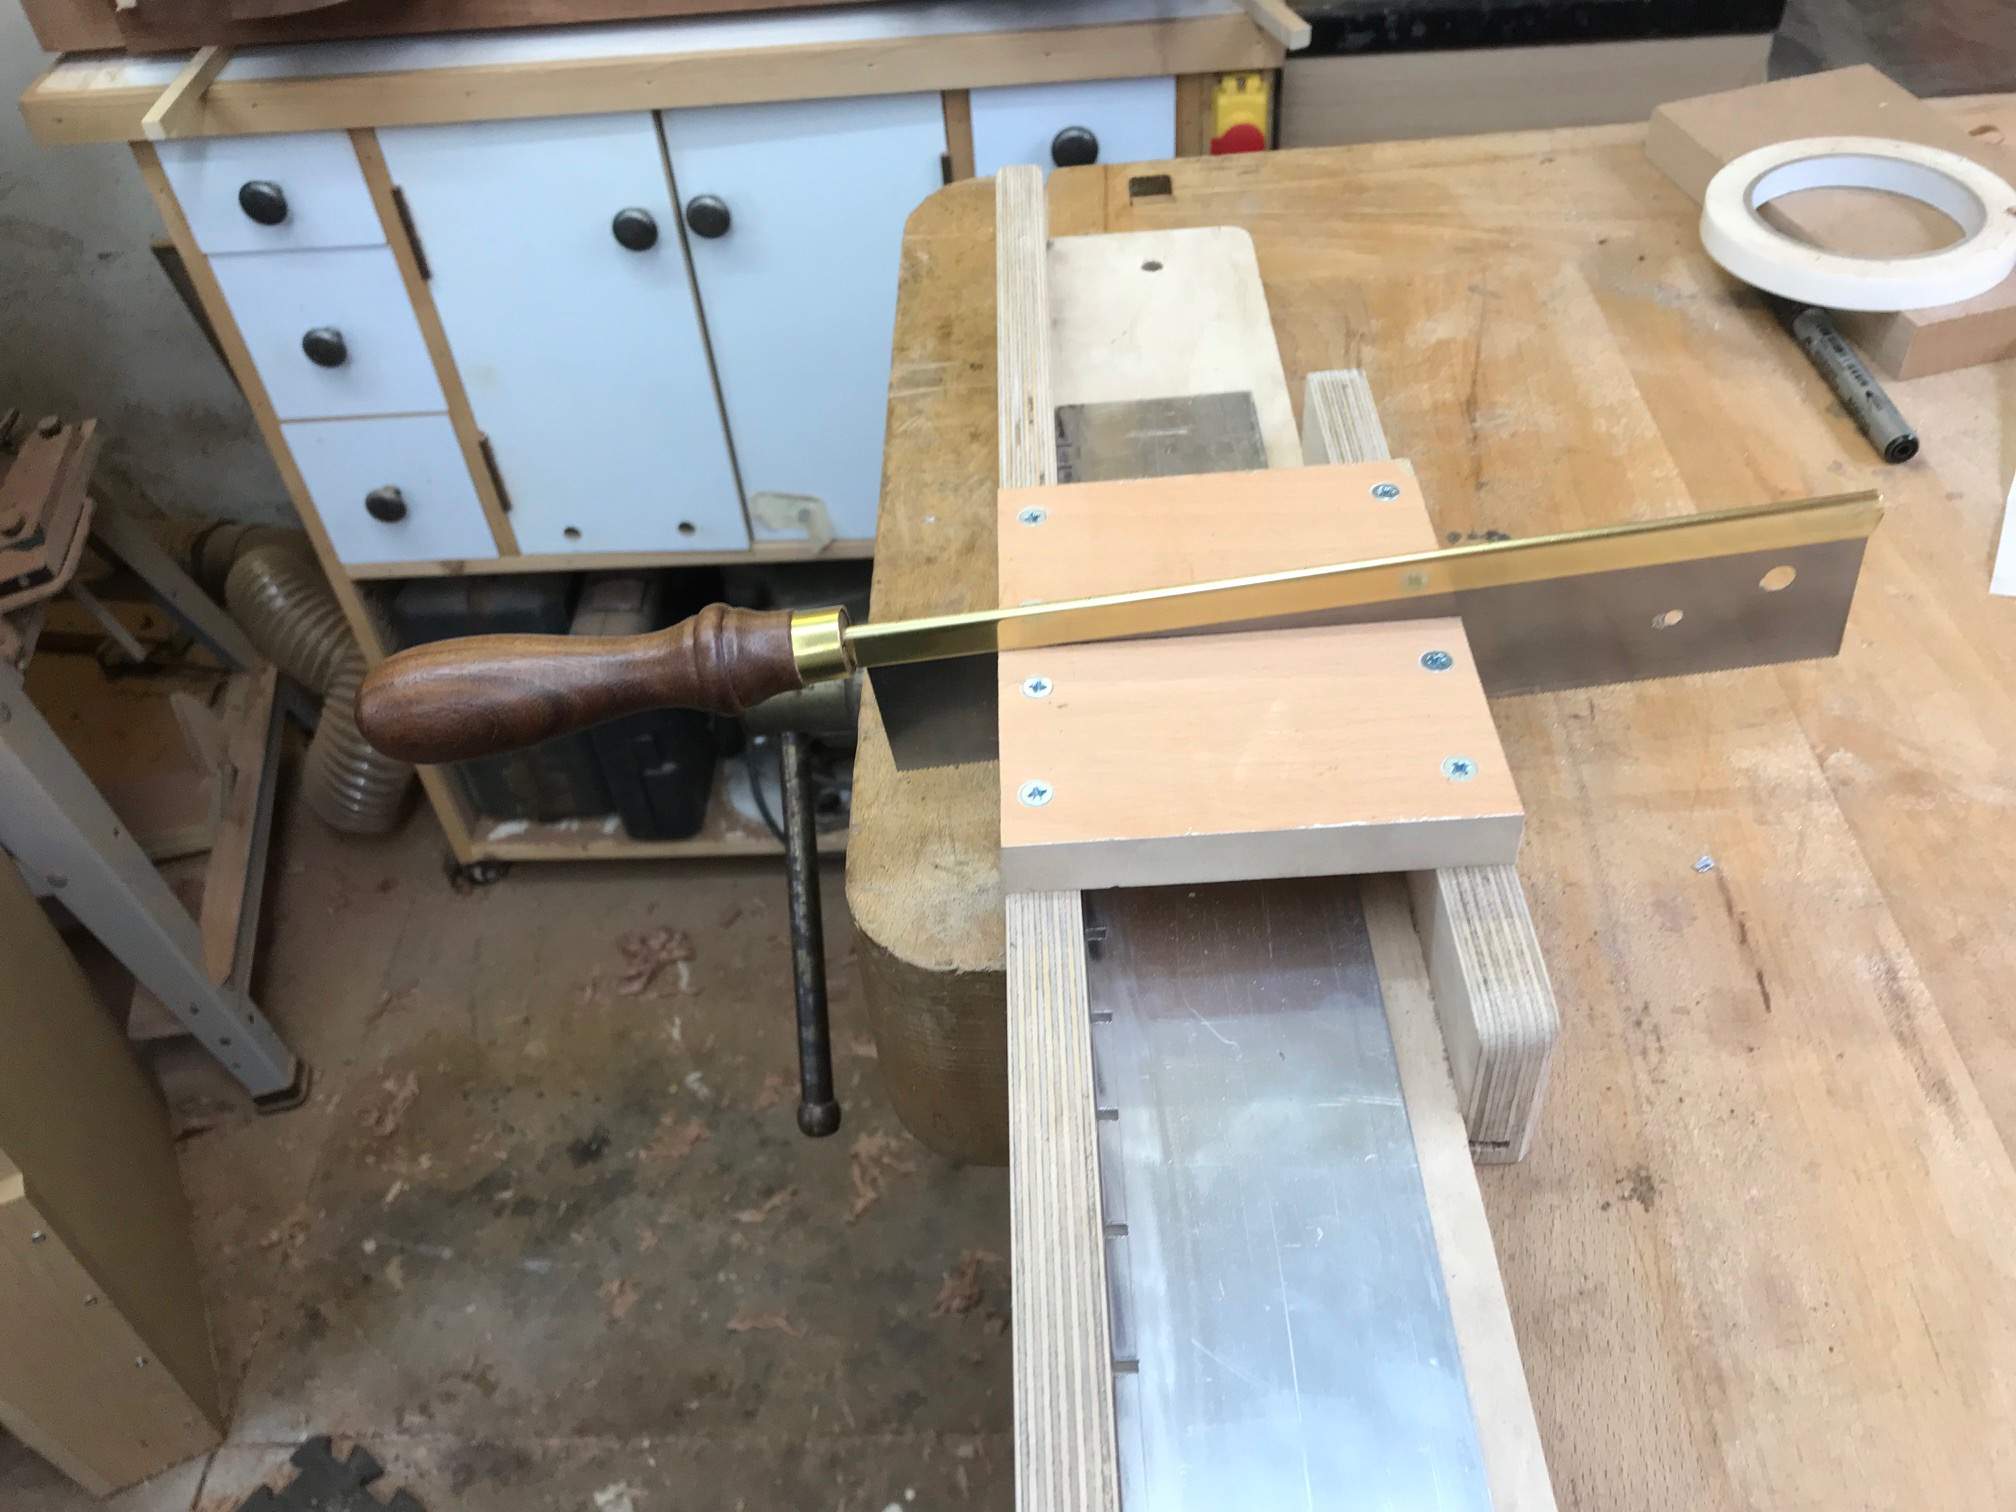
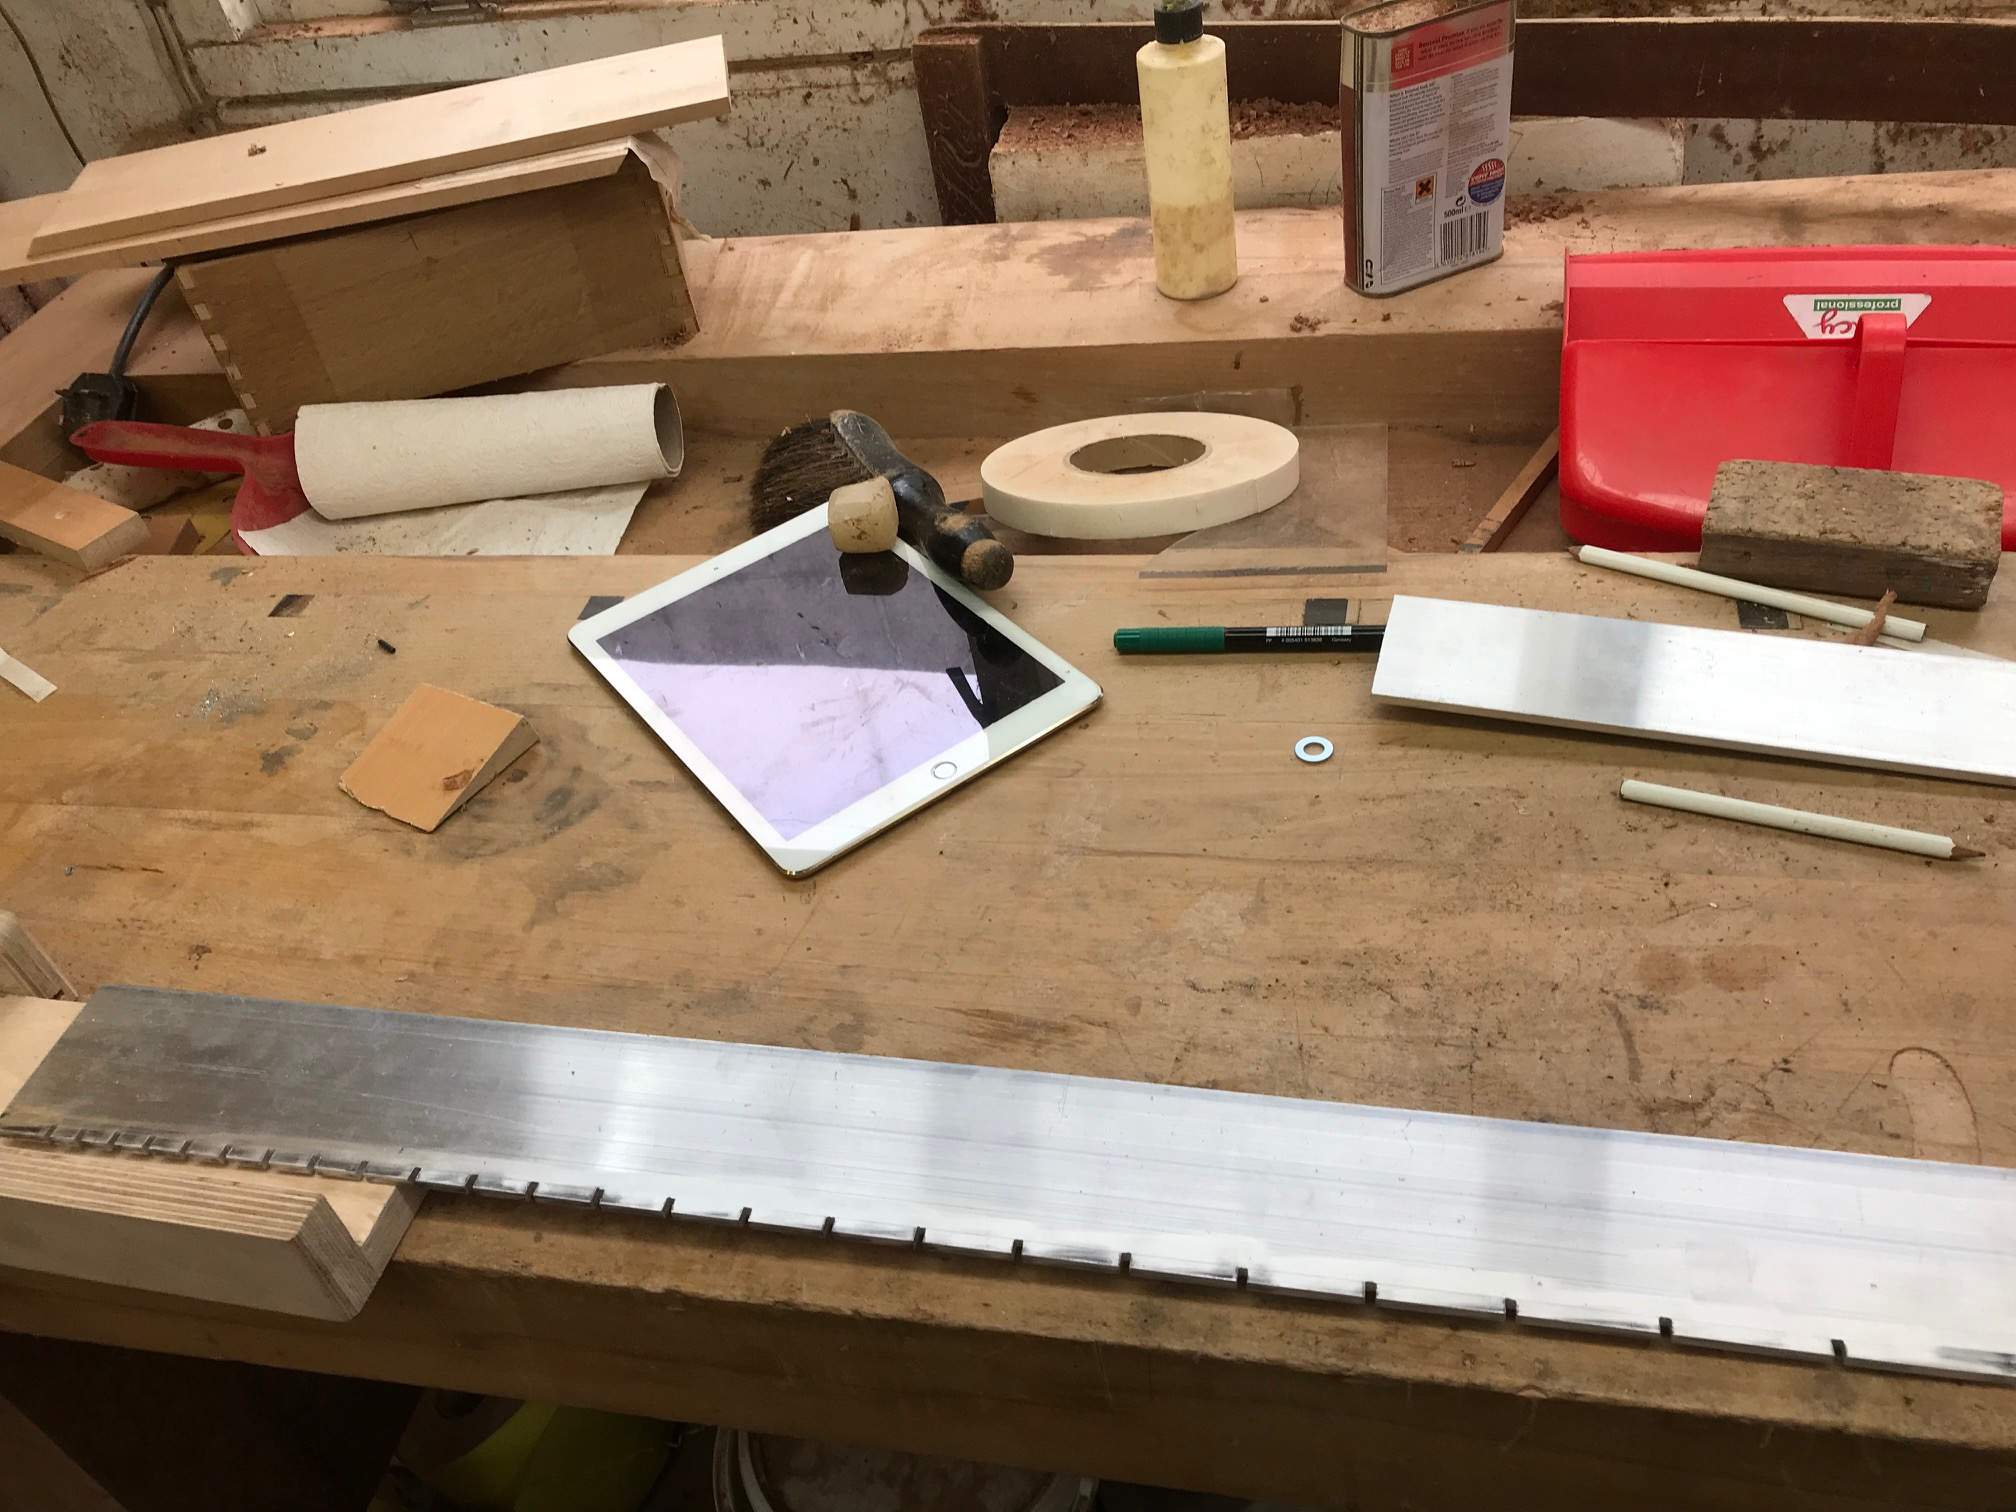
Being a natural skinflint I made a fret template and started building a new mitre box as I treated myself to a new saw last week, a Pax instead of my old E.T. Roberts and Lee. The fret template is made from 5mm x 70mm aluminium bar, I used the method shown by Susie Gardner in this video


The mitre box is unambitious for now, I'm considering buying a decent one or possibly using the idea Susie also posted:


For now it is accurate enough and I can adjust the height by using shims

and this is it:
IMG_4028.jpg
IMG_4029.jpg
 
Sorry for the tardy response, I've been away in Cardiff to see the Stones and took a few days to do a bit of cultural sight seeing

The width was about 13 3/4" and the overall length about 46 1/2"

Hey Christine

For some reason, I thought it might be 14"+. Only slightly bigger than the LP Guitar body then. I thought it was bigger than that, but I guess is it almost 14" so that is a difference.

"Here ya go, I measured 4 of my vintage LP's.

1952 - 13"
1954 - 13"
1957 - 13"
1960 - 12-3/4""

 
Not got a real update today but just a look at my newest piece of technology which I really like. A Dremel 4000 which seems OK, I bought it to make inlaying a little easier than a big router and a chisel. The bit I really like is the base, it's the Veritas Dremel base, plunging like a real router and with a precision depth stop which is rather cool and very easy to set up. The base itself is made from Aluminium and is a delight to use, quite weighty for stability and dead flat. Cost me the grand total of £49 from Ebay in the UK; highly recommended as a base

I also got some downward spiral cutters, 3 x 3mm, 3 x 1mm and 3 x 0.5mm, tried them all and they are great so I'm looking forward to getting on with the fretboard and headstock inlays now :)

IMG_4031.jpg


IMG_4032.jpg
 
Hmmmmm.... That Veritas base looks interesting, I just got a Dremel 3000 for Father's Day. I did my last inlay cuts with the cheap plastic base it comes with, worked OK but far from a precision base. The Stewmac aluminum one is stupid overpriced, that Veritas one looks pretty good!

Amplified Parts makes what looks like a direct knock-off of the Stewmac base for $50
https://www.amazon.com/Precision-Ro...1529356798&sr=8-7&keywords=dremel+router+base

Dremel makes this one too, doesn't look as heavy gage as the Veritas though
https://www.amazon.com/Dremel-335-0...pID=412N502V1SL&preST=_SX300_QL70_&dpSrc=srch
 
As an Amazon Associate, TalkBass may receive commissions from qualifying purchases made via links on this site.
Hmmmmm.... That Veritas base looks interesting, I just got a Dremel 3000 for Father's Day. I did my last inlay cuts with the cheap plastic base it comes with, worked OK but far from a precision base. The Stewmac aluminum one is stupid overpriced, that Veritas one looks pretty good!

Amplified Parts makes what looks like a direct knock-off of the Stewmac base for $50
https://www.amazon.com/Precision-Ro...1529356798&sr=8-7&keywords=dremel+router+base

Dremel makes this one too, doesn't look as heavy gage as the Veritas though
https://www.amazon.com/Dremel-335-0...pID=412N502V1SL&preST=_SX300_QL70_&dpSrc=srch
What I didn't like about the basic StewMac one is there was no plunge, the thought of tilting the base to put a 0.5mm cutter into wood was a little uncomfortable. There is a knock off available in the UK too for about £40 but I think I might well save the difference from broken bits quite quickly. The top of the range StewMack model looks very good too [Invalid or Expired Link Removed] quite expensive but it has a little light and a dust nozzle built in

The weight of the Veritas in just right, the Dremel in itself is quite heavy, I wonder if their own make base is heavy enough?
 
As an Amazon Associate, TalkBass may receive commissions from qualifying purchases made via links on this site.
Just a tiny update today, had a couple of other things to do.

Marked out one of the fretboards for the Mother of Pearl markers. Here's what I did:

Stuck a bit of masking tape over each fret gap to be inlayed. Marked the centre line of the board, marked the centre line of each fret gap. Marked the fret number on each inlay and the centre lines of each. Stuck masking tape to the bottom of each inlay and cut off the waste with a scalpel. Marked the position with a pencil of each inlay on the fretboard. Put a blob of superglue on the masking tape and put the inlay masking tape down on the fretboard and squared it off with a set square. Marked the fretboard with a scalpel very carefully. Peeled off the masking tape, the inlay and removed the masking tape from the bottom and put t
hem carefully to one side.

Tomorrow I'll rout out the inlay holes, I ran out of time today

IMG_4041.jpg


IMG_4040.jpg


IMG_4042.jpg
 
Christine
I’m curious why you cut the inlay recesses first, would it make more sense to make the MOP inlays first, tack glue them to the board, and then scribe around them? Not knowing any better, that’s what I did on my Ric Clone build, and it worked quite well. That would seem to guarantee a tighter fit, what are the pros/cons?
 
  • Like
Reactions: GonePlaid
Christine
I’m curious why you cut the inlay recesses first, would it make more sense to make the MOP inlays first, tack glue them to the board, and then scribe around them? Not knowing any better, that’s what I did on my Ric Clone build, and it worked quite well. That would seem to guarantee a tighter fit, what are the pros/cons?
The MOP is already sized, I bought them like that from Rothko and Frost in the UK as it is very cost affective for a block inlay
 
D’oh! I misunderstood the photos, so you are scribing against the inlays! Makes sense now. Can the Rocklite dust be used as a filler, of would you just ting epoxy of CA?
Yes, I superglued them down to keep them dead still when I scribed around them so fingers crossed the holes will be fairly tight

I'm planning on using the dust as a filler with epoxy either that or I have a big jar of black pigment powder that works very well with ebony but fingers crossed there will be enough sanding dust from the finish sanding of the boards after routing the radius
 
Due to a muck up ordering the Mother of Pearl inlays I'm still short a set so I can't proceed with the Rosewood board until they come but I did a bit of routing on the Ebony one.

For my inlays I routed close to the line and then pared to the line with a sharp chisel, apart from one little bit shown below where I made a slight wonder over the line with the router. My excuse is there was too much dust around the cutter LOL. After that I put a bit of masking tape on the cutter to blow it away and it never happened again. Chiselling was the first time I really found a difference to real wood, I don't really know how to describe it but paring Ebony, it's a clean forceful sort of cut, the Ebano felt more like paring balsa but harder, that said it cut very cleanly, certainly good enough for me.

Anyway, the inlays fitted a treat with no stress at all other than that one little incident of my own doing. It cut so cleanly I'm thinking I may get away with no real need for edge filling with glue and dust (apart from that one bit shown again with the inlay).

IMG_4047.jpg


IMG_4046.jpg


IMG_4044.jpg


IMG_4048.jpg

The good news of the day was I got my sander back from being repaired at Festool, the switch broke and it needed a new set of gears but bare in mind it is 25 years old and has had a very hard life and this is it's first repair :)

IMG_4049.jpg
 
Hey Christine, about pickups... :smug:

But seriously, for Lull alternatives in the case that the Mojos don’t work out I think @TBird1958 mentioned that Seymour Duncan custom shop sell the “same”? Pickup. Just figured that may be a workable alternative for you. Maybe.
I like Seymour Duncan pickups generally, they have a sound that suits my ears I guess, hopefully V will chip in some info
 
Today I screwed up again, nothing major but a silly mistake, I forgot to rout the neck binding rebate before radiusing :( ah well have to do it another way tomorrow, still not the end of the world just a waste of time :)

So as you may have guessed I radiused the Ebano fretboard, first though I shaped the neck using a jig that fits into the truss rod slot, then in my hurry to radius the fretboard I did that and then shaped it instead of shaping, routing then radiusing. After all that i glued in the Mother of Pearl and sanded them down to 320 grit for now until I fir the binding and clean it up then I can sand down to 3000 grit and see how we look after that; any finer and I'm off shopping again! The inlays were a good fit, I needed to press them in using a vice (linoleum jaw linings) but the fit was good, just that tiny nick to fill, I'm very pleased with that job, lets see how I get on with the headstock inlays hopefully next week.

The inlays for the other neck arrived today, so I will get them sorted tomorrow with luck.

IMG_4053.jpg


IMG_4054.jpg


IMG_4050.jpg


IMG_4052.jpg


IMG_4055.jpg


IMG_4056.jpg


IMG_4058.jpg


IMG_4059.jpg
 
Last edited:
Yesterday I worked on the Rosewood fretboard, got it inlaid. Turned out that the new binding cutter I bought wouldn't do the fretboard because the bearing was too far down from the cutters so today I just cut both on the router table and stuck the bindings on with CA. I started with a thick gel type with a slow setting time so I could get the inner edge of the mitre exactly in the right place then used a thin CA to do the rest, horrible stuff, gets everywhere, made a right mess of my finger nails :( After that I scraped the bindings flush and sanded the faces through to 3000 grit which looks very good. The Mother of Pearl is stunning and no filler used at all, feeling a little smug about that LOL :) I finished off the day by putting a thin coat of Lemon oil on the faces, will give a couple more before fretting them

IMG_4060.JPG


IMG_4061.JPG


IMG_4075.JPG


IMG_4077.JPG


IMG_4078.JPG


IMG_4079.JPG


IMG_4080.JPG
 
Yesterday I worked on the Rosewood fretboard, got it inlaid. Turned out that the new binding cutter I bought wouldn't do the fretboard because the bearing was too far down from the cutters so today I just cut both on the router table and stuck the bindings on with CA. I started with a thick gel type with a slow setting time so I could get the inner edge of the mitre exactly in the right place then used a thin CA to do the rest, horrible stuff, gets everywhere, made a right mess of my finger nails :( After that I scraped the bindings flush and sanded the faces through to 3000 grit which looks very good. The Mother of Pearl is stunning and no filler used at all, feeling a little smug about that LOL :) I finished off the day by putting a thin coat of Lemon oil on the faces, will give a couple more before fretting them

View attachment 3059592

View attachment 3059593

View attachment 3059594

View attachment 3059595

View attachment 3059596

View attachment 3059597

View attachment 3059598

Absolutely beautiful!!!!