
Not likely to stay connected a whole song if you move. Or the wind changes in the next suburb.Go with a 9-pin DIN connector -- not likely to be confused with anything else.

Enjoy the benefits of a premium membership!
Upgrade Account
-
TalkBass has been independent since 1998. Add your voice.
Create a free account to reply to discussions, view embedded media, and browse with fewer display ads.
Join free Log in
Want zero display ads or expanded classifieds tools? Compare plans.
You are using an out of date browser. It may not display this or other websites correctly.
You should upgrade or use an alternative browser.
You should upgrade or use an alternative browser.
The Mediocre Builders Club
- Thread starter MirandM
- Start date
More options
Who Replied?

Roland uses a 13 pin DIN on their GR series synths, MIDI uses a 5 pin DIN, never noticed that they're particularly easy to pull out by accident.

Use these:Yes i have seen a few guitars with piezo pickups in the bridge, but none with no controls on the body.
that was the whole innovative point of the design.
I might have a solution. but like MirandM said, I will have to build and test it before I know if i have it.
Potential solution.....
this requires 8 wires connecting the box to the guitar. I came up with 2 ways to accomplish it. ok three, but i really don't like the thought of a 9-pin D connector
- I move the Acousti-Phonic preamp to the cavity under the bridge. (It is only about 1-1/4" x 1-5/8".)
- reduce the power supply to 9v (maybe, help me with this, i need advice)
- locate the battery, volume pot, mid/dark switch, and output jack in the remote box.
- use two TRRS cables (held together with tiny cable ties every few inches or a cable wrap) to connect them. One cable with male ends, and one with female ends, so they cannot get crossed.
- better idea = use an eight conductor CAT-6 RJ45 cable to connect them. I would just have to trust the end user to never try to plug it into a computer network, since the pinouts would not be standard. I would include a warning, but.......
- As a last resort I could make a 9-pin D connector cable to connect them. but that carries the same problem as the RJ45. On the plus side i could use larger wire, which, not being between the pickups and the preamp might possibly improve the signal integrity.
Don't use DIN connectors, inherently prone to failure. Use these, inexpensive, shielded, cannot be confused and mechanically much better. These are commonly used in power lines for professional mixers , but you can also find them in other audio equipment and boat navigation equipment

I've used these as mic connectors on CB and other radios and as power supply chassis connectors on multi chassis tube amplifiers.Don't use DIN connectors, inherently prone to failure. Use these, inexpensive, shielded, cannot be confused and mechanically much better. These are commonly used in power lines for professional mixers , but you can also find them in other audio equipment and boat navigation equipment
Most MIDI gear doesn't move much except for maybe keytars so it's not so much of an issue. I've had to use DINs in legacy and some oddball gear over the years and has caused nothing but problems. The 13pin GR cable I'd only use at home so much less of an issue for me, but I just don't like the suckers.Roland uses a 13 pin DIN on their GR series synths, MIDI uses a 5 pin DIN, never noticed that they're particularly easy to pull out by accident.
I've also had my fair share of confusion using 5-pin DIN's for audio and midi, ugghhhh, horrible.Most MIDI gear doesn't move much except for maybe keytars so it's not so much of an issue. I've had to use DINs in legacy and some oddball gear over the years and has caused nothing but problems. The 13pin GR cable I'd only use at home so much less of an issue for me, but I just don't like the suckers.
after the last few posts getting comments about not being mediocre, I decided to get involved with the Luthiers corner. But that doesn't let any of you off the hook.... I intend to stay a mediocre builder as long as the group and I both survive. Whether or not my builds sell has no bearing on that.
I have a request... if any of you find a place where i can actually purchase optical pickups let me know. so far as i can see nowthey are not on the open markets yet.
to MirandM . I am interested in building my own optical pickups if i can't find any. But i am afraid i lake the engineering skills for it. do you know of a way to utilize optical sensors for industrial automation in creating optical pickups? here is a type of sensor i am thinking we could convert.
U-frame Photoelectric Fork Sensor: 0-10mm range, through-beam (PN# PSUR-0P-2F) | AutomationDirect
I have a request... if any of you find a place where i can actually purchase optical pickups let me know. so far as i can see nowthey are not on the open markets yet.
to MirandM . I am interested in building my own optical pickups if i can't find any. But i am afraid i lake the engineering skills for it. do you know of a way to utilize optical sensors for industrial automation in creating optical pickups? here is a type of sensor i am thinking we could convert.
U-frame Photoelectric Fork Sensor: 0-10mm range, through-beam (PN# PSUR-0P-2F) | AutomationDirect
Last edited:

I have a request... if any of you find a place where i can actually purchase optical pickups let me know. so far as i can see nowthey are not on the open markets yet.
Optical pickups???
Yeah I know these sensors, they are typically used in industrial applications to detect open/close situations.after the last few posts getting comments about not being mediocre, I decided to get involved with the Luthiers corner. But that doesn't let any of you off the hook.... I intend to stay a mediocre builder as long as the group and I both survive. Whether or not my builds sell has no bearing on that.
I have a request... if any of you find a place where i can actually purchase optical pickups let me know. so far as i can see nowthey are not on the open markets yet.
to MirandM . I am interested in building my own optical pickups if i can't find any. But i am afraid i lake the engineering skills for it. do you know of a way to utilize optical sensors for industrial automation in creating optical pickups? here is a type of sensor i am thinking we could convert.
U-frame Photoelectric Fork Sensor: 0-10mm range, through-beam (PN# PSUR-0P-2F) | AutomationDirect
I'm not too sure about going that way though. They tend to use IR stuff, which can be done but is also prone to light conditions, like using your tv remote outside the house in direct sunlight, won't work too well.
I'm thinking you might be better going the laser route. Today laser devices are very small and fast, think about a laser distance meter, it works by measuring the reflection point. I know for a fact that Jean-Michel Jarre used a laser harp during one of his concerts, maybe worth looking into. Check out this
Yeah I know these sensors, they are typically used in industrial applications to detect open/close situations.
I'm not too sure about going that way though. They tend to use IR stuff, which can be done but is also prone to light conditions, like using your tv remote outside the house in direct sunlight, won't work too well.
I'm thinking you might be better going the laser route. Today laser devices are very small and fast, think about a laser distance meter, it works by measuring the reflection point. I know for a fact that Jean-Michel Jarre used a laser harp during one of his concerts, maybe worth looking into. Check out this
Thank you. My problem is i don't know enough about lasers to know where to start.
I guess i will have to start at the beginning, research.
I just finished building the bass i was working on when it got too cold to work in my garage/workshop for the winter. Unfortunately, although i have 5 sets of strings for bass, all of them are short scale. so, i have to order some before i can string it and set it up.
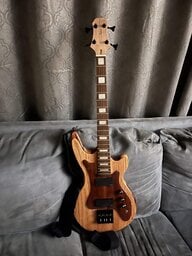
But i just love the build so i can't wait that long to show it off. here it is, the newest version of the floating top bass...


But i just love the build so i can't wait that long to show it off. here it is, the newest version of the floating top bass...
Just a few remarks from me:I just finished building the bass i was working on when it got too cold to work in my garage/workshop for the winter. Unfortunately, although i have 5 sets of strings for bass, all of them are short scale. so, i have to order some before i can string it and set it up.
But i just love the build so i can't wait that long to show it off. here it is, the newest version of the floating top bass...
View attachment 4683091 View attachment 4683092 View attachment 4683093 View attachment 4683094 View attachment 4683095 View attachment 4683096
- what's with the two screws alongside the base of the neck?
- personally I'd ditch the fender style neckplate, it just doesn't go with the design style. This would be a better way I think:
much cleaner and even better fixing of the neck since the body ends diagonally there you've got room enough for five or even six screws like this. I'd put the serial number on the back of the headstock, just like Peavey used to do with the T series basses.
- Also the heel of the neck shaped diagonally makes it more stylish, a plain stock heel just doesn't feel right. Can't remember if you bought the neck or made it yourself, but since I know you do make them now, maybe for a next build.
Good work though!
Last edited:
Hmmm, maybe your two screws where there from a previous scratch plate?I just finished building the bass i was working on when it got too cold to work in my garage/workshop for the winter. Unfortunately, although i have 5 sets of strings for bass, all of them are short scale. so, i have to order some before i can string it and set it up.
But i just love the build so i can't wait that long to show it off. here it is, the newest version of the floating top bass...
View attachment 4683091 View attachment 4683092 View attachment 4683093 View attachment 4683094 View attachment 4683095 View attachment 4683096
The one you made here, lacks just a few things, imho:
this would be more refined and would cover those screws or leftover holes.
Also when I look at it closely it gives me the impression of having done it a bit too fast. Shape isn't well finished. I can see some parts rather straight like the upper part inbetween the emg's and the part above the bridge which could be better made if it were centered between the bridge and pup.
Several curves that aren't like the body shape.
I don't know if you made this using a template but if so you definitely need to work on improving the template before cutting the scratchplate.
Sorry if I'm a bit critical here, but I think you're able to do the job better by taking a bit more time. Sometimes one needs to wait a bit and step back to see what can be made better.
Here's a bit of photochopping work I did on your scratchplate, take a look at the various parts I mentioned and changed here:I just finished building the bass i was working on when it got too cold to work in my garage/workshop for the winter. Unfortunately, although i have 5 sets of strings for bass, all of them are short scale. so, i have to order some before i can string it and set it up.
But i just love the build so i can't wait that long to show it off. here it is, the newest version of the floating top bass...
View attachment 4683091 View attachment 4683092 View attachment 4683093 View attachment 4683094 View attachment 4683095 View attachment 4683096
Also, using a wooden scratchplate you should be very careful not to set the screwholes too close to the edge. I can see a split at the lower horn, if I'm correct. Plastic is more forgiving, but wood isn't, so better take a bit more space between the screws and the edge.
Last edited:
As usual, MirandM found several flaws in my build. And as usual each criticism was spot on. However this time the flaws are not severe enough to relegate the whole build into guitar shaped firewood. The neck also needed to be shimmed. so i disassembled the whole bass, corrected the flaws, shimmed the neck, and repaired the finish.
When it is dry and i can reassemble, Ill post the updated pics.
I will also string it and fully set it up. I'll use the 5 string set and just hang onto the 5th string.
When it is dry and i can reassemble, Ill post the updated pics.
I will also string it and fully set it up. I'll use the 5 string set and just hang onto the 5th string.
Of course not, you should never do that, even if it were a total failure I'd hang on to it just to remind me not to make the same mistake again.... However this time the flaws are not severe enough to relegate the whole build into guitar shaped firewood. ...
You're doing great and will get better and better

@bass theory Just out of curiosity,
my eye caught this:
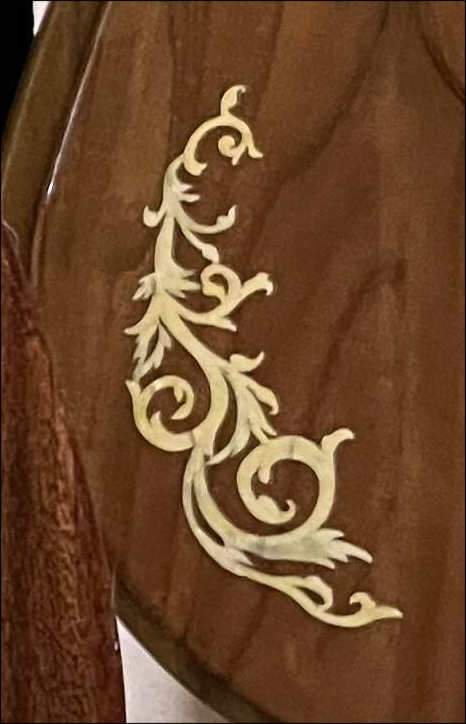
did you make that yourself or did you buy it?
I'm asking this because it is sort of what I'm looking for.
As you know I've moved homes and now live in a 100+ year old house. It has a front door of 3.5 m high which used to have wood carvings. Over time these have disappeared nearly completely, only some parts can be seen as sort of a shadow of what it used to be. The door is made of oak wood which has stand the test of times impressively well considering it had no protection. I've restored the door and repaired several rotten parts (mostly near the doorstep due to the soaked up rain) but I'm looking to regain a bit more of its former glory which must have been quite impressive. Unfortunately there are no photos and the wood is too rough to redo any carvings (which due to the size would take a massive amount of time) so I thought of applying some onlay decorations having a similar style.
This one is much like what I would be looking for although it would need to have a larger size.
Is it made of brass? In my case it could do, but wood could also be an option being a bit cheaper.
my eye caught this:
did you make that yourself or did you buy it?
I'm asking this because it is sort of what I'm looking for.
As you know I've moved homes and now live in a 100+ year old house. It has a front door of 3.5 m high which used to have wood carvings. Over time these have disappeared nearly completely, only some parts can be seen as sort of a shadow of what it used to be. The door is made of oak wood which has stand the test of times impressively well considering it had no protection. I've restored the door and repaired several rotten parts (mostly near the doorstep due to the soaked up rain) but I'm looking to regain a bit more of its former glory which must have been quite impressive. Unfortunately there are no photos and the wood is too rough to redo any carvings (which due to the size would take a massive amount of time) so I thought of applying some onlay decorations having a similar style.
This one is much like what I would be looking for although it would need to have a larger size.
Is it made of brass? In my case it could do, but wood could also be an option being a bit cheaper.
Last edited:
@bass theory Just out of curiosity,
my eye caught this:
View attachment 4684070
did you make that yourself or did you buy it?
I'm asking this because it is sort of what I'm looking for.
As you know I've moved homes and now live in a 100+ year old house. It has a front door of 3.5 m high which used to have wood carvings. Over time these have disappeared nearly completely, only some parts can be seen as sort of a shadow of what it used to be. The door is made of oak wood which has stand the test of times impressively well considering it had no protection. I've restored the door and repaired several rotten parts (mostly near the doorstep due to the soaked up rain) but I'm looking to regain a bit more of its former glory which must have been quite impressive. Unfortunately there are no photos and the wood is too rough to redo any carvings (which due to the size would take a massive amount of time) so I thought of applying some onlay decorations having a similar style.
This one is much like what I would be looking for although it would need to have a larger size.
Is it made of brass? In my case it could do, but wood could also be an option being a bit cheaper.
That is part of my floating top baritone. I made that never intending to sell it, so those are just decals i bought before i learned how to do inlays. But as decals go, they are quite sturdy and nice. Now that i have a laser, i can engrave items like that or cut them to do powder or resin inlays. I found those either on Amazon or Ebay by searching for guitar inlays. that same search will show the mother of pearl flake and power inlay material i use now to make scroll inlays.
I made all the changes to my latest bass which MirandM and others suggested. But as i was doing them I decided that since i am looking for a new regular bass for my own use, this is the one. I love everything about it; The size, the feel of it, the way it looks, everything. I fact, even trying my best to be objective, this is the most beautiful bass (in my opinion) I have ever seen. after holding it, another bass would always feel like a step downward, even a nice vintage Fender could never make me feel like i do holding this one. Therefor, this is now my bass, so i converted it to a 30" short scale. there was just enough room to move the neck down, deeper into the pocket, and moved the bridge up to almost touching the pickguard to do this.
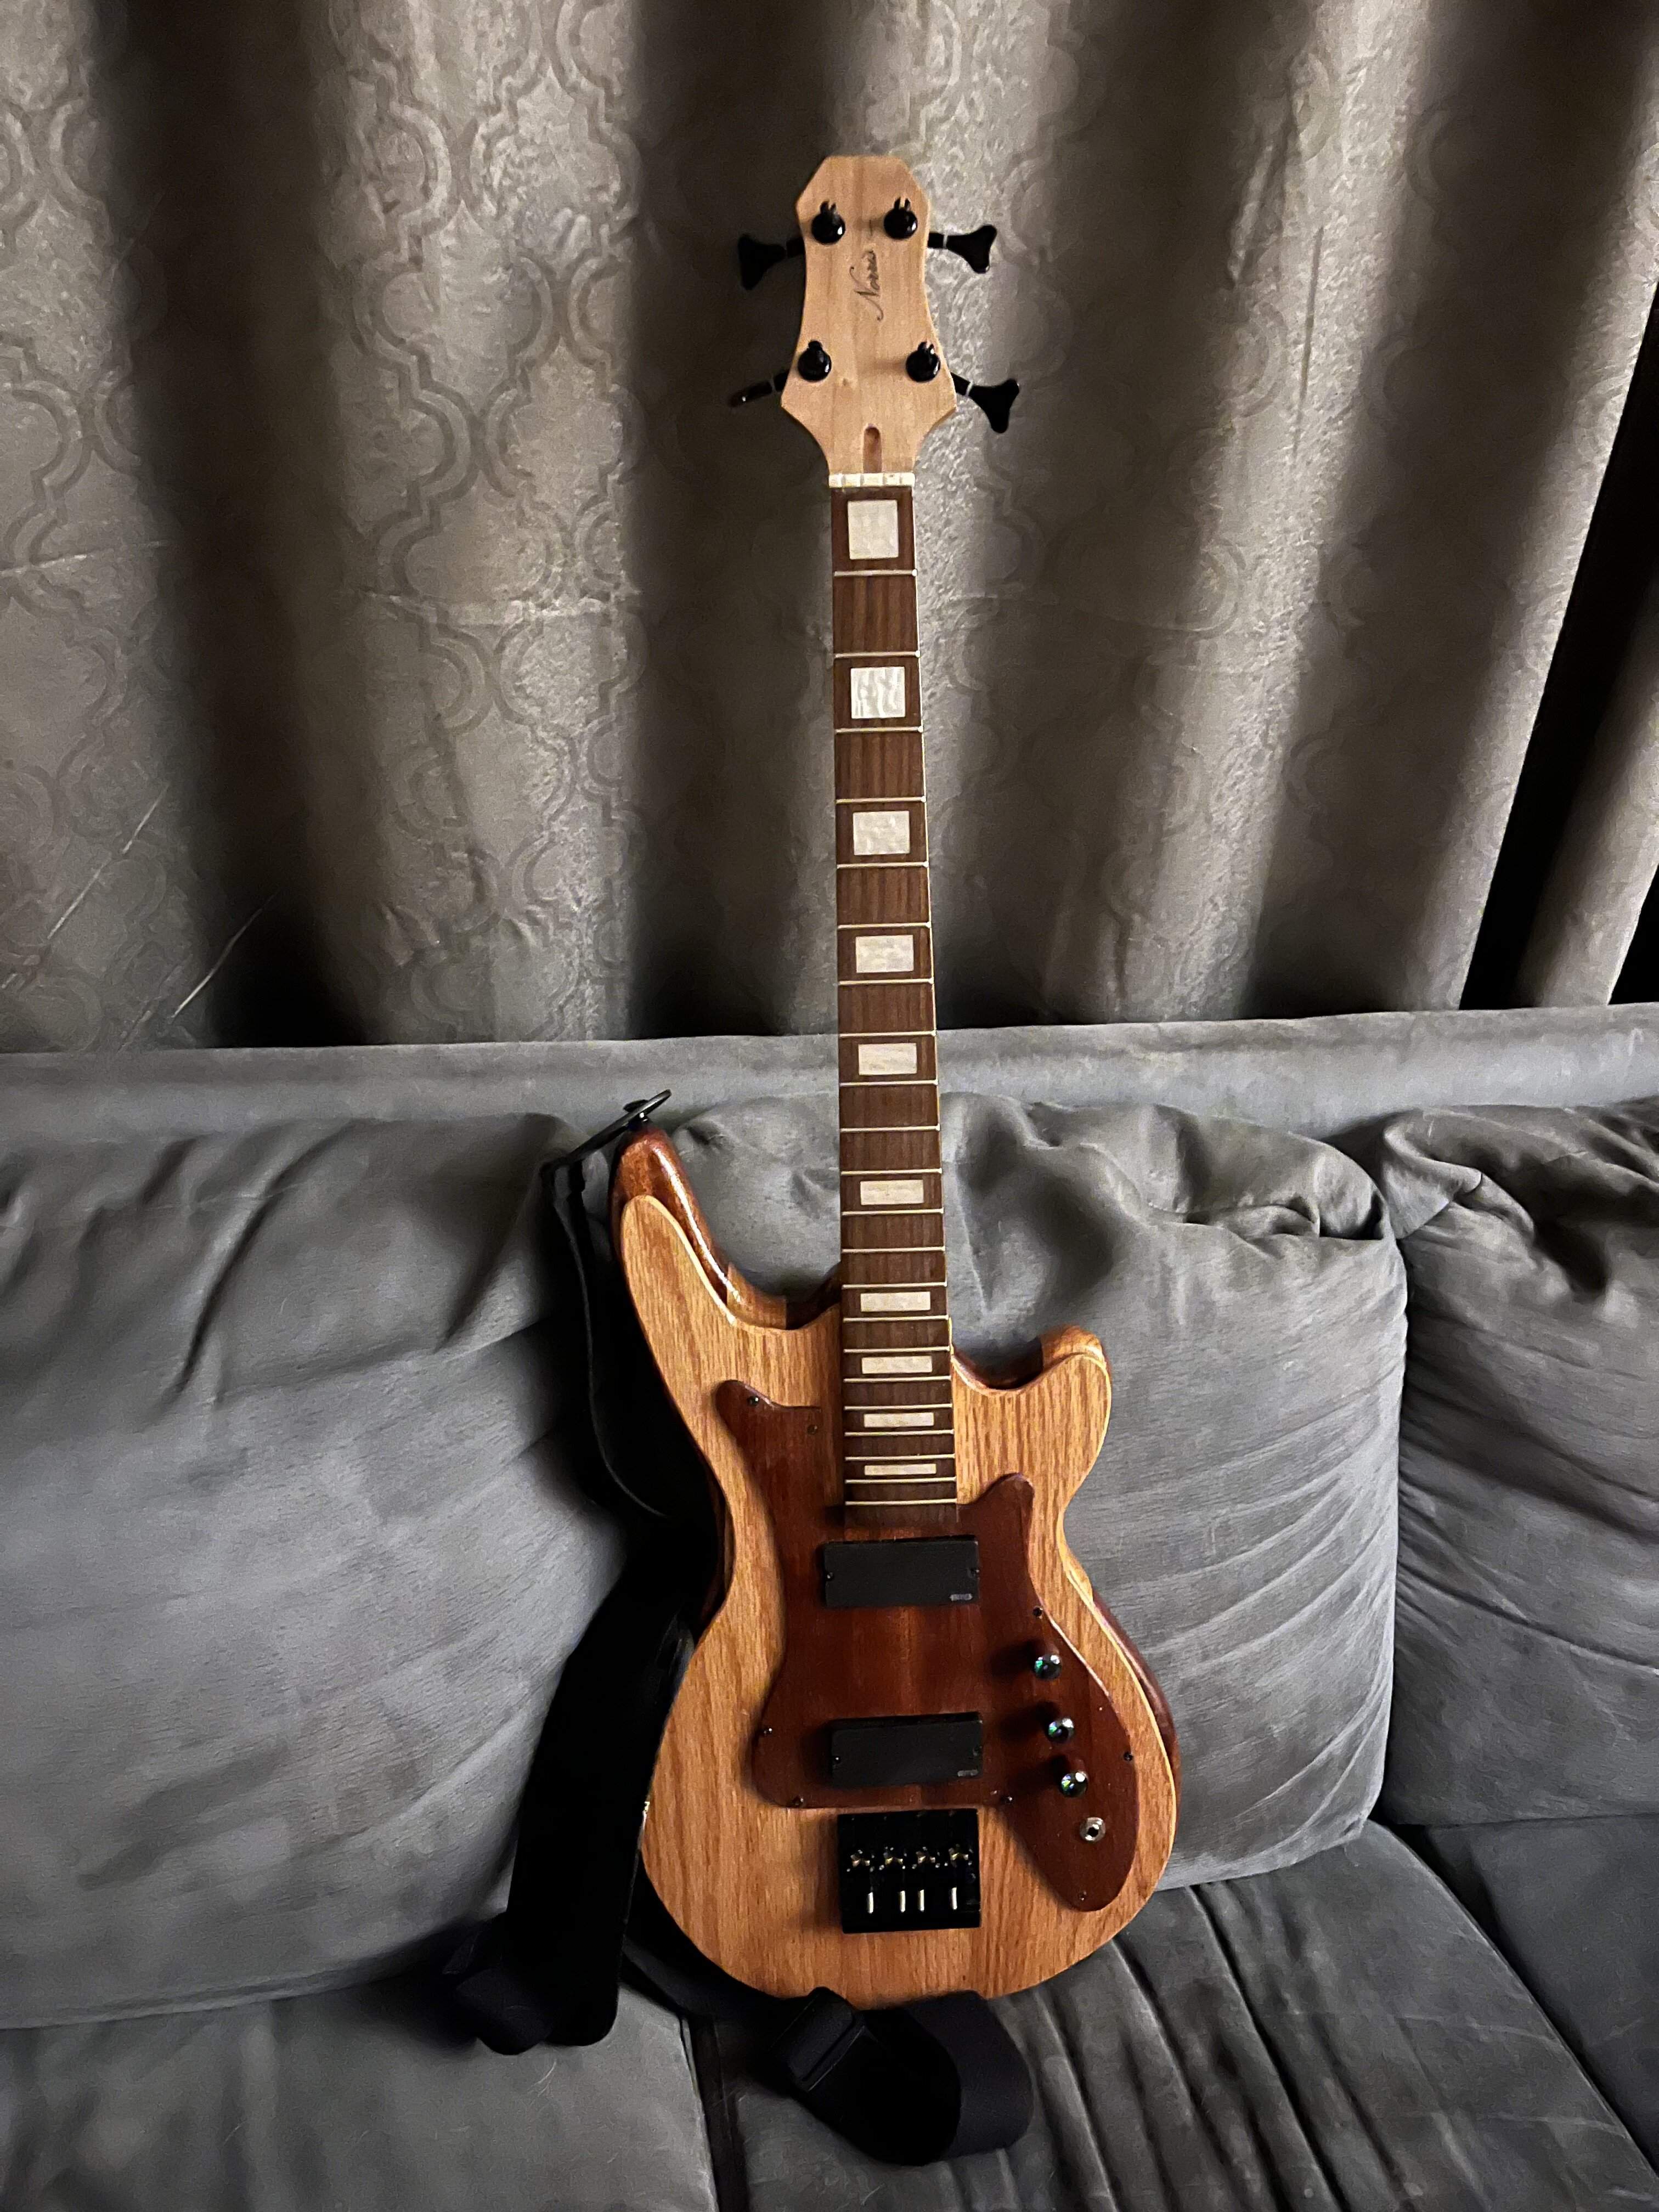
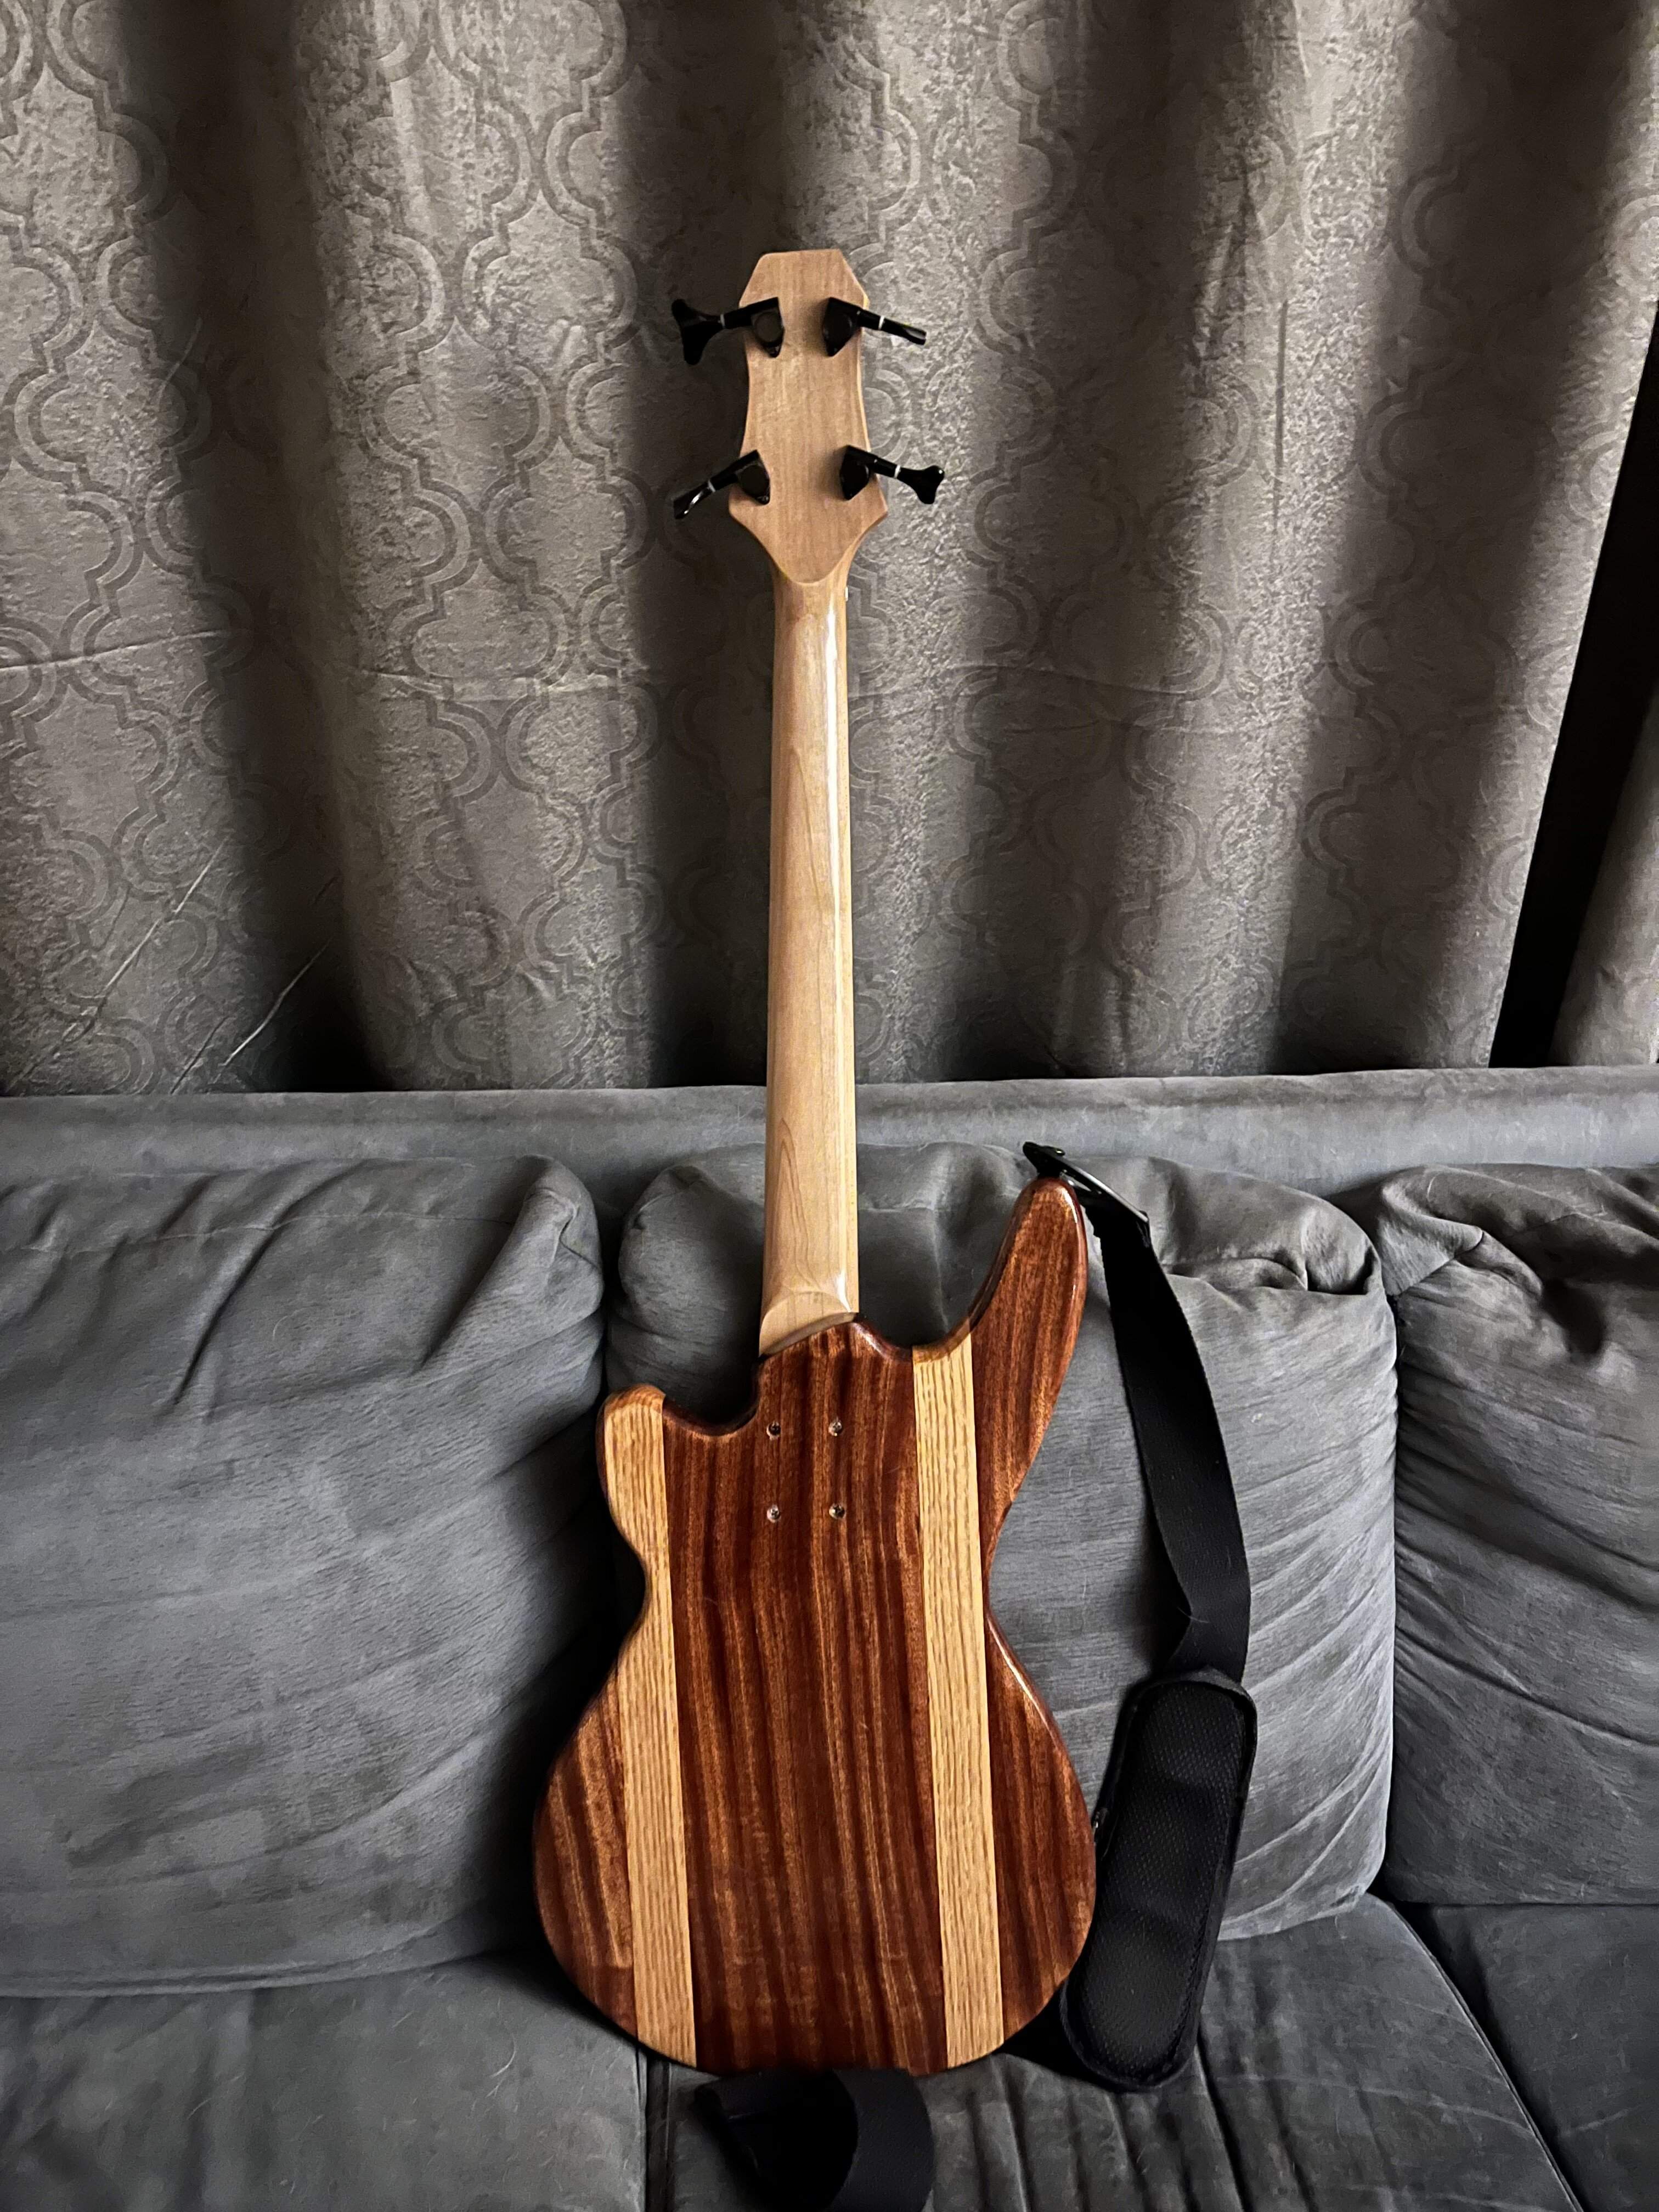
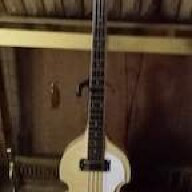
That's a beautiful bass! And if it's a good fit for you both aesthetically and functionally, you've accomplished something.
As a maker of many mediocre instruments, I've found a few that I really liked, that could express what was in my head better than the others. Not that the others were bad, but I kept going back to my favorites for reasons I can't really explain. All I can say is, sometimes I just got lucky.
As a maker of many mediocre instruments, I've found a few that I really liked, that could express what was in my head better than the others. Not that the others were bad, but I kept going back to my favorites for reasons I can't really explain. All I can say is, sometimes I just got lucky.


