• TalkBass has been independent since 1998. Add your voice.
    Create a free account to reply to discussions, view embedded media, and browse with fewer display ads.
    Join freeLog in
    Want zero display ads or expanded classifieds tools? Compare plans.

The New Fingerboard Compound Radius Jig

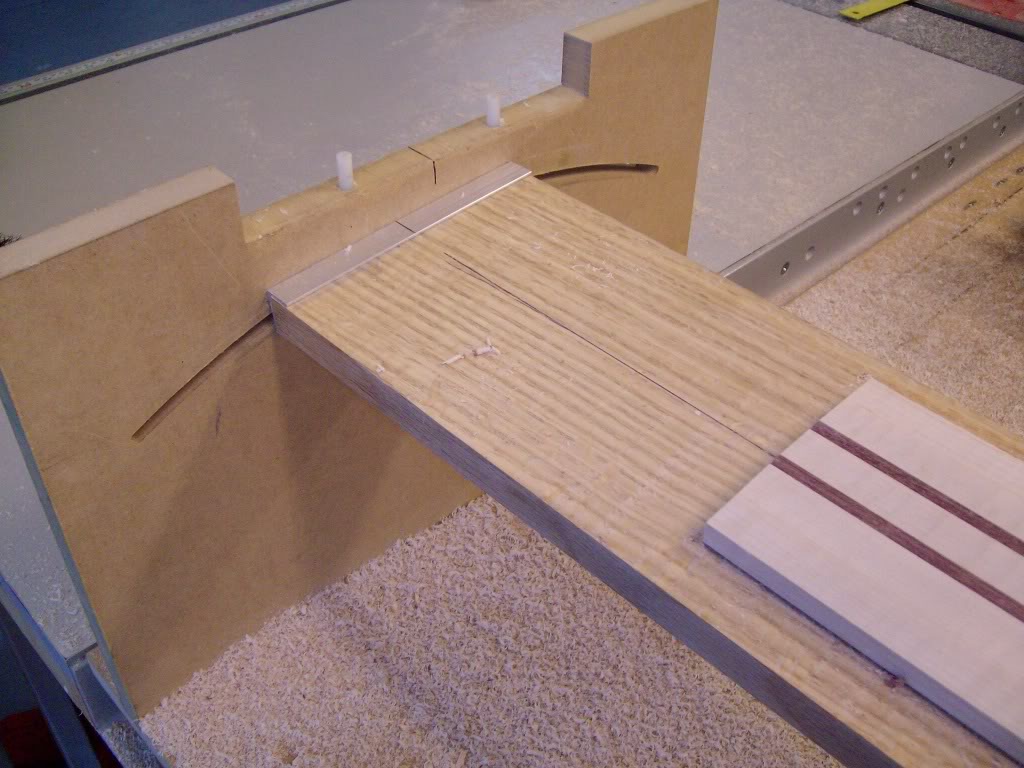
Here is the upgrade: I added aluminum angle to the sled rails, as well as adding aluminum channel reinforcement across the ends of the fingerboard carriage.

No more sag . . . :)

Retested, and I got a piece that was every bit as good or better than my old jig.

I am doing some fine tuning now. One more test and it should be good to go:
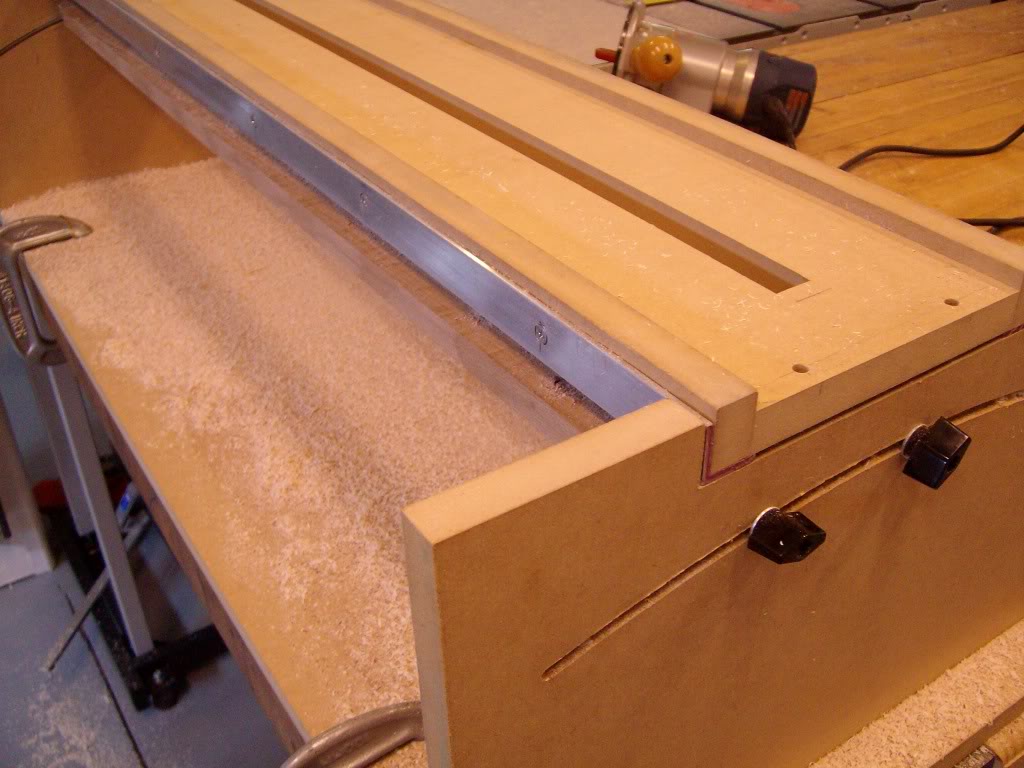
003.jpg


002.jpg


001.jpg
 
Cool jig. I like how, since the fingerboard is shorter than the bed area, and your radii are 15" and 23", you can mount the fingerboard toward one end to get 15" to about 21", or towards the other end to get about 17" to 23".


If you're still getting that end-to-end fingerboard thickness error, that can be adjusted by shimming up one end of the sled on the too-thin end.
 
Cool jig. I like how, since the fingerboard is shorter than the bed area, and your radii are 15" and 23", you can mount the fingerboard toward one end to get 15" to about 21", or towards the other end to get about 17" to 23".


If you're still getting that end-to-end fingerboard thickness error, that can be adjusted by shimming up one end of the sled on the too-thin end.

Yes, that is a good point there. My intention is to run it toward the 15-21 end. My earlier jig did a 12-20, and of course, it's still available. But for extended range instruments it will be nice to cheat it toward the flatter range.

Honestly, I hadn't planned it that way . . . but, sometimes "good" accidents happen!

The tapered thickness problem disappeared when I stiffened the router carriage. The test piece at the time was very short, so it tapered toward the middle of the jig; had it been a long test piece the result would have been thin in the middle and thick on each end. It's dead-on now though!

Thanks!
 
Today was the first use of the new fingerboard jig on an actual fingerboard to be used on an instrument.

I could not be more pleased. This fingerboard turned out better than anything the old jig produced by far, with much simpler, easy use.

The fingerboard is Ebony. The radii are 15" at the nut and 21" at the 24th fret.

I've included 4 shots (3 close up) that I hope show the accuracy of the tool.

After tapering, the fingerboard can go straight to 220 finish sanding. This means a minimum of danger from over-sanding.

021.jpg


023.jpg


The line you see in this photo is not as bad as it looks. I intentionally made the lighting as hard as I could to show off the worse case. That line is about .005" at its termination and tapers to nothing at the right side.

022.jpg


This photo is looking from the 24th fret end. The line in the above photo is on the right side of the fingerboard in this photo. If you look closely, you can see that it took about 5 passes of the router (3/4" bit) to mill the fingerboard to completion.

024.jpg
 
Whats holding the FB in the jig?

The fingerboard is held to the carriage with 2" wide double sided carpet tape running the full length of the fingerboard. You can find it at Lowe's or Home Depot. One lesson I learned during the testing process was that 3 or 4 "tabs" of DS tape would not work here as it did in the old jig.

Because it is the carriage bed that is "twisting", it is important to keep the fingerboard intact to the carriage for the full length. So, it takes a lot more tape (23" strip!) but it's worth it in the long run.

Of course, care must be taken in removing the fingerboard from the carriage, carefully pry-lifting the board a little at a time . . . believe me, the tape really holds it down! (That's why, in the past, I used tabs of tape.)
 
Hmmm.....time to figure out how to vacuum clamp it, it would seem........

Yes, that's a great idea.

If I were doing any kind of production work I would do that and it would also be easy to adapt. But at the rate that I am currently building it's just not worth the trouble (or expense, since I don't currently own any kind of pump system).
 
I dont know if any of you have seen this one, but it doesnt require the fretboard to twist. Kinda interesting actually.

http://www.cambrianguitars.com/compradjig.html

Yes, I've seen that link before and I like that jig a lot. I may yet build one some day . . .

As for this one: I'm thinking of doing a Rev. 3 . . . cooking up something where the router bed does the "twisting" instead.
 
before i saw this, i thought the jig made the router move back and forth accross the finger board, not along its length, and i was kinda wondering if that would be very hard. but now i know that its length wise. so...

face palm

sorry i dont have any facepalm pics, so if some one could assist?
 
I dont know if any of you have seen this one, but it doesnt require the fretboard to twist. Kinda interesting actually.

http://www.cambrianguitars.com/compradjig.html

This is the first thing that comes to mind when I think a routing jig for doing a radius. If I was doing one like LedBelli, I would make the router do the twist, the the fretboard. I think it would be much easier to keep things straight. Good design nonetheless.

lowsound
 

Latest posts