

Enjoy the benefits of a premium membership!
Upgrade Account
-
TalkBass has been independent since 1998. Add your voice.
Create a free account to reply to discussions, view embedded media, and browse with fewer display ads.
Join free Log in
Want zero display ads or expanded classifieds tools? Compare plans.
You are using an out of date browser. It may not display this or other websites correctly.
You should upgrade or use an alternative browser.
You should upgrade or use an alternative browser.
The Twins...
- Thread starter J. Wes
- Start date
More options
Who Replied?



You got me bro.. I clicked..
Was instinctively expecting to see:

but, ah.. nice builds.
Was instinctively expecting to see:
but, ah.. nice builds.




SirMjac28
Patiently Waiting For The Next British Invasion


Yeah nice work - very classy
I'm glad I'm almost exclusively a Fretless player - I'm still intimidated by fret work
Impressive
Me too...that's why I waited until the very last minute to start it, but it wasn't that bad. I actually enjoyed the attention to detail that it took.
After all, I didn't really need 3 four string fretless basses, did I?
The inlay went like this...I ordered a piece of 5" wide by 24" long and 1/8" thick piece of Bolivian rosewood. I needed it wider, so I cut it and glued it together to get the rough shape I needed...
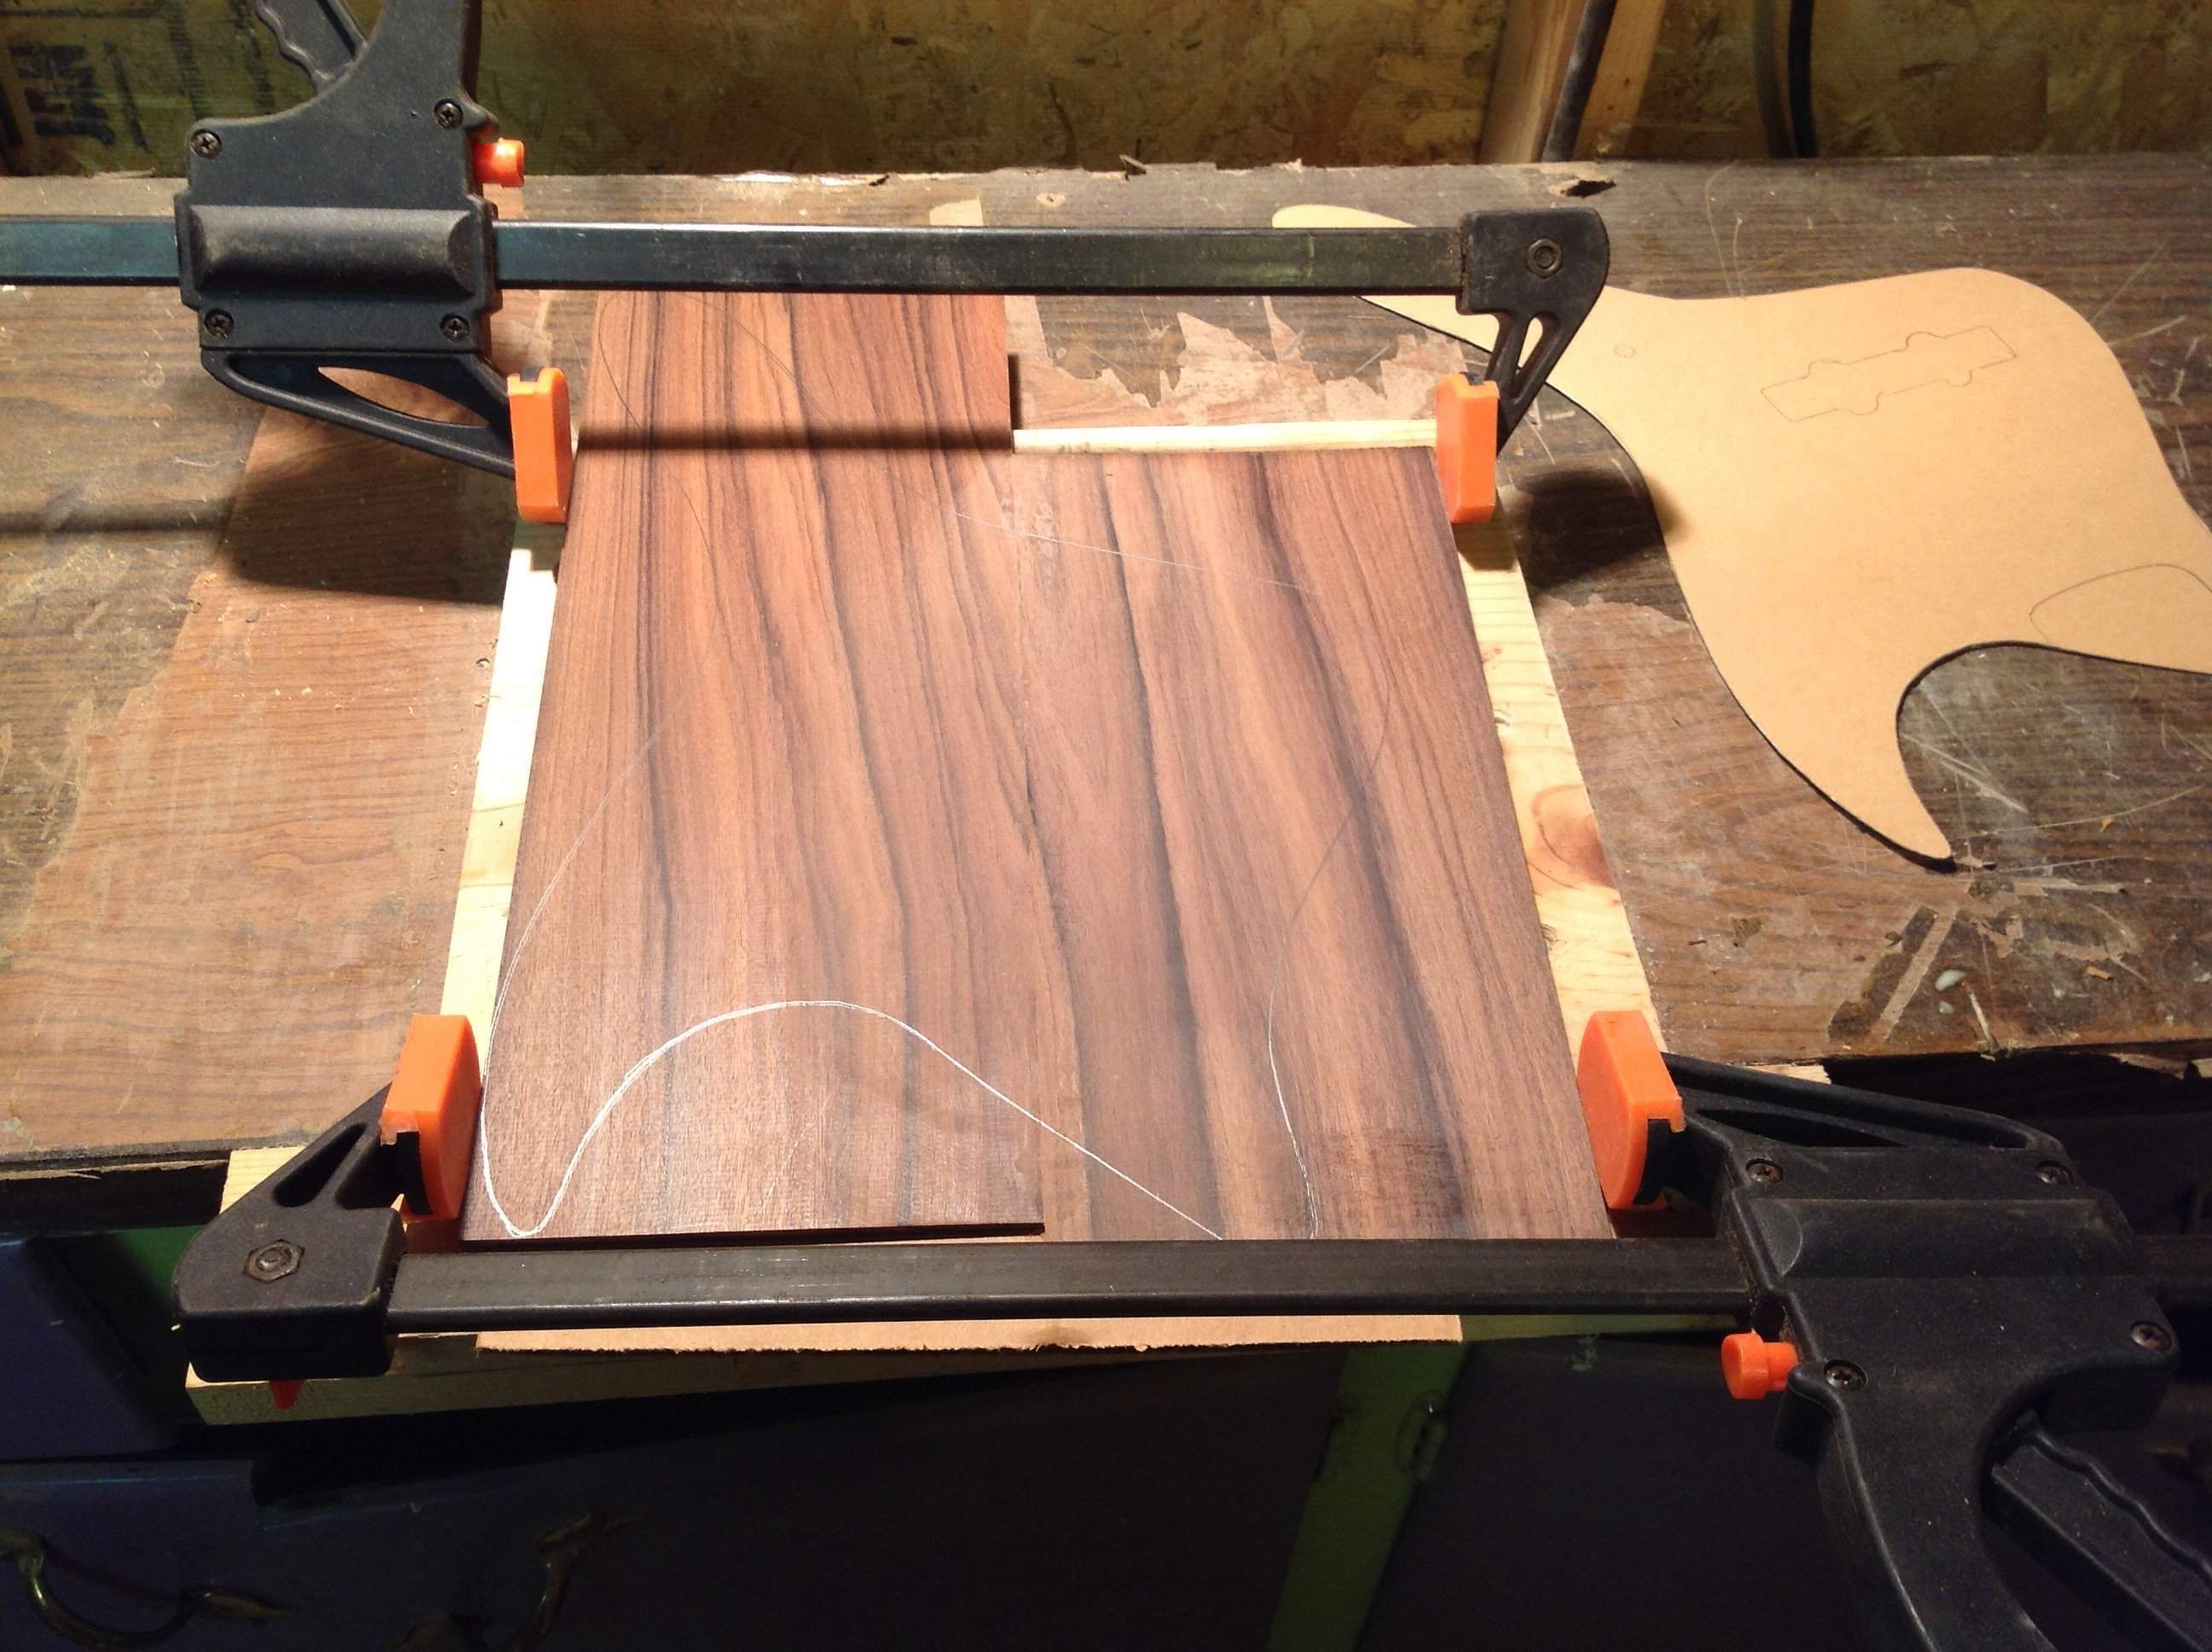
...the template that I used to cut it out is laying off to the side. It's just a cereal box that I cut up. I used and old pickguard and control plate to get the shape...it's not very original.
...the template that I used to cut it out is laying off to the side. It's just a cereal box that I cut up. I used and old pickguard and control plate to get the shape...it's not very original.
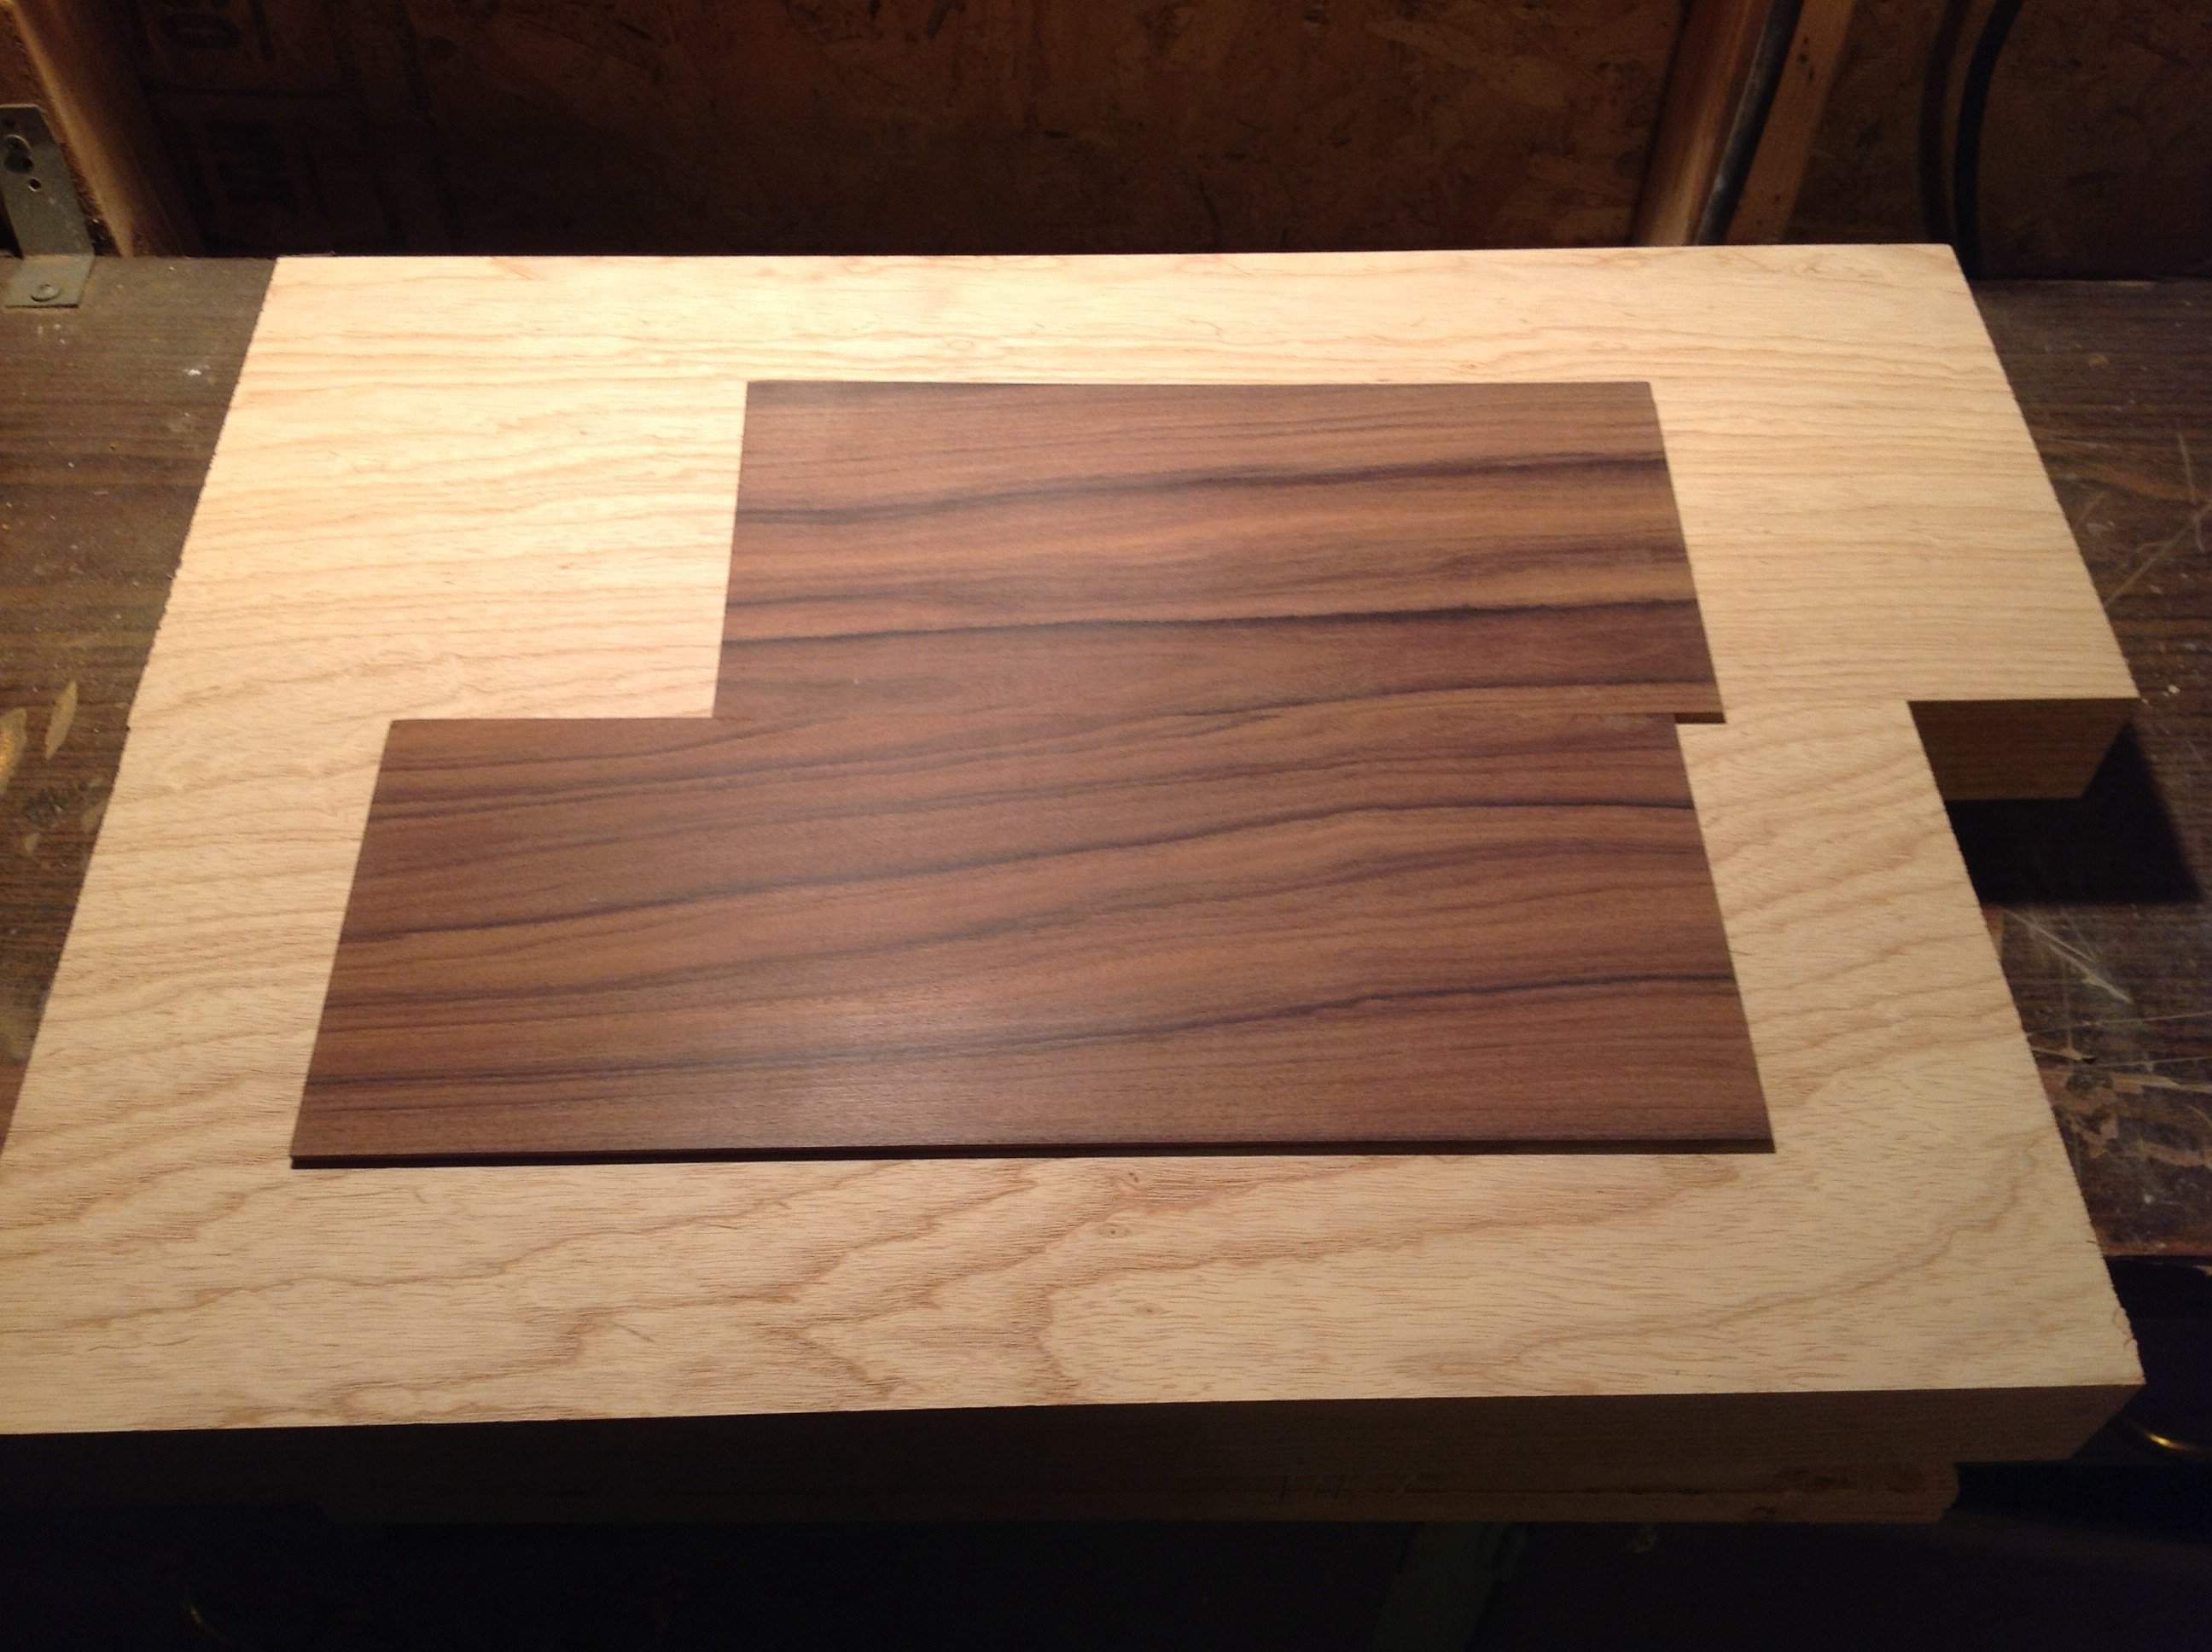
This is the inlay material laying on top of the body blank...just to see the contrast. You can also see how thin the rosewood is...
The next part was to cut out and final rout the bodies to make them as clean as possible, then I used the lines on the bodies to finalize my template and cut it out of the rosewood (with a jigsaw!). I sanded it to make it look just right, then I used the rosewood inlay to draw the shape onto the bodies. With my router, I freehand routed about 3/16" deep where I had marked the inlay shape. I did the final edges with a small chisel. Lots of fitting and sanding and chiseling later, the inlay popped into the slot and I glued and clamped it in. (That picture is earlier in this thread...the one with the old bass neck to clamp the inlay into the body). I didn't take pictures of that process...sorry. I should have...
The next part was to cut out and final rout the bodies to make them as clean as possible, then I used the lines on the bodies to finalize my template and cut it out of the rosewood (with a jigsaw!). I sanded it to make it look just right, then I used the rosewood inlay to draw the shape onto the bodies. With my router, I freehand routed about 3/16" deep where I had marked the inlay shape. I did the final edges with a small chisel. Lots of fitting and sanding and chiseling later, the inlay popped into the slot and I glued and clamped it in. (That picture is earlier in this thread...the one with the old bass neck to clamp the inlay into the body). I didn't take pictures of that process...sorry. I should have...
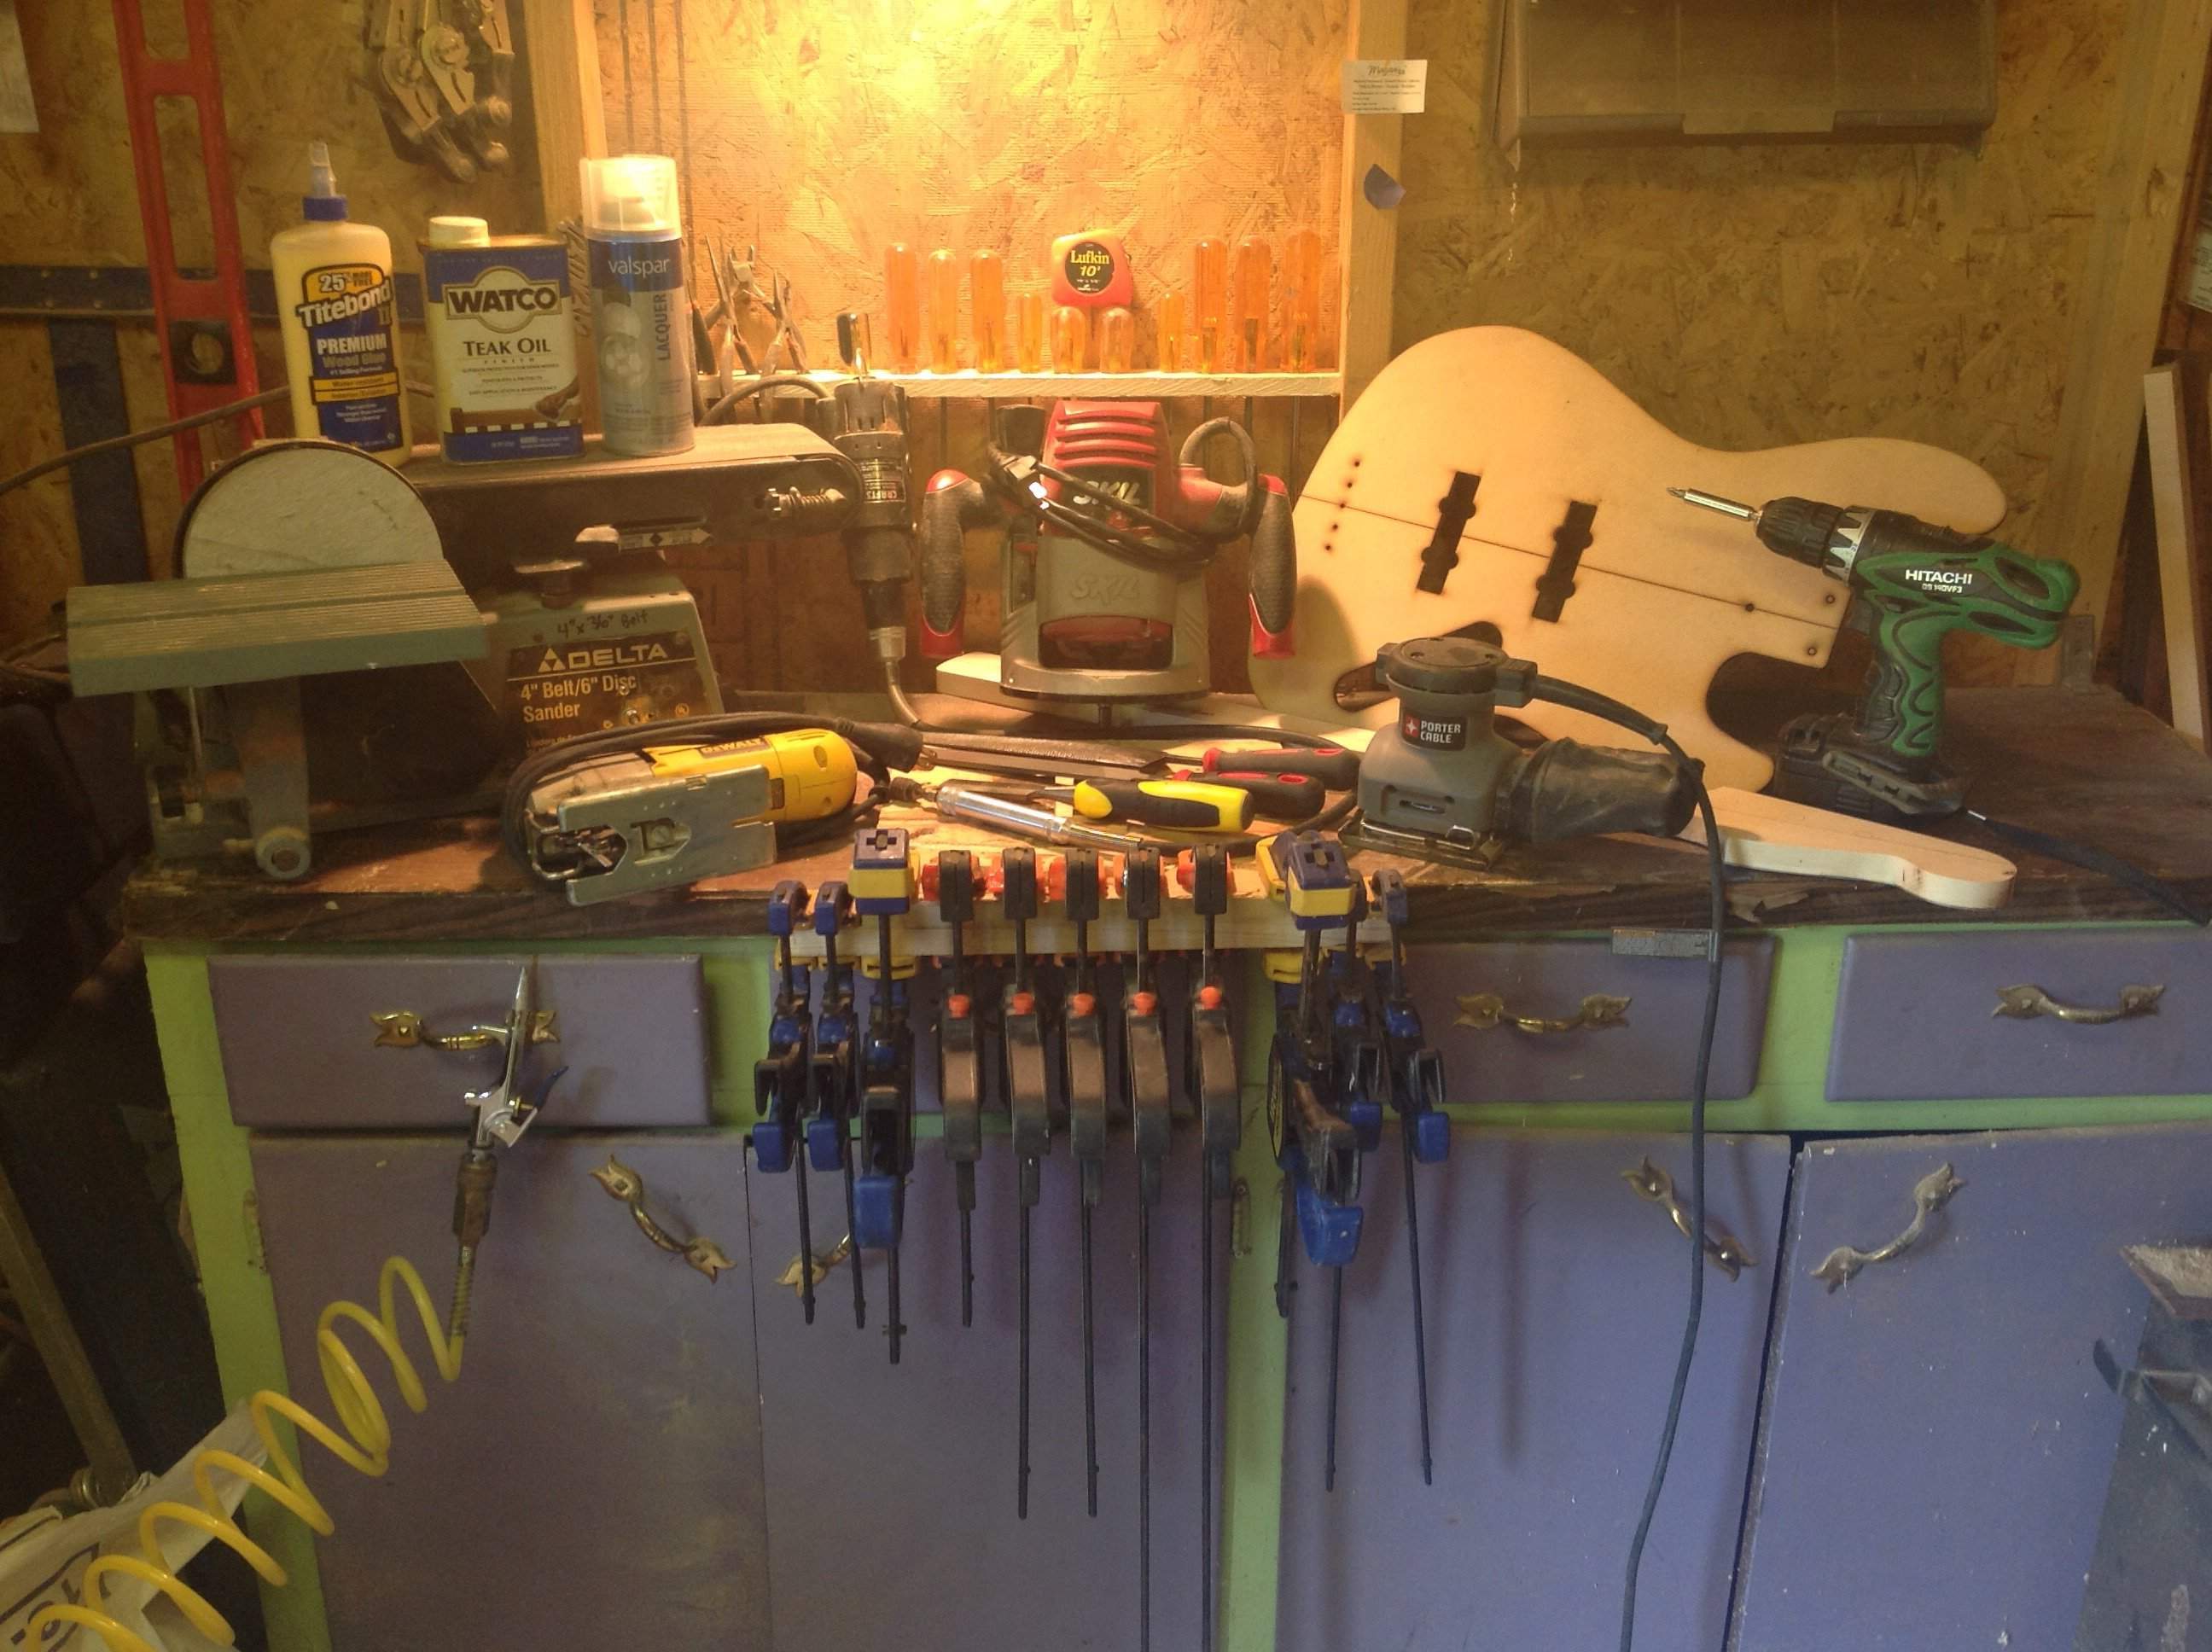
...and as a side, I don't have a large shop full of woodworking tools. I built this in a 10x10 storage shed with this as my sole work area. On the bench are the tools I used for the build. I did bandsaw out the bodies using a friend's bandsaw, but everything else was done using these tools.
I also used my back porch (and 4 wheeler rack) to apply Teak Oil and spray lacquer and did some final assembly and the fretwork at my kitchen bar. A/C, baby!!
I also used my back porch (and 4 wheeler rack) to apply Teak Oil and spray lacquer and did some final assembly and the fretwork at my kitchen bar. A/C, baby!!
Oh, and pnchad...or anyone else, I suppose...I used several "practice necks" before I tried to do a fret job on my baby. Welcome to Guitarfetish has a bunch of cheap, jacked up necks in their factory blowout section that you could practice on. Well worth the money, imho, just so that my screw ups didn't end up on a good neck!
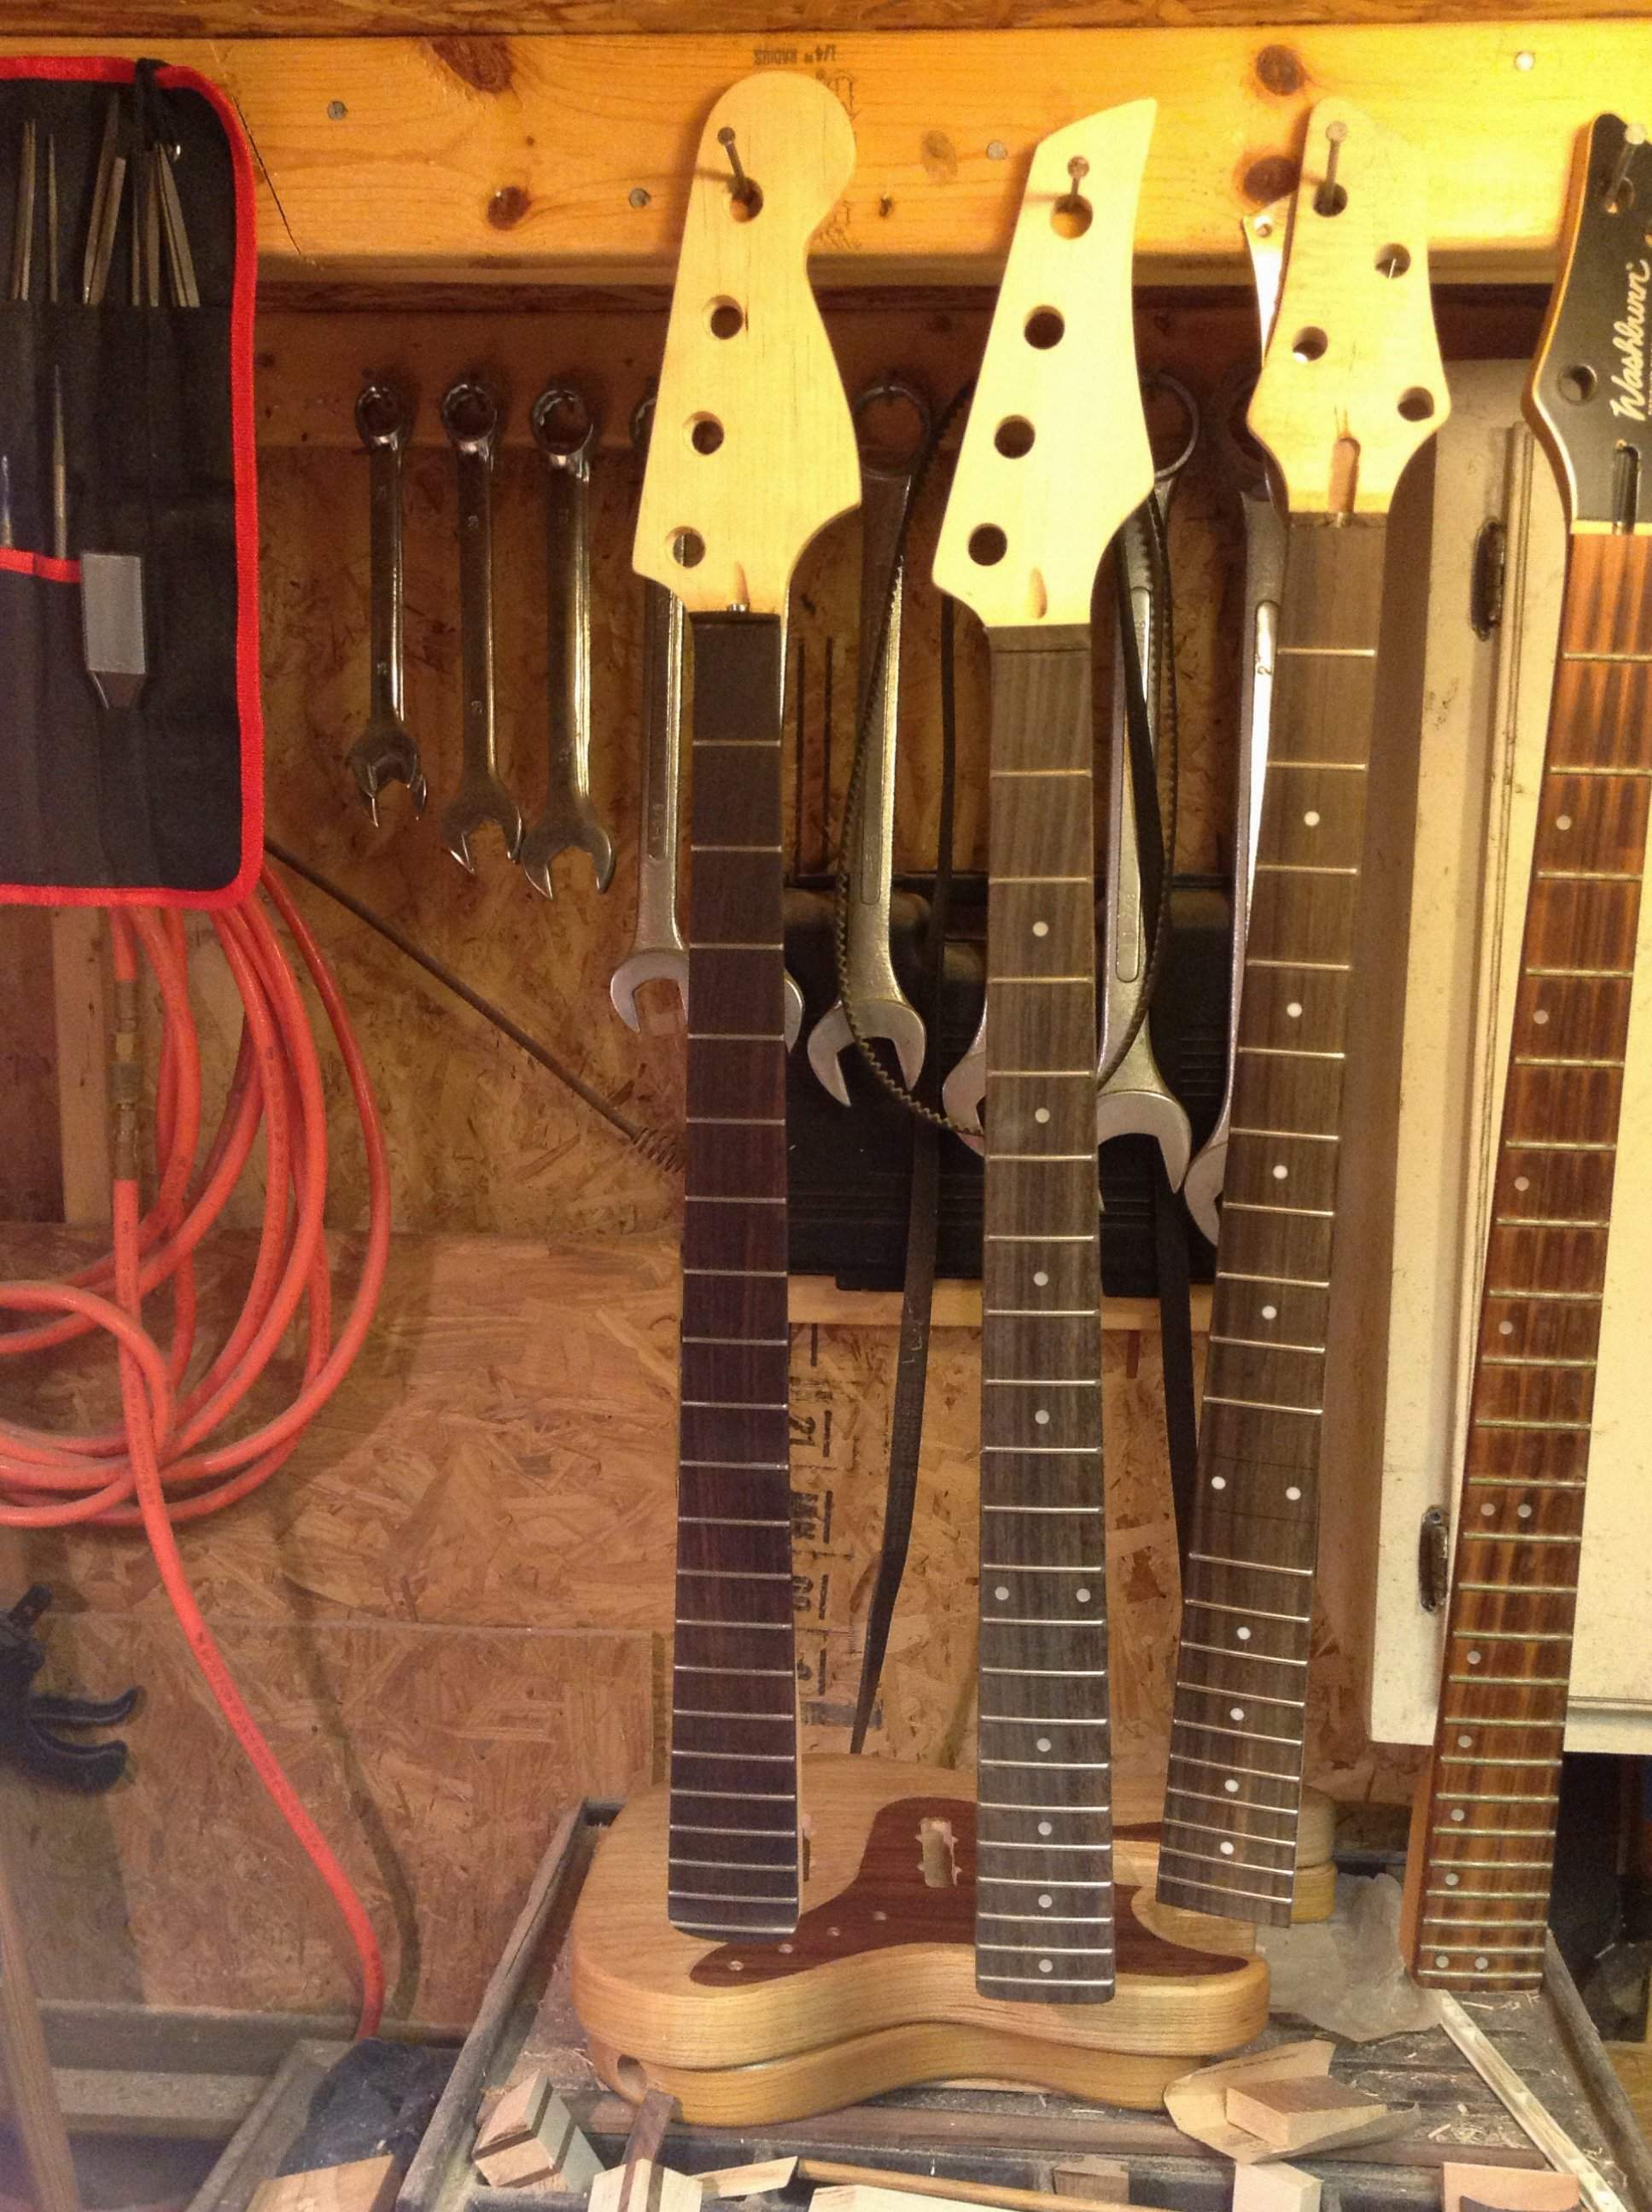
The neck on the left is mine...the neck on the far right is "Woody"...a very warped Washburn XB-920 neck that was actually the inspiration for these builds. The 2 middle neck were the practice necks! That's why one of them is missing a couple frets in the middle... ...I didn't want to cut into another full piece of fretwire just to finish that junk neck!
The neck on the left is mine...the neck on the far right is "Woody"...a very warped Washburn XB-920 neck that was actually the inspiration for these builds. The 2 middle neck were the practice necks! That's why one of them is missing a couple frets in the middle... ...I didn't want to cut into another full piece of fretwire just to finish that junk neck!
For all of you "real" luthiers out there (I'm a fraud!!! ...but trying) I used 2 sticks of fretwire to fret this 20 fret neck and this is ALL of the leftover fretwire from those 2 sticks. Pretty efficient, right? Or is it!?!?
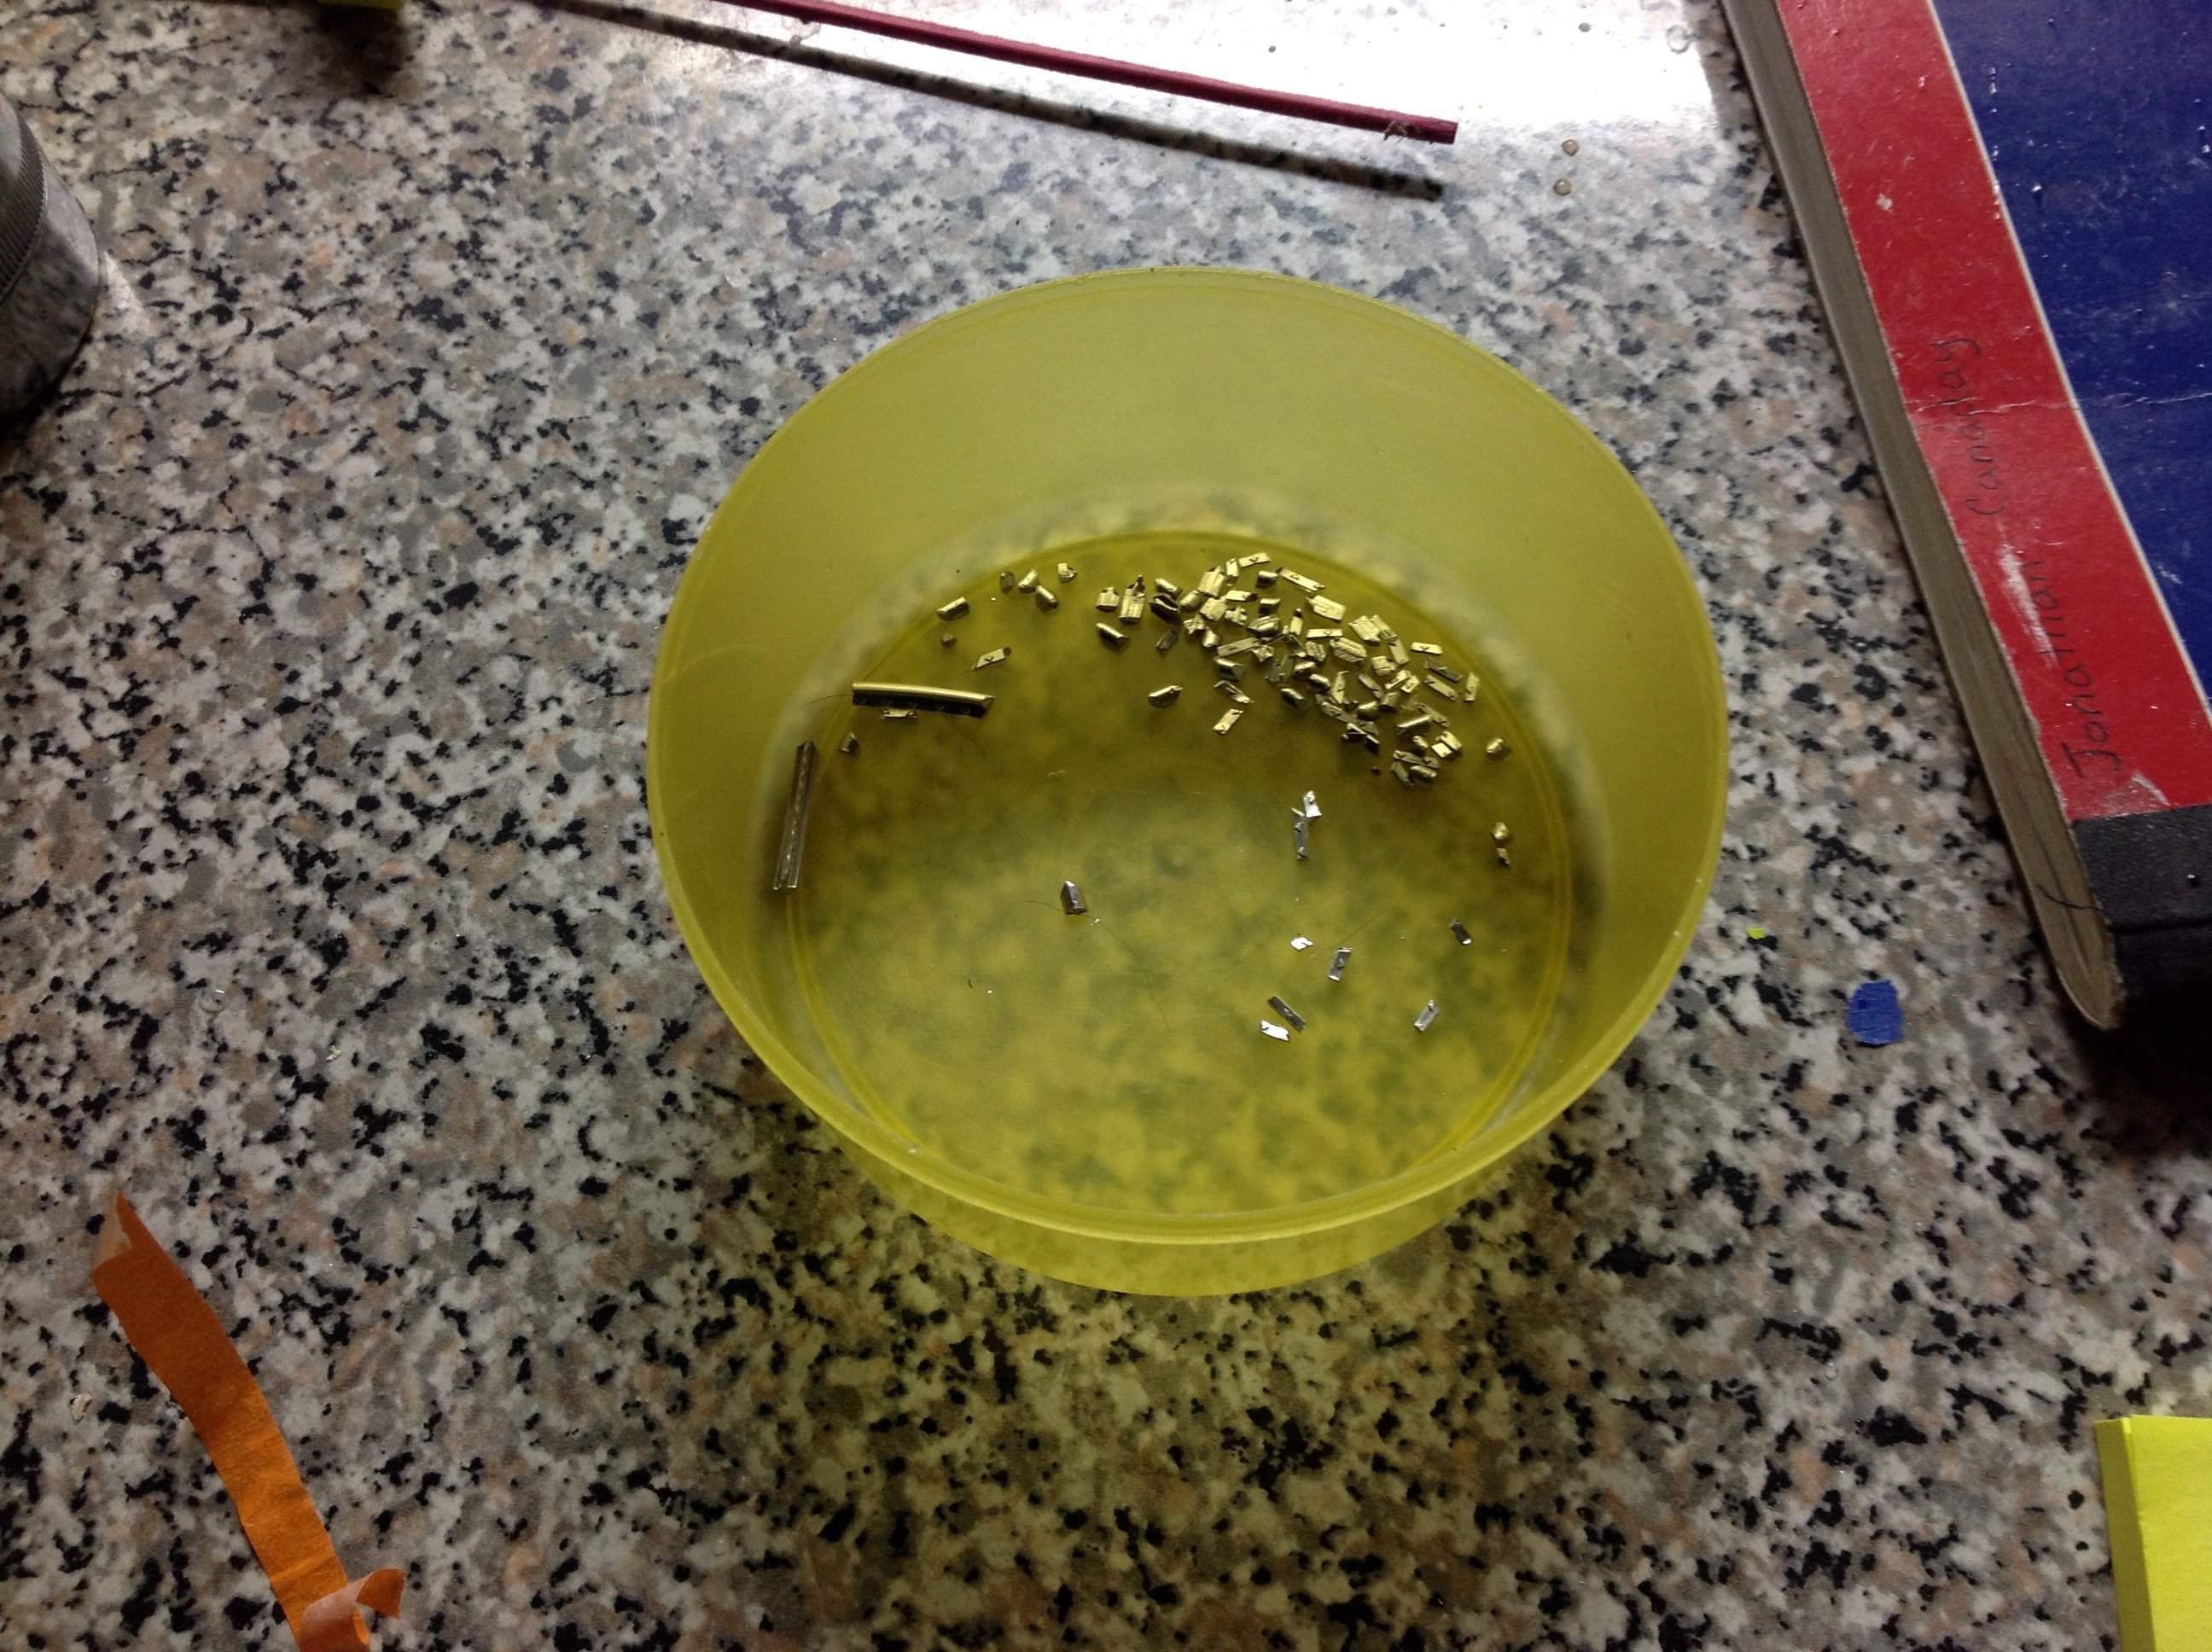
This includes all of the cut off fret tangs...
This includes all of the cut off fret tangs...
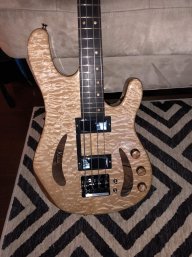
Looks great! The only thing is I think the Delano logo should be the other way...you have the pickups flipped around. Probably works fine but aesthetically would look better the other way...but nevertheless, great job!
That's an easy fix, but I chose that position solely on the location of the wire coming off the pickup. I put it closest to the hole going to the control cavity. My inexperience is showing here...I'll do some research!
That's an easy fix, but I chose that position solely on the location of the wire coming off the pickup. I put it closest to the hole going to the control cavity. My inexperience is showing here...I'll do some research!
Dang it...you are right...I'll swap them around ASAP! Thanks!

buldog5151bass
Kibble, milkbones, and P Basses. And redheads.