• TalkBass has been independent since 1998. Add your voice.
    Create a free account to reply to discussions, view embedded media, and browse with fewer display ads.
    Join freeLog in
    Want zero display ads or expanded classifieds tools? Compare plans.

There's another storm brewing!

Non-bass-related


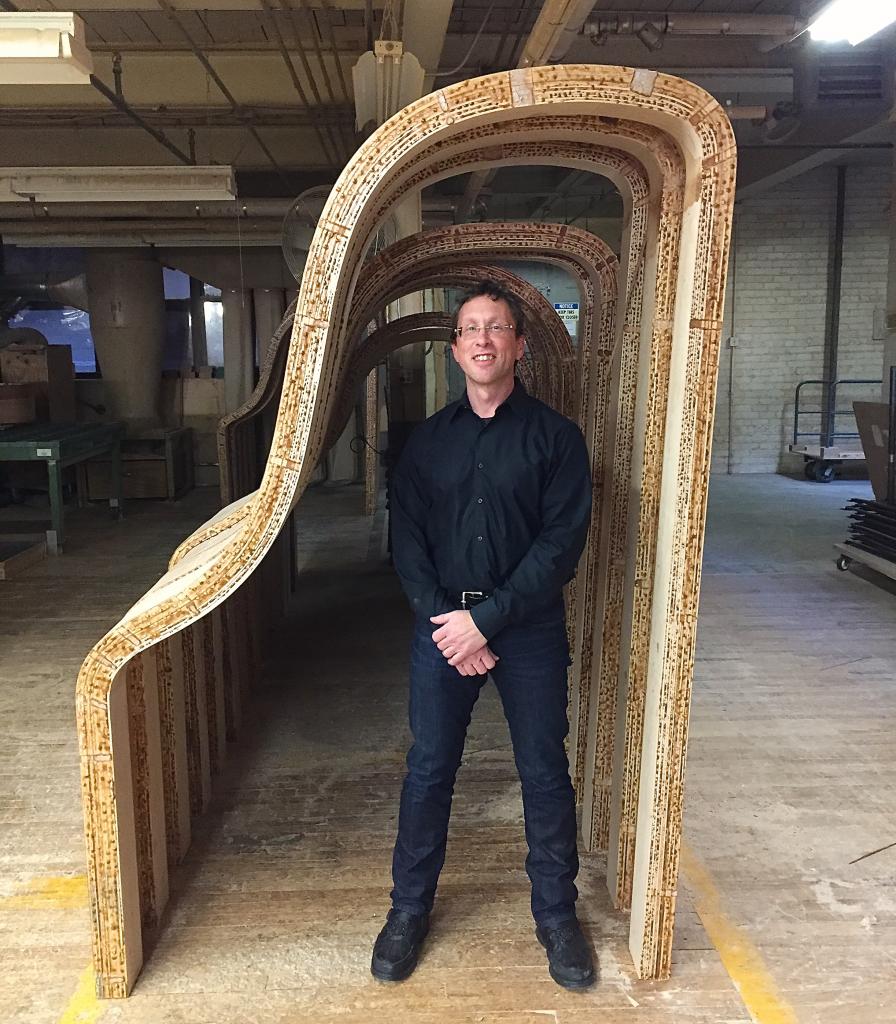
Today I was at the Steinway factory in Astoria, Queens, NYC. Such a cool place. Several multi-story buildings, with millions of square feet of musical instrument making.
IMG_8092-Version2_zps6c108ff4.jpg
 
Fretboard sanding & trimming

In the last two sessions, I sanded the milling texture out of the fretboard, and trimmed the fretboard overlap on the body.


To get the fretboard sanded, first I made an extra-long sanding stick by jointing two sides of a board, and adhering sandpaper to it. I used the CA-glue method suggested by someone here recently. It worked decently, with two losses of sandpaper that had to be re-glued.

Then I clamped the bass to the table, using some adjustment to just bring the fretboard to flat, since it has a slight backbow at while rest at this point in time.
DSC00822_zps627a0588.jpg


I sanded it out, following the string paths with the beam. It feels very smooth, and as far as looks, it made the wenge stripes reappear.
DSC00823_zps648d094c.jpg


I made a template for routing the fretboard edges over the body. This is it, stuck in place to rout the bass-side edge. The shape for the treble-side edge is on the opposite edge of the template.
DSC00825_zpsf0c88118.jpg


I had a router slip that caused some gouging of the template and the body (afraid to press down too much, I held the router too high and the bearing left the guide surface), but it's all workable. This is how it is right now.
DSC00828_zps219f153d.jpg

DSC00827_zps364e19d3.jpg

The last fret markers reappeared as I routed. I had forgotten the 24th was yellow, rather than orange like the 12th!
 
Last edited:
Fretboard sanding & trimming

In the last two sessions, I sanded the milling texture out of the fretboard, and trimmed the fretboard overlap on the body.


To get the fretboard sanded, first I made an extra-long sanding stick by jointing two sides of a board, and adhering sandpaper to it. I used the CA-glue method suggested by someone here recently. It worked decently, with two losses of sandpaper that had to be re-glued.

Then I clamped the bass to the table, using some adjustment to just bring the fretboard to flat, since it has a slight backbow at while rest at this point in time.
DSC00822_zps627a0588.jpg


I sanded it out, following the string paths with the beam. It feels very smooth, and as far as looks, it made the wenge stripes reappear.
DSC00823_zps648d094c.jpg


I made a template for routing the fretboard edges over the body. This is it, stuck in place to rout the bass-side edge. The shape for the treble-side edge is on the opposite edge of the template.
DSC00825_zpsf0c88118.jpg


I had a router slip that caused some gouging of the template and the body (afraid to press down too much, I held the router too high and the bearing left the guide surface), but it's all workable. This is how it is right now.
DSC00828_zps219f153d.jpg

DSC00827_zps364e19d3.jpg

The last fret markers reappeared as I routed. I had forgotten the 24th was yellow, rather than orange like the 12th!


I have been building for a while now, but I still would have been pretty nervous about making that cut with the router.
 
You're hilarious. Man this thing is going to look amazing with lacquer on it... :cool:
Glad to be of comedic service. :)

Yes, the veneers look pretty jewel-toned when wet, so it should be nice. Assuming I can do a good job with the finishing.

It's mind boggling how much work went into the design and placement of everything. The build in veneer for the fret placements is fantastic.

At the moment, this is where the bar has been set IMO.
Thanks!

I have been building for a while now, but I still would have been pretty nervous about making that cut with the router.
Yeah, I was nervous about plunging the router into the work. So the combination of the fact I had the bit pretty high for the first pass (making for little contact between the bearing and the template), and that I must have been holding the router a little high, made the bearing leave the template, and I cut back into the template as well as a bit too far into the bass. First and hopefully last time for that mistake.

When I did the second edge, I just used the router in the full down position from the end of the first edge.
 
Last edited:
Smooth and pointy


I got a bit more time in on this. I refined some of the body side bevels, and the transitions at both ends of the back of the neck.
DSC00837_zps7dbbb352.jpg

DSC00842_zpsad584d5a.jpg


I also 90% brought the radius cuts at the sides of the fretboard over the body into smooth transition with the body face, by taking down the body face. This also got rid of the glue stains on the face. I started working on the tail end of the fretboard, trying to get a bevel that looks good, harmonizes with the body bevels, and will be more damage-tolerant than the former square edge. I'll have a close-up of that when it's done.
DSC00849_zpsea23e602.jpg
 
I am completely amazed, humbled, and enthralled by the amount of engineering, artistry, and sheer patience and focus that you have displayed these last 26 months. Art like this belongs in the MoMA. Seriously.

And I imagine that, should you ever have a desire to, you could sell this gorgeous instrument for $15,000 easily, which would probably work out to a pay rate of maybe $1.67/hour... ;)
 
Thank you all for the kind comments. And true as it is, that 26 month figure took me aback a little. I'm going to arbitrarily subtract six months that I wasted with the original wood, until I got the wood that actually became the bass, and call it 20 months. Whew, that's better. :)

Yesterday I fixed a problem that I may or may not have mentioned before. No pics, but I'll do a verbal description. When doing the forstner work for the pickup cavities, I accidentally colored outside the lines a little bit, and broke the intended outline in two places with shallow arcs about 4-5 mm long and 0.5-1 mm wide. I'll blame it on the poor lighting, because there's no way I could have made a mistake from going too fast. :rolleyes:

So, should you ever find yourself in a similar situation, this works:
  • wrap metal strip with teflon tape, to use as a dam
  • prebend to nearly the right shape, and clamp in place with small clamps
  • plumber's putty at the bottom of the vertical channel thus formed, to stop drip-through
  • mix up epoxy with matching sawdust
  • watch for a while, and refill as necessary, since the epoxy can sink down either due to an air bubble below the epoxy making its way up and out, or air entrained in the epoxy (air gets drawn in with the wood dust) rising out and leaving behind a denser but volumetrically smaller pool
  • wait a day, and clean up with chisel, files, etc.
Again, no "after" pic because the repair is invisible. :D
 
  • Like
Reactions: ctmullins
Polish those polepieces


These pickups will be glued into the shells, but with exposed polepieces. Due to the curvature of the polepieces versus the curvature of the shells, and the thickness of the shell tops, the polepieces will be a little sub-flush. Now I've been told the bad side of polepieces being either high or low - in both cases, finger grunge builds up. So, I intend to put these in and then back-fill with clear epoxy to make flush, or nearly so.

So, I figured i may as well try shining up the polepieces first. I used a Dremel with a felt cylinder and rouge. It doesn't get to a full mirror polish of course, because that would require a significant cut, which would heat up the magnets. If you wanted a full #8 on them, you'd have to do it before installing and magnetizing them. What it does give is a shinier surface, with the parallel sanding marks still there, but less so.

Here's the best phone pic I could get to try and show the result.
IMG_8310_zpsn69bttrd.jpg