• TalkBass has been independent since 1998. Add your voice.
    Create a free account to reply to discussions, view embedded media, and browse with fewer display ads.
    Join freeLog in
    Want zero display ads or expanded classifieds tools? Compare plans.

Warmoth G5 revive

Having recently won the coveted “Husband of the Year Award” for crossing some things of the honey-do list, I will now stress test the system by refinishing a Warmoth G5 that popped up on Reverb.

After I resell or re-use the hardware, this is basically a free body. The existing conditions are probably not atypical of a first-time DIY paint job. Let’s see if I can make a better second impression.

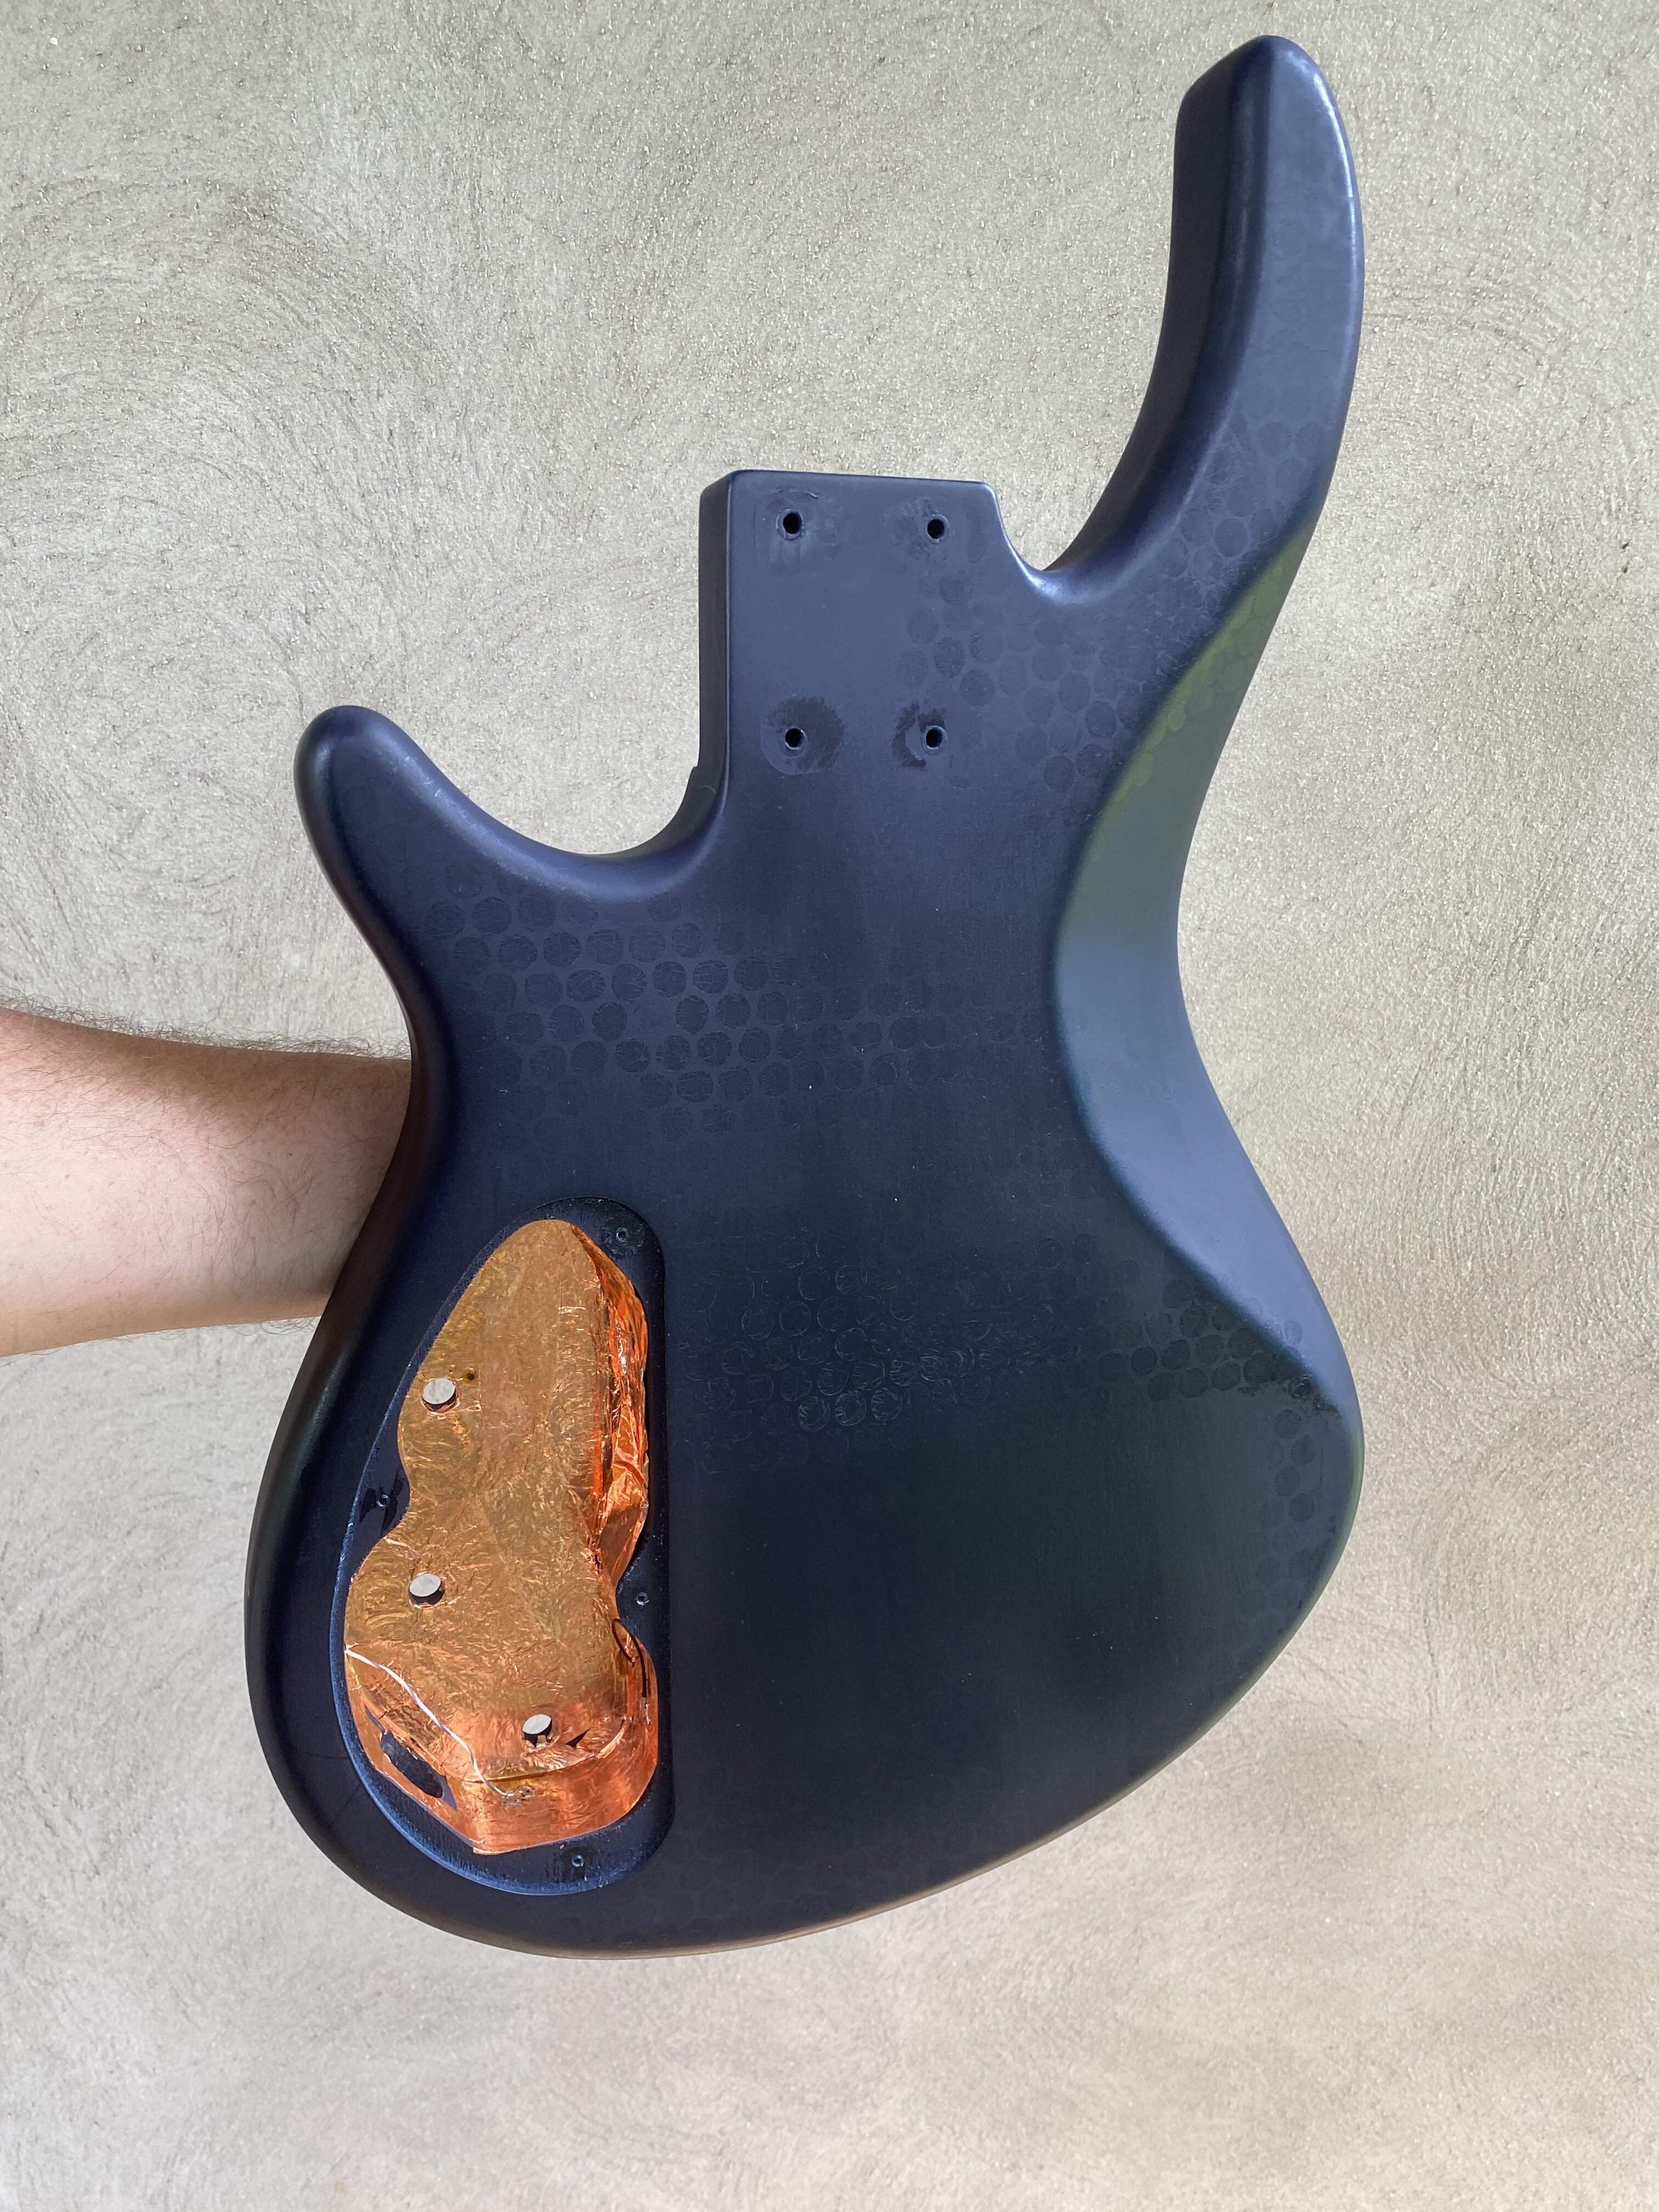
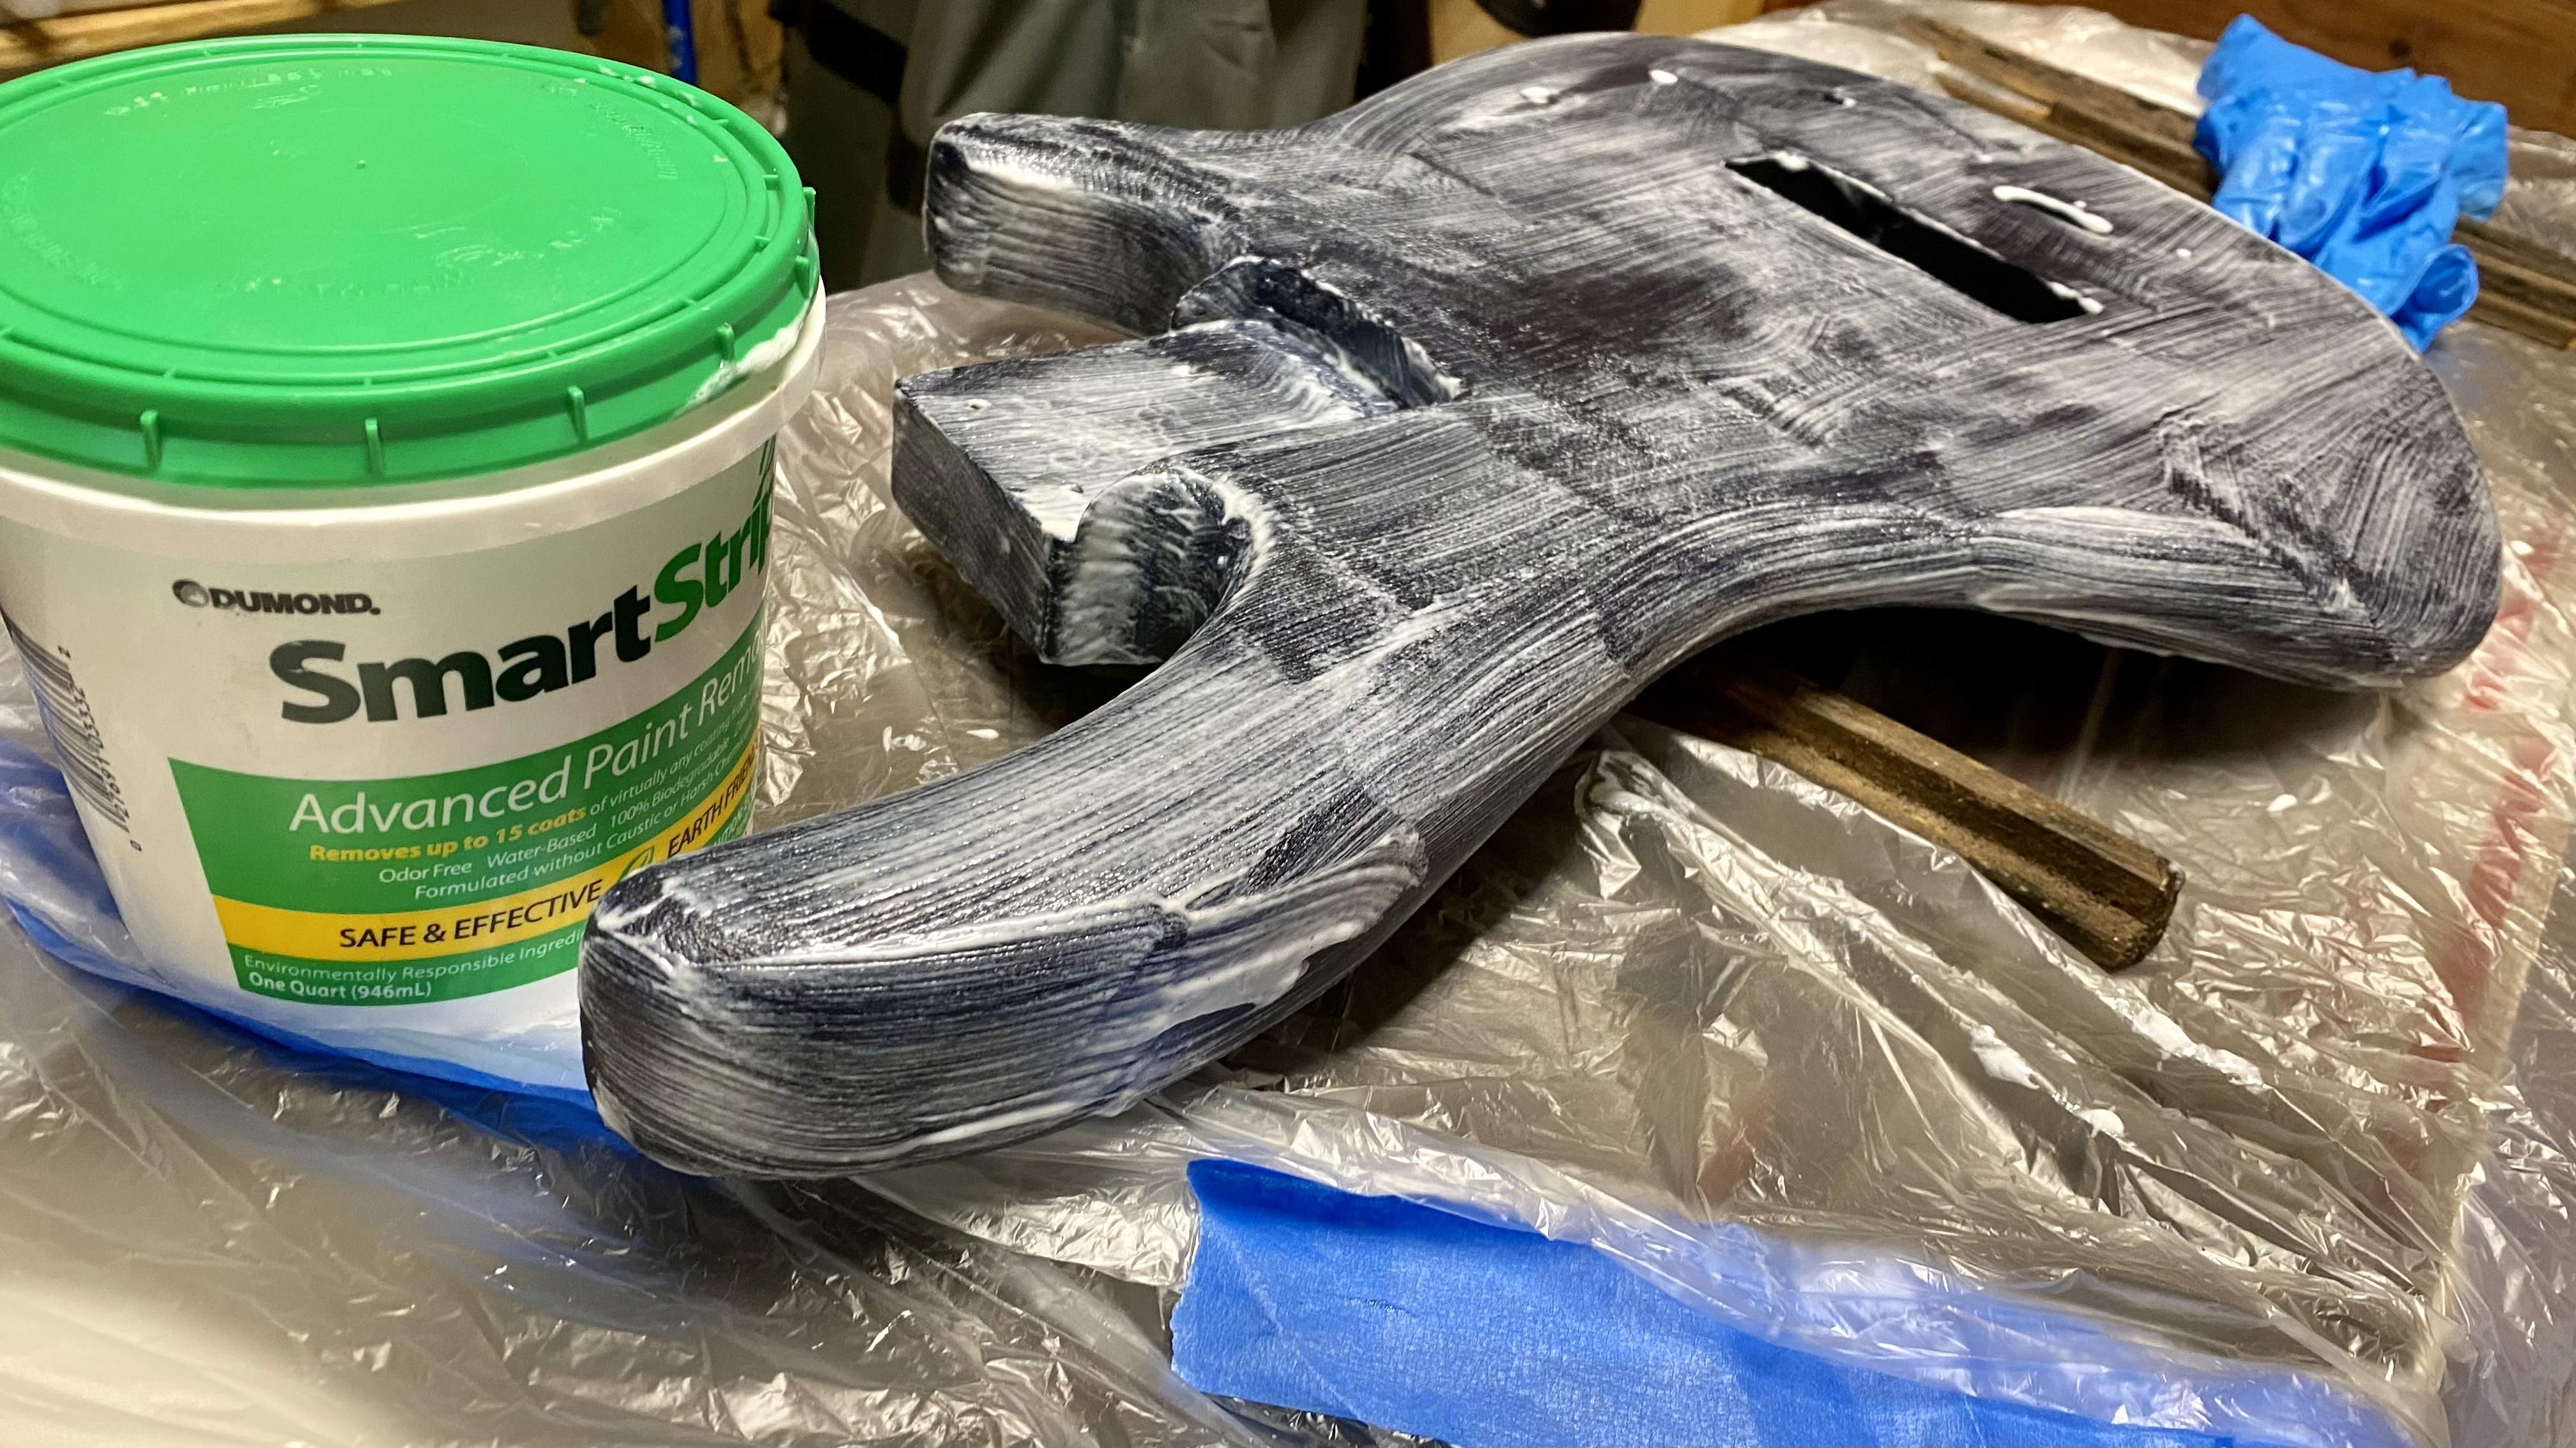
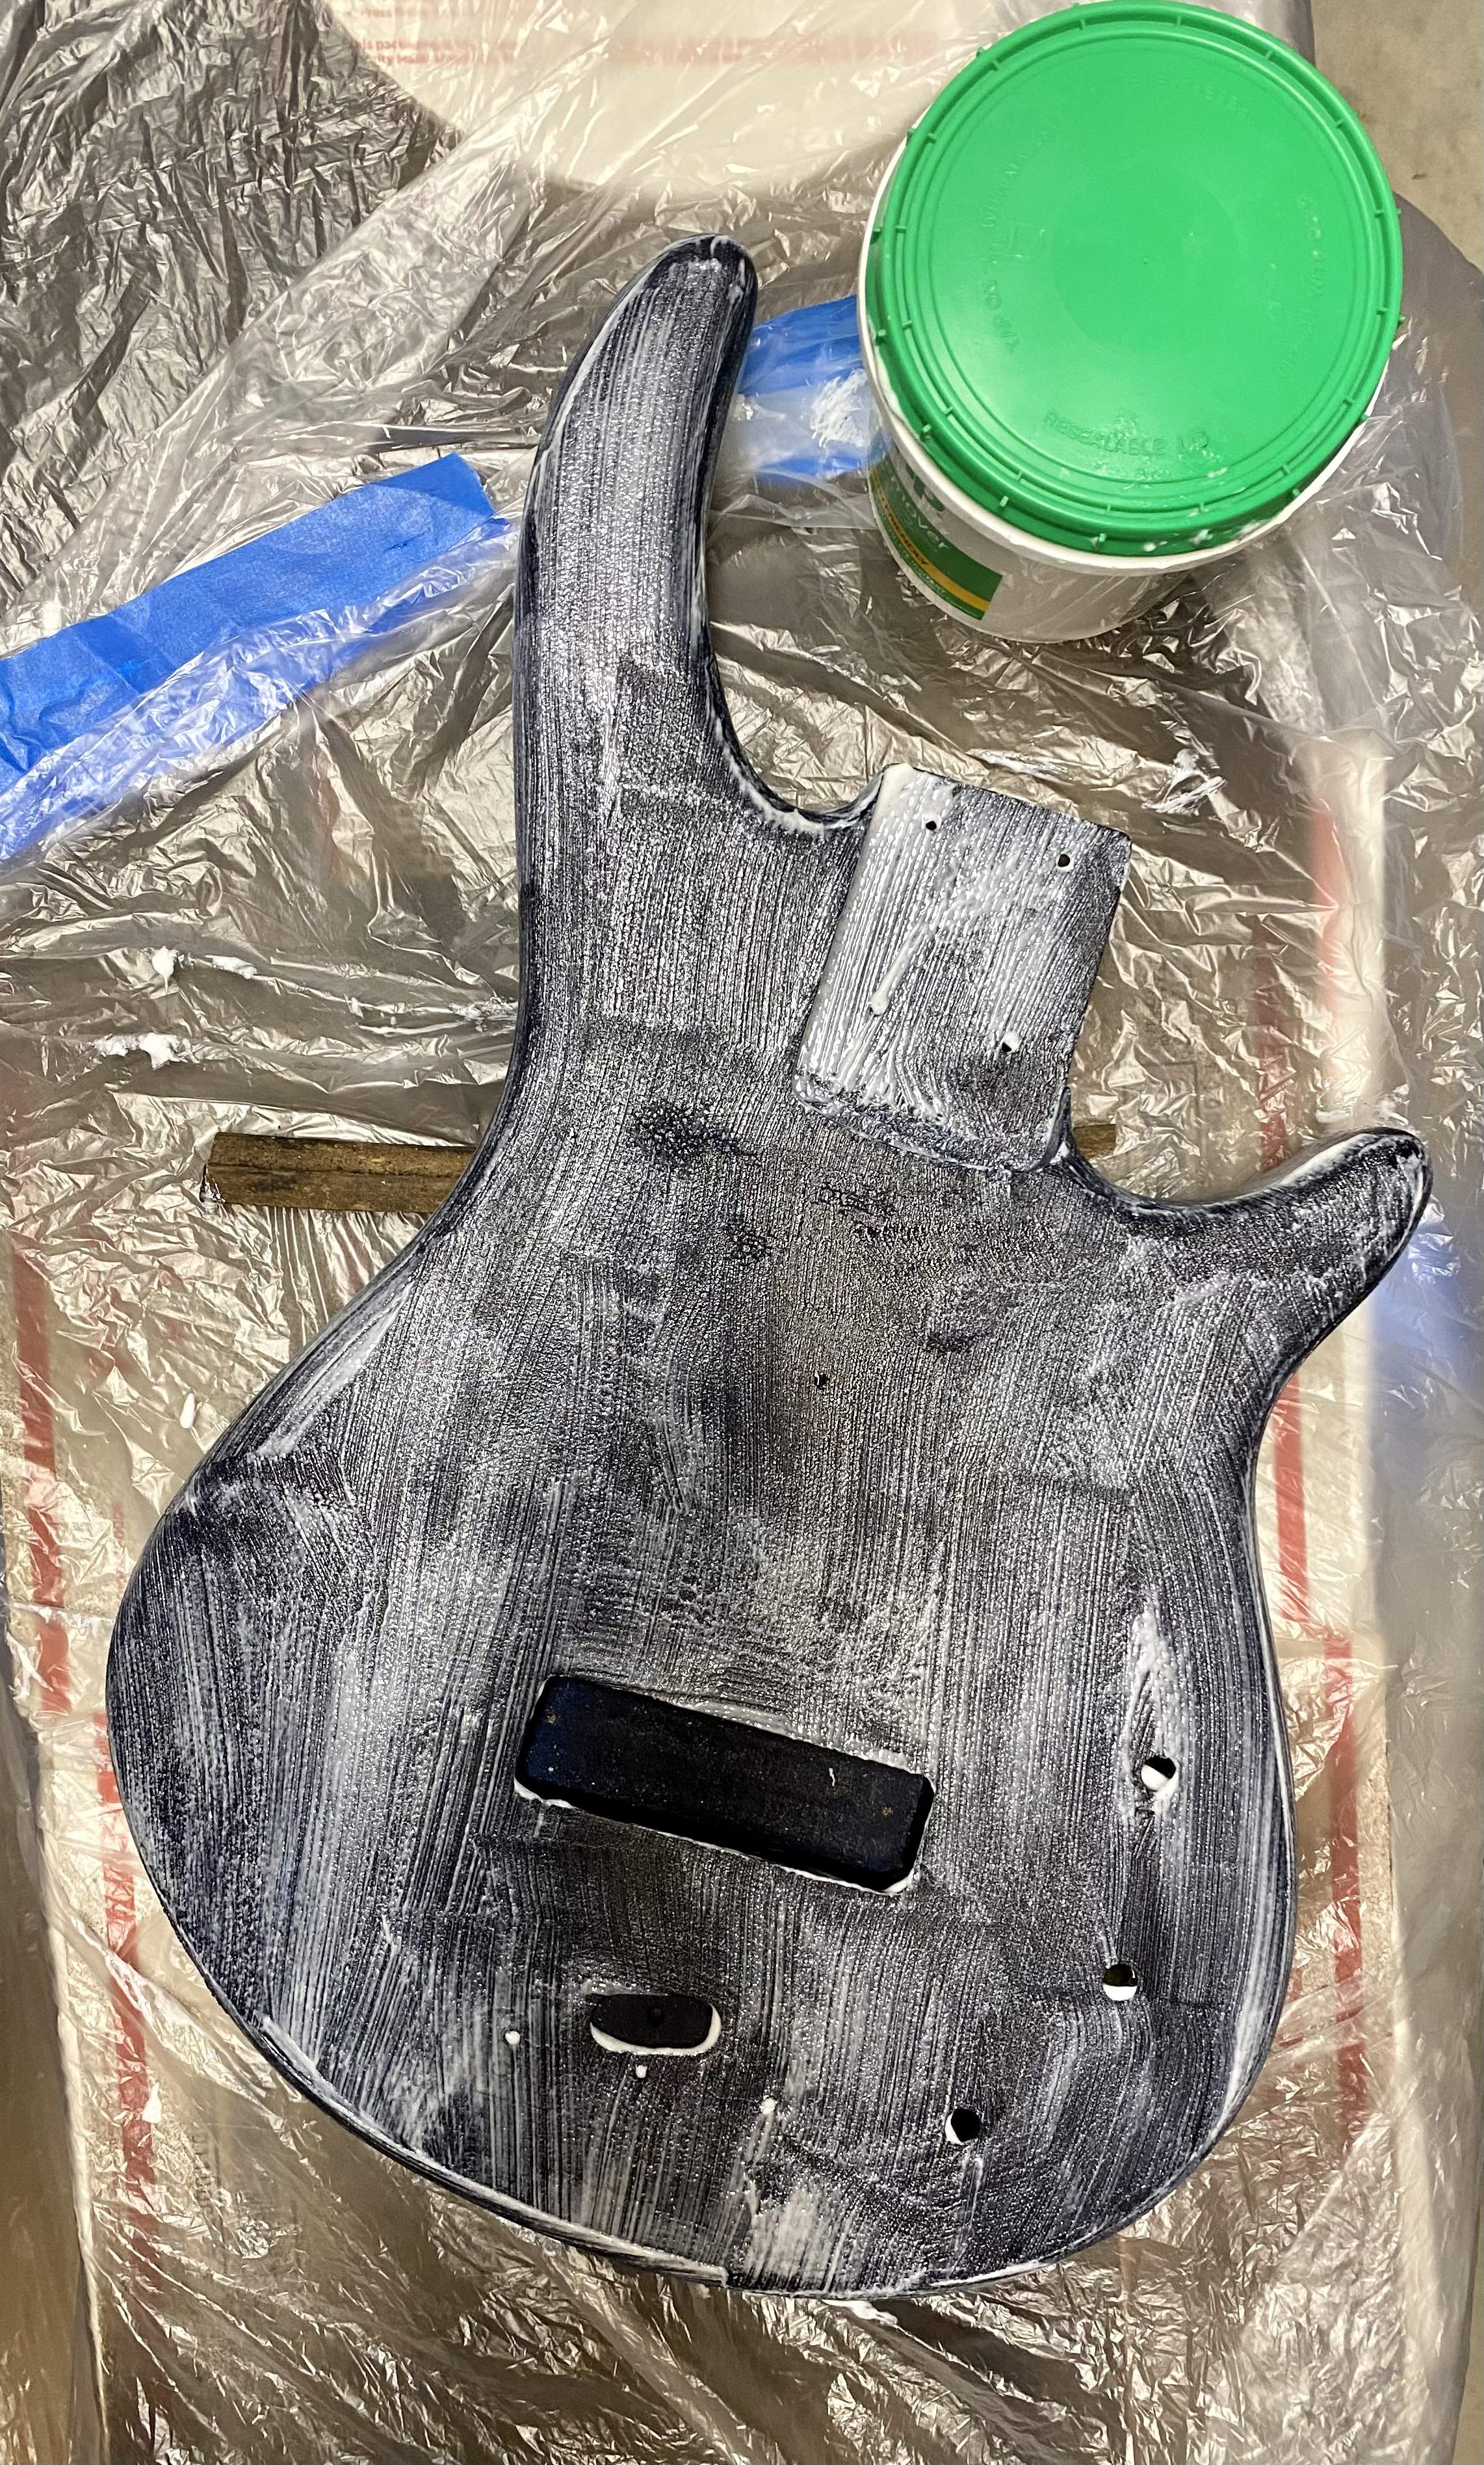
Here’s the starting point, before and after applying paint stripper:

5B80505D-CBC1-4D25-8A83-59700F0F9F1F.jpeg

363B04AE-F5D9-4071-B972-A7F4CCFDFB7D.jpeg

CE35D0EA-8719-4851-9B8C-61AE2B0D6E8A.jpeg

F55D9580-17C1-45B5-A4B5-F3D0EE0472F8.jpeg


(The pattern on the paint is from the bubble wrap.)
 
Based on the witness marks from the orbital sander, I still think this was originally a DIY finish. However, it is successful paint job in terms of adhesion.

Granted, I am using a very mild stripper. But it’s going to take two applications of stripper to get to bare wood:

D9978FC1-008F-4747-AB72-5F75299DC05A.jpeg


It looks like a one-piece body, which is what I’d hoped to find. :thumbsup: (It’s actually a 2-piece body with a seam down the middle. Even with the grain exposed, the seam is difficult to see except at the end grain below the neck pocket.)

 
Last edited:
Third round of slather underway. The remaining paint is in the grain. I used a toothbrush to wipe on the last coat of stripper in an effort to get into the end grain pores and open grain on the faces.

This is after the second strip:

View attachment 4389792
Is it wrong that I kinda like it like that? :eyebrow:
Then again, I also thought the bubble wrap look was kinda cool too. Pretty sure that was intentional. ;) :cool:
 
  • Like
Reactions: DC in ATX
Is it wrong that I kinda like it like that? :eyebrow:
Then again, I also thought the bubble wrap look was kinda cool too. Pretty sure that was intentional. ;) :cool:

Pressure is on.

I think the new finish will be most excellent. I have some things in mind that I have never tried before. We’ll see if it works!

The blue dyed look is pretty cool. And the bubble wrap is off the charts. Doing that on demand would be a finishing super power.
 
The blue “after strip” color actually is pretty neat. The bubble wrap look would be relatively easy with the right stencil and an airbrush.

I haven’t yet reached the blue dye stage of my finishing career. That’s bold. Plus, I don’t have a blue dye.

I do have TransTint in black, brown mahogany, walnut, aged maple and amber. And I have a torch.

With that in mind, I am curious to try something like this:

E8D425BF-9A81-4EBD-AE90-B8BE3BECBB34.jpeg


The edge is shou sugi ban (flame blackened). The grain is highlighted and left open. The field is dyed. And it’s about to get an oil finish.

I may be able to get close to this. I have some clear Rubio Monocoat for the oil finish.
 
Last edited:
  • Like
Reactions: Matt Liebenau
Mock-up with pickups:

EA85A7C5-3249-4462-A21A-B1FA1238F726.jpeg


I made good progress removing the original paint job from the flats. Not quite finished. But not far to go.

The edges are more difficult—if not impossible—to completely strip (without re-machining, which I am not setup to do at home.)

With the shou sugi ban treatment, I don’t think that I need to completely clean the edges. I need to get more paint off the surface of the round over. But the tint left behind in the end pores may not matter.
 
Last edited:
The blue “after strip” color actually is pretty neat. The bubble wrap look would be relatively easy with the right stencil and an airbrush.
It would be even easier to replicate using bubble wrap. ;)
Seriously tho, it may look super trick like they did some weird stencil thing, but it's not. It's very similar to the "saran wrap" paint jobs where you literally spray the paint on and touch the saran wrap to it.....
6PeelOff.jpg
Same thing here, spray the paint and touch bubble wrap to it. :cool:
 
It would be even easier to replicate using bubble wrap. ;)
Seriously tho, it may look super trick like they did some weird stencil thing, but it's not. It's very similar to the "saran wrap" paint jobs where you literally spray the paint on and touch the saran wrap to it.....
View attachment 4390912
Same thing here, spray the paint and touch bubble wrap to it. :cool:


Yeah, even better. I’ve been wanting to try the SaranWrap thing for a while, just haven’t found the body it seems right for.
 
  • Like
Reactions: TerribleTim68
Test drive using a sacrificial body:

66E1A69F-EC15-49C3-88D3-14DF9312880A.jpeg


The first rule of the “burn burst” must be:

Use a one-piece body.

I probably was running the torch too hot, but I suspect a glue joint will tend to soften up before you get the char on the wood. So, this is too risky on a multi-piece body.

Since the G5 body has a glue joint down the middle, I’m going to pivot to a different grain-highlighting finish.
 

Latest posts