• TalkBass has been independent since 1998. Add your voice.
    Create a free account to reply to discussions, view embedded media, and browse with fewer display ads.
    Join freeLog in
    Want zero display ads or expanded classifieds tools? Compare plans.

WBO 2022: Löwenbäss

All kidding aside though, I really need to quit doing donuts in the yard and get this puppy on the road.
It's gonna take me all of the rest of the time left to prep and finish, so I need to get a lot done this weekend.
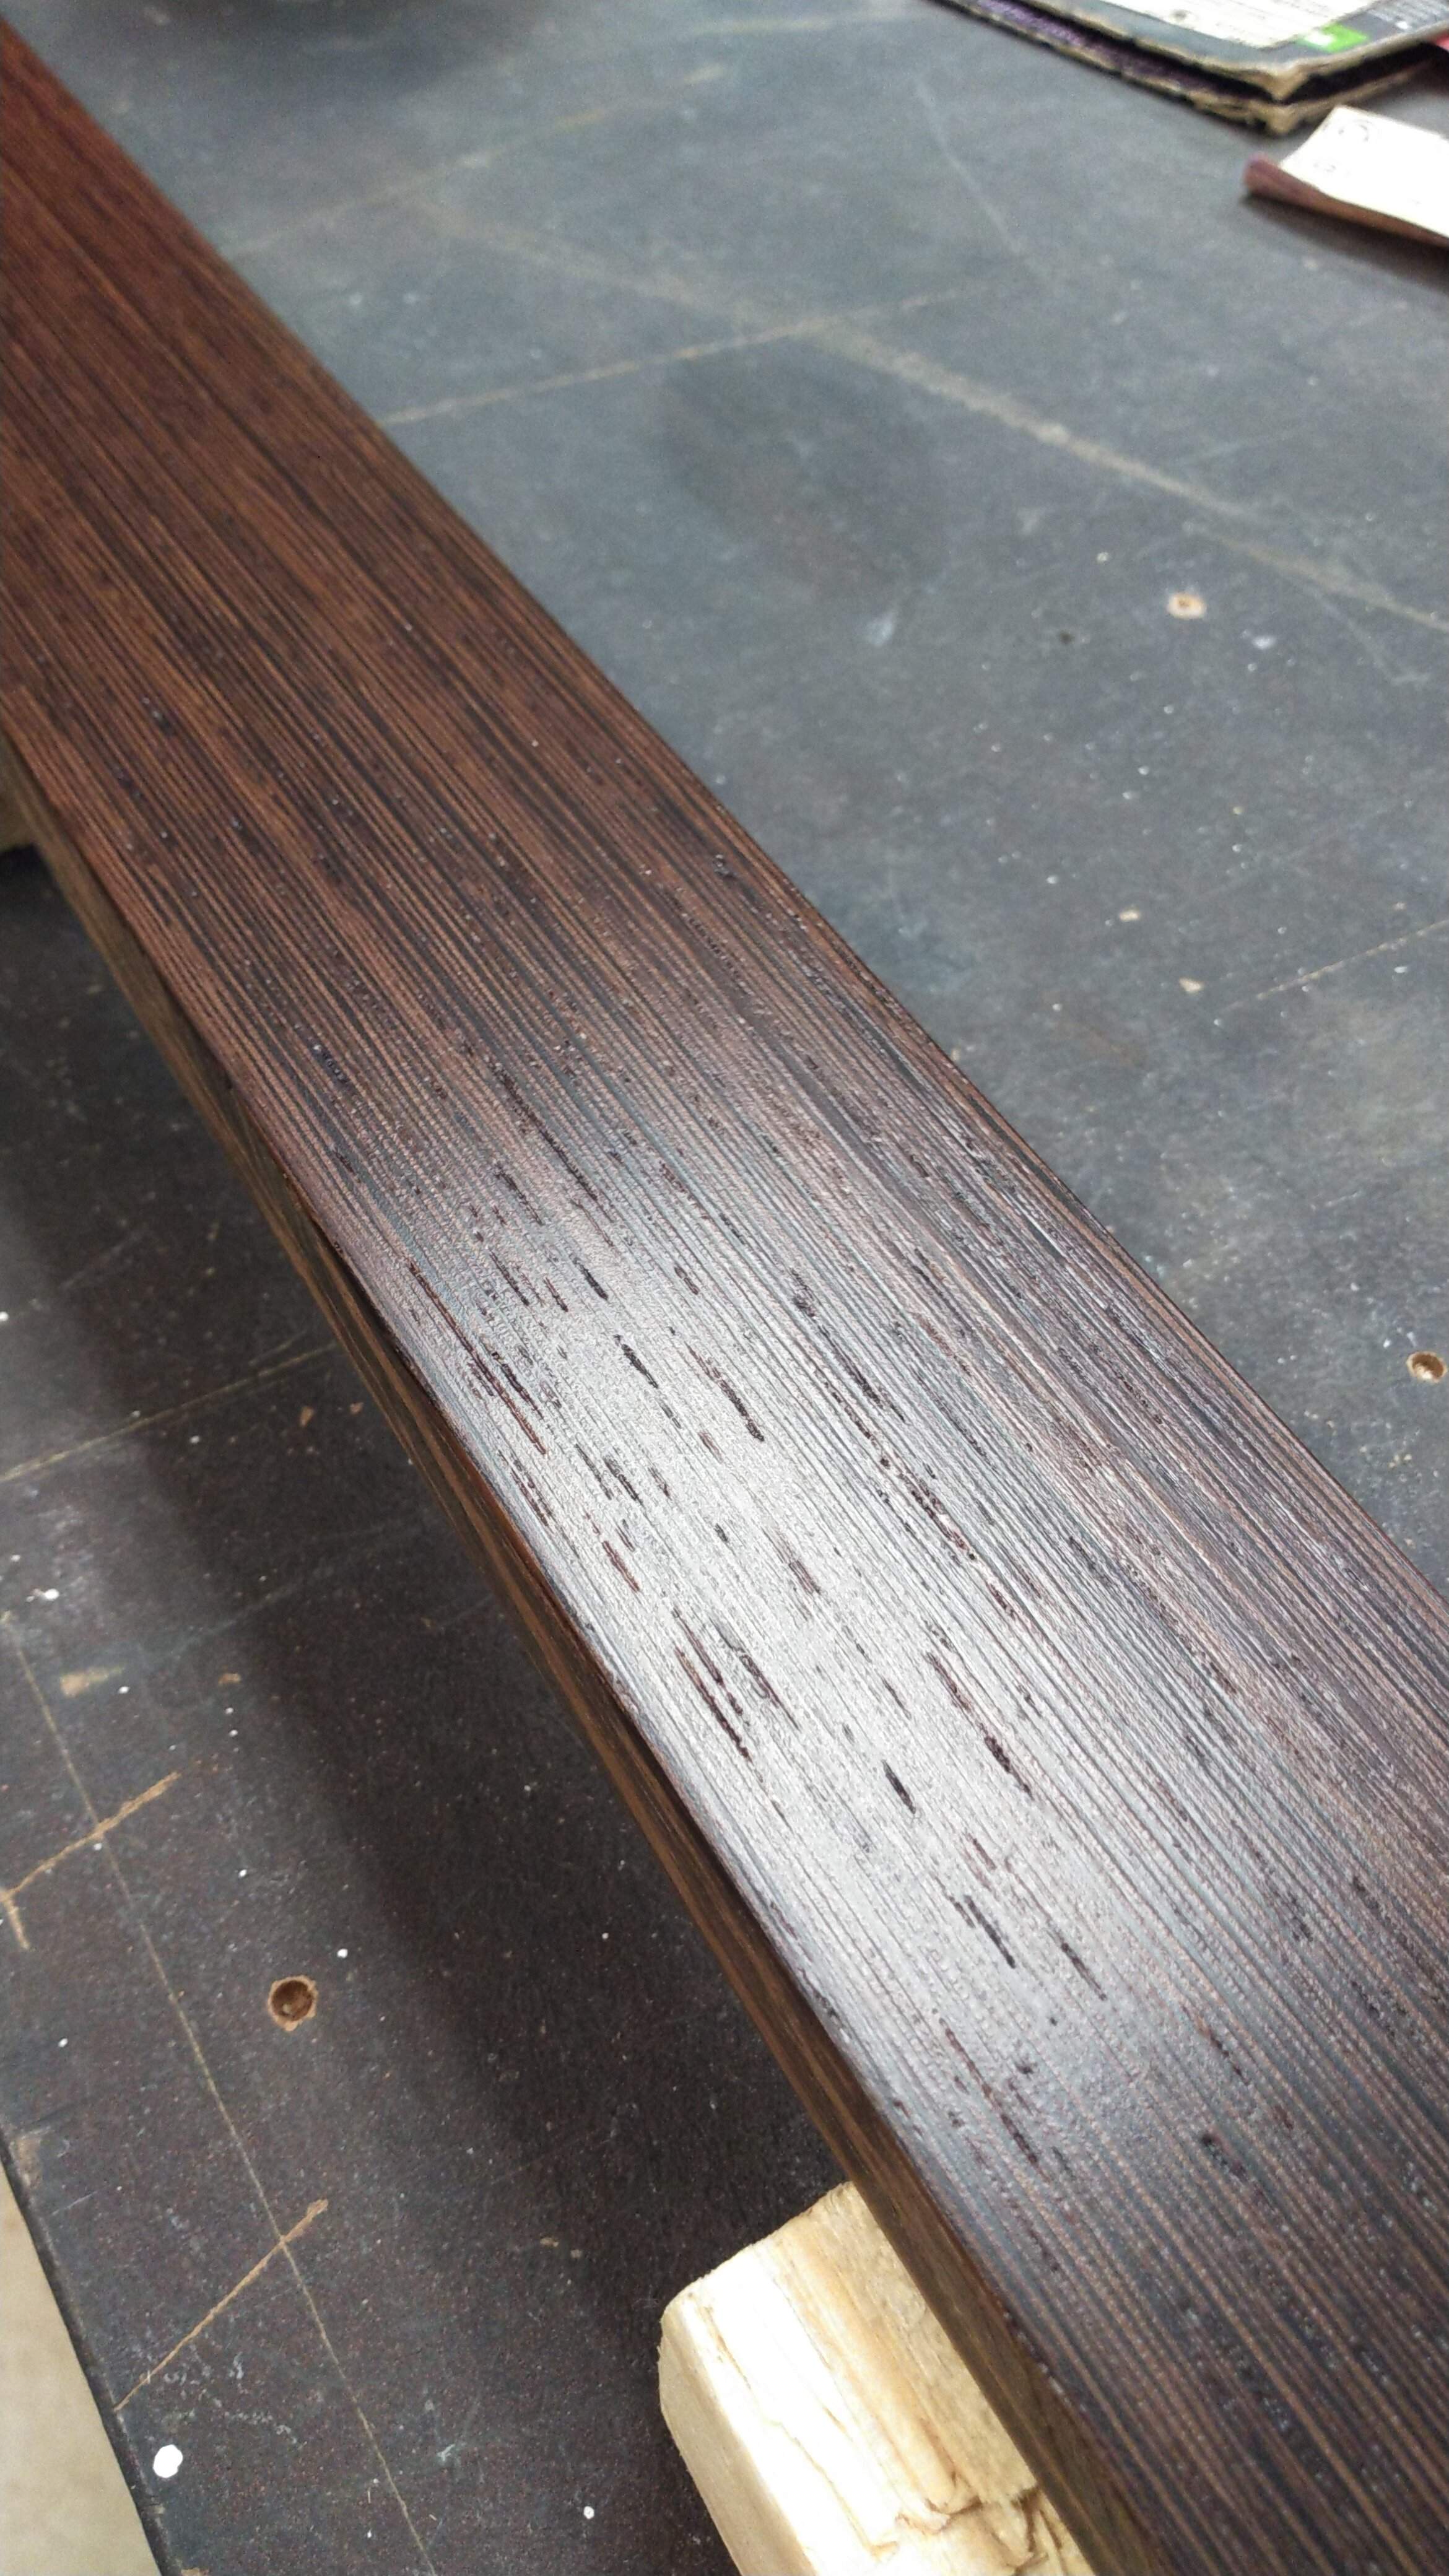
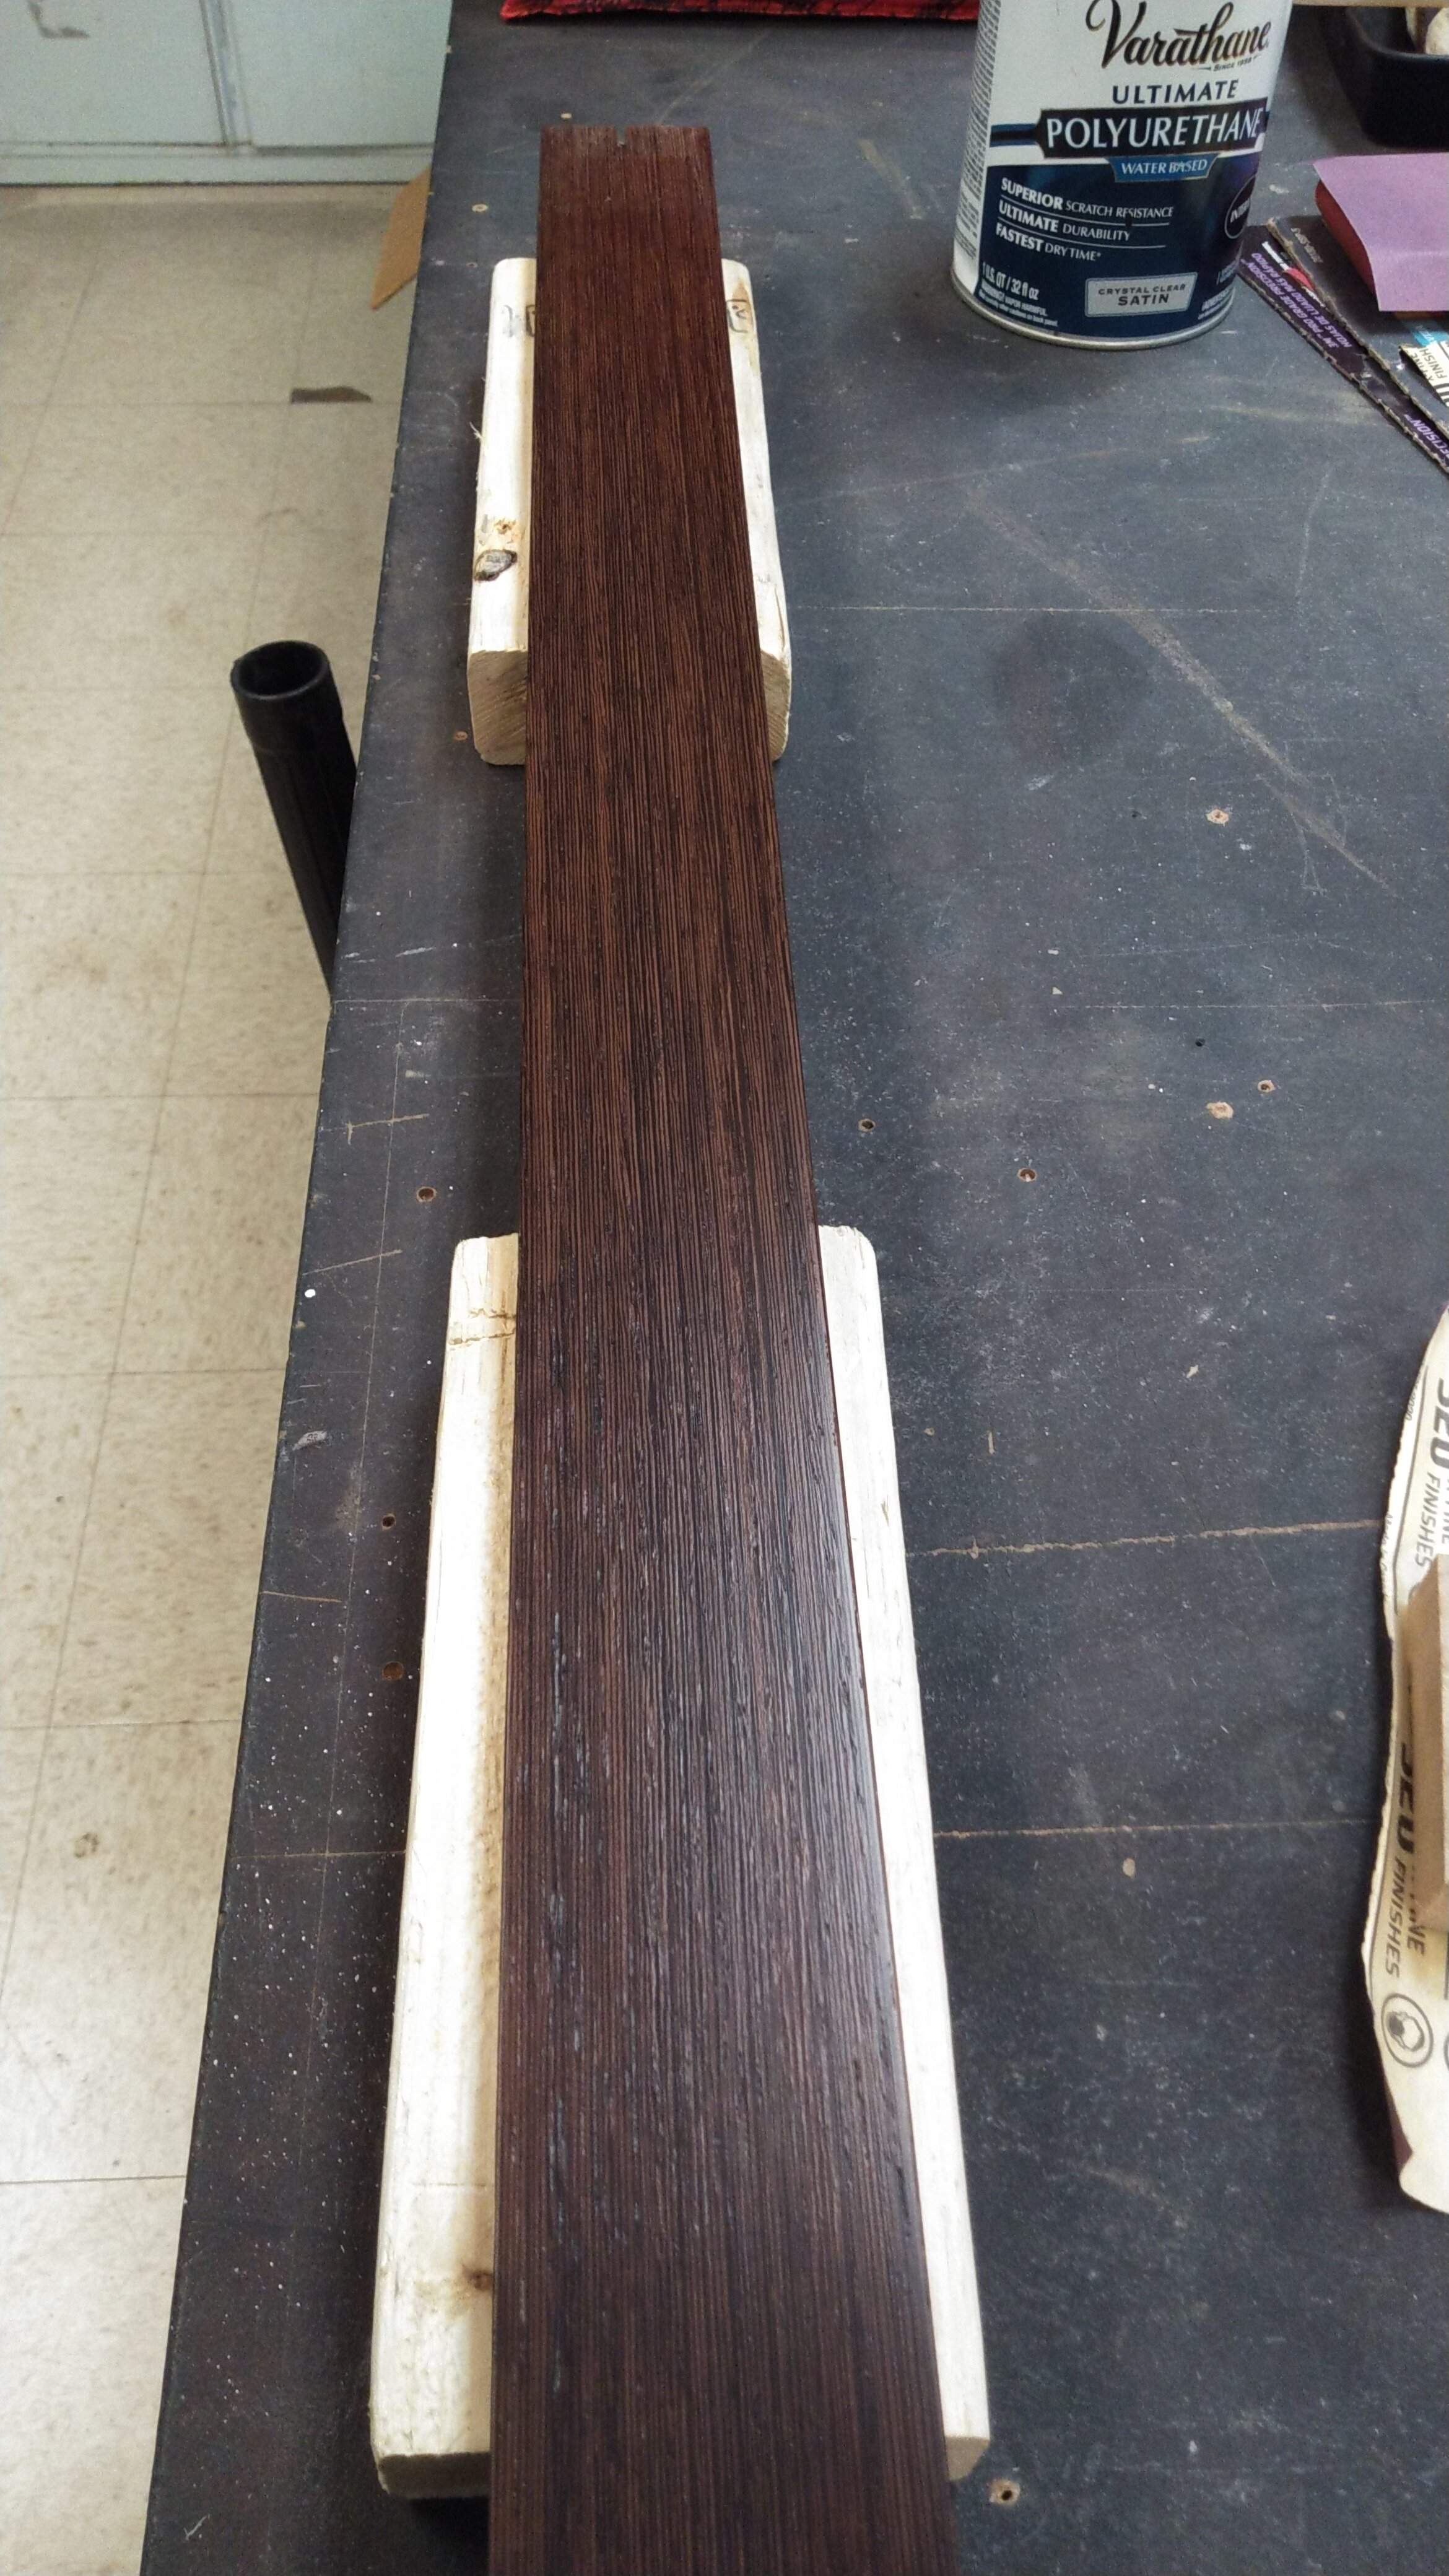
This is 3 coats of poly over the course of the whole day. I see that it's gonna take way more wood prep and py coats to look good.
KIMG2652.JPG
KIMG2653.JPG
 
At that point you need to post it in Basses with a "is this a real fender?" tagline and enjoy the discourse. Someone will be convinced it's real, others will dive in with posts about minutiae proving it's not, several people will talk about how their Squiers are as good as or better than real Fenders, so you should trade it for a Squier, etc.
You also forgot the myriad of others who will tell you how you should have bought a Lakland or a Specter..... :roflmao:
 
Got a preference for control layout?
This is heavy duty stuff and I'm stuck.
I've only just caught up with your stunning bass construction progress.
By the way, I'm loving your bass build. It's very inspirational.

On bass controls...
My advice, sorry if it's a bit late and no longer valid...
If to stay passive with a single tone pot. Then put you bass straight into an active impedance matched buffer / EQ as your first pedal of choice on your pedal board. Something like a Source Audio Zio is ideal. The add your favourite EQ to your hearts content. That way, you dial in a level playing field for any and every bass you use or plug into your board. I generally have more complications with active basses than I do with passive basses when using analogue effects. A few years back I was in constant hunt for the best active bass EQ, I've fitted everything from Bartolini to John East circuits. I've done 2 band, 3 band and even 4 band EQs. I've also dabbled with phase cancellation circuits too. My advise is to have some pickup switching options (single coil / series / parallel), but keep the bass passive. So Vol, tone and a 3 way switch.
However, some pickups are low wound and designed specifically to have a buffer / EQ. The Music Man pickup is one good example and this really needs to be active. So that's just shot a hole in my thought process...and piezo pickups...they always need a buffer because of their bonkers high impedance. Unbuffered, they can literally through an entire mixing desk out of balance.
 
I'm loving your bass build.
On bass controls...
My advice, sorry if it's a bit late and no longer valid...
Thanks.
As for the controls, I kinda pigeon holed myself with the cavity shape. There were only so many configurations for the placement of the 2 knobs and switches, so I was asking which config people thought looked the best on the front of the bass.
It will be an active setup because I wanted to try a Wal style pup and a distiller. So, the distiller acts as the tone/onboard preamp. The pickup will have a series/parallel switch. I was aiming for as little components in as small a space as possible and still be somewhat versatile in sounds and have it all be onboard.
This will just be me, noodling at home. It looks like I will spend more time building than playing from this point forward. Although, I'm hoping that building will inspire more playing, since I hadn't even touched my bass in a decade before starting all this last year. But definitely no bands or playing out in the future.
 
  • Like
Reactions: Reedt2000 and GMC
The test board looks a lot better today than it did yesterday. It almost looked like it raised the grain yesterday, with high/low spots. Today, it looks like it shrank back and leveled out overnight.
Also, the last 4" of the board had poly and leveler from the previous night and looking at it now, I think it looks better with 3 coats of poly and no filler. Which is good, because it will make finishing really simple. So, the whole bass is getting 3-4 coats of satin poly, no filler.
Now I just have to get all the building crap out of the way, so I can get to finishing, now that I'm a finish expert.
Just have to finish up this episode of oak island. This could be the one where they find the treasure.
 
:whistle:
The test board looks a lot better today than it did yesterday. It almost looked like it raised the grain yesterday, with high/low spots. Today, it looks like it shrank back and leveled out overnight.
Also, the last 4" of the board had poly and leveler from the previous night and looking at it now, I think it looks better with 3 coats of poly and no filler. Which is good, because it will make finishing really simple. So, the whole bass is getting 3-4 coats of satin poly, no filler.
Now I just have to get all the building crap out of the way, so I can get to finishing, now that I'm a finish expert.
Just have to finish up this episode of oak island. This could be the one where they find the treasure.
or the holy grail:whistle:
 
  • Like
Reactions: RichterScale
I ended up stuck this weekend. I'm at a point where order of operations is critical and if I do one thing out of order or make a mistake, it will make the rest of the build pretty miserable. So, I ended up just fiddling with microscopic repairs with the Xacto and Magoo goggles, while I stared at the neck and FB blank,..... blankly, trying to imagine the order of the next steps.
I sat down this morning and wrote it all out and came up with an outline for the order in which things need to proceed. When I get to the adding finish stage, the goal is to apply satin poly to the entire bass. Being that it's an infinity board and also has 24 frets, it makes it complicated. Or, I'm making it complicated.
I will have to slot the board while it's square and off the bass (as per usual).
After considering several scenarios, what makes the most sense to me is to get everything completed up to the point of poly and frets and poly the board, along with the rest of the bass, with the frets off.
What I don't know is, would it be easier to dam the slots and then try to remove them with 3 coats of poly on them, or poly with the slots open and then clean them out with the fret saw once it's cured?
Or, some 3rd option where I apply the poly, then remove the dams before it cures. Or, just leave the dams until the final coat is on and dry, then score all of them with the Xacto before removing.
I have alum flashing that I can make .020" dams with. The board is flat (no radius). I can easily make the dams flush with the top of the board and pull them out or up from the sides.
To me, it sounds like the fastest and simplest way is to just poly the board and then clean the slots out with the saw. The trick would be not to accidentally widen them. I feel like the safest bet is to make 24 alum dams. But that is going to add a lot of time.
Seeing how maple boards are often given a poly or lacquer, how do people usually go about this?
 
Not much for pics, but this is what I got. Fiddles with the control cover, the 1/4" round over has to taper to a point at the ends and some really small tear out repairs.
 

Attachments

  • KIMG2668.JPG
    KIMG2668.JPG
    647.3 KB · Views: 47
  • KIMG2659.JPG
    KIMG2659.JPG
    674.7 KB · Views: 48
  • KIMG2660.JPG
    KIMG2660.JPG
    662.6 KB · Views: 50
  • KIMG2661.JPG
    KIMG2661.JPG
    439.9 KB · Views: 52
  • KIMG2662.JPG
    KIMG2662.JPG
    537.8 KB · Views: 47
  • KIMG2663.JPG
    KIMG2663.JPG
    480.4 KB · Views: 48
  • KIMG2666.JPG
    KIMG2666.JPG
    399.7 KB · Views: 49
Like Ric does? (Or did?)
That seems easy, but doesn't it make a mess if you have to remove the frets?
It can, thought maple tear-out and difficulty filling creates its own challenges when pulling frets out of maple. I really wouldn't worry about that, it will be years before you'd wear the frets down to that point, if it ever happens at all. I think you finish the woodworking and either poly the whole thing, or mask the fretboard and extension, poly everything else, then oil the wenge of the fretboard.
 
mask the fretboard and extension, poly everything else, then oil the wenge of the fretboard
I considered that. That would be the easiest and it's still an option. The 3 reasons I decided to poly the whole thing were, it would all look consistent, it would be simple and it would offer a little more wear protection in the spots where my thumb would contact the board and pup cover.
But when I get to the part of poly before or after frets, the simple part goes away.
Another thing I'm not sure of, is if having poly down first would cause any problems with seating the frets. I would assume it wouldn't, since even 3 coats of cured poly is so thin. But I don't know for sure.
 

Latest posts