• TalkBass has been independent since 1998. Add your voice.
    Create a free account to reply to discussions, view embedded media, and browse with fewer display ads.
    Join freeLog in
    Want zero display ads or expanded classifieds tools? Compare plans.

WBO 23 - Drop it like it's hot

This build thread is for my WBO entry.. haven't really built a bass in about 6 years and very excited to start one up again:hyper:!

Here's the rundown of the plan:
- 5 string, single cut.
- Set asymmetric neck
- Multiscale
- Built-in Capo for semitone droptuning
- Led markers that respond to the Capo
Apart from the "5 string", I've never done any of the above, so I think I'll do just fine:angel:

Yet to plan:
- Pickups
- Preamp
- All hardware
- Finish
- (Maybe) a built-in tuner?
- (Maybe) a built-in in Headphone amp?
- (Maybe) more Led

Woodpile pic
IMG_20221222_221233_(1600_x_1200_pixel).jpg


What you see on the pile:
- Piece of a chestnut I cut down a few years ago, hope to use it as fully carved top
- Laminated neck of maple, rosewood (..IIRC..) and walnut stringers. I made this just over 6 years ago which bumps me in the partial build contest
- Santos Palissander and bubbinga which I'll use in the back
- Purpleheart fretboard
- A small piece of Taxus tree I cut down a long time ago, not sure I'll be using it

Here's the rough body design, don't mind the headstock, thats only a placeholder for the capo concept
Screenshot 2022-12-22 215858.jpg
 
Finally got around to doing some actual work on this project today:
IMG_20230101_212819_(1600_x_1200_pixel).jpg


Apparently, my chainsaw skills when I cut this slab out from the log weren't all too good, so I had to make A LOT of shavings to get to somewhat of a clean surface.
IMG_20230101_212838_(1600_x_1200_pixel).jpg

What's left is a bit thinner than I was hoping for. Hopefully it's enough to resaw to usable top.
I left that bit of live edge because I'm toying with the idea of using it in the upper horn.
 
Rest of the work I've been doing was mostly nerding out on getting some idea on how to get the capo to something that's actually usable, sturdy, makeable and somewhat adjustable.
Screenshot 2022-12-25 163024.jpg

Screenshot 2022-12-28 141126.jpg

So far a lot of iterations that will not do the trick, and not there yet.
Here's a screenshot of the latest iteration, of which I have a pretty good gut feeling.
Screenshot 2022-12-31 125502.jpg

Screenshot 2022-12-31 125631.jpg


I'm hoping to laser cut the parts from mdf, to test the linkages in real life, to check out if this approach is anywhere near viable.
 
Rest of the work I've been doing was mostly nerding out on getting some idea on how to get the capo to something that's actually usable, sturdy, makeable and somewhat adjustable.
View attachment 4921027
View attachment 4921028
So far a lot of iterations that will not do the trick, and not there yet.
Here's a screenshot of the latest iteration, of which I have a pretty good gut feeling.
View attachment 4921026
View attachment 4921025

I'm hoping to laser cut the parts from mdf, to test the linkages in real life, to check out if this approach is anywhere near viable.

Looks like a cool (hot) idea! You have some R & D to go on the mechanism, but you're getting there. I recommend that you build a prototype of the mechanism from aluminum bar stock. Buy a short length of 1/8" x 1 1/2" 6061 aluminum bar stock. You can hand make all those parts with a drill press, hacksaw, vise and a few files. Lay them out on the aluminum and saw and file them to shape. 6061 aluminum is very easy to work with.

It may take you several prototypes to get the geometry perfected. But that's the enjoyable part of R & D!

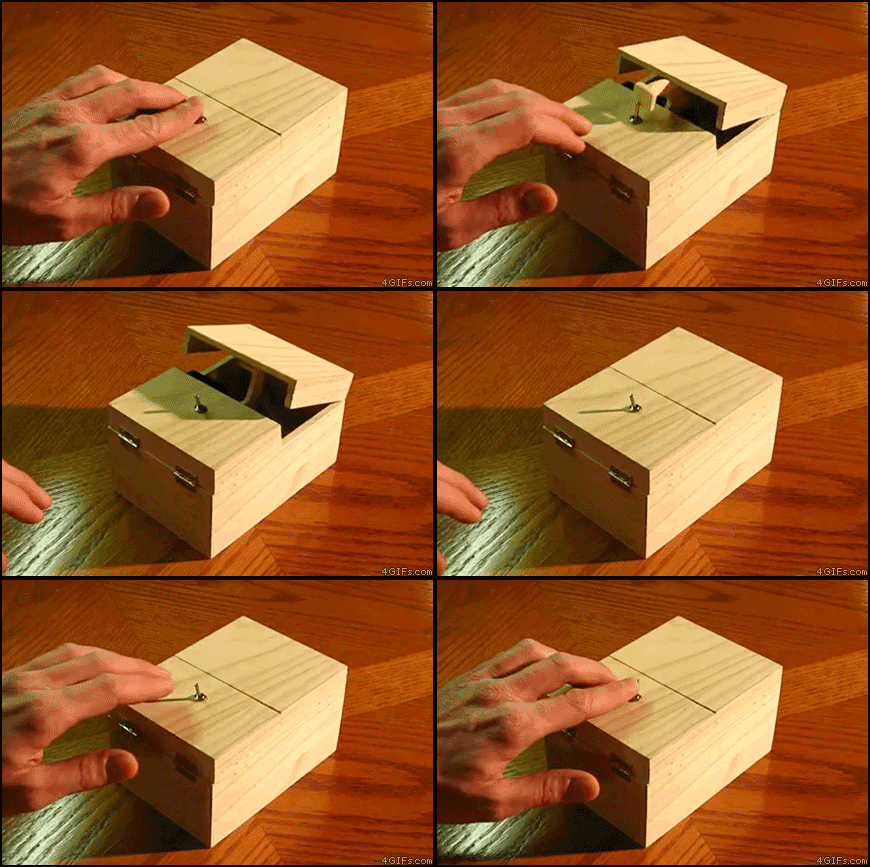
You could call it Thing, after the Addams Family hand that comes up out of the box. Maybe put a squeaky cover that closes over it when retracted. And a rubber fingertip on the end of the arm! That would be Nerdy.
 
Last edited:
Looks like a cool (hot) idea! You have some R & D to go on the mechanism, but you're getting there. I recommend that you build a prototype of the mechanism from aluminum bar stock. Buy a short length of 1/8" x 1 1/2" 6061 aluminum bar stock. You can hand make all those parts with a drill press, hacksaw, vise and a few files. Lay them out on the aluminum and saw and file them to shape. 6061 aluminum is very easy to work with.

It may take you several prototypes to get the geometry perfected. But that's the enjoyable part of R & D!

You could call it Thing, after the Addams Family hand that comes up out of the box. Maybe put a squeaky cover that closes over it when retracted. And a rubber fingertip on the end of the arm! That would be Nerdy.

Thanks for the tip! I'll probably make the final version from Alu and have it either powdercoated or anodised. For the mockups I have access to either a laser cutter or a 3d printer and, as I did the designs in CAD, having those do the "dirty work" saves me a lot of time fabricating.
Once I get the basic principle to work, I'll need to get the strength and flex up to par by prototyping in Alu.
 
  • Like
Reactions: Mickey666
Some more woodworking today!

I didn't succeed in resawing the top with the bandsaw. It mostly made a lot of smoke and started wandering a bit, so I dreadfully turned to it with a Japanese saw.
IMG_20230102_174222_(1200_x_1600_pixel).jpg

Anticipating a few hours of sawing, it actually went a lot faster than I was expecting. Less than 30 minutes got me this!
IMG_20230102_174247_(1200_x_1600_pixel).jpg


Then I ran the pieces for the back through the jointer at a slight angle to get it to a a bit of a curve when gluing up.
IMG_20230102_174319_(1600_x_1200_pixel).jpg


I added some small ebony stringers to get the body to the right size and glued the first parts.
IMG_20230102_174506_(1600_x_1200_pixel).jpg

To keep the right curve during clamping I strung them over a curved surface with a bicycle tube while clamping. Fingers crossed hoping it works as planned:nailbiting:
 

Latest posts