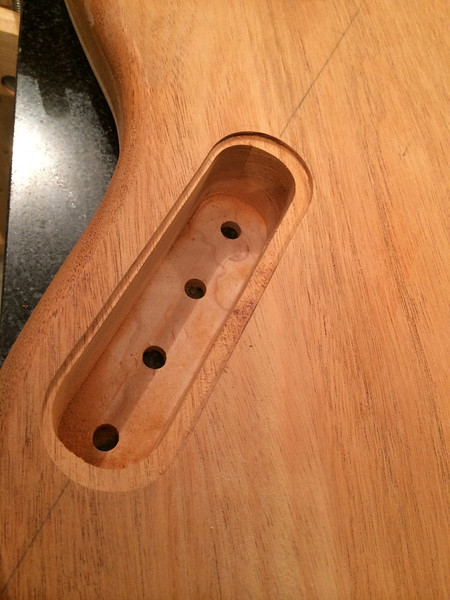
Ok, so control cavity recess and coverplate are done. Finally. I ended up gluing a little piece (not pictured) in the middle of the bottom side of the control cavity for a screw mount on that side. It is purposely off-center as I wanted to leave as much body between the recess and the round-over. Fits better than a glove--there will be sanding required after paint buildup. Oh well, ready to move on.
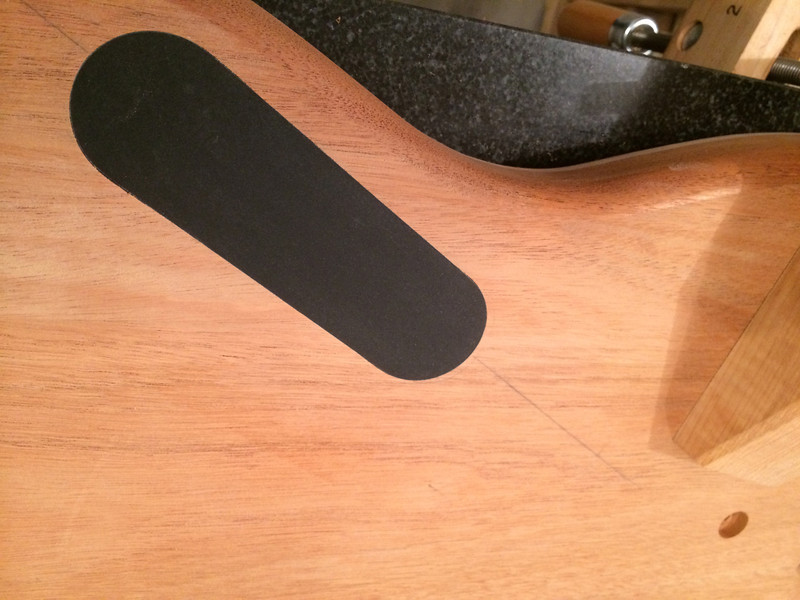
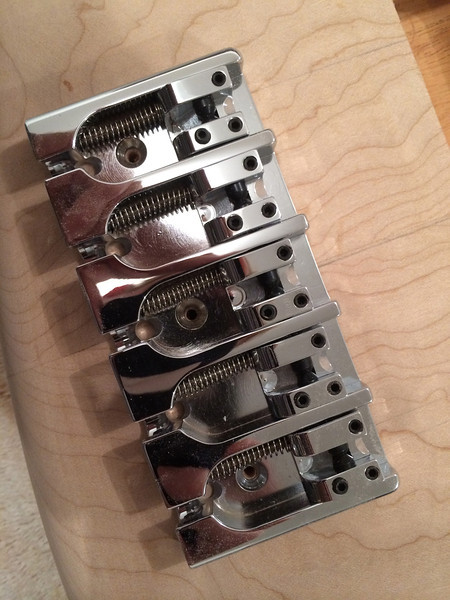
Almost forgot to drill the bridge screw holes before I sanded my centerline away.
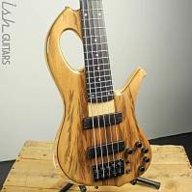
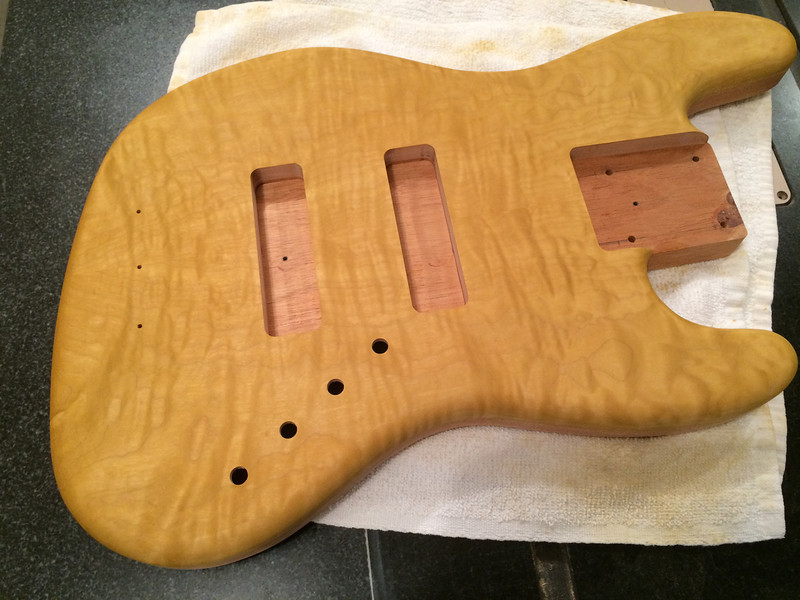
Finished finish sanding and dyed the top. Here is the finish I'm aspiring to:

I am starting by dying the top an amber tone. Dyed, sanded back a bit, dyed again. Anyway, I think it'll work. Figuring is coming out and after I put a sealer coat on tonight I'll be able to see where this thing's headed. Then grain filling time for the back and sides.

Almost forgot to drill the bridge screw holes before I sanded my centerline away.
Finished finish sanding and dyed the top. Here is the finish I'm aspiring to:
I am starting by dying the top an amber tone. Dyed, sanded back a bit, dyed again. Anyway, I think it'll work. Figuring is coming out and after I put a sealer coat on tonight I'll be able to see where this thing's headed. Then grain filling time for the back and sides.


 . Electronics are passive VBT (I use a Fodera stompbox pre) with Nordstrand Big Splits in P4 covers for the 20mm string spacing @ bridge. When I get it strung up I'll take some better photos.