

Enjoy the benefits of a premium membership!
Upgrade Account
-
TalkBass has been independent since 1998. Add your voice.
Create a free account to reply to discussions, view embedded media, and browse with fewer display ads.
Join free Log in
Want zero display ads or expanded classifieds tools? Compare plans.
You are using an out of date browser. It may not display this or other websites correctly.
You should upgrade or use an alternative browser.
You should upgrade or use an alternative browser.
More options
Who Replied?

Regarding the Ampeg Devil and AMUB-2, is it just me, or was Ampeg pickguard crazy? I feel like those PG designs step on the body details rather than accentuate them by going right up to the edges. I certainly don't mind big pickguards, but those two seem like outliers.
Yes, those giant pickguards are part of Ampeg's design, their character. I have to buy my pickguard material in large 2' x 4' sheets, because the pickguards are too big for the standard sheets sold by the guitar parts suppliers.
I've tried various techniques for spraying sunburst edges over the years. What I've settled on is to use the small Touch-up size spray gun, with the fan air all the way off and the flow down pretty low. Pressure needs to be a bit higher than I normally use, like 25 psi. That helps to atomize better; finer little drops.
The important thing is not to angle the gun towards the edge. Shoot straight perpendicular to the main surface. I find it best to have the body hanging vertically, and you are shooting horizontally. Hold the gun 4" to 6" away from the surface. Your starting aim point for the gun should be about an inch outboard of the perimeter edge. Yes, most of the paint is going to miss the body and go past it. Only one side of the cone catches the body.
Work all the way around, concentrating on where the aim point is in relation to the perimeter. Start out with it outside the perimeter, and then work in towards the perimeter if you want the burst edge wider. But don't move the aim point inboard of the perimeter. If you need to go wider, back the gun away or add some fan air.
Also, it helps to spray the perimeter itself first, with the gun pointing straight at the side (parallel to the front face). Get the sides all the way around to the dark opaque color, before adding the burst edges on the front face. It helps you to see the overall effect as you are going, and avoid getting over-enthusiastic.
Yes, it usually takes me 4-6 coats of the bursting to get the width and depth that I want. Patience.
The important thing is not to angle the gun towards the edge. Shoot straight perpendicular to the main surface. I find it best to have the body hanging vertically, and you are shooting horizontally. Hold the gun 4" to 6" away from the surface. Your starting aim point for the gun should be about an inch outboard of the perimeter edge. Yes, most of the paint is going to miss the body and go past it. Only one side of the cone catches the body.
Work all the way around, concentrating on where the aim point is in relation to the perimeter. Start out with it outside the perimeter, and then work in towards the perimeter if you want the burst edge wider. But don't move the aim point inboard of the perimeter. If you need to go wider, back the gun away or add some fan air.
Also, it helps to spray the perimeter itself first, with the gun pointing straight at the side (parallel to the front face). Get the sides all the way around to the dark opaque color, before adding the burst edges on the front face. It helps you to see the overall effect as you are going, and avoid getting over-enthusiastic.
Yes, it usually takes me 4-6 coats of the bursting to get the width and depth that I want. Patience.


As an impartial observer, I'd like to say that the atmosphere on this thread is marvelous! People genuinely interested in helping others is just so wonderful to see. There is so much acrimony in the world (at on many threads on TalkBass) so it is delightful to see you all sharing tips, tricks, and advice.
Thanks for making my day brighter!
Thanks for making my day brighter!
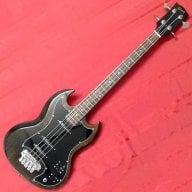

Patience.
My one, main deficiency. I should have just sanded everything back down after those drips and runs, but I forged ahead, because I am impatient. I don't know that I'll be able to cover it at this point, after the eleventy hundred coats I put on today. I think I'm going to let this dry overnight, and sand it back down. Working from the outside in makes a lot of sense, having done it in the reverse today. Maybe I'll try hanging the body as you suggest - that also makes sense.
It didn't come out too bad, other than the drip/run issue on the upper horn.
Maybe I'll try just sanding down the horns, and respray those.

By the way, when you get a run or sag using one of the water-base finishes, try immediately touching the lump of the run with the corner of a paper towel. It will soak up the extra water, and if the paint underneath hasn't settled, it will often pull together and close up the hole.
And, that's why you should always start with a good smooth layer of base coats. When things go wrong, as they often do in painting, you can always lightly sand back to the base coats and try again. That Tobacco Sunburst AMUB-2 took me three tries to get the sunburst right. Painting is the fussiest part of building basses. So many little things can go wrong.
And, that's why you should always start with a good smooth layer of base coats. When things go wrong, as they often do in painting, you can always lightly sand back to the base coats and try again. That Tobacco Sunburst AMUB-2 took me three tries to get the sunburst right. Painting is the fussiest part of building basses. So many little things can go wrong.
Last edited:
Something about those runs though... If you were to build up several layers of streaks and runs on purpose, it could make a nice visual texture. The horns could end up looking more like actual horns! Of course that'd be nearly impossible to control and take eleventy hundred times longer.

Well, I just had this delivered:
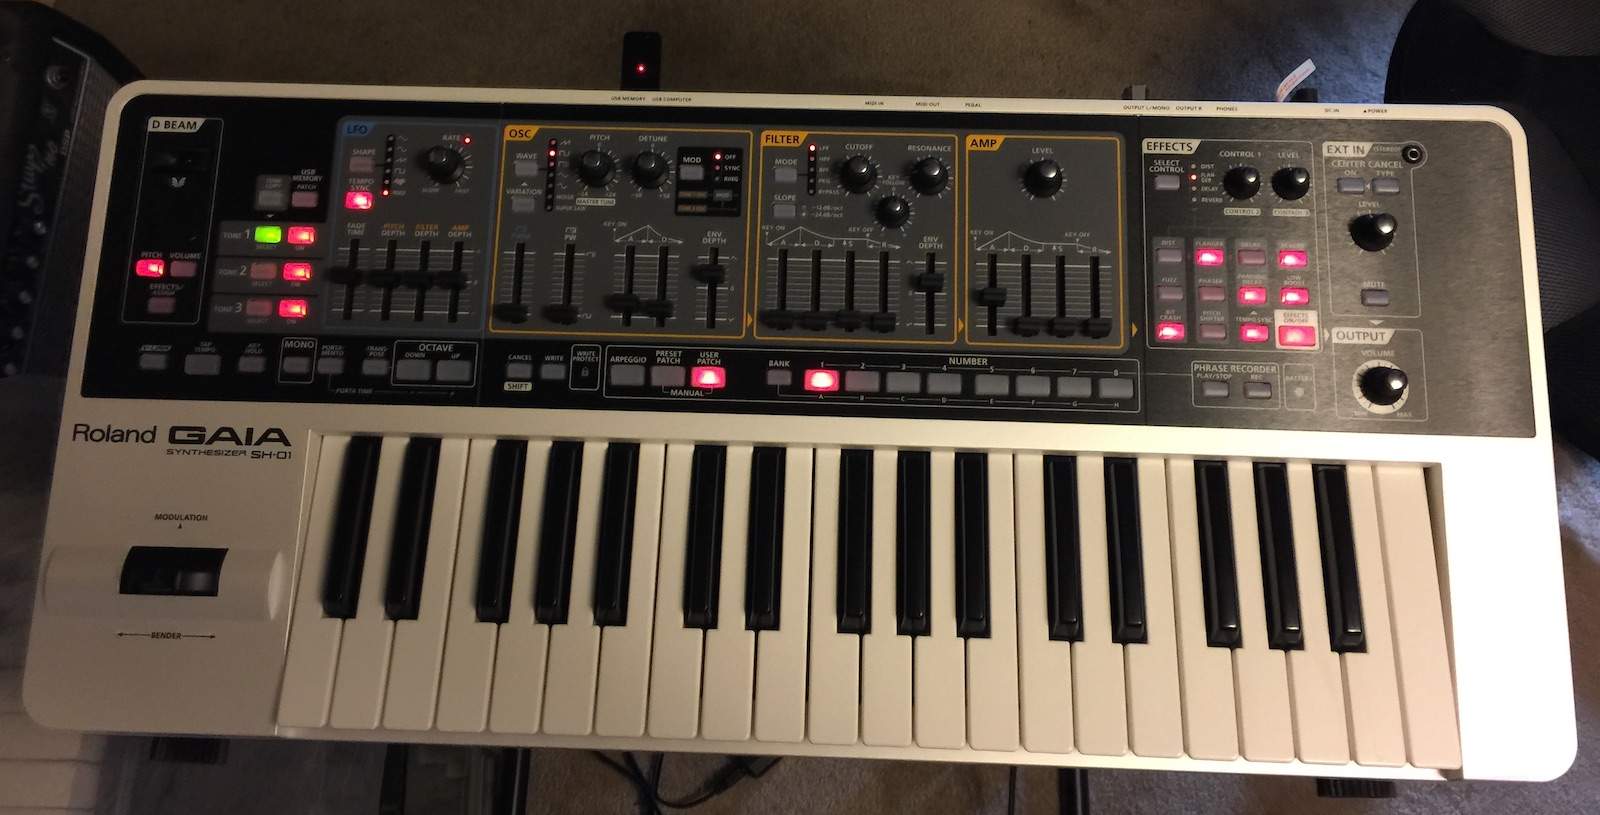
Right now, I'm playing the synth sequence from Pink Floyd's On The Run. I'll get back to painting tomorrow...
Right now, I'm playing the synth sequence from Pink Floyd's On The Run. I'll get back to painting tomorrow...

Hopkins
Commercial User
I've tried various techniques for spraying sunburst edges over the years. What I've settled on is to use the small Touch-up size spray gun, with the fan air all the way off and the flow down pretty low. Pressure needs to be a bit higher than I normally use, like 25 psi. That helps to atomize better; finer little drops.
The important thing is not to angle the gun towards the edge. Shoot straight perpendicular to the main surface. I find it best to have the body hanging vertically, and you are shooting horizontally. Hold the gun 4" to 6" away from the surface. Your starting aim point for the gun should be about an inch outboard of the perimeter edge. Yes, most of the paint is going to miss the body and go past it. Only one side of the cone catches the body.
Work all the way around, concentrating on where the aim point is in relation to the perimeter. Start out with it outside the perimeter, and then work in towards the perimeter if you want the burst edge wider. But don't move the aim point inboard of the perimeter. If you need to go wider, back the gun away or add some fan air.
Also, it helps to spray the perimeter itself first, with the gun pointing straight at the side (parallel to the front face). Get the sides all the way around to the dark opaque color, before adding the burst edges on the front face. It helps you to see the overall effect as you are going, and avoid getting over-enthusiastic.
Yes, it usually takes me 4-6 coats of the bursting to get the width and depth that I want. Patience.
You turn your fan all the way in, or just your flow control?
Well, I just had this delivered:
View attachment 1059075
Right now, I'm playing the synth sequence from Pink Floyd's On The Run. I'll get back to painting tomorrow...
Yum!
Now you are talking MY language.
Turn it up, 'Glo! Have fun!
I usually turn the fan air all the way in, all the way off. I find that it's better to work with a small cone. The wider the cone, the more uneven the spray is at the outer edges of the cone. Maybe that's just because I'm using a low-priced gun. Only if I'm doing a real wide burst edge will I open up the fan air.
Hopkins
Commercial User
I usually turn the fan air all the way in, all the way off. I find that it's better to work with a small cone. The wider the cone, the more uneven the spray is at the outer edges of the cone. Maybe that's just because I'm using a low-priced gun. Only if I'm doing a real wide burst edge will I open up the fan air.
Makes sense actually. With cheaper guns, with the fluid tip ran in the fan tends to get heavier at the edges and a bit weak in the middle. I do need to invest in a mini gun, at the moment I am running an Iwata W400 and a Devilbiss Plus. Both have a nice big fan. I will probably invest in an Iwata mini gun next.
Well, I just had this delivered:
View attachment 1059075
Right now, I'm playing the synth sequence from Pink Floyd's On The Run. I'll get back to painting tomorrow...
Ho boy, I can see this coming. You wearing the Devil Goddess bass, with the Gaia keyboard in front of you. Some kind of Dueling Banjos kind of composition, the Devil vs Gaia. With flashes of sparkly red-tipped flames. And mischief in your eyes.
I still have an old 1990 Kawai SX-70 analog synth. You plugged it into a cassette deck to save its sounds. Amazing range of sounds, but it took a lot of time to figure it out. Last I checked, it still works. But its internal battery has long been dead, so it needs to be completely reprogrammed.
Last edited:


I filled in the goat head truss rod cover with red epoxy yesterday, and sanded it smooth this morning.
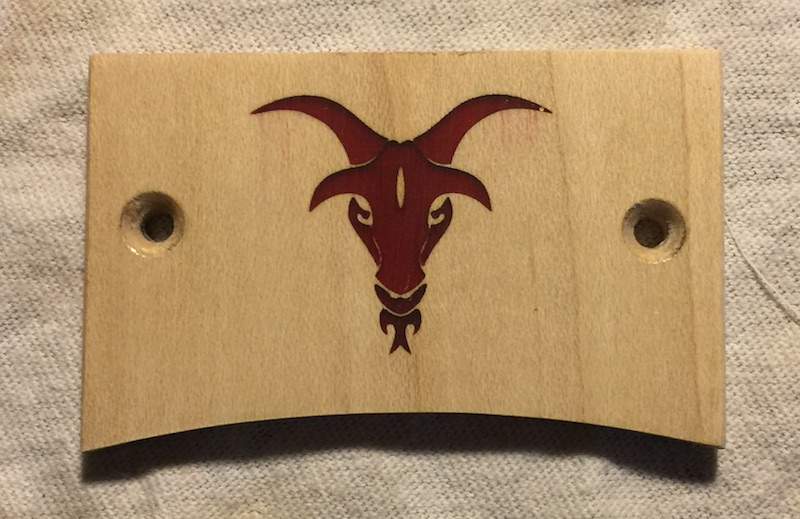
I'll spray a burst on it today.
I'll spray a burst on it today.

Makes sense actually. With cheaper guns, with the fluid tip ran in the fan tends to get heavier at the edges and a bit weak in the middle. I do need to invest in a mini gun, at the moment I am running an Iwata W400 and a Devilbiss Plus. Both have a nice big fan. I will probably invest in an Iwata mini gun next.
They're a bit expensive, but the SATAJet 4000 B HVLP is my preference. It's also the hand gun of preference for the OEM coatings company I work for. It's more comfortable and ergonomic than the 5000, and the semi disposable cups they use are just terrifically convenient. Using one of these for close to 6 hours a day, I gotta say that their operational range is massive and repeatability is amazing. I think that last bit is why we use it. When we need repeat testing or require uniformity across hundreds of test panels, most of the Binks, etc. don't stack up. Not that the others don't do a good job, but when we're talking about going on cars, especially for the windshield sealant adhesion (safety concern), the SATA does better. That and they do such a damn good job at atomizing the piss poor WB paint solids...I won't get into why I prefer SB paint, but yeah, I highly recommend the SATA Jet for performance, reliability and comfort.
/End shameless promotion schpeel

I filled in the goat head truss rod cover with red epoxy yesterday, and sanded it smooth this morning.
View attachment 1059424
I'll spray a burst on it today.
That looks sooo awesome!


