• TalkBass has been independent since 1998. Add your voice.
    Create a free account to reply to discussions, view embedded media, and browse with fewer display ads.
    Join freeLog in
    Want zero display ads or expanded classifieds tools? Compare plans.

Winter 2018 Build Off - 4004CTM

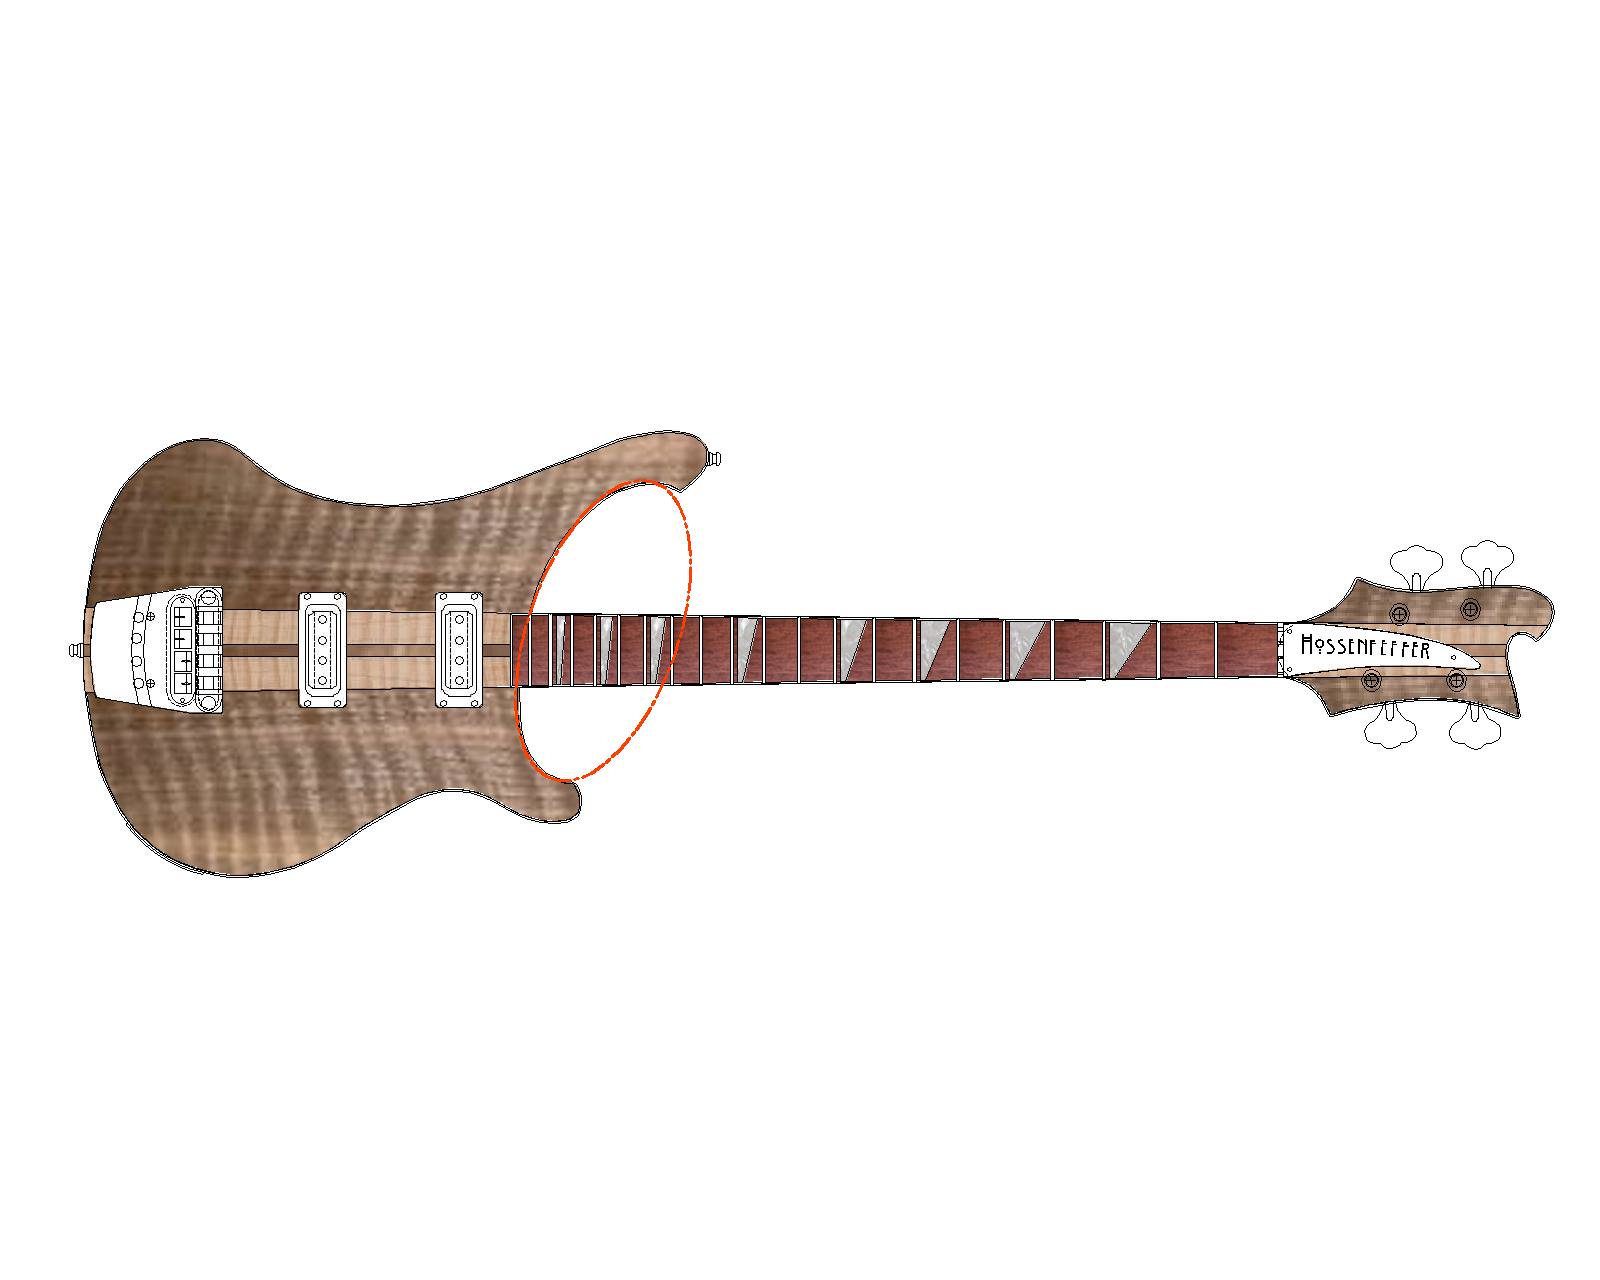
Yeah, it's a little weird! I always see the implied ellipse of the upper and lower horns, "interrupted" by the neck. I figure that has to be the origin of the shape, and it's gradually drifted a little over the years. I found you could use a big ellipse or french curve to trace most or all of the shape, that's probably what Rossmeissel was using.
q7pbJhb.jpg
 
Made a bit of progress this weekend. Well, maybe more than a bit. :)

Got the neck profile finalized and the heel transition shaped up. Dressed the fret ends too. Thankfully, I also remembered to do the side dots before succumbing to the temptation to glue the wings on. :laugh:

Was flummoxed for a bit today, as I discovered an unsightly gap where the upper wing meets the center spine. If the front looked good, then the back had a gap, and vice versa. Something wasn’t quite square, and it took me a while to sort it. But sort it I did, and decided now was a fine time to glue that upper wing on for good!

4004_0174.jpg


4004_0175.jpg


I’ll need to double-check the lower wing too, before gluing it on. I have a suspicion it will need attention as well...
 
Well, we’re down to only about a month left, and I’m behind schedule. My Caribbean vacation last week didn’t help (but it sure was nice!). Today was my first opportunity to make more progress.

I sliced off a piece of the lower wing cutoff, about a 1/4” thick, and 3” by 10”, which is longer than I needed.

4004_0180.jpg


I marked it out on the back of the lower wing, centered on the control holes, and following the same angle. I used a Forstner bit to do the corners of the cavity...

4004_0177.jpg


... and did the straight sections with a pattern bit, then hogged out the bulk with the Forstner.

4004_0178.jpg


Cleaned it up with the router, and uncovered my wiring channels (yay!).

4004_0184.jpg


Fits decently well. Not grain-matched, but nicer than the plastic cover I was considering.

4004_0176.jpg


4004_0182.jpg


Hopefully I can steal some more hours tomorrow!
 
A bit more today. Got the lower wing glued on after doing a bit more sanding on it.

4004_0186.jpg


Also one of the headstock wings (yes, it’s way too big).

4004_0185.jpg


I also spent some time learning how to sharpen my scraper. I bought the set of scrapers and a burnishing tool a while back but never took the time to sharpen them. Did one today. I’m still not getting shavings, just dust, which means it’s not sharp enough yet. Is the burr/hook not big enough? I can’t see it with the naked eye, nor with a 2x loupe...
 
Been struggling a bit with scrapers myself. If it’s making dust, not enough hook. I can get them sharp, but not consistently, it’s always sharper on one side. There are 100 videos on YouTube, feel like I’ve watched 90 of them. I’m using my home made fret beveling jig with the file at 90 degrees for the basic filing, gonna make a jig to hold the burnisher at 5 degrees.
 
  • Like
Reactions: ctmullins
Routed the first pickup cavity. I decided to start with the hardest one, the one right up against the fretboard. Had to shim the template so it could sit up above the end of the fretboard.

4004_0189.jpg


Went down a little more than 1/4”, and uncovered my wiring channel. :bassist:

4004_0190.jpg


It fits!

4004_0188.jpg
 
  • Like
Reactions: ctmullins
Ha! Sweet! Been waiting to see how you’d do this. I’m going to start making a pup rout template tomorrow. My few pup routes have notoriously sucked (thank god for trim rings) , so I’m going to try the method where you make a perfect “positive” template of the pup cover, wrap a couple tape layers around it for clearance, then build a bondo “dam” around it to make a negative template. That then gets used to cut a clean MDF template for both routes. I realized the chrome pup cover can be removed and screwed onto a piece of MDF, then that acts as the guide for a flush trim bit. Sounds like a lot of steps, but removes the idiot from the process. How much clearance did you leave around the pup?
 
  • Like
Reactions: ctmullins
Yep, that’s a clever method that’s worth trying. This was kinda easy; just a 1.5” x 3.5” rectangle. The router bit radius is about the same as the pickup corner radius, so that works out. My earliest pickup templates were too oversized, and left 1/8” gaps all around, so (as is my custom) I learned from that mistake! :roflmao:
 
  • Like
Reactions: Gilmourisgod
Yep, so the cat’s out of the bag now - I told you this build would have a twist!

At this point I have to give credit to @Jeff Scott , who has posted pics of his Jetglo 4004 SPC next to his Snowglo 4004, such as in this post from The Rickenbacker Club Part Twelve. After seeing that pic, I became enamored with the idea of combining the traditional 4004 and 4005 pickup positions in one bass.

While there are obvious similarities with the 4004LK, that model’s pickup positioning didn’t appeal to me.