Enjoy the benefits of a premium membership!
Upgrade Account
-
TalkBass has been independent since 1998. Add your voice.
Create a free account to reply to discussions, view embedded media, and browse with fewer display ads.
Join free Log in
Want zero display ads or expanded classifieds tools? Compare plans.
You are using an out of date browser. It may not display this or other websites correctly.
You should upgrade or use an alternative browser.
You should upgrade or use an alternative browser.
More options
Who Replied?


For attaching the bridge saddle, I'd use a thin layer of double-sided tape. Not the heavy filiment-lined carpet tape. The Scotch Double-Sided office tape. That will hold it in place quite well, but allow you to easily reposition it later if you need to, with no marks.
Putting a thin cushion of tape under the bridge saddle may slightly trim the high end crispness, as compared to solidly mounting it. That's why you want to use the thinnest tape. But it probably won't matter on this bass. From what I can see, this will already be a very bright, clear bass.
Putting a thin cushion of tape under the bridge saddle may slightly trim the high end crispness, as compared to solidly mounting it. That's why you want to use the thinnest tape. But it probably won't matter on this bass. From what I can see, this will already be a very bright, clear bass.

For attaching the bridge saddle, I'd use a thin layer of double-sided tape. Not the heavy filiment-lined carpet tape. The Scotch Double-Sided office tape. That will hold it in place quite well, but allow you to easily reposition it later if you need to, with no marks.
Putting a thin cushion of tape under the bridge saddle may slightly trim the high end crispness, as compared to solidly mounting it. That's why you want to use the thinnest tape. But it probably won't matter on this bass. From what I can see, this will already be a very bright, clear bass.
That's a great idea! I use that same doubled sided Scotch tape to hold my paper templates to wood and metal.
More final sanding.

I'll go up to 320 grit I think.
I'll go up to 320 grit I think.

Friendly suggestion. Someone else mentioned and I agree, if you might consider knocking down that heel? I feel it would flow better and probably have a better feel for higher access.
The heel stays. The truss rods only go to where the upper body wing meets the neck. I want some thickness there on the lower wing side for stability. I was playing it yesterday, and there was no problem with access. Next one (am I really thinking about the "next one"?) I'll use longer truss rods, or at least a longer stiffening bar, allowing a smoother heel transition.
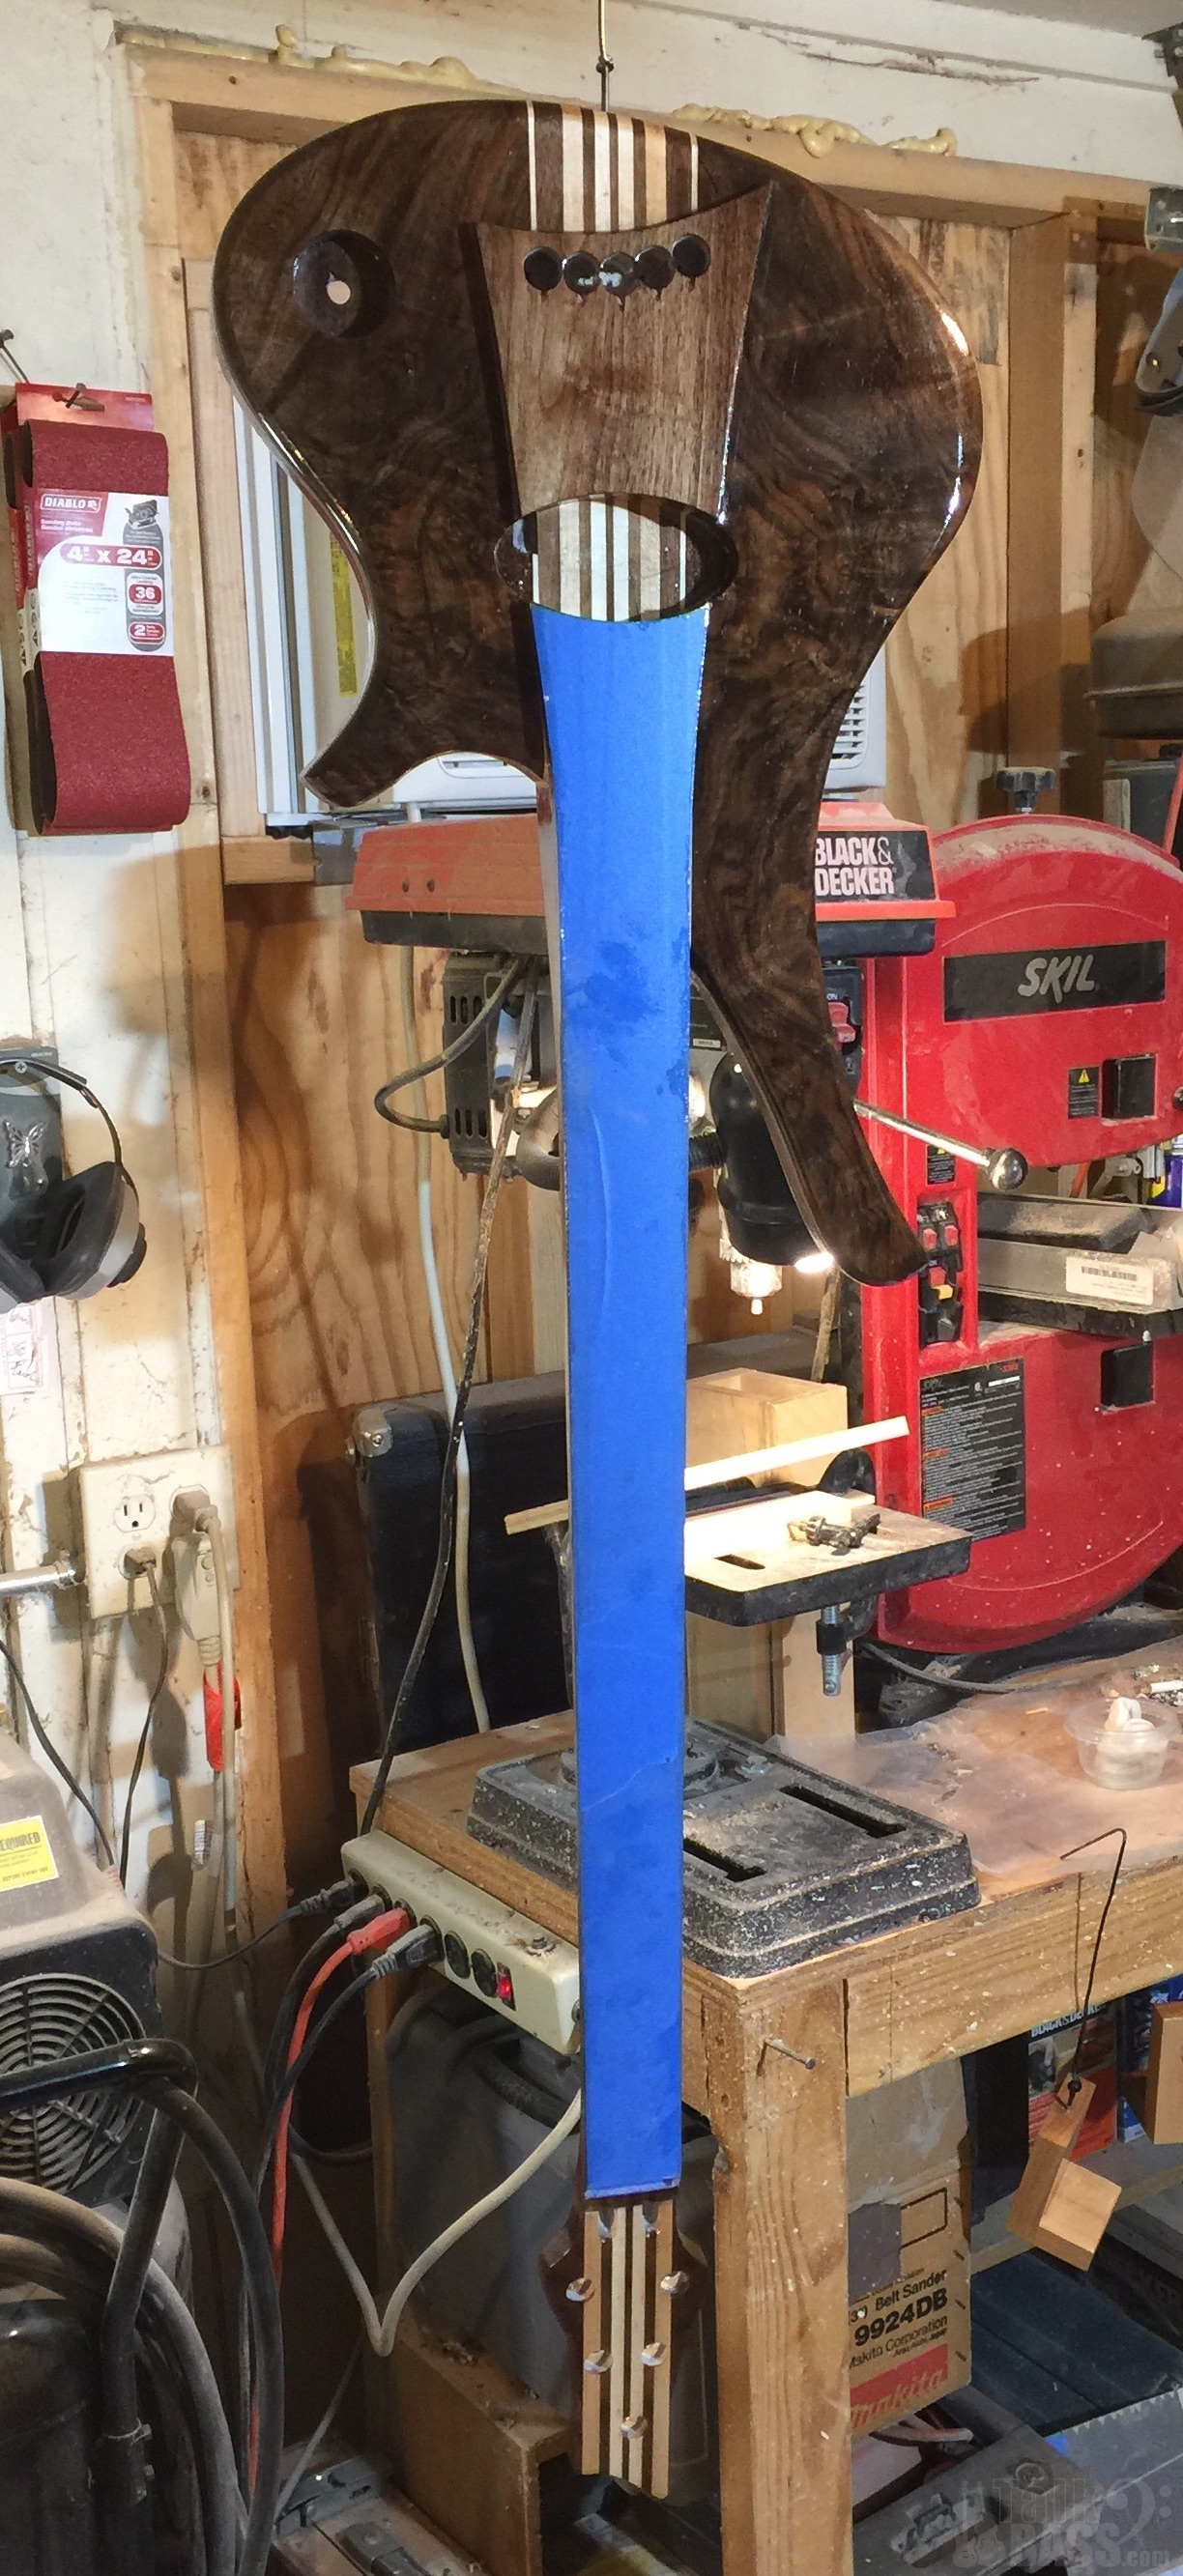
In the mean time, I put on the first coat of sealing epoxy.
In the mean time, I put on the first coat of sealing epoxy.
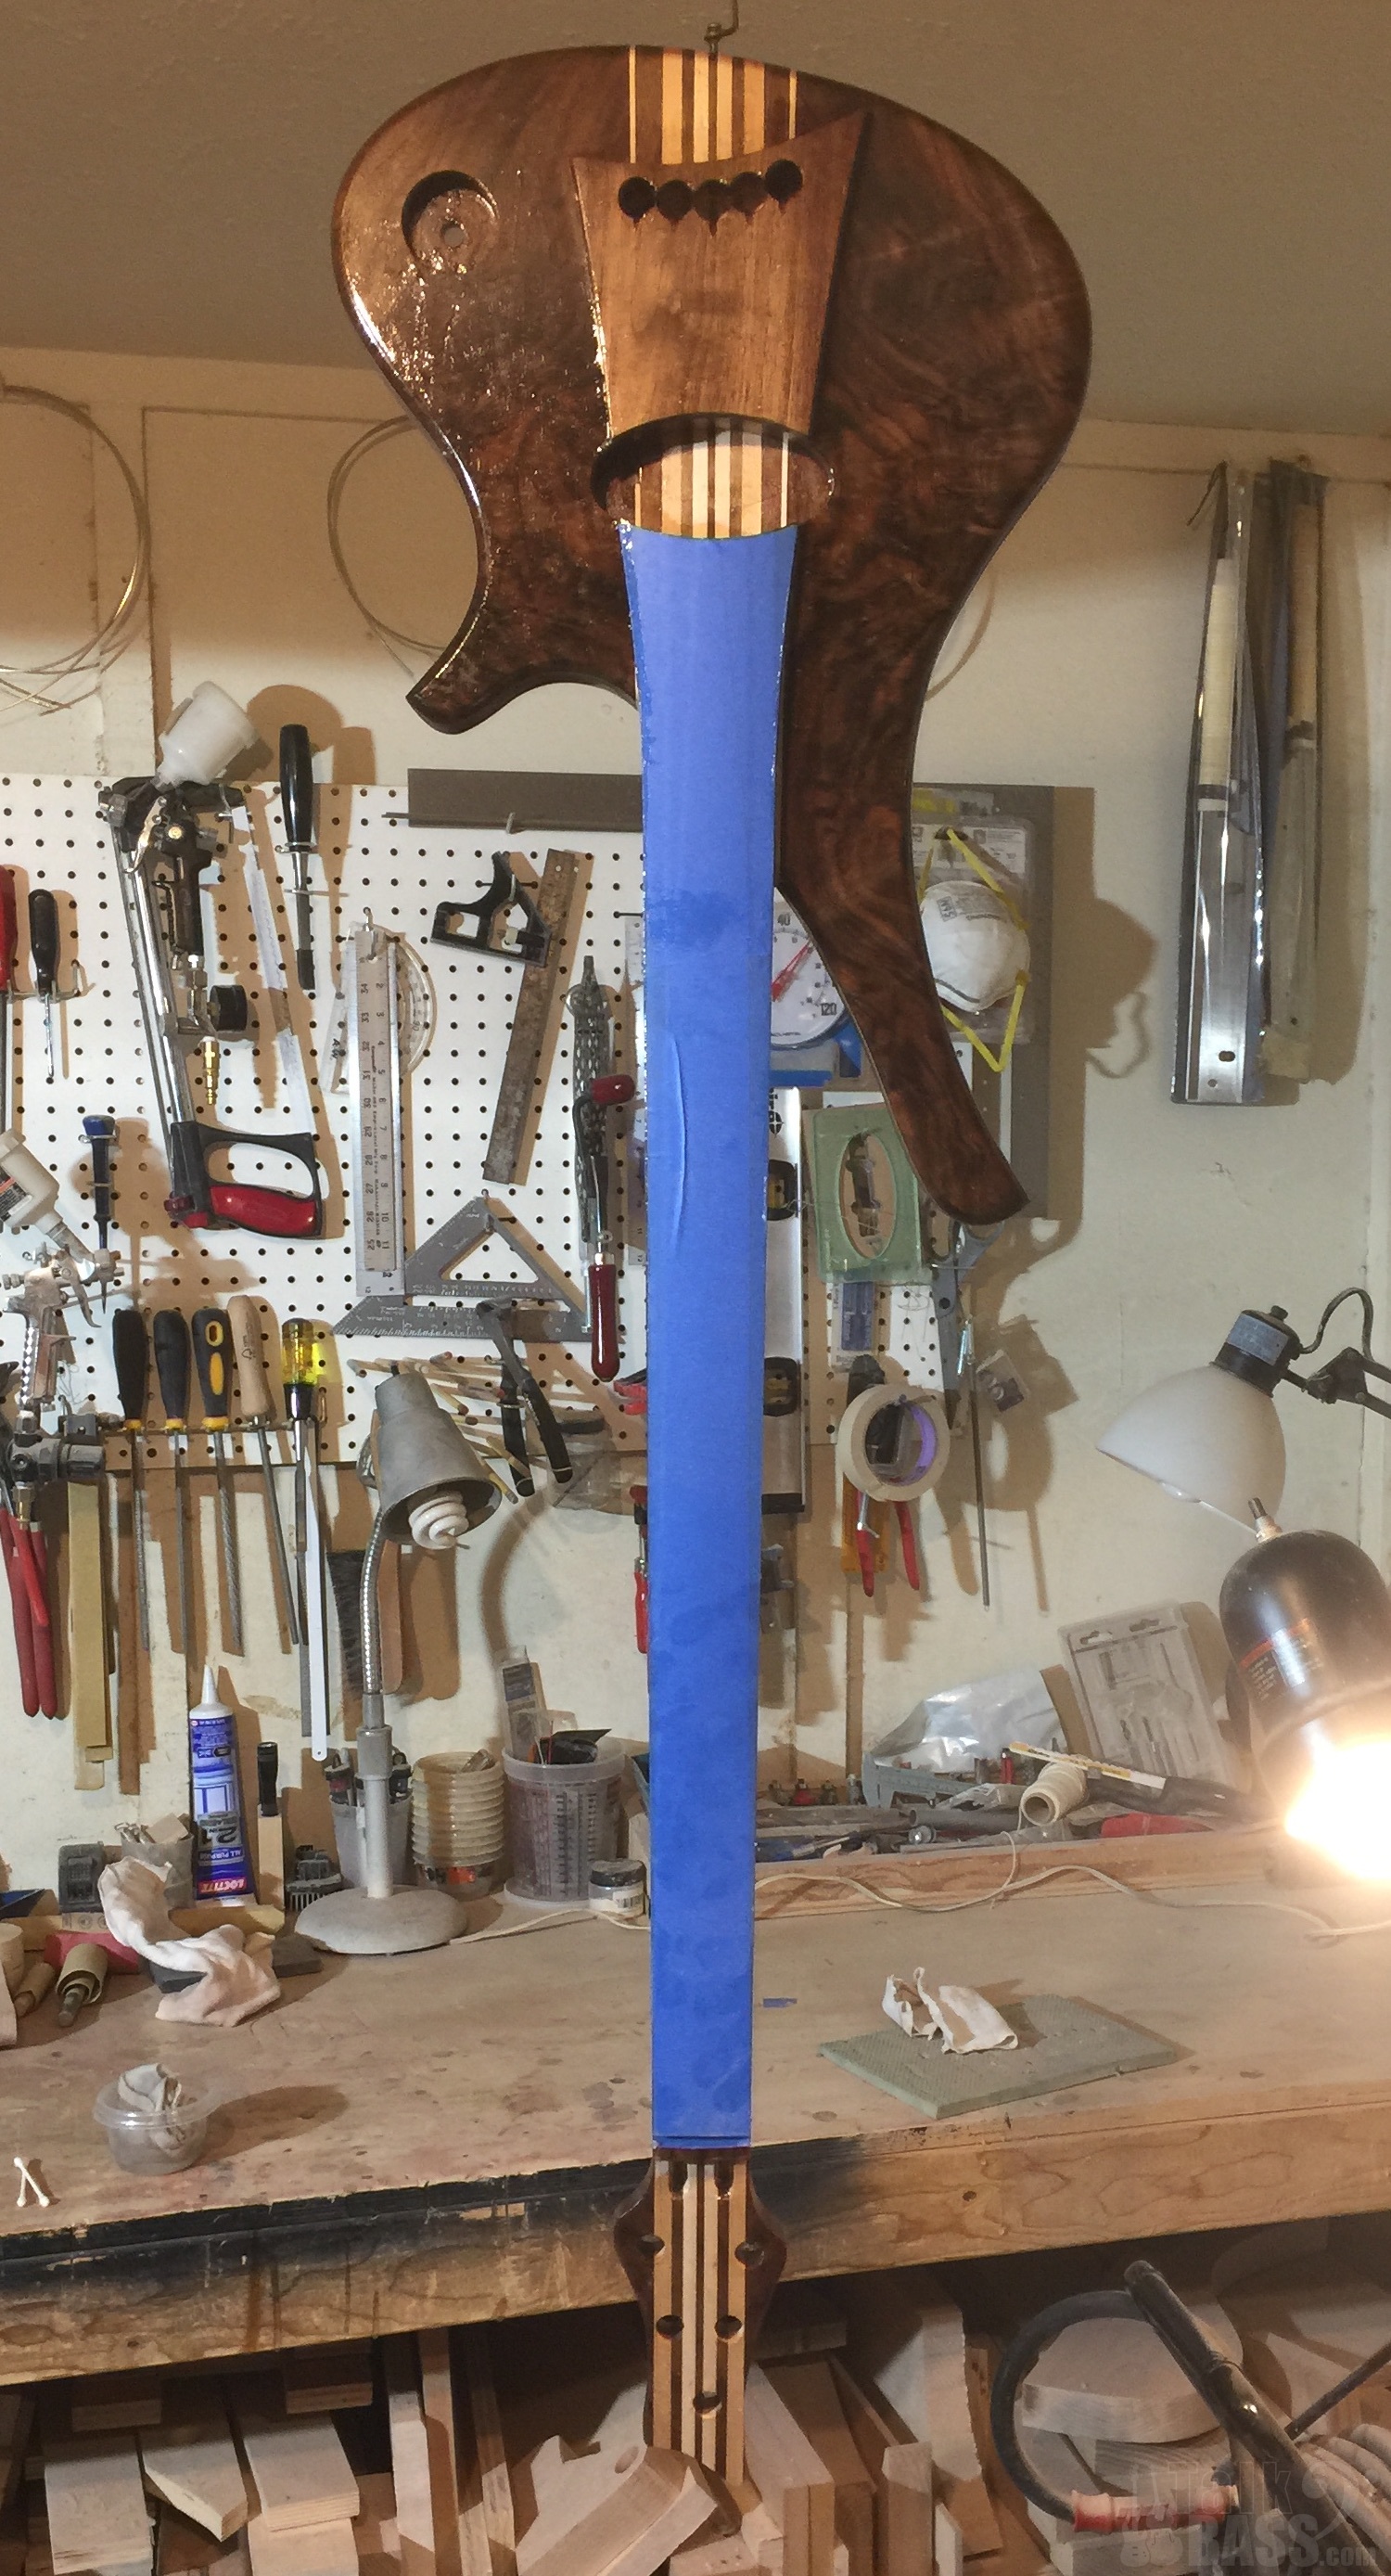
Sanded down the first coat of epoxy sealer. That revealed a few spots that needed additional work, especially in the belly cut area. Had to sand that back down to the wood to get it smooth.
Another coat of epoxy this morning.
Another coat of epoxy this morning.

2nd coat of epoxy.
Are you going to do an all-epoxy finish on this one? From here, it doesn't look like it needs any extra tinting or shading. The basic wood tones, darkened a bit by the epoxy, look great as they are. Maybe just the epoxy, buffed to a semi-gloss?
Are you going to do an all-epoxy finish on this one? From here, it doesn't look like it needs any extra tinting or shading. The basic wood tones, darkened a bit by the epoxy, look great as they are. Maybe just the epoxy, buffed to a semi-gloss?
As usual, I haven't yet decided. I liked the way the last Devil bass came out with just the epoxy. But I haven't sprayed a finish in a while, and I'm interested in trying the new "formula" for the ProFinisher you mentioned, with just the Floetrol, and no water. I have a few coats of epoxy to do, so there's time before I decide.

Can an oil finish be applied after epoxy, if would it just “sit” on top of the epoxy without soaking in?
Can an oil finish be applied after epoxy, if would it just “sit” on top of the epoxy without soaking in?
With a few rare exceptions, finishes don't "soak into" layers of finish under them. If you have base coats of epoxy (or polyurethane or polyester), then whatever you apply over it will be sitting on top of the base coats. It has to bond to the base coats.
Whatever you use for the base coats, you should prep it to help the following coats bond to it. Make sure the base coats are fully cured, lightly level sand with about 600 grit, and thoroughly clean off all the dust. I've found that it's best to blow the dust off with an air gun. Vacuuming, brushing and tack rags leave all kinds of dust.
Yes, if you've done the prep, you can put an oil finish over an epoxy base. Or, you can use water-base poly over epoxy. Or nitro lacquer.
But don't put water-base poly over an oil finish, or water-base poly over nitro lacquer. Don't mix oil and water. If you use an oil-base finish partway in the process, then everything after that needs to be oil-base.
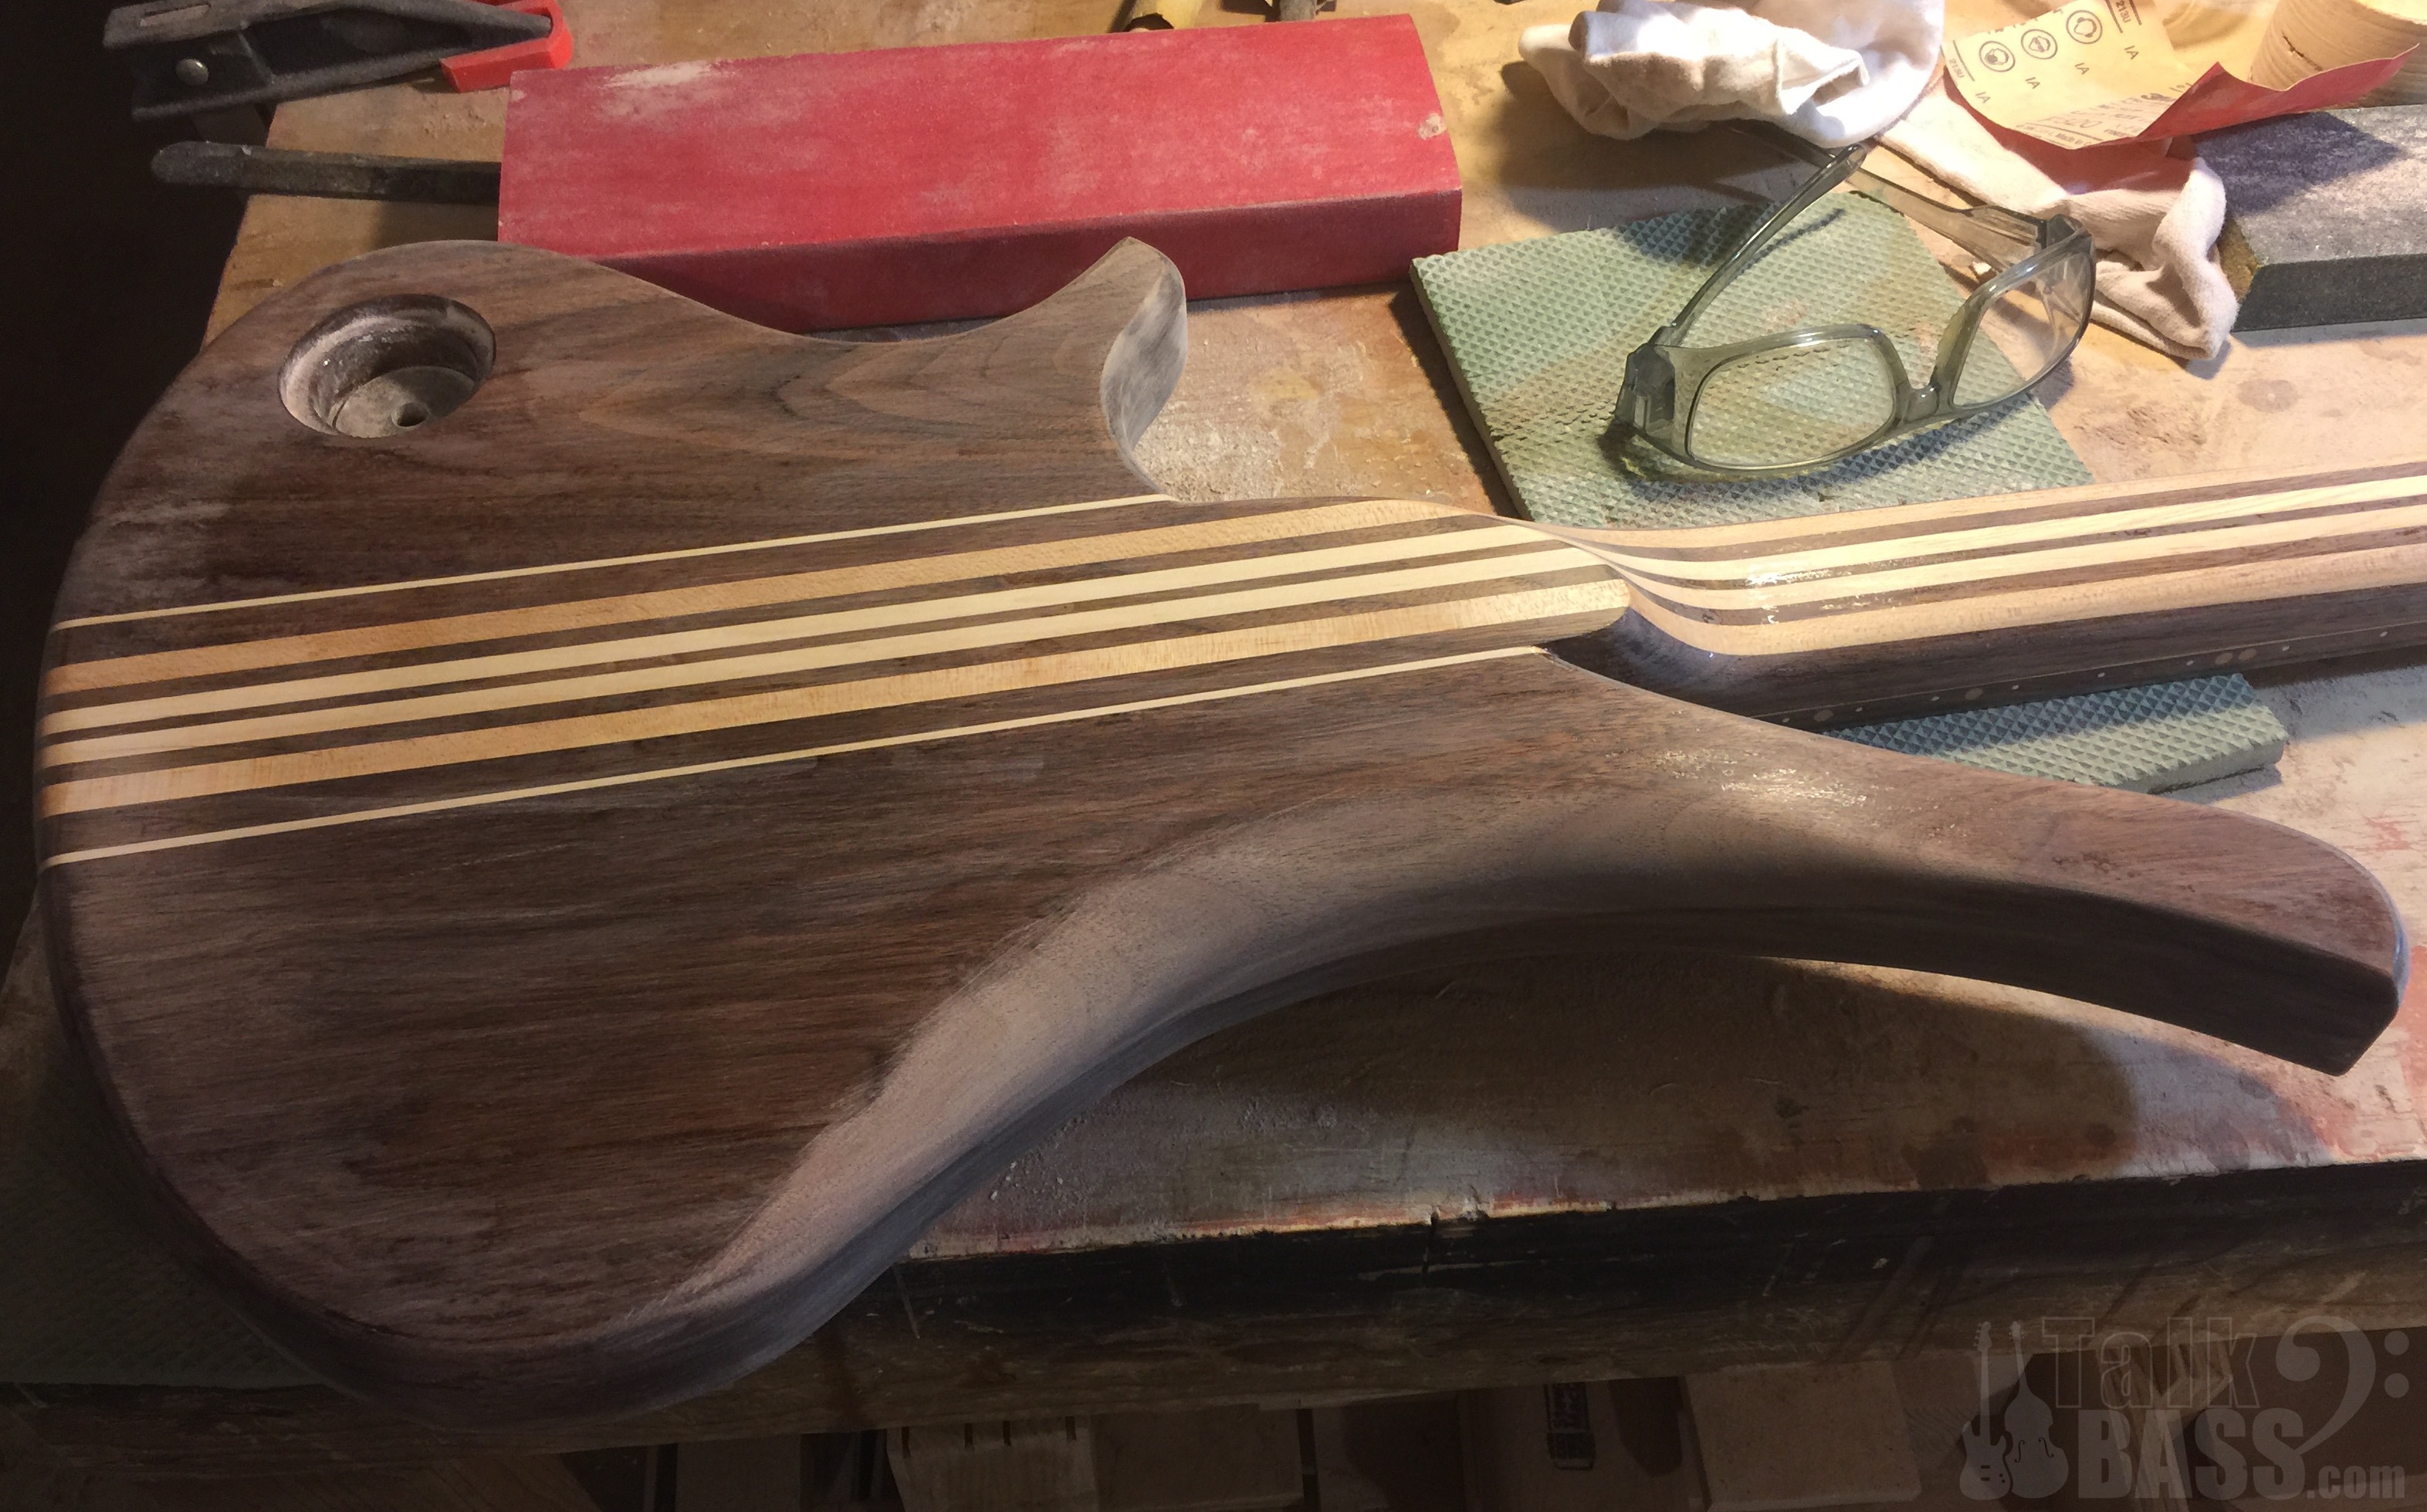
The local temps were a tad on the chilly side overnight. Into the 40's - brrrr. I know you northerners and east coasters are chuckling at lows of 40's, but it didn't allow the epoxy to fully cure. I may start bringing the bass into the house overnight.
It's supposed to go into the upper 70's today, so our "cold" snap is over for a few days. I'll let this cure for another half day or so, and move on. I'm sure I can find something to do in the mean time
It's supposed to go into the upper 70's today, so our "cold" snap is over for a few days. I'll let this cure for another half day or so, and move on. I'm sure I can find something to do in the mean time

BassHappy
Supporting Member
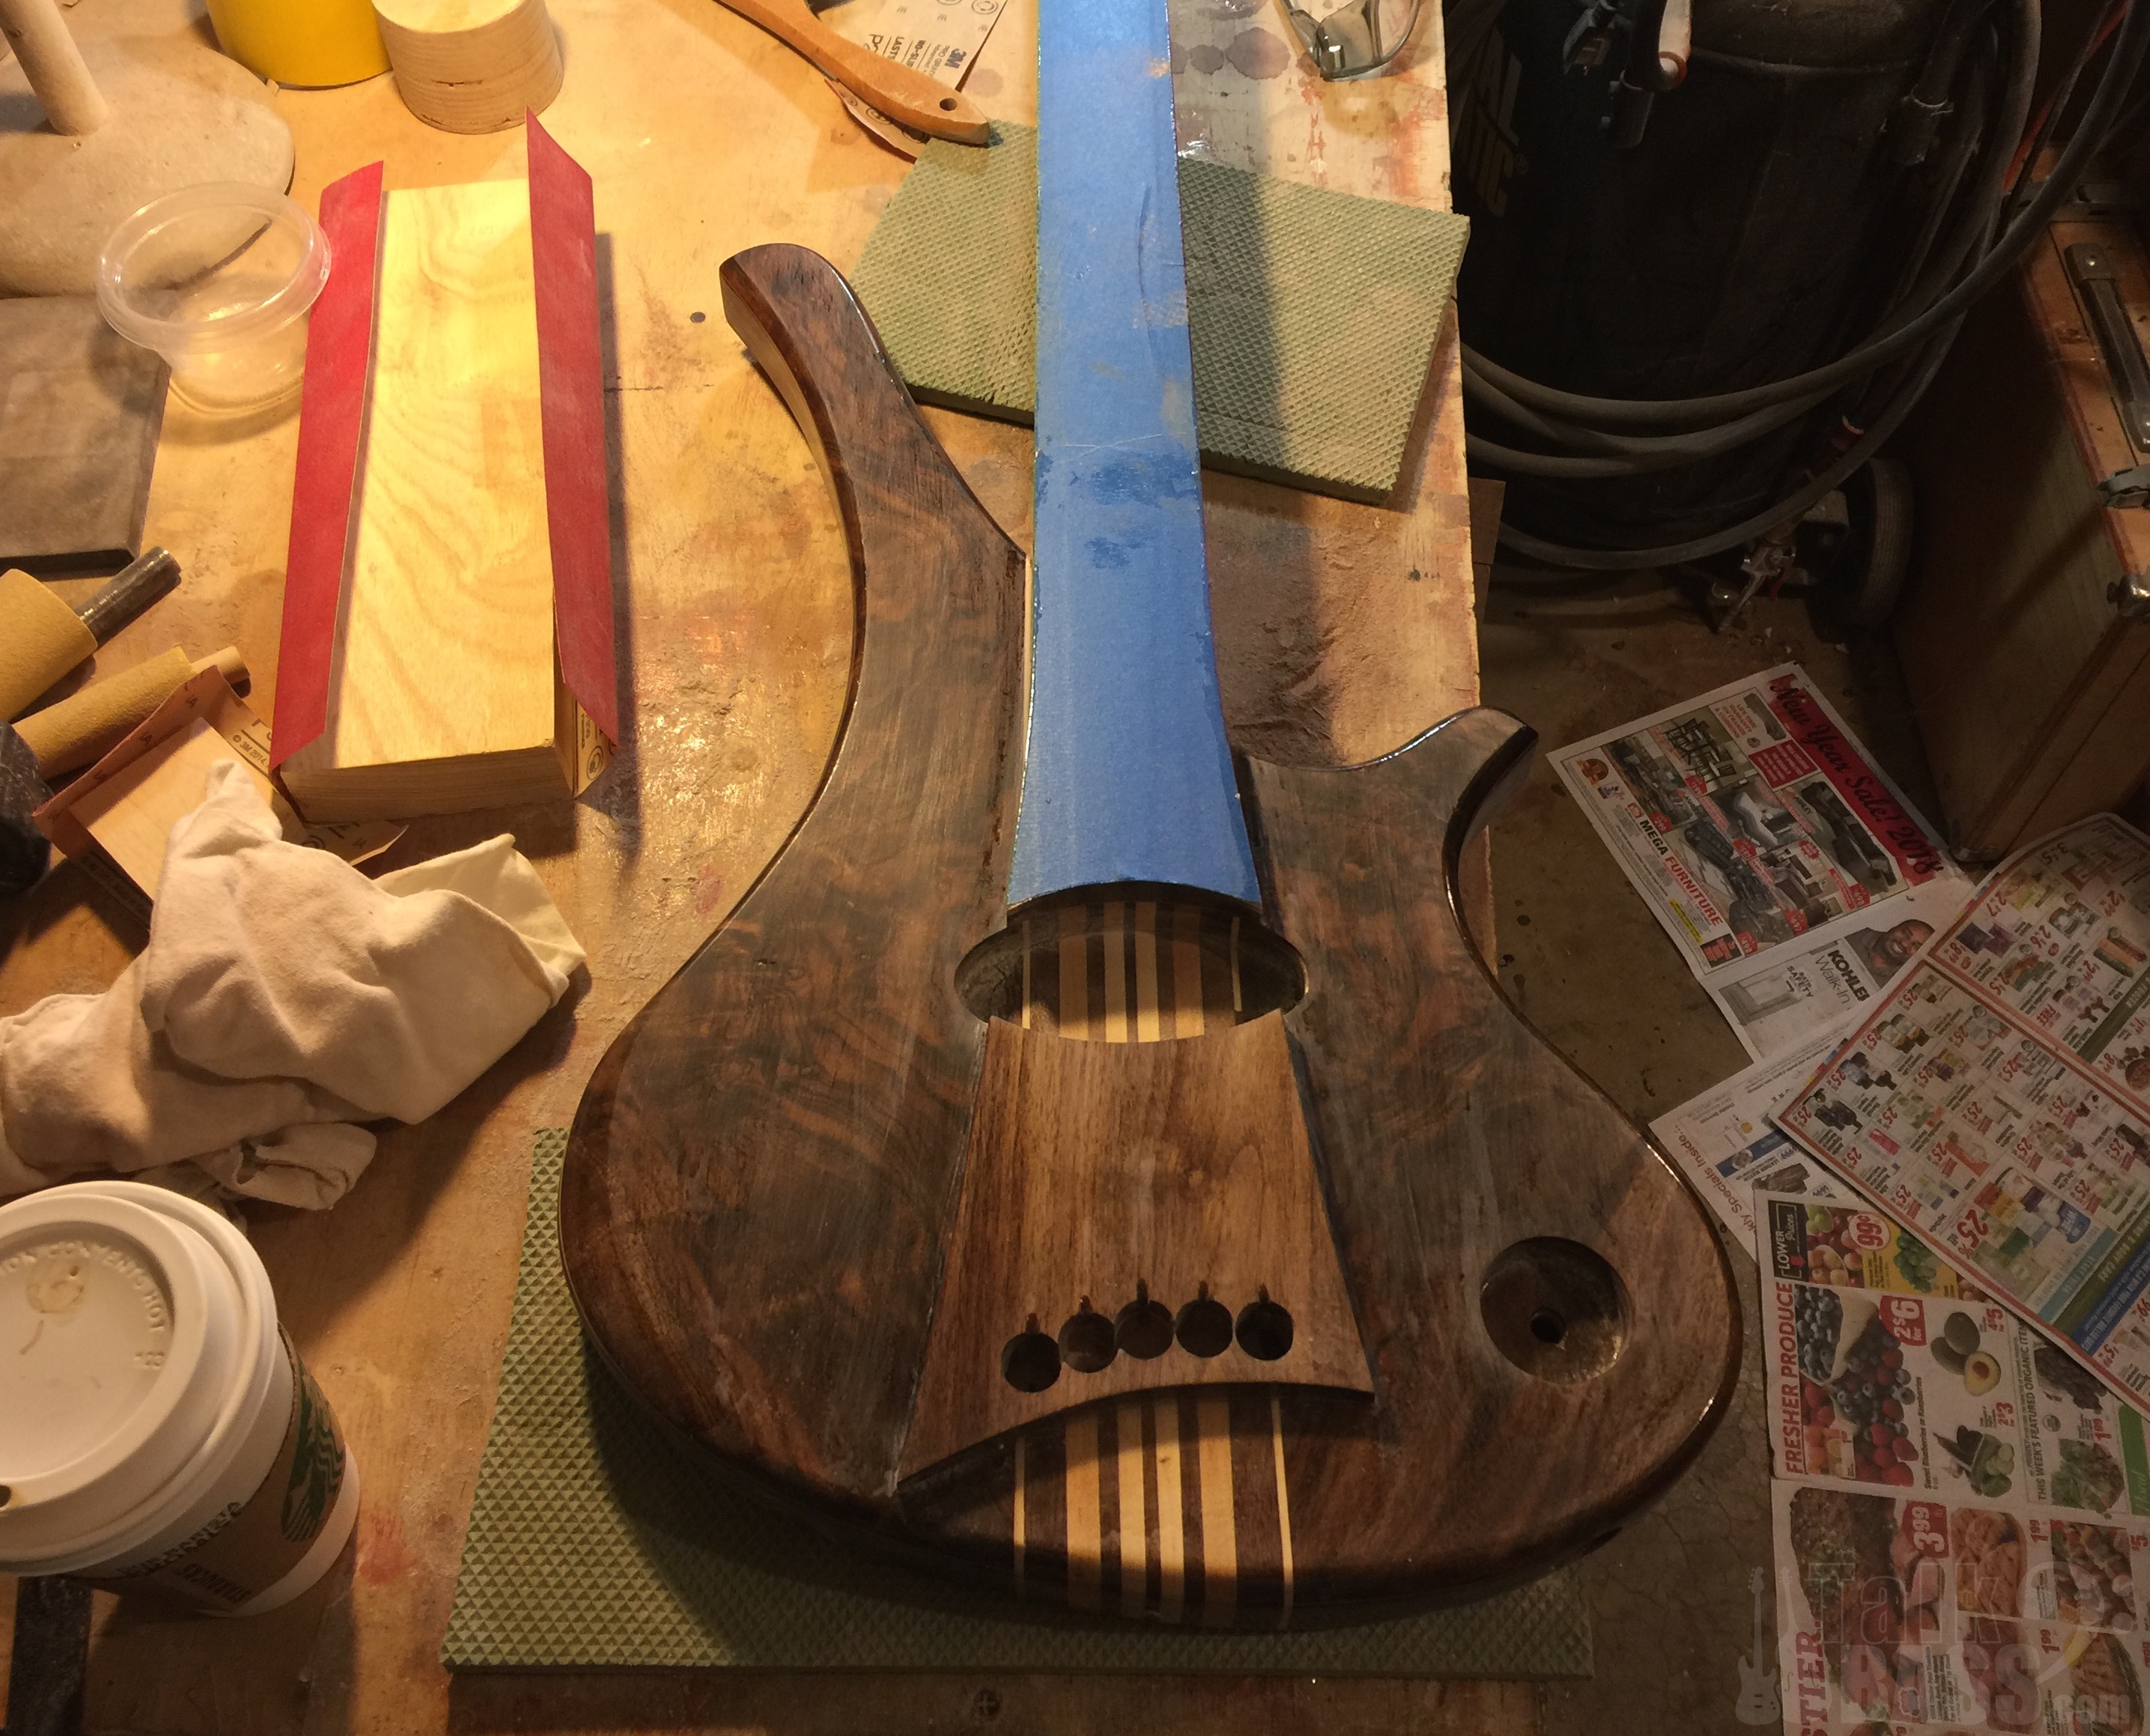
Wow. I find it hard to believe how grey it looks against the brown background. Is it just an optical illusion or was there some other trick or lighting innovation involved that made the body appear so grey? It looks kind of like some buckeye burl I have seen in this shot...
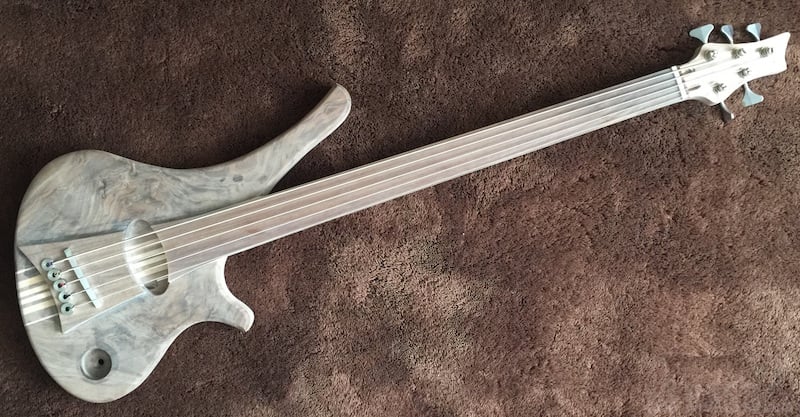
Wow. I find it hard to believe how grey it looks against the brown background. Is it just an optical illusion or was there some other trick or lighting innovation involved that made the body appear so grey? It looks kind of like some buckeye burl I have seen in this shot...
View attachment 2883849
That shot was in full sunshine through the window, which washed out the exposure, I think.

Wow. I find it hard to believe how grey it looks against the brown background. Is it just an optical illusion or was there some other trick or lighting innovation involved that made the body appear so grey? It looks kind of like some buckeye burl I have seen in this shot...
View attachment 2883849
White Walker bass!

EDIT: That's not a bad name for it either. Gorgeous!
Speaking of white walkers, winter is definitely here in Phoenix. It's a chilly 38 degrees outside, and it was below 60 in the workspace. But the epoxy finally fully cured, and I sanded it smooth, and laid on another coat. I was able to get the temps in the shop up past 70 with my portable space heater.
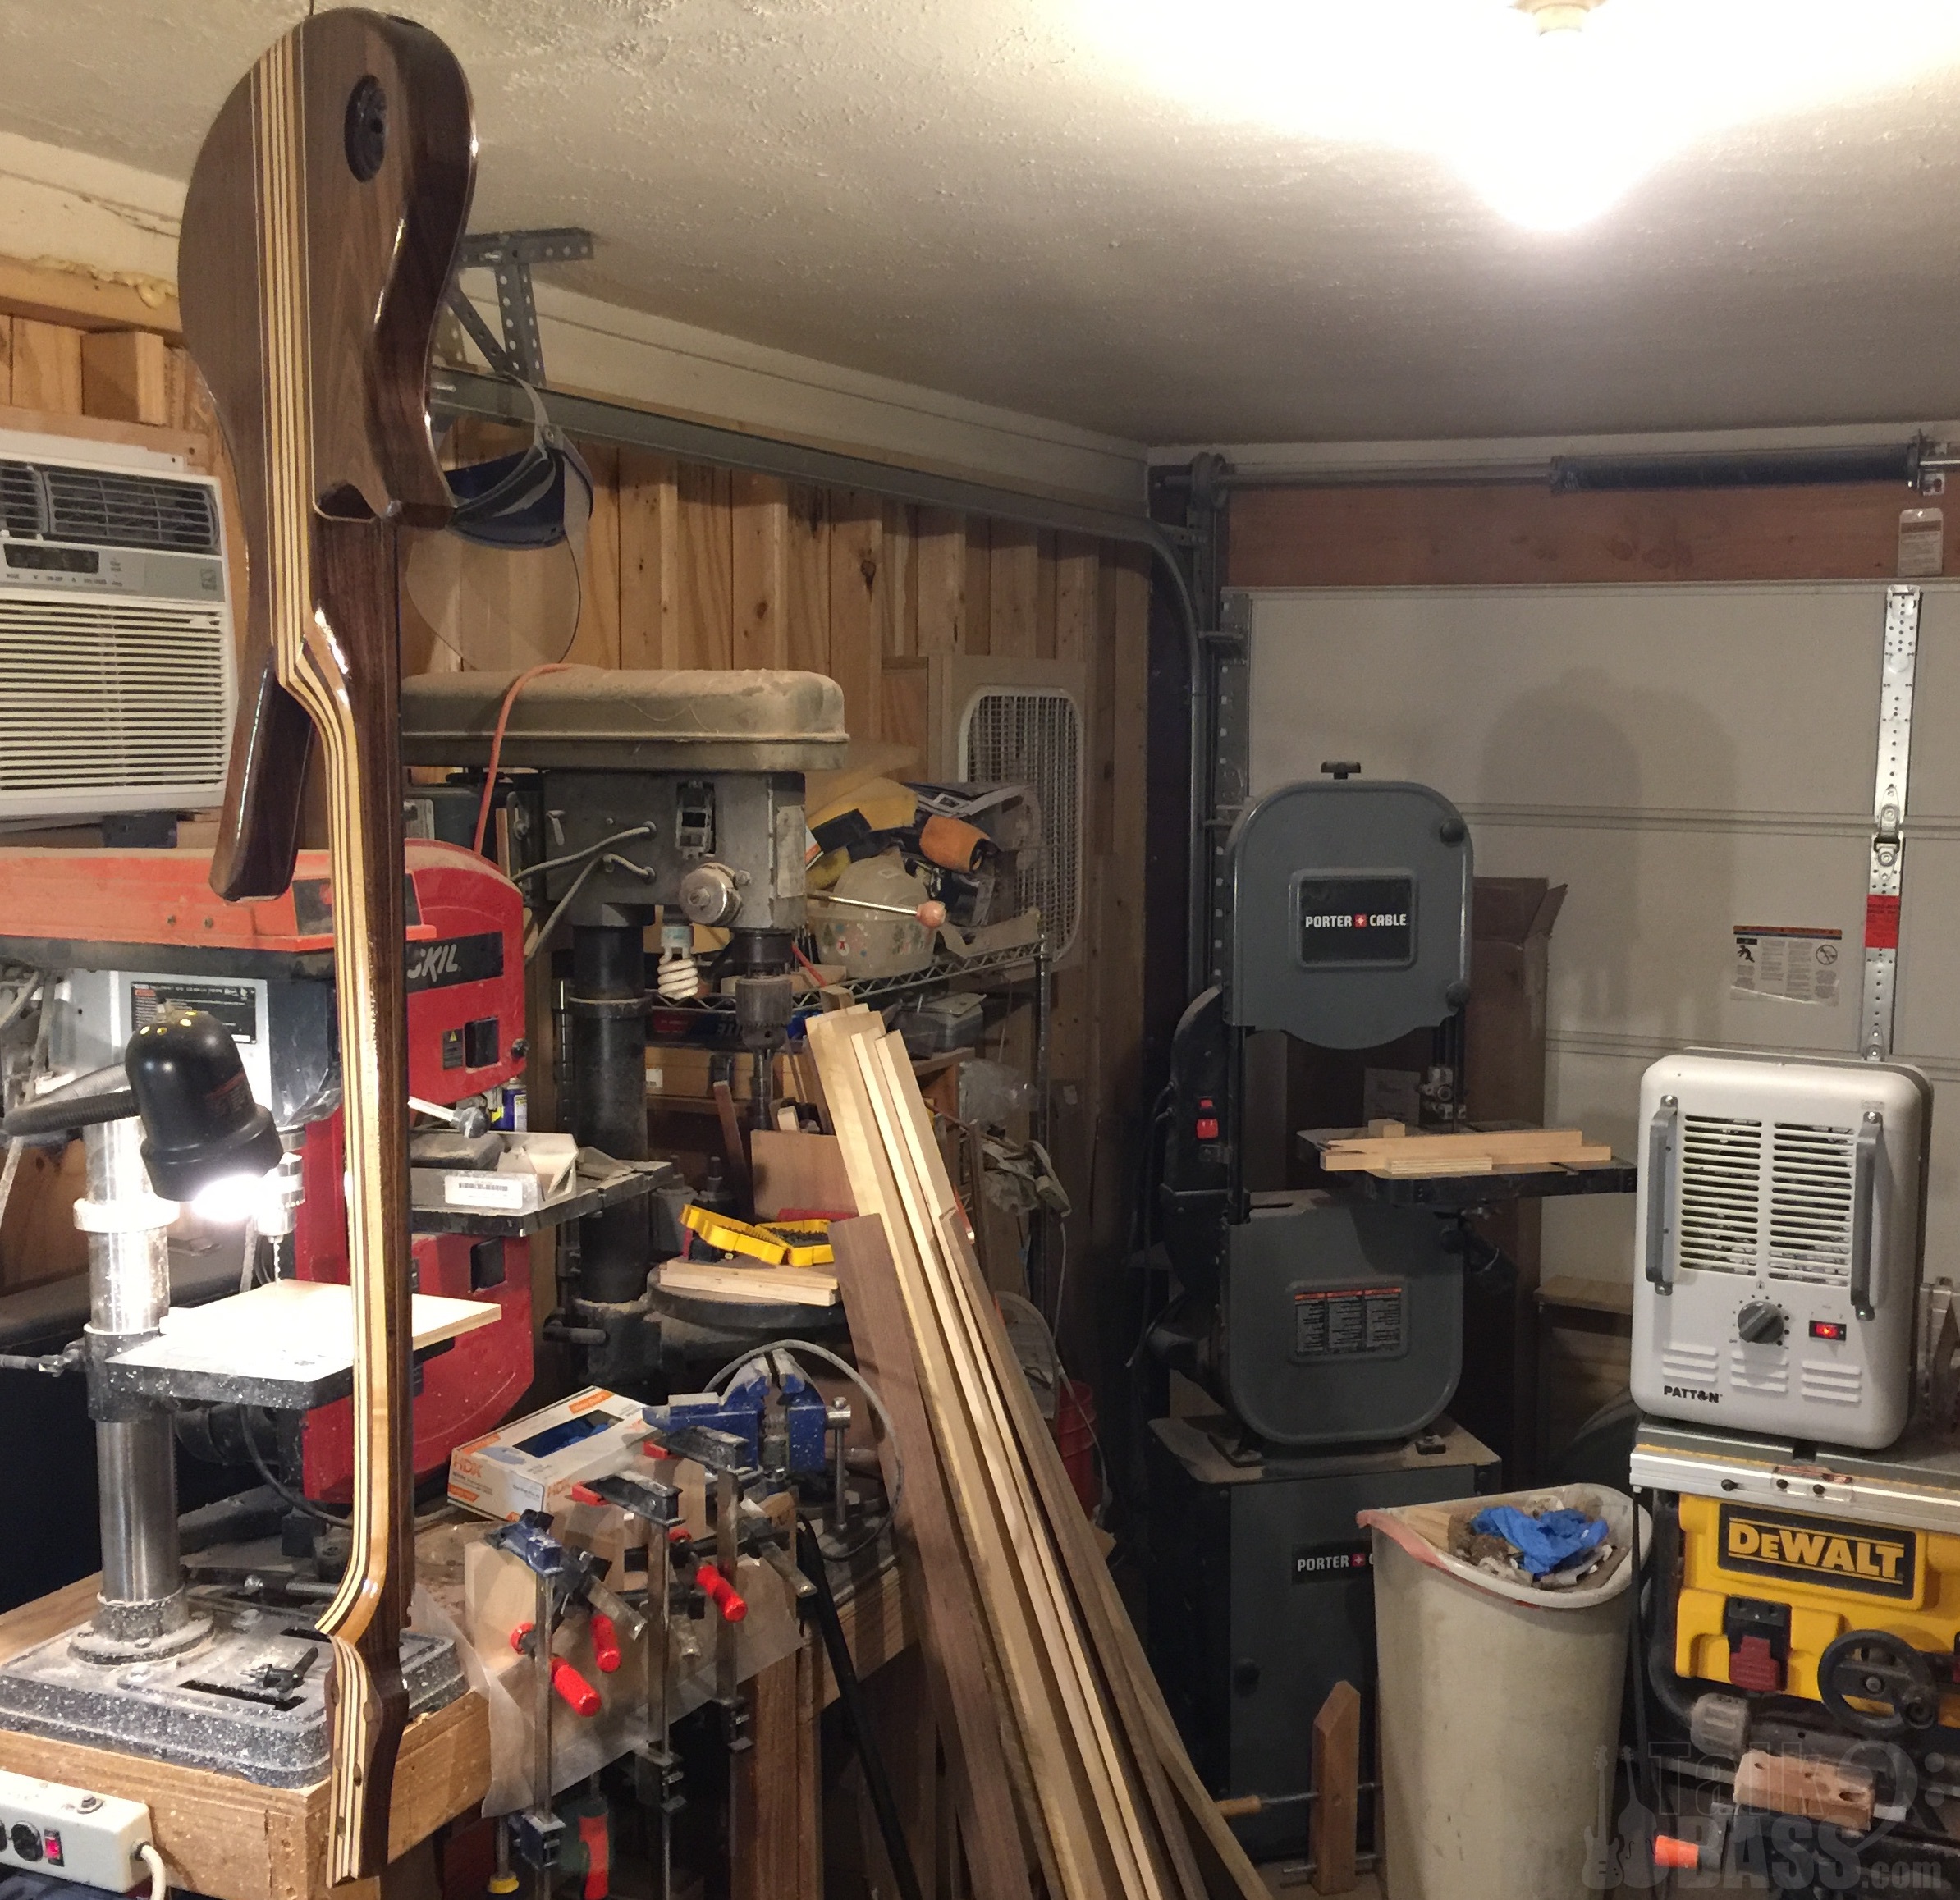
Looks like these cold nights are interfering with my epoxy cure rate. I started sanding it again, but found that again, it's not fully cured.
I'll let it sit until at least this afternoon, or maybe tomorrow morning. Fortunately, the temps are supposed to get into the 70s today. Maybe that will allow the shop to stay warm enough overnight to allow the epoxy to cure in 24 hours. I did start working on my demo track, assuming I get this done on time.
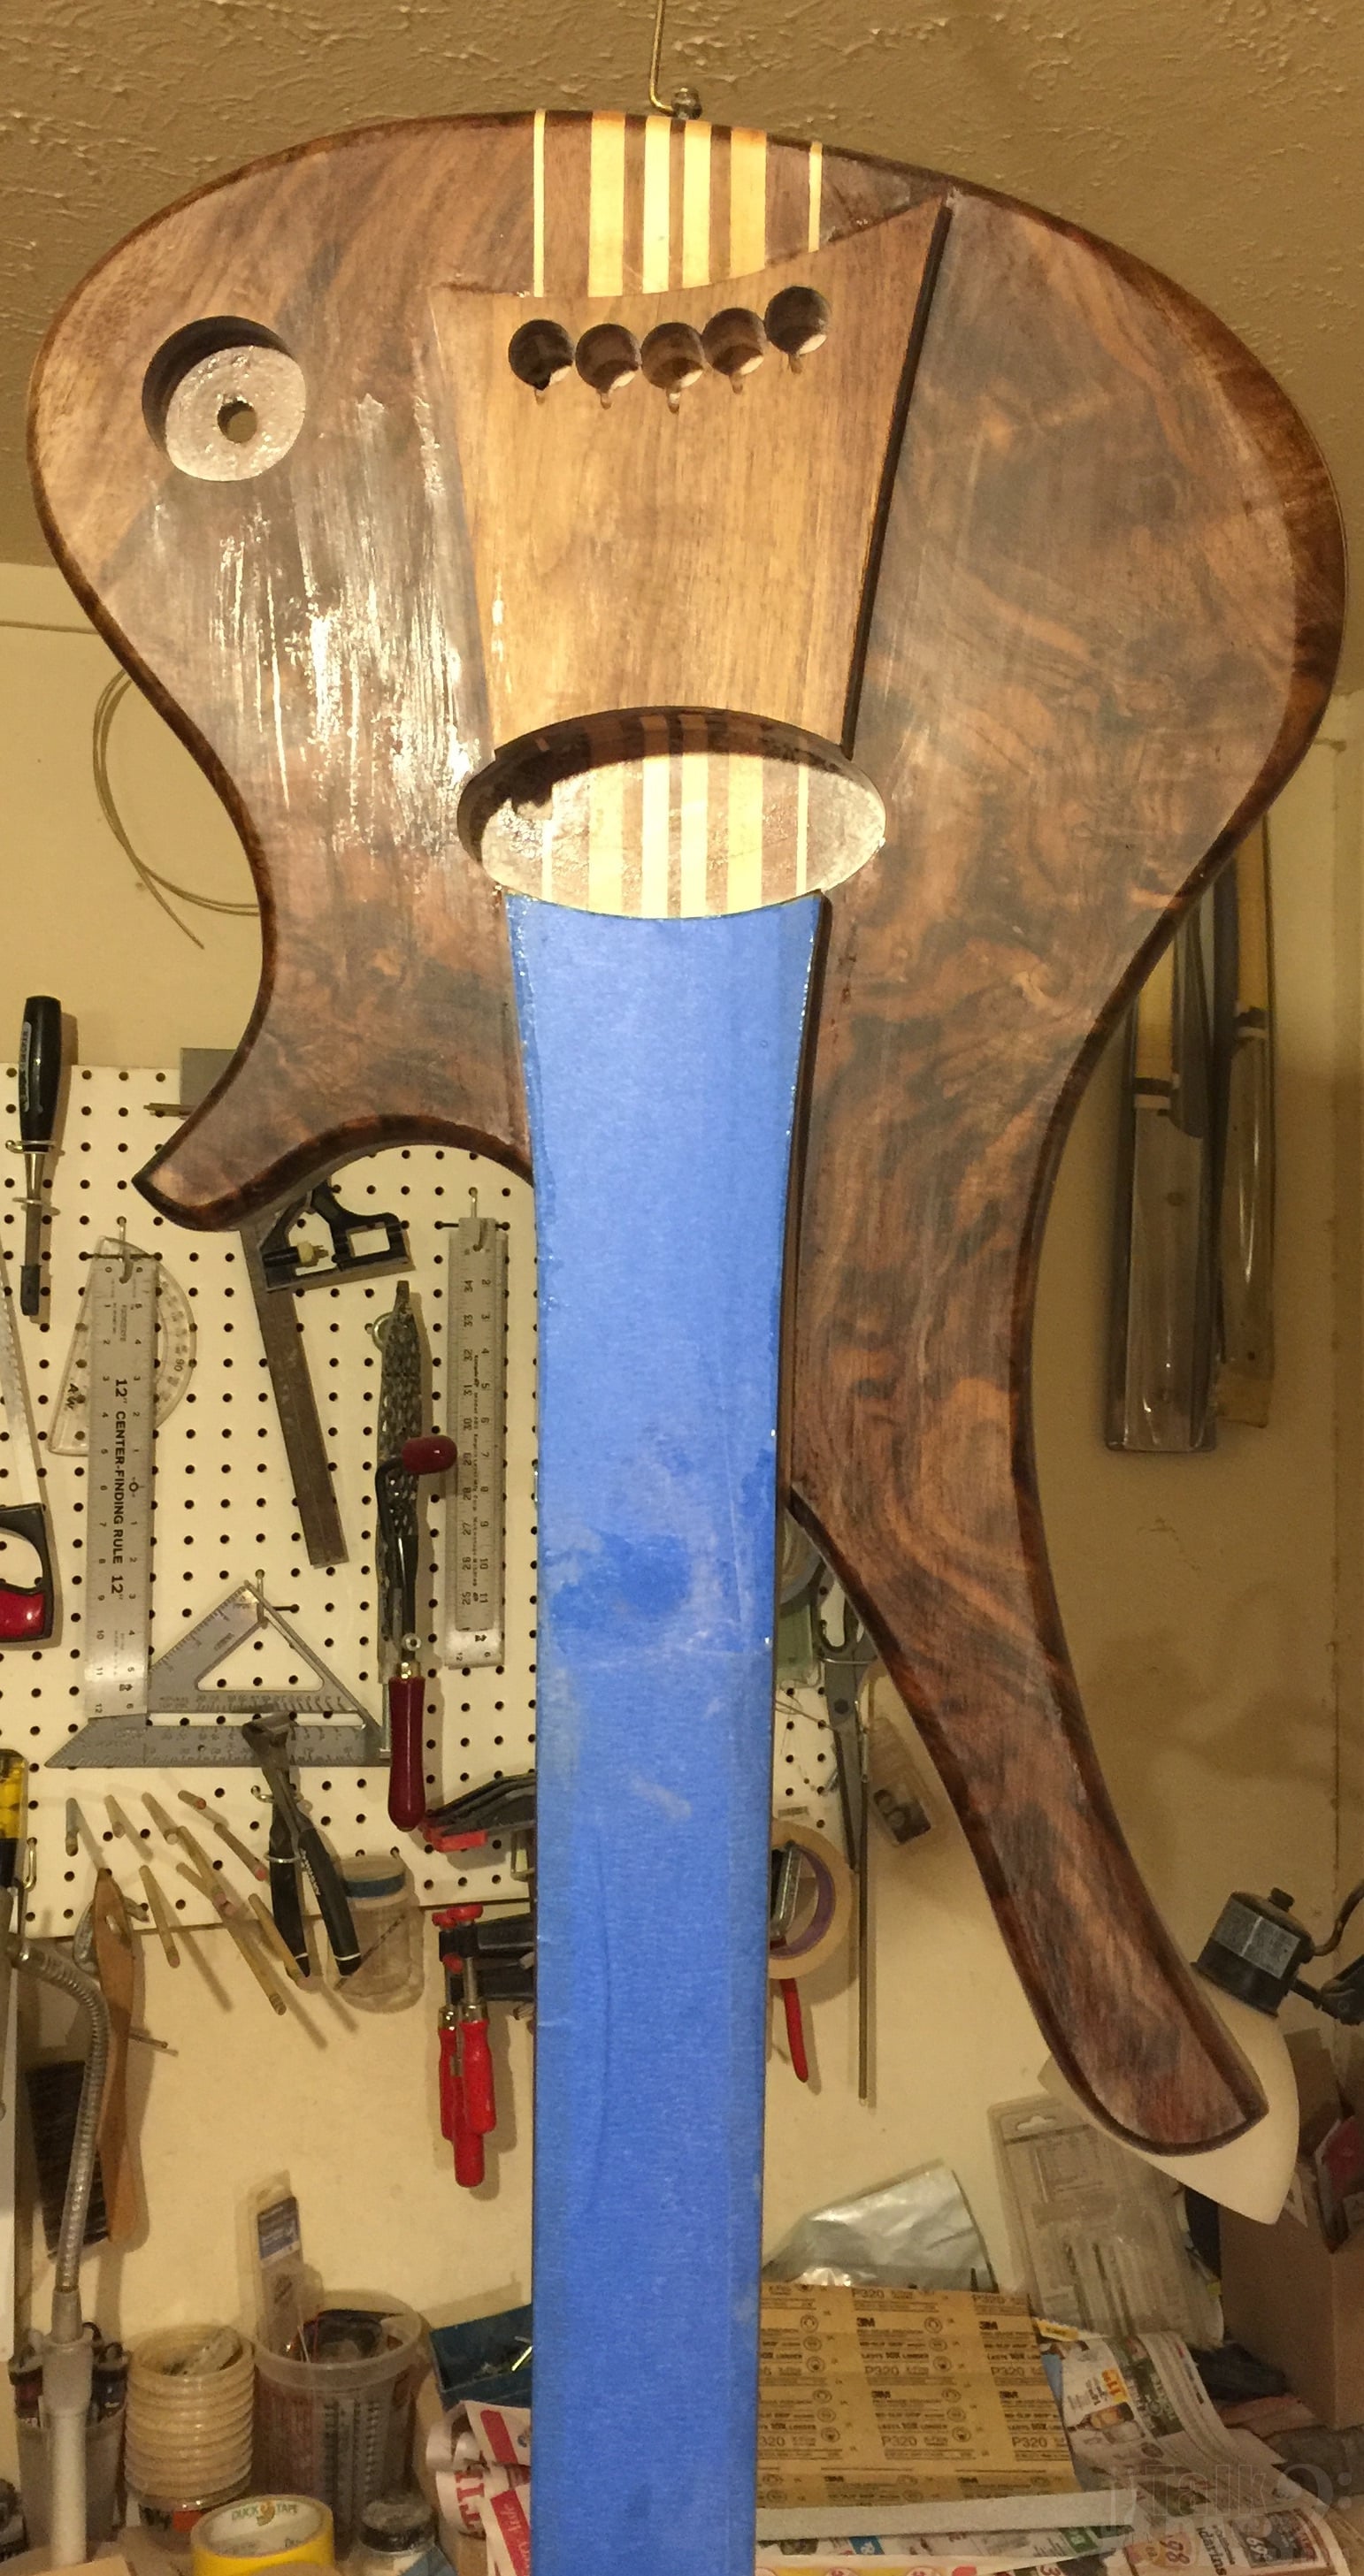
I'll let it sit until at least this afternoon, or maybe tomorrow morning. Fortunately, the temps are supposed to get into the 70s today. Maybe that will allow the shop to stay warm enough overnight to allow the epoxy to cure in 24 hours. I did start working on my demo track, assuming I get this done on time.
OK, epoxy finally cured, laid on another coat. This may be the last one before clear coat.