• TalkBass has been independent since 1998. Add your voice.
    Create a free account to reply to discussions, view embedded media, and browse with fewer display ads.
    Join freeLog in
    Want zero display ads or expanded classifieds tools? Compare plans.

Winter Build Off 2018 - Walnut Grace 6

Those pesky details
LOL normally I'm very detailed in my build process and I examine every little detail well before I go. But my other walnut build ended up being changed quite a bit near the start of the competition, so I'm still detail oriented, but less focused than some other of my own builds. This one, the Grace, has become even more ad hoc, and I'm just sort of going with it. I hope I don't **** it up! :woot:
 
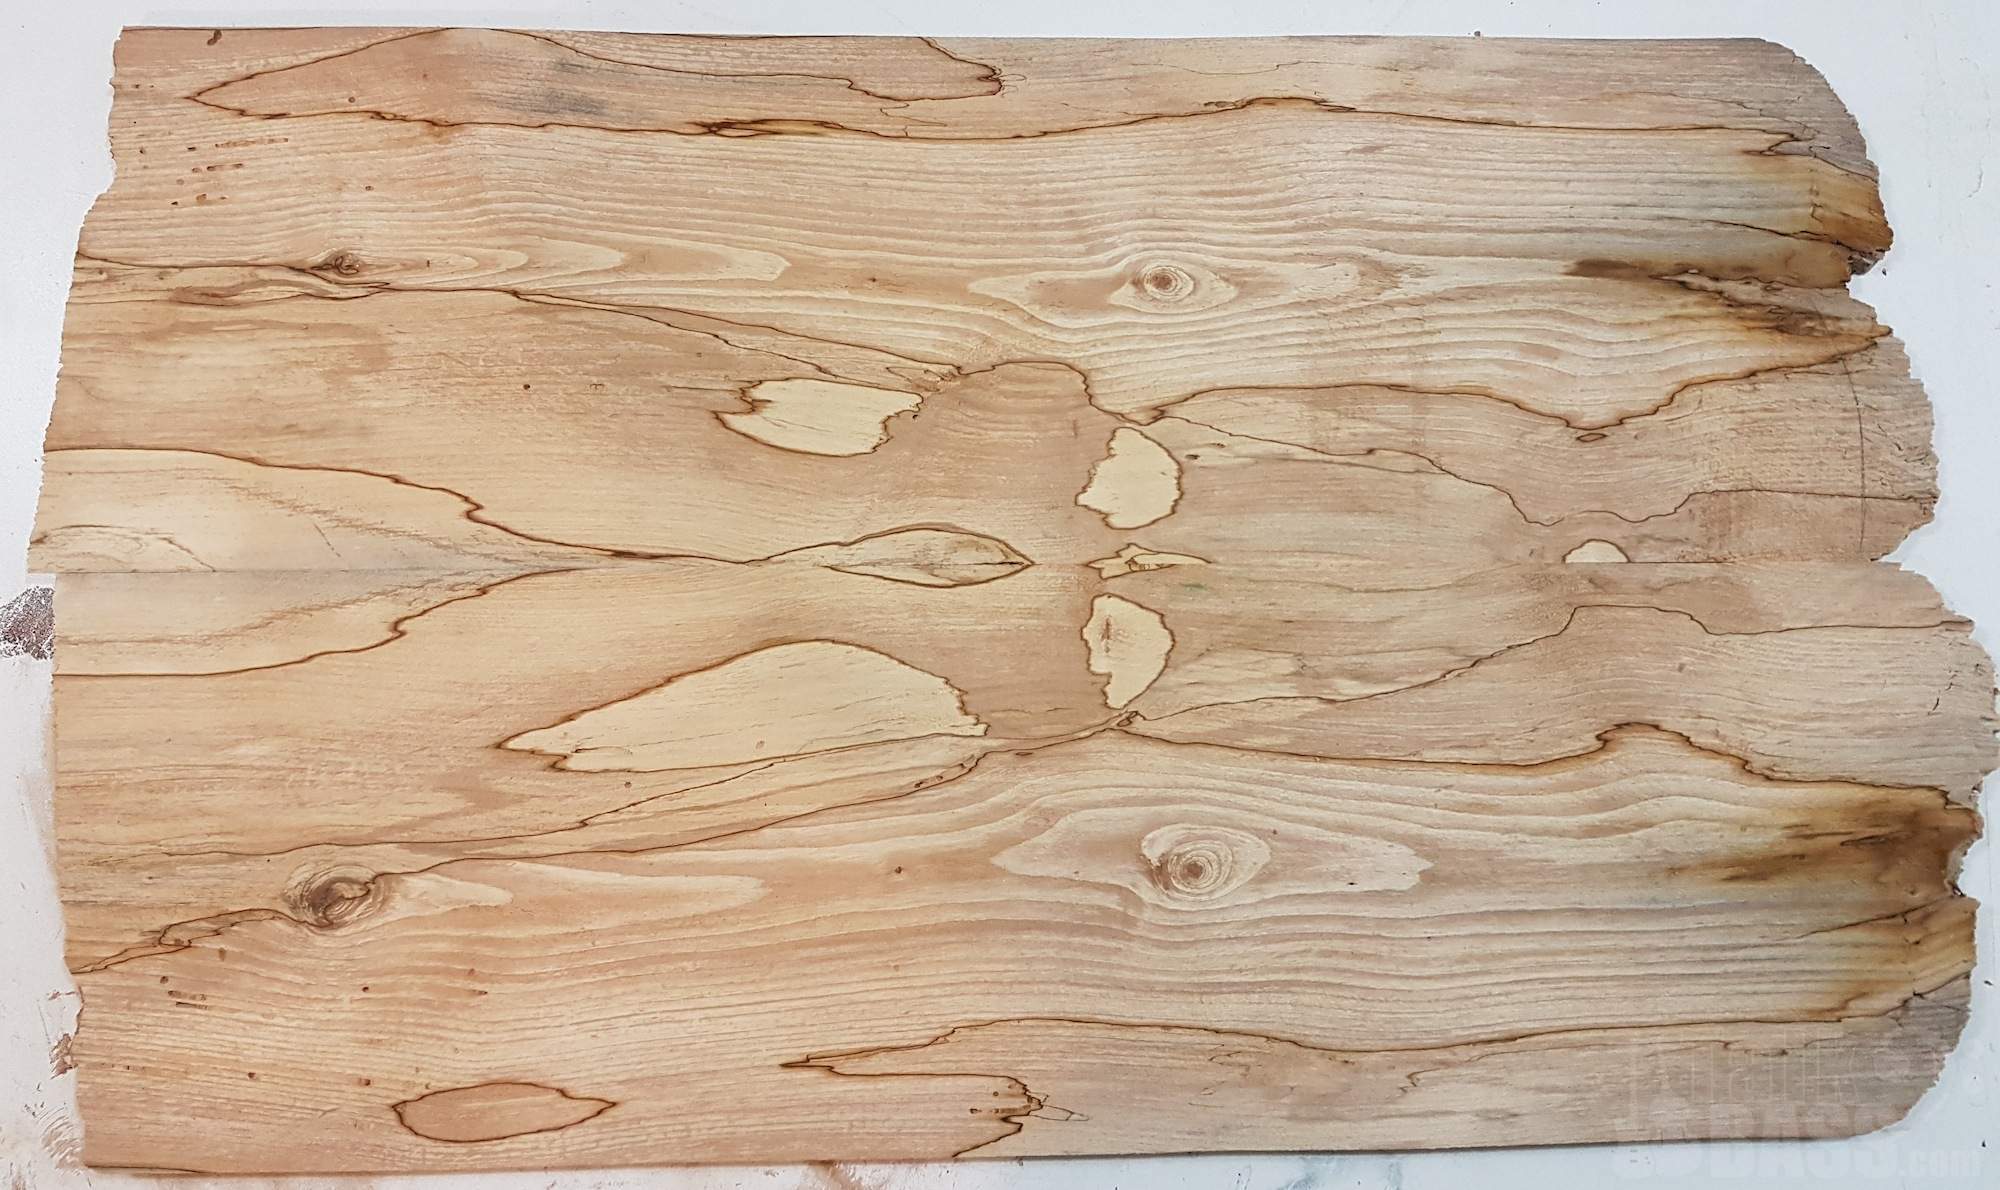
I edge jointed the top in preparation for joining the halves. They just need some 1 hour epoxy - I ran out. :)

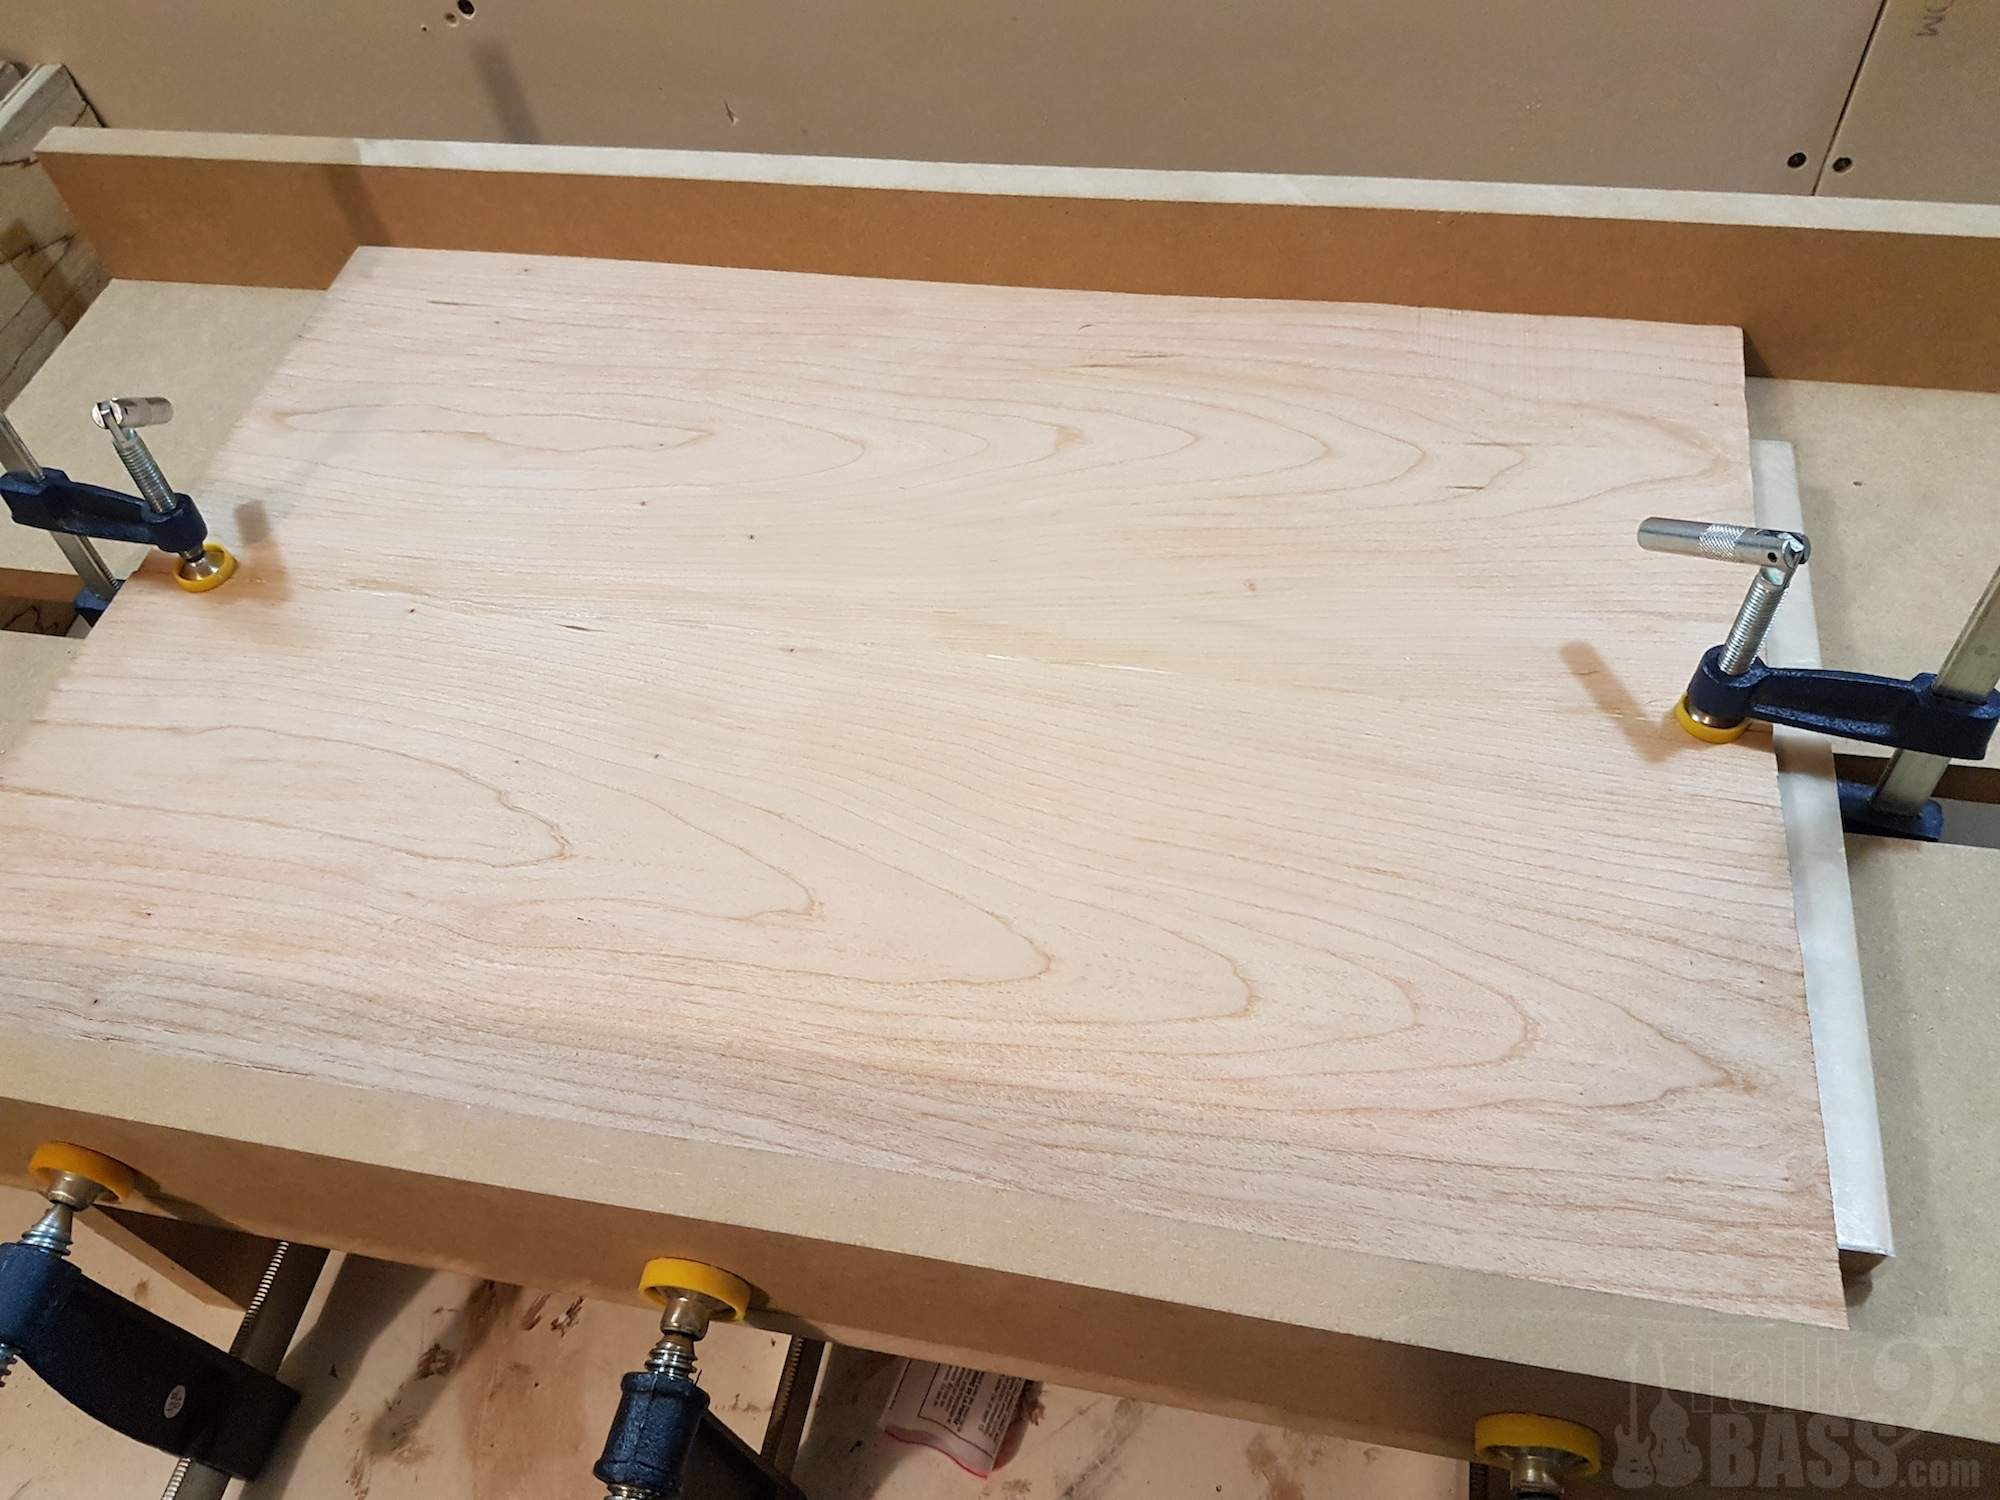
Organized a few things with this design, and decided to incorporate an Unplanned Design FeatureTM - I decided to put a cherry "veneer" in the body stack so that I could use that extra thin piece of walnut that I "ruined" previously for the back of this bass. The cherry is about 1/4" thick right now, but will come down to a little less than 3/16, or 4mm. Here it's edge jointed and ready to be glued up.

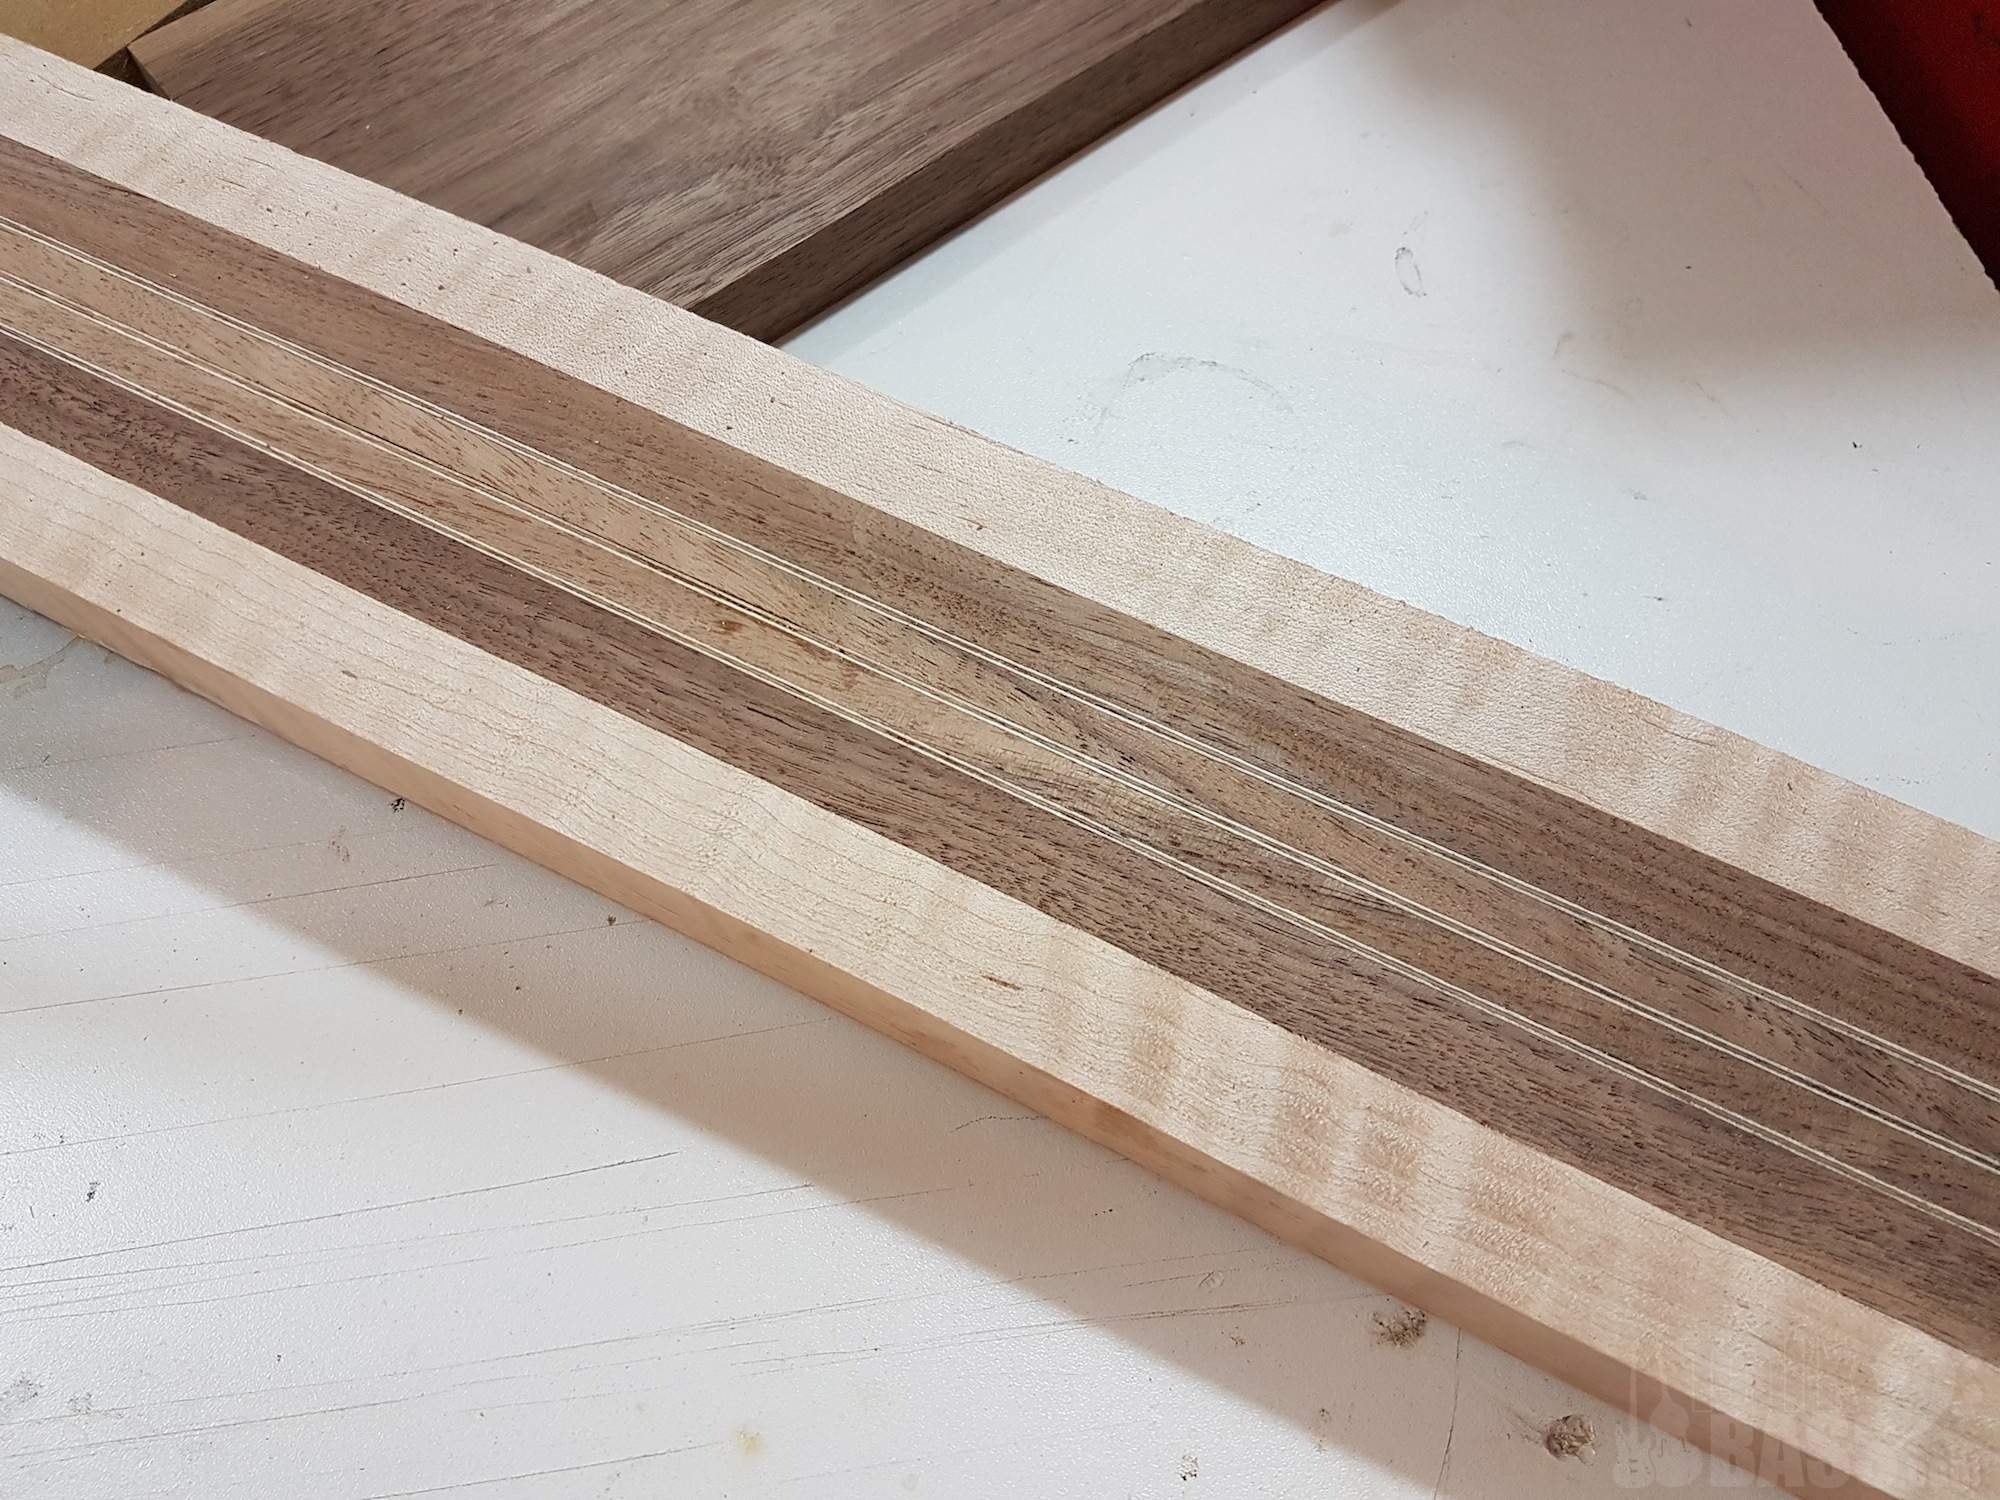
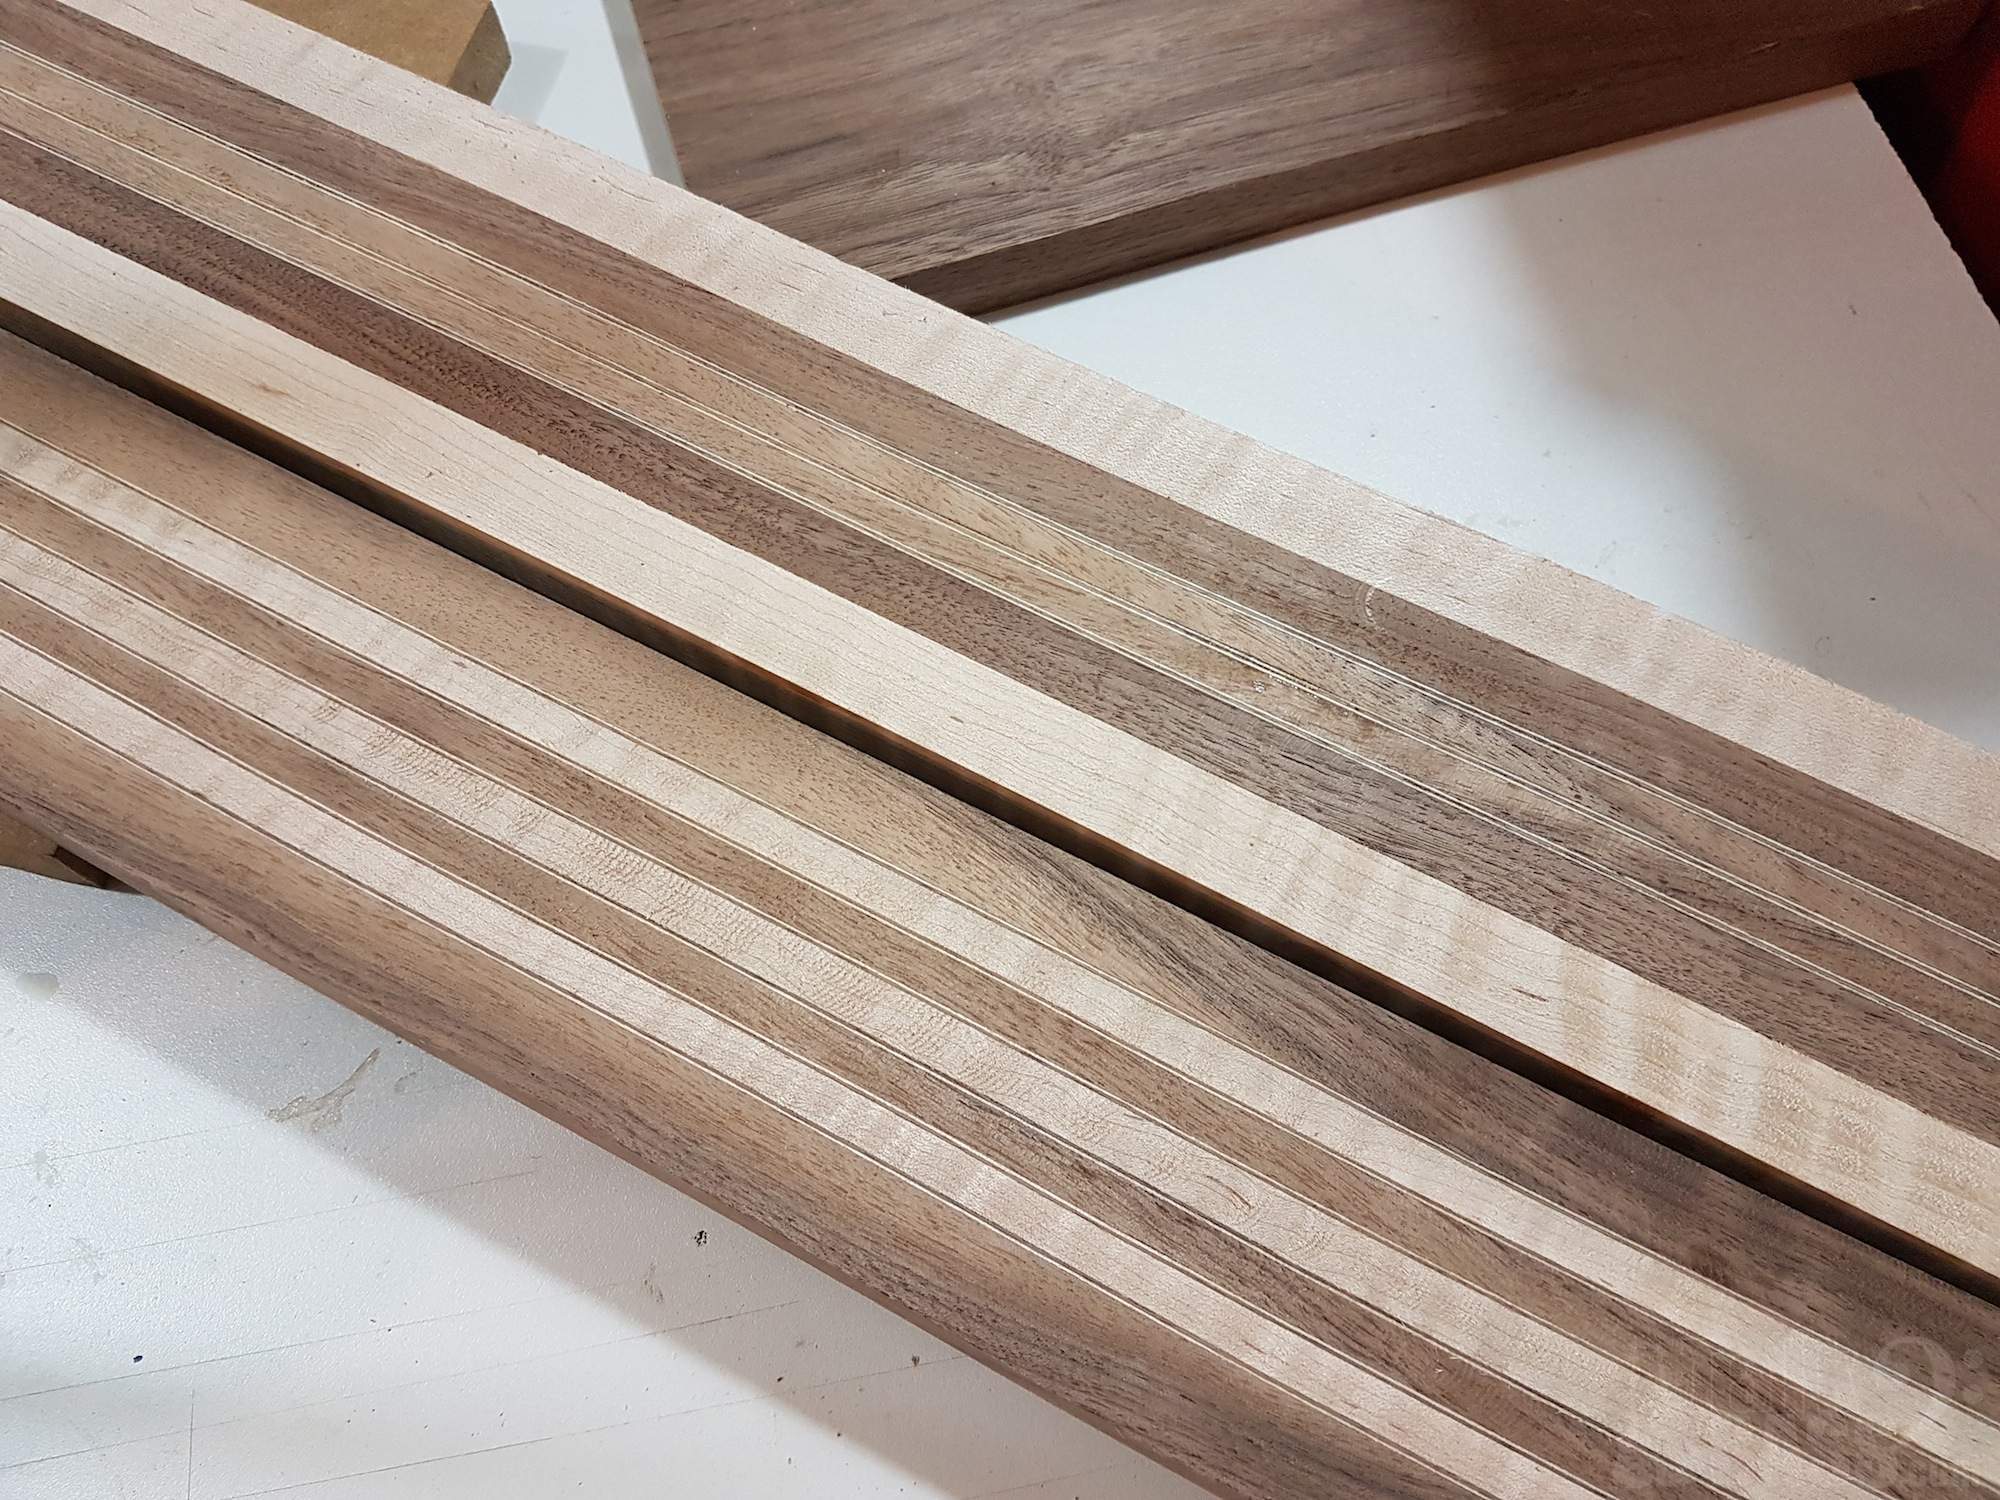
Here is a mock stack to see what they will look like. There will be maple/walnut veneers between the top and walnut core, plus maple walnut on either side of the cherry accent, and dividing the cherry from the walnut back. I will chamber the cherry along with the walnut core to ensure I meet the 65% rule. :D
 
I also finally got the neck glued up. I had to finesse the skinny walnut laminates to get them the same size, but I got it together.

This one is a measly 15 laminates in total. :D

I have no idea what to do next on this bass, which is scary but a little fun... :)
 
Here's the cherry accent getting glued up. After this, I'll plane it down another 2-3mm, maybe thinner.

And here's the top getting glued up. The bookmatched face is down in this pic. I'll rout this to thickness on this side to preserve the bookmatch. I'm shooting for about 8mm/5/16" when finished.
 
I planed down the top and the cherry accent today, the cherry is 4mm and the top is 8.75mm. Pics will come.

I also spent a little time making a solid walnut headstock blank. It's about 6" wide by 13" long. It's going into a scarf joint, so I wanted to make sure I have enough length. I realized I made it too thick due to the top-matching veneer cap, so I'll need to plane it down by about 5mm.

I took the neck out of the clamps and planed it down front and back. It looks pretty good to my eye, can't see any problems yet.

This shot shows a little more.

Now I have two blanks ready to go. They were totally whispering at me "brent, cut us a scarf joint, man" but I had to put it off 'til tomorrow... :D
 
Last edited:
Little more progress in getting this thing together. Here, I've pulled the body core out of the clamps. This is the walnut core, plus the cherry accent, with walnut/maple veneers betwixt them.

I took a few measurements and did some figuring, and then drew out where the chambers will go. Note to self: can't see pencil lines on walnut very well.

Then I cut out the chambers with my jigsaw.

A close inspection of the chamber cutout shows the epoxy glue has worked well yet again. :) In the end, there will be an identical veneer sandwich on the other side of the cherry accent, between it and the walnut back.

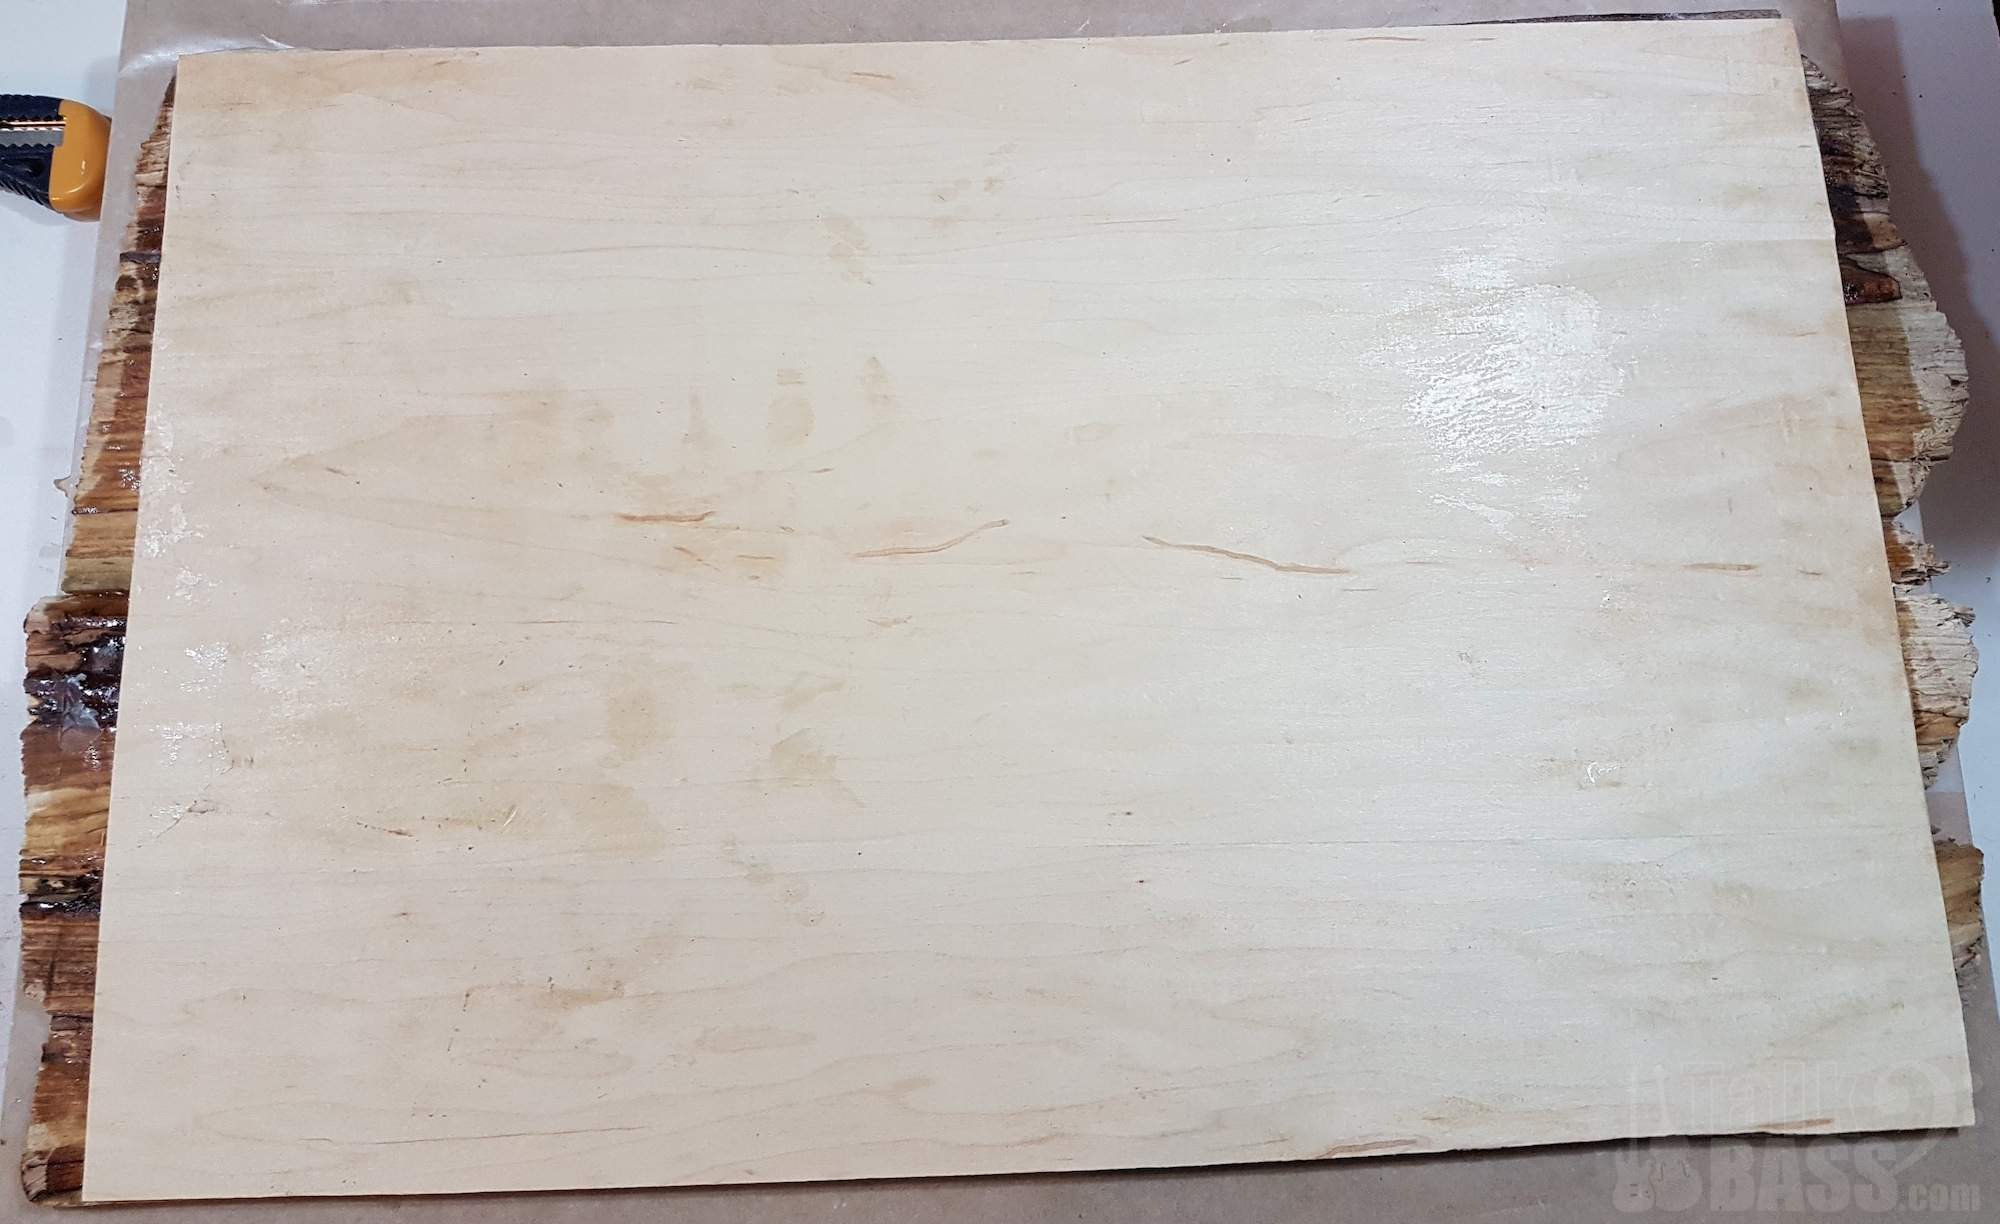
Here's a shot of the top plus veneers gluing up in the clamps. When I spread the epoxy glue on the surface of the driftwood top, the colours and patterns had really nice bold contrast. I'm looking forward to seeing this one finished... :D
 
The top is now ready to be glued down to the body core, but my clamps are occupado with my other winter build. :D
Here's a shot of the backside of the top, showing the sandwiched veneers. Behind that maple is a walnut.
 
Do you ever get blades sharpened? My dad used to send his dull blades back to the manufacturer. I need to check on that though, I'm not sure if he still does this or not, and what kind of blades he uses.
When I worked as carpenter (very long time ago), we used to get them sharpened quite a bit, but I haven't done it on my personal stuff in recent years. This saw is a new replacement - cheap used locally, so I jumped on it. The blade came with the saw and is a good blade, but getting old. I'll reblade it soon, and get a nice one. It'll probably end up being spendy. :spit::rage:
 
  • Like
Reactions: Fat Freddy

Latest posts