• TalkBass has been independent since 1998. Add your voice.
    Create a free account to reply to discussions, view embedded media, and browse with fewer display ads.
    Join freeLog in
    Want zero display ads or expanded classifieds tools? Compare plans.

Winter Build Off 2018 - Walnut Grace 6

I cleaned up the neck blank a bit today, and did some planning and layout of veneers and shaping of the headstock in preparation for rolling it up into a joint and scarfing it. :D I actually likely won't even get to it until next weekend. I've got a few steps to do on the other bass that will use the majority of clamps over the next few days. :) I feel like I've heard it before, but "I need more clamps". In the meantime, this tasty sandwich just waits to be put together.
 
  • Like
Reactions: Fat Freddy
When I worked as carpenter (very long time ago), we used to get them sharpened quite a bit, but I haven't done it on my personal stuff in recent years. This saw is a new replacement - cheap used locally, so I jumped on it. The blade came with the saw and is a good blade, but getting old. I'll reblade it soon, and get a nice one. It'll probably end up being spendy. :spit::rage:
I just got a table saw, it's a 1950's era and honestly I wouldn't have bought it except it was a friend of my dad's and I felt guilty walking away, her husband had passed away. The blade that was on it was cheap and dull, but she threw in all the blades that were hanging up near the saw, there were two brand new blades and one newly sharpened one. That plus the nice fence made it worthwhile. The saw needed and still needs work.
 
I haven't done too much on this one, but here's a little progress.

I glued the top onto the core.

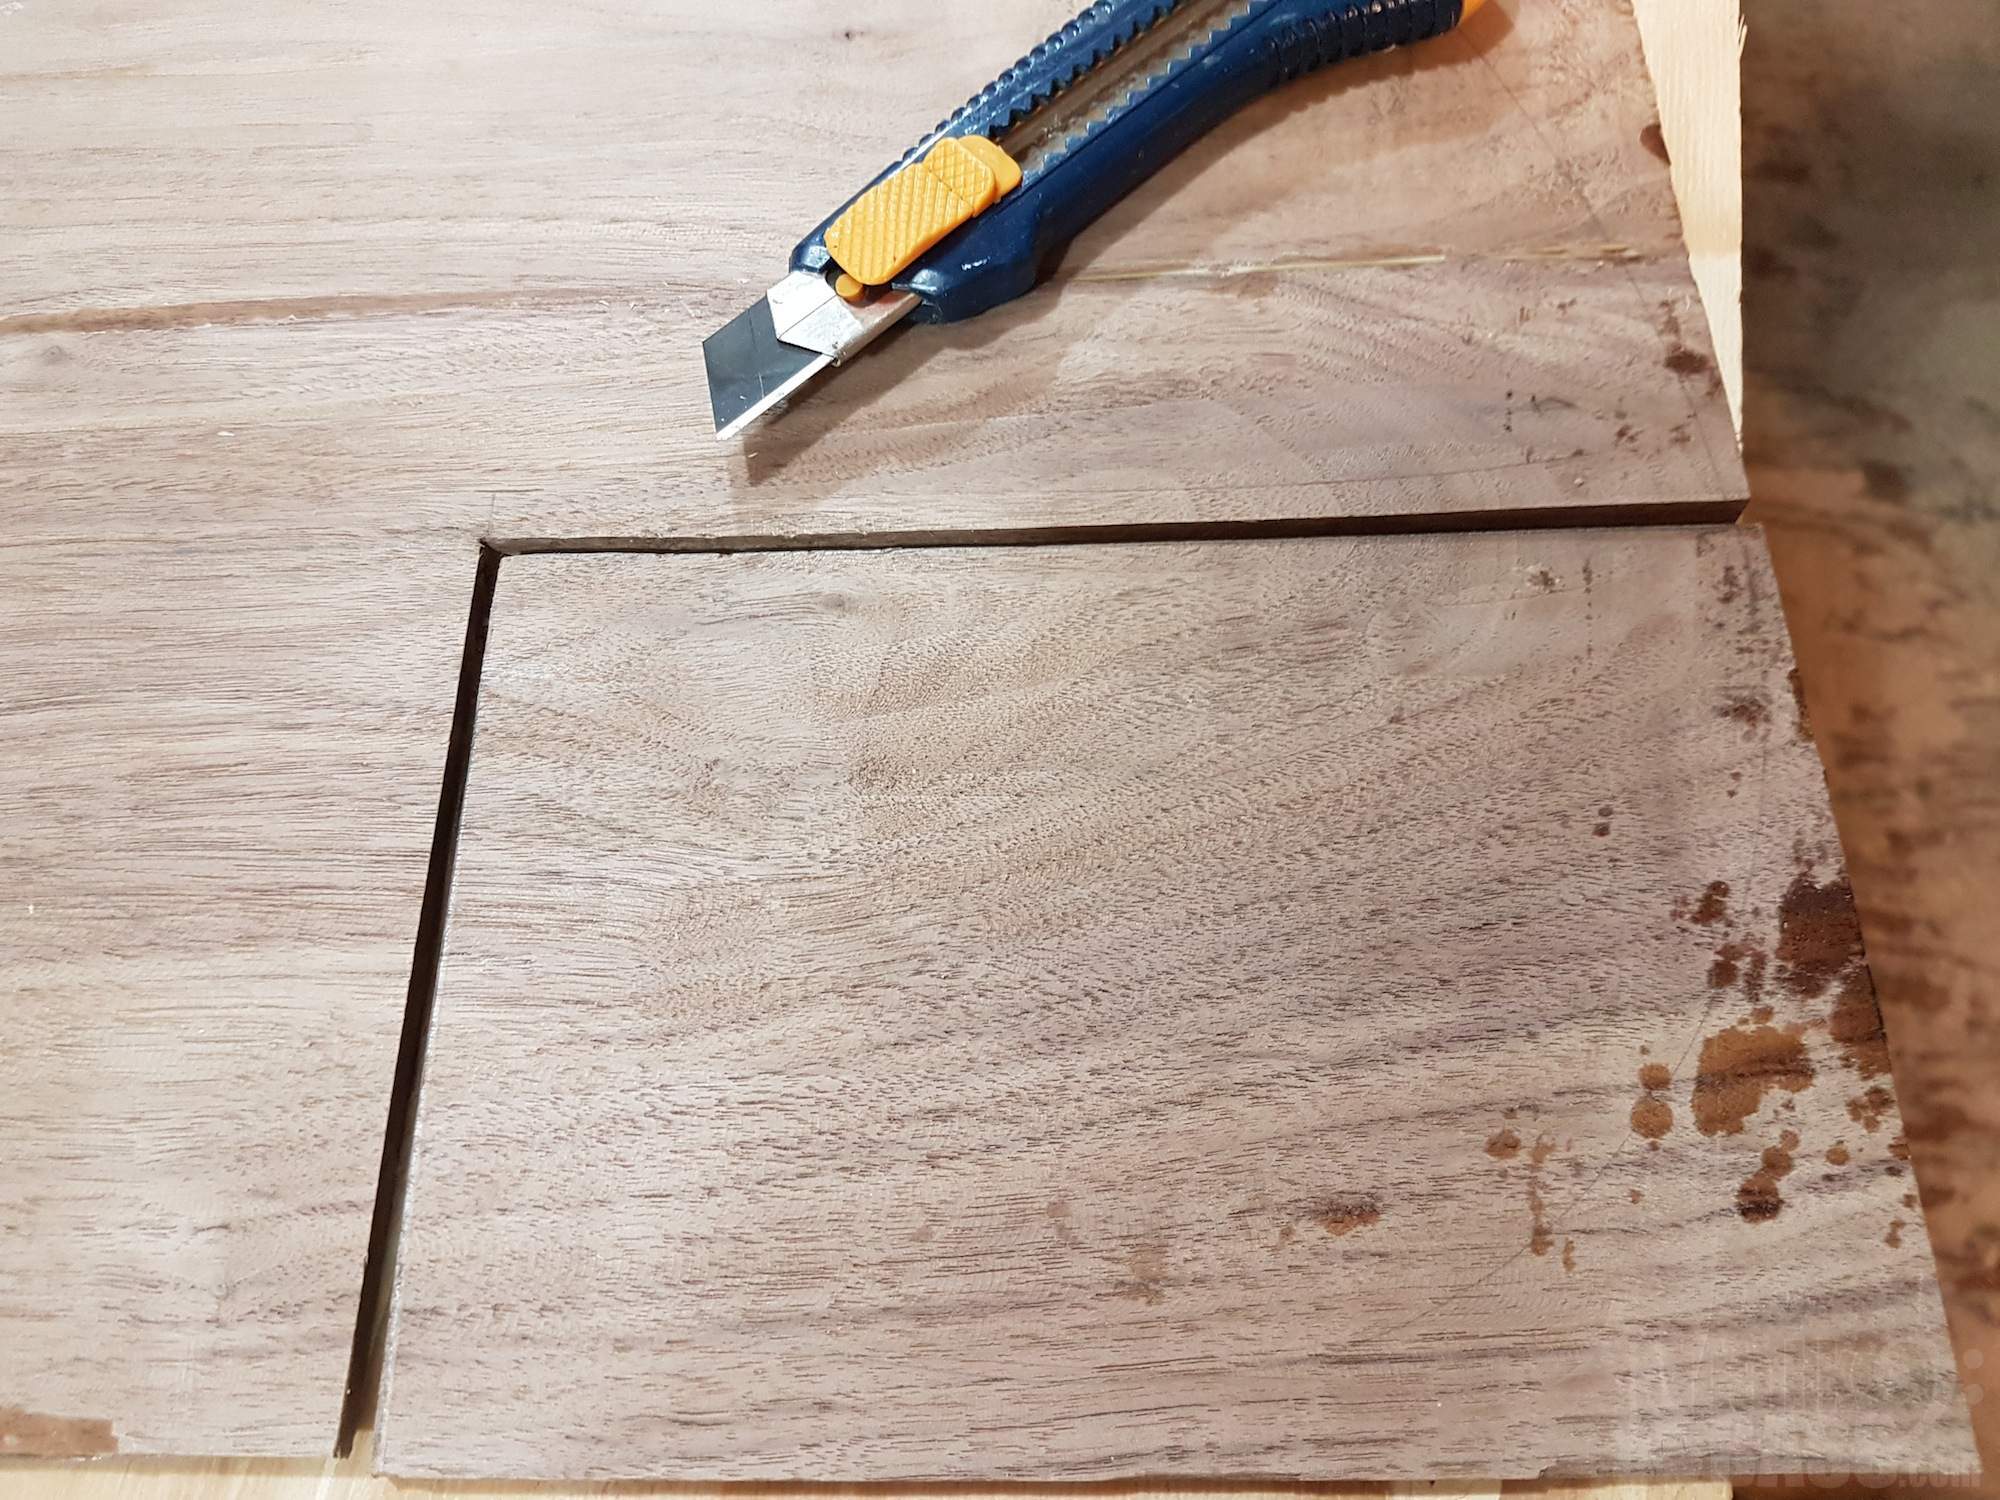
Then I took a little time and cut out the control cover from the back. I used the utility knife you see there to repeatedly score along a line until it cut right through the back. It's a little time consuming - took me about 40 minutes to make both cuts, probably around 200 or so strokes with the knife. I broke off the blade every 40 or so for a fresh tip. It's the best way I know to cut a razor thin kerf without a laser cutter.

Then I removed the cover, spread the epoxy glue and glued the back onto the core/top.

Next up will be some neck work and cutting out/shaping the body. :)
 
I took the blank out of the clamps and sized it up a bit.

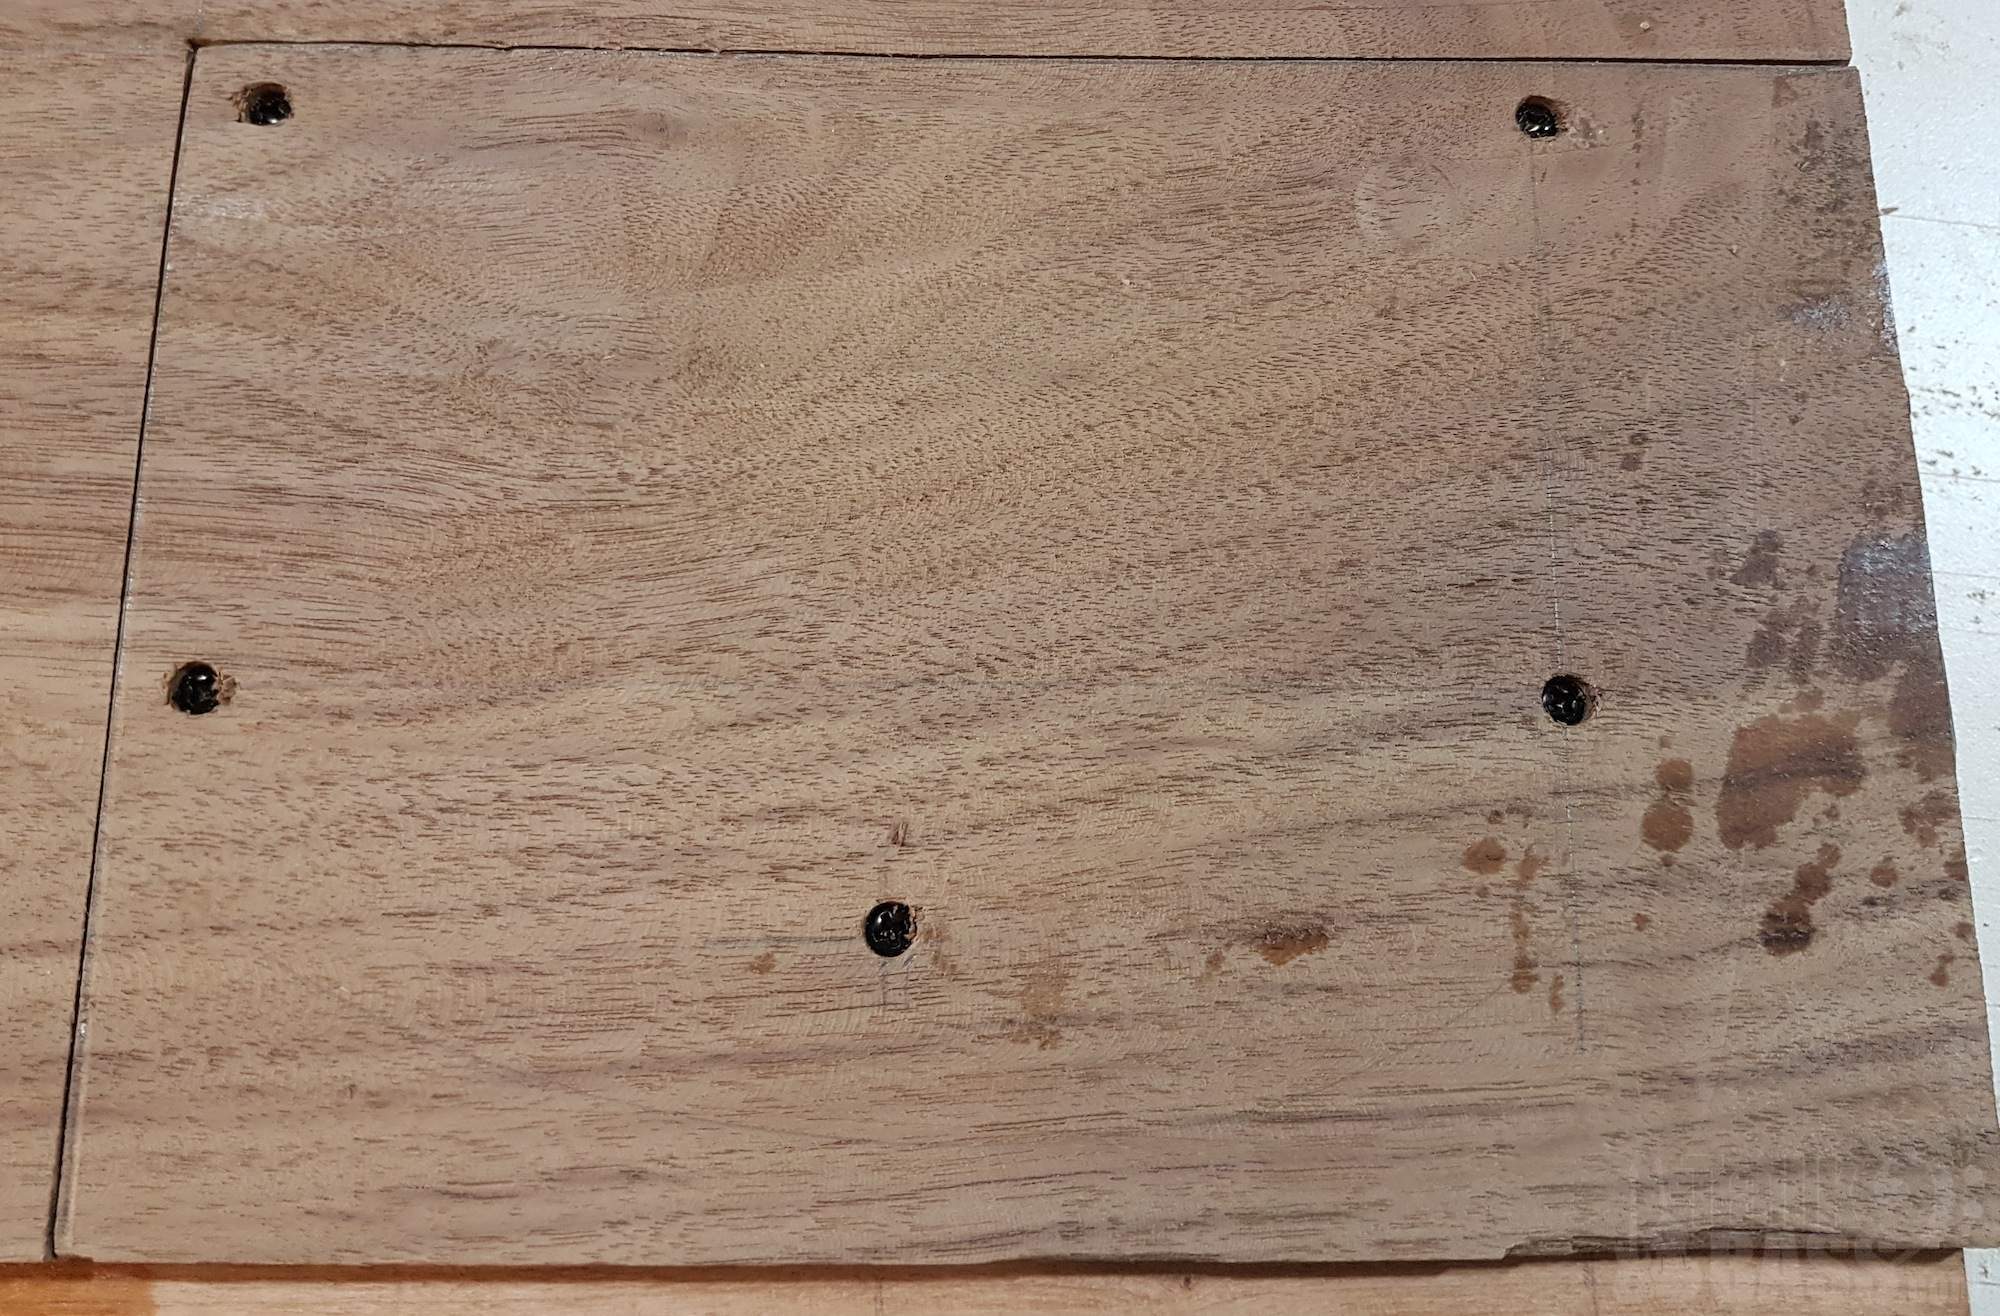
Before cutting out the body, I had to mount the control cover so it could withstand being routed. Here are the pilot holes.

And countersunk screw heads.

Then I rough cut the body close to the line.

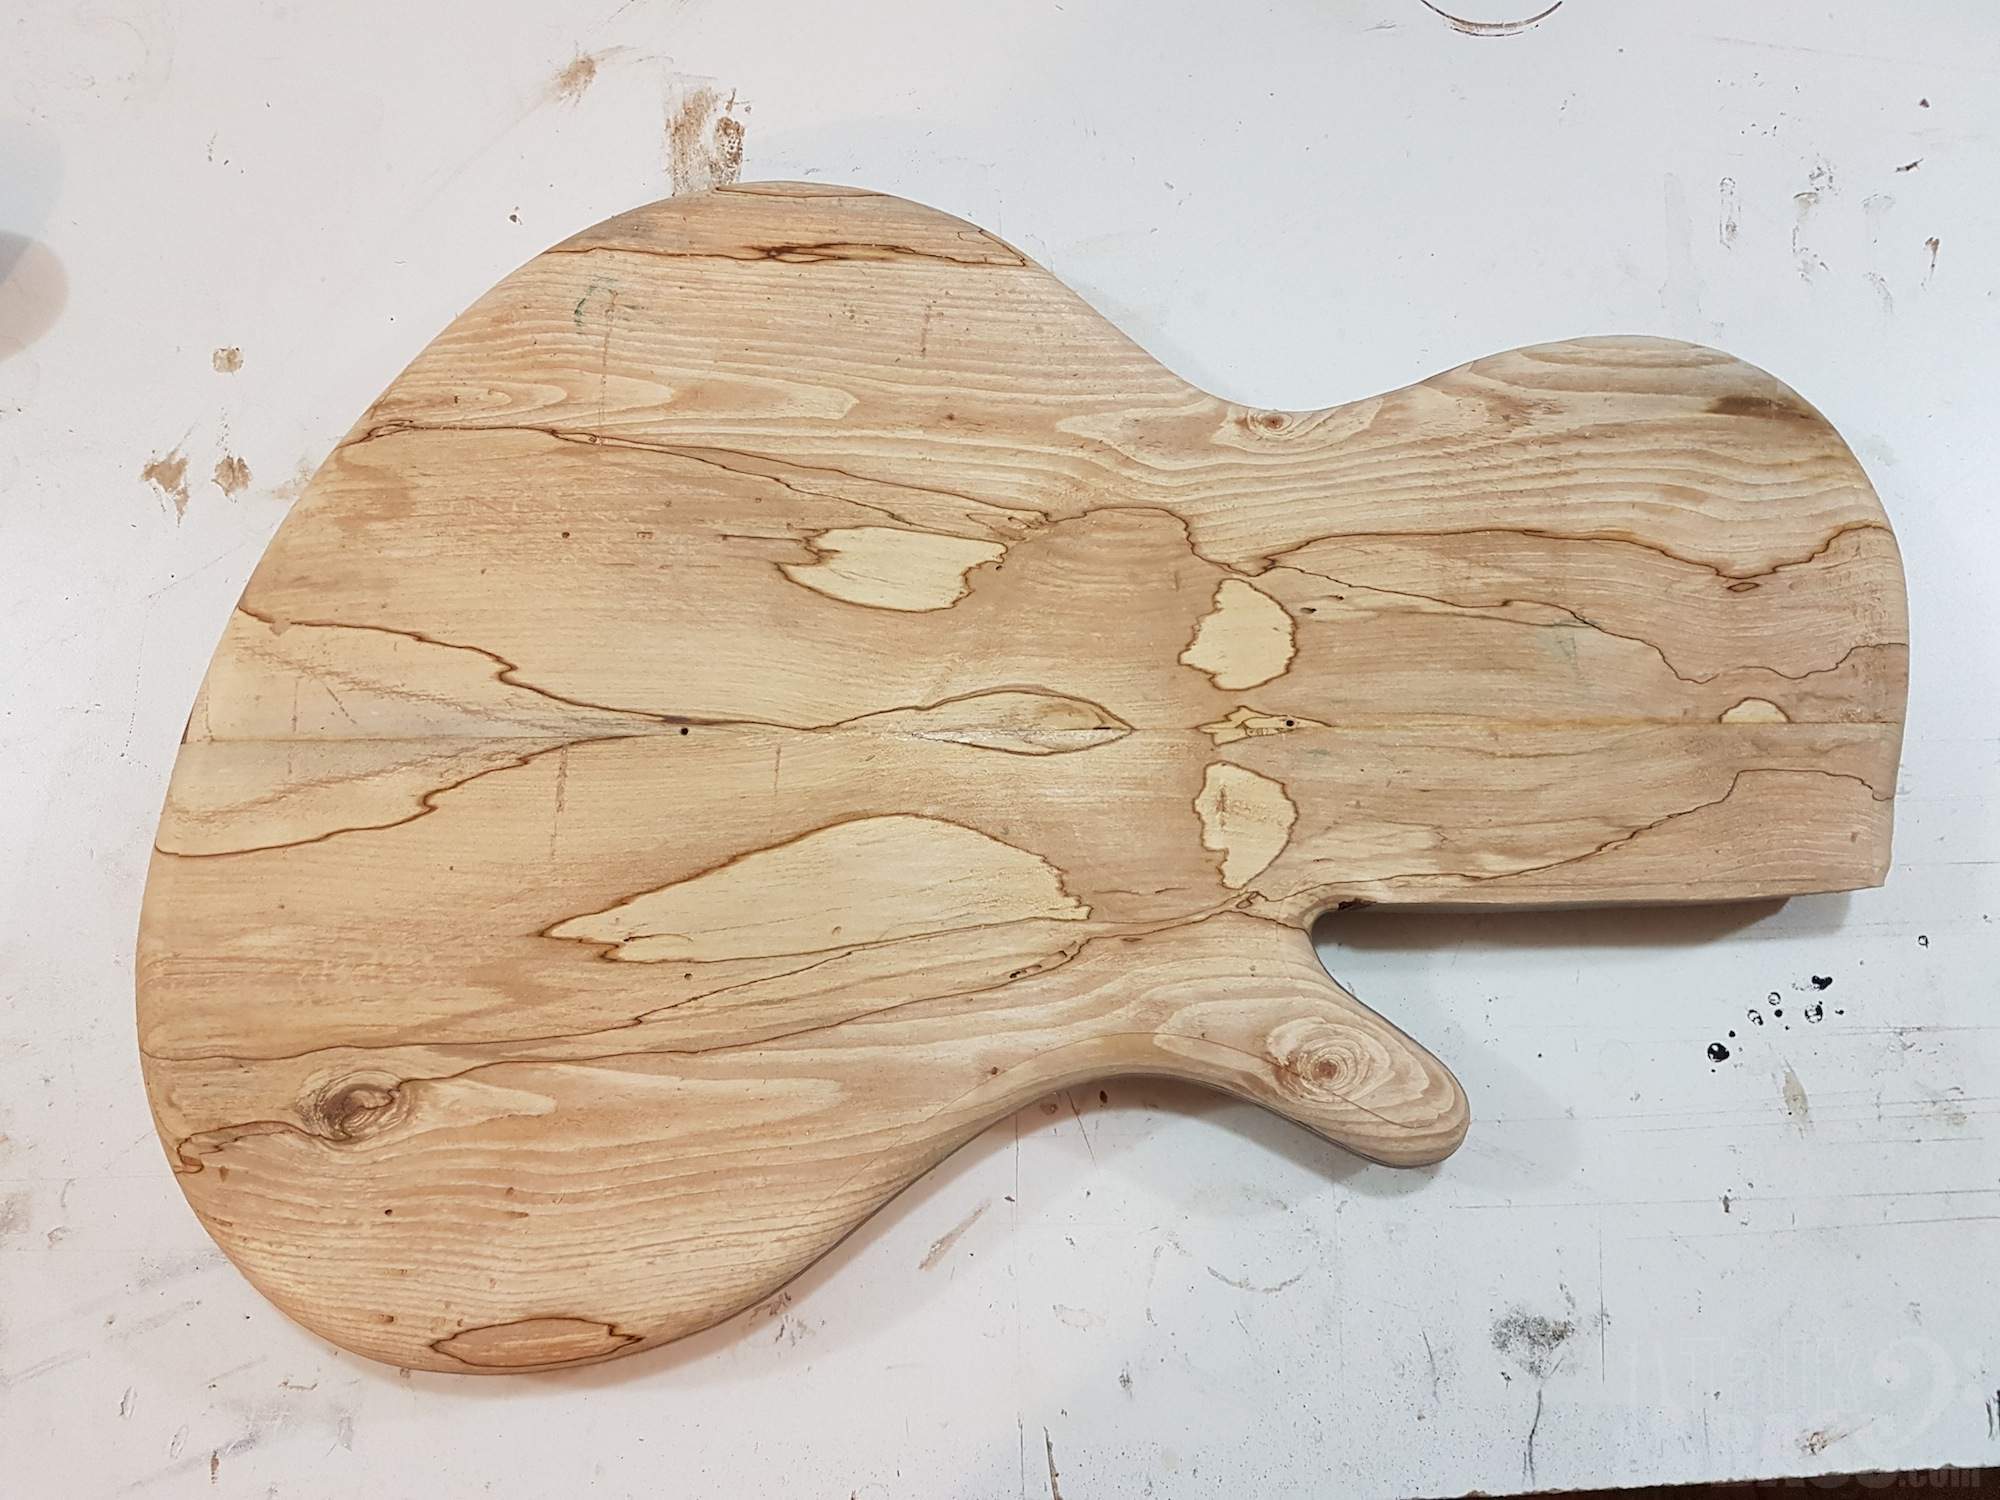
Here's a shot of the side sandwich. :)

Then I routed the edges and rounded them over.

And the back showing the control cover mounted in place.

Neck is up next... finally!
 
I worked on the headstock last night, and spruced up the scarf joint in preparation for glue up. I found a cutting from the same driftwood flitch that has some of the same colouring.

And then I glued it on.

I did a few other little details in preparation for attaching the neck and finishing the body, but no real telling pics. :)
 
Okay, so I broke down and dug out that donor fretboard, still attached to the donor bass. :D It's a pau ferro board from LMII and it's got to be at least ten years old, still attached to an abandoned bass project. It is fretted and mostly shaped, but has not had any fretwork done really. I put an old iron on it and let 'er rip.

After about 20 minutes, I removed the board. As I was going, resins and oils came to the surface of the pau ferro - their presence permanently changed the colour of the board - it's a lot darker now. For the good, I think. :)

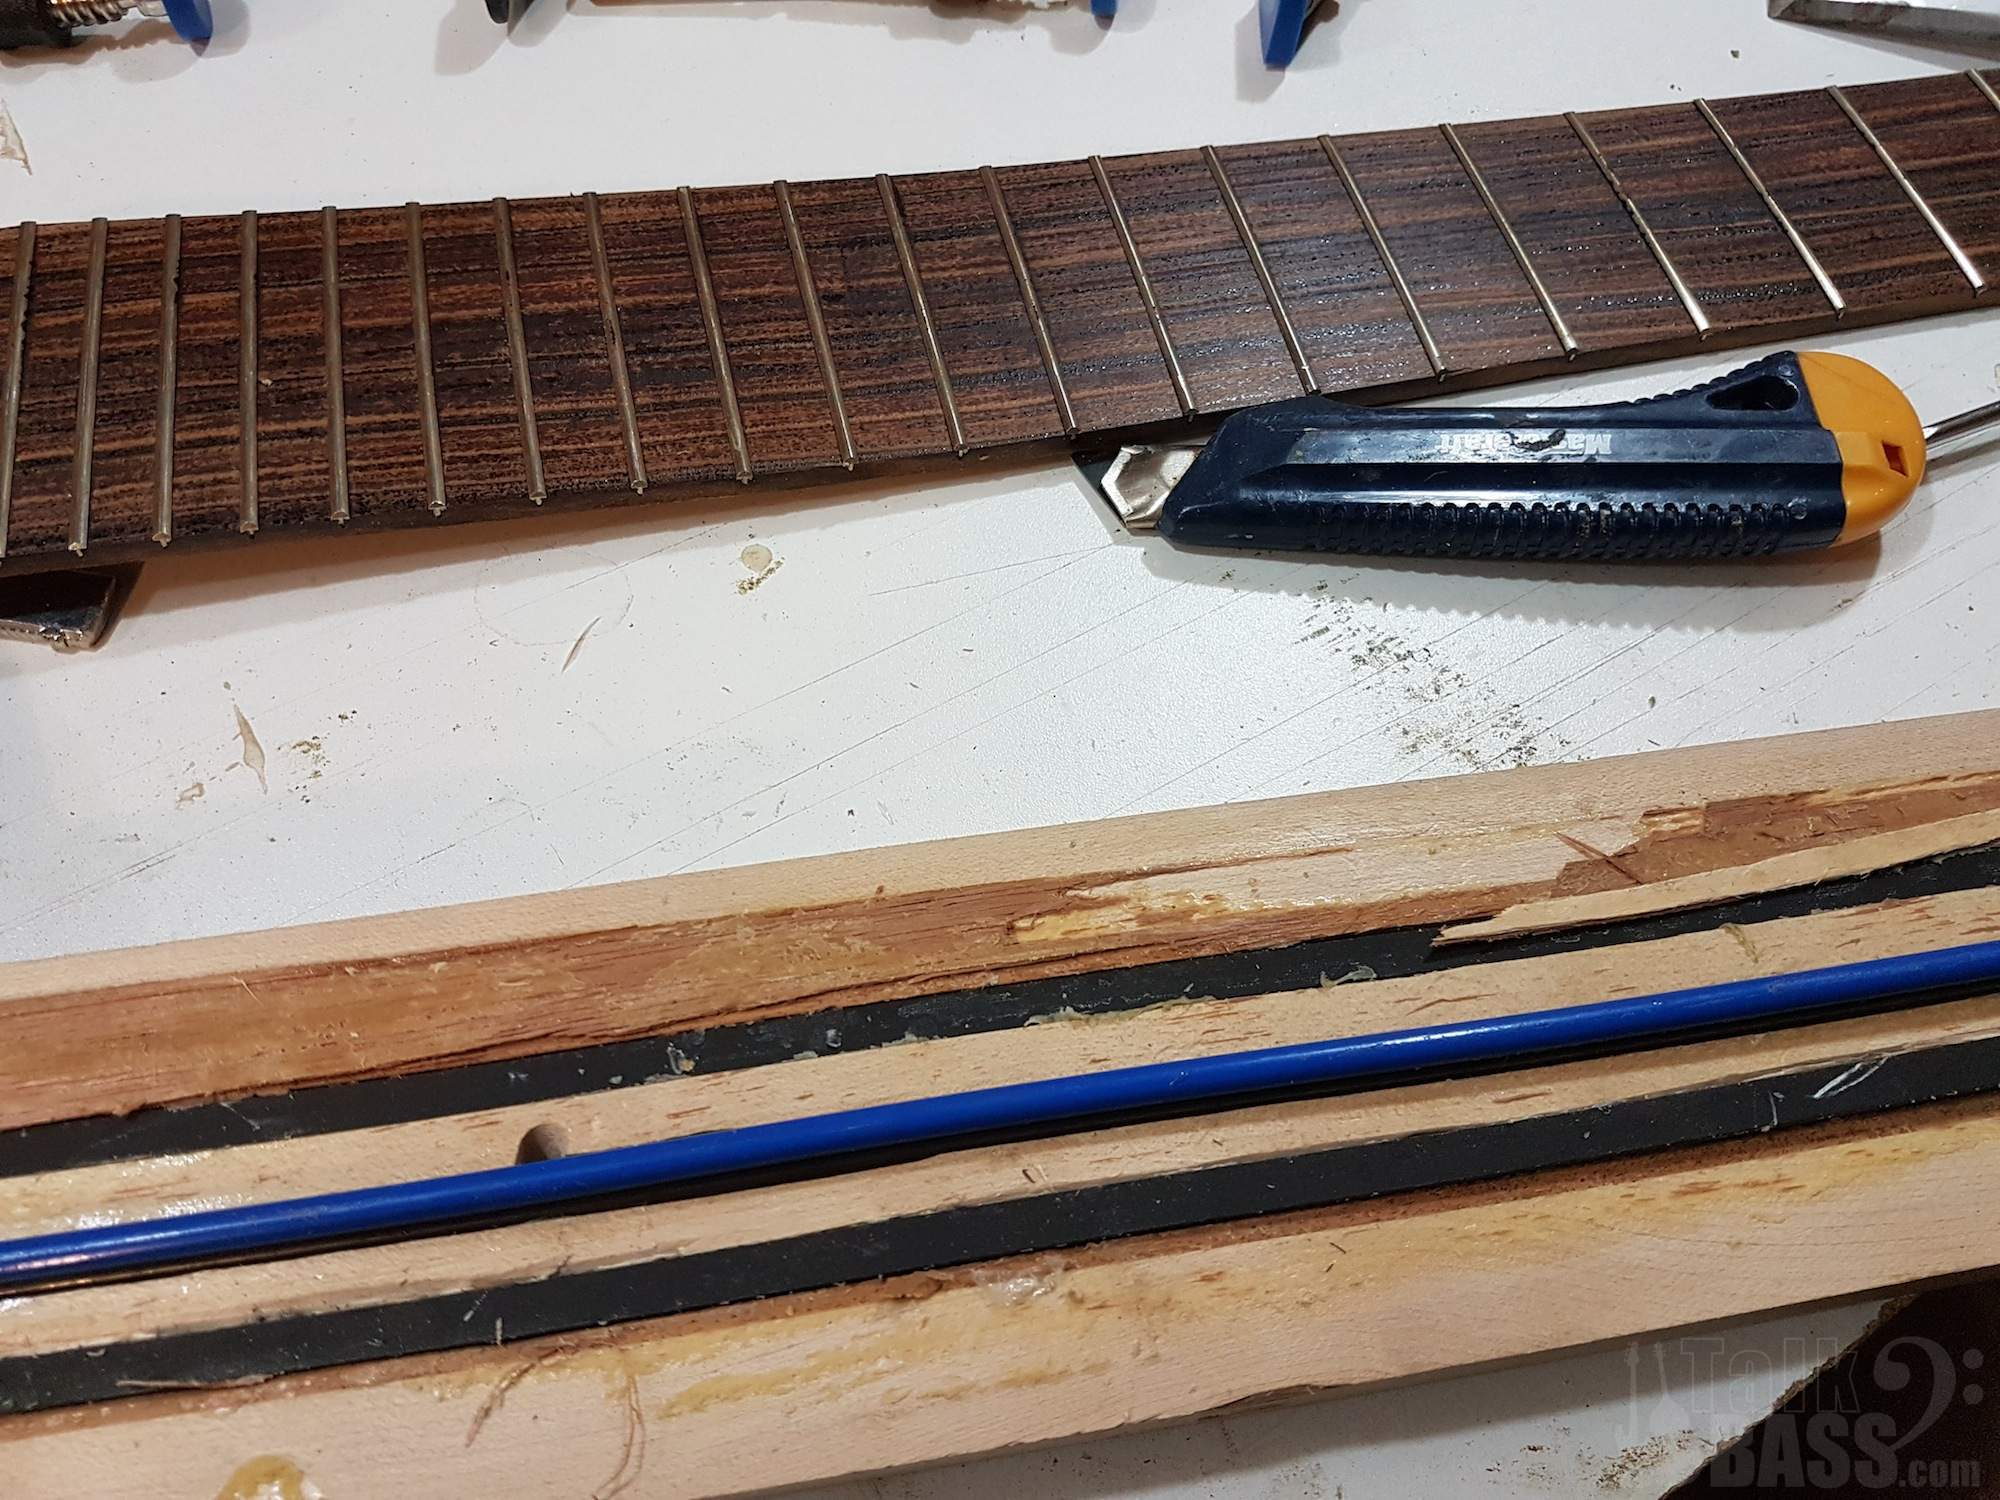
When I got the fretboard off, I was delighted to find that he'd used carbon fiber stiffeners! I'd planned to use the trussrod, but I didn't know that he'd used stiffeners, so those are nice to have. :thumbsup:

Here is a mockup of the fretboard on the body. I don't even have to reshape the end of the board, I love the shape he had on there - I think it really works with the lines on this body. :)

And here is the headstock end mocked up - this is just before I planed the scarf joint down flush with the neck-beam.

Next up will be routing for the trussrod and stiffeners...
 
When I got the fretboard off, I was delighted to find that he'd used carbon fiber stiffeners! I'd planned to use the trussrod, but I didn't know that he'd used stiffeners, so those are nice to have. :thumbsup:
So were the CF stiffeners were just sitting in routed channels without being glued in place? Or did the heat from the fretboard removal soften the glue around them so you were able to pull them out of the slots?

If they weren't glued into their channels then they weren't doing much good. Make sure you securely glue them in your new neck.
 
Bought some paint remover today. That is gonna take a little bit of time to remove 50-70 year old paint :).

While I was using that on a test piece, I decided to see if I could figure out the design of the bass. The guitar is gonna be a Tele (or maybe my own twist of a Tele), so that one is easy :).

The main features of the design is the pew benches and the way they were designed back in 1954. I wanna use as much as possible for the original design. But getting that to look cool and right, turned out to be tricky :) Took over ½ an hour figuring it out. The first 2 pictures show what I was trying but the walnut was too small to fit that design. I eventually landed on the last one. And I really do like this last one :).

Now the million dollar question is: Do I skip the carving or do I use it on the back (with the walnut) or do I add it to the front after the body and neck is done? What do you think?

View attachment 2932217 View attachment 2932218 View attachment 2932219 View attachment 2932221
Somewhere, somehow, that carving HAS to be the focal point of that bass!...:D:hyper:
 
  • Like
Reactions: postalflunkie
I think so to - I think :). Its too good a carving to not have on it.

I was thinking on the design itself. I think I have come up with an extra idea. To take the armrest and cut that so it matches the edge of the rest of the body. That way, it will be like "binding" on it. Might even match the walnut color with stain.

View attachment 2932311
I have to say that this is awesome, but... perhaps updating this in your own thread would be more effective? :D
 
  • Like
Reactions: Fat Freddy
So were the CF stiffeners were just sitting in routed channels without being glued in place? Or did the heat from the fretboard removal soften the glue around them so you were able to pull them out of the slots?
They appear to have been glued in place, and from the looks of it, either Titebond I or LMII Instrument Maker's glue. He built this with my help way back when, using my tools and supplies, so I know it would be Titebond or LMII glue. It's not epoxy for sure, not the right appearance. I did not soften the glue, I just pried them out of the slots. They are way stronger than the wood and they just broke out of the slots no problem when pried up with a screwdriver.

If they weren't glued into their channels then they weren't doing much good. Make sure you securely glue them in your new neck.
That's true, and not to worry...this ain't my first rodeo... ;)
 
Okay, so it's been an awfully long while since an update. I mentioned it in the walnut build off thread that I've been slowed down by health. That's the nutshell, but I'm doing reasonably well and making progress anyhow, just less than I'd hoped. The main reason for the slowdown is that I do most of my building late in the evening after the kids go to bed, and in the last month, I just haven't really had the energy to keep that up every day. Basically, I've only been working a couple of evenings per week and then a few hours on each weekend. That has unfortunately made me fail to meet the deadline on both instruments. I so wish I could have, but them's the breaks. At least I'll still have a couple of basses out of this whole thing!
 
This work was done back in early March. I dropped my neck routing jig, and it broke apart on a couple of seams, so while waiting for it to be glued up, I worked on the pickup covers. I decided to make some oval shaped covers, kinda like the delanos, with a healthy dose of inspiration from @mapleglo . :D I made a couple of jigs so that I could make multiple covers and have them repeatable. They are designed to fit 5 string Jazz pickups. Even though this bass is a 6 string, it's narrow spaced, so the 5 string blade jazz pickups I have work with the string spacing on this bass. I mostly build 5ers, so these fixtures should come in handy in the future. I like the oval shapes with this particular bass shape. :)

I used a hunk of the body from the other walnut bass (Reprobate) and planed one side down so that I'd have the core and top with the veneers near the top of the pickup cover. I'll get some better pics of the finished product as well. First, I printed off my template and glued it down onto the blank. I made three covers in case I had a problem. Then I drilled it out with a forstner.

I also quickly fabbed up a pickup routing template for the cavities in the covers.

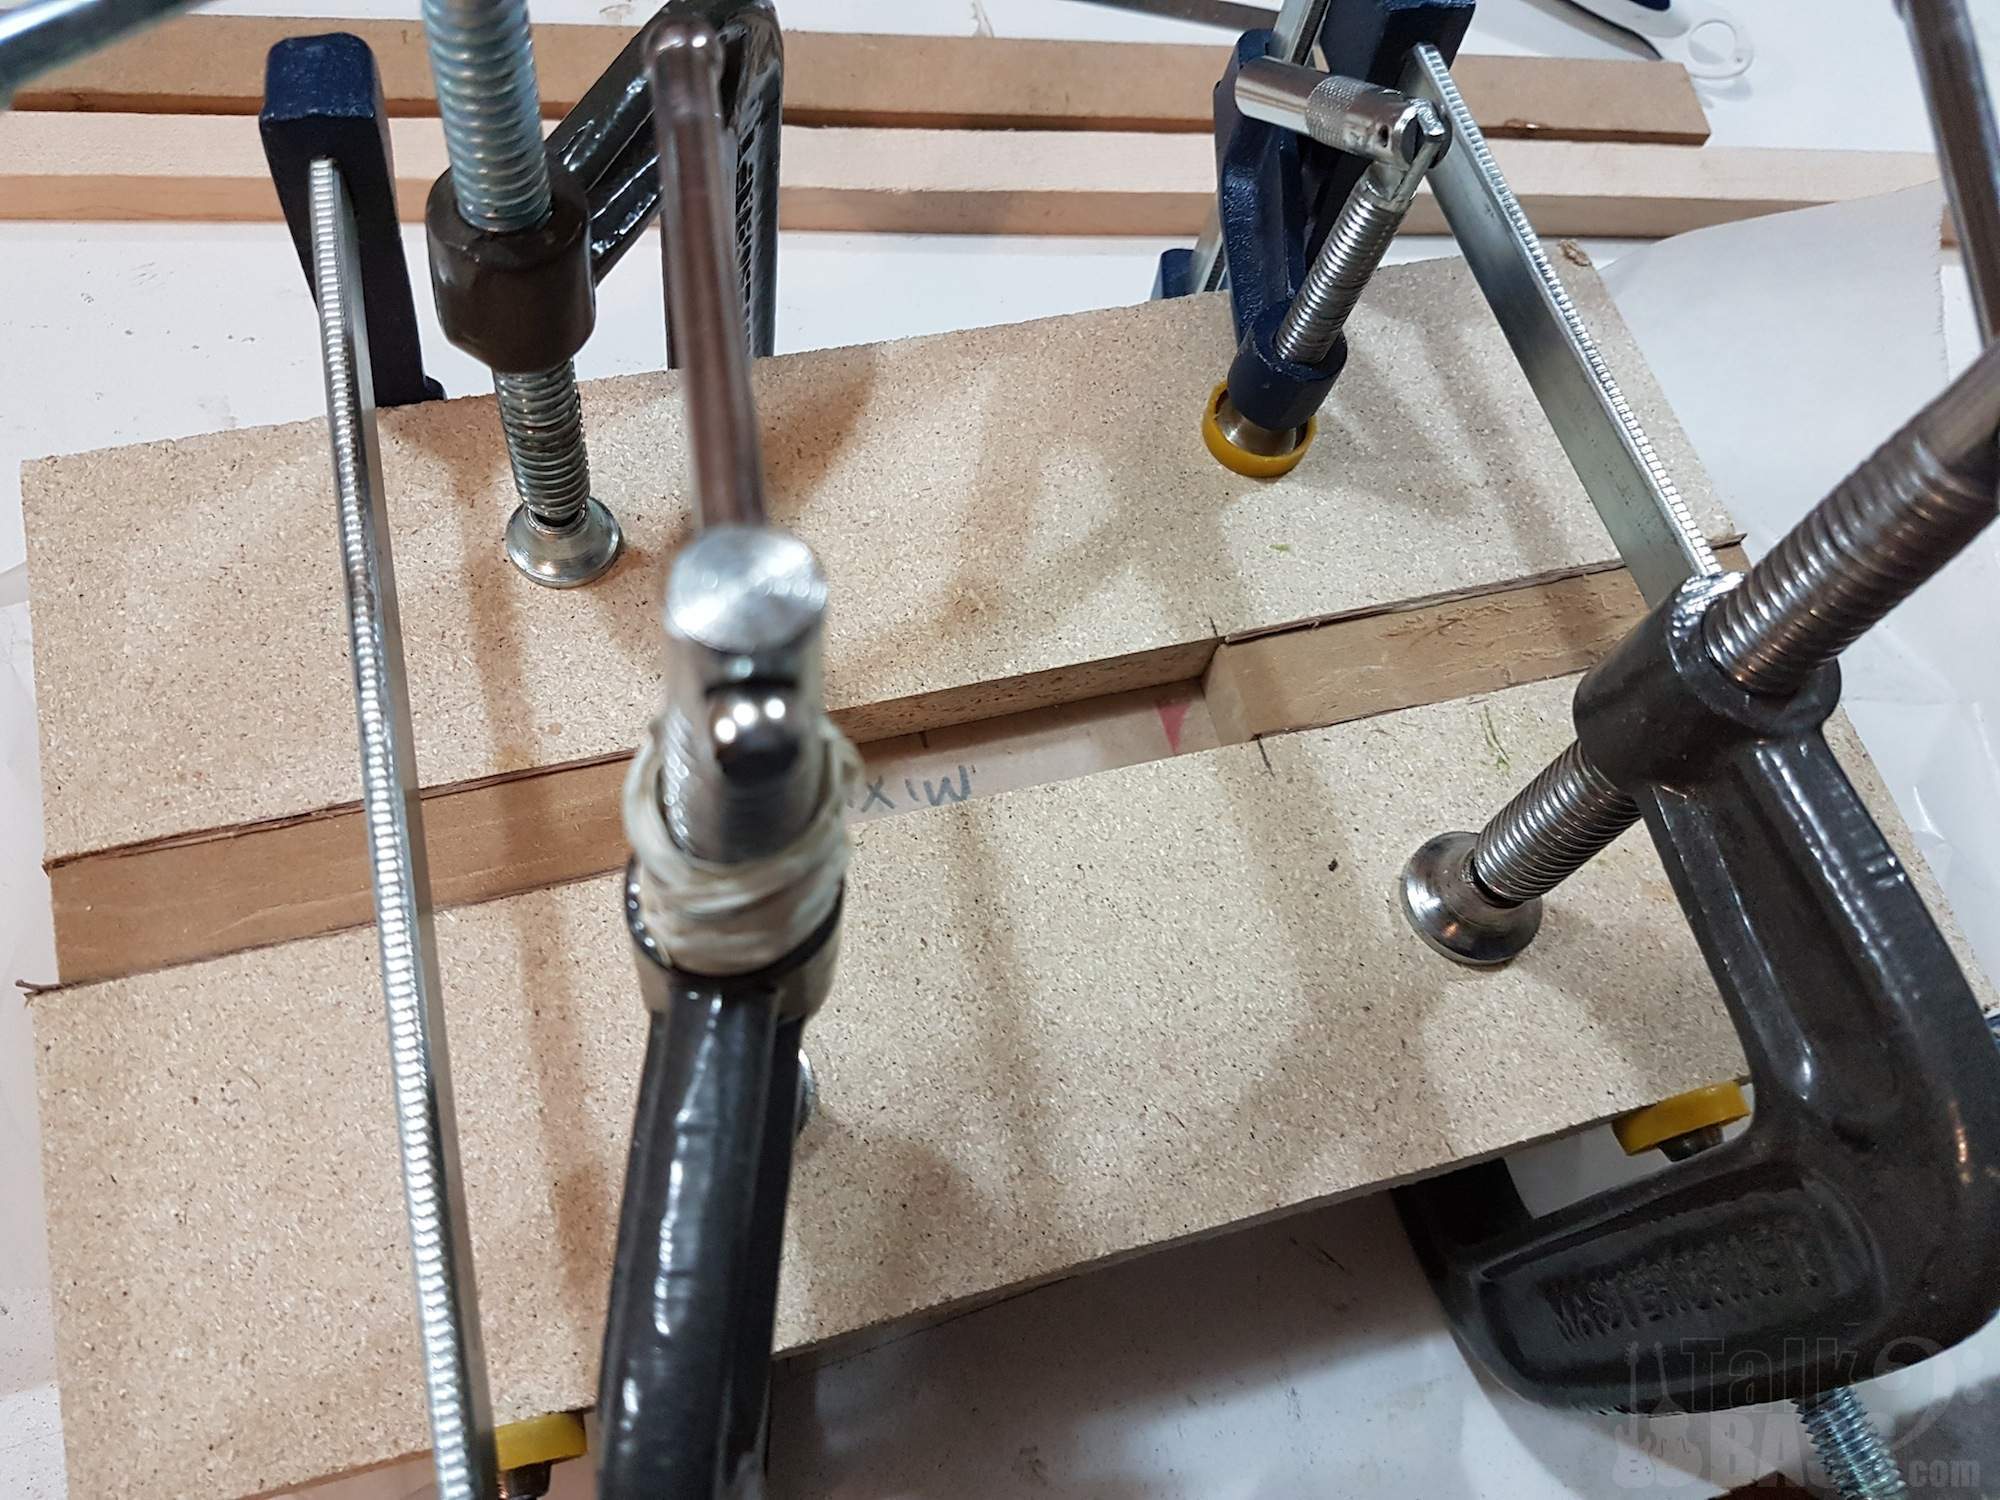
Here its all clamped/screwed together ready for routing.

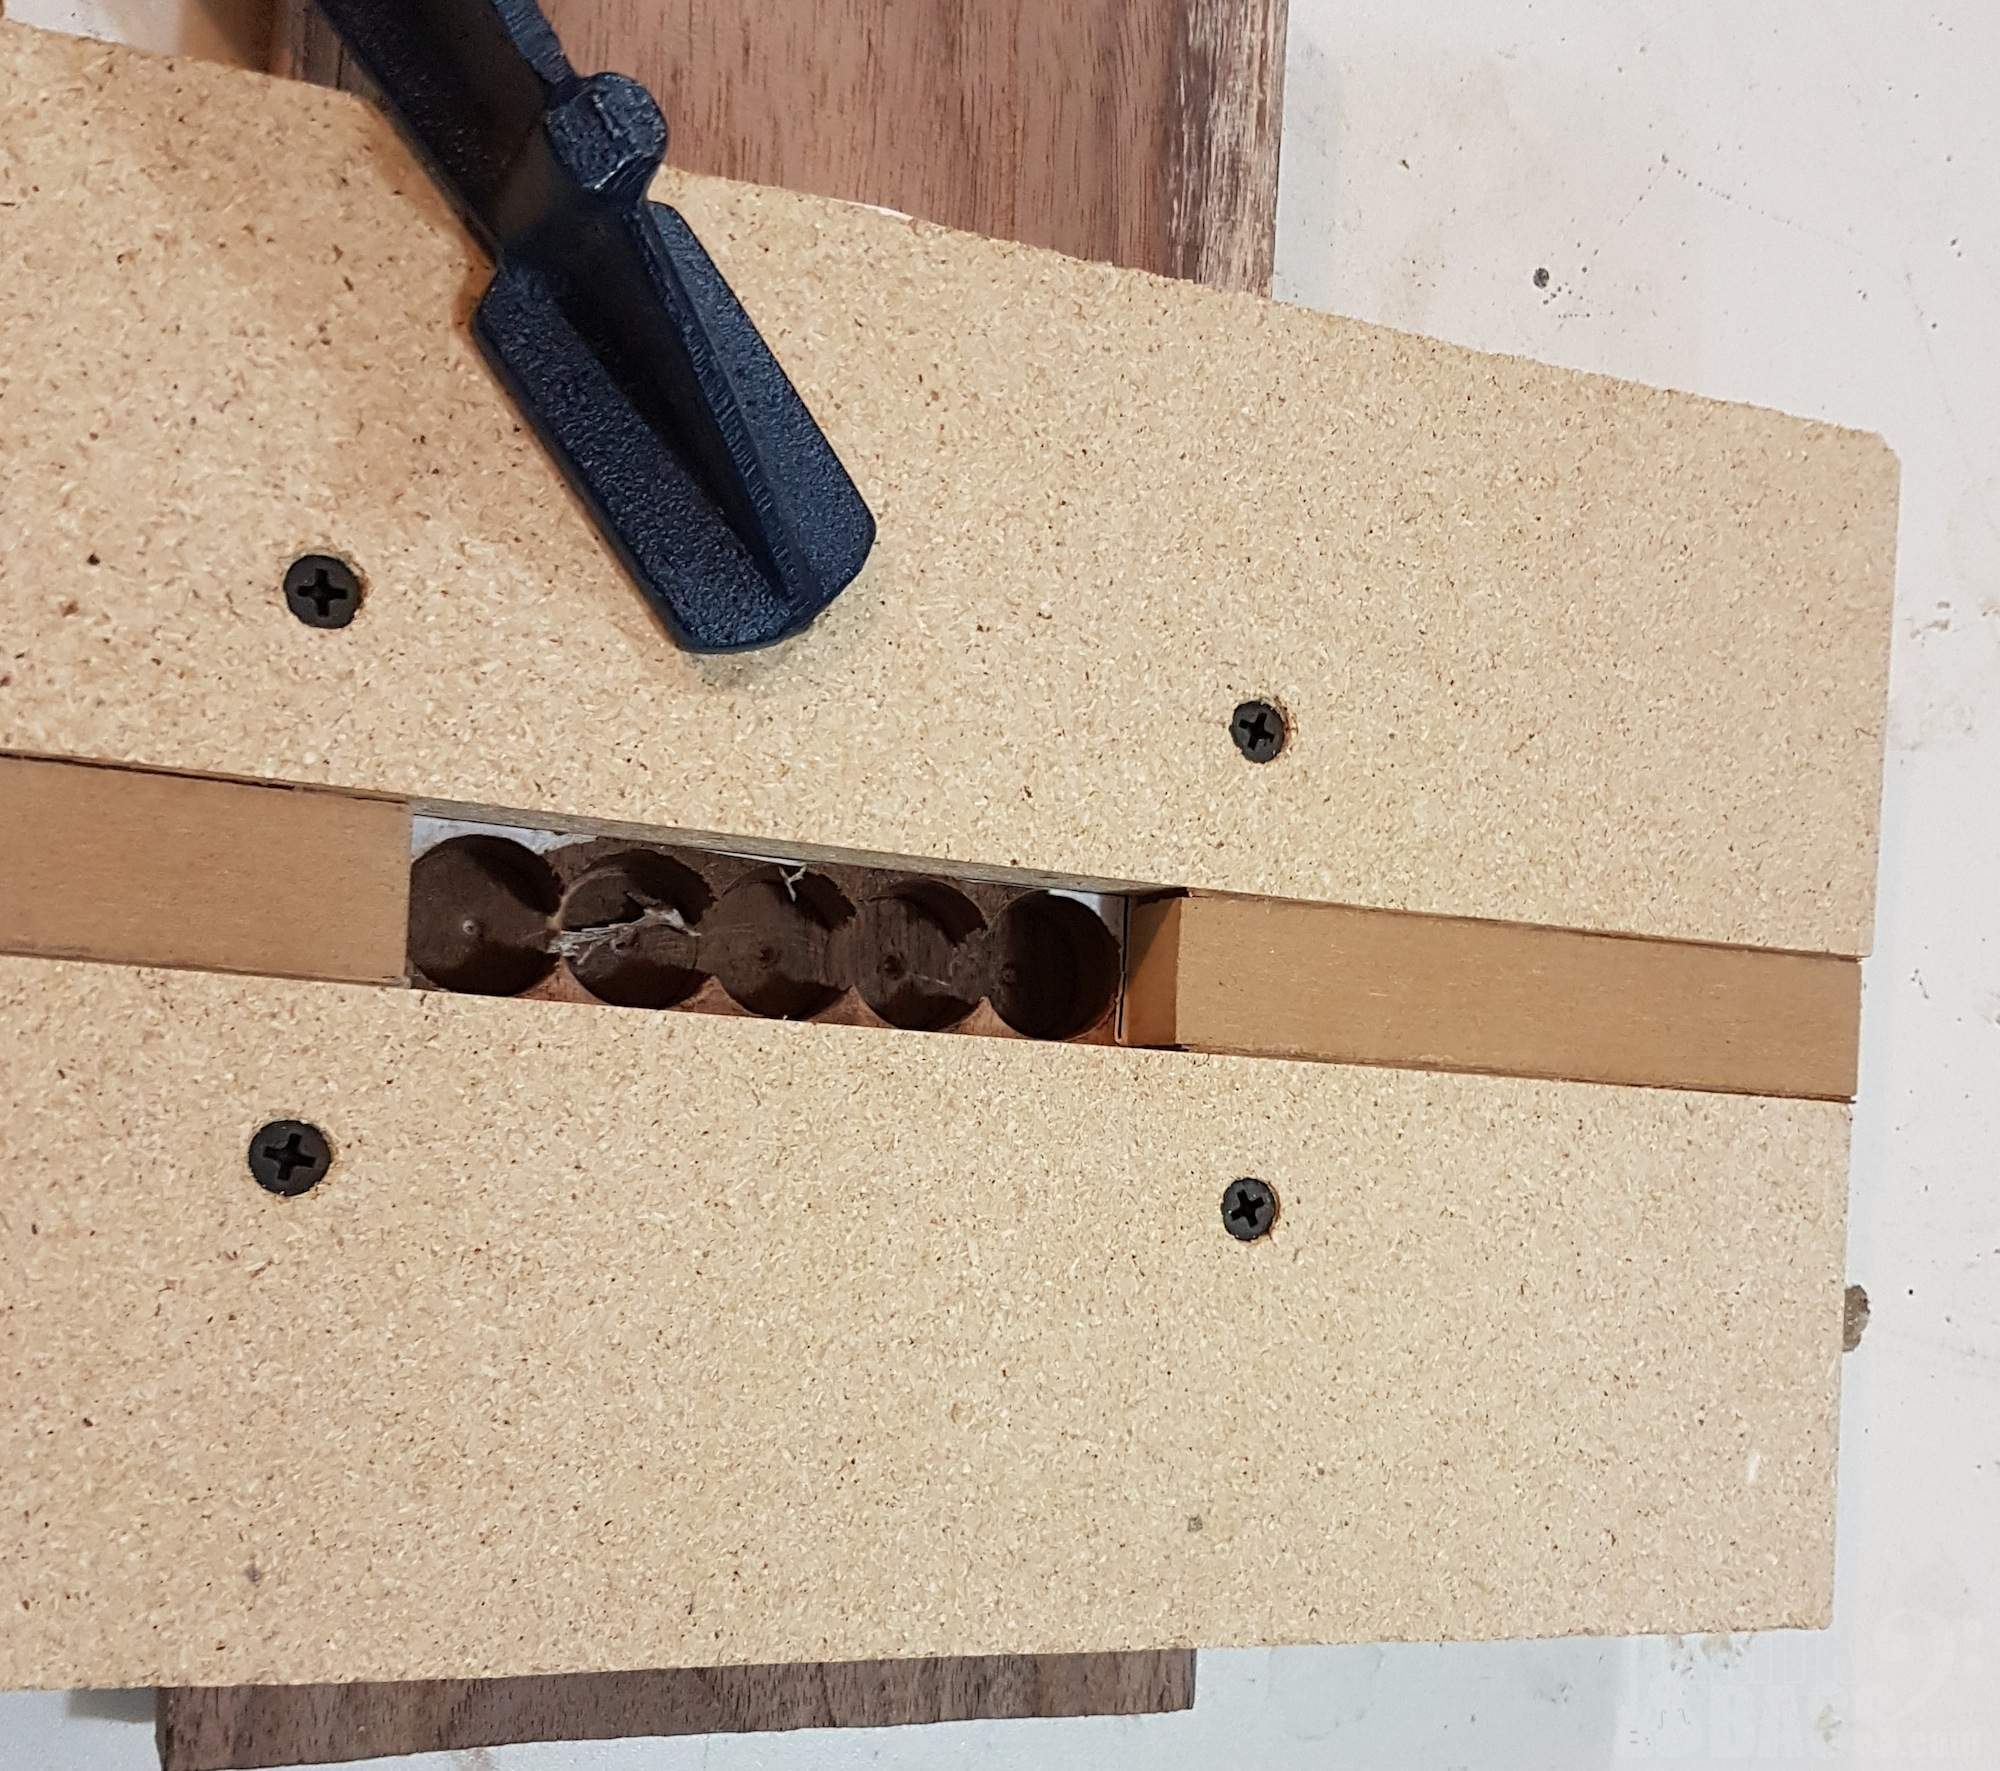
Here are the routed cavities. I chiseled the inside edges to ensure a tight fit over the pickups. The top of the pickup cover is about 3mm above the top of the actual pickup inside.

Then I cut one out on the bandsaw and shaped it on my spindle sander until it was right on the line and smooth. Here is a quick mockup showing the rough cut covers on the body.

And here's the full monty mockup at that point, but showing one sanded pickup and one roughcut.