• TalkBass has been independent since 1998. Add your voice.
    Create a free account to reply to discussions, view embedded media, and browse with fewer display ads.
    Join freeLog in
    Want zero display ads or expanded classifieds tools? Compare plans.

Winter Build Off 2018 - Walnut Grace 6

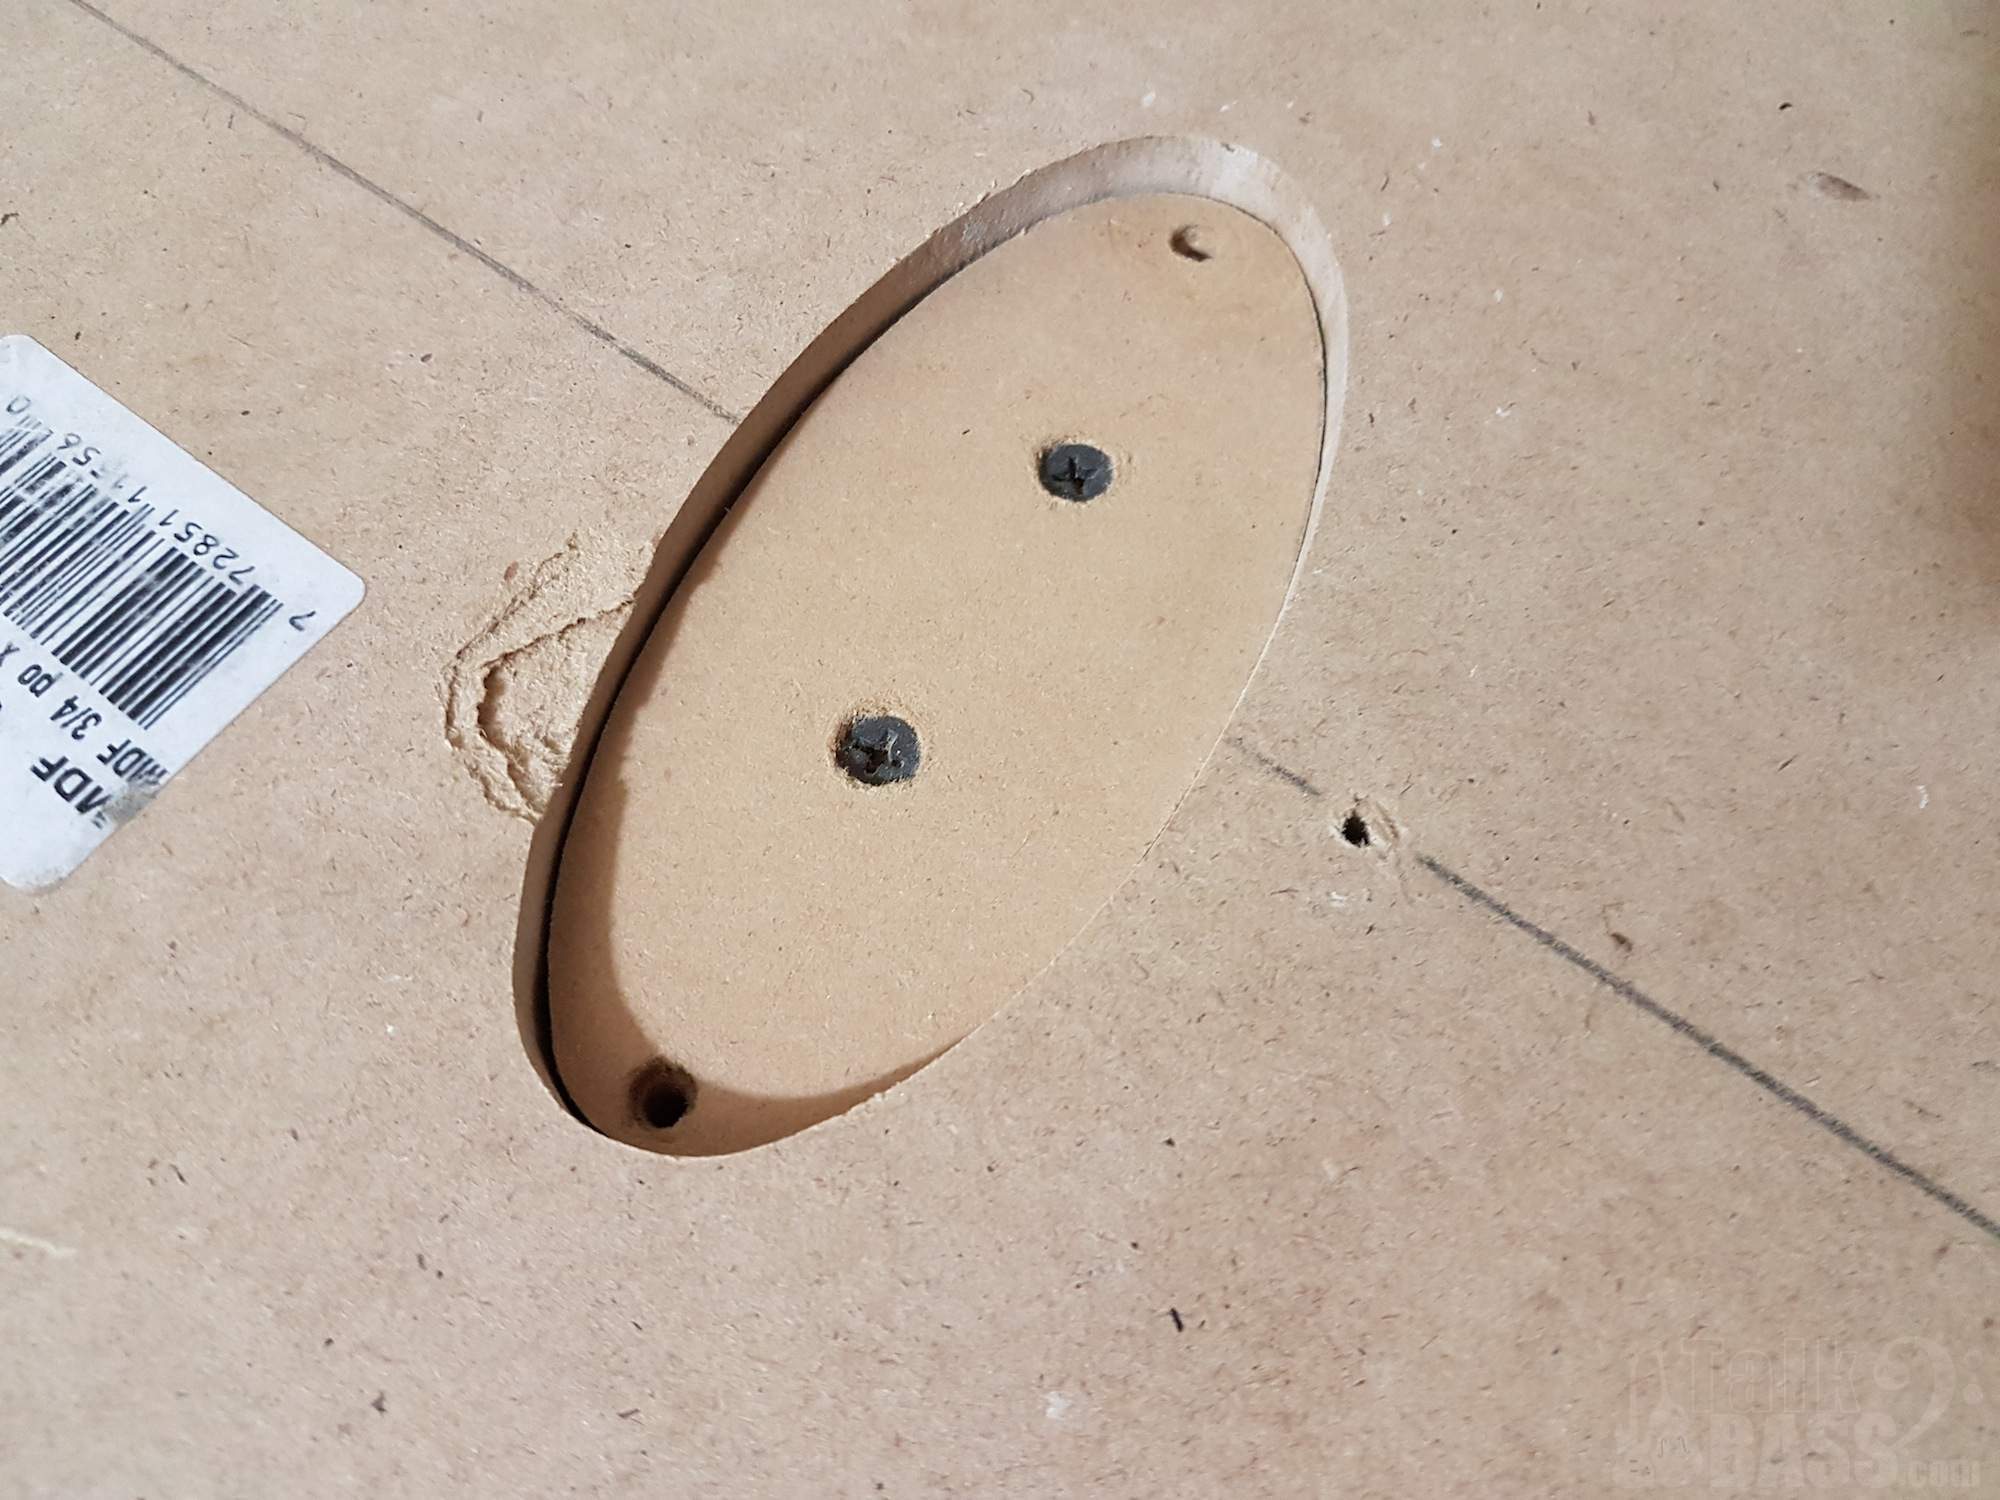
Here are some pics of the routing jigs I made in order to make these easily replicable. First, I cut out an oval shape close to the line on a piece of 5/8" MDF, and then screwed that down onto a 3/4" piece of MDF. Then I screwed the "perfect" sanded pickup cover onto the top of it (into repeat-use holes). I then used a top bearing bit to rout around the "perfect" cover and make the "base" piece match the cover perfectly.

This then gives me a jig that I can use to repeatedly make covers that have identical dimensions. On the left in this pic, you can see a dummy pickup cover that I made from 3/4" MDF that I then used to make a negative routing template so that I can rout the full size cavity into the body.
 
After a gap in time, I was able to repair my neck routing jig, and I got the slots for trussrod and carbon fibre rods routed and glued everything in place.

I also used some penetrating resin on the body and the headstock driftwood caps, because they are soft and at this point in the operation, they are at risk of getting dented. As you can see, the resin really darkened the driftwood here. I never really know what driftwood will look like until I put the resin on. Sometimes, they really darken up, and sometimes they hardly change at all. This one was really porous, so it drank it up and darkened considerably. :) There is still more epoxy to go on them as grain fill, but that will be closer to finish application time. This one will get tru-oil over the epoxy coats.

This pretty much brings me up to today, but there are a few missing pictures here and there that I'll have to cobble together...
 
Here's a shot of the positive and negative jigs interlocked. :) They look all wiggy in this shot, but they are actually a pretty good fit.

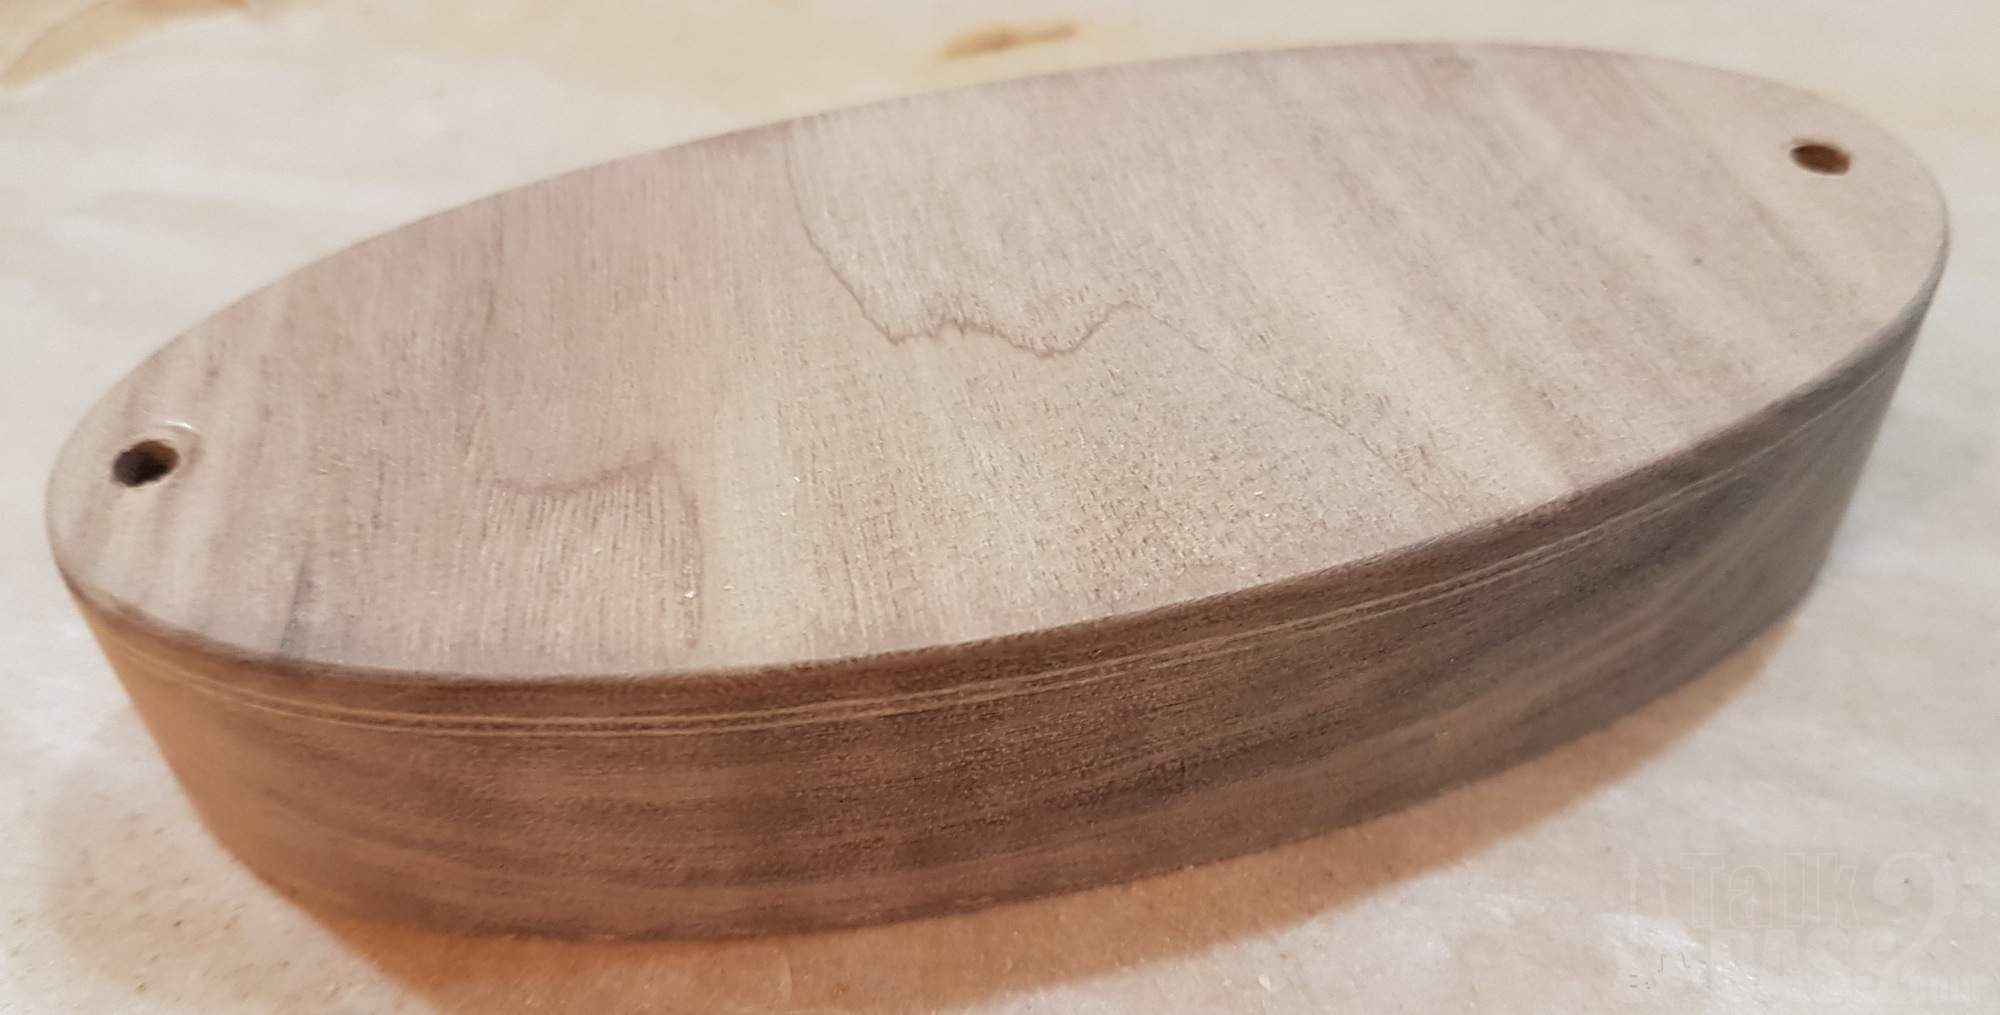
Here's a pickup cover rough sanded. You can still see the router marks on the top.

Sanded down to 220 and started with oiling.

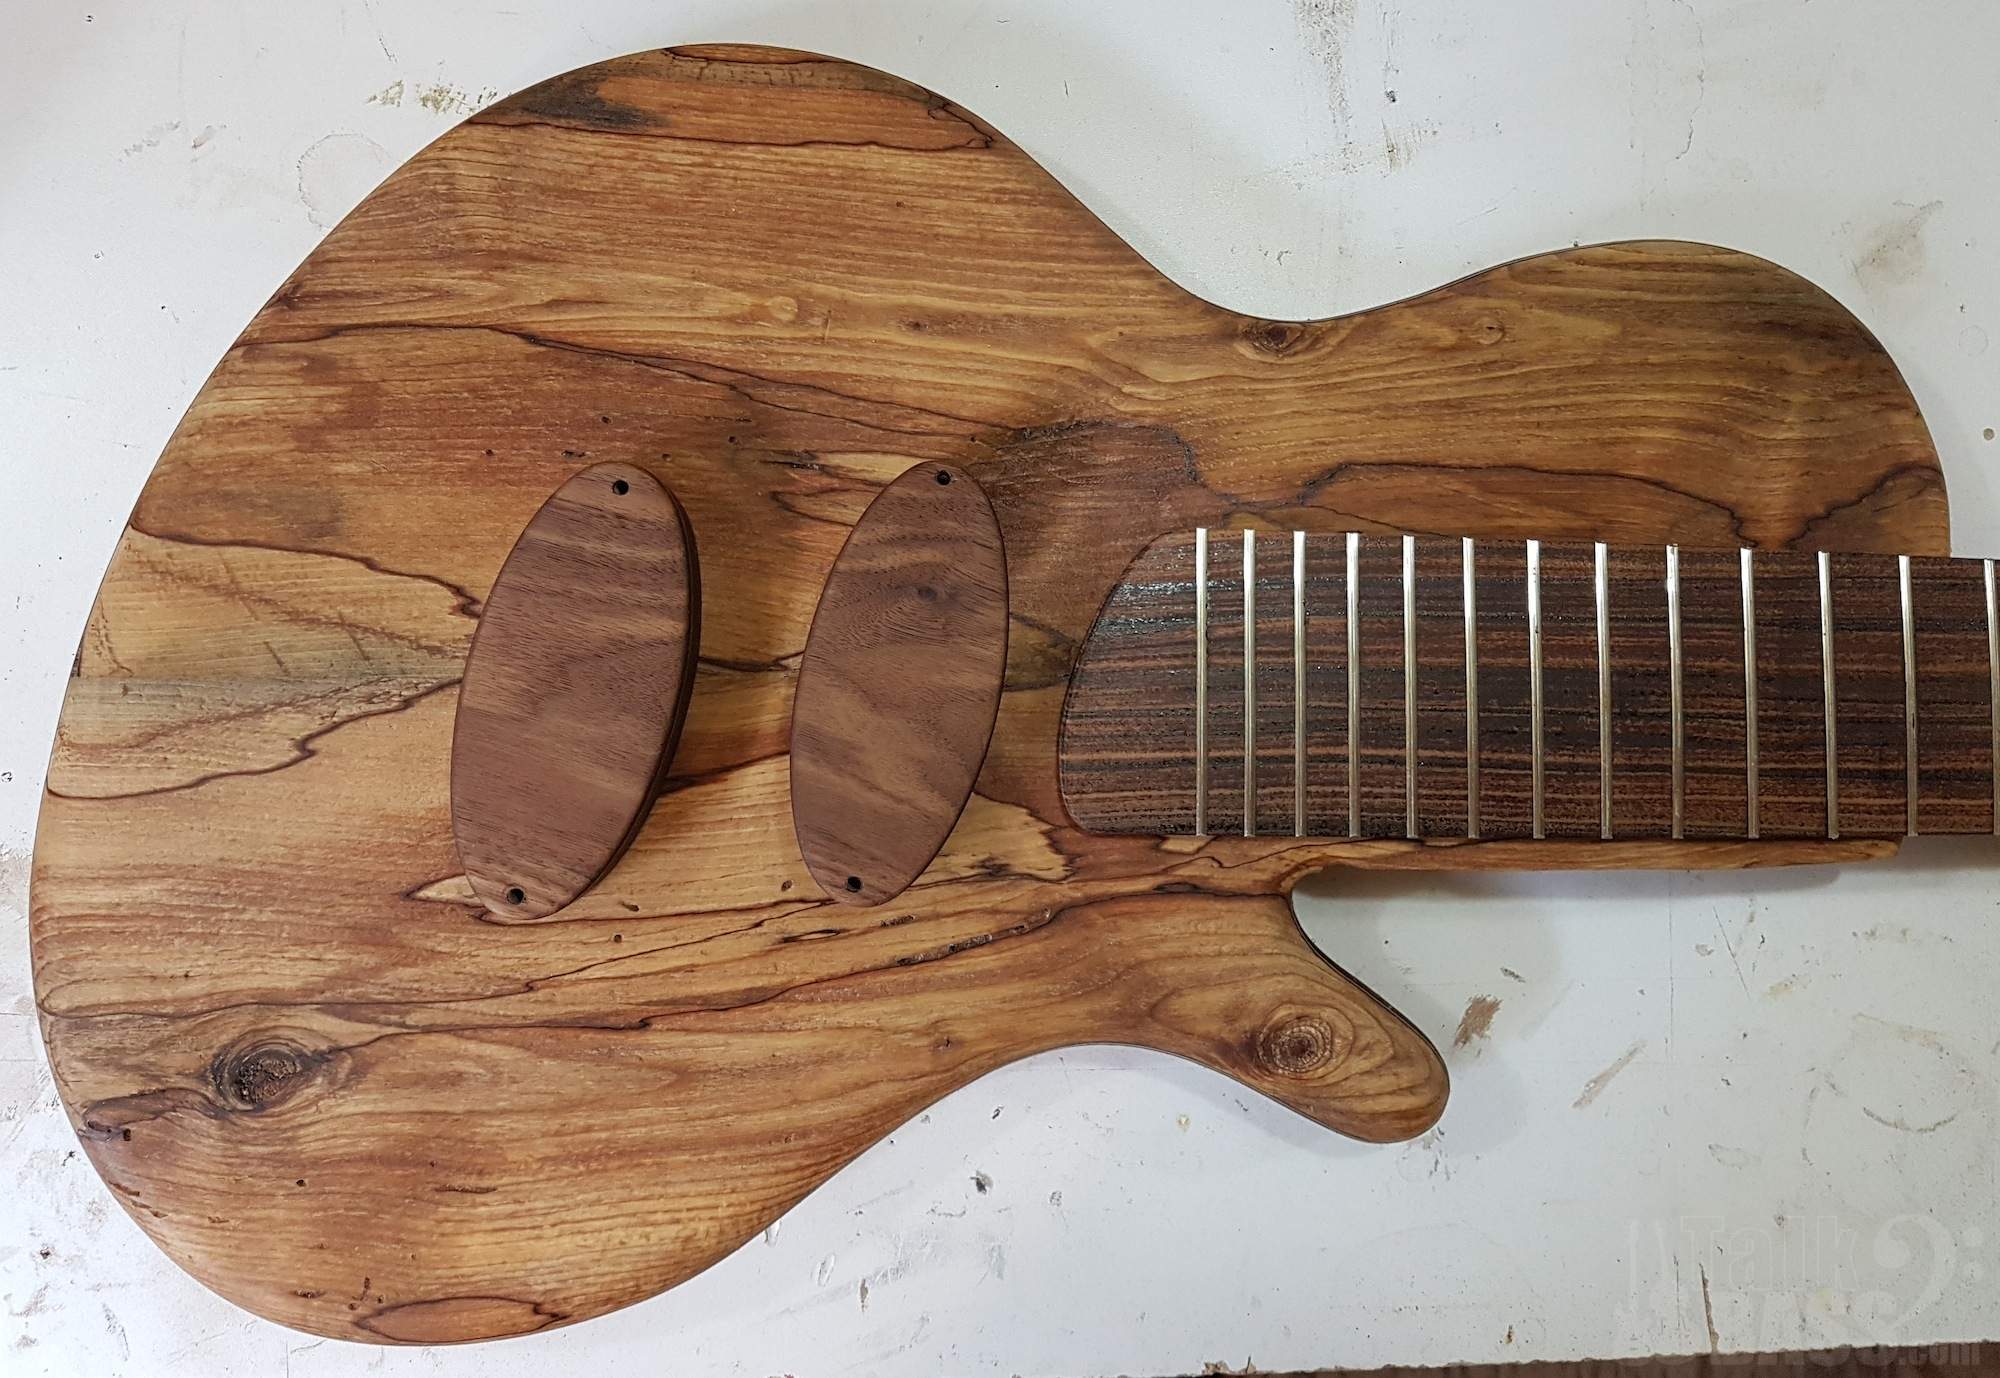
Yet another mockup. :D
 
It appears that my plan for global domination with oval pickups is proceeding as planned :D

Looks great!
Yeah, I really love the way they look, especially on rounded and smooth body styles. After having them on the body, rectangular pickups seemed a little out of place. I also have come up with a slightly different design that is a little taller and quite a bit narrower. I think they will still fit a jazz bass pickup, but I'll have to test one. If it goes well I think I will use a modified version on my reprobate build.:)
 
So despite trying every which way from Sunday, I'm not able to completely flatten the fretboard I was hoping to use. Rather than take a chance, I'm going to use another board. I'm thinking I'll use the Sundari board that I ordered, if it ever gets here. :D

I also ordered three Rosewood boards from a local supplier. I would not normally use Rosewood, except these are incredibly cheap now that you can't export them without a whole bunch of difficulty. I will just plan to ensure that they are all used on instruments that won't be leaving the country.:D
 
Last comment without pics... I have to say that now that the competition is over I'm really enjoying these builds. The pressure was interfering a little in my enjoyment, but I didn't notice it until it wasn't on.:D:woot:

It's not that I'm going to start taking my time, but I may take a little more time on certain things to get the detail right.:)
 
Okay, long time no update. This one doesn't have pics yet either, sorry, but a few will be coming soon.

So in the ensuing months, I've built a couple of guitars and a different bass. The guitars were completions of promises that had to be delayed so they took priority. The other bass is a 6-string version of my last year's build off entry (retro style 5). It's become my number one go-to so I decided that I better have a 6-string twin in the fray. Now that those are out of the way (finish is curing), I can focus on finishing up this one.

I've actually changed focus on a couple of things. My other walnut build entry has been temporarily shelved. With the build off no longer looming, I decided to use the neck for another project, which meant that I could use the Walnut fretboard on this build. To complicate things, I also figured that blocks and binding made out of the body top would would also fit nicely with the overall design. I thought about doing oval inlays made out of the body top, but that would be more than I can chew. I'm not @Rôckhewer for crying out loud... :D

Which brings me to my current question for y'all.

I think I want to coat the board with epoxy before I fret it. I'm just thinking about grain filling. How would you approach sealing up and filling the grain on a walnut fretboard, knowing that it is both going to be fretted and also have inlays made from the body top wood which are softer than the Walnut. I have already cut the inlays and thicknessed them to 4mm. They were cut from a board I had already treated with epoxy, so they are good right now. The walnut fretboard is untouched while I sort out the workflow.

How would you approach this? Any thoughts are appreciated! :thumbsup:

PS: commentary from armchair luthiers is welcome, I know TB has some great collective brains...
 
Okay...pulled this down from the shelf and blew off the dust. I did a little trim to the pocket and lower cutaway.

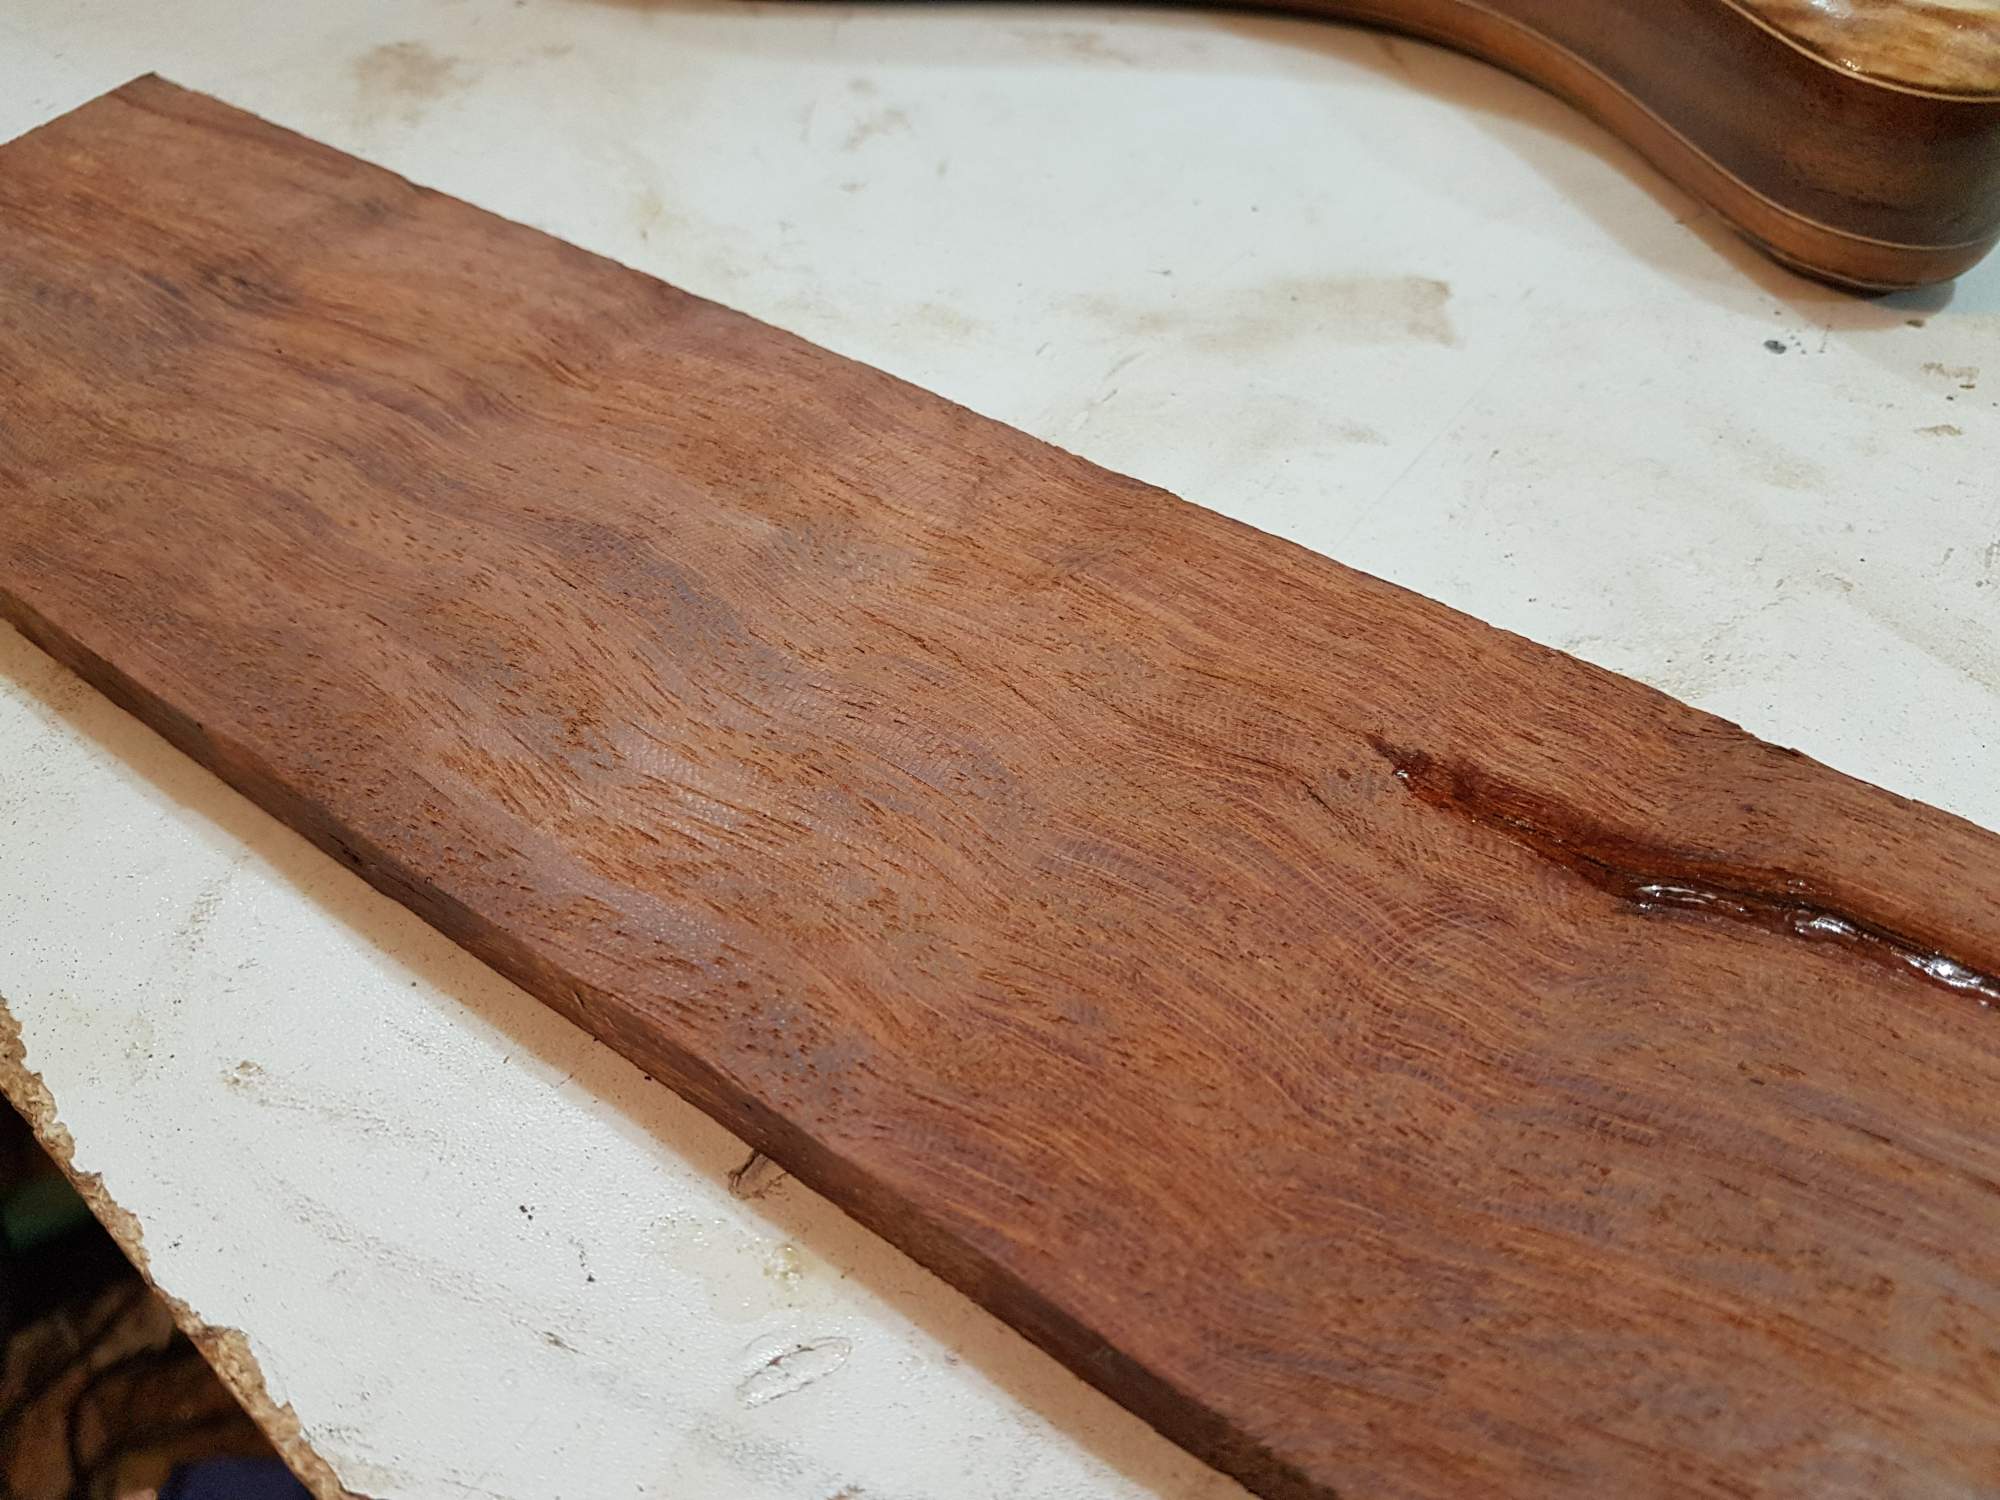
And here is yet another fretboard for this bass. I'm 100% sure this will be the final choice. :angel::whistle:

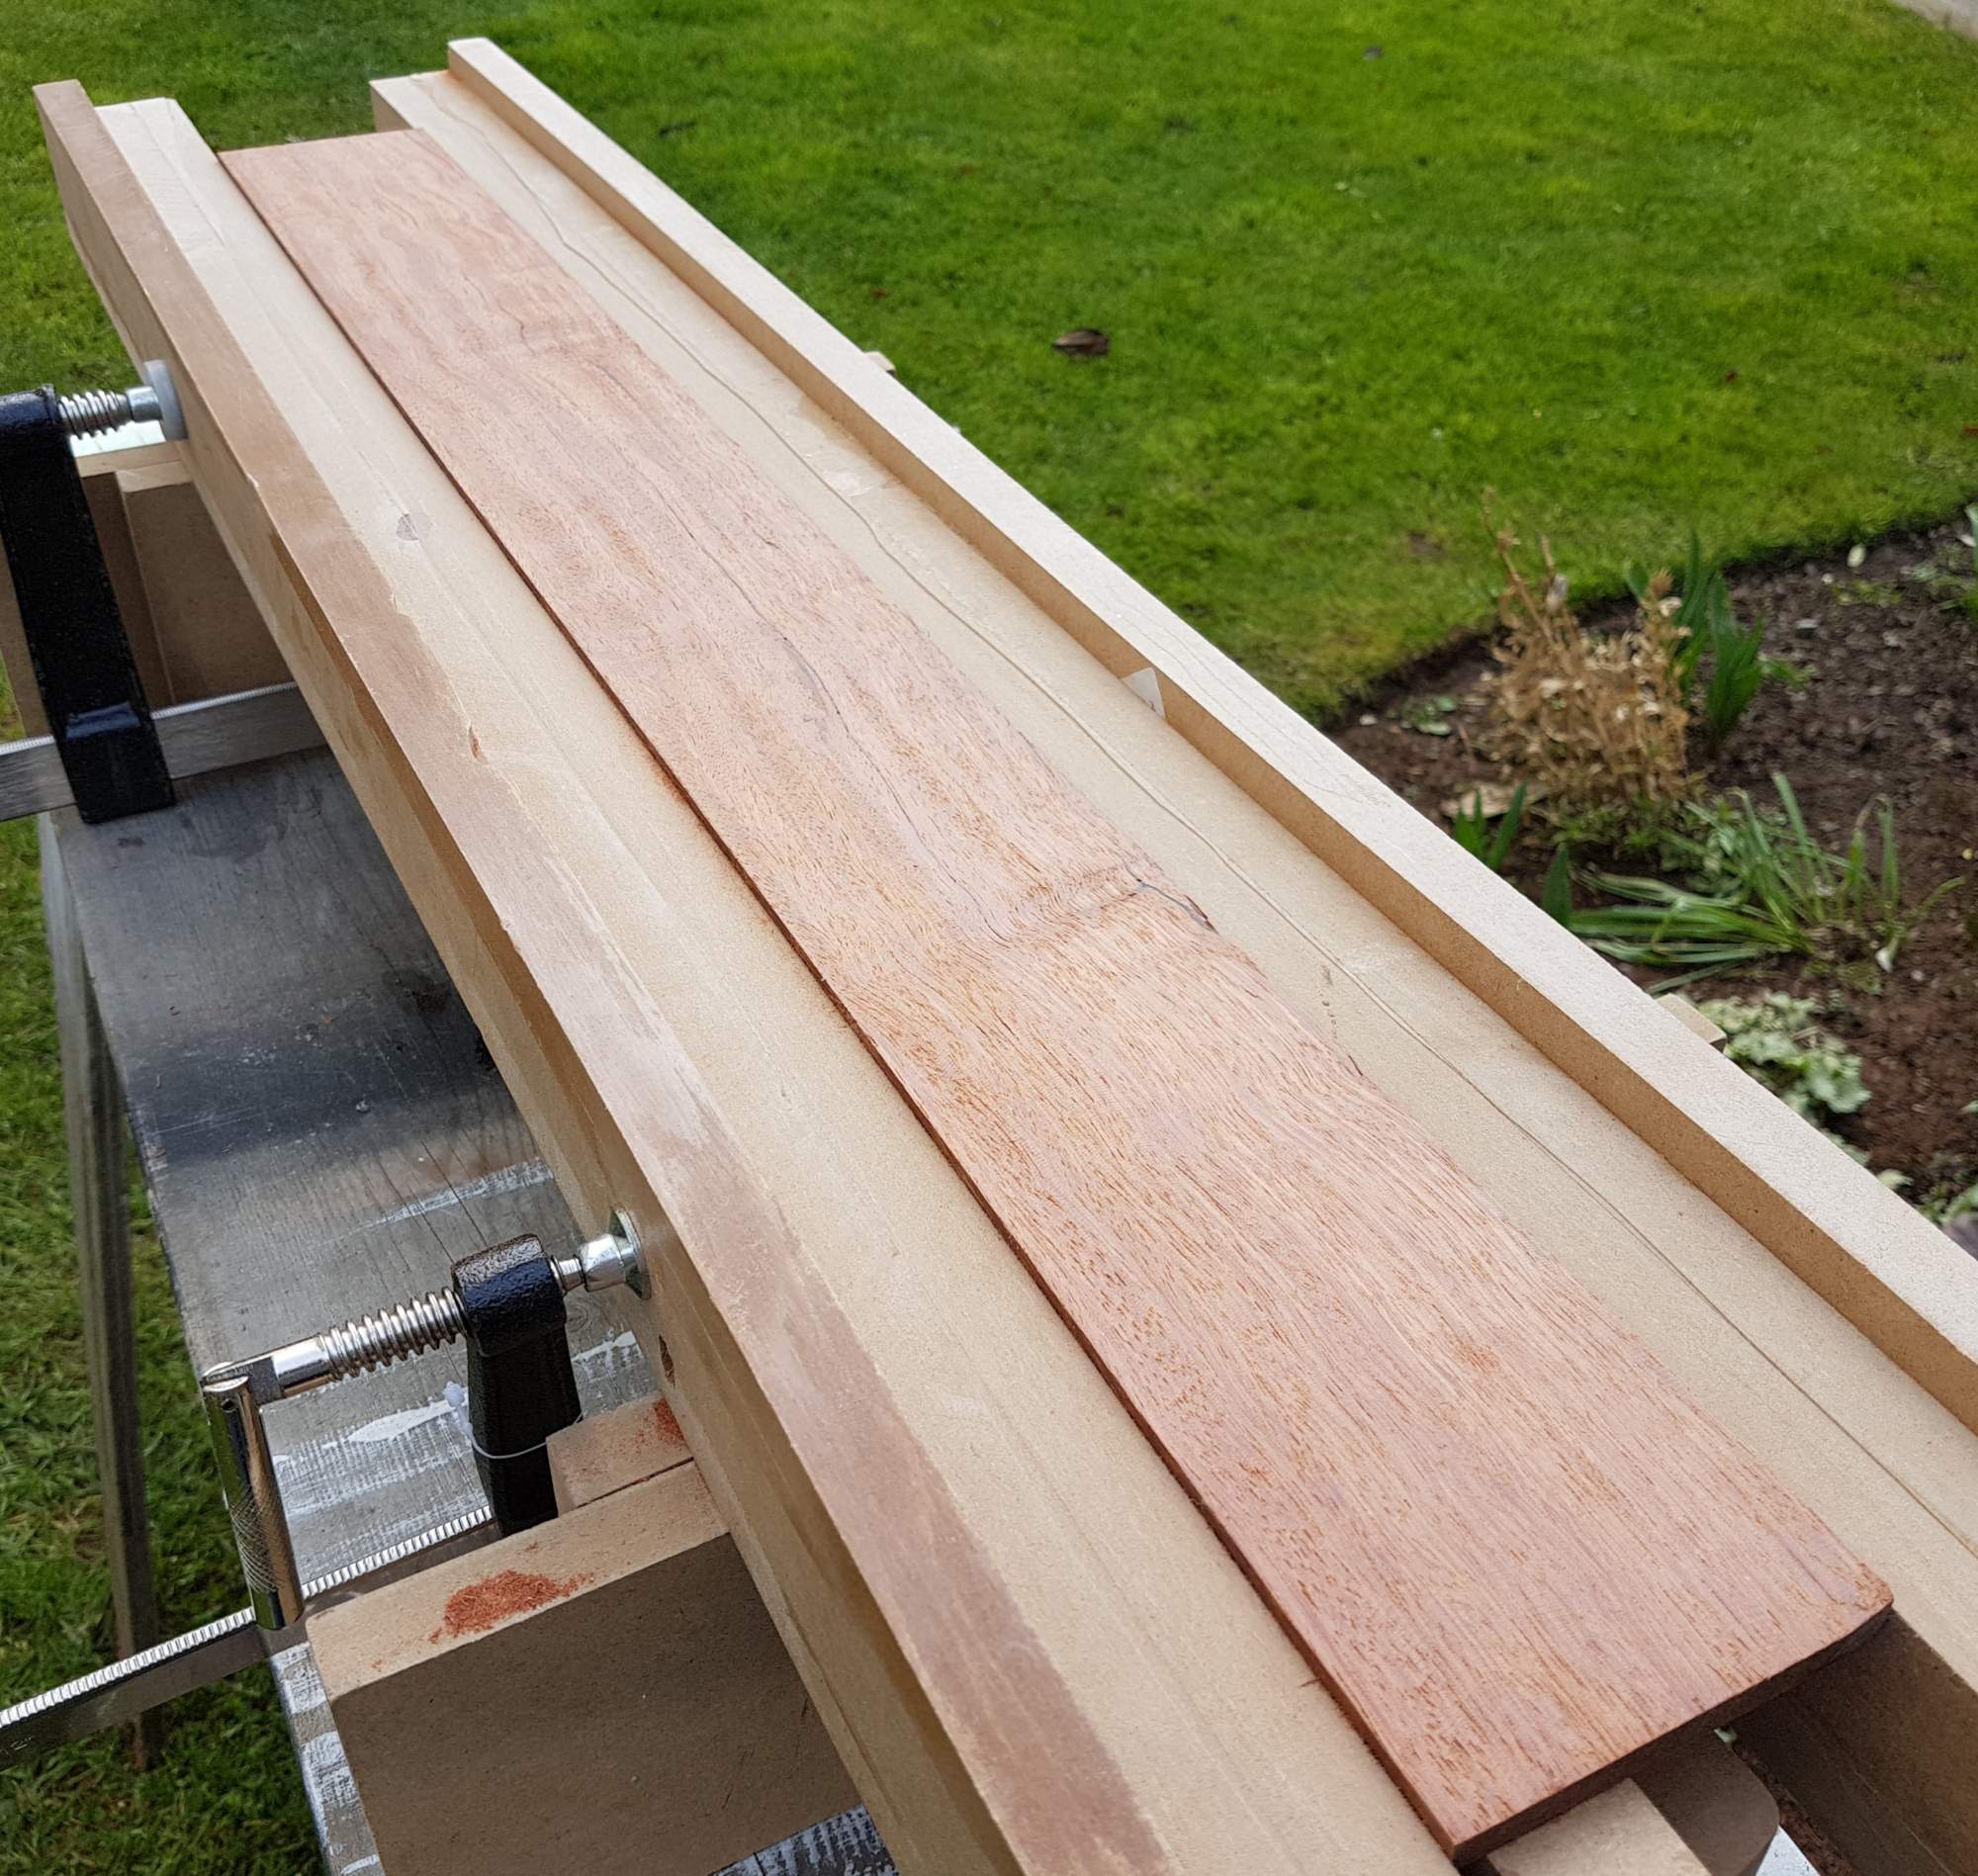
I think it's bubinga, but I don't know for sure. It's way harder than mahogany. It came from a 30" long by 3.5" wide edge grain board just thick enough to slice down the middle and get two fretboards. The woman I got it from said it had been in her grandfather's basement stacked with other wood next to the furnace since she was a little child, so probably around 50 years. The board has a few cracks, repaired with CA glue. Its incredibly dry and lightweight. When I sawed it in half, it didn't budge a millimetre in any direction, so here's hoping it's a stable piece. :D More to come... :)
 
Last edited:
I found some time to plane down both bubinga blanks. I selected the better of the two for this bass. :) This one had around 3 long thin voids (they look kind of like cracks, but are natural in the grain). The other one had around 10 of the same voids that went right through the board along the grain lines. I filled all of these with medium CA glue, and then planed them flat. You can't really make out the CA glue fill lines now, which is a bonus. :)
I'll use the other board on a guitar build where I can avoid most of the voids.


Big Edit:
So, in the ensuing year since this post was originally put up, this bass has had two other fingerboards designated and then passed by. It continued to sit while other priorities were built around it. When the Special Edition Build Off in Spring 2020 was announced, finally attending to missing details and finishing off this bass seemed like a good fit for the 'run whatcha brung' ethic of the build off.

And so this build thread effectively ends here, and picks up again in the SEBO 2020 build thread here:
Special Edition Build Off: Grace 6 from Winter Build Off 2018

Thanks for looking! :thumbsup:
 
Last edited: