• TalkBass has been independent since 1998. Add your voice.
    Create a free account to reply to discussions, view embedded media, and browse with fewer display ads.
    Join freeLog in
    Want zero display ads or expanded classifieds tools? Compare plans.

Winter Build-Off 2019 - Grovatlanschion

When you say weight distribution, do you mean like the balance of the instrument when it's on a strap? If so, how I address that is to keep my head stock small and therefore light, I use an upper horn that reaches to the 11th or preferably the 10th or even 9th fret, and also mount the bridge near the very end of the body. Doing these three things has meant that I can seriously chamber a body and still have an instrument hang nicely. My lightest 5-string full scale bass weighs only six pounds, and balances perfectly.

This one should weigh closer to 7 and 1/2 I'm thinking even with the chambering, because Walnut is heavy! This design also has a very compact headstock, and unlike Atlansia, mine will not be 3/4" thick, I think it'll end up a little over 1/2" to help save weight.

Thanks!
 
  • Like
Reactions: Beej
Kids asleep, presents wrapped, everything ready to go for the big meal tomorrow...update time... :D

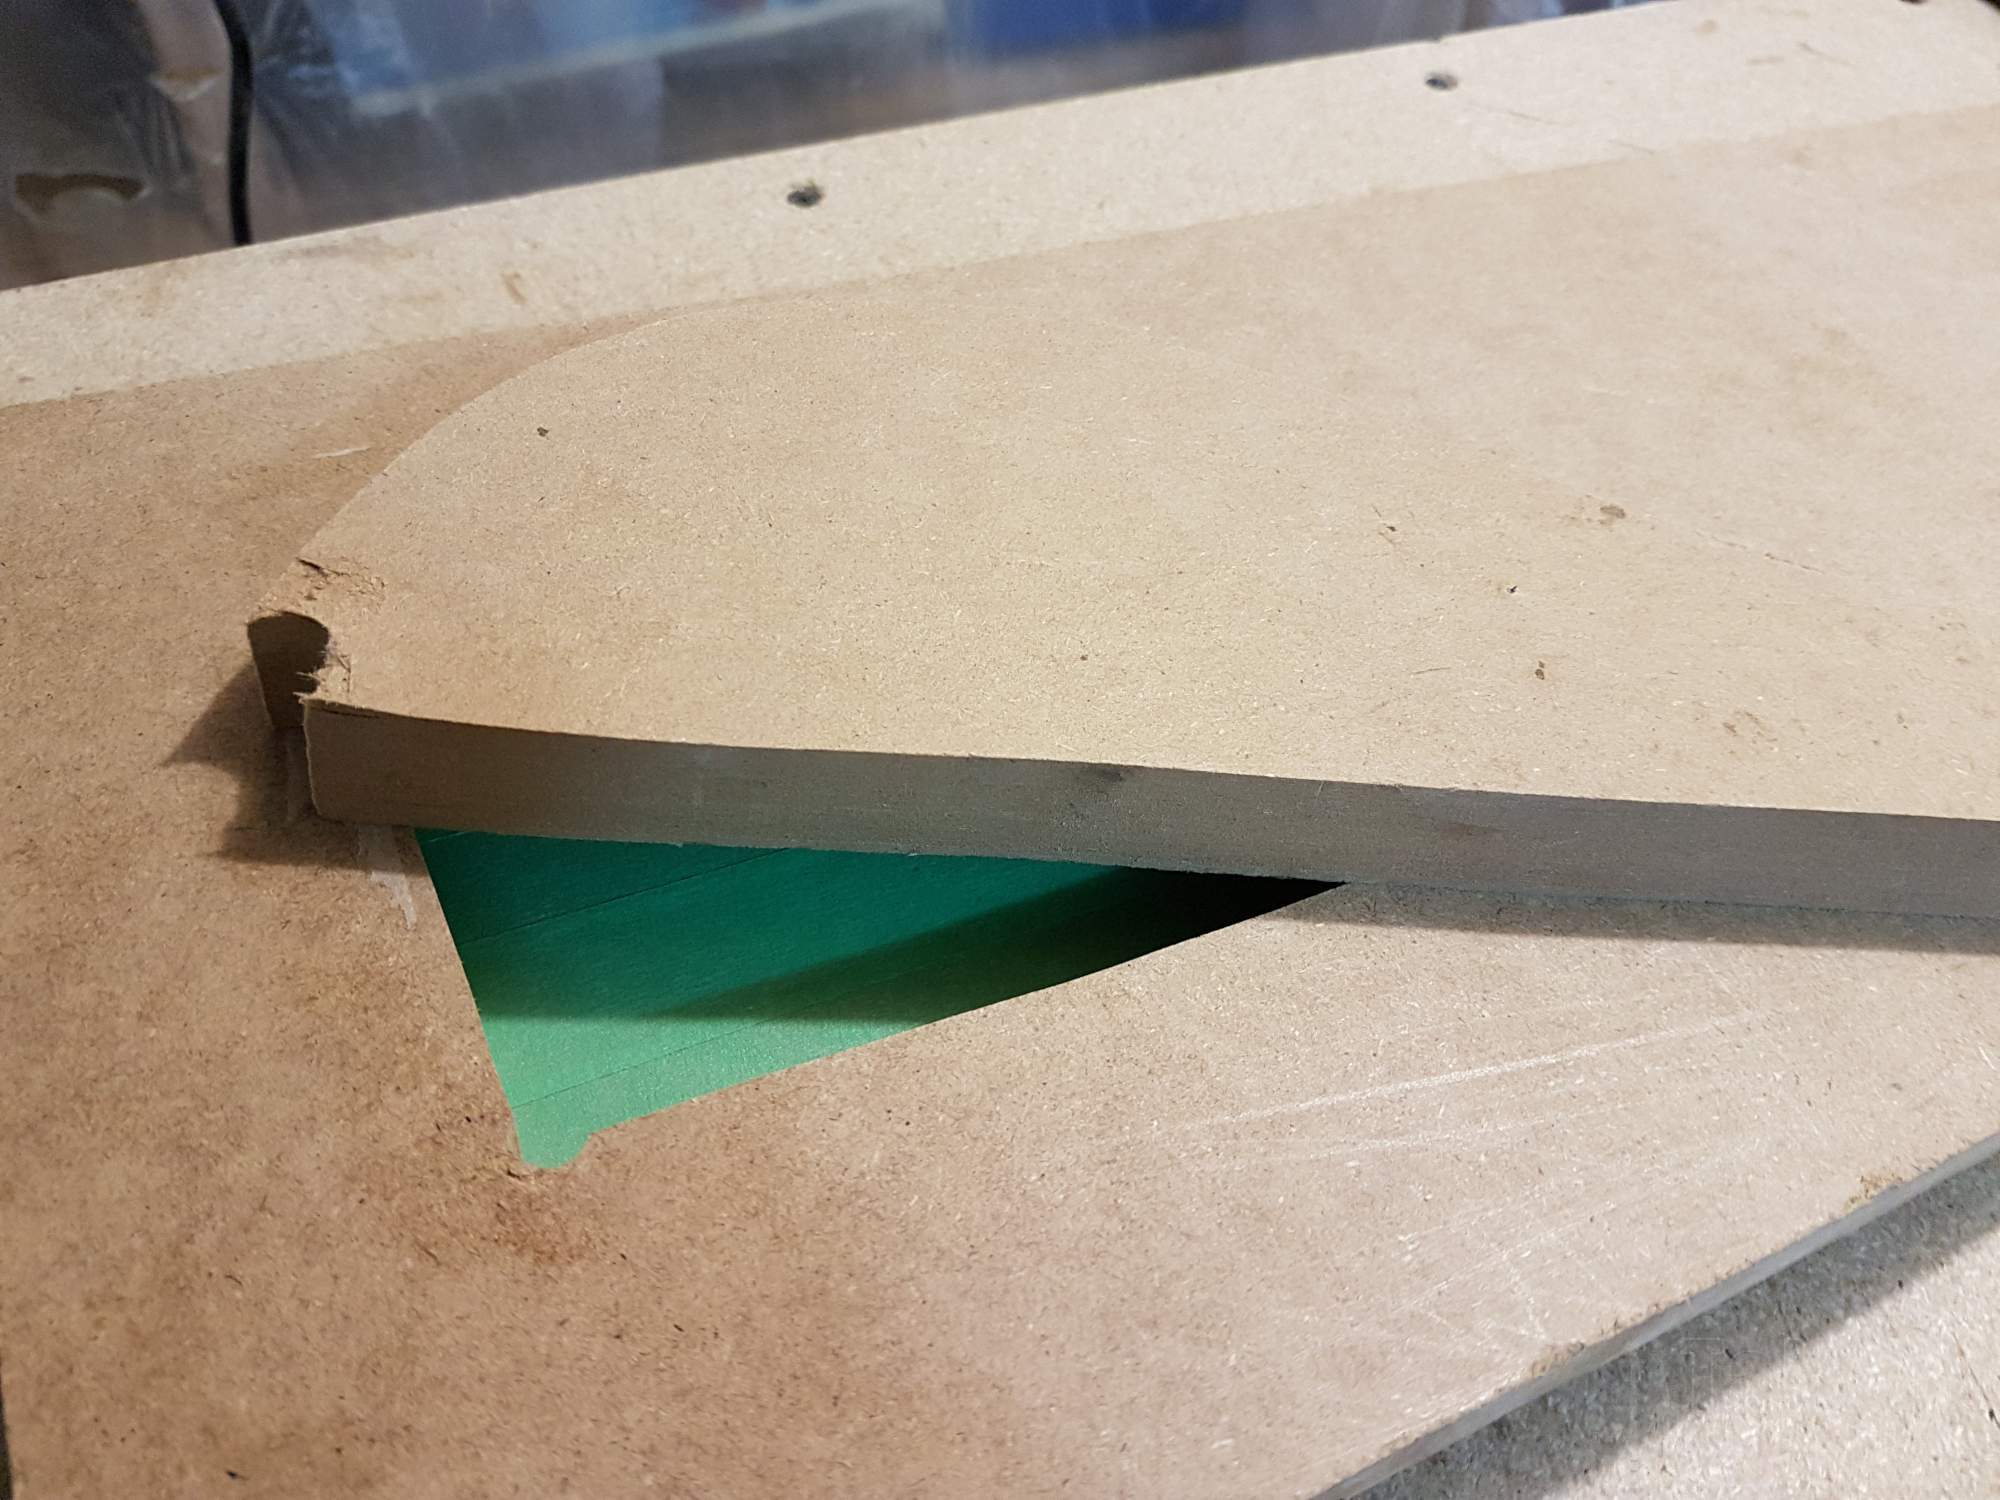
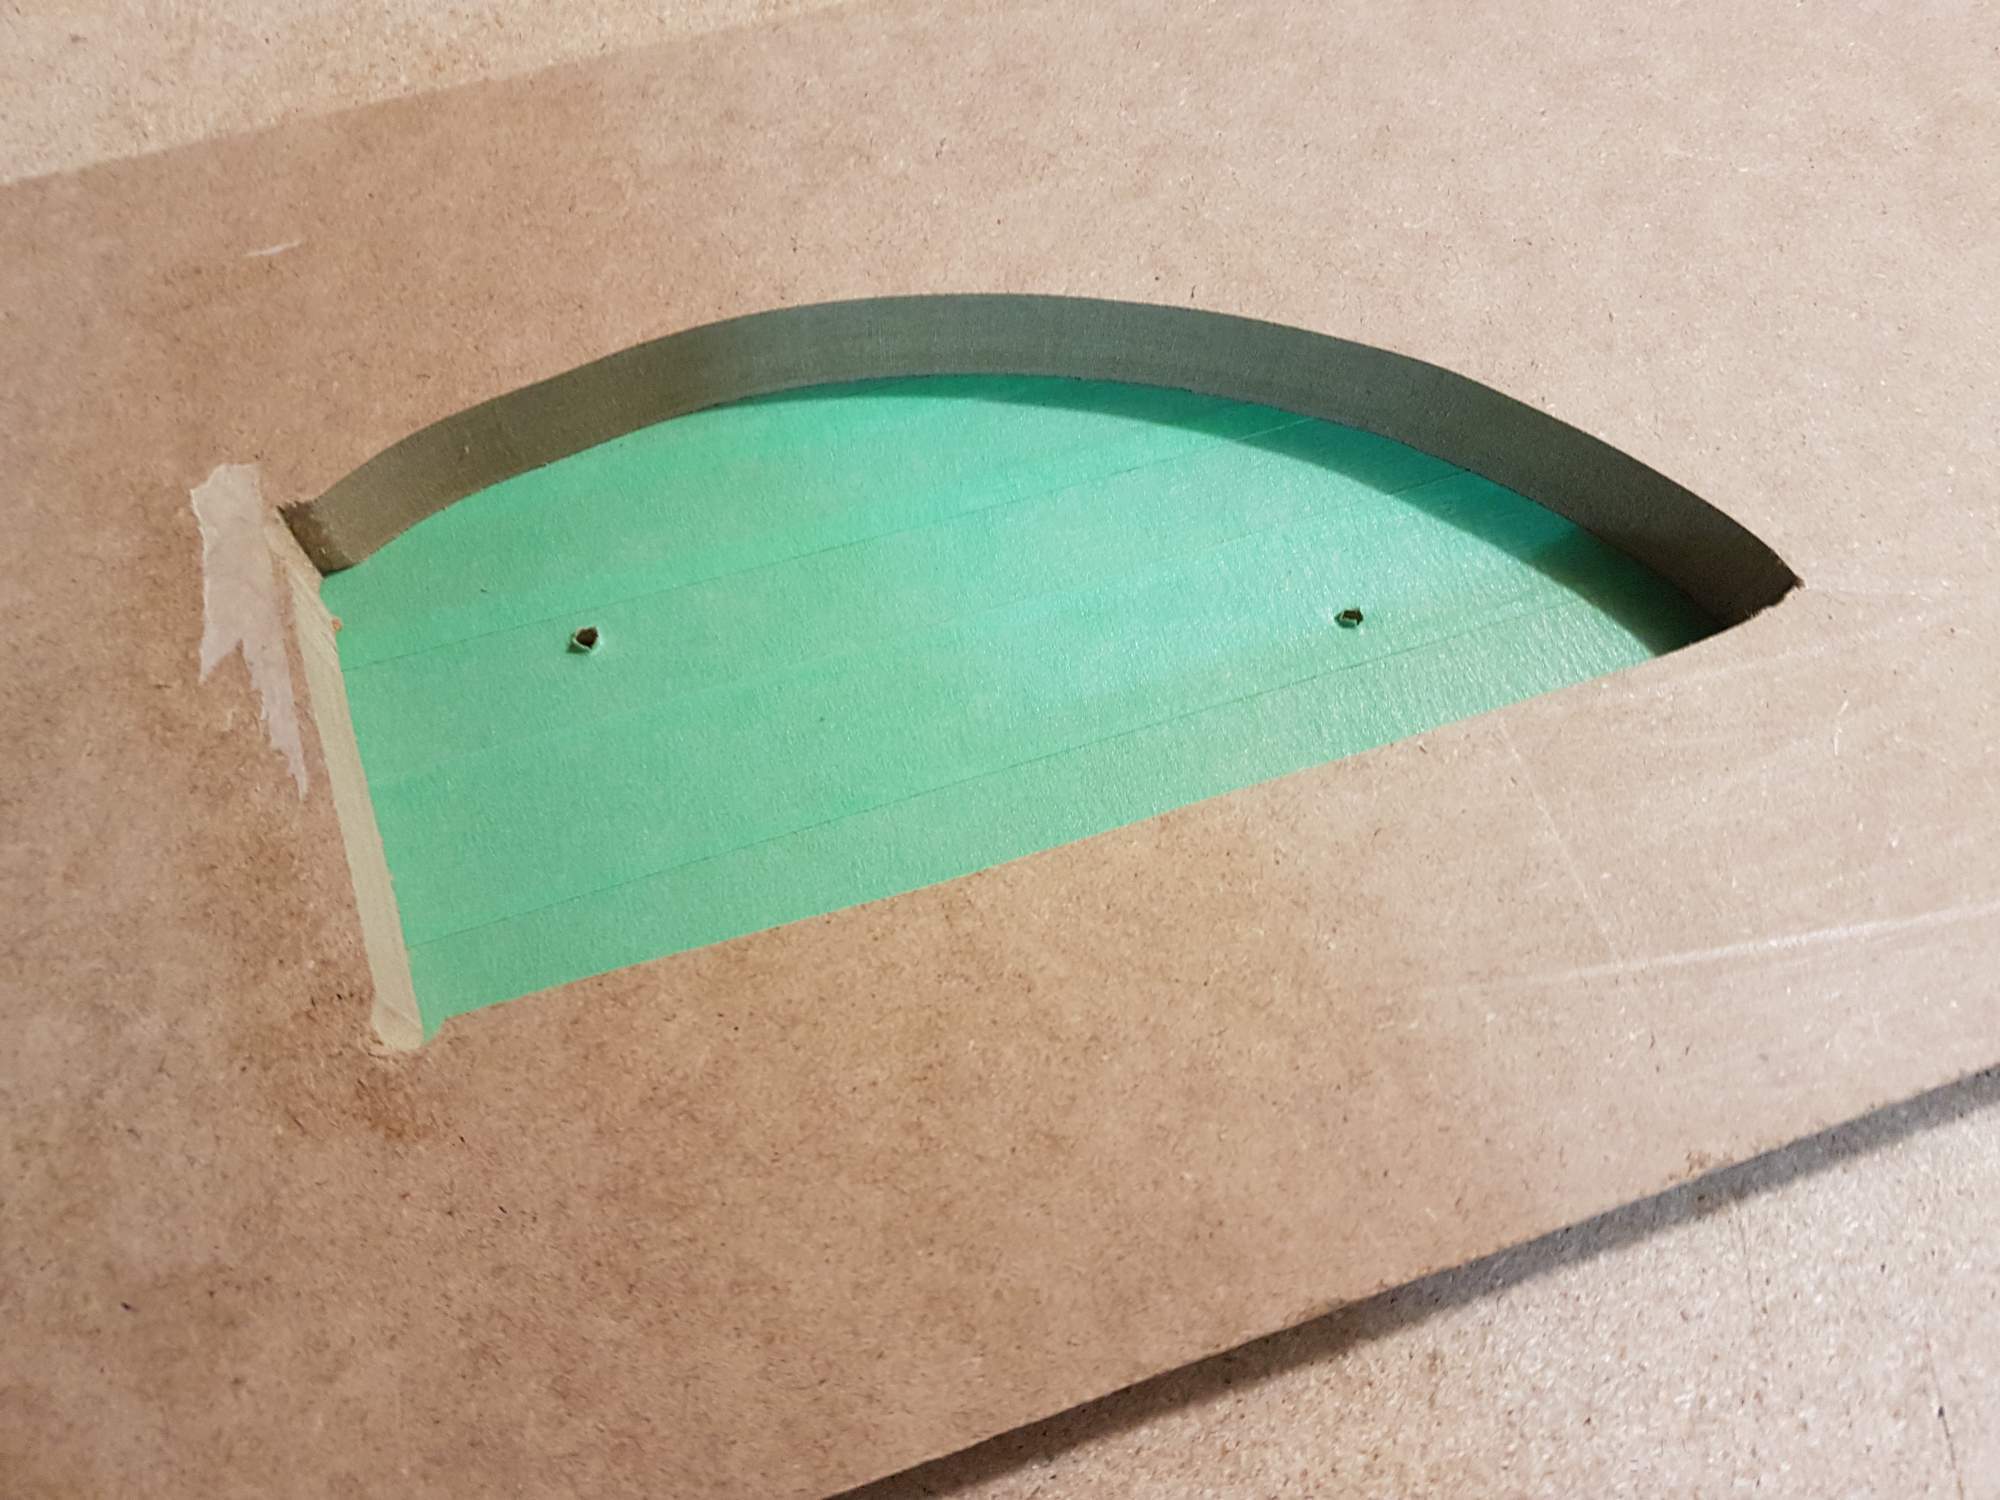
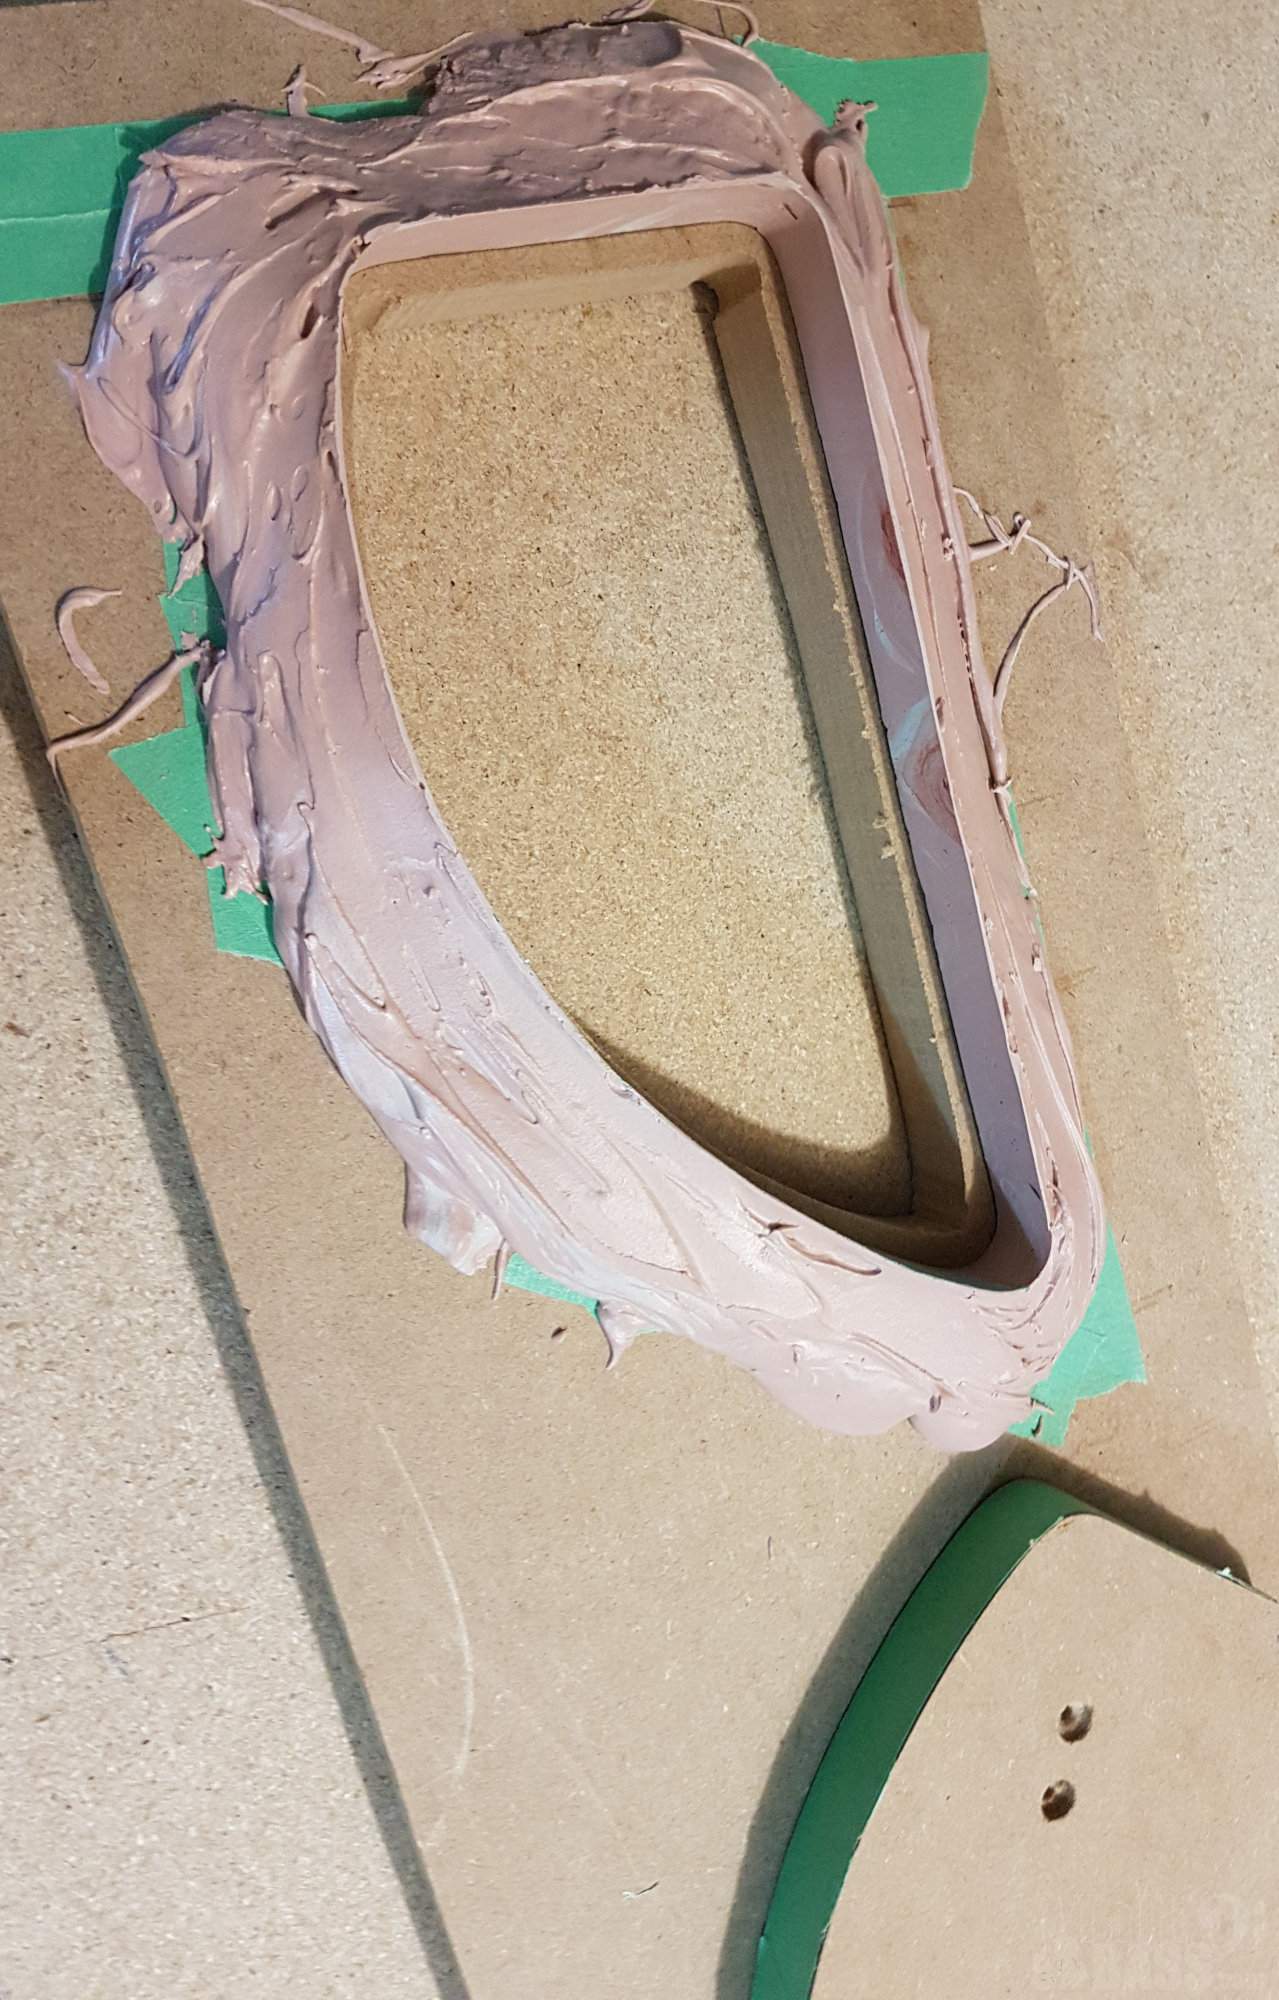
So I put my control cavity cover on the back to think about placement and I realized that my existing design just won't work with this body. Time to make a new template. First I made a control cover template in a size that would work. Then I traced it on a piece of MDF, and cut inside the line a little. Then I used the bondo method to make the negative routing template of the new control cover template.

To ensure the cover does not move, I screw it right through into a caul I position over the hold on the back.

Once the bondo is hard enough, I remove the caul and then push out the cover template from the back.

It just slides right out as long as you've used some kind of masking tape, tuck tape, cellophane, etc.

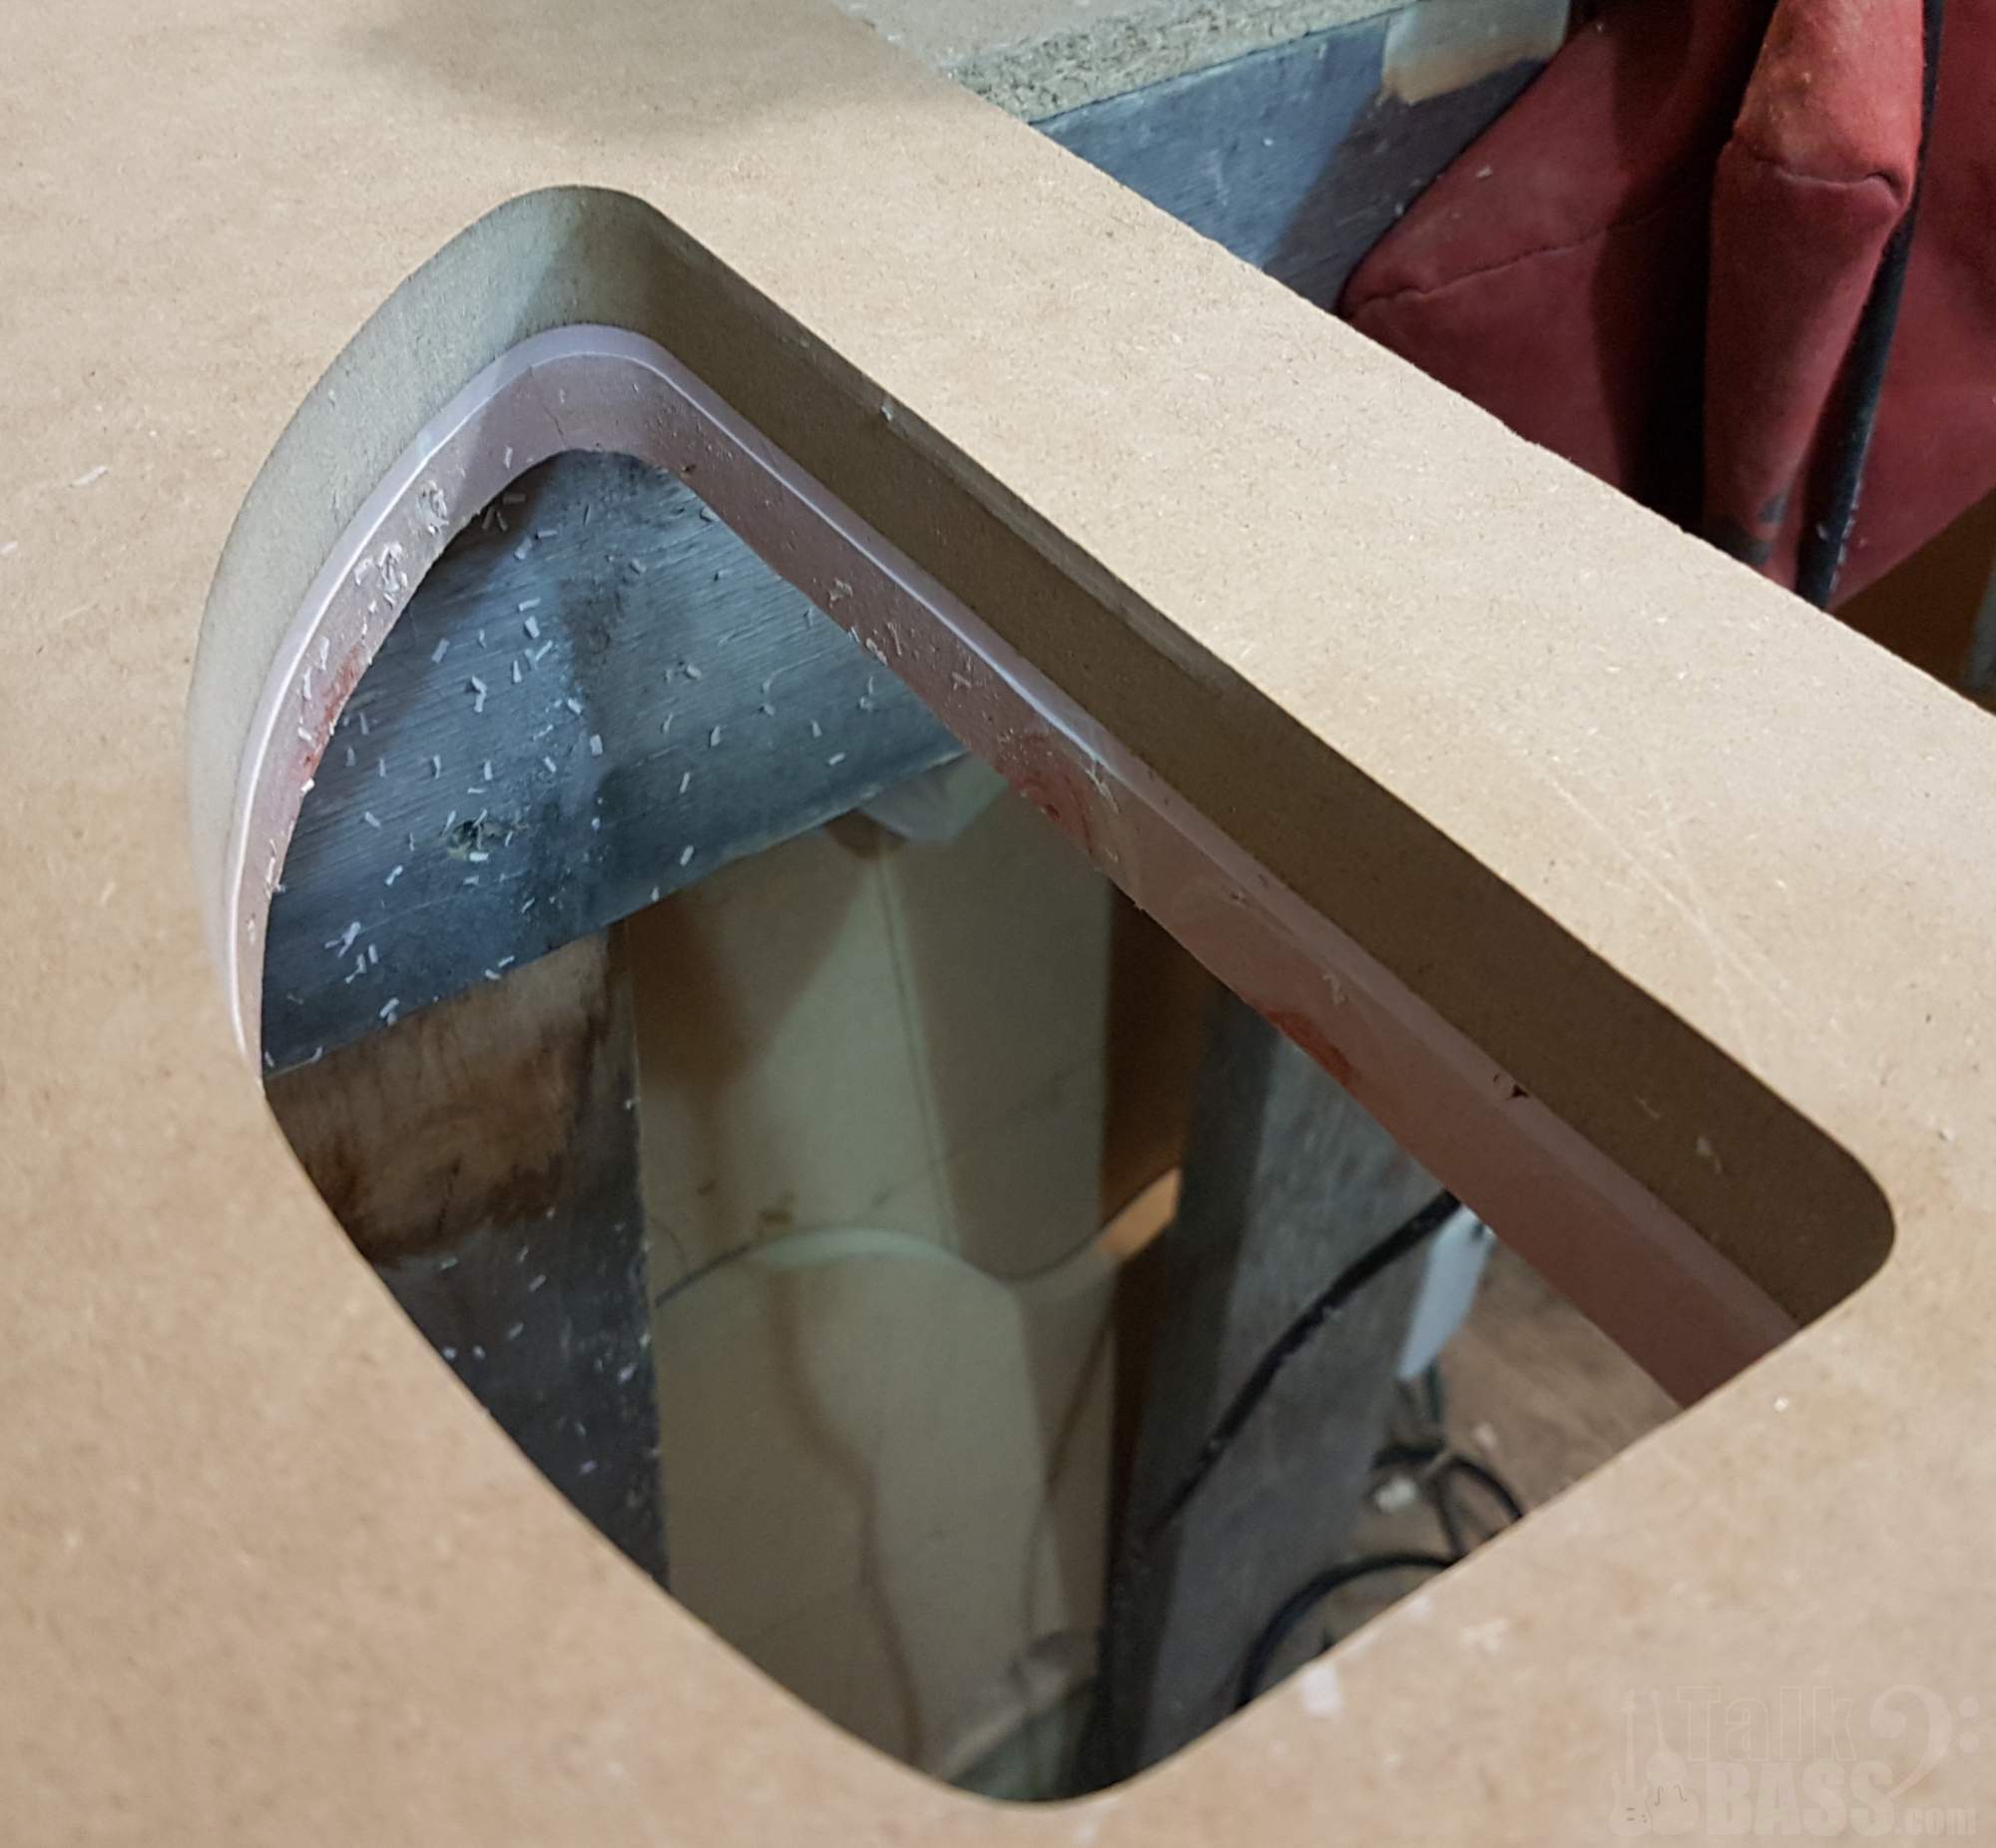
Then I flip it over and use a pattern bit to follow along the bondo edge and give me a perfectly routed template that fits within a hair. Boom, thank you internet... :D
 
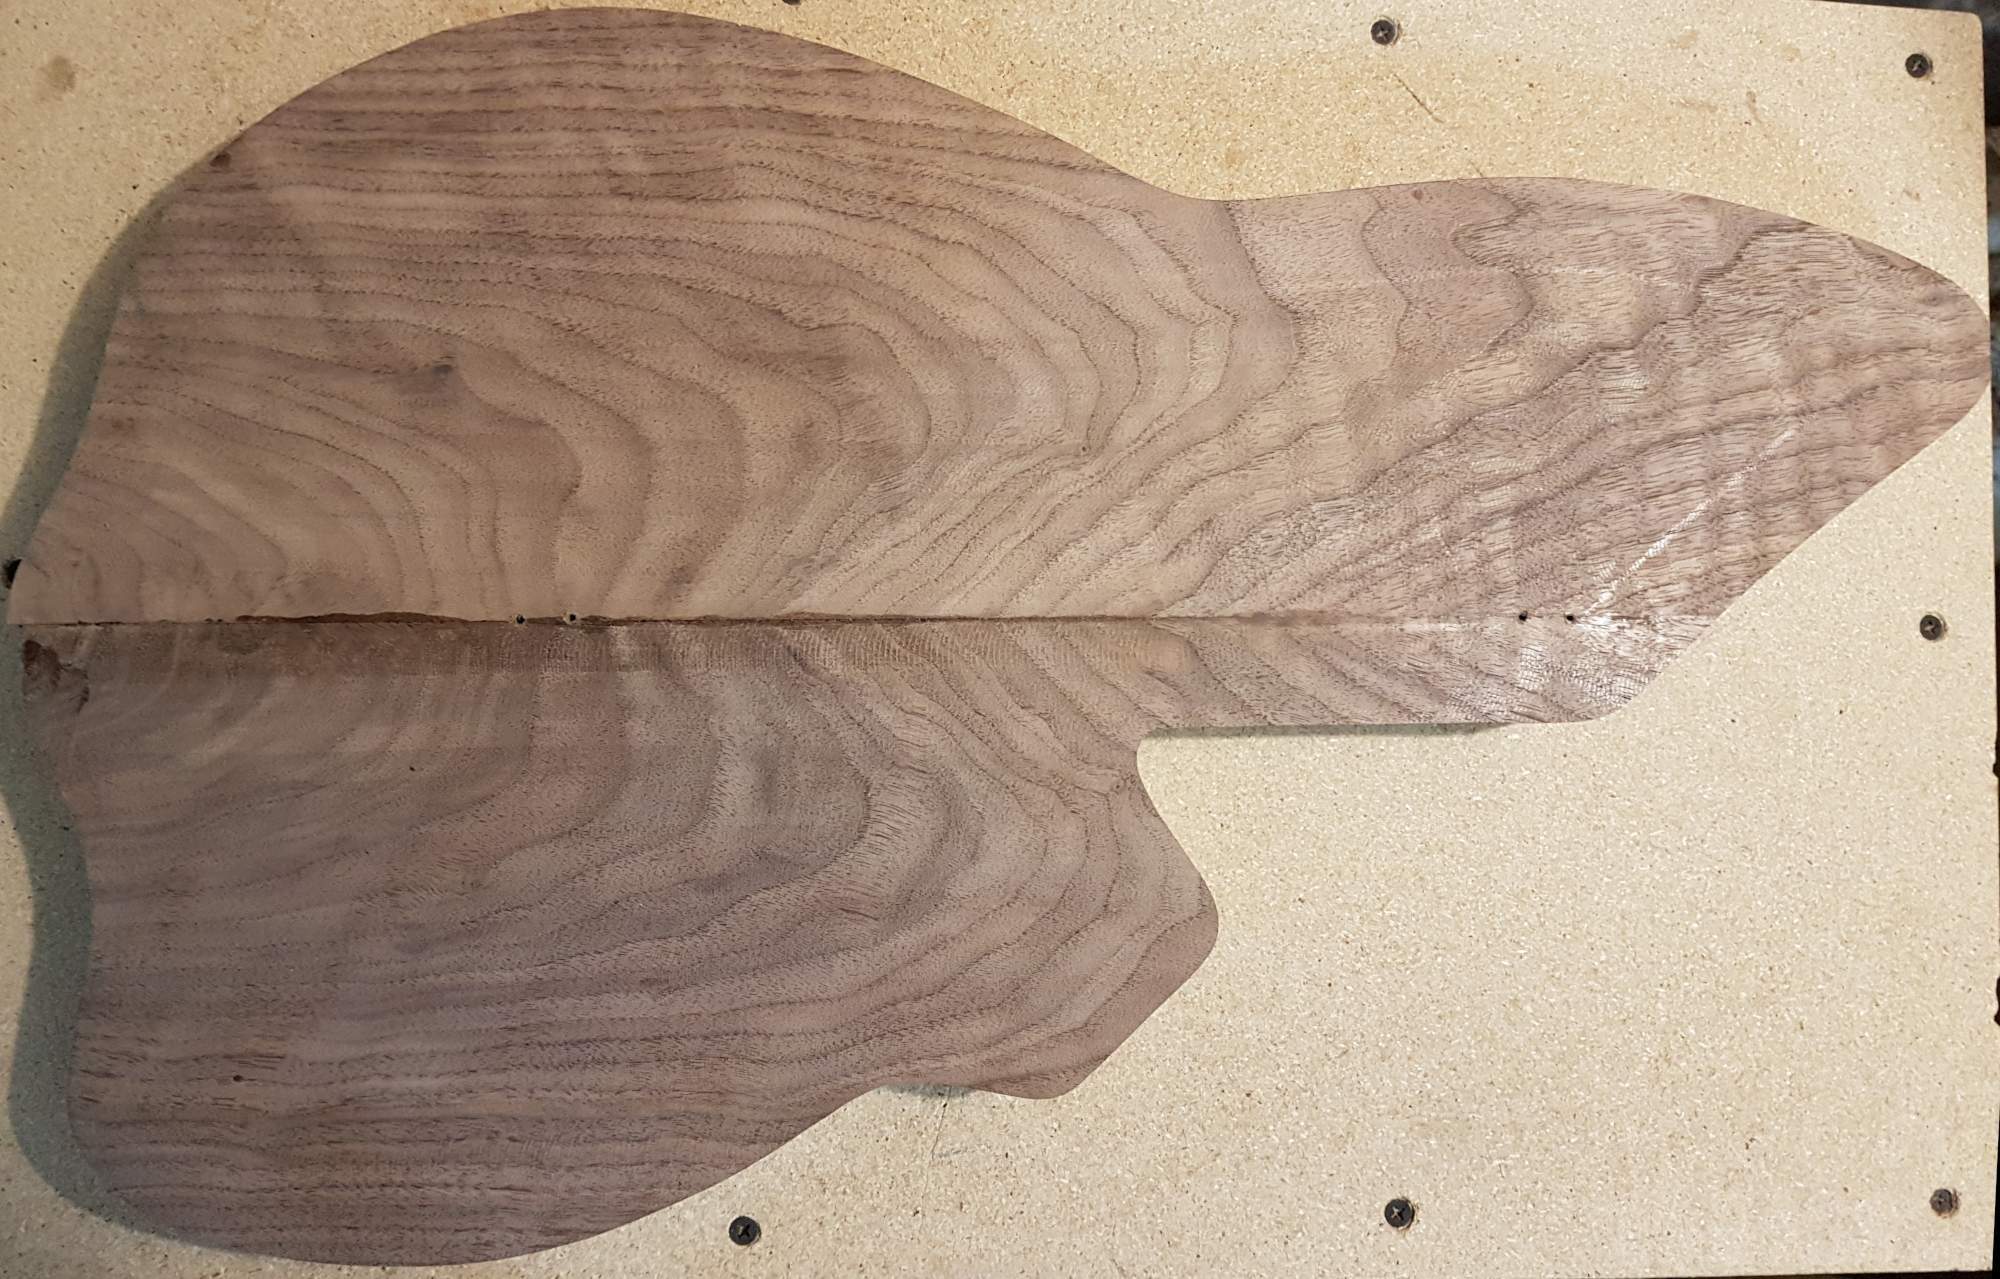
This afternoon, I also pulled the body blank out of the clamps and inspected the joins. So far so good...

I traced the body template onto the blank so I could cut it out.

My bandsaw is temporarily jammed against the wall, so I used the jigsaw to cut it out instead. My "shop" is small. 10'x12' with a 2' wide shelf all down one side and storage at the back. The effective space is 8'x10'. :) This blank is actually lighter than I expected, can't wait to see what this bass weighs... :woot:
I also did a bunch of other stuff, but I made a very annoying error, so I won't show all those pics... :smug::laugh:
 
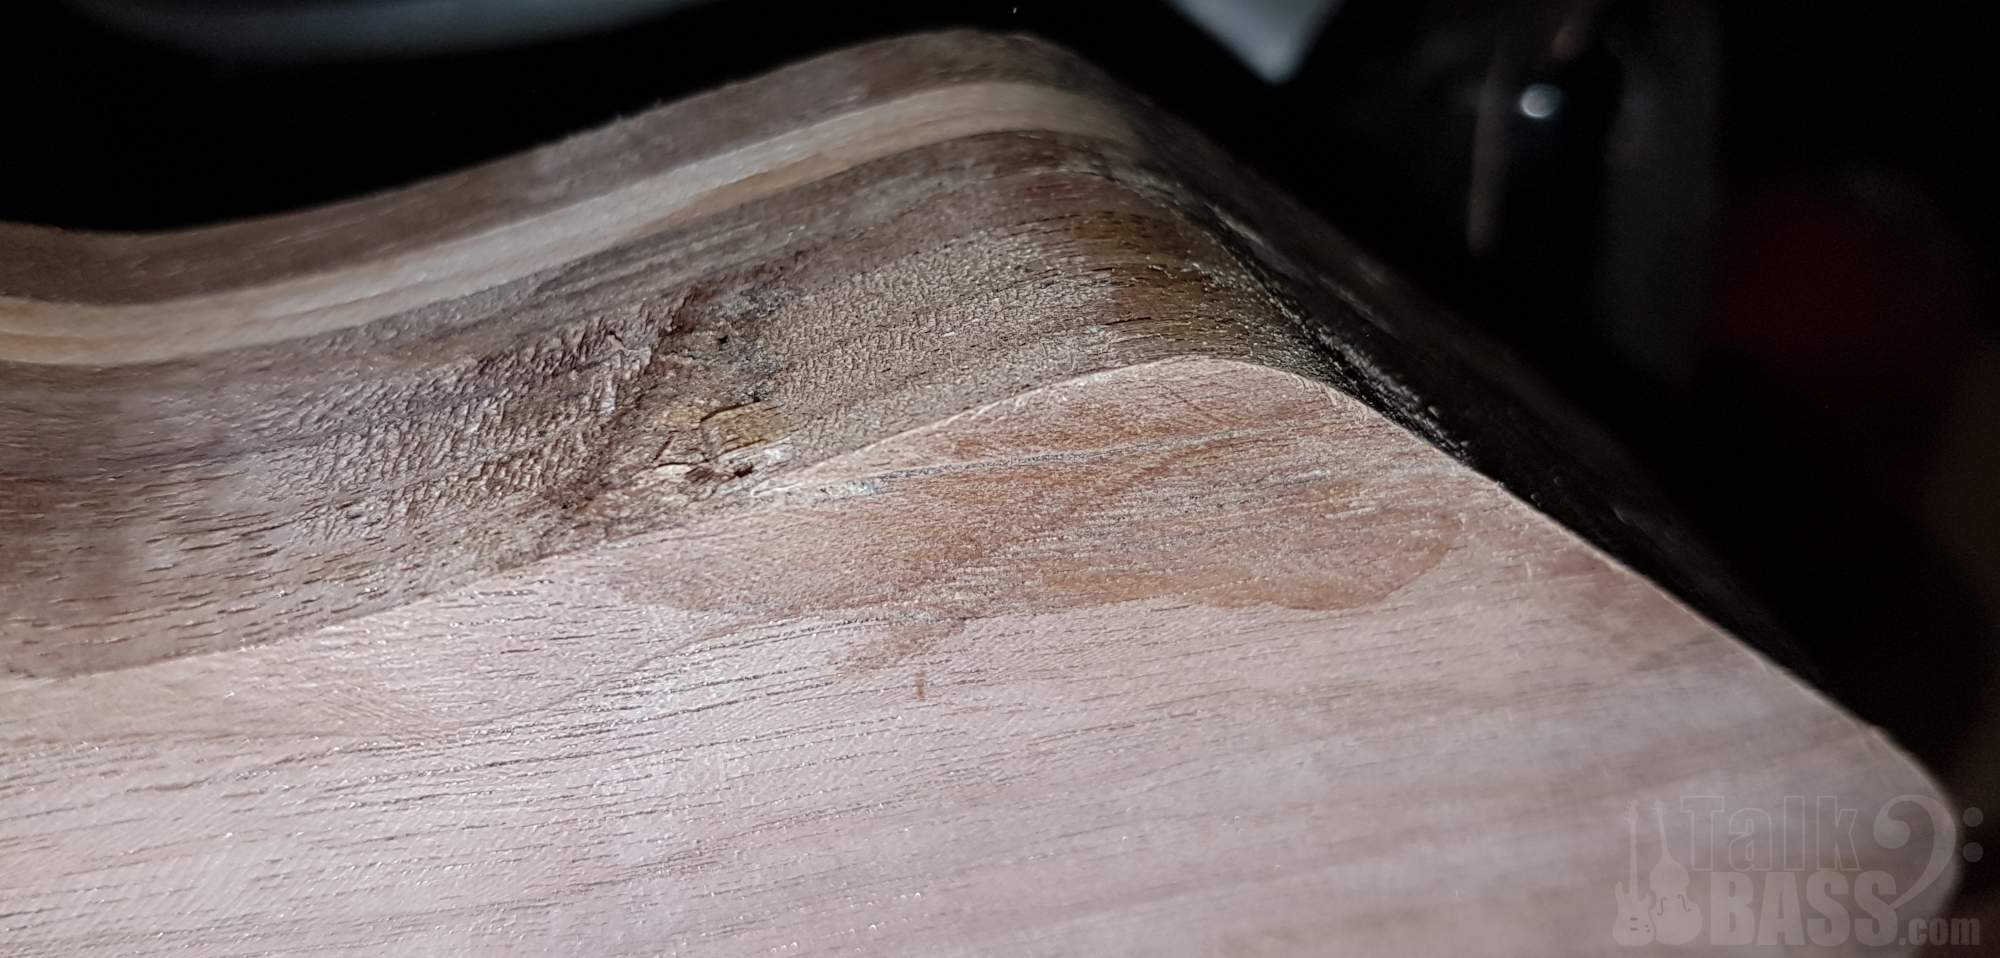
I used the body template to rout the edges nice and smooth. At one point, I was routing along and it went like this: bzzzzzzzzzzzzzznzzzzzzzzzzzzzz. Hmm... upon close inspection afterwards, a fairly largish chunk of tearout on the backside of the lower "horn". Fury ensued. After I calmed down a tad, I found the chunk amongst all the sawdust and chips and glued it on with some quick set epoxy. There were some tiny missing bits, so epoxy helps by filling in the gaps. Most of this will be gone after the 5/8" roundover on the back.

Here's a shot of the fully cleaned up blank - you can't see the repair from the front.

Also today, I pulled the neck blank out of the clamps and cleaned it up a bit. Here is is posed against the body. I should have got a pic of the body accent as well - they worked out to being close in size, so helps with the "conceptual continuity". :)

I also did some work on the 7 string and a new hollowbody design for my eldest son. He's suddenly decided he wants to build a guitar - who am I to get in his way? :D

Tomorrow I think I'll get some work done on the pickup covers.

Merry Christmas to those who celebrate it, and Happy Holidays to those who don't! :)
 
  • Like
Reactions: BritFunk and Joshua
I've been focused on a couple of other builds that needed attention, but back to this one. :)

I did the 5/8" roundover on the back of the body.

That annoying little tearout is still pretty present, but at least it's not on the face...

Then I used a bevel bit to rout a 45 degree bevel around the front of the body exposing the maple accent strip.

The bevel extends down to the bottom of the accent strip, so it makes a nice line around the edge.

I haven't tried this before. A little weird, but I like it... :D
 
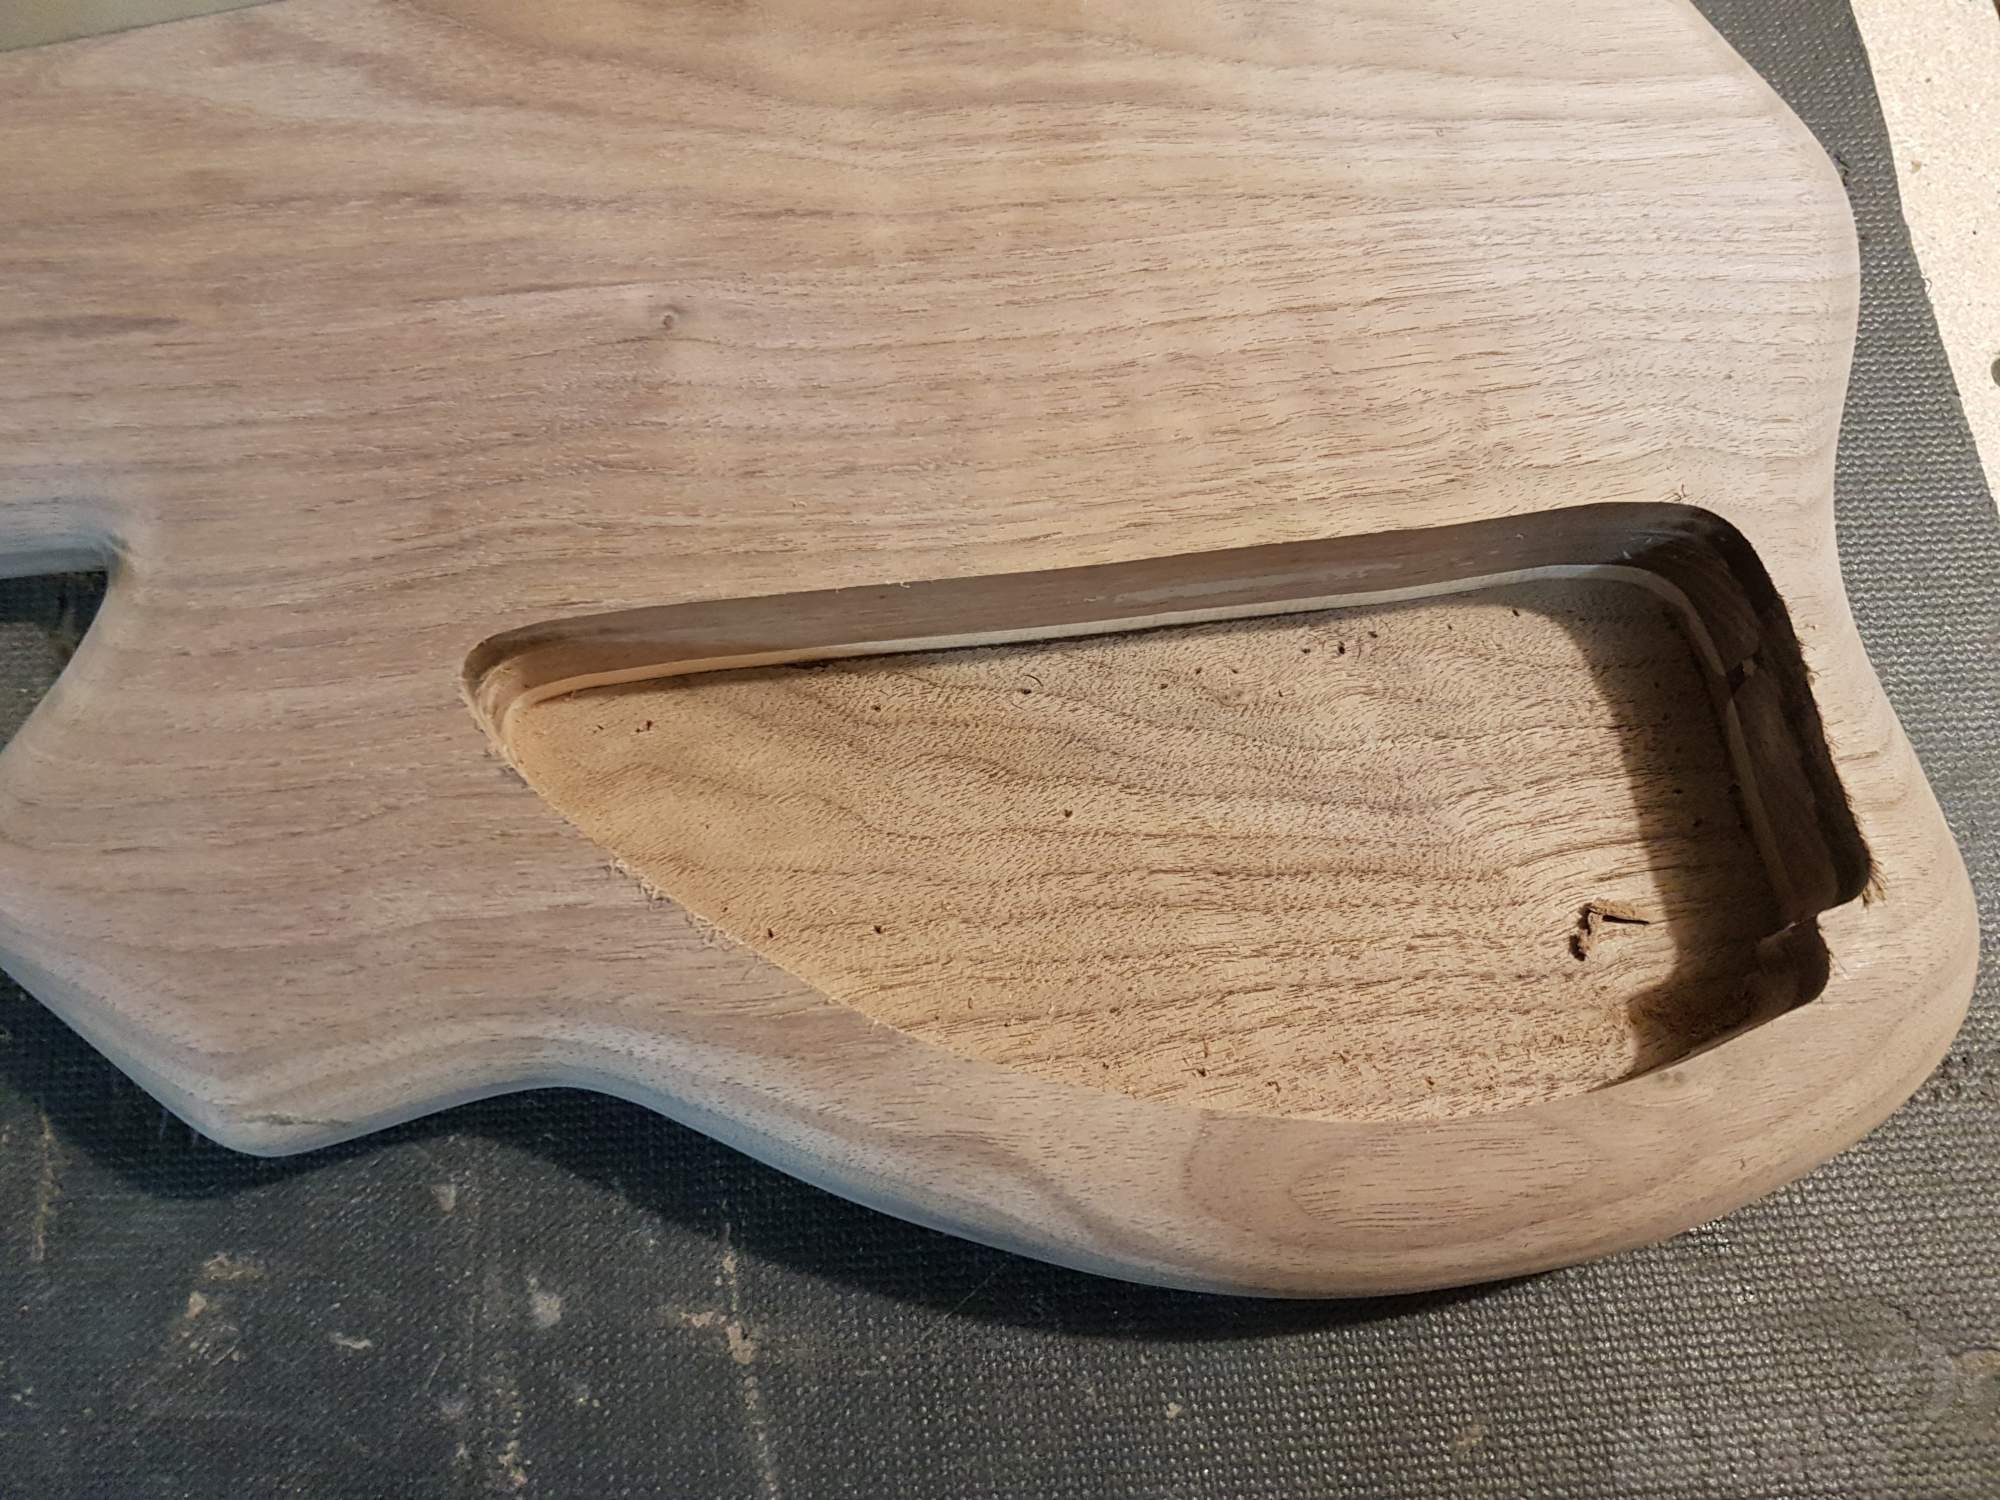
I also worked on the rear control cavity. First I cut holes through the back into the "chamber", then used a pattern bit around the edges to rout out the cavity through to the back.

Then I routed out the ledge for the cavity cover.

All good.
 
I also did some work on the neck. I bandsawed the face off to make the tilt back headstock. It's around 5.5 degrees or so. Then I planed it flat in a router jig.

Then I glued on a maple/walnut veneer sandwich. Titebond I was used.

I'm not a huge fan of the neck stripes showing through on the front of the headstock, so I prefer to cover mine with a veneer when possible. This piece still has a little fiberglass netting used to ship the stuff so it does not crack. It just sands off and doesn't stain.

Next up, fretboard...
 
Last edited:
Ugh. Still thinking about this thing.
Just a point of note, I'm moving forward on this build because it's the build-off, so time's limited, and because this is a personal instrument that will stay with me regardless of outcomes. If I was making this instrument for someone else, I'd be making a new body, or redesigning it so that it was removed entirely. No way a flaw like that is acceptable if it's going to be owned by someone else. :)

There, I needed to write it down, if only to attempt to convince myself... :D :smug:
 
Ugh. Still thinking about this thing.
Just a point of note, I'm moving forward on this build because it's the build-off, so time's limited, and because this is a personal instrument that will stay with me regardless of outcomes. If I was making this instrument for someone else, I'd be making a new body, or redesigning it so that it was removed entirely. No way a flaw like that is acceptable if it's going to be owned by someone else. :)

There, I needed to write it down, if only to attempt to convince myself... :D :smug:
Not sure what finish you were gonna do but you could hide it with a burst or solid color
 
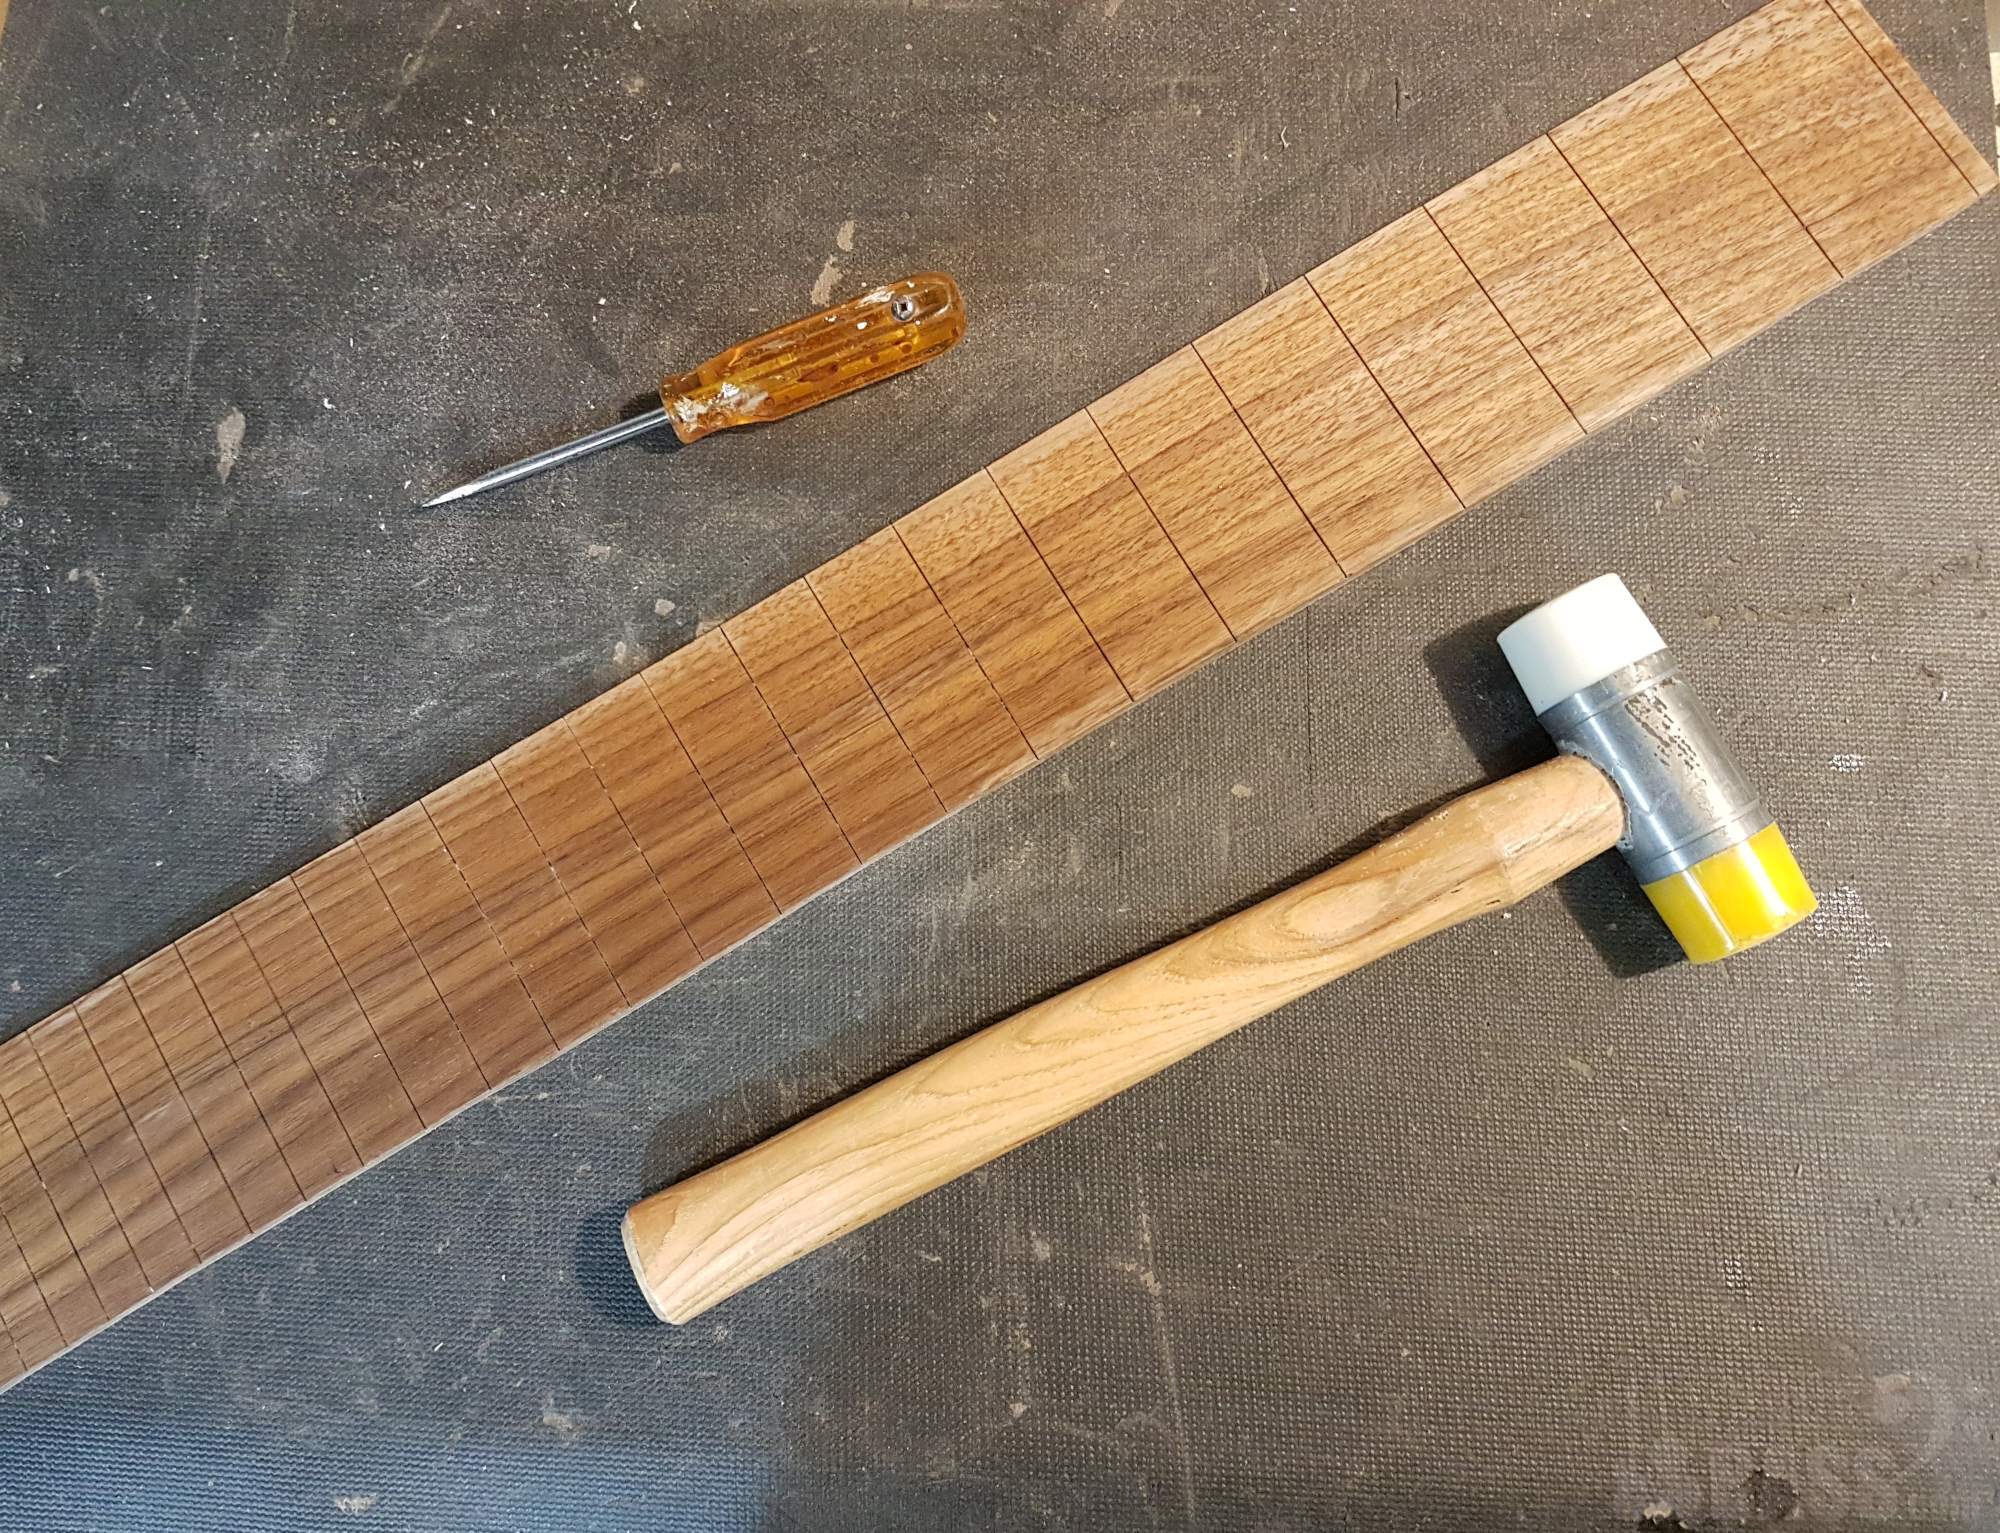
I pounded in the fret slots.

And when I laid the fretboard on the neck for the first time, I was surprised to see how the grain lines up with the headstock veneer. Not planned, and completely different suppliers and time-frames. Clearly it was magic. :)
 
  • Like
Reactions: Beej