
• TalkBass has been independent since 1998. Add your voice.
    Create a free account to reply to discussions, view embedded media, and browse with fewer display ads.
    Join freeLog in
    Want zero display ads or expanded classifieds tools? Compare plans.

Winter Build Off 2020 - Air Jazz

Dec 21, 2018
6,375
14,279
I'm in (again)

(whaaaaaaaaa????)
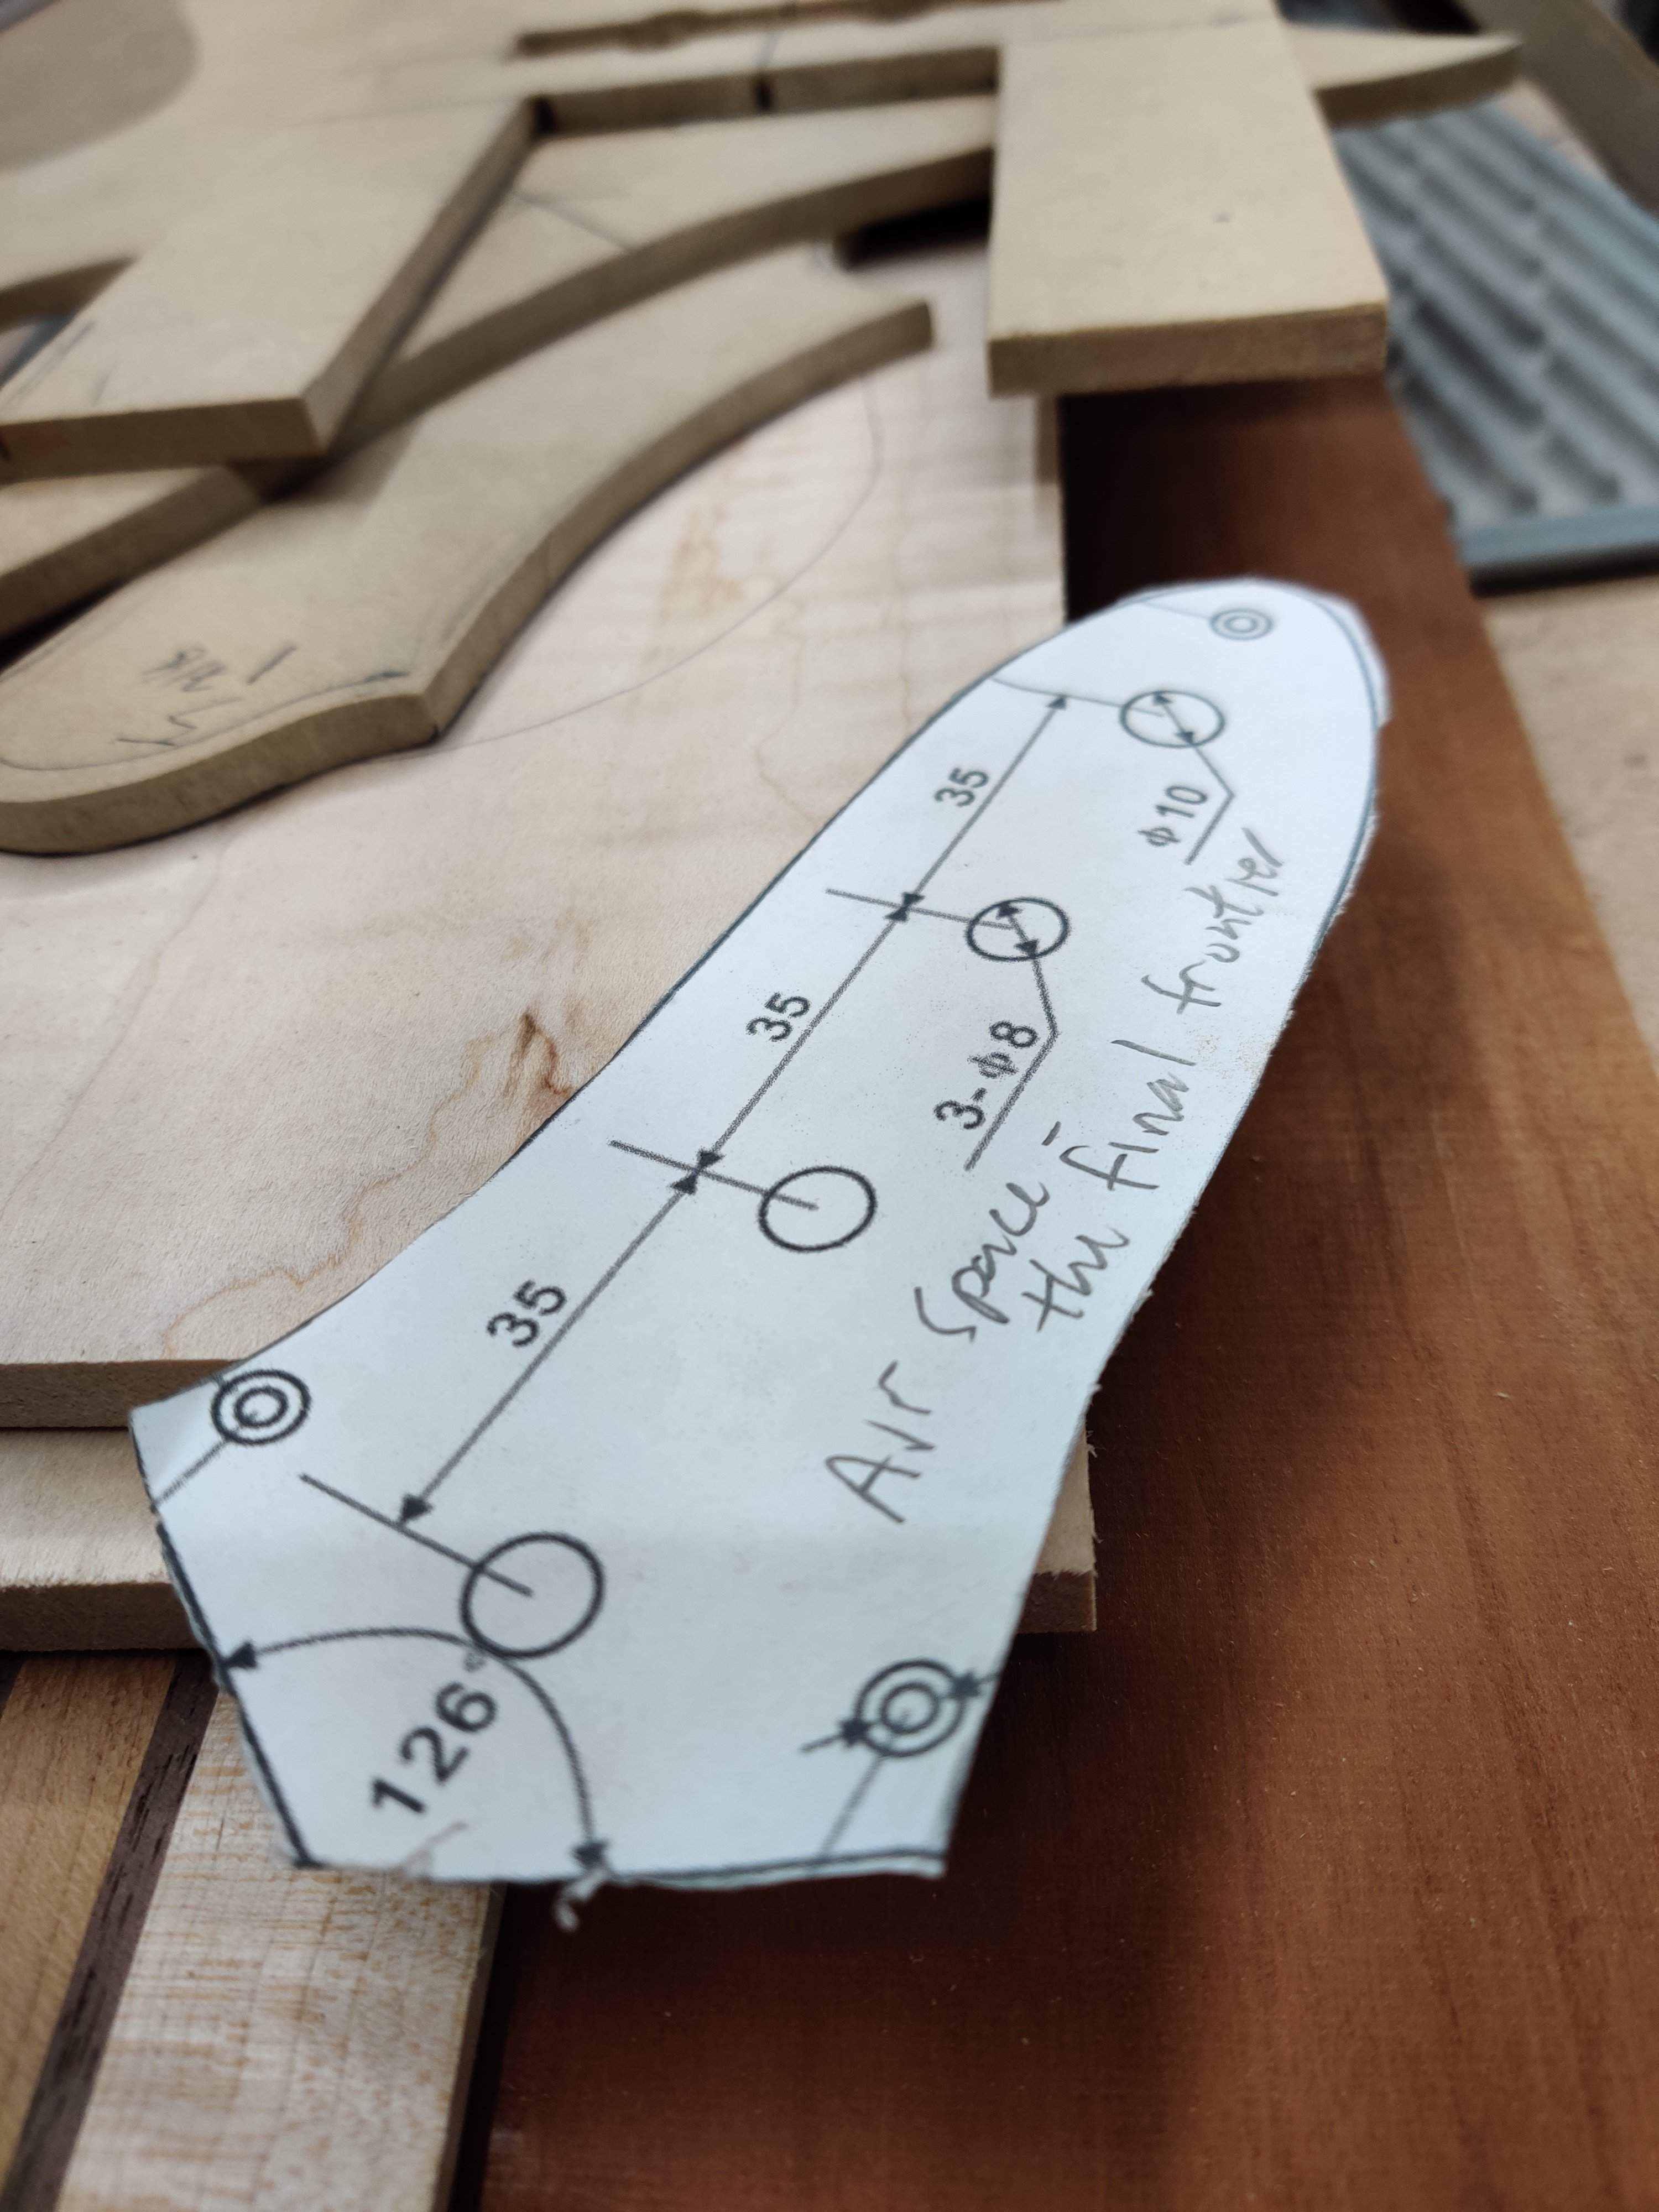
IMG_20200310_194958.jpg
 
The stars are aligned:

1) My wife and kids are out of town for the next few days and I have PTO that's about to expire
2) I have these leftover parts - pickups, bridge, preamp, slotted fretboard - from the 5 string I started to build 20ish years ago as a compliment to the 6 string I just finished. The body/neck from that abandoned project got turned into my son's short scale 4 string headless, so I was left with just the hardware. I've been brainstorming a jazz bass inspired build
3) I have plenty of wood on hand, including a bookmatched maple top that's wide enough to do a nice body

So I have everything I need sitting right in front of me, and I have time. Why not?

I resawed the lumber for the neck blank yesterday morning and glued it up. I also drew the body template, pickup templates, and a pickguard template and cut them all out. This is going to be bolt on.

IMG_20200307_122350.jpg


The glued up and rough cut neck blank and other bits of wood are visible in this photo I posted in the what's on your workbench thread this morning:

IMG_20200310_071511.jpg


Just now I routed the truss rod slot and glued the fretboard on to the neck blank. I usually like to carve necks before gluing the fretboard on, but I didn't have enough time to carve tonight, and this way, the glue can dry overnight. I've got to be strategic about this, I can't afford the time to let glue dry in the morning, I've got to plan my gluing steps around getting this done quick.

The one potentially serious impediment: my bottle of LMI instrument glue just started making those "HEY I'M ALMOST EMPTY" farty noises... I like this glue so much I hate to think about switching back to titebond.

My goal is to have the woodworking done by this weekend, then start putting finish on early next week. That's probably a little crazy, but I'm hoping that by posting this here, I can force myself to be accountable and finish this!
 
Now you're just showing off :smug: (subbed) :D

Don't give me credit until I actually finish!

I mentioned in the main thread that I'd been struggling with the "air" element. I think I know the problem. I'd been sketching possibilities on the paper template drawing. I had planned on doing a hard carve like on the guitars I built late in the fall, including a big forearm relief on the top bout. Well, I think that forearm relief was causing me to draw the f hole in an unnatural-looking position so it looked cramped no matter what shape I drew. This is along the lines of what I had been doing:

IMG_20200310_203915.jpg


But if I erase that forearm carve, I can move the f hole to a more natural looking position:

IMG_20200310_204104.jpg


I'm also not 100% sure on my electronics choices. I have these Bartolini jazz pickups which are definitely going in But I also have this 20 year old Bartolini preamp. It's a three band with volume and blend and a mid frequency switch. That's a LOT of controls to slap on a jazz control plate. I'm half considering just doing it passive with vol-vol-tone or something simple like that. But then on the other hand, what am I going to do with this preamp? Put it on the shelf for another 20 years? It almost seems silly to not use it.
 
  • Like
Reactions: Matt Liebenau
Don't give me credit until I actually finish!

I mentioned in the main thread that I'd been struggling with the "air" element. I think I know the problem. I'd been sketching possibilities on the paper template drawing. I had planned on doing a hard carve like on the guitars I built late in the fall, including a big forearm relief on the top bout. Well, I think that forearm relief was causing me to draw the f hole in an unnatural-looking position so it looked cramped no matter what shape I drew. This is along the lines of what I had been doing:

View attachment 3739493

But if I erase that forearm carve, I can move the f hole to a more natural looking position:

View attachment 3739494

I'm also not 100% sure on my electronics choices. I have these Bartolini jazz pickups which are definitely going in But I also have this 20 year old Bartolini preamp. It's a three band with volume and blend and a mid frequency switch. That's a LOT of controls to slap on a jazz control plate. I'm half considering just doing it passive with vol-vol-tone or something simple like that. But then on the other hand, what am I going to do with this preamp? Put it on the shelf for another 20 years? It almost seems silly to not use it.

Both sketches are pretty cool. What about breaking the hole up a bit like you did in the single cut bodies in your pic above?
 
Both sketches are pretty cool. What about breaking the hole up a bit like you did in the single cut bodies in your pic above?

I've thought about a broken up soundhole too. Just really not sure. So you don't think the version with the arm cutaway looks too lopsided?

How about stacked V-V, stacked bass-treble, mid as a push-pull pot for mid select?

I just looked at the controls for the bart preamp and it's only 4 knobs and a switch. Not as bad as I'd thought? Or at least, that's what's in the box. One of the knobs is a weird stacked-doubled pot (three pots with a double shaft for a stacked knob). It's got a pcb on it too. I haven't found any documentation on this preamp yet but I'm wondering if this is a stacked volume-blend or something. I could always hide the switch inside the cavity or hard wire the position I want (I don't see myself actually using a mid-select switch) and then I'd have only 4 controls on the face. I don't plan on putting the jack in the normal jazz bass spot so I can easily have 4 holes for pots. The jack will go on the side in a football jack plate.
 
  • Like
Reactions: 5tring
I might just wait and see how it feels without the cutaway, then decide. Which gives me about, oh, 18 hours to decide if I'm going to stay on schedule!

One thing is for sure, I want to do the majority (or all) of this cut-out with a router and a pattern this time. I cut the cutaways on those tenor guitars by hand and even after a lot of file work to clean them up, they're sloppier than I would like. That means I need fairly simple lines and no tight corners since I don't have bits smaller than 1/8" on hand.

Right now I'm getting a list together of odds and ends to order for this. So far the only things I need are a nut and strings. I'm sure I'm forgetting something though. This will be fretted with medium wire since I have a billion feet of it, and not enough jumbo. I like medium on basses though so that's fine.

The body was supposed to be cherry with a flame maple front, but while I was machining the cherry I took off too much and it came out about 1/8" too thin, so last night after posting here I glued a 1/8" walnut lam onto the cherry to act as an accent stripe between the cherry and maple top. This should turn out nice, since it coordinates with the 1/8" walnut lams in the neck, between the bigger cherry and maple stripes. It's gonna look like I planned it that way from the beginning!
 
Time to make some cavities

IMG_20200311_075851.jpg


Little bit of drilling, little bit of routing, whole lot of shop-vac'ing, and we're good!

IMG_20200311_082855.jpg


Now it's time to glue the maple tops on. Luckily the LMI glue lasted through this glue-up and since this is pretty much the last big glue job for this bass I think I'll make it without running out.

IMG_20200311_084507.jpg


That photo could be titled, "In Which dwizum is Doing Too Many Things at Once and Has Run Out Of Appropriate Clamps, Part Two."

One of my employees had to take today off (and probably the rest of the week) at the last minute for a sick family member, so I'm kinda-working-from-home which will be a bit of a threat to my timeline for this, but I think I'll be OK. I'm going to cut the headstock to shape and power carve the neck at lunch if all goes well, then joint the glued up body halves and glue them together tonight. Then - hopefully - tomorrow morning I'll be routing the body.

I need to decide on a pickguard material. I was originally planning on cream three layer but I'm not sure what it'll look like. I love cream plastic but that's just A LOT of cream. I really don't want to do black. Unfortunately, cream and black are all I have on hand. I almost hate to even think about tort, since it's so... um... overplayed? I think a translucent smoked pickguard would be cool, since it would add some visual interest but still show off the flame maple. Maybe I can find a local supplier who has smoked acrylic sheet in stock. My usual local plastics shop doesn't carry smoke in thinner sizes. Maybe I can find an ebay vendor who can ship it quick.
 
I went to cut the headstock and I found myself thinking, geee... that headstock is awful thick looking. So I measured it and it turns out I made my first mistake in my rush on this. Normally, I saw the end of the neck blank off at an angle to glue back on upside down to make the headstock, and I usually take the cutoff piece and resaw it thinner before gluing it back on. Wellllll, I forgot to saw it thinner and glued it on at the full thickness. I'm going to proceed as usual for now (it's only 5/8" which isn't THAT thick) and if it somehow turns out too thick later on, I'll... figure out what to do then!

IMG_20200311_120539.jpg


Luckily I'm using veneer for the headpiece so it's not adding any significant thickness.

After that I carved the neck to shape with my new favorite tool, the power carver on the angle grinder in the background:

IMG_20200311_124132.jpg

I timed myself for this step. It took 6 minutes to rough carve the neck. That's A LOT faster than I used to do it by hand before trying this thing out. There were a few lumpy spots up by the head but I evened those out with a rasp pretty quickly. Including the finish work with the rasp, the neck carve (to the point where it's ready for sanding) took 12 minutes. That's pretty nice. The only real issue with this power carver is that it makes a huge mess!
 
It definitely commands respect, but it's pretty easy to control. Honestly it's a lot easier to control than I had expected and you can basically use the same facets technique as you'd use for hand carving so you're not really re-learning from scratch. This one has holes in it, so as it spins it's basically "transparent" and you can literally watch it carve from up above. I have to imagine this makes it much easier to control than solid disks.
 
Someone asked in PM so I'll mention here: this is the specific one I have:

https://www.amazon.com/gp/product/B073SHVXQY/

It is definitely very dusty. If I didn't have a self-contained shop that's easy to vacuum up afterwards I might just skip it all together (or use it outside). My first few uses were in my garage with the door open. I thought that would be good because it would keep the dust out of the shop, but , it just made a mess in the garage which was hard to clean up and it got on the cars parked outside! Now I use it in my shop with the door closed and I vacuum everything down after. I should have timed the vacuum job too. It's probably slightly more messy than router work but slightly less messy than doing a ton of carving via sanding (i.e. a big flap disk or something) because the dust from this thing is really coarse and tends to "precipitate" versus staying airborne like sanding dust can. Once it's "down" you can just vacuum it up. I prefer that to super fine sanding dust.
 
As an Amazon Associate, TalkBass may receive commissions from qualifying purchases made via links on this site.
  • Like
Reactions: Andyman001
Finish sanded the neck and put some oil on the fretboard.

IMG_20200311_182928.jpg
IMG_20200311_183417.jpg


Once the oil is dry I'll put side markers in and fret it. I also got the body panels jointed and glued together.

IMG_20200311_173520.jpg


It doesn't take much in the way of clamps to get a solid bond on boards so wide. The cherry back panels look like way different colors but that's only because only one of them got planed on this side, the other board is still the years old oxidized surface. It'll get knocked down when I sand them and they'll match fine after that.

IMG_20200311_184018.jpg
 

Attachments

  • IMG_20200311_182941.jpg
    IMG_20200311_182941.jpg
    576.5 KB · Views: 114
Little band saw and router action early this morning and I have something that looks like a bass. I thought I had taken a photo of the body by itself but apparently the only photo I took was with the neck pocket and pickup template clamped on.

IMG_20200312_070938.jpg


The bad news is my employee is still off work so I actually had to go to the office today. This is going to make things tight. The good news is, since I'm the only one home, no one cared that I was running power tools at 6 am!




