• TalkBass has been independent since 1998. Add your voice.
    Create a free account to reply to discussions, view embedded media, and browse with fewer display ads.
    Join freeLog in
    Want zero display ads or expanded classifieds tools? Compare plans.

Winter Build Off 2020 - Kuun Space

I suppose the number of pictures will drop from here, not much real difference in how things look. At lunch I did the same thing on the neck that I did with the body this morning, removed tool marks and smoothed everything out. There were a couple of spots where I burned the wood that needed to be dealt with too. Then I flattened the fingerboard, it turned out there was a bit of a dip in the 7-9th fret area. All flat now. I sanded the fingerboard up to 320 and will apply CA tonight, depending on if my wife wants to be in the shop tonight, I wouldn't subject her to that smell (nor would she let me :-D).

I planed down the control cover. It turned out that the Isawaki file worked great for that, I could do it with very little downward pressure. I did pop one of the magnet holders off, I'll get a new on positioned. CA glue is great for getting those things mounted because of the awkward clamping, but wood glue certainly holds better. I basically held the cover from pivoting and ran the file along the cover taking off a little at a time until it was flush. It looks good now. I'll have to fill in that one little drill hole
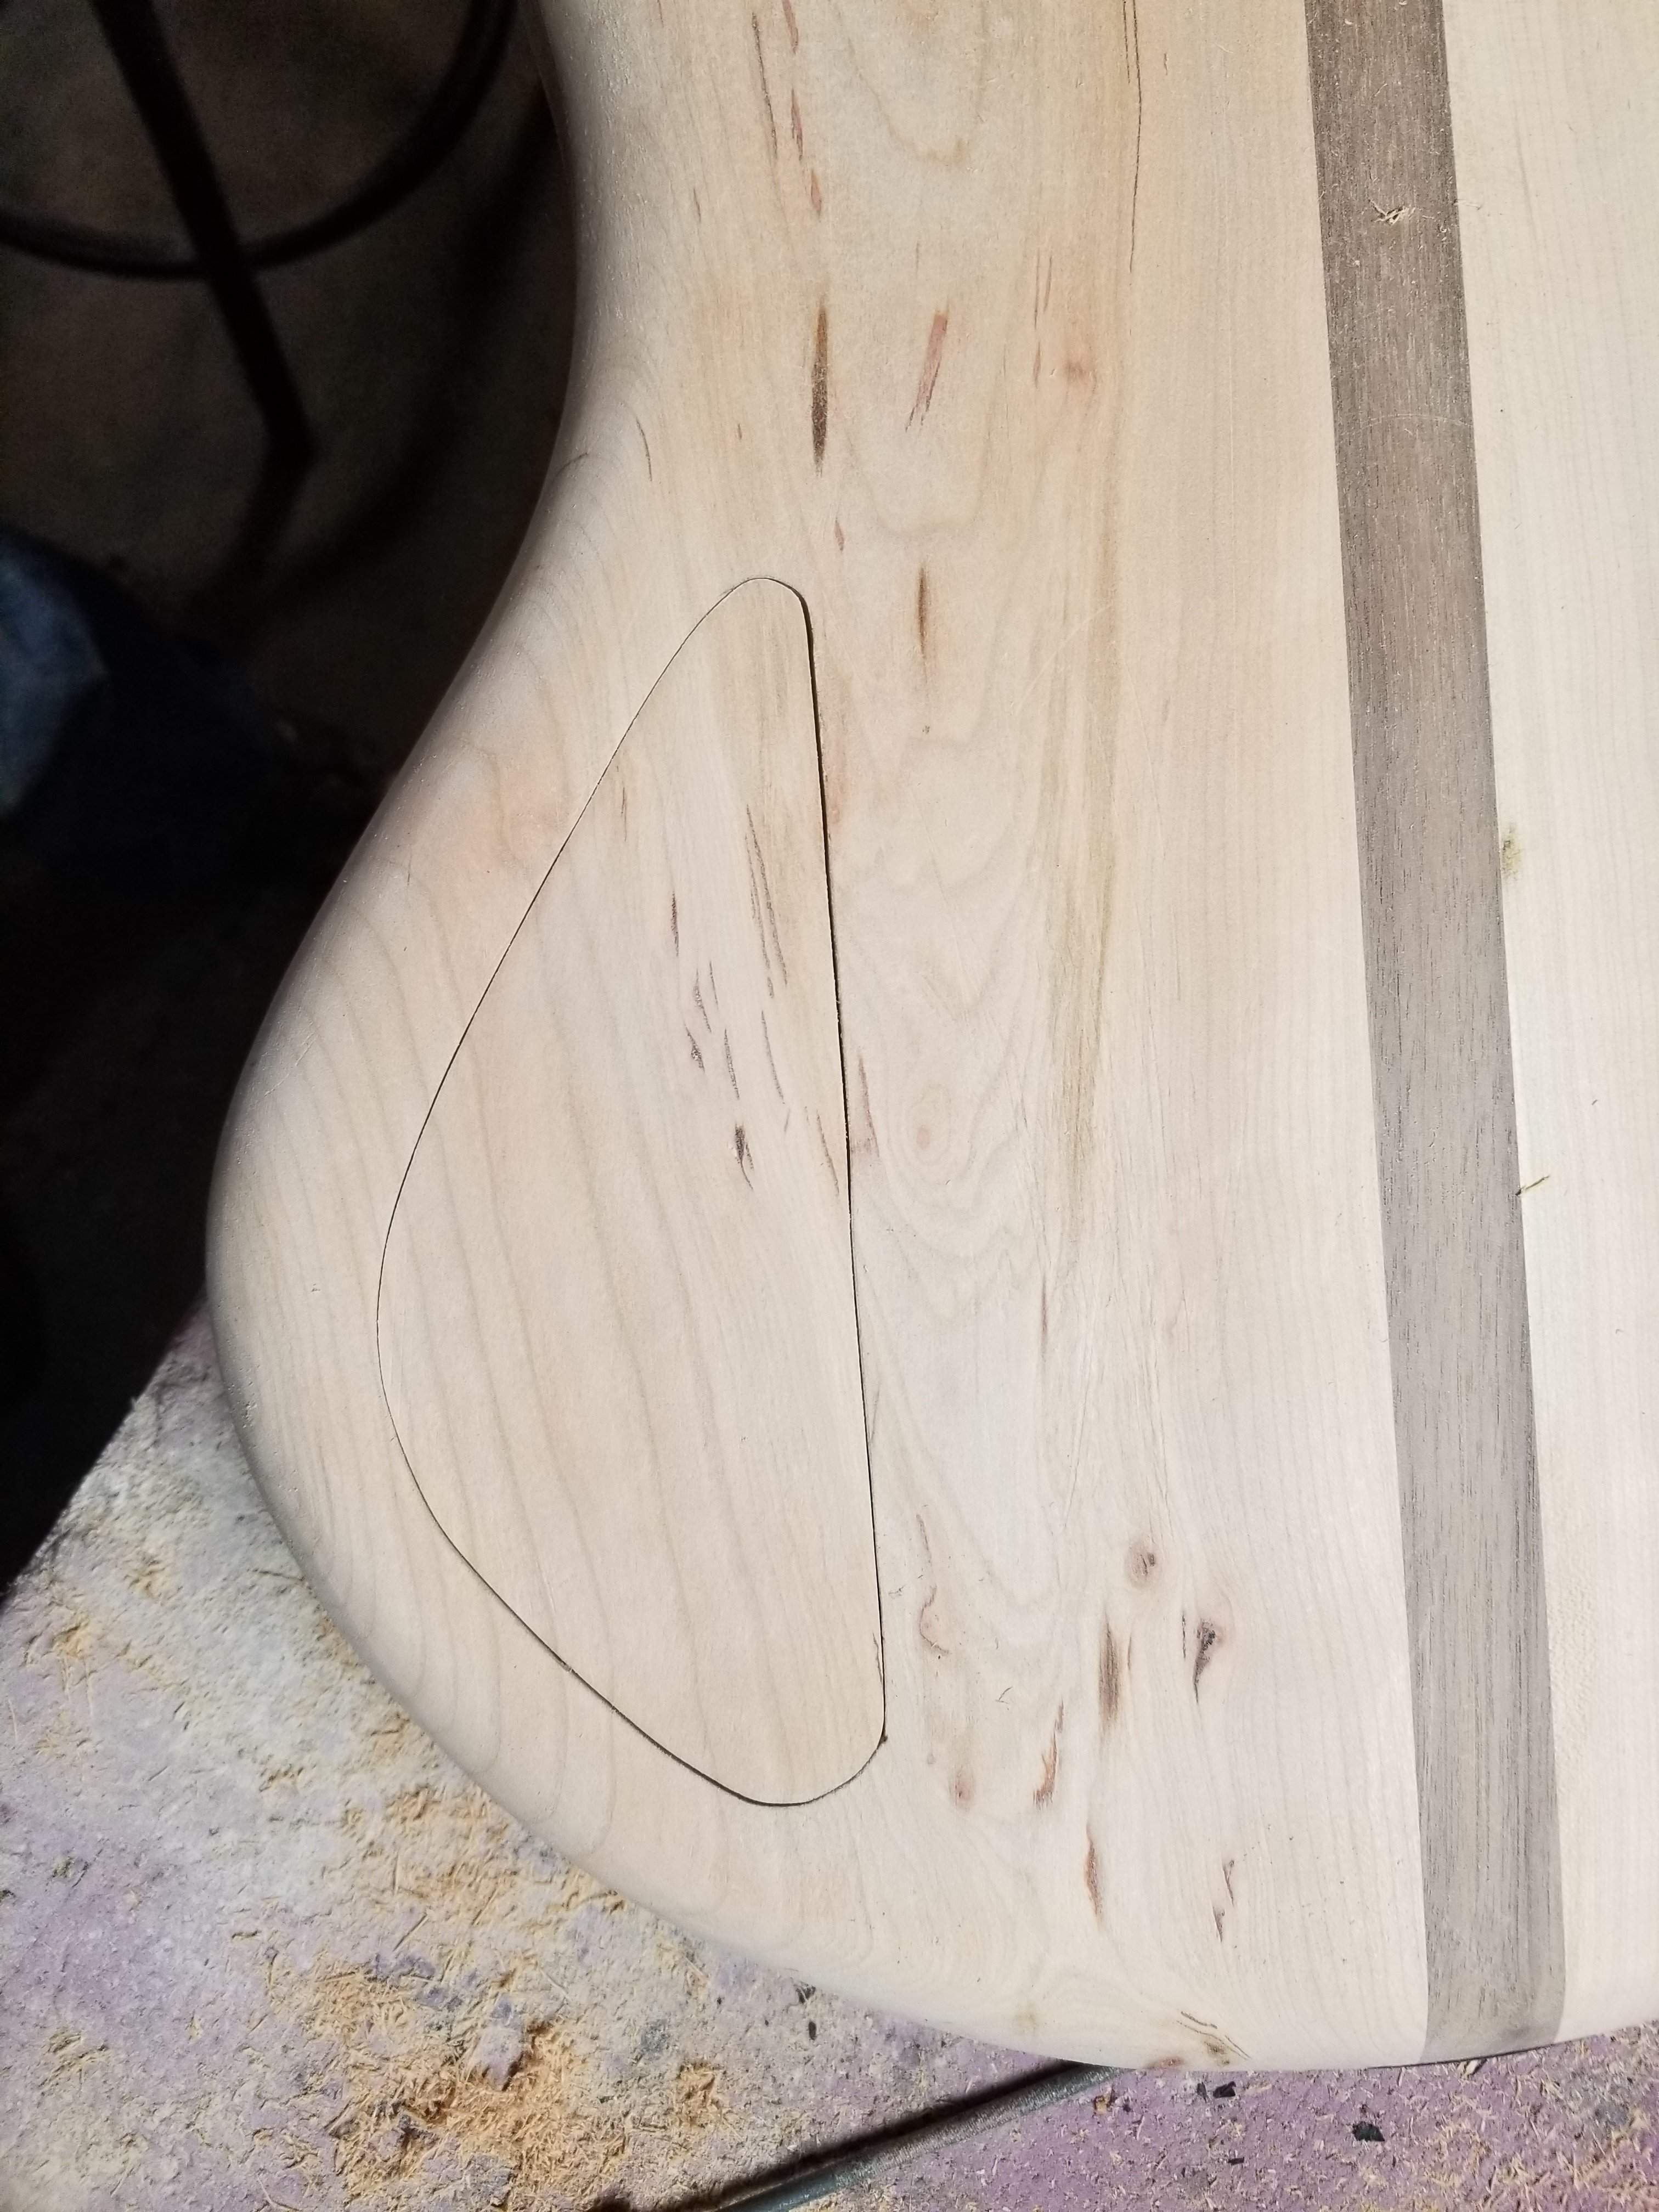
20200113_133256.jpg
 
I solve the problem of trying to get the control cover just the right thickness by putting steel screws in the supports in the body instead of magnets. That way, you can screw the screw in or out just a hair to get the plate perfectly level with the body.
I've done two guitars using that approach, but in both cases, a good whack will make the control cover just fall off. It doesn't hold nearly as well as having magnet meet magnet. How many screw/magnet combinations does yours have? Mine had four... I was thinking if I tried it again, I'd go with six magnets/screws... :unsure:
 
Just in looking through all this (which is fun), do I get any credit for the sheer quantity of pages in my build thread?

I did the CA coating on the fingerboard after work tonight. I've done something like 20 fingerboards like this over the years. I've had some that took 15 minutes and some that took hours, I can remember one that took me a few days. I've had to strip boards back to wood a few times. I feel like I finally have the process down (until the next one goes bad). I think that the wood species matters to some degree, maple seems easier than others I've done. I put on the overhead filter, wore a mask and had a small fan at the end of the board. My eyes didn't water once, no smell. I know this mask isn't one that will protect me really, but it does make it better.

If you can't tell this one went really well.

I've done a step by step before, but the key points are using thin viscosity CA, doing thin coats and flatten out each coat out with a rubber glove finger until it gets sticky, don't use accelerant. I did two heavyish coats, sanded back with 80 grit, then did 4 more and sanded with 120 grit. This is after the 120 grit sanding (I think, I can't remember exactly). Basically you have to sand until it's all the same luster. If you can do that and not get down to wood, then you can go to the polishing phase.
20200113_171801.jpg


Then I did 6 or 8 additional coats, sanded from 120 to 600, then polishing compound and finally anti-swirl.

It looks and feels great, that grain is amazing, I can't wait to get oil on the body and back of the neck! Hmm that's not a very good pic. I'll take a better one later.
20200113_165913.jpg
 
I've done two guitars using that approach, but in both cases, a good whack will make the control cover just fall off. It doesn't hold nearly as well as having magnet meet magnet. How many screw/magnet combinations does yours have? Mine had four... I was thinking if I tried it again, I'd go with six magnets/screws... :unsure:

There's three #8 wood screws in the guitars I just did. I have fairly strong magnets I'm using, and the trick I found was to double up. I epoxy a pair of magnets stacked on each other at each location on the cover. Just a single magnet wasn't strong enough and it fell off too easily like you're describing.
 
  • Like
Reactions: Jisch and Beej
I got an hour in the shop this morning, mostly nipping and tucking at this point.

I got the new arms for the magnets in place, it lifted the cover up slightly so I had to reform the top, no biggie, it still looks good and the arms are very solid now.
20200114_083740.jpg

I drilled the string and neck ferrule recesses deeper - quick note that different types of forstner bits drill at different rates. The 1/2" one I used for the string ferrules is very non-aggressive and takes some pressure to cut. The 9/16" one for the neck ferrules is very aggressive and takes almost no pressure. Glad I caught that quickly, the drill quickly dragged me into the body on the first neck ferrule. It ended up being just right, but I had planned on a slow calculated path to get to deep enough, not a one and done.
20200114_083806.jpg
I drilled out for the recessed strap lock on the upper horn.
20200114_083801.jpg
I had plans for a carved bridge, and I may still do that, but I found a perfectly sized piece of ebony and I think I am going to go with a simple line, I'll carve the top and obviously put string slots in it, but I think given the new tail end, simple might be better here. It looks pretty good all stacked together.
20200114_083856.jpg


I noticed a few more spots that need some minor forming and some tooling marks still around. I'll work on that at lunch, I'm traveling the rest of the week and riding tonight, so this will likely be the last update until Saturday.
 
Whew, I just caught up. This is a really impressive and innovative build, I love the design. I personally think it would look good with a matching headstock, to highlight the birds eye even more. Awesome though either way!
I've gone back and forth many times on whether to do a headstock veneer. I'm still considering it. I haven't gone through to actually picking out a piece of wood, maybe I'll do that and then I'll have a better A/B comparison.

And thanks!
 
  • Like
Reactions: herndonbassist
I consulted with my wife - she helps me with a lot of the design elements of a build. I found a piece of birds eye that was really nice. We agreed with @herndonbassist and I glued on a veneer. The reason I went back and forth was because of how close it was to the fingerboard, I prefer some contrast. I kind of forgot about the ebony nut, which provides some separation. I will also make an oversized truss rod cover out of walnut to tie in the walnut elsewhere. We considered doing an inlay type thing on the headstock, but we didn't like how busy things got. The oversized truss rod cover should be good.
 
I've done a step by step before, but the key points are using thin viscosity CA, doing thin coats and flatten out each coat out with a rubber glove finger until it gets sticky, don't use accelerant.
Do you have a link to your step-by-step process for CA fingerboards? I've done one with epoxy, and was planning on CA for my current build.

I was intrigued that you only seem to use thin. In my tests I've used thin for the first two coats (to get a deeper bond into the wood), then medium/thick to build up some body before level-sanding. And I'm using paper towels to rub in the glue.

[Edit] My fingerboard is bubinga; curious if you have specific suggestions. Hope I'm not hijacking your build thread! Feel free to DM.

Looking great!!
 
Last edited:
  • Like
Reactions: Reedt2000
so I go on a bike ride and come back to this?

...and now I can't unsee that either :laugh:
Do you have a link to your step-by-step process for CA fingerboards? I've done one with epoxy, and was planning on CA for my current build.

I was intrigued that you only seem to use thin. In my tests I've used thin for the first two coats (to get a deeper bond into the wood), then medium/thick to build up some body before level-sanding. And I'm using paper towels to rub in the glue.

Looking great!!

Thanks.

I have found that the thin stuff dries harder and clearer than the other viscosities.

I don't know where that post is, but basically I start with a puddle of CA at one end of the fingerboard and, using a finger covered by a rubber glove finger, spread it until it starts to get dry, then I add more until I get to the end of the board. I want a wet coat, but not pools. If the CA starts to pucker I push down on that part and spread it further. As I said above, I do two coats, sand flat, then do another 6-8. If you pool the CA up it takes forever to dry, if you spread thin coats it dries in a few minutes. If you get imperfections in the coat, it's best to sand it back, CA doesn't do a good job of filling in, it's better at making thin coats.

I've watched videos using paper towels, but I couldn't ever seem to find the mid point between getting the CA to spread evenly, the paper towel absorbing too much and it sticking to the board (not to mention getting super hot). I've seen some amazing results from the paper towel method, I don't mean to discount it, just not the way I've been successful.
 
I got back from Florida last night. It was a balmy 70 degrees, inside the conference center, as I never actually got outside (similar to most of my trips).

This morning I got 3 hours in the shop. I spent the majority of the time scraping, filing and sanding. I found a few spots that needed some reshaping, but most of it was just going through the grits finishing with a rough scotchbrite pad. I think it's ready for finish, but a bike ride is in the works for this afternoon, we'll see if I get to it tonight.

Obligatory "all sanded up nice" pics.
20200118_120121.jpg
20200118_120112.jpg

I did quite a bit of forming on the volute area.
20200118_100641.jpg
oh and I don't think I showed the birds eye top cap on the headstock, I reshaped the headstock quite a bit and also had to recut the truss rod cover.
20200118_100639.jpg

I suspect I'll get some oil on it this afternoon, but probably not until later.