• TalkBass has been independent since 1998. Add your voice.
    Create a free account to reply to discussions, view embedded media, and browse with fewer display ads.
    Join freeLog in
    Want zero display ads or expanded classifieds tools? Compare plans.

Winter Build Off 2020 - Kuun Space

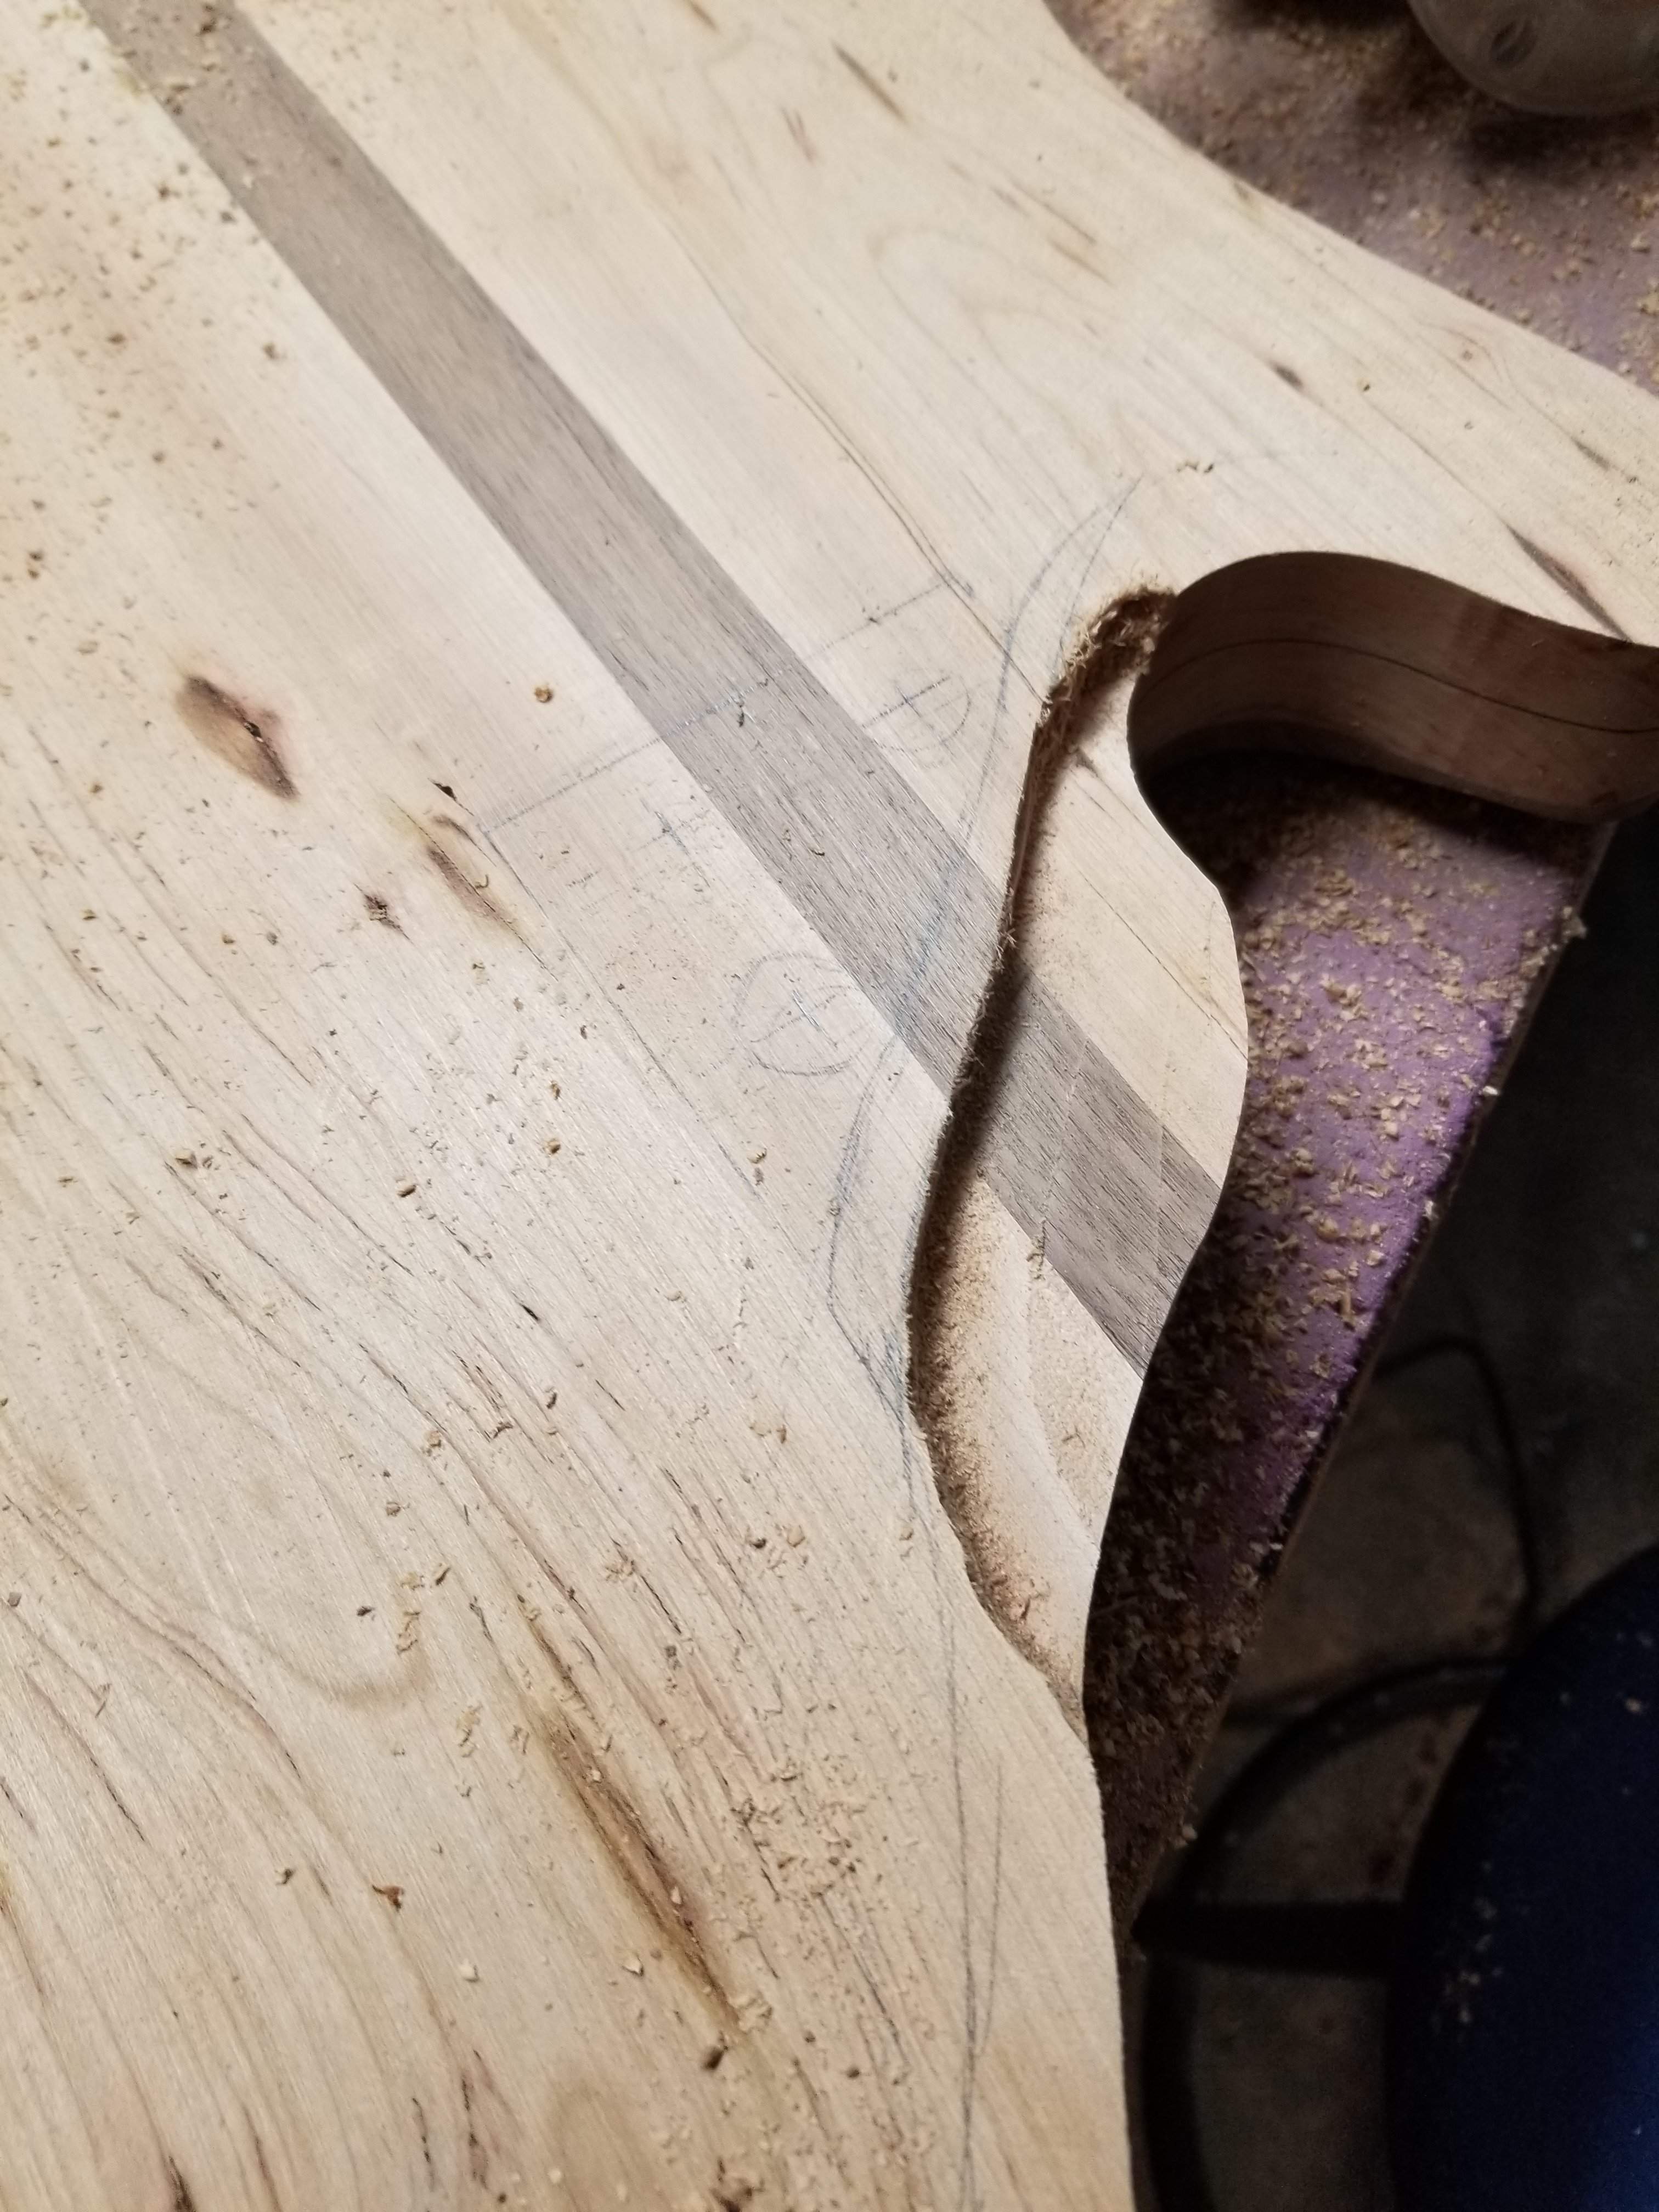
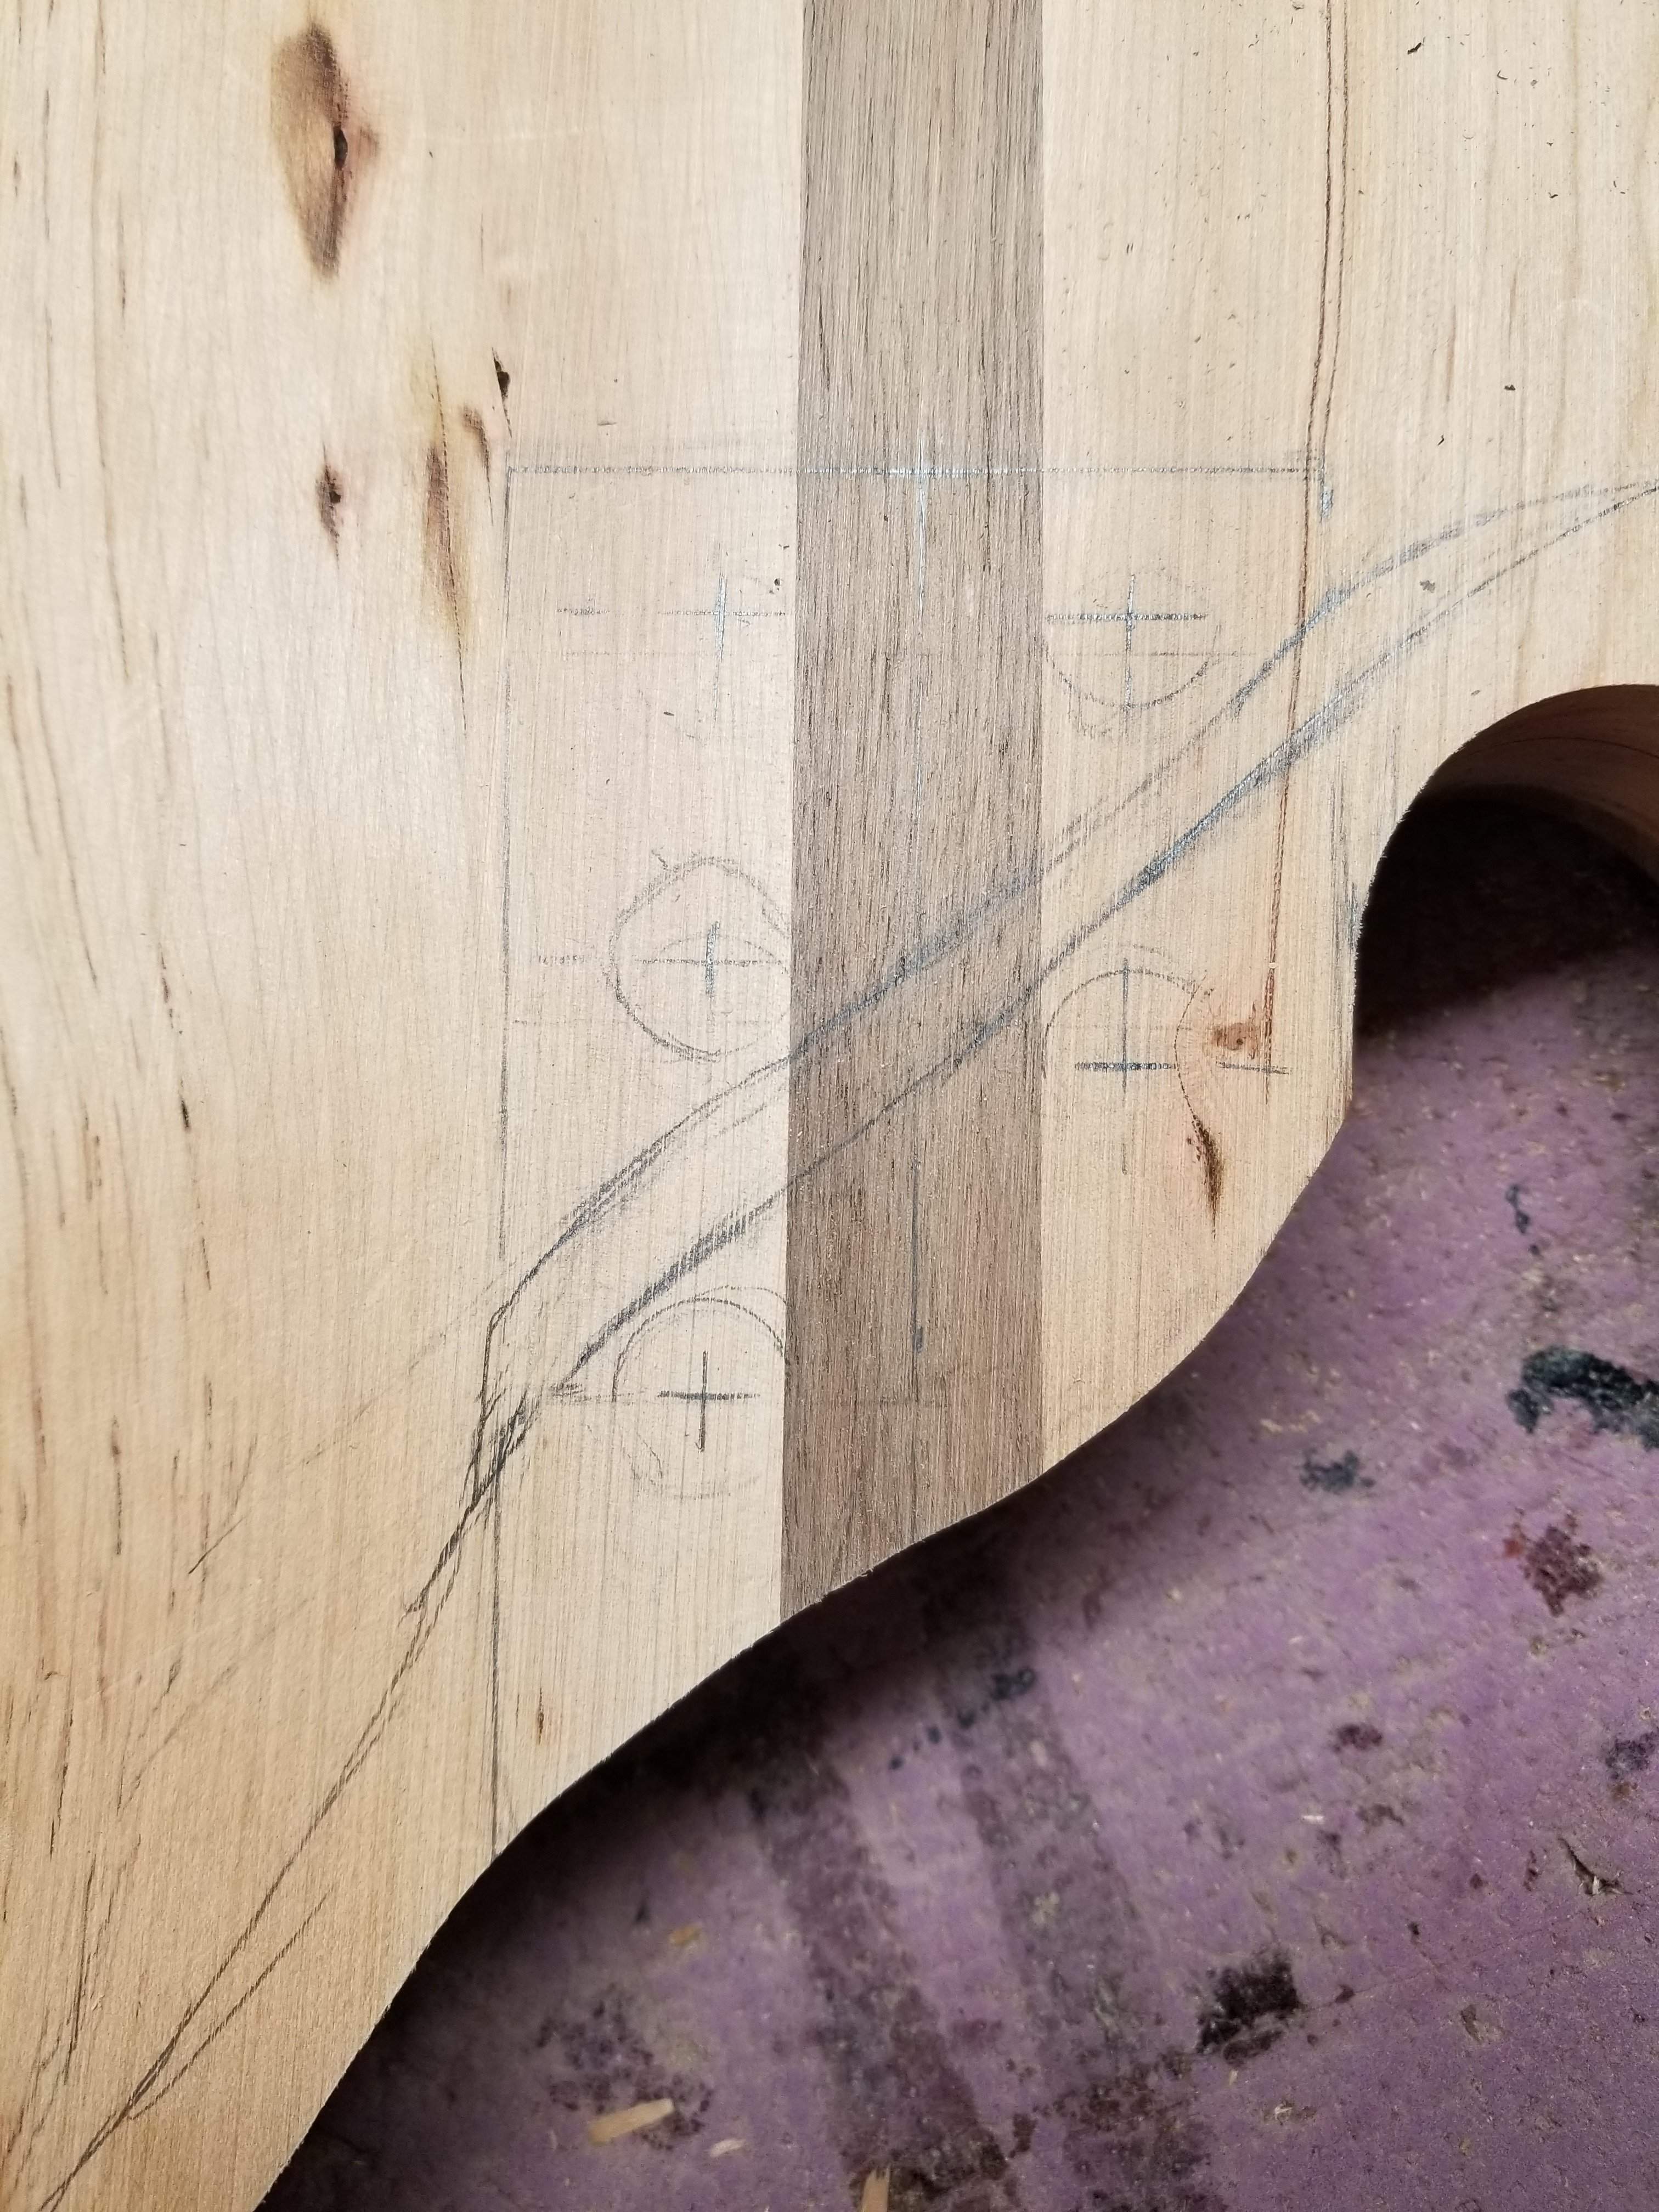
I forgot that I was going to make the neck heel bi-level. So I took care of that
20200106_124152.jpg
20200106_124836.jpg

I drilled for the recess, then drilled through for the screw clearance, then used that same drill to mark where the inserts should be on the neck. Drilled the neck, screwed in the inserts (coating of beeswax to make things go easier) and viola, neck attached.
20200106_133026.jpg

There's lots of clean up needed on that, but now that I know where the inserts will be I can work around that. I'll work on that tonight.
 
I finished forming the neck, I had left the bottom square until I figured out the neck heel.

I then moved on to the back. I wasn't sure what I was going to do. I looked at a few examples and decided to go for a round over, I did this manually with the isawaki file and scrapers. I messed around a bit with a belly cut and tuning the neck heel. All looking good. Next I need to figure out the tail piece.
20200106_185700.jpg
20200106_185653.jpg
 
I'm really happy with this morning's session.

I spent some time on the overall shape of the body, I'm sure very little of it will be noticeable, but as Tim Sway told me yesterday "a millimeter is a mile in the shape of an instrument". I thought the upper "horn" was too big and there wasn't enough shape to the body overall. Normally when I do heavy chambering I make a map of the chambers on paper before I put the top on, I forgot to do that this time so I'm relegated to using pictures to estimate how much meat I have left. The only picture I have of the chambers in the back is at an angle, so it's hard to judge exactly how far I can go before getting in trouble. I probably took off a few millimeters, maybe up to 3 or 4 at the heaviest place, so not a lot, but I like how it looks so much better now. Once I got the shape where I wanted it I had to some significant file and scraping work to get the side exposure and the carve back in order. I love doing small stuff like this that makes a big difference in appearance (to me anyway!). I'm sure I'll revisit this again in some small way, but at this point I think the shape is in pretty good shape :-D
20200107_084338.jpg

Next I turned my attention to the tailpiece. I like the overall shape of the tailpiece I made, but it was way too bulky. I also am not sure about how to fasten it to the body. First step was figuring out how to terminate the ball ends. I need a certain amount of material for strength and I need them to stay securely in there. I made a test piece using a 1/4" drill (may be a bit too tight) and a spiral bit in the palm router.
20200107_081822.jpg

I'm satisfied that this will hold five strings no problem.

Next I had to look at the shape of the tail piece and figure out what I could do with it. I made a dangerous cut on the table saw and a safe one on the bandsaw then used the oscillating drum sander to smooth things out, to some degree. As you can see I blew away the inlay (almost). I'll see what happens here, I may have to remake this whole thing. I'm working on making the back end of it the same radius as the tail end of the instrument. I think I will drill a hole in it and mount it to the body via a dowel.
20200107_084318.jpg
20200107_084323.jpg

I'll be working more on the tailpiece at lunch, I'm trying to walk that tight wire between svelte and strong enough to hold the strings.
 
Lunch time was great (might be the best part of the day!), I got the inside of the tailpiece radiused to match the back end of the bass. I wish I had some magic template to show, it was just careful manual grinding with a dremel - it still needs more finishing, but I want to make sure it will hold the strings before I go too far.

I drilled out for the ball end and the string just like on the test piece. I did the string path manually with the palm router, it came out good.

I was trying to figure out how to hold the tailpiece in place and I thought about using the straplock to hold it, it wouldn't add any complexity and I need to mount one anyway. I use these internal strap locks instead of buttons on most of my basses and it is perfect for this, it's like I planned this right along! I drilled the hole in the body so the strap lock bottoms out before it squeezes the tailpiece, so the tailpiece is floating. I don't know if this is good or bad, we'll find out.

It's still bulkier than I want it to be, but I'll do some carving to make it look better without removing anything structural (I hope).
20200107_131013.jpg
20200107_131046.jpg

Before putting the string slots in I ran kite string from the nut down to mark the outside strings then I spaced the middle ones out, it ends up being just over 17mm spacing, probably exactly 17 at the bridge. I'm so glad I repositioned the neck, it lines up just about perfectly over the middle of the front.
20200107_131021.jpg


After work I'll get the tuners drilled and we'll try putting strings on to see if this thing holds.
 
I think my only concern on this tail piece is the wear over time of changing strings. Are you afraid it'll eventually wear out and the ball ends will pull thru?
That is one of many concerns I have. I will soak the wood with CA glue though, so they shouldn't wear out. If this doesn't work I have a plan to embed a piece of aluminum along the width of the tailpiece. The ball ends are very tight in the holes right now, probably too tight. I'll have to try loading strings and see what I think.
 
  • Like
Reactions: Reedt2000
I was thinking "If it's me, I'm milling some sort of metal insert to go in that ball end part". I'm just not sure how I'd do it exactly, or what tools would be needed. But I would for sure hit up Bruce and ask his input on how he would tackle it. I would think even just a piece of aluminum tube big enough that the ball end fit inside it, with one "side" cut out for the string to run through would be enough, and just press it into the hole you drilled for the ball end with the "slot" lined up for the string to run through and out.

I don't know, I tend to overthink things like this. This is why I generally cut my racecar apart 3 or 4 times while trying to build it. It's so much "nope, that's not gonna work like that...." and a little bit of "yeah, that didn't come out how I envisioned it would....."