• TalkBass has been independent since 1998. Add your voice.
    Create a free account to reply to discussions, view embedded media, and browse with fewer display ads.
    Join freeLog in
    Want zero display ads or expanded classifieds tools? Compare plans.

Winter Build-Off 2020 - Semi-Hollow Six String

It's been a quiet weekend with decent weather and I've managed to get a lot done on this build.

Today, I rough cut the body wings on the bandsaw. Always a fun step to see it start looking like a bass.
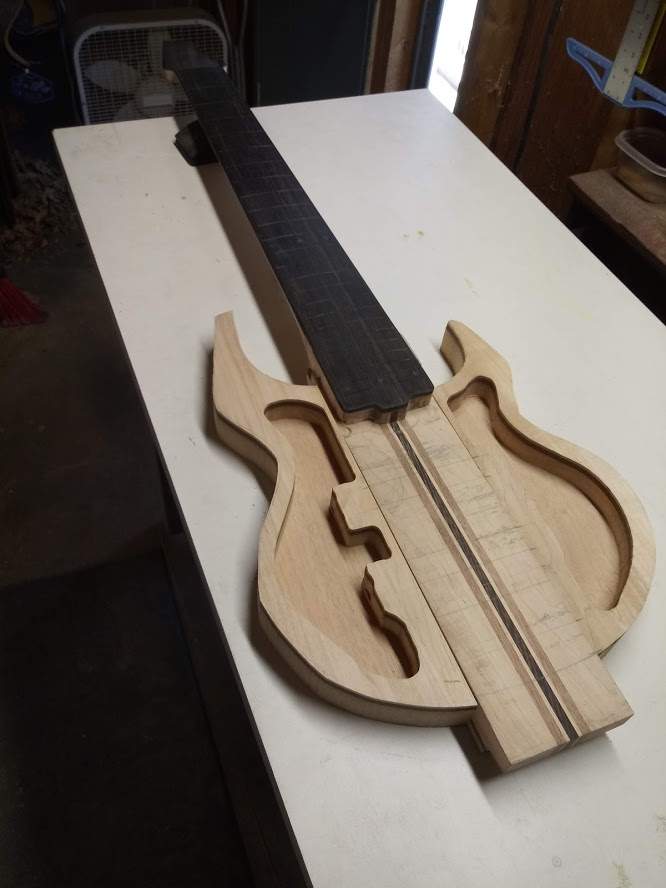
bo-36.jpg


I went ahead and installed these white side markers
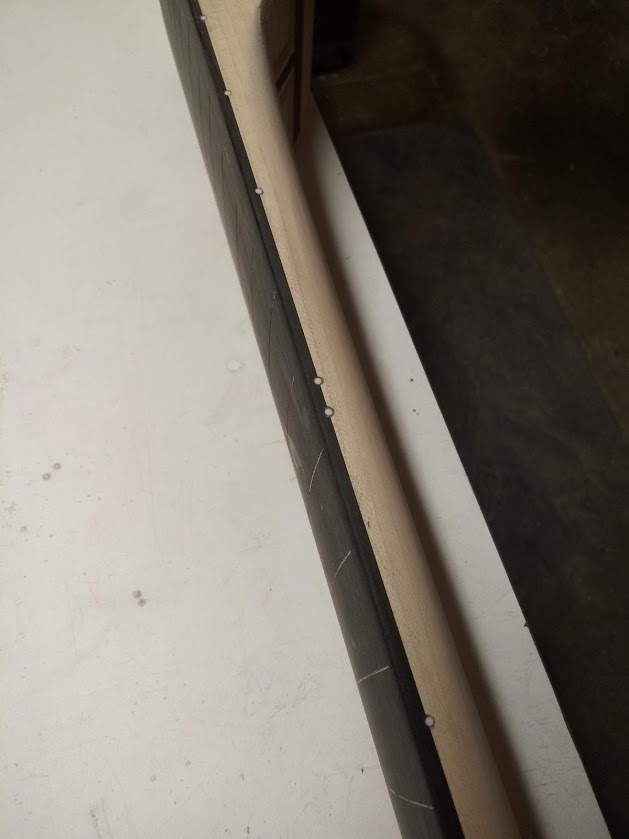
bo-37.jpg


Then I went ahead and created the control access hole on the rear of the treble wing
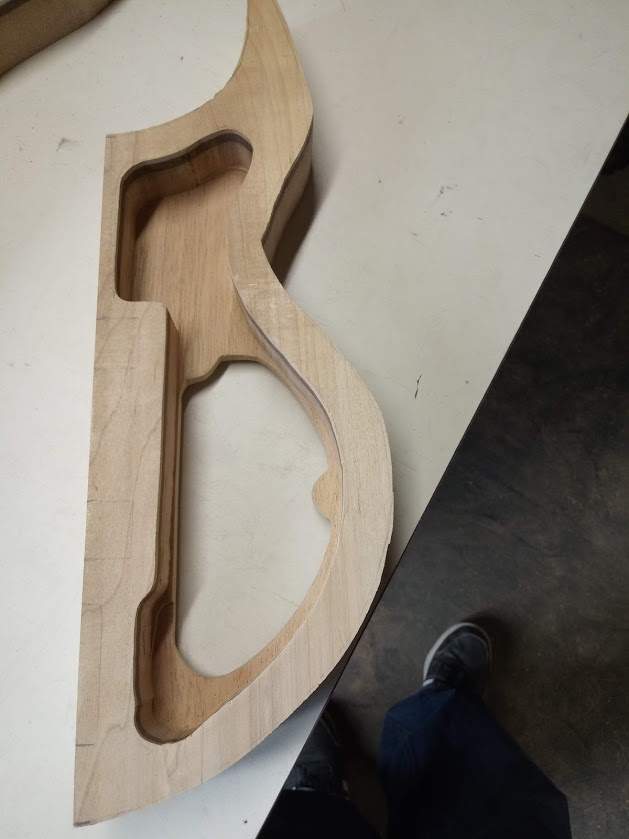
bo-38.jpg

I also routed out the recess for the control access cover.
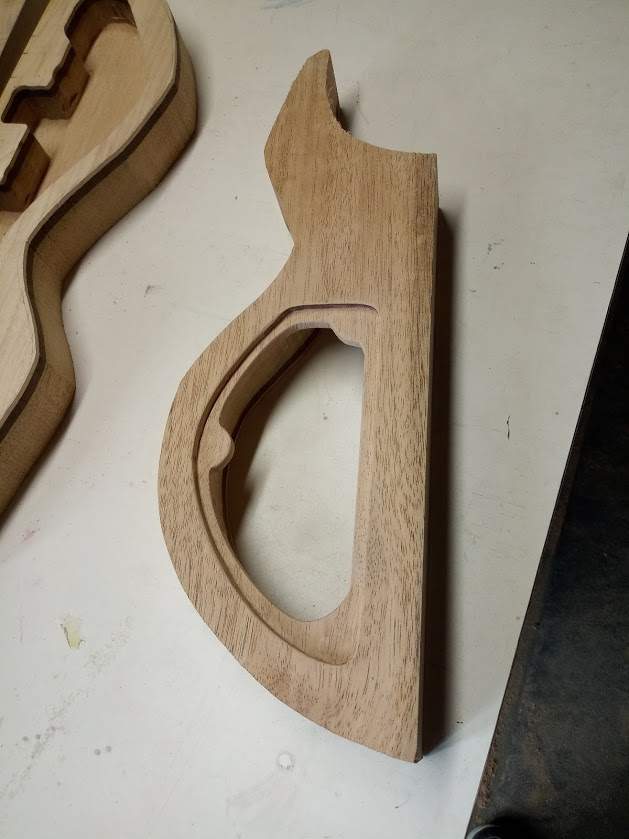
bo-40.jpg

Ready to glue up the body wings
bo-41.jpg

And here is the glue up.
bo-42.jpg


Next, I'll start to prepare the top, and think about the fretwork. I also need to do the battery box rout.
Getting the body glued up is a nice milestone. I'm optimistic that I'll get this one done on time now.
 
Yesterday I started preparing the top

I did some careful measuring and drawing and hacked it out rough on the bandsaw.
bo-43.jpg

Then I got out the files to try to make the neck hole match the shape of the end of the fretboard. Painstaking work, I just removed material very slowly and kept the centerline in mind the whole time. It came out pretty well, hope when I mount the top it looks tight
bo-44.jpg

I made the rear cover from the same wood as the wing, but I didn't really make any special effort to match the grain up. I'll fine-tune the fit, but not bad for now.
bo-45.jpg

I've been waiting for this part, making the f-holes! I didn't really have a good method worked out.
I just drilled 3 holes in the head, middle, and foot of each f-hole and went at with various files, taking my time.
I may fine-tune the shapes a little now that I've slept on it. But you can start to see what it'll look like now.
Forgot to take a pic, but I stained the inside of the chambers brown.
bo-46.jpg

Looks like warm and sunny today, I'm going to get the top glued up and see what else I can do
 
I had a couple of super busy weeks and didn't get any work done on this bass for a while. The weather has been pretty cold and snowy, too. I finally got some time last weekend and this weekend to get this build back on the rails.

Did the fretwork last weekend
bo-49.jpg

bo-50.jpg

I glued the top yesterday and it went ok. I forgot to get the mega-clampy shot of it. I was rushing around.
It was time to make a template for the pickup routs. Both pickups are the same size luckily.
bo-47.jpg

Masking tape and super glued the template on and routed them out. It did not go bad.
bo-48.jpg


Who can resist a mockup once you get to this point?
bo-51.jpg


Pushed on a little bit and made the battery box template
bo-52.jpg

Hogged out the box with a forstner bit on the press and did the template and router thing
bo-53.jpg

I took out the extra-long bit and drilled the channels from the battery box and pickup routs into the cavity. Ready to shape the body up and carve up the heel.
bo-54.jpg

Good to be back on track!
 
Did shaping work on the body and heel with chisels, files, and 80-grit. For the most part, the body is ready for touch-up work and a good surface sanding.

I'm re-working the headstock a little bit, I didn't like where it was going and it wasn't too late to change the plan. I'll have to take some pics of that process

bo-55.jpg

bo-56.jpg

bo-57.jpg

bo-58.jpg


Rounding third, headed for home plate!
 
Worked on this bass a little bit.

I painted the cavities with Stew-mac shielding paint since copper tape would be visible through the F-hole.

Time to work on the headstock redesign. Chopped off the sides of the headstock so I could glue on some new pieces.
bo-59.jpg


On with some walnut headstock wings to match the top wood combo
bo-60.jpg

We're breaking in a new shop attendant around here. He's a mix of Anatolian Shepherd Dog and a Kuvasz.
Somehow he's 65 pounds at 6 months. He's going to be an absolutely giant dog.
Good thing he's a sweet little boy!
bo-61.jpg


Here's the new headstock design. I used the little bump feature at the bridge end of the fretboard as a motif and worked it into a little bit of a 30's art-deco type of design for the headstock and truss-rod cover setup
bo-62.jpg


Did a little cutting, shaping, and sanding. Might need some shape fine-tuning, but basically ready to drill out the tuner holes.
bo-63.jpg


Hopefully tomorrow I can drill out the holes, expose the truss rod end, and get the truss-rod cover made
 
I didn't have a lot of time after work, but I feel like it's getting to be crunch time if I'm going to finish strong on this build by the 22nd (or a little before so I can shoot photos and record a demo), so I grabbed an hour or so.
The weather looks like it may improve for the next week or so, which makes a lot of difference in my building.
This is because when it's cold, I have to invest some decent amount of time and propane to heat the garage. When it's cold, I can't just pop out to the garage for a quick task or two like I do when its pleasantly warm.

Anyway, I sanded the headstock flat and clean, taped up my template and went about drilling the tuner holes.
bo-64.jpg

Looks like I may need to shave a little off the treble side near the C tuner to make it a little more even.

Test fitting the tuners
bo-65.jpg

bo-66.jpg


Time to expose the truss-rod end, I drilled a little hole and got out the dremel to grind out the access.
bo-67.jpg


Not bad for a quick session. Next, I'll create a truss rod cover and fit that up.
Not much left after that in terms of building, it'll be onto sanding, finish work and then assembly.
I still have to make a nut, too. I was thinking I might make it out of ebony, but I do have some cow bone which is all I've tried so far on the previous builds. I think the ebony would look better, but is it really durable enough to be the nut?
I bought some of the penetrating oil and some high-build oil finish from Crimson Guitars after @MPU mentioned it was low odor and fast-drying. Plus his build turned out gorgeous with it.
I've tested a little on some scraps from the top and I think it'll look really nice, so that's the finish of choice this time.

Gonna be a busy week, may not get back to it until the weekend.
 
Thanks @2groggy! You know, I have actually given it some thought. I've tried out a bunch of new (to me) techniques so far on this build, maybe I could try to pull it off.

I worked on this one a little today after work. Drilled the jack access hole, and the bridge ground wire hole, and spent a while with the preamp and controls working through the positioning of things in the cavity. There's room in there, but it's sure going to be tight!
 
  • Like
Reactions: Beej and Reedt2000

Latest posts