I finally got around to routing the truss rod channel. Using a tapered neck beam complicates things a bit. So, I used the same method that I did on the first 5 string build.
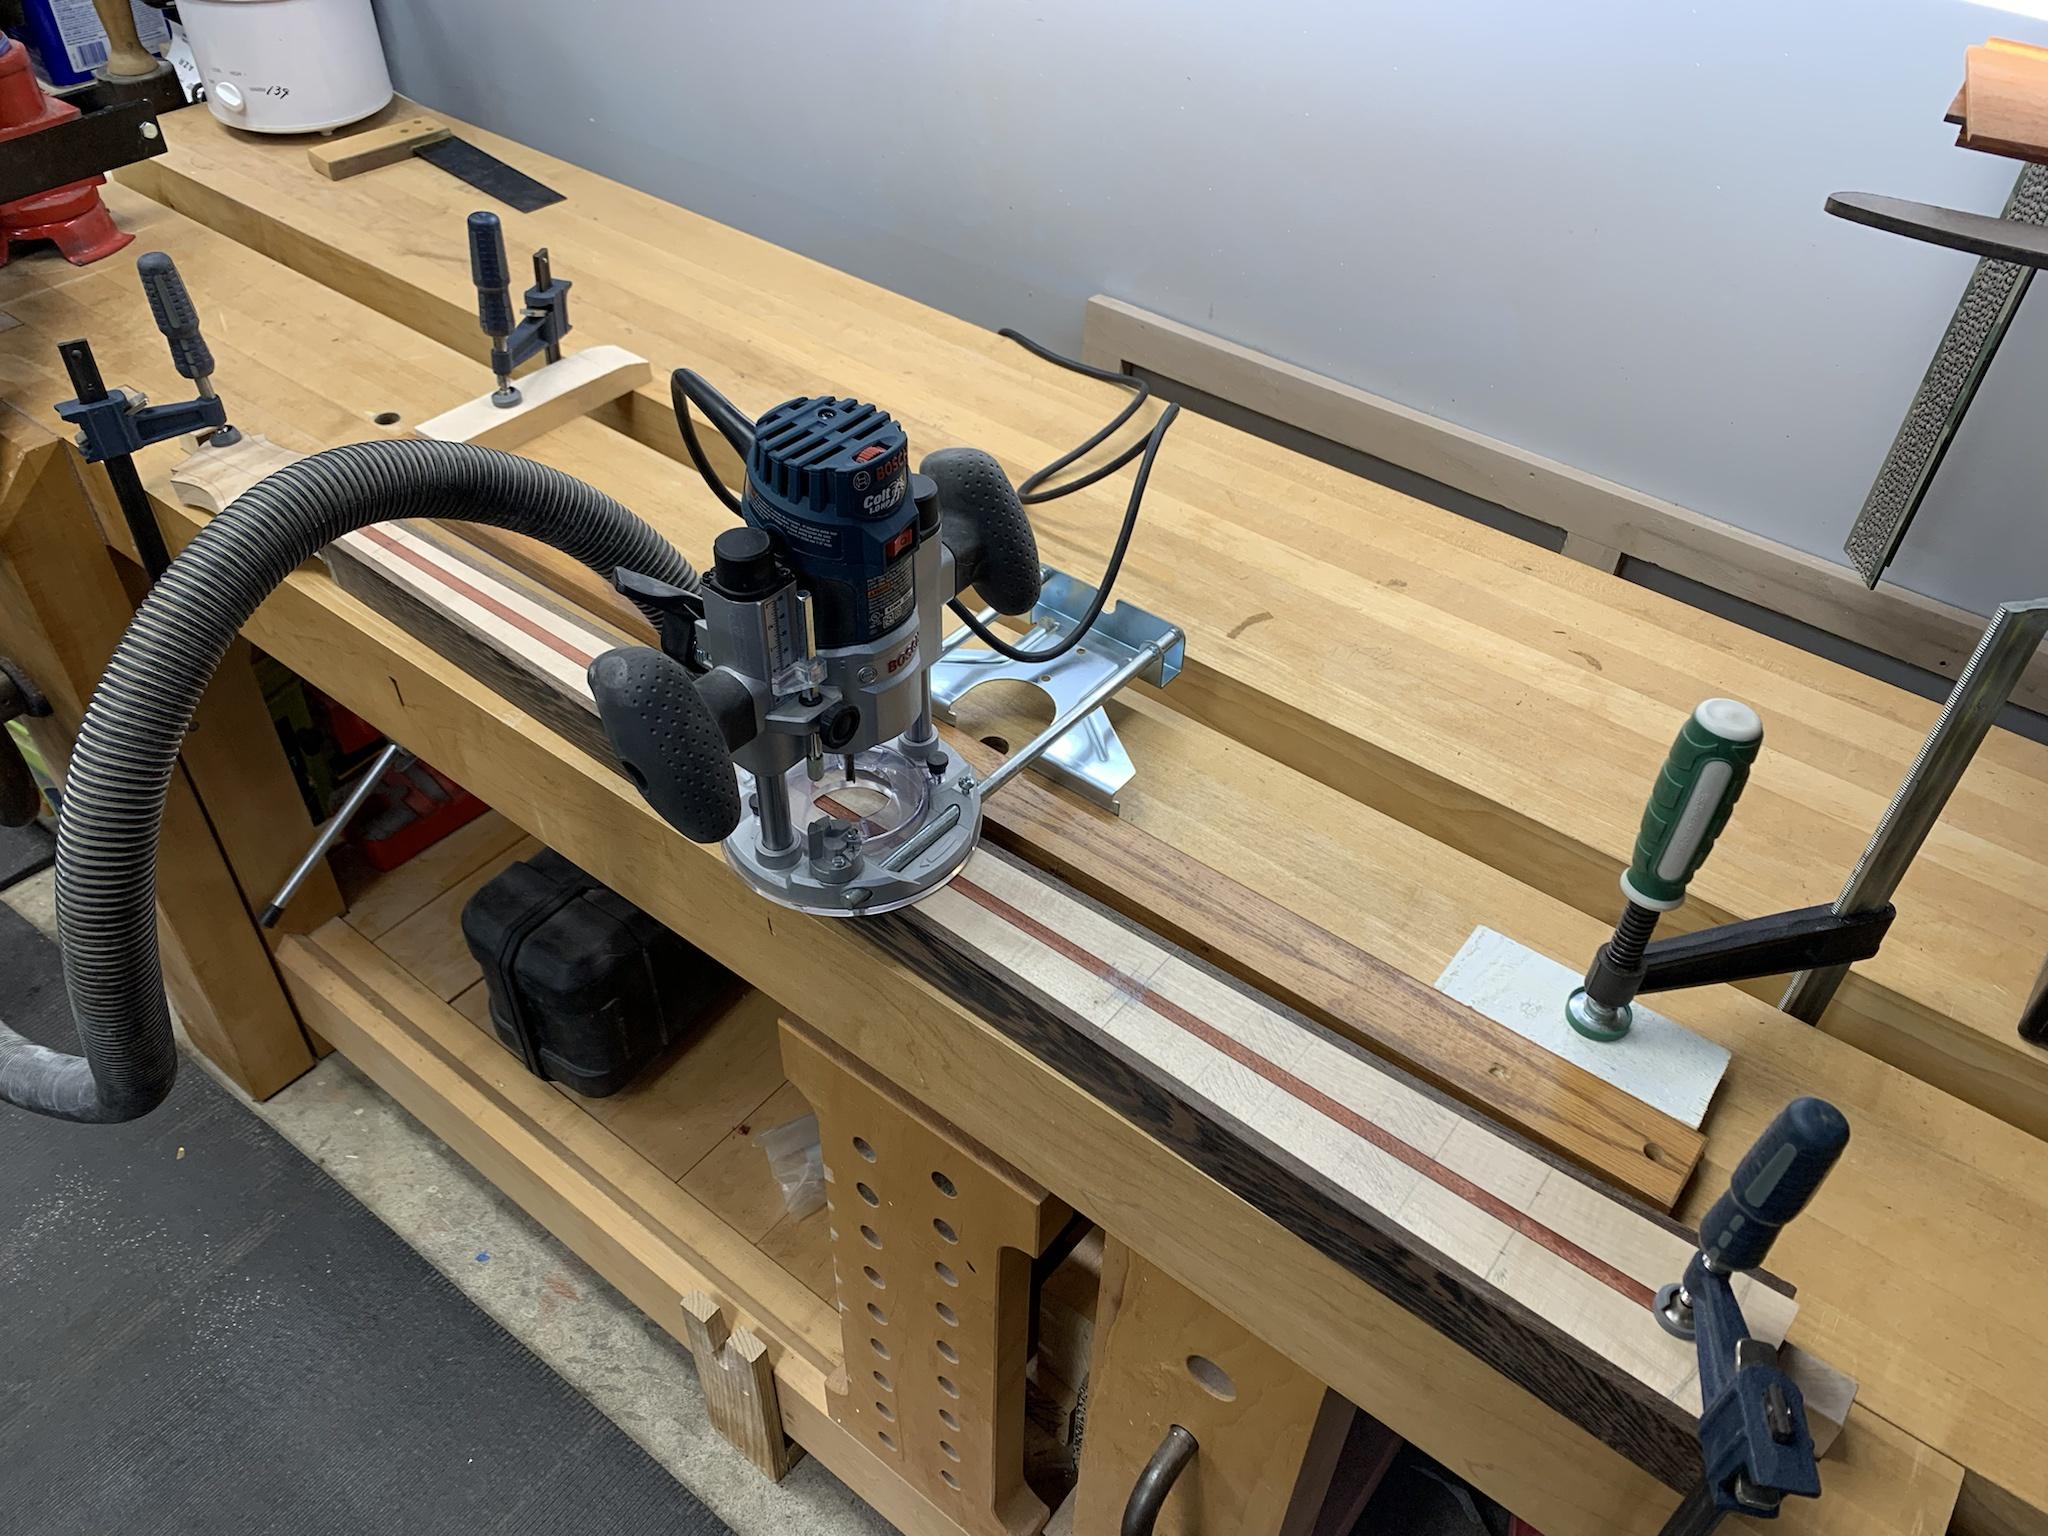
Essentially, I just use a router with an edge guide which rides along a fence that runs parallel to the centerline of the neck beam. Here's a picture of the setup. The fence is attached to the bench top using "the trick", the neck is clamped in the bench dogs with a clamp at each end for extra insurance. I then clamp additional blocks of wood to the outside of the fence as stops.
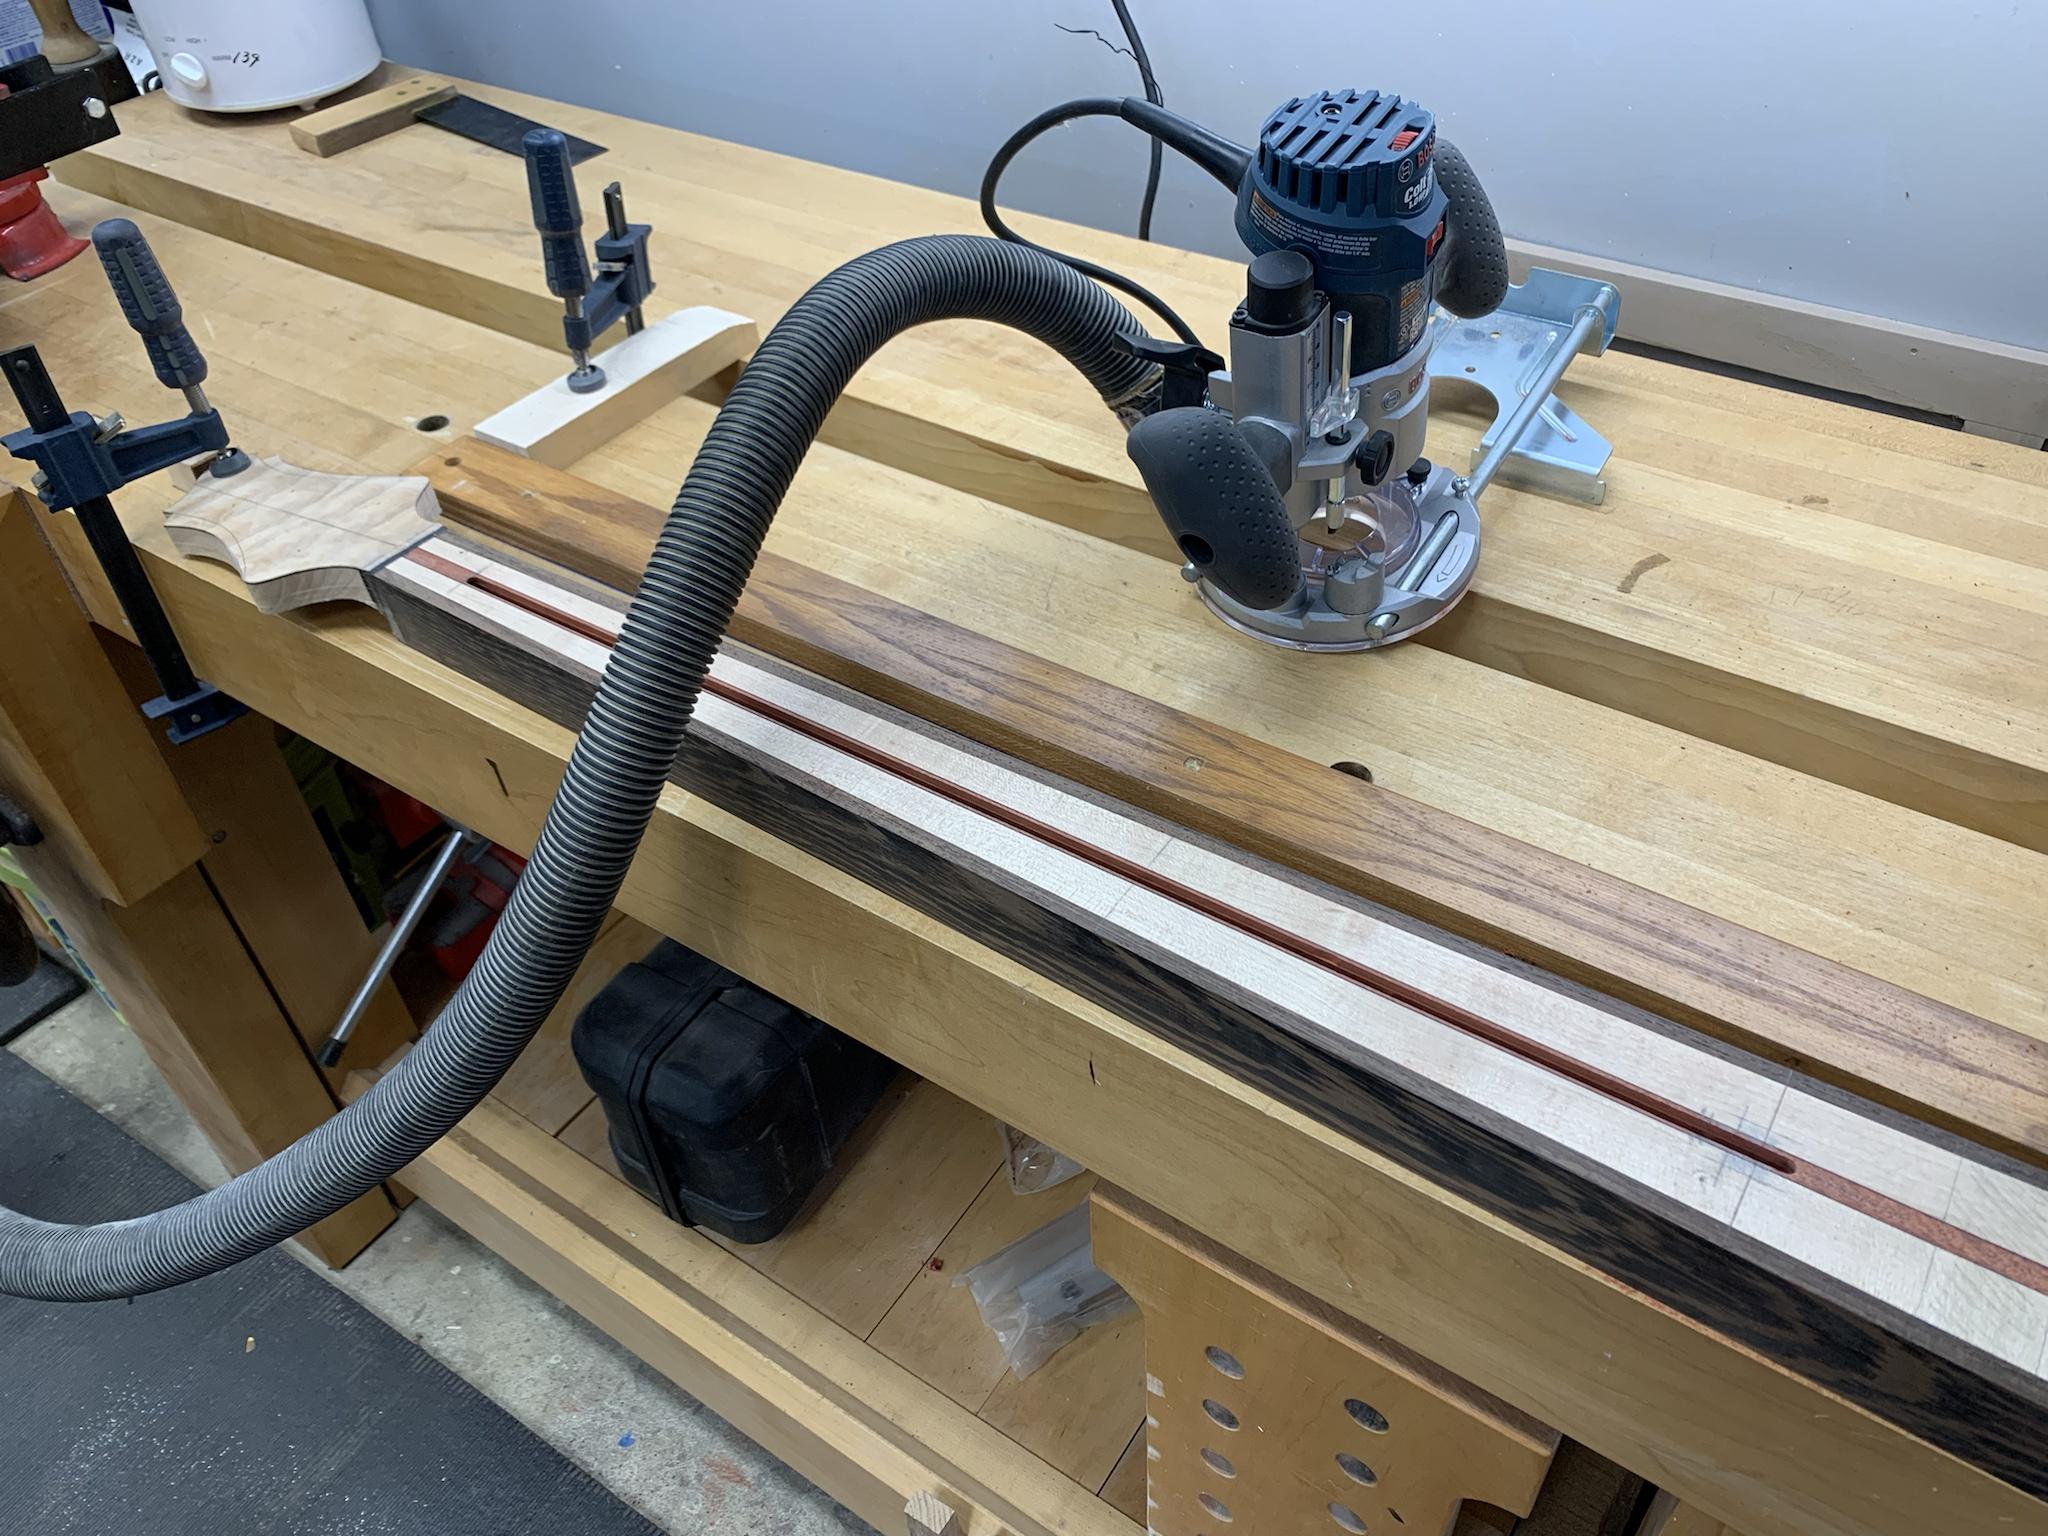
And here is the primary channel completed. I bought the Bosch plunge base for my Colt router and I just love it. It really makes this little router even more versatile.
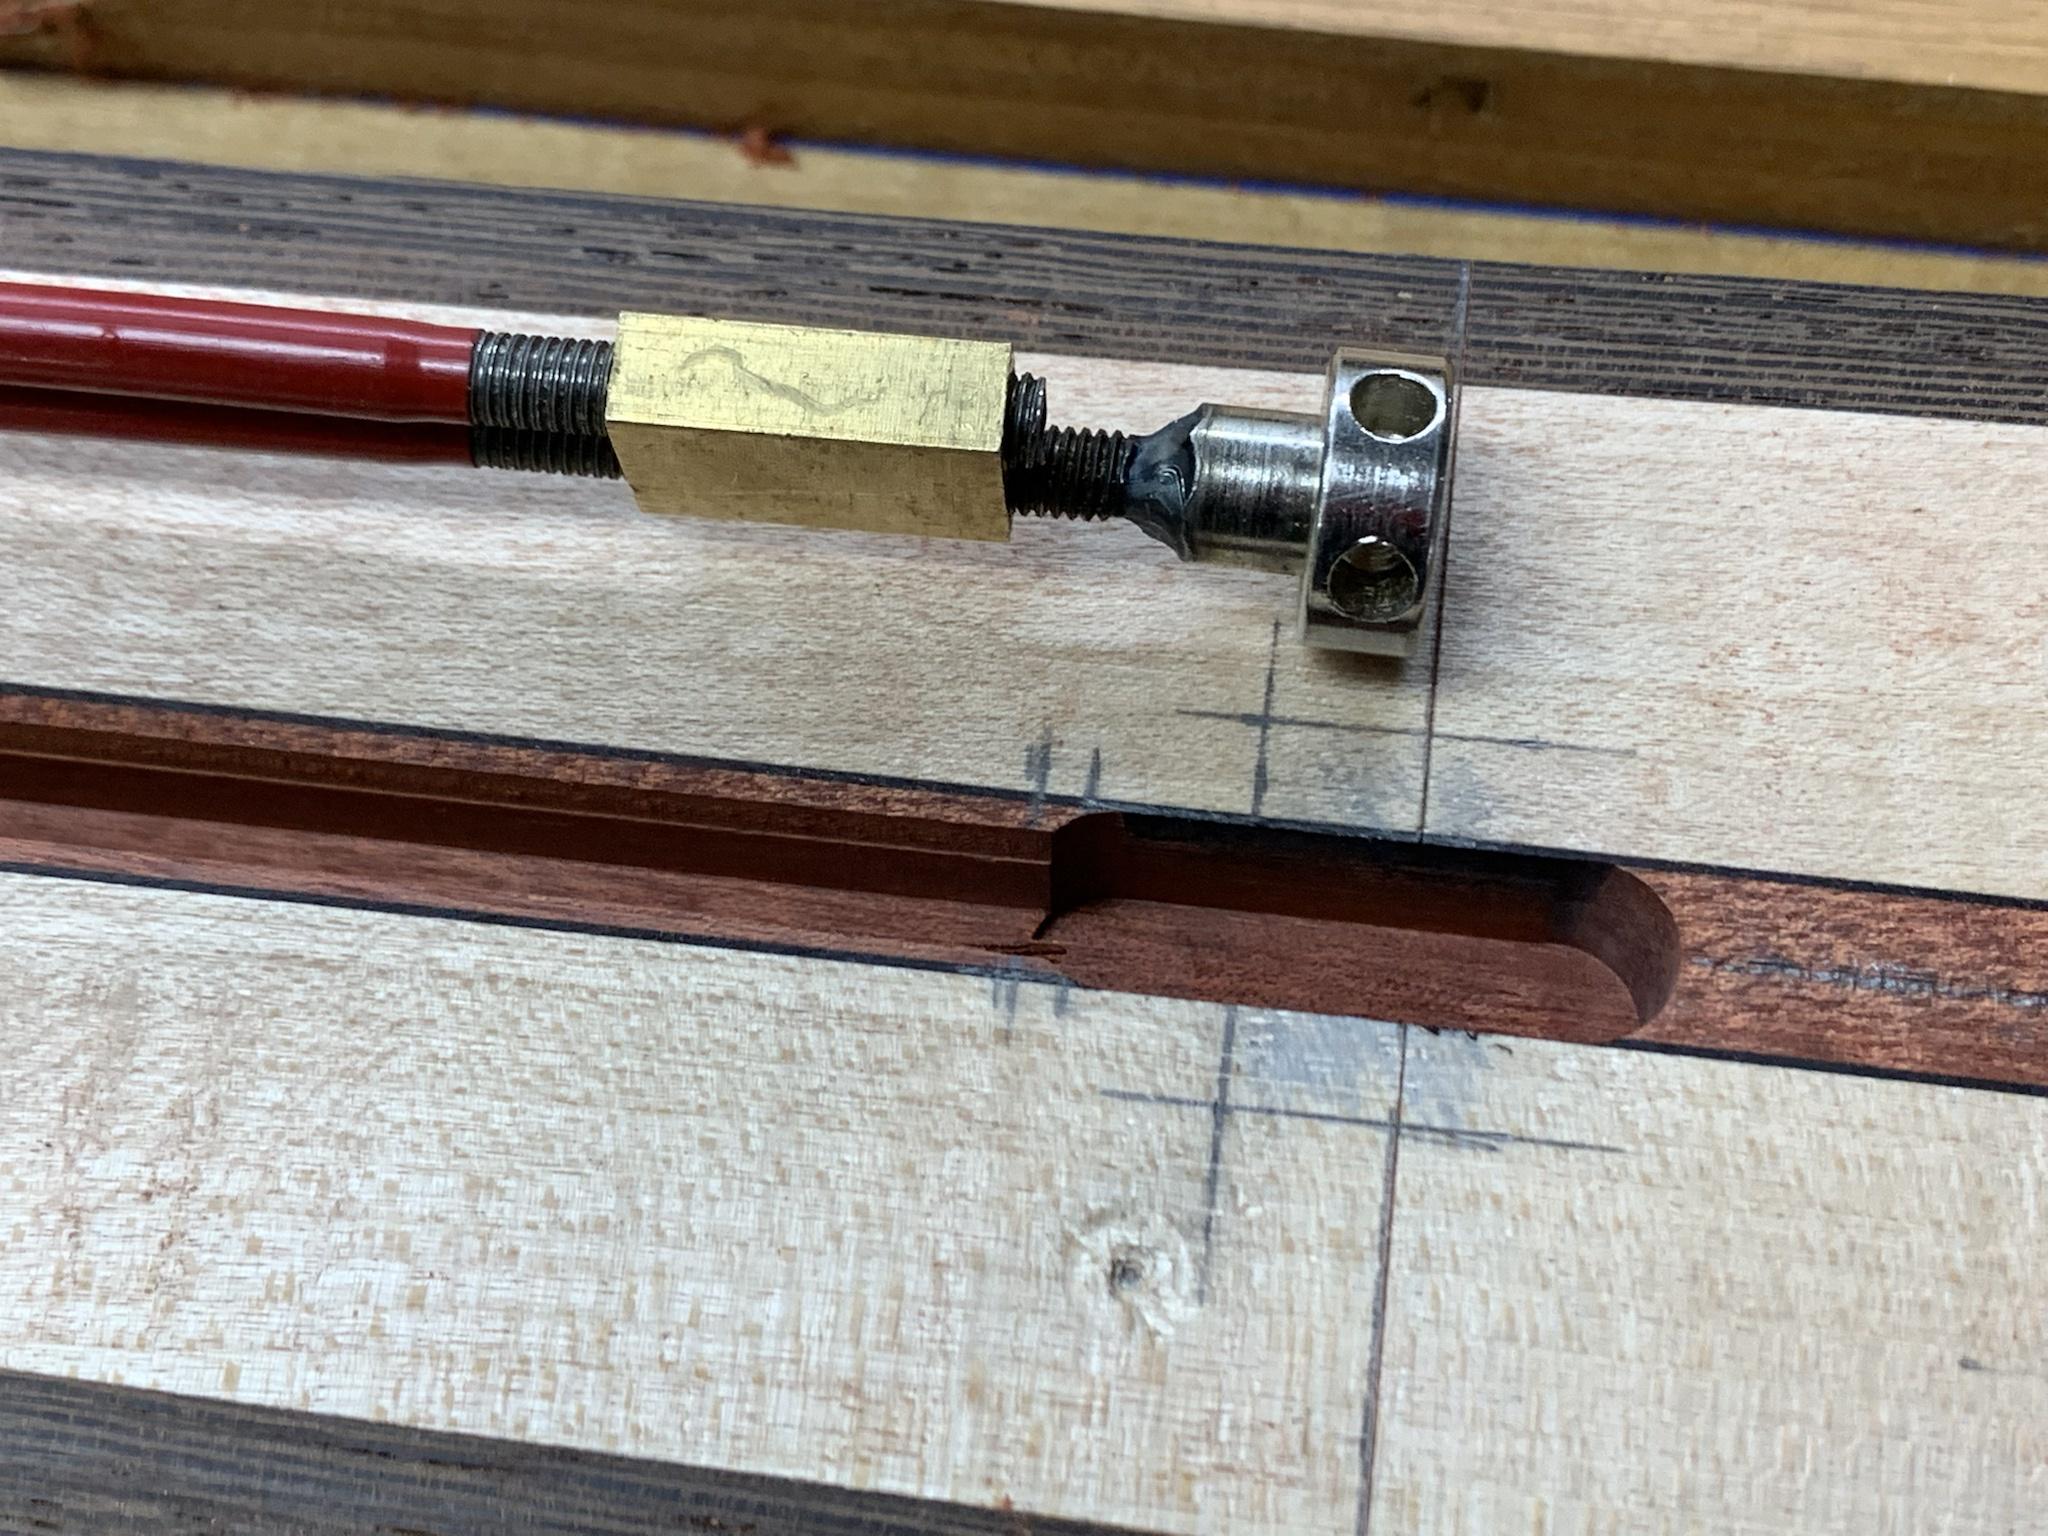
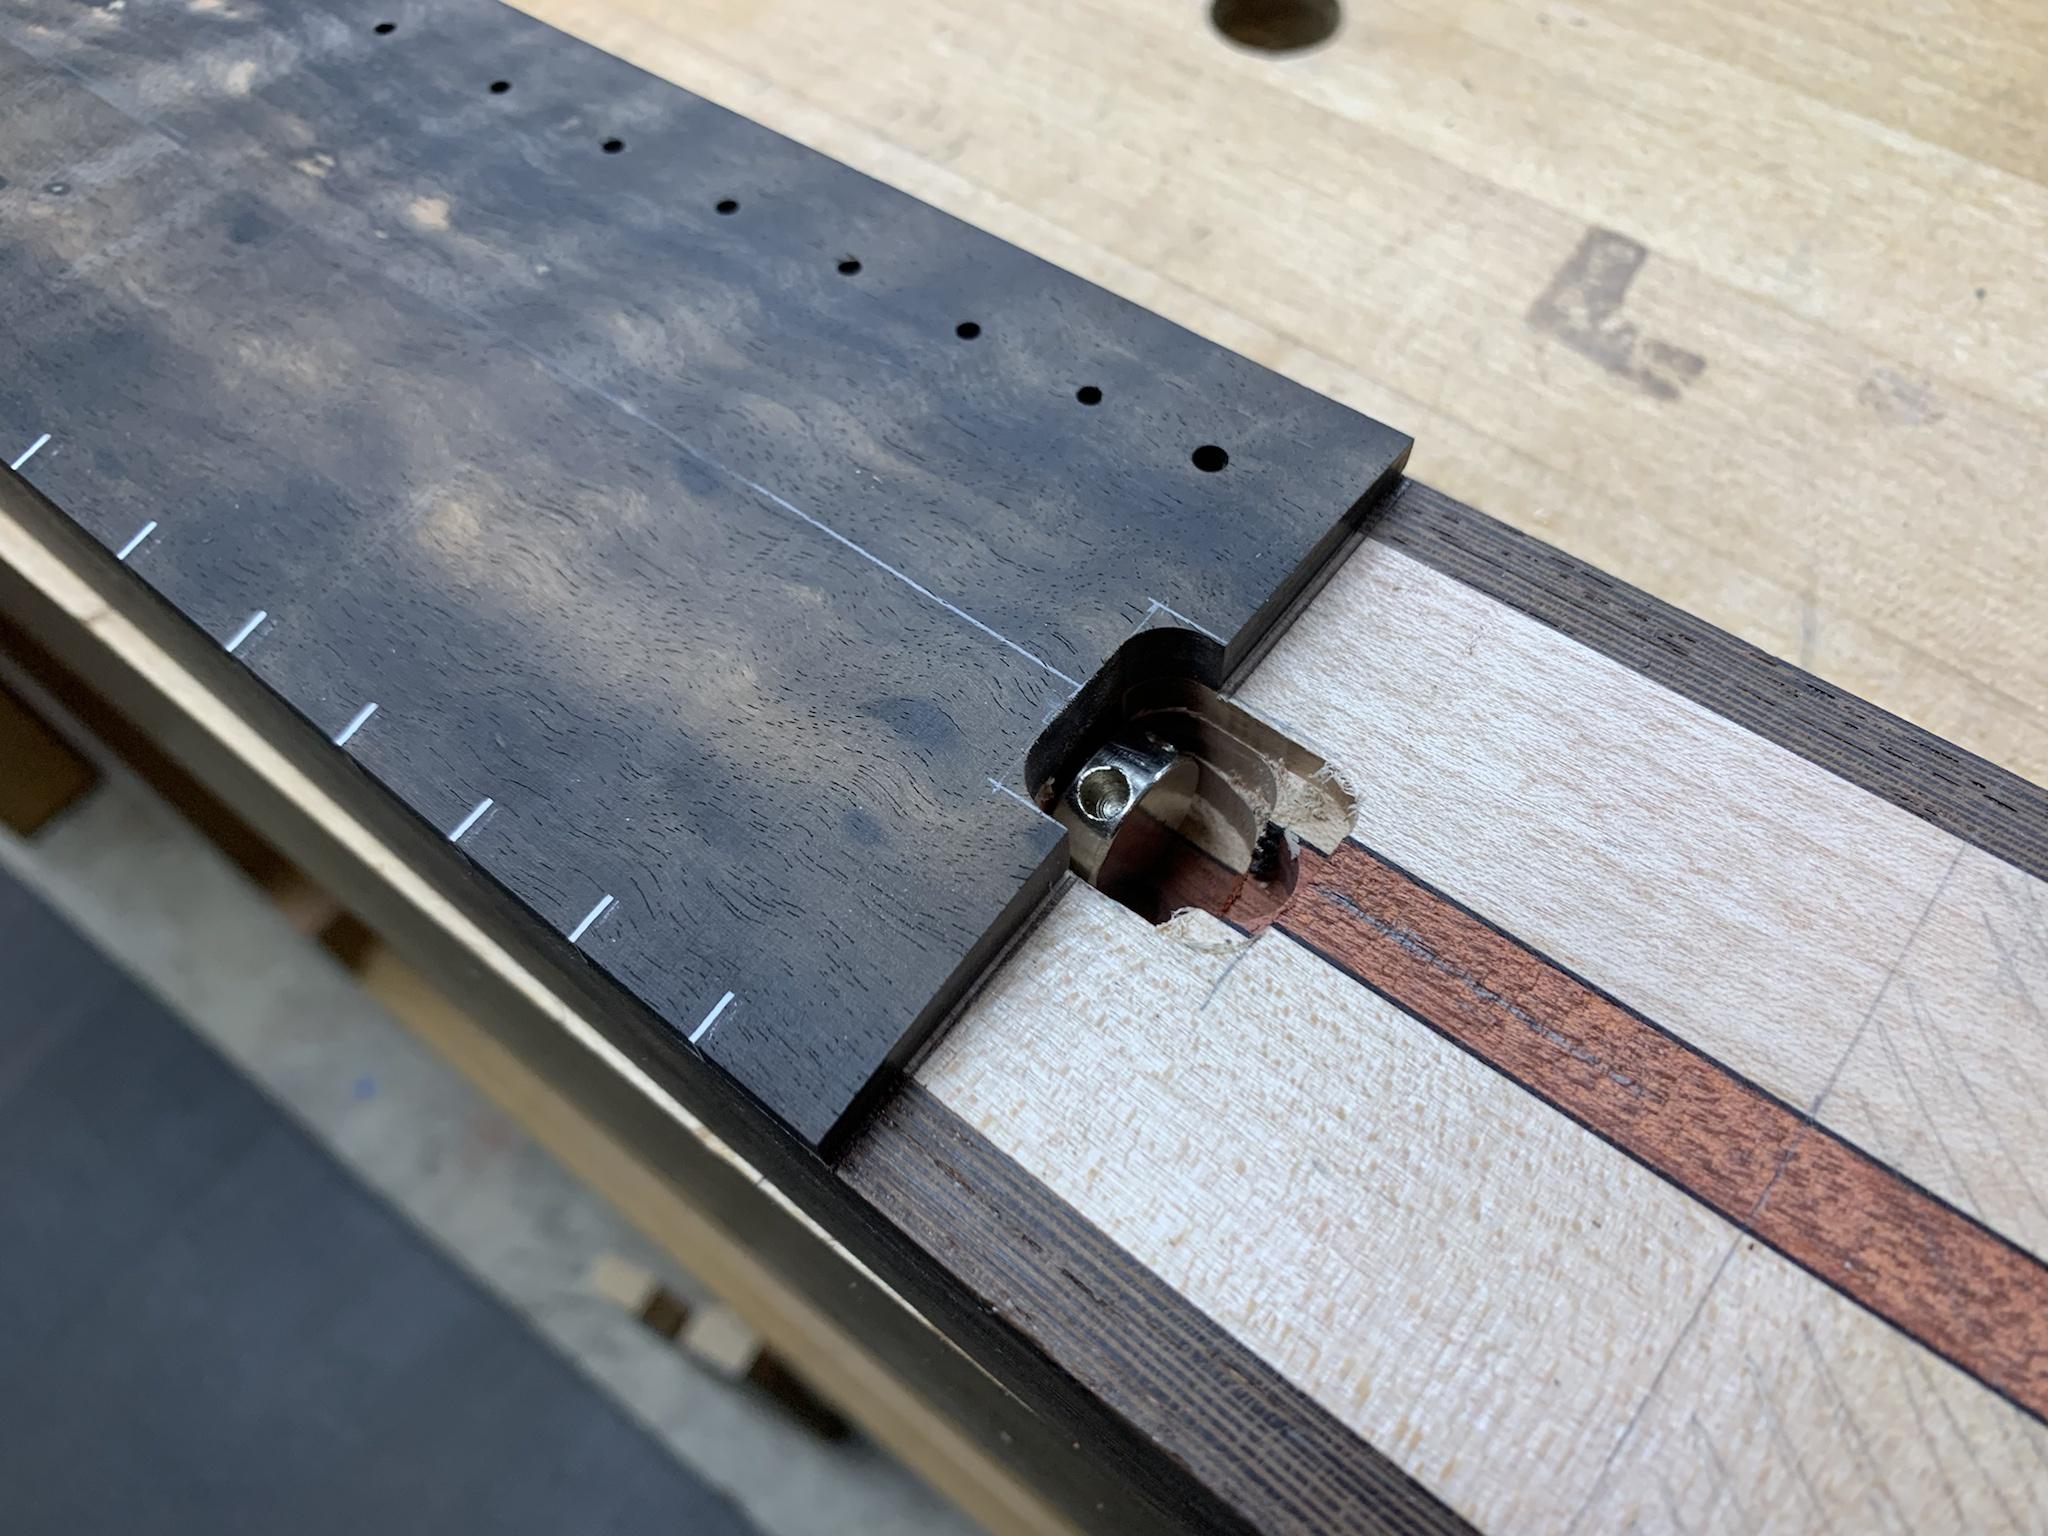
I'm using a spoke wheel rod on this build, so it needs some extra clearance at this end. Here I cut the 3/8" channel for the "neck" area.
The channel for the wheel will be inset in the end of the fingerboard and will extend down into the neck beam. I made up a quick jig for this and used a 3/8" diameter bit to keep the inside corners fairly small.
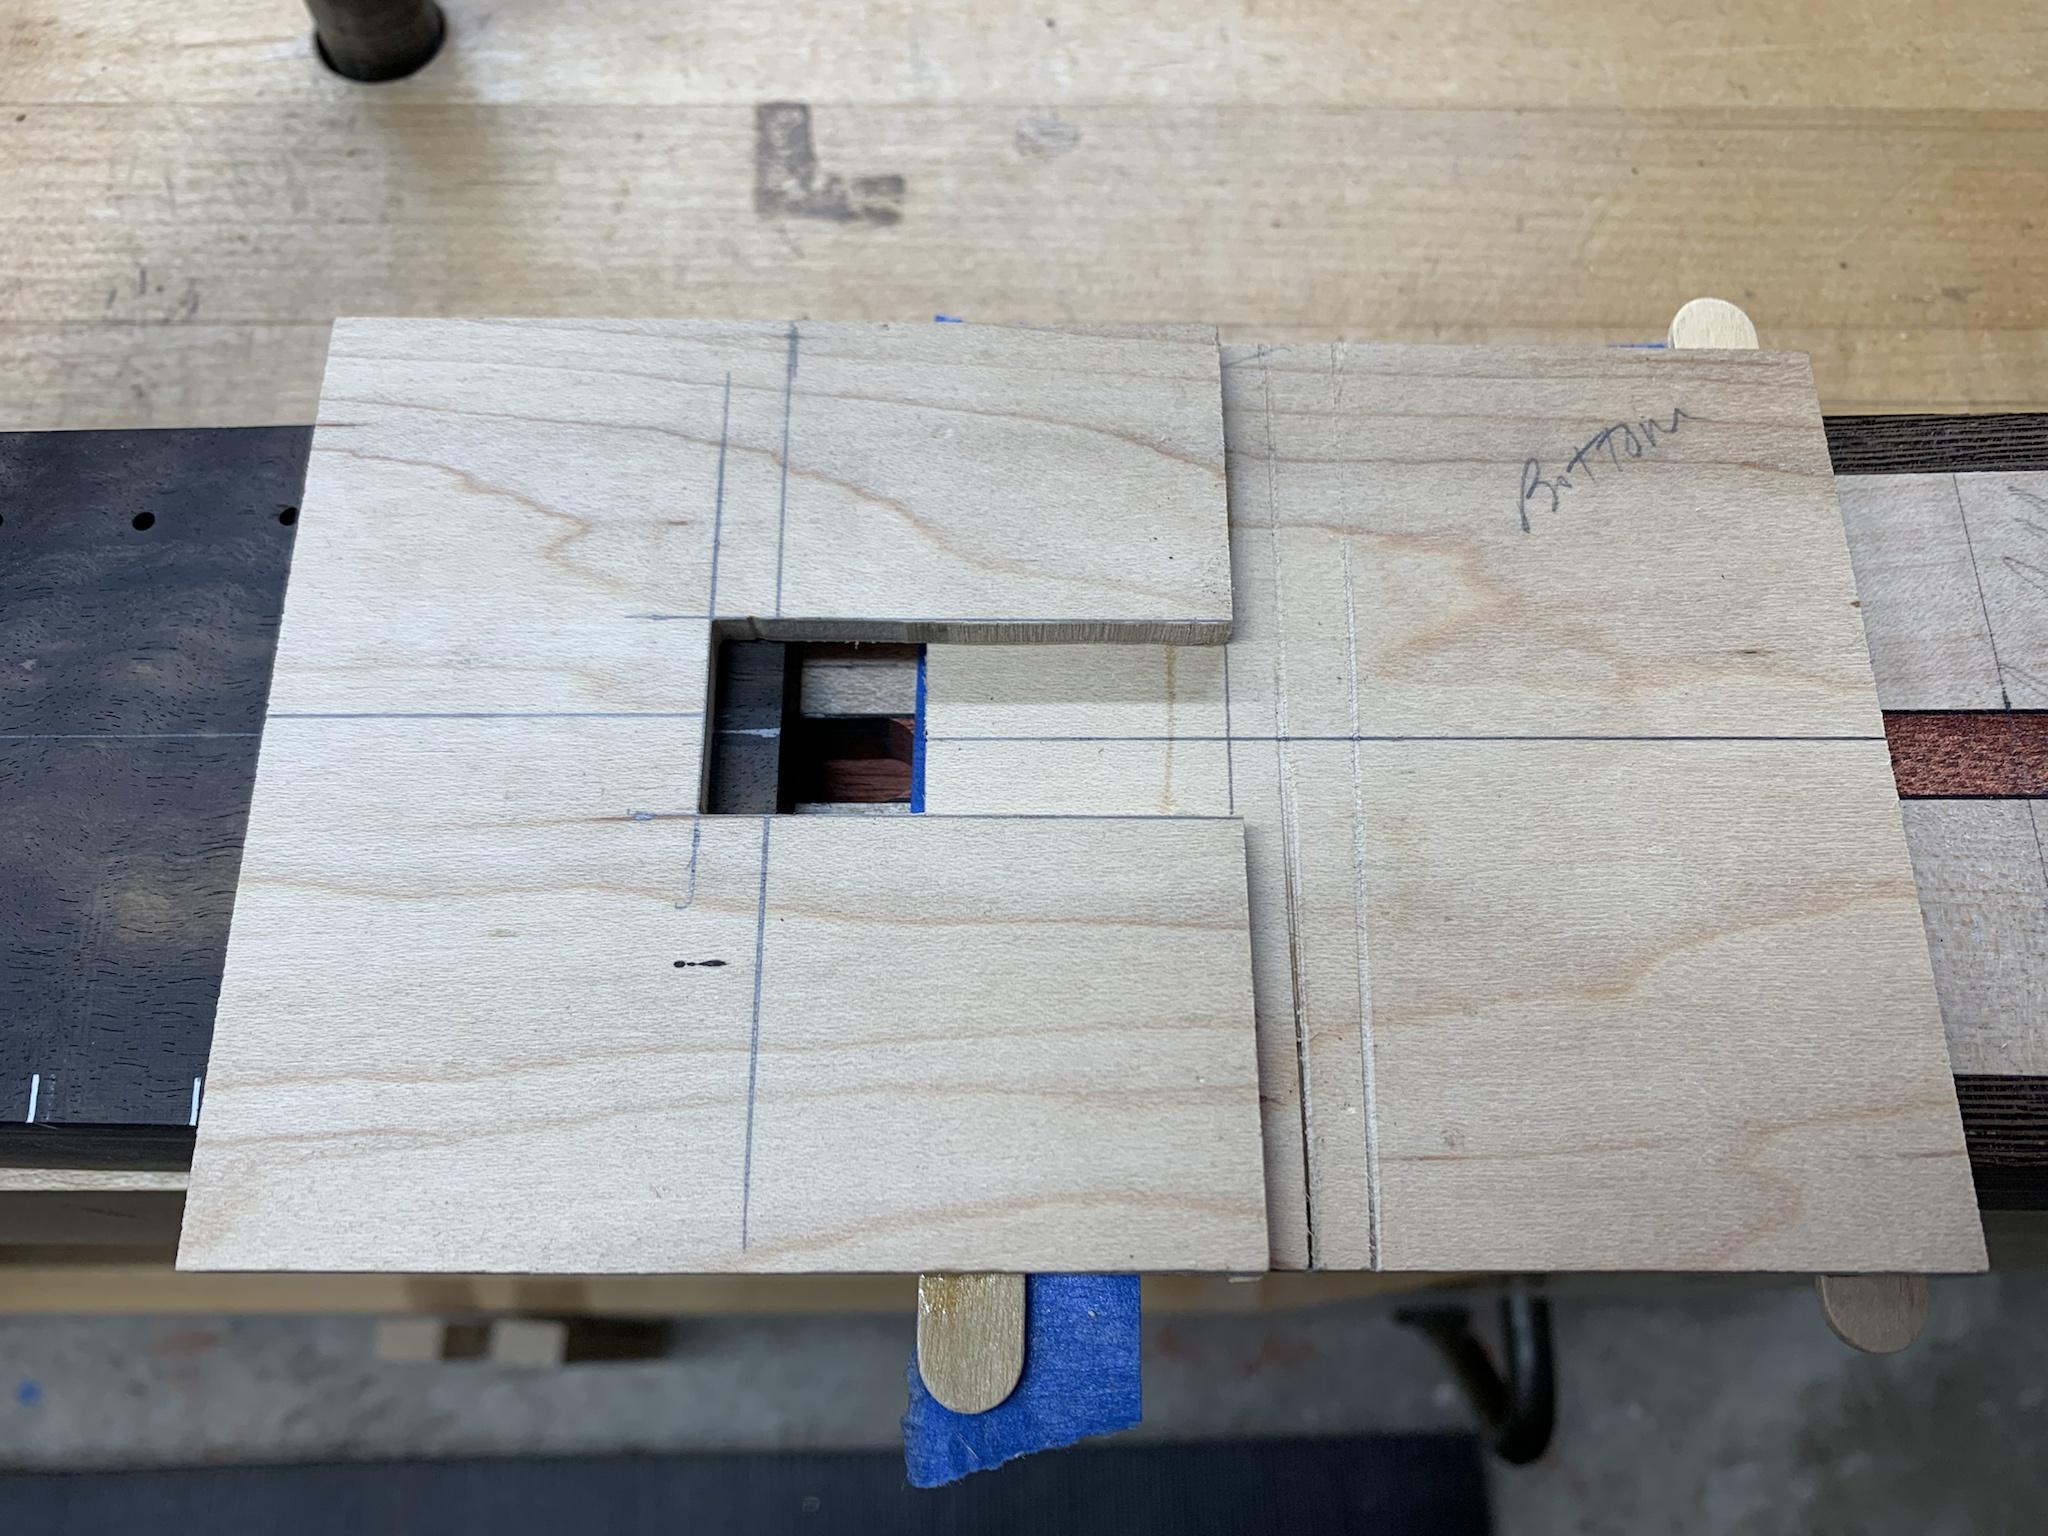
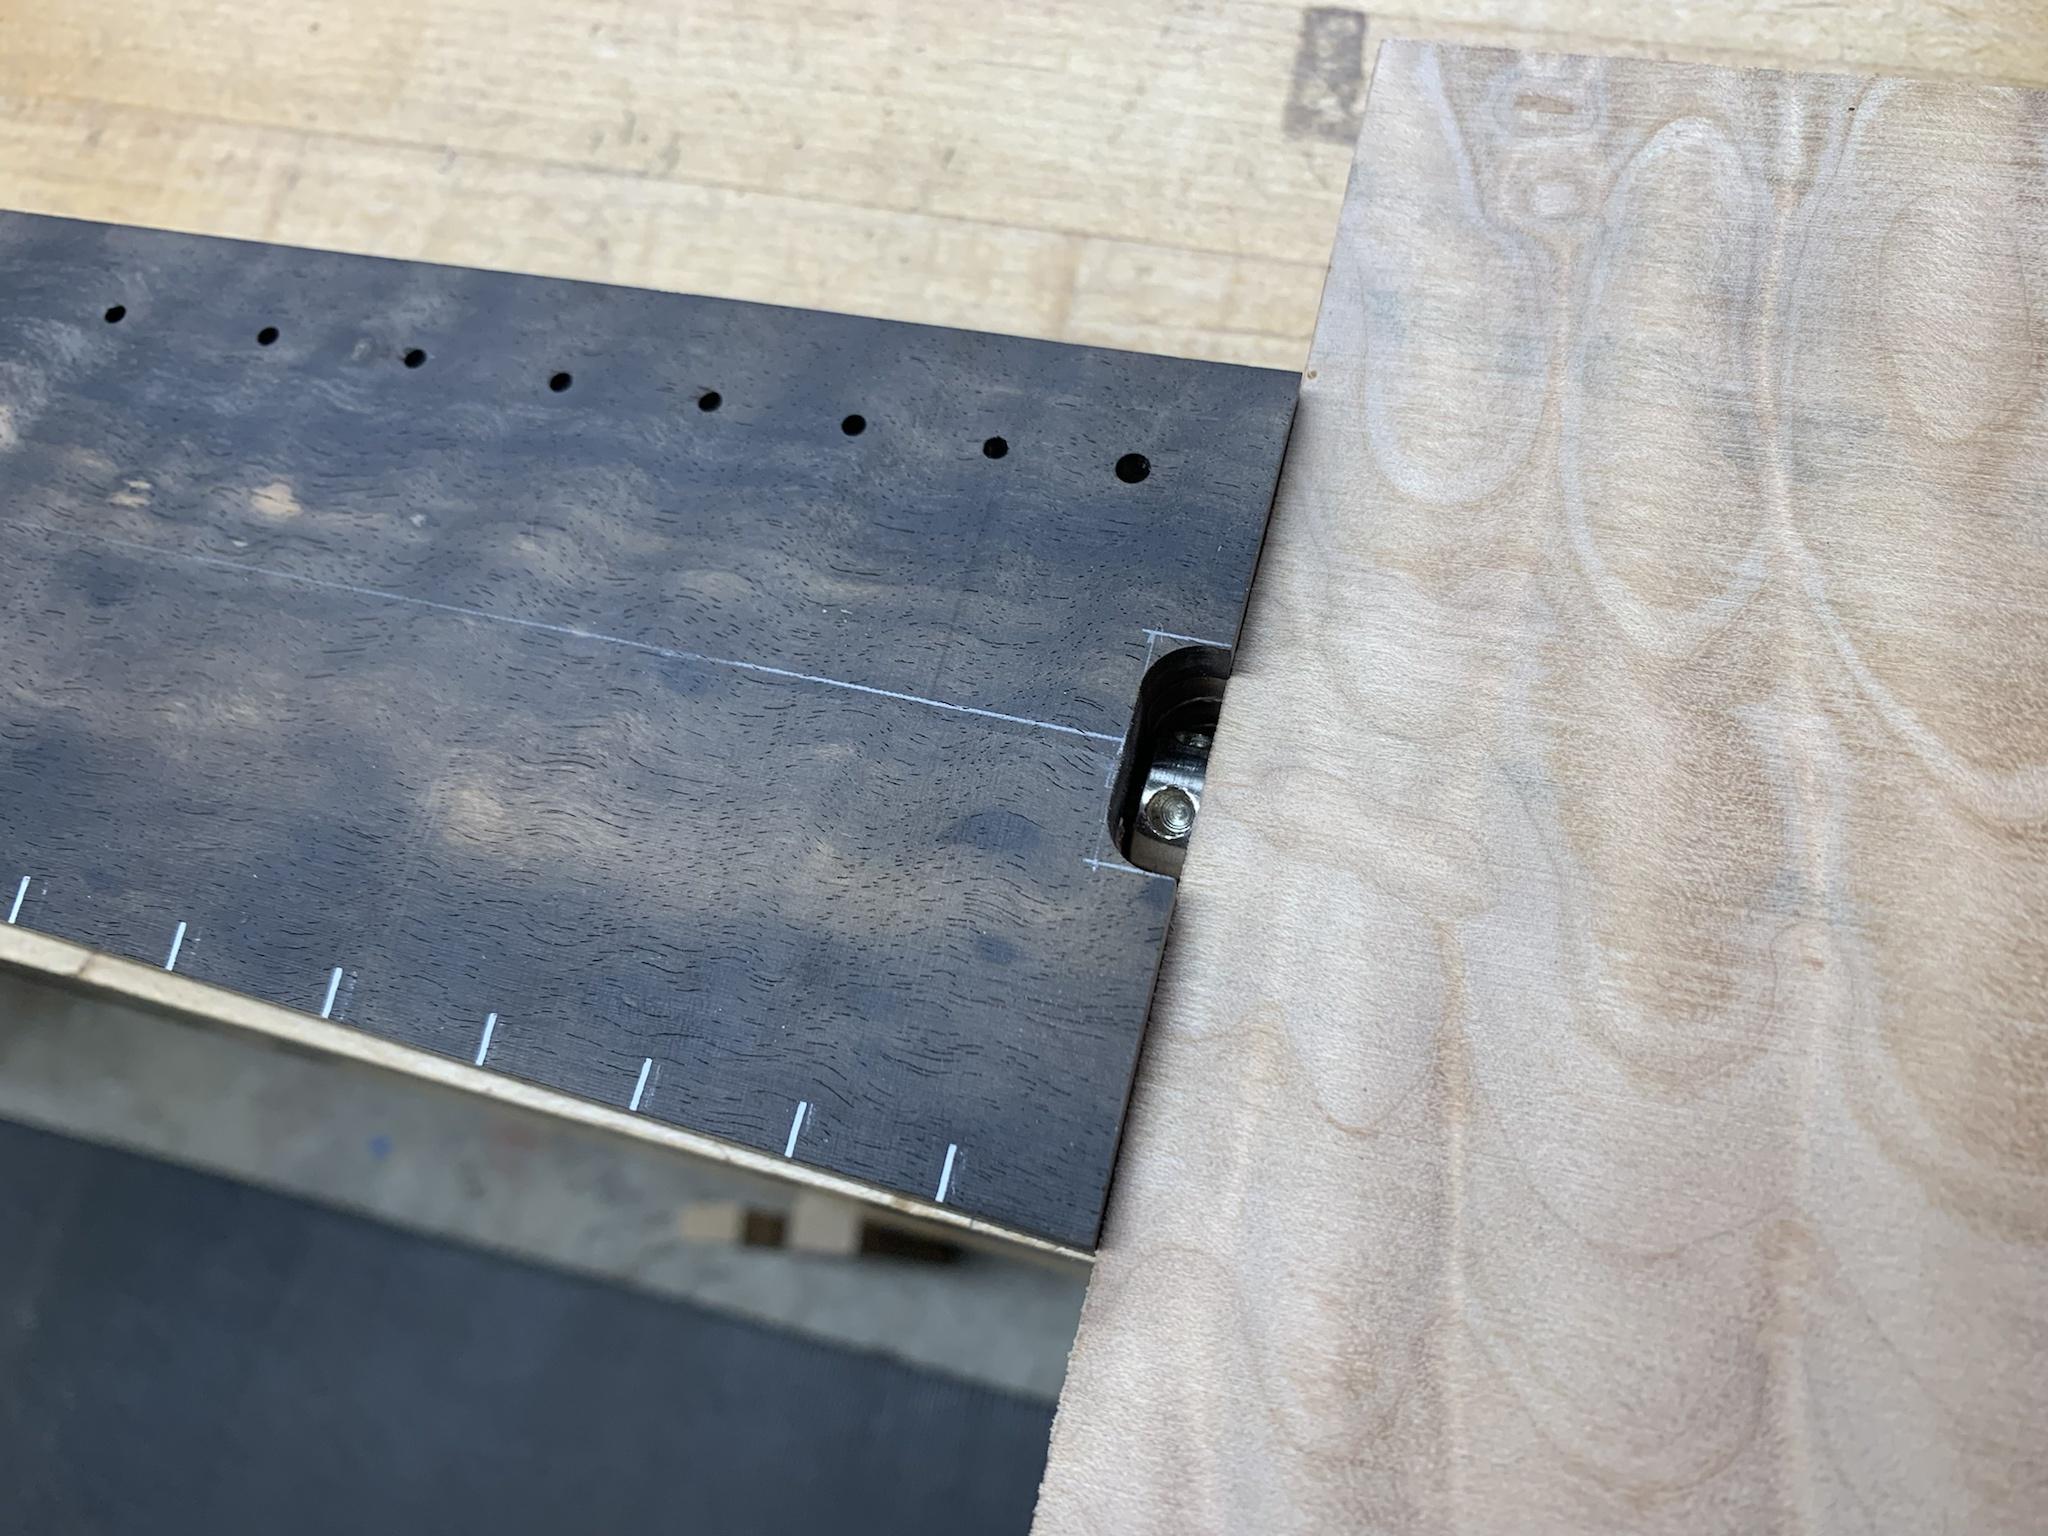
The route is oversized, but keep in mind that I have to route a "shelf" to allow for the drop top thickness and bridge clearance. Also the drop top will cover any routing ugliness.
I dropped a piece of maple on the top just to demonstrate what I'm talking about.
Here's the upcoming to-do list... a la @TerribleTim68.
Essentially, I just use a router with an edge guide which rides along a fence that runs parallel to the centerline of the neck beam. Here's a picture of the setup. The fence is attached to the bench top using "the trick", the neck is clamped in the bench dogs with a clamp at each end for extra insurance. I then clamp additional blocks of wood to the outside of the fence as stops.
And here is the primary channel completed. I bought the Bosch plunge base for my Colt router and I just love it. It really makes this little router even more versatile.
I'm using a spoke wheel rod on this build, so it needs some extra clearance at this end. Here I cut the 3/8" channel for the "neck" area.
The channel for the wheel will be inset in the end of the fingerboard and will extend down into the neck beam. I made up a quick jig for this and used a 3/8" diameter bit to keep the inside corners fairly small.
The route is oversized, but keep in mind that I have to route a "shelf" to allow for the drop top thickness and bridge clearance. Also the drop top will cover any routing ugliness.
I dropped a piece of maple on the top just to demonstrate what I'm talking about.
Here's the upcoming to-do list... a la @TerribleTim68.
- Calculate and route the offset step in the neck beam
- Bring back of beam thickness parallel to front shelf of beam
- Glue the fingerboard to the beam
- Install face dots on the board
- Drill tuner holes
- Redraw the neck thickness profile on the side of the beam
- Cut neck profile to thickness
- Carve neck
- Prep and glue up wing sammiches
- Revise this list 1,000 times and don't forget the kabillion little steps in between these bullet points.