• TalkBass has been independent since 1998. Add your voice.
    Create a free account to reply to discussions, view embedded media, and browse with fewer display ads.
    Join freeLog in
    Want zero display ads or expanded classifieds tools? Compare plans.

Winter Build-Off 2022: Bamboo EUB

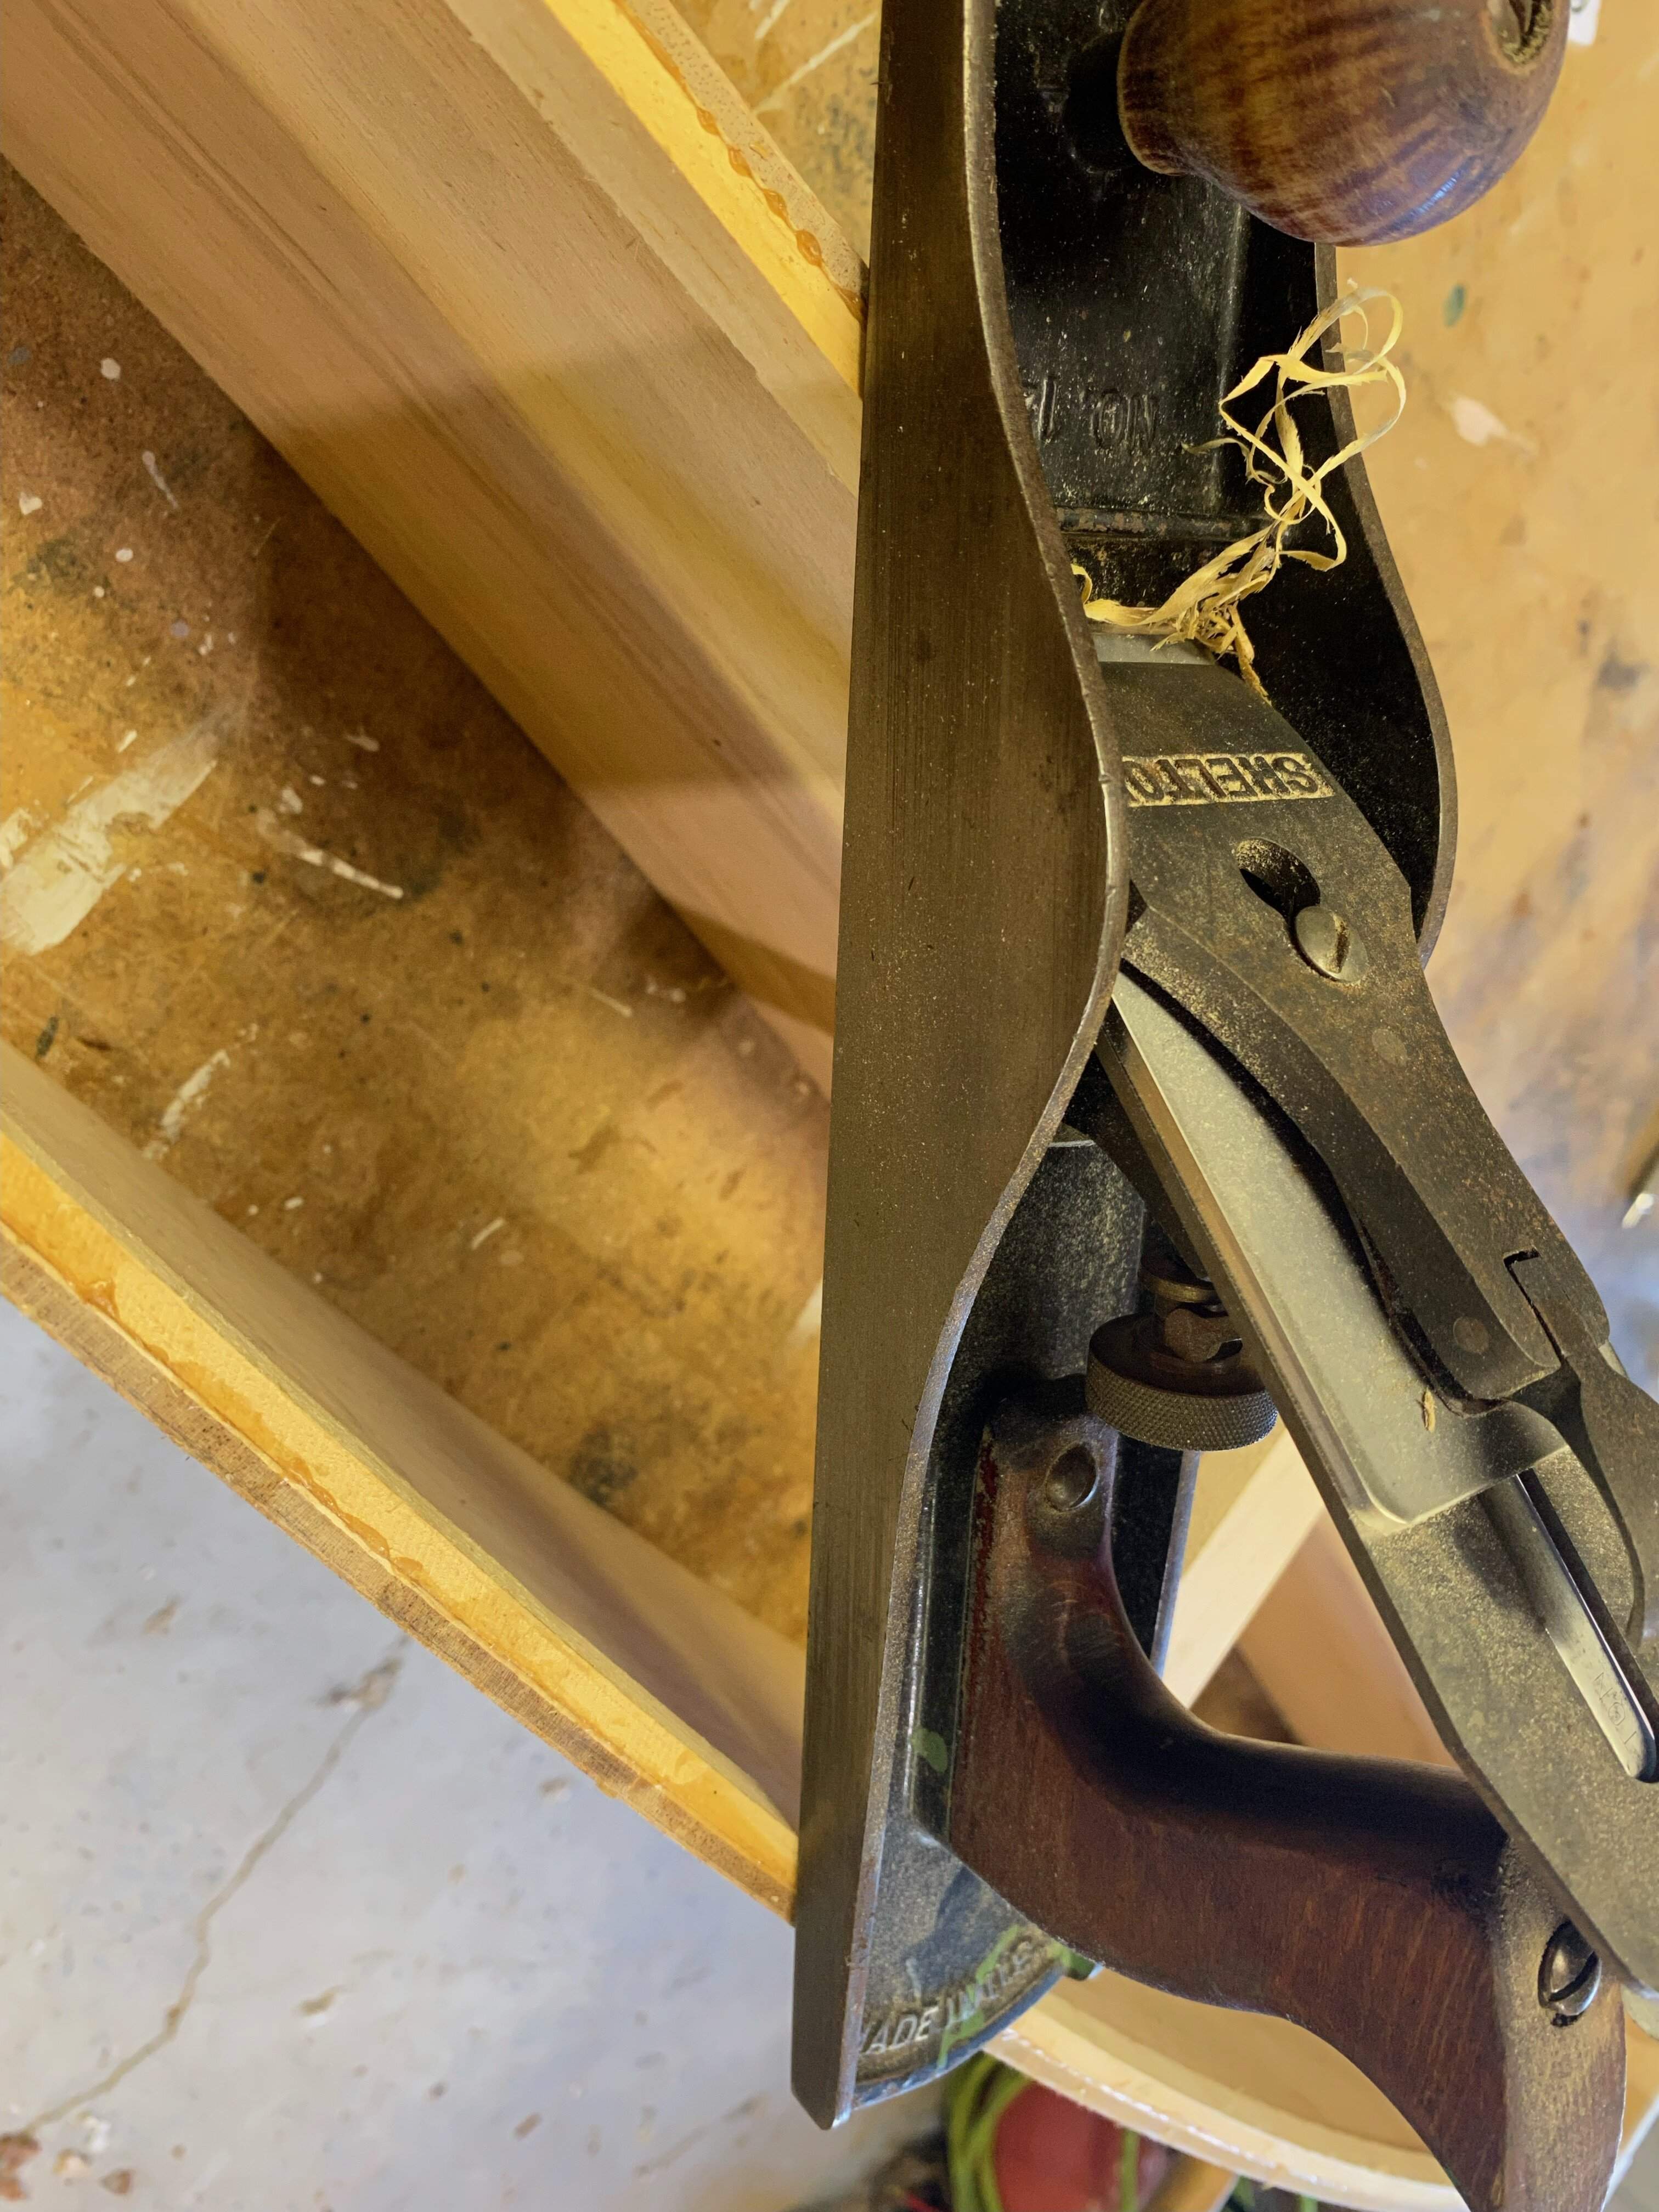
Making the linings flush to the sides. I wouldn't be able to do it like this if the body weren't so narrow, but it is, so I did.
IMG_5176D.JPG


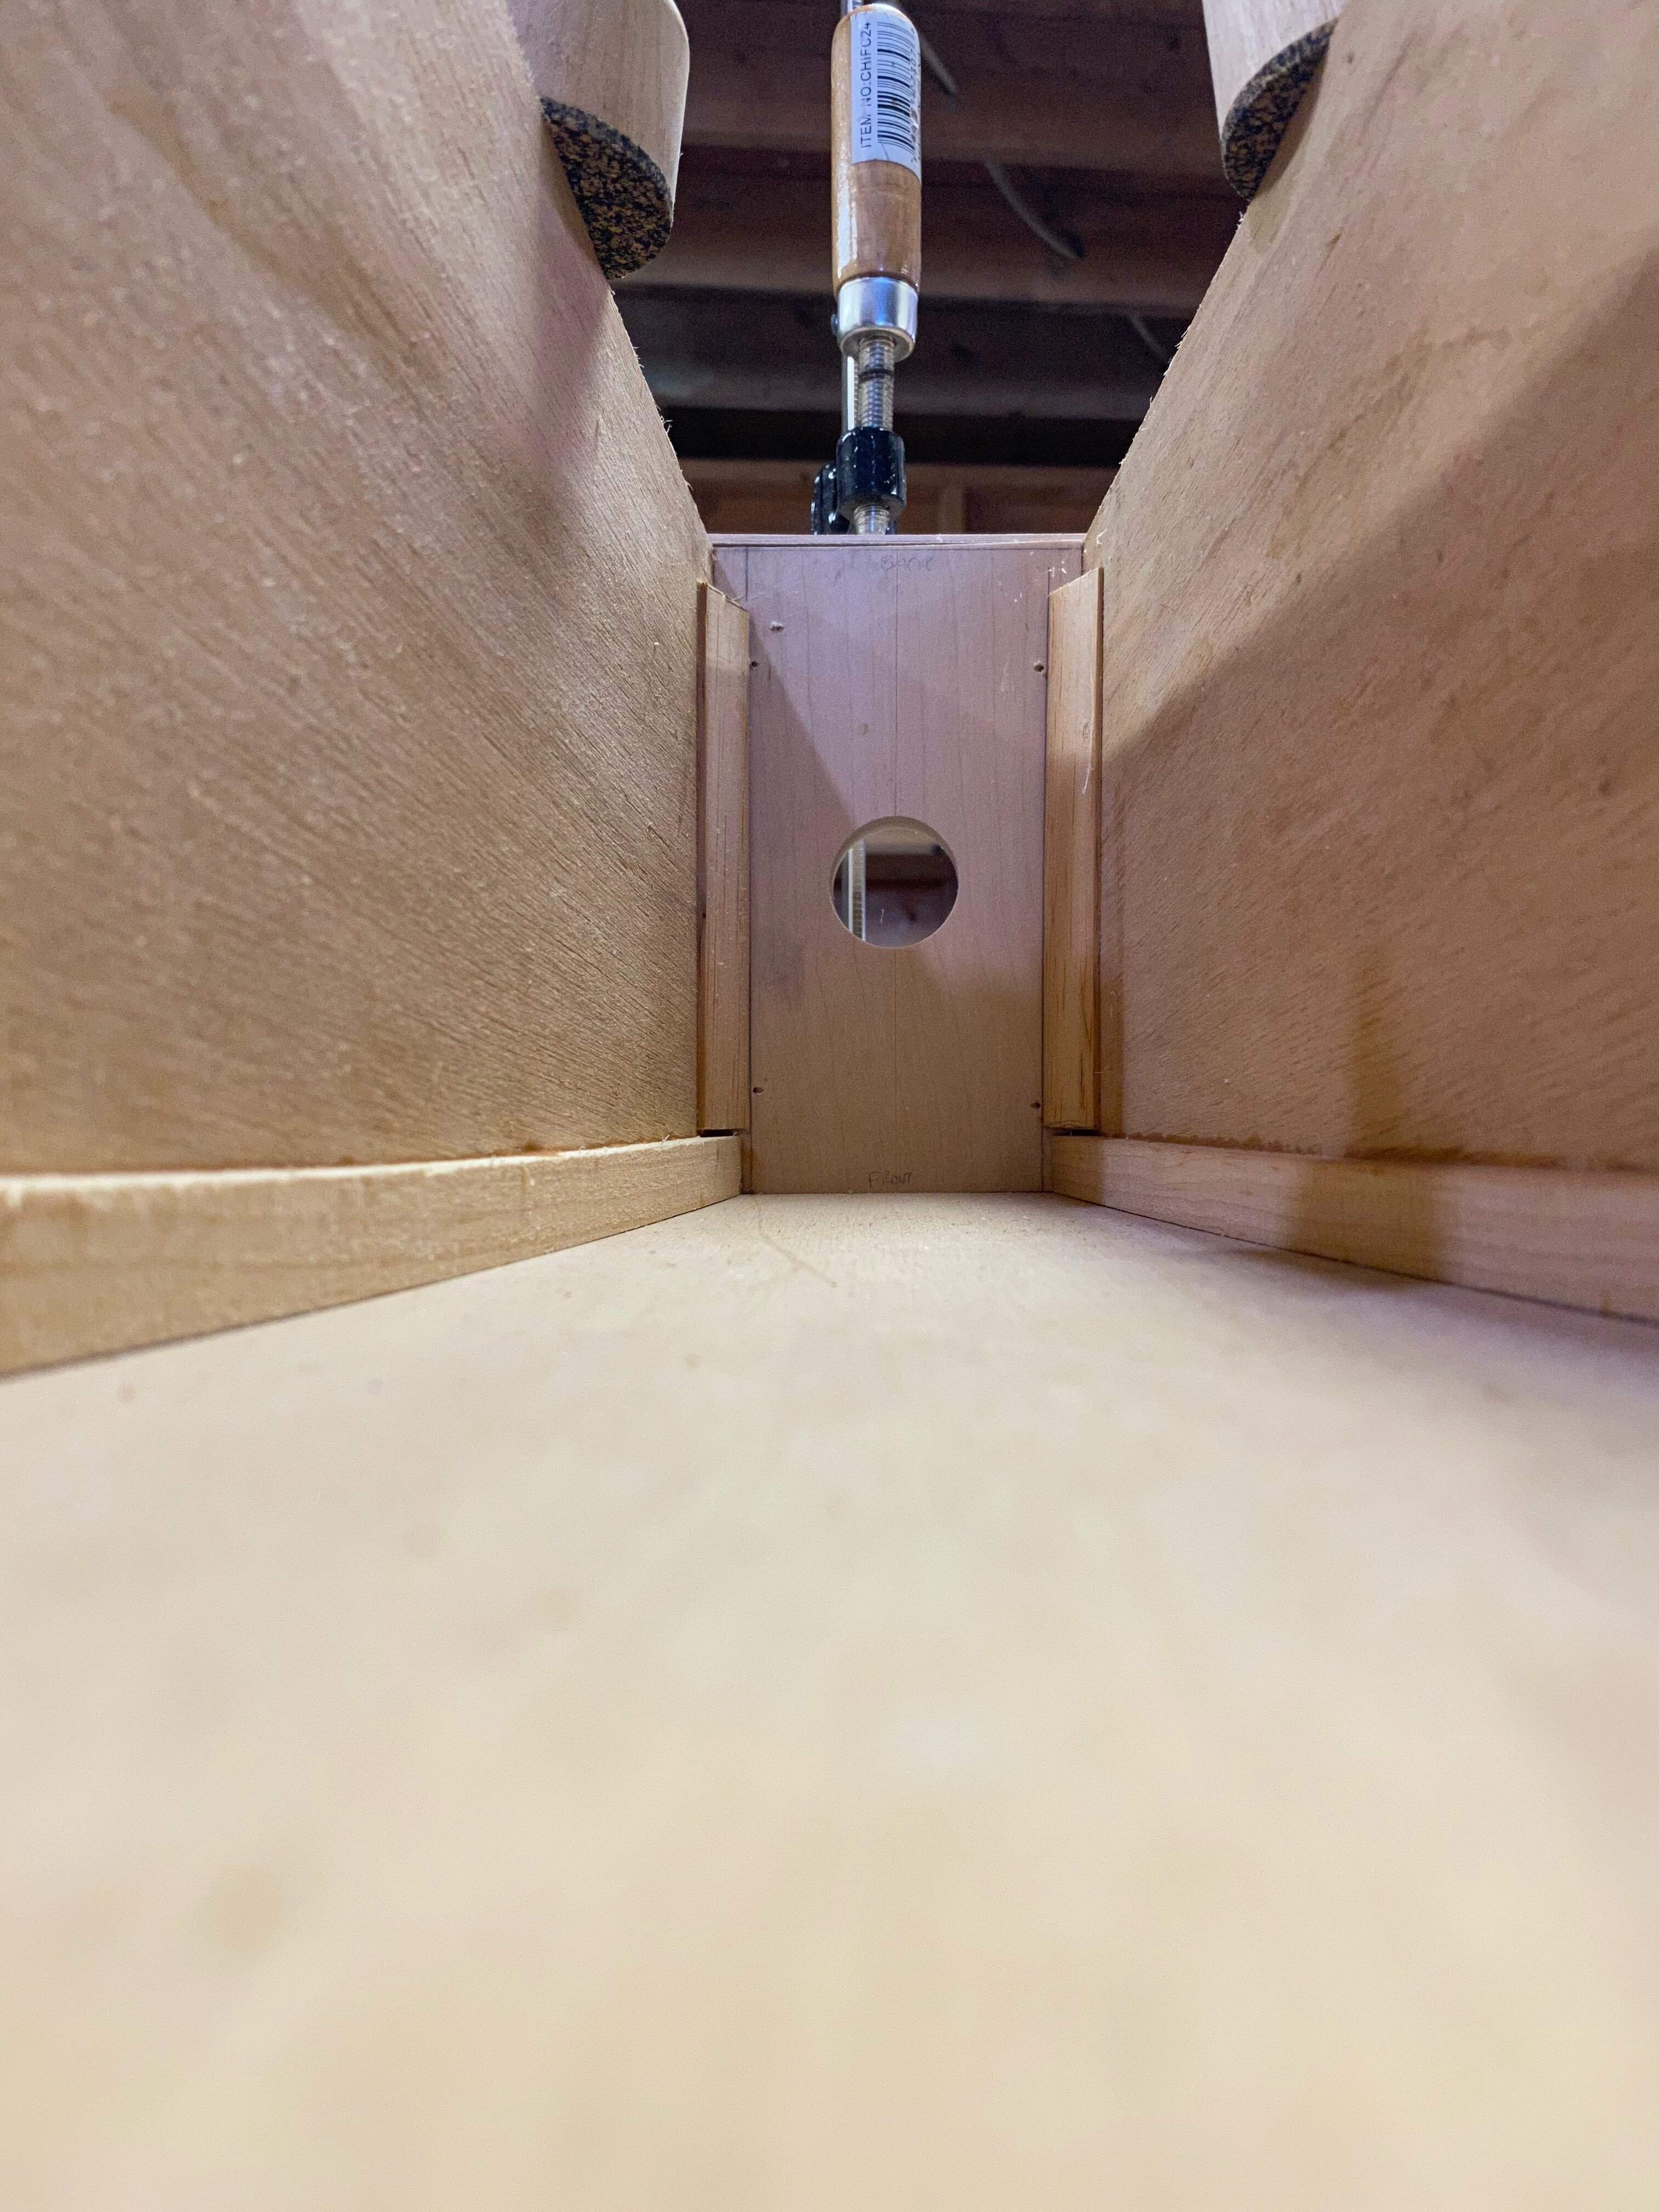
Test fitting the top and sides, figuring out where the clamps go. Welcome to the hall of bass.
IMG_5178D.JPG


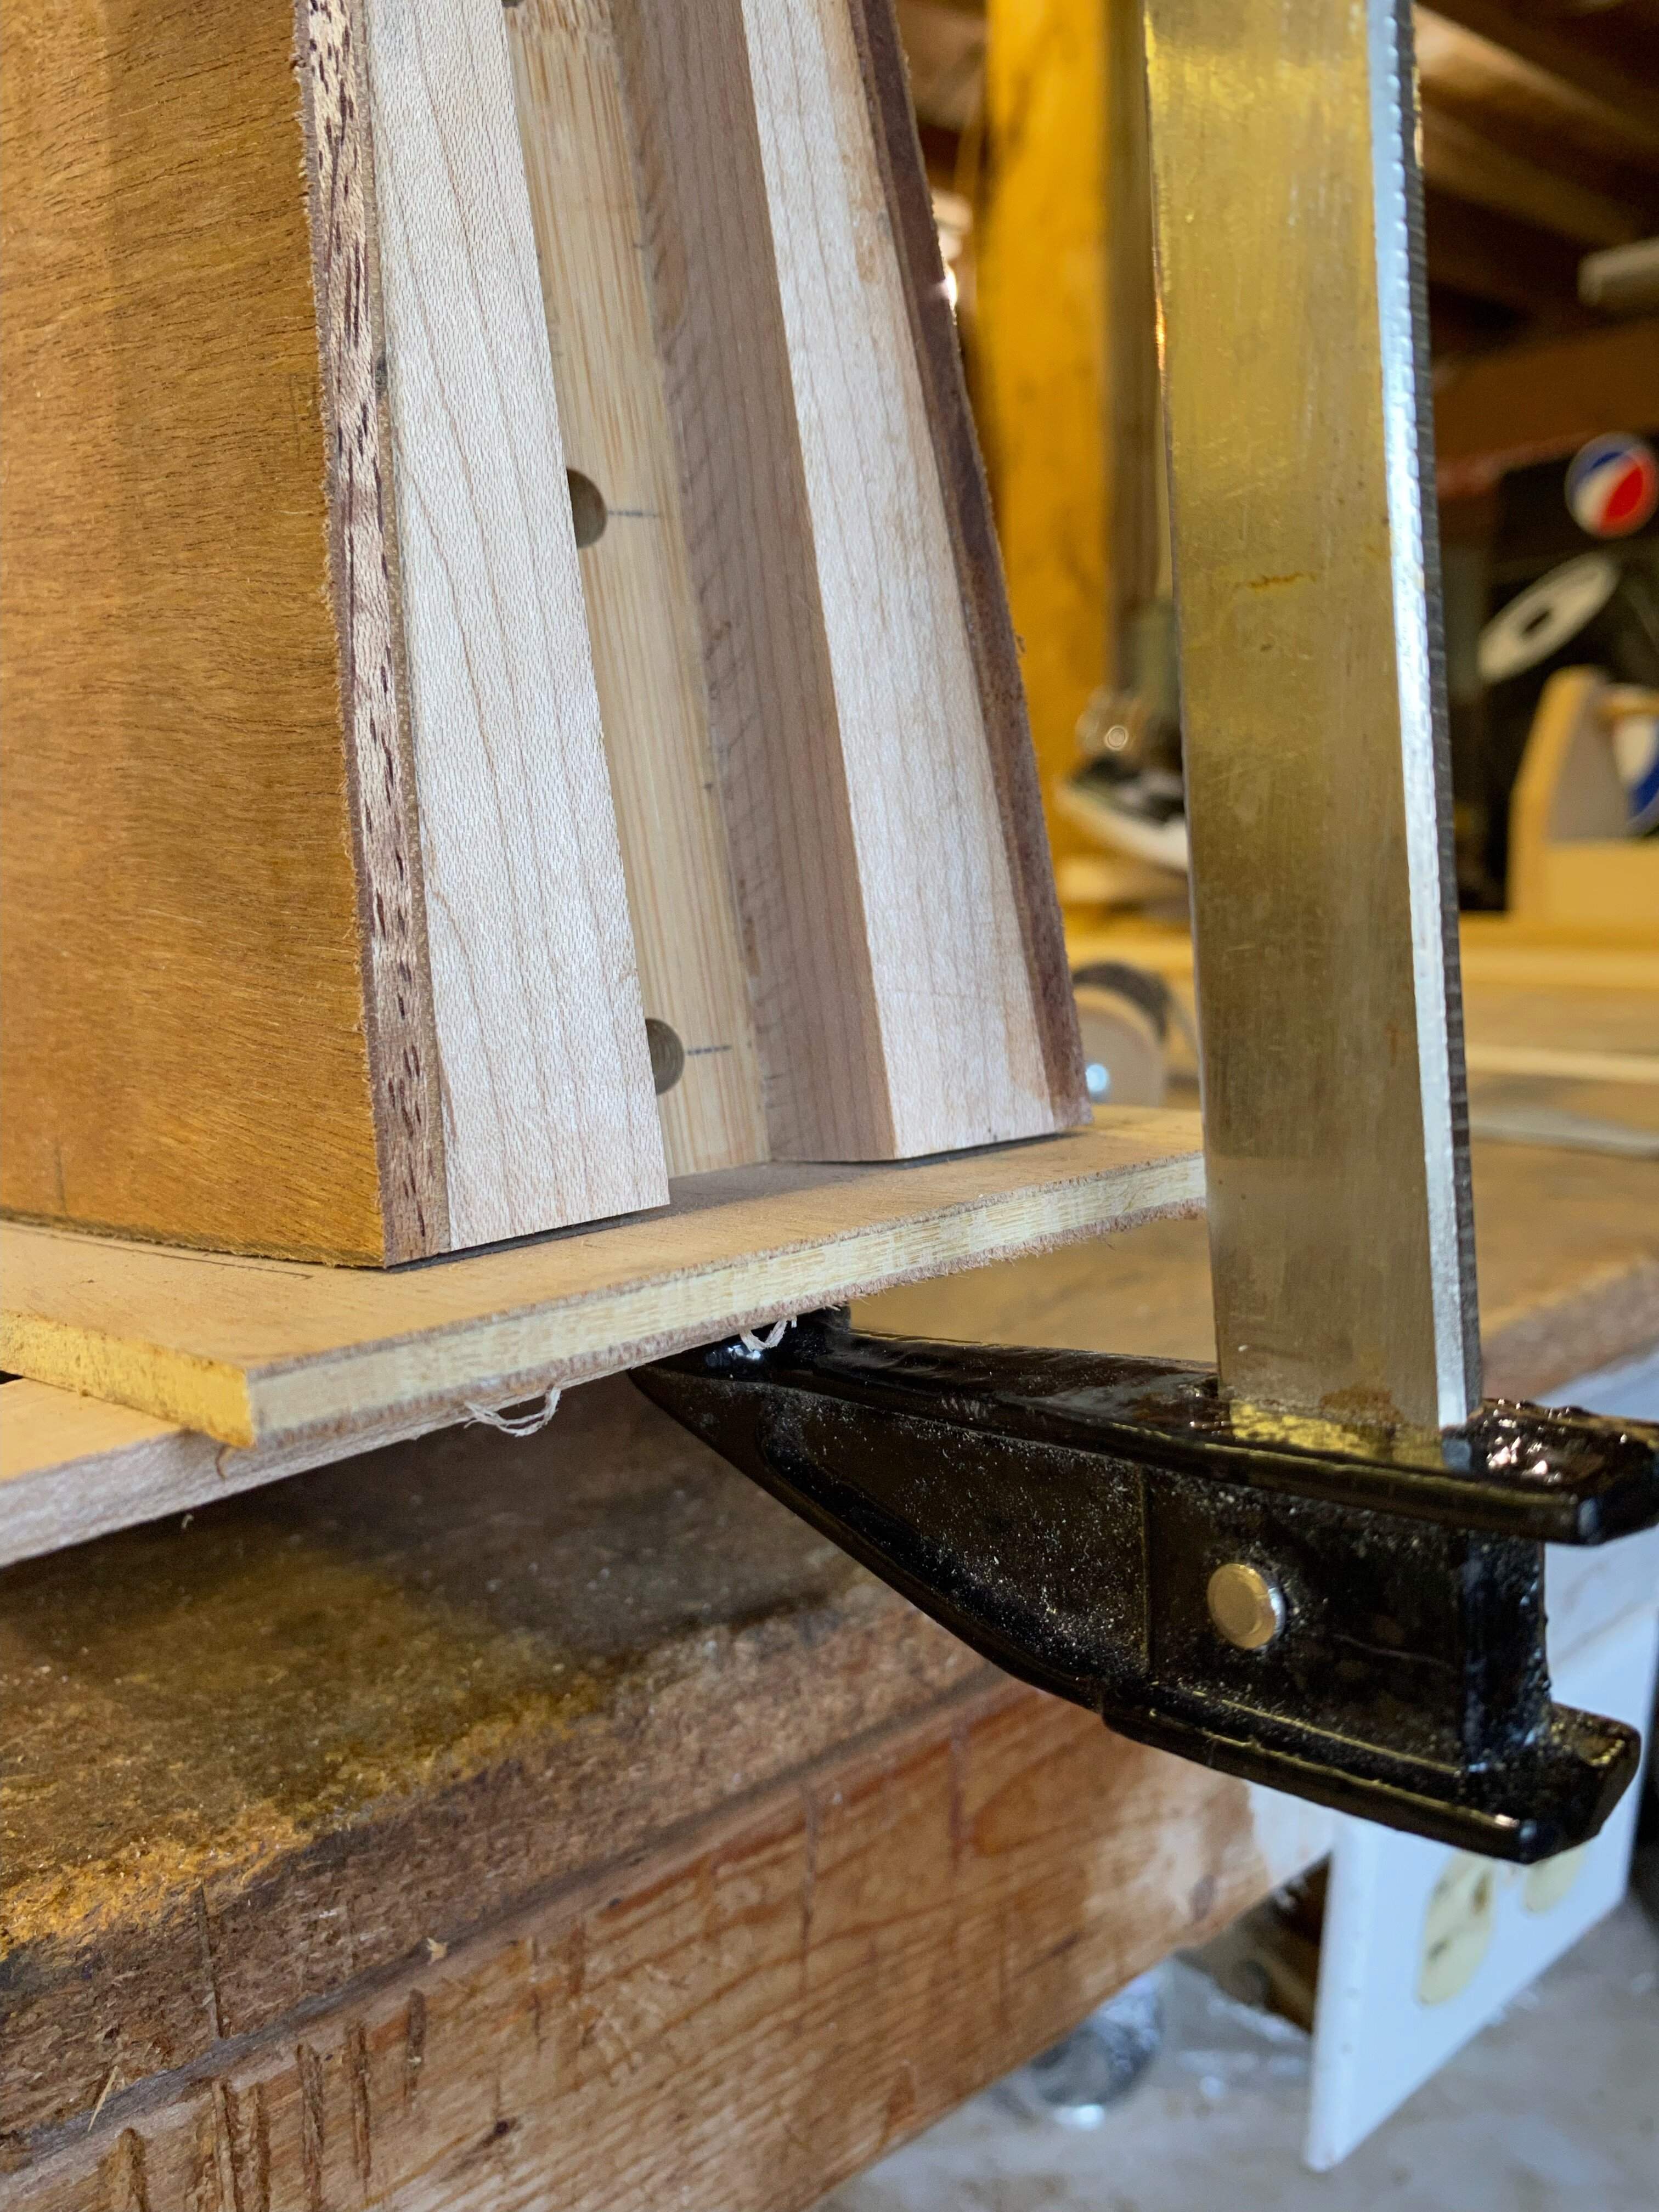
The neck block angles back, and the back isn't parallel to the top, so it's tough to get this clamp to sit where it needs to be to pull the top down to the neck block. Maybe if I make a block that picks up on the neck bolt holes, and angle the far end so it's parallel to the top, then clamp to that. Otherwise, I'm very tempted to just drive in a couple of screws to pull it down. They'll be hidden under the end of the neck anyway.
IMG_5179D.JPG
 
I usually let them go in an upper corner so they can set up shop as a fly catcher.
The dumb ones that keep setting up in spots where they'll never catch anything, like in a drawer, etc, get put outside.
When the super-intelligent arachnoids take over, we'll remember who is responsible.

Why is there a bite out of it?
View attachment 4784260
Because there weren't four bites out of it yet!
IMG_5186.JPG


This came out way too big, but I'm going to leave it like that for now.
IMG_5188D.JPG
 
I have no clue what's going on here, but I like it a lot.
Man, half the time I have no clue what's going on here.

That's my attempt to build an adjustable end pin like this one. The knob drives a screw that clamps the pin (in this case a 1/2" dowel) in place at the desired length. That oversized knob was really bugging me and I was resigned to either trying to turn it down or making a new one. Then I realized that the tool rest on my lathe has an undersized knob, and it's also a 1/4-20 thread, so ...
IMG_5204.jpeg

IMG_5205.jpeg


I got both the top and the back glued on over the last couple of days. That went OKish. The top was first, which was a mistake as it did not close up quite as well as it had in the dry run. I could have used about three times as many spool clamps and ended up backing them up with rubber tubing, an old dirt bike tire rim strip, and some ratchet straps.
IMG_5189.jpeg


The ratchet straps actually worked great for this. I used even more for the back. If I were to do this again I'd make a full-length clamping caul for the top and back, put on about eight or ten ratchet straps and reserve the spool clamps for dealing with any remaining trouble spots.
IMG_5190.jpeg


I apparently forgot to take pictures of how I aligned the top and back to the sides. I was worried that they would go skating out of position when clamped, so I made a handful of little blocks about 5mm x 5mm x 10mm, dry clamped the top to the sides, and glued the blocks to the inside of the top, right up against the inside of the linings on the sides and the neck and tail blocks. Same again on the back. When I glued the top and back for real, they did not move at all as judged by the pencil lines. I could have cut them much closer to the final shape.

Starting to look like something...
IMG_5203D.JPG


Next up is trimming the top and back edges, cutting the access port for the neck bolts, and making the tailpiece.

Also thinking about finishing. Here are some pretty unimpressive tests on scraps of the body plywood, endpin mahogany, and neck bamboo. This is hardware store Minwax stain. In real life it looks like a better, browner red on the plywood, about the same on the mahogany, and a disturbing pink colour on the bamboo.
IMG_5199.JPG
 
I'm going to suggest a different direction... what about a glossy, high end finish? Maybe with a subtle burst here and there like some members of the violin family. I only say this because those kinds of finishes could make this look more like the high-end custom bass it is. With the various budget-style materials used, a nice glossy polished finish will make it look totally pro and become the family heirloom it is. :thumbsup:
 
Man, half the time I have no clue what's going on here.

That's my attempt to build an adjustable end pin like this one. The knob drives a screw that clamps the pin (in this case a 1/2" dowel) in place at the desired length. That oversized knob was really bugging me and I was resigned to either trying to turn it down or making a new one. Then I realized that the tool rest on my lathe has an undersized knob, and it's also a 1/4-20 thread, so ...
View attachment 4787010
View attachment 4787011

I got both the top and the back glued on over the last couple of days. That went OKish. The top was first, which was a mistake as it did not close up quite as well as it had in the dry run. I could have used about three times as many spool clamps and ended up backing them up with rubber tubing, an old dirt bike tire rim strip, and some ratchet straps.
View attachment 4787018

The ratchet straps actually worked great for this. I used even more for the back. If I were to do this again I'd make a full-length clamping caul for the top and back, put on about eight or ten ratchet straps and reserve the spool clamps for dealing with any remaining trouble spots.
View attachment 4787019

I apparently forgot to take pictures of how I aligned the top and back to the sides. I was worried that they would go skating out of position when clamped, so I made a handful of little blocks about 5mm x 5mm x 10mm, dry clamped the top to the sides, and glued the blocks to the inside of the top, right up against the inside of the linings on the sides and the neck and tail blocks. Same again on the back. When I glued the top and back for real, they did not move at all as judged by the pencil lines. I could have cut them much closer to the final shape.

Starting to look like something...
View attachment 4787026

Next up is trimming the top and back edges, cutting the access port for the neck bolts, and making the tailpiece.

Also thinking about finishing. Here are some pretty unimpressive tests on scraps of the body plywood, endpin mahogany, and neck bamboo. This is hardware store Minwax stain. In real life it looks like a better, browner red on the plywood, about the same on the mahogany, and a disturbing pink colour on the bamboo.
View attachment 4787033
I've had good success with analine dyes like keda, alcohol mixed powder.
Make any color you desire.
I was able to color match maple and mahogany! Orange/red
15935773191181339170693871984268-jpg.3887718
15938085354918918996598055050039-jpg.3890669
1593808624557261719950296977732-jpg.3890674

img_20200728_171103095-jpg.3923369
 
Last edited:
I'm going to delay making any decisions about finish until the last possible moment. Of all the things I suck at, I suck at finishing the most.
Although it's a "weak" finish, Tru-oil works really well, with patience, and is super easy to apply.

French polishing Shellac is also pretty easy.
Next up: wipe on poly.

If you have a spray rig, leverage that (rattlecan finish never has worked well for me) 2k catalyzed clear is something I have yet to try.

A good satin finish is easier to achieve than a mirror, flaw magnifying gloss.

My fave for a quick spray less finish: Solarez uv cure "I Can't Believe it's not Lacquer" cures rock hard after a few minutes in sunlight (I've used it for 5 objects so far) which can also be sprayed.

Dying will be easier to achieve the color you want, or you can use Trans tint or other liquid colorants in a clear coat and apply it in such a way as to achieve the depth of color you want applying multiple coats.

Or stain it how you like, tape it off well and take it to an autobody shop and have them shoot it with clear.

You could take it to a tint shop and have them do a wrap on it.

You could paint it piano black, and go crazy with the automotive pinstripe, and clear over the pinstripe tape.
0a4b0a2bb51d612ec3aa314750f2cfb2.jpg


Or, Metalflake!

Cherrie PieSOLID FLAKE
 
Although it's a "weak" finish, Tru-oil works really well, with patience, and is super easy to apply.

French polishing Shellac is also pretty easy.
Next up: wipe on poly.

If you have a spray rig, leverage that (rattlecan finish never has worked well for me) 2k catalyzed clear is something I have yet to try.

A good satin finish is easier to achieve than a mirror, flaw magnifying gloss.

My fave for a quick spray less finish: Solarez uv cure "I Can't Believe it's not Lacquer" cures rock hard after a few minutes in sunlight (I've used it for 5 objects so far) which can also be sprayed.

Dying will be easier to achieve the color you want, or you can use Trans tint or other liquid colorants in a clear coat and apply it in such a way as to achieve the depth of color you want applying multiple coats.

Or stain it how you like, tape it off well and take it to an autobody shop and have them shoot it with clear.

You could take it to a tint shop and have them do a wrap on it.

You could paint it piano black, and go crazy with the automotive pinstripe, and clear over the pinstripe tape.
0a4b0a2bb51d612ec3aa314750f2cfb2.jpg


Or, Metalflake!

Cherrie PieSOLID FLAKE


I do love a good pinstriped upright but I’d have to learn how to do it myself or find someone who does it with paint and then clear it. I’m not sure I could live with tape.




