
• TalkBass has been independent since 1998. Add your voice.
    Create a free account to reply to discussions, view embedded media, and browse with fewer display ads.
    Join freeLog in
    Want zero display ads or expanded classifieds tools? Compare plans.

Winter Build Off 2022 - BassVI/V Doubleneck

I'm in.

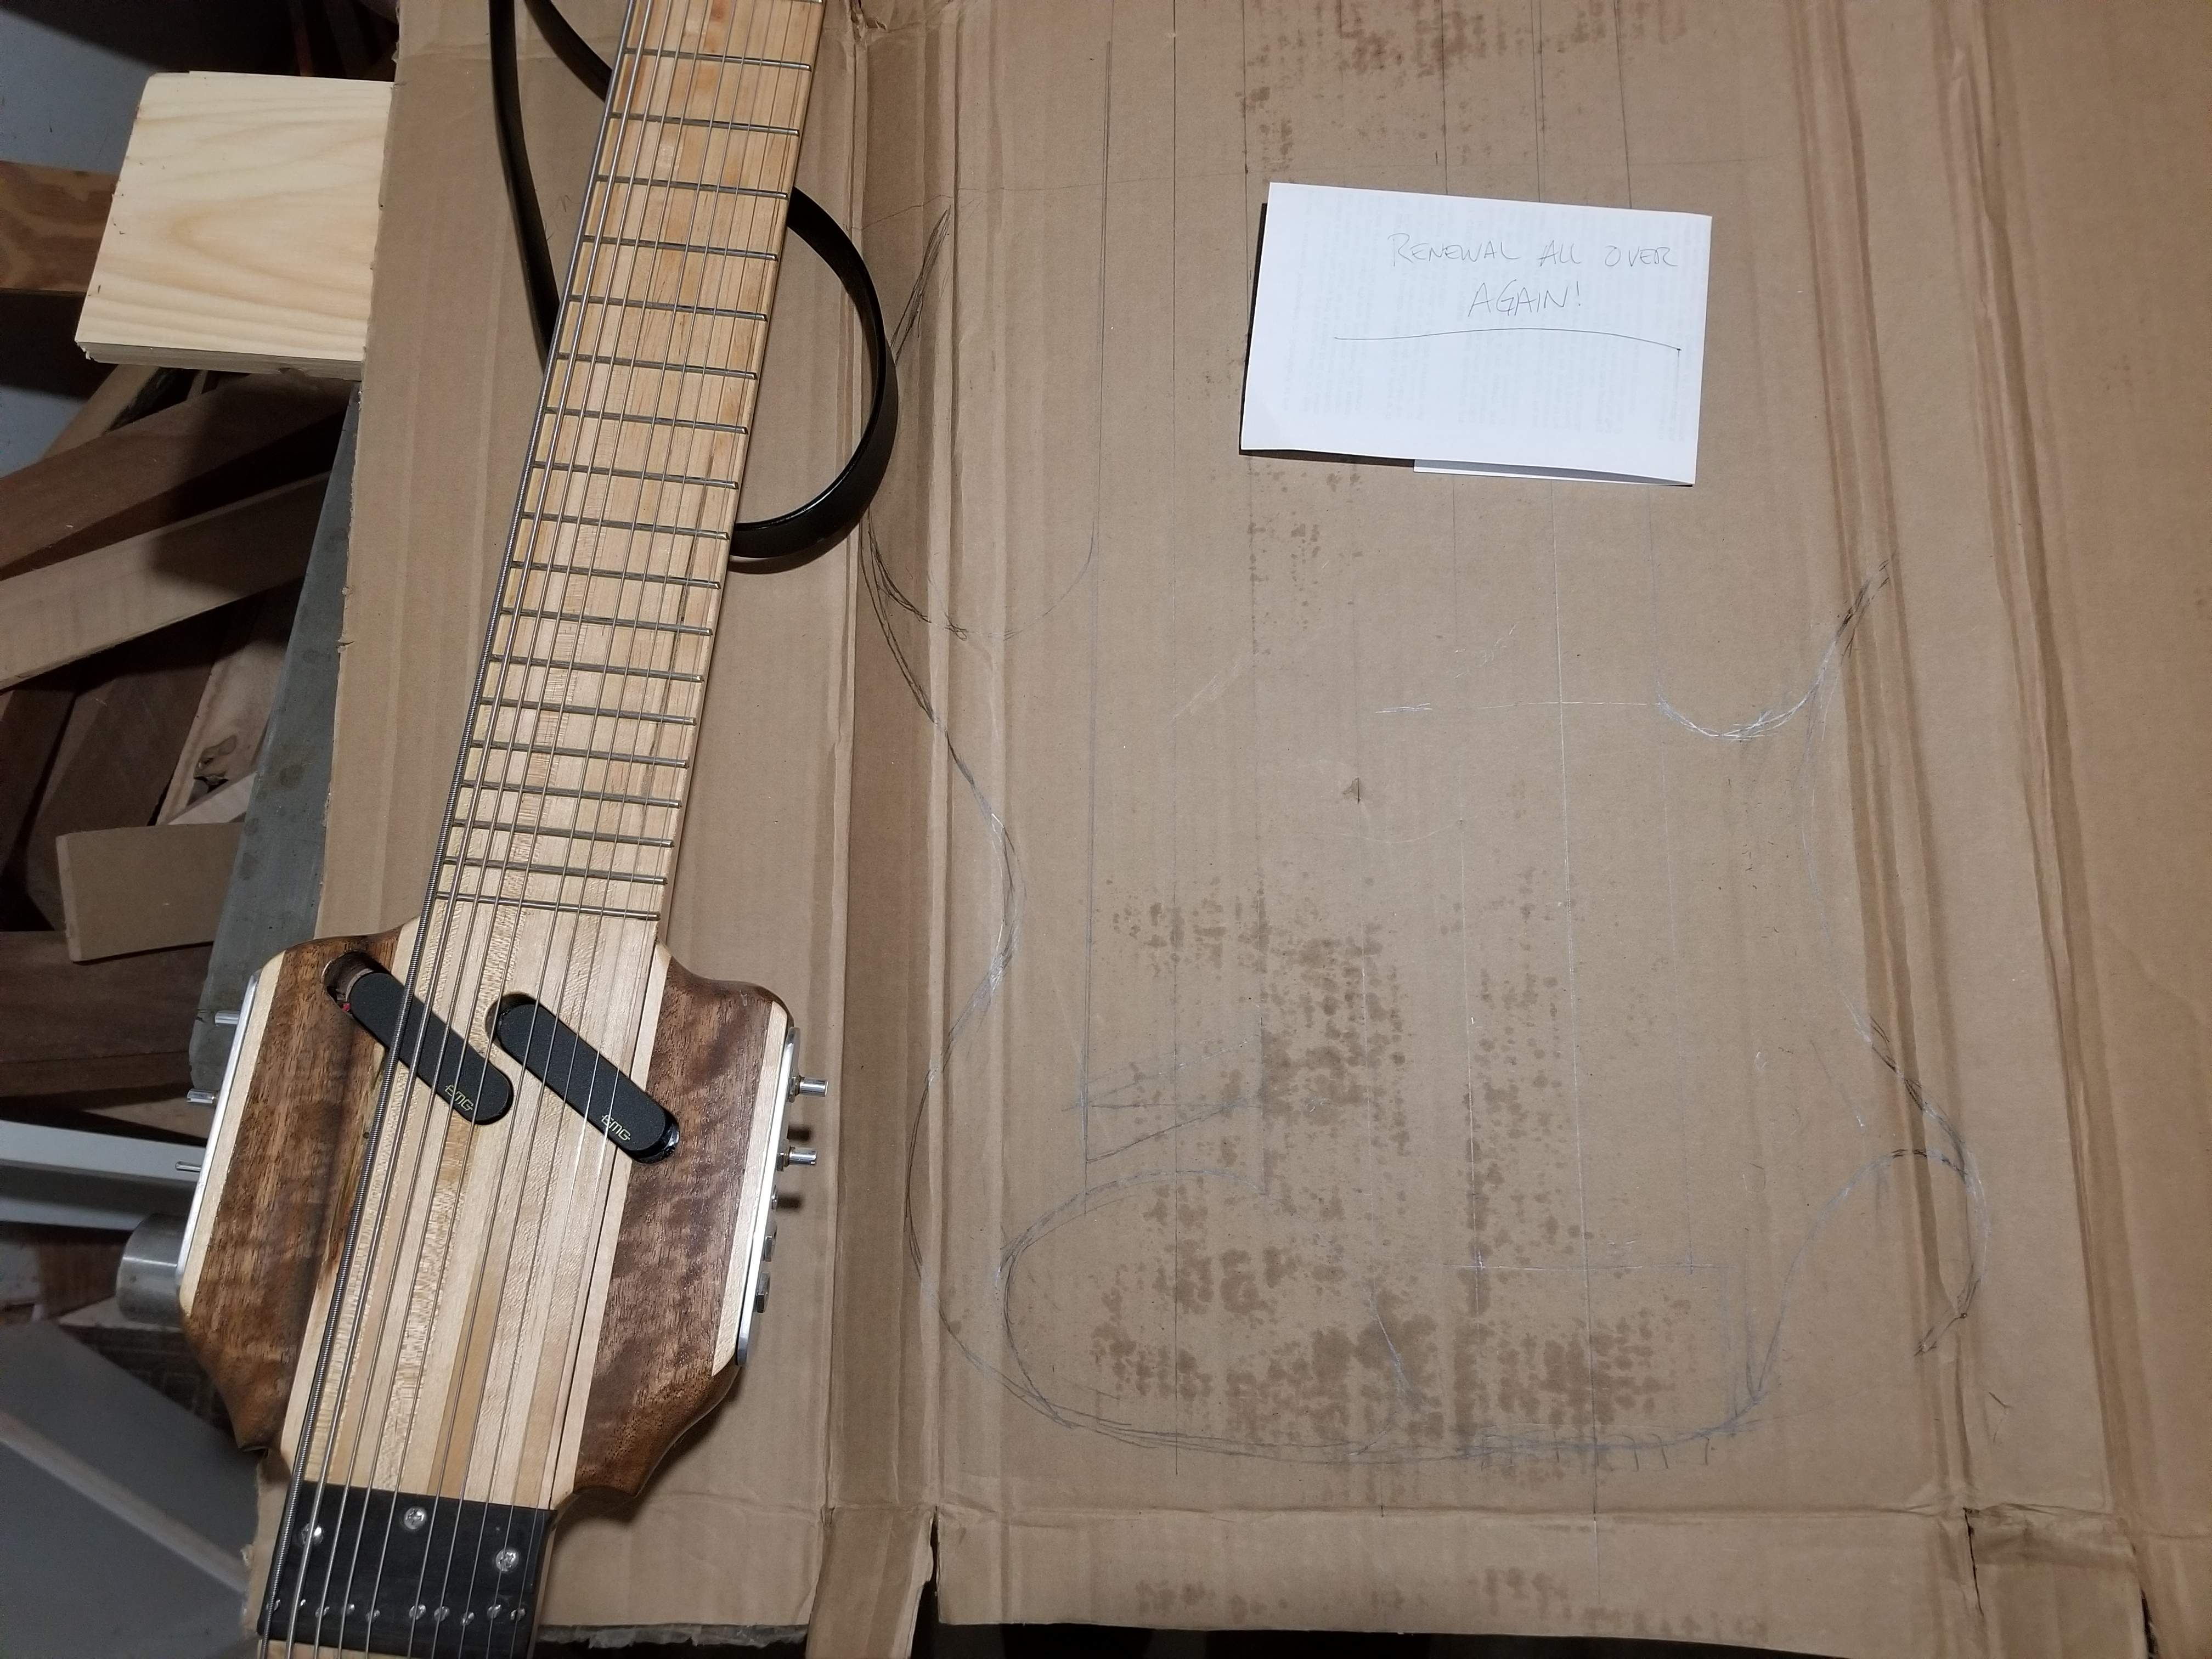
In 2018 I did a quick prototype build of a two handed tapper. I do a lot of tapping when I play and I figured I could learn this instrument pretty easily. That was not the case. I gave myself a month and played it every day, and never really got better at it. I just couldn't get anything musical out of the thing. I can play drums a bit and have managed to get my hands/legs operating independently, but I just couldn't manage it with the tapper. The build itself is pretty rough with a bad pickup route and some wiring issues. I haven't picked it up in a couple years so it's time to admit defeat and rebirth it as something slightly less unusable.

I've always wanted to try making a double neck, but I want to make some thing I'd actually use - a BassVI with a fretless five seems like the ticket.

At this point the plans are:

Headless five string fretless - 35" scale. I have a cutoff from the last bass I made that should work for the neck for this.
BassVI - 30" scale (I was originally thinking fanned frets, but I think I'm just going to go with regular frets)
Body: I don't have the wood figured out at all yet, but I'll be doing steamed/bent wood for the outside, similar to the BassVI I made a few years back. I'll probably do neck through for both necks.
Electronics: I'll use the pickups out of the tapper and a set of EMGs DC40s I have as well as an EMG bass preamp.

Overall I'm going to try and use scraps and cutoffs extensively in the build.

I really want to end up with a usable instrument here, so neck dive and weight will be serious considerations.

I have a lot going on in my life right now so it's entirely possible the build gets deprioritized.
20211124_122118.jpg


And to cap it off here is perhaps the lamest of the "woodpile" posts. I know you can't see the pen line on this cardboard for the body, but I at least got that far!
20211222_083243.jpg
 
Really cool concept :thumbsup:

Stupid adulthood... always forcing us to do stuff other than what we want to do... bunch o' crap if you ask me...:cool:

(Seriously, I hope whatever you're dealing with turns out OK) :emoji_fingers_crossed:
 
  • Like
Reactions: Camaro69
Really cool concept :thumbsup:

Stupid adulthood... always forcing us to do stuff other than what we want to do... bunch o' crap if you ask me...:cool:

(Seriously, I hope whatever you're dealing with turns out OK) :emoji_fingers_crossed:
Thanks man! it's actually GOOD stuff - we bought a piece of property and should be breaking ground for a new house starting in the next week or two. Lots of decisions to be made!
 
I didn't expect to have an update already, but here we are. I pulled some wood for the bent wood edge and cut it up - it will be two pieces of oak with walnut in between them. These pieces of wood were chosen for their straight grain with little runout. Having exactly one experience with bending, success is not guaranteed, but at least knowing that I have been successful before and knowing the process, I'm confident I can make it work.

I also found my bass neck blank which is maple and walnut - I will likely have to do a glue up for the VI neck, unless I go with a bolt on for that side, which I think might not look great to have one neck through and one bolt on, but I may go there.

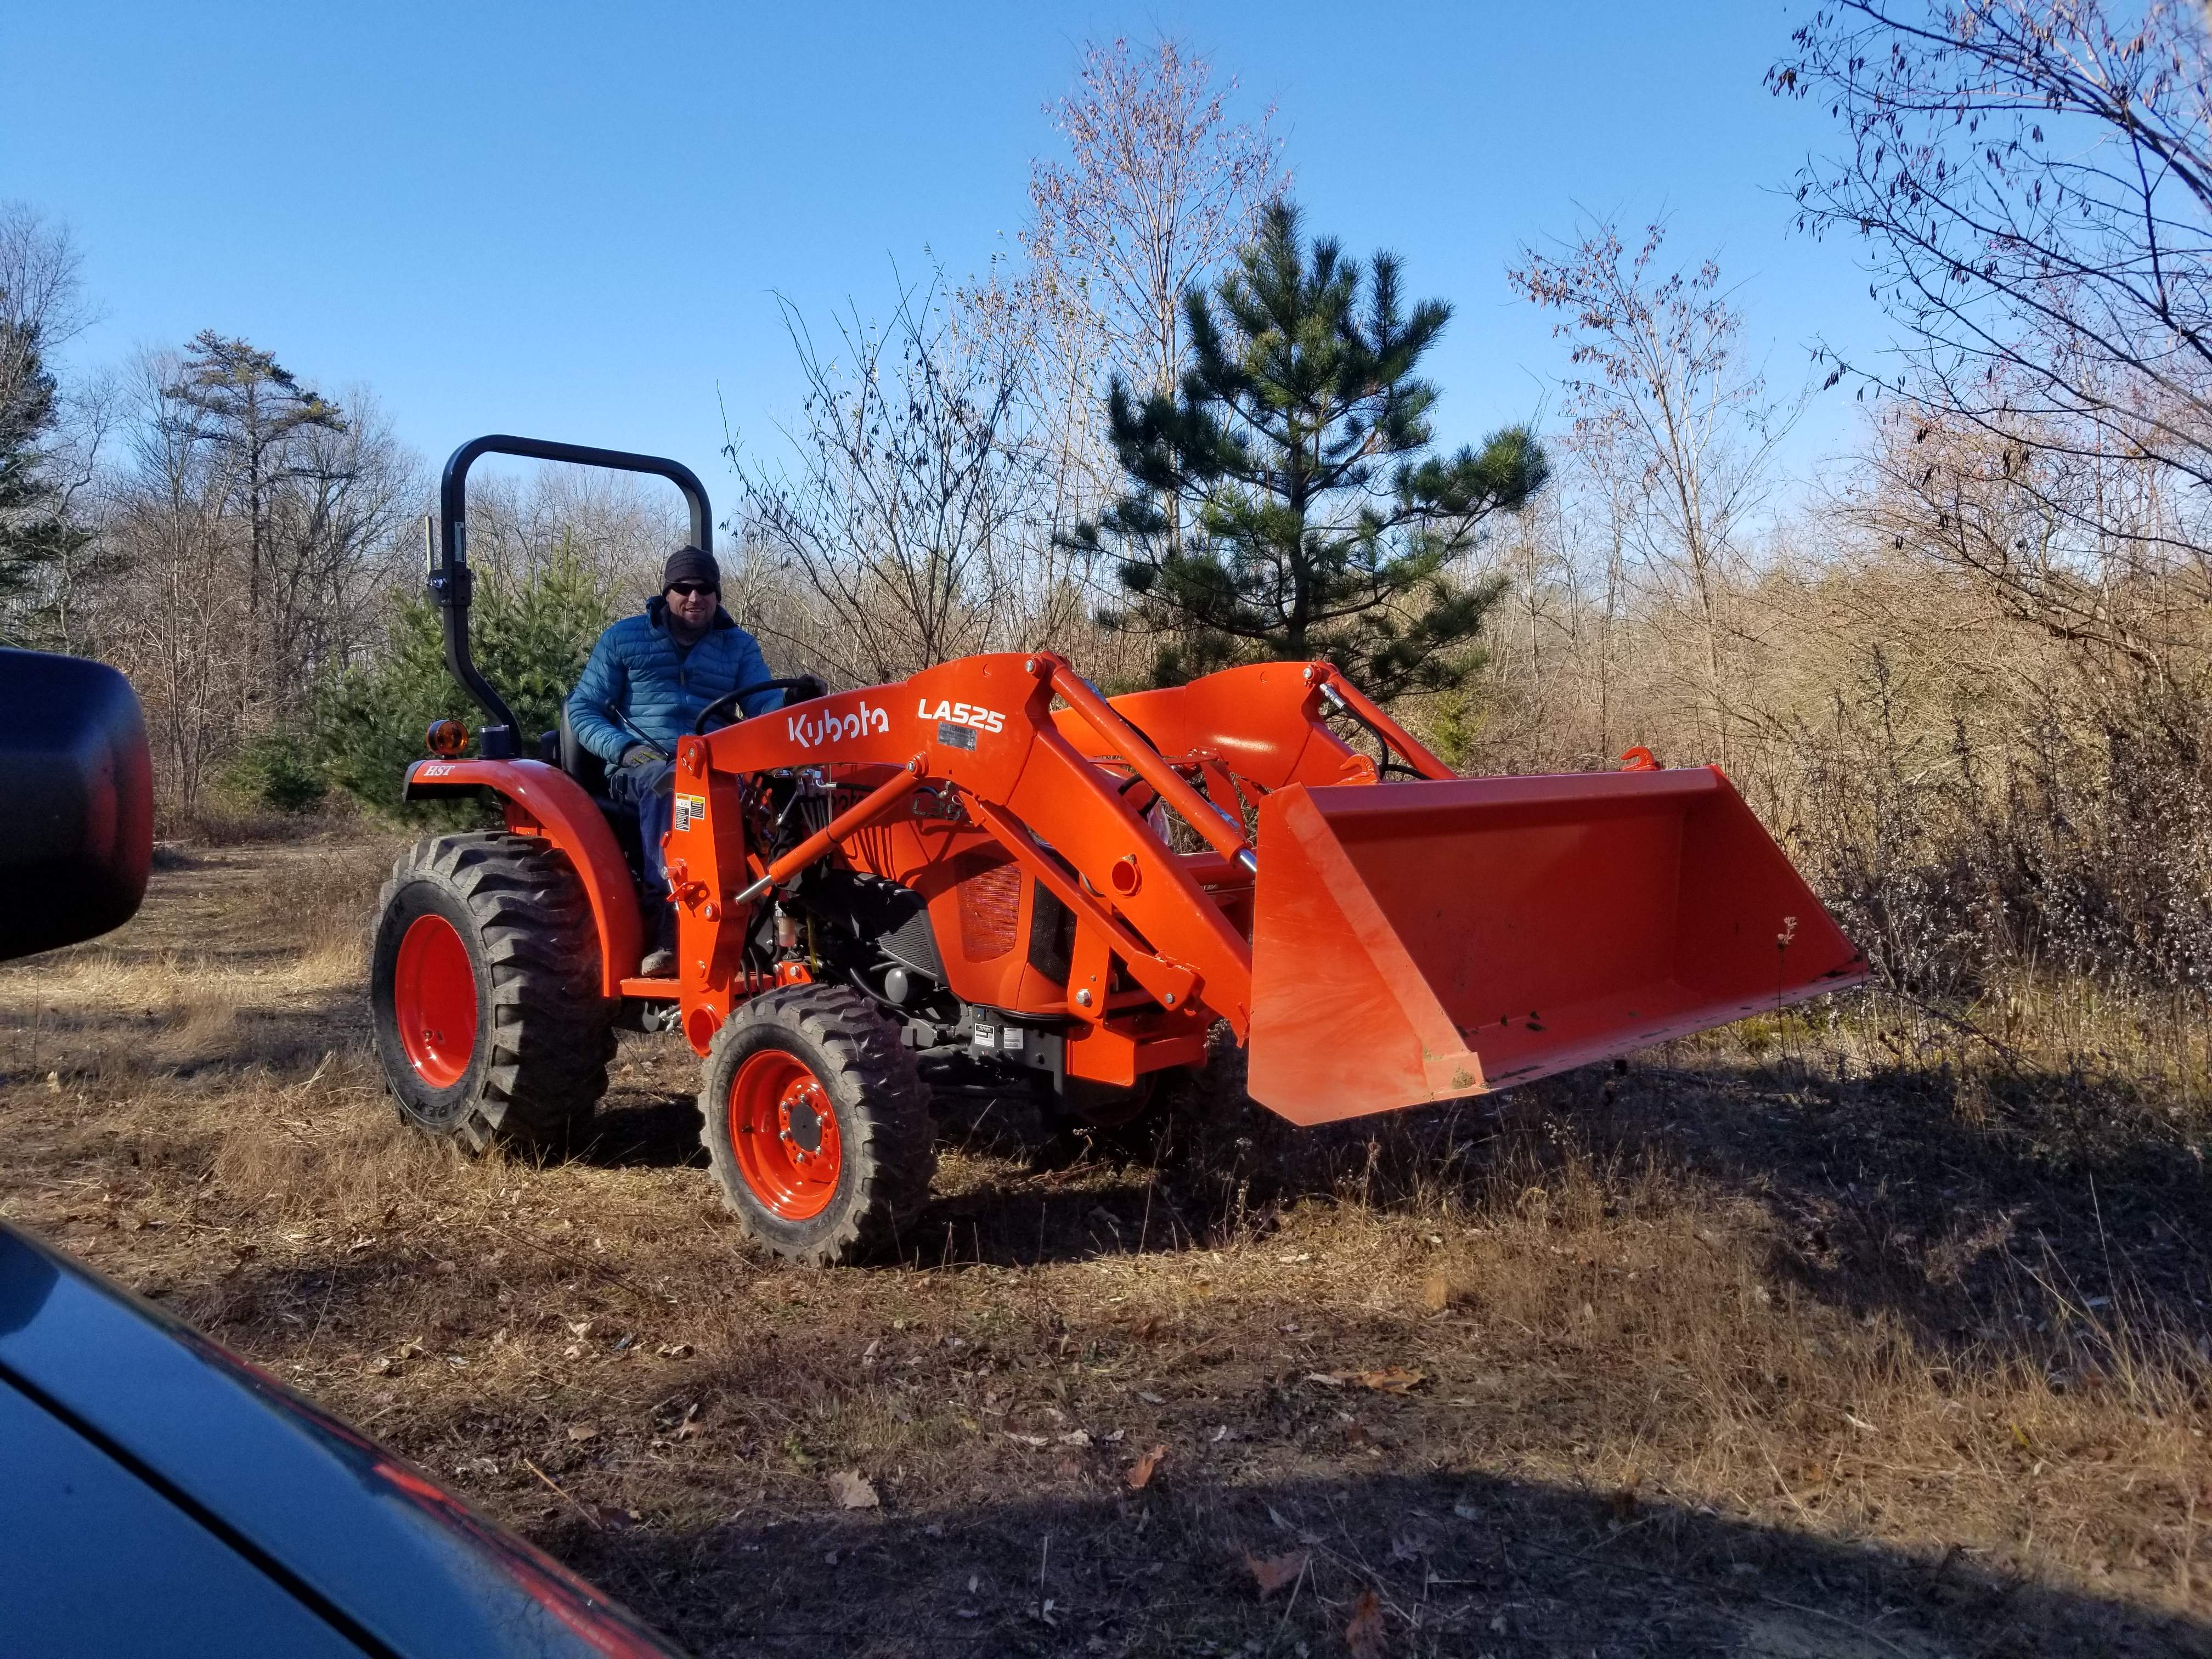
Also in the pic, underneath everything, is a couple of 2x12s that I'll use to make the form for the wood bending. In the theme of rebirth - these were part of an old dock which was sinking in the pond on the property we bought. I'll need to glue two of them together to get enough space for the upper bendy part.
20211222_102444.jpg
 
(a slight aside - but it fits in the "rebirth" theme)
I bought a new shovel, I broke the metal/shovel part on my old one - it lived a tough life and levered a lot of rocks out of the ground.

I picked out what looked like a "heavy duty" shovel at the local hardware store and the third or fourth shovel full the handle broke off at the top of the metal part. The wood they used was super soft and nicely dyed, I guess to make it look like something beside the cheap crap it was. I'm sure they would take it back, but I'm certain the next one would have the same wood, so I decided to just make a handle for it. After I knocked out the piece inside the metal part, I could see it was broken inside too.

This came out of a BRAND new shovel!
20211224_104253.jpg

I have some nice hickory in my wood pile so I cut out a handle length piece on my tablesaw then used a spoke shave to make it round. I used the "facet" method to control the carving. It's like doing a very long, very round neck. I had a few minor problems with chipout around some grain changes, but overall it was fun. I hope I get more than 3 shovels out of it.
20211224_104655.jpg

This left my shop fully of hickory curlicues, which can't be vacuumed up, so I spent this morning cleaning up - honestly besides the waste from this "build" my shop was an absolute mess, just an accumulation of stuff I've been doing and the addition on of the CNC. Adding something that large to my shop really made things chaotic for a bit.

So after the shop was "clean" (my shop is never really clean by most people's standards) I took out the neck blank. I planed it to thickness and cut the scarf. It went well, but as I was thinking about this last night I think I cut this blank too short, I may have to make some "adjustments" inside the body when I glue it up.
20211225_100923.jpg
 
I only got a quick minute in the shop this afternoon, when I'm on vacation good weather means outside stuff (good weather is a pretty low bar this time of year, basically if it's not raining, it's "good weather").

Anyway, I measured the necks and got things situated. The bass side will be headless and the VI side will have a headstock, I hope to have both stick out of the body the same distance. I was worried about the VI neck blank being too short, but it's fine - I forgot about the open space in between the bridge and the bent wood edges. Once I had the bridges figured out I adjusted the design a bit. The shape below the VI bridge and in between the necks will probably not be exactly like it is now, but I'll punt that decision down the road until after I get the body wood cut out. Obviously the necks are not full length.
20211226_165106.jpg


Now that I'm happy with the design, I cut out the forms to bend the wood laminate edges for the VI side. The land we bought had a half sunk dock, we pulled it apart and I am using a couple of 2x12's off it to create the forms. I'll get the form made for the bass side then I'll get the steamer going. It takes a good 45 minutes for the wood to get up to temp, so that will happen when I've got a serious block of time.

I cut the outside one first, then marked off the thickness of the ply and cut the inside one. Then I carefully calculated where I need clamps to pull the forms together. By "carefully calculated", I mean "guessed". Last time I ended up drilling some after the wood was in the forms - stressful. I suspect I will be in the same area later on.
20211226_170552.jpg
 
It's a nice day here today (relatively speaking). I got the steamer out and put the laminates in it. I let it run for 45 minutes after started making steam. The pieces were definitely hot, but I'm not sure they were wet enough. I think if I were to do it again I'd soak the wood first (maybe I did that last time and I forgot?). This is a wallpaper remover, I took the handle and mounted it to the side of a cedar box I made. Steam was pouring out of both ends of the box, so the pieces were definitely getting steam! I burned my hand a little taking off the door. There's a hole on the bottom to let condensed water out. Sorry about the leaves, I should have taken care of those today instead of working on this.
20211228_140718.jpg


I did the treble side first as it was shorter and had less bends in it, that way the other pieces would have more time in the steamer. I started out pulling it in with clamps then got it to the point where I could put the other form on. This one worked like I thought it would, although I clamped it from the outside rather than from the holes I drilled.
20211228_152436.jpg


Things were not so easy on the bass side. Immediately I could see that the bottom edge was going to be a problem, so I cut that off. I tried to do the same as I did with the treble side, but it was too much to manage. I switched to just using clamps and pulled it in. I kept adding clamps and slowly pulled it in. I had no problems it moved slowly and no cracking. I think I'm good. I did release it a little bit with the steamer inside the shop, which made it move nicely. I'll leave it in the forms for a couple days then glue it up.
20211228_152427.jpg

From last time I know it will release a little after I let the clamps go. Last time I used that PVA glue, it was messy and it set up too fast. I'm going to use regular Titebond 3 this time around.

Meanwhile I set up the truss rods for both necks. It looks like I'll be using a bass rod on both necks. I thought I'd use a guitar one on the BassVI, but it's entirely too short.
 
It looks like I'll be using a bass rod on both necks. I thought I'd use a guitar one on the BassVI, but it's entirely too short.
Does it work correctly then? I mean as well as one made for the correct neck length, not to comment negatively on your project. Just trying to learn as much as possible before I give myself splinters next year.
 
Does it work correctly then? I mean as well as one made for the correct neck length, not to comment negatively on your project. Just trying to learn as much as possible before I give myself splinters next year.
Yes, you want the rod to go from the nut to where the neck is supported by the body. The BassVI will have a 30" scale, so it's closer to a short scale bass than guitar.
 
  • Like
Reactions: Reedt2000
Yes, you want the rod to go from the nut to where the neck is supported by the body.
Thanks for replying. Shortly after posting this, I found a post by Bruce where he detailed it all and confirmed what I suspected, but wanted to know fer sure before I start ordering parts for the builds after the move in the NY.

The BassVI will have a 30" scale, so it's closer to a short scale bass than guitar.
I own 2 Ibanez SRC6s and have had an OLP MM5 (Silhouette) in the distant past.
 
  • Like
Reactions: Jisch
My normal method of cutting a truss rod channel is to use a 1/4" bit in the router table, taking 3 or 4 passes. It works well, but I always have to widen out the end for the hex adjuster by hand and there's always the chance for the neck blank to move off the fence. I was thinking about it this morning and this was a perfect test of the new to me CNC, it's a pretty simple cut.

I am a complete newbie to CNC, so something even this simple took a bit of time to figure out. The fiver neck was easier as it's flat. It is longer than the bed on my CNC table, but I could sneak it under the ways and by adjusting the X/Y zero point I got it to work.

Keen observers will note the dust collector adaptor I made on my lathe. Note: I hate how many "standards" there are for dust collection. It is nice how much of the dust this catches though.
20211229_093137.jpg

The end result was just about perfect, I had to use a chisel a tiny bit on the interface between the hex adjuster and the rest of the rod, The rod slipped right in.
20211229_094333.jpg

Feeling cocky from this relatively easy operation I moved on to the BassVI neck. This one is a bit more complicated because the scarf is already glued on. I mounted a piece of ash to the waste board and double stuck the neck blank to that.

I got it all lined up and forgot that the different neck widths would impact the centerline. It seems stupidly obvious now, but I just didn't consider it. I caught it a few inches into its first cut, so no big deal, I'll fill in that oops line with a strip of maple (at least it's a straight line!). In retrospect I should have set the "zero" X/Y point on the center of the wood instead of the edge of the board, that would have made this whole thing a lot simpler.

I had a little weirdness in programming where the CAM software wouldn't program the long side of the truss rod pocket. After scratching my head a bit I tried changing the width of the slot from .25 (which is the width of the spiral bit I had mounted) to .2501 and it worked. There must have been some rounding error which made the machine think the slot was narrower than the bit. Weird that it worked fine on the first one. I also should have added a fourth cut for where the hex key would go in. Next time.
20211229_104525.jpg

All in all a pretty enjoyable experience, it's always fun to figure out new stuff. It definitely took longer than if I just used the router table, but it was a lot less messy and quieter. As I get more comfortable with this stuff I can imagine this taking a few minutes to set up and run, and the slot being perfect all the way down.
 
I got a bit more time this afternoon.

I need to figure out body and fretboard woods, so I went shopping in the attic.

I hate to say I have a problem with wood acquisition, but if there was such a thing as wood collector's anonymous, my wife and I would both be going to meetings, probably multiples a week. I've actually turned down wood of late, moving all this is going to be painful. I don't need more to move.
20211229_123223.jpg


I found a nice piece of walnut, boy I have a lot of walnut basses, but this piece is so nice. It had a pretty serious warp to it. I shimmed it up on a piece of MDF and sent it through the sanding planer a couple hundred times (that's exaggerating, only slightly). Once I had a flat piece of wood I bookmatched it - note to self to buy a new bandsaw blade. I think, given the warp, knots and cracks most people would just throw this away, but by working through it I got a nice bookmatch. At .19" it's a bit thinner than "normal", but it will work out fine for my purposes. I know, sad alien, but his eyes and mouth won't be part of the body. Whenever I've seen images in bookmatches, they never appear on the instrument.
20211229_154020.jpg


I scored a bunch of exotics at a garage sale a few years ago, I have a pretty good block of rosewood and this piece of granadillo. I think I want to make the fretboards opposite each other, that is the fiver will have a maple board with granadillo binding and the VI will have a granadillo board with maple bindings. I need to work on that a bit more. I'd cut around the sap wood here.
20211229_154047.jpg


I doubt I'll get much done tomorrow or Friday, but the weather on the weekend looks terrible, so maybe I'll get some more time then.
 
I got the plies glued up. I was able to get the plies affixed to the form on the bass side with just clamps for bending, but I ended up having to use the forms for both sides to get good pressure all the way around for gluing. I thought I took a pic of everything in the forms, but I guess I didn't. I used up all my clamps and had to put some shims in at certain points around the forms to get good glue squeeze out. It was moderately stressful - the weight balance got weird, things were falling over, clamps were coming off, whew, glad that's over.

Ultimately I was successful - there are 2 or 3 small gaps that I can address with slivers of wood, but overall I'm happy with how it came out. I am SOOOO glad I used Titebond, there's no way I could have addressed all the issues in the short set up time with that PVA glue. These are both much longer than they need to be, I'll cut them off when I get a bit further along - i.e. the tail end of the bass side ply will end around where the bass bridge will go. After this pic I sanded them flat, very little sanding required, but they look better than the pic.
20211231_081632.jpg


And I'll take the penalty for illegal use of tools on this one, but hey it's a new toy. This piece of Granadillo was not very even from a thickness perspective, and it had a bow in it. I could have shimmed it and put it through the sanding planer, or I could have set it up on my router sled, but both of those would be difficult (not impossible) with a longer piece of wood like that. I put a 3/8" bit in the CNC router and use that to flatten it off. I am not at all comfortable with the CNC just running by itself (yet), so I sat there and watched it for the 17 minutes this took, but I can see in the future letting something like this run while I do other things, thereby saving me time. I probably could have gotten it done by one of those other methods in that time. I also learned that the waste boards are not aligned with the ways. It's another of those obvious things, but from here forward I'll align off the metal frame, not the waste boards - kinda stupid that I just thought of that, but at least I learned on a piece like this where alignment was not at all important.
20211231_085052.jpg


I think I will be making two fretboards out of this board, making both the same with Granidillo boards and ebony binding. I may change my mind, but I think that will look better than what I was thinking before.
 
I feel like I'm moving at a pretty good clip here, but I perused some of the other builds last night, some of you guys are going so fast! yeesh.

I got the fretboards cut out and planed down, this wood is super hard and polishes up nicely. I'll probably put the fretboards in sequential order (not mirrored like they are here), but I'll have to see how they lay out.
20220101_083801.jpg

This will be a through neck, so I obviously needed to add to the back of the neck blank, I looked through a lot of stuff before deciding on a sapele cutoff I had. I cut the pieces so the grain is more or less straight on the back. Sapele has a very pleasant smell when you cut it, kind of like musty pine.
20220101_093456.jpg
20220101_094013.jpg

Next I need to work out the body wood that will go between the neck blanks, I've got a few ideas knocking around, but I think I'll step away for a minute here. Rain all day, so I expect I'll be back in the shop later this afternoon.
