• TalkBass has been independent since 1998. Add your voice.
    Create a free account to reply to discussions, view embedded media, and browse with fewer display ads.
    Join freeLog in
    Want zero display ads or expanded classifieds tools? Compare plans.

Winter Build Off 2023 - Acoustic/Electric Short Scale 5 String

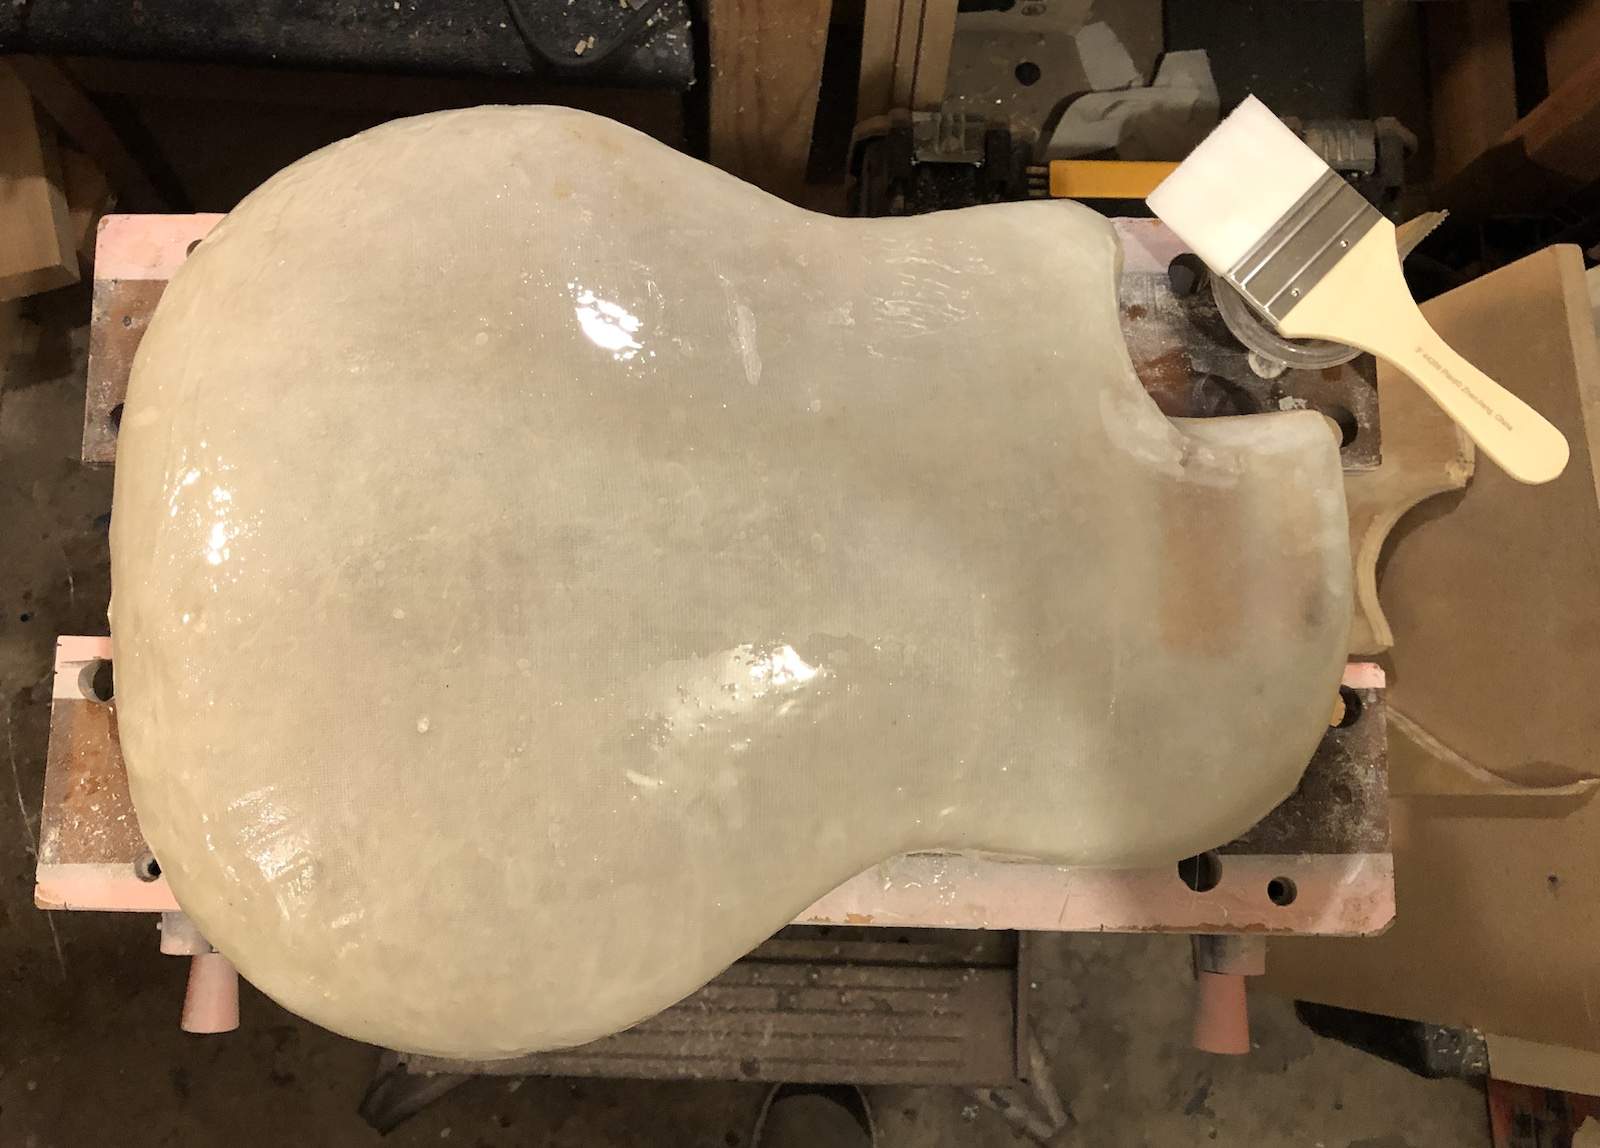
First, I sanded the body relatively smooth, and saw that I didn't really need any additional layers (at this time). Yea! So I just coated it with resin.
bodyepoxycoated.jpg


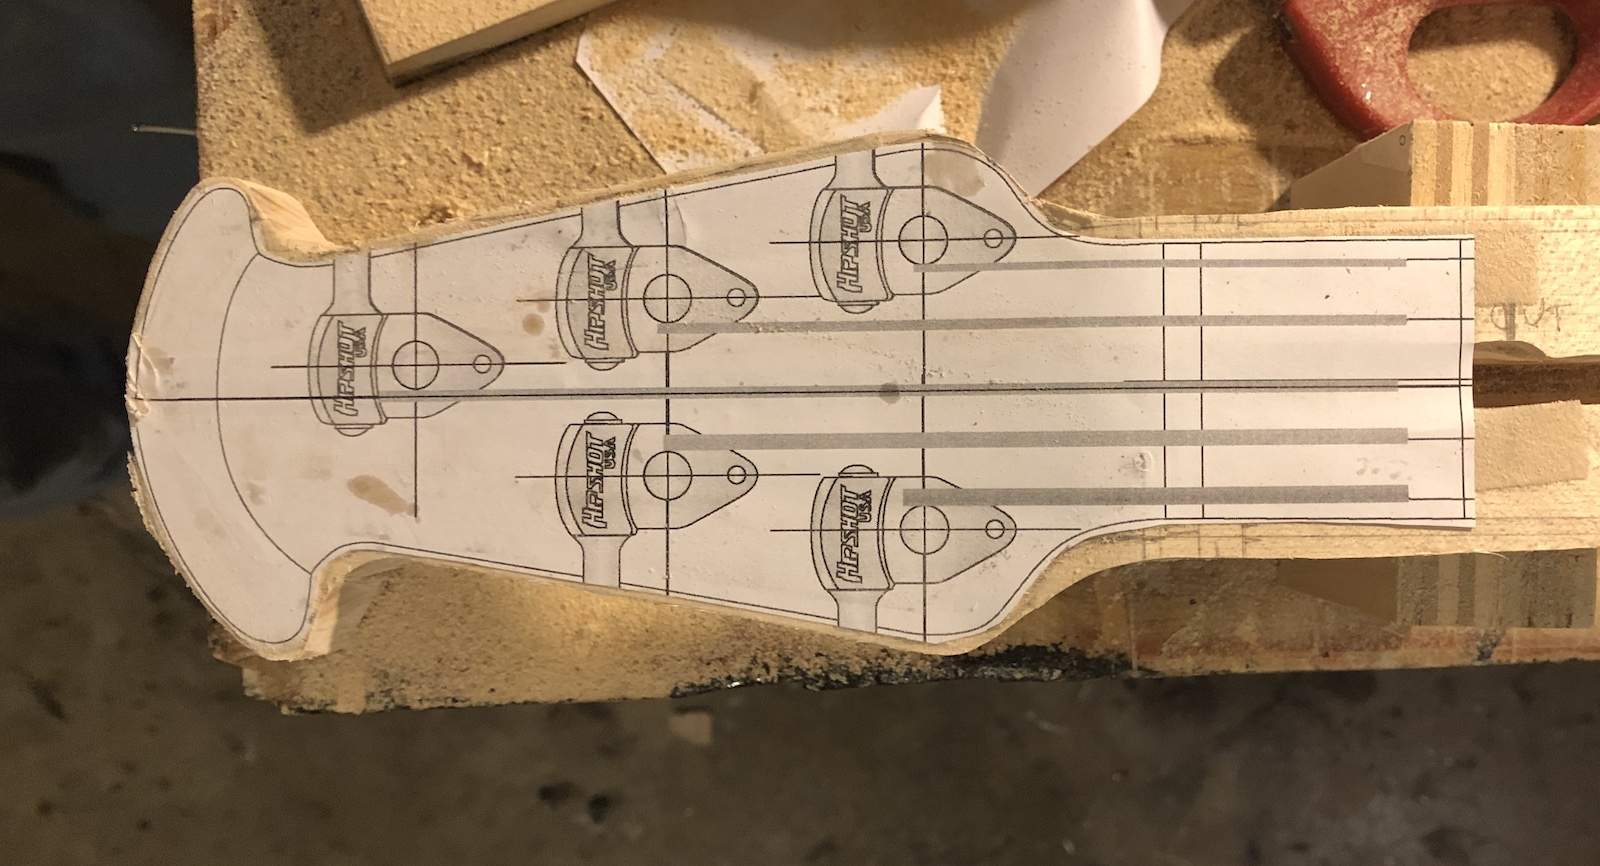
Next, I taped the amended headstock printout to the neck, and rough cut it with the jig saw. Then sanded it a bit, but not yet to the line.
headstockroughcut.jpg


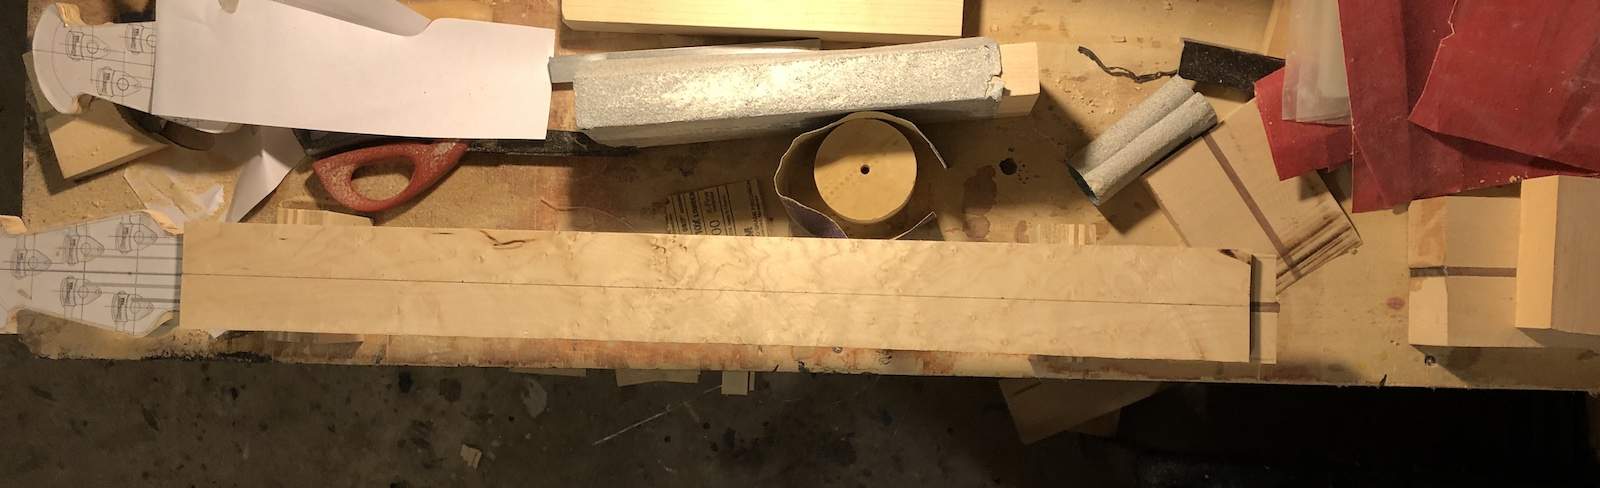
And finally, I cut a 1/4" slice of that curly maple I have for the fretboard, and drew the center line.
fretboardroughcut.jpg


I may work a bit more later, or just save everything for another day. I think today was fairly productive so far.
 
I've been running a few errands today, and I'm not nearly done, but I did manage to start the nut slot this morning.

nutslot.jpg


I'm still waiting on the delivery on the paint brushes I ordered yesterday. I'm not sure how much I'll be able to do on this project today. We'll see.
 
  • Like
Reactions: Reedt2000
I have always liked that Ovation headstock. Some kind of composite-bodied acoustic bass may be my nect project.

I like it too. I debated what style headstock to use on this build, and thought about the Ric or Fender style, but obviously went with the Ovation style. I figured it fit the bowl back body style.

I also always liked the old style Ovation Logo:

old ovation logo copy.jpeg
 
Still involved with other issues, but the brushes arrived.

brushes.jpg


At the very least, I can start up again tomorrow morning, sand the body smooth, and apply another coat of resin. I'd also like to rout the neck taper smooth, and maybe even the fretboard.

Heh, I just notice the printing on the brushes - "Pro Grade Supplies". Like 25 brushes for 11 bucks. That's a laugh. But hey, they'll work for what I'm using them for.
 
I did a little more work on this project this morning. First, I sanded the back of the body, and coated it with another layer of resin. I think I can see the light at the end of the tunnel.

sand+coat.jpg


Then I started routing the taper on the neck smooth.

routnecktaper.jpg


Then I marked the fretboard, and rough cut the taper on that. I also worked a little on the headstock shaping.

boardtaper.jpg


I could actually install the truss rod and glue the fretboard on at this point. Perhaps I'll wait until tomorrow. My hands have taken a beating over the last few days. I cut the tip of my right thumb a few days ago, don't remember how, and it's taking its sweet time to heal. Then last night, I opened the kitchen cabinet to get a glass, and a stack of shot glasses tipped over and fell out of the cabinet. I instinctively reached out and caught them, but they broke in my left hand, cutting my palm in two places. They are not big cuts, but they hurt and it's difficult to put any pressure on it. At least I can probably convince my Husband to do the dishes over the next few days :P
 
I did a little more work on this project this morning. First, I sanded the back of the body, and coated it with another layer of resin. I think I can see the light at the end of the tunnel.

View attachment 4925235

Then I started routing the taper on the neck smooth.

View attachment 4925237

Then I marked the fretboard, and rough cut the taper on that. I also worked a little on the headstock shaping.

View attachment 4925238

I could actually install the truss rod and glue the fretboard on at this point. Perhaps I'll wait until tomorrow. My hands have taken a beating over the last few days. I cut the tip of my right thumb a few days ago, don't remember how, and it's taking its sweet time to heal. Then last night, I opened the kitchen cabinet to get a glass, and a stack of shot glasses tipped over and fell out of the cabinet. I instinctively reached out and caught them, but they broke in my left hand, cutting my palm in two places. They are not big cuts, but they hurt and it's difficult to put any pressure on it. At least I can probably convince my Husband to do the dishes over the next few days :p

Sorry to hear about the damage to your fretting hand! I've done the very same thing except the shards went between my right pinky and ring finger. That was a mess.

I've never played an instrument like you are making; I'm curious, when you are layering the glass, are you aiming for any particular thickness? And is it for structural reasons?
 
Sorry to hear about the damage to your fretting hand! I've done the very same thing except the shards went between my right pinky and ring finger. That was a mess.

I've never played an instrument like you are making; I'm curious, when you are layering the glass, are you aiming for any particular thickness? And is it for structural reasons?

Thanks! I used about 3 layer of fiberglass as that seems to be the thickness where it's strong enough not to flex under stress. Now I'm just laying down coats of resin only, and that's just to smooth it out. I sand back each layer before adding more, so I'm only filling in the depressions. There were a few small areas that became a little thin when I sanded it, so I laid a little more fiberglass in those areas only, but the last several days, it's only been the resin.
 
Thanks! I used about 3 layer of fiberglass as that seems to be the thickness where it's strong enough not to flex under stress. Now I'm just laying down coats of resin only, and that's just to smooth it out. I sand back each layer before adding more, so I'm only filling in the depressions. There were a few small areas that became a little thin when I sanded it, so I laid a little more fiberglass in those areas only, but the last several days, it's only been the resin.

Very cool! Any idea how the weight will compare to an all wood acoustic?
 
Heh, I just notice the printing on the brushes - "Pro Grade Supplies". Like 25 brushes for 11 bucks. That's a laugh. But hey, they'll work for what I'm using them for.

In the Luthier business, Pro Grade means "the cheapest thing that will work". We Pro Luthiers don't have any money. It's those hobbyist acoustic guitar builders that buy the Premium tools. :rolleyes:
 
A little more work on this again this morning. First, I glued up the fretboard, remembering to put in the truss rod, and a little silicon before I actually glued it.

fretboardglueup.jpg


And as usual, I sanded back the rear of the body, and applied yet another coat of resin. Although you probably don't notice it in the pics, each time I do this, I fill in a little more of the depressions, and sand back a little more of the raised areas. I shouldn't need too many more of these.

yetanothercoat.jpg


I had a little scare yesterday. The bottom of the neck seemed a little lopsided to me, so I measured it. Sure enough, I had routed off way too much on one side. It appeared that the straight edge I was using shifted during the routing procedure, but fortunately, only toward the bottom of the neck - the part that I will be cutting off anyway. In front of the area that will be cut off, measured out even. Saved by pure luck.
 
A little more work this morning. First, I removed the clamps, trimmed the end of the neck, and routed the sides of the fretboard even with the neck.

necktrimmed.jpg


I also got ready to start radiusing the fretboard, but that will wait until tomorrow. That will likely take a few days. It's hard work, and my endurance is somewhat diminished.

I sanded back the previous coat of epoxy on the body.

bodysanded.jpg


There's a lot more sanded areas than previously, which indicated progress. Still not finished yet however, so I laid down another thin coat of resin.

bodyepoxied.jpg


At some point, I'll just have to say it's good enough, and move forward. Plenty of time left though, before the end of the build-off.

I also ordered a 3/4" radius cove pattern bit for the headstock. That should be here tomorrow.
 
This morning I sanded back the bowl, and I'm thinking I'll leave it like this and see how the DuraTex looks once it arrives. I may even cut the top to fit at some point soon, and start working on the braces.

sandedbowl.jpg


I also worked a bit more on the radius of the fretboard.

workingonradius.jpg


This is where I pretty much ran out of steam. And you can also see the mess that is my workbench. One of these days I'll have to clean it off.