Same. I'm thinking I'll make a drawing of the whole idea. Just the act of drawing will help etching the idea into my head.That wedge idea is excellent. I’ll try not to forget it before I need it.

TalkBass has been independent since 1998. Add your voice.
Create a free account to reply to discussions, view embedded media, and browse with fewer display ads.
Join free Log in
Want zero display ads or expanded classifieds tools? Compare plans.
Same. I'm thinking I'll make a drawing of the whole idea. Just the act of drawing will help etching the idea into my head.That wedge idea is excellent. I’ll try not to forget it before I need it.
Also, it occurs to me that there's a more generalised idea to be found here. Something about finding the easiest way for something. I need to ponder that.That wedge idea is excellent.
Looks awesomeThis evening I had some time in the workshop to clean up yesterday's mess.
I think the neck joint came out pretty good. Epoxy hardened nicely. I sanded the cutaways so that they smoothly blend into the neck heel and continued the bevel on the back along the heel. After that I carved the heel transition. It's sanded to 180 now, and you can see the joint line as expected, but it's not too bad. I'll take that over the titebond drama any day...
View attachment 4992741
View attachment 4992742
I figured now would be a good time to fit all the hardware, so that if I scratch or dent anything I can still sand it out. I installed the bridges by sticking them on paper with double sided tape and the placed the whole thing on the top, checking for string alignment.
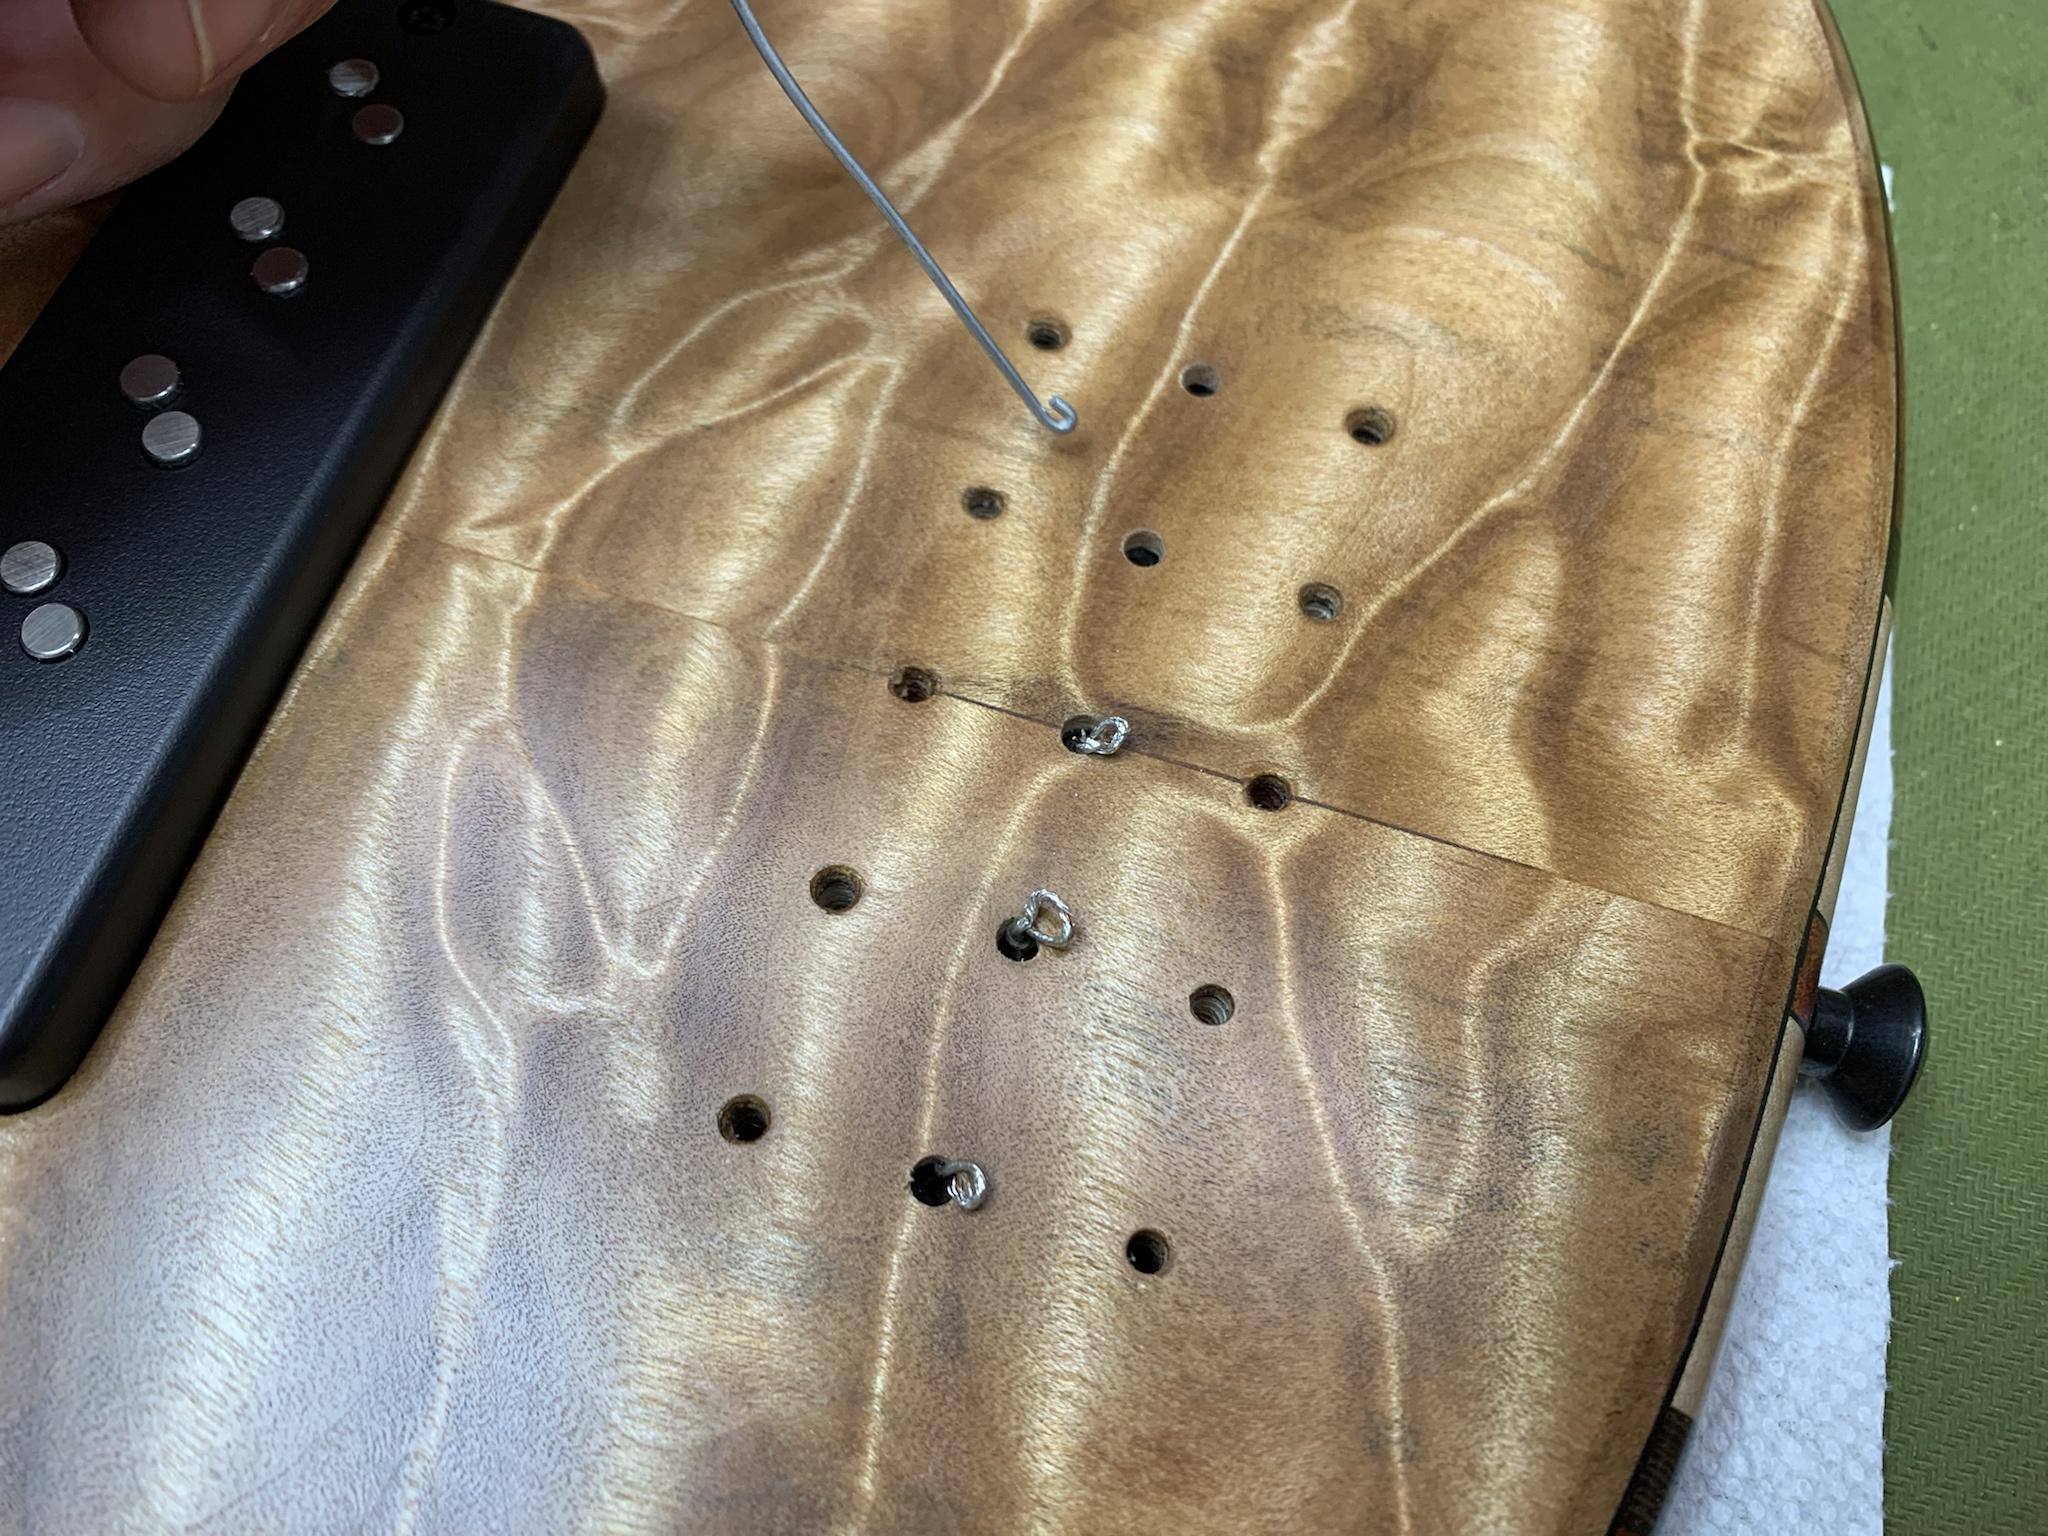
Any tips for grounding all of them? I was thinking to run some bare wire underneath all of them, but I'm not sure if that's enough. Alternatively I could rout a small channel with a dremel and then solder a ground wire to each of them.
View attachment 4992743
I also installed the string holders at the "vestigial" headstock. They are not exactly parallel, and that's on purpose. The strings slightly fan out behind the nut, and the holders follow this offset. Don't worry, the angles are so small that it won't have any effect on tuning stability. I also got started on the nut. Now that I'm going wiht kind of an all black theme, I used a black graphtech nut blank for this one.
View attachment 4992744
The bridges and tailpieces are all ABM headless hardware. They seem pretty good, but the funny thing is that they send you two hex keys for each and every bridge or tailpiece. Now I have a big pile of hex keys. This is only half of it, I already gave some of them away.
View attachment 4992752


I have just as many from shopping at IkeaThe bridges and tailpieces are all ABM headless hardware. They seem pretty good, but the funny thing is that they send you two hex keys for each and every bridge or tailpiece. Now I have a big pile of hex keys. This is only half of it, I already gave some of them away.
View attachment 4992752


Make a groove on the back at the level of the screw holes. Cut an Allen key to length and place it in the groove, ensuring that each screw touches.Any tips for grounding all of them?

Not quite, it's a Seymour Duncan Black Winter pickup in the "blackened" version with double polepieces. Visually, it's very similar to the Full Shred, but it's a much higher output ceramic pickup (16.6 kOhm). For such a high output humbucker, it's surprisingly tight and bright. They're very versatile and clean up nicely if you roll down the volume.Is that a SD Full Shred pickup? Those sound great for higher gain stuff. Very tight and crisp.
Do your bridge sections touch each other? You could sand off the finish on the sides where they touch, maybe even sneak a sliver of metal tape between. Then you only have to ground one of them.This evening I had some time in the workshop to clean up yesterday's mess.
I think the neck joint came out pretty good. Epoxy hardened nicely. I sanded the cutaways so that they smoothly blend into the neck heel and continued the bevel on the back along the heel. After that I carved the heel transition. It's sanded to 180 now, and you can see the joint line as expected, but it's not too bad. I'll take that over the titebond drama any day...
View attachment 4992741
View attachment 4992742
I figured now would be a good time to fit all the hardware, so that if I scratch or dent anything I can still sand it out. I installed the bridges by sticking them on paper with double sided tape and the placed the whole thing on the top, checking for string alignment.
Any tips for grounding all of them? I was thinking to run some bare wire underneath all of them, but I'm not sure if that's enough. Alternatively I could rout a small channel with a dremel and then solder a ground wire to each of them.
View attachment 4992743
I also installed the string holders at the "vestigial" headstock. They are not exactly parallel, and that's on purpose. The strings slightly fan out behind the nut, and the holders follow this offset. Don't worry, the angles are so small that it won't have any effect on tuning stability. I also got started on the nut. Now that I'm going wiht kind of an all black theme, I used a black graphtech nut blank for this one.
View attachment 4992744
The bridges and tailpieces are all ABM headless hardware. They seem pretty good, but the funny thing is that they send you two hex keys for each and every bridge or tailpiece. Now I have a big pile of hex keys. This is only half of it, I already gave some of them away.
View attachment 4992752
They don't touch, but the separation is tiny. I used strips of photo paper (0.2mm) to align them before drilling the mounting holes. I think a thin strip of conductive tape on each side of the tuner should do the trick. I'll try this before I start routing any channels underneath, because it would be a much easier solution.Do your bridge sections touch each other? You could sand off the finish on the sides where they touch, maybe even sneak a sliver of metal tape between. Then you only have to ground one of them.


In case you're wondering why I put the jack in the spot with the tightest radius: It's so that it doesn't get in the way when playing it in the classical position, which is what I prefer when sitting down.
IIrc the abasi concepts has a strat-style jackplate recessed into the upper half of the body, on the back side. I have not tried this myself, but I think ergonomically it makes sense, especially for sitting down in the classical position.+1 to classical position. Have you considered placing the jack in upper half of the body, similar to Abasi Concepts? I'm planning to try it on my next build, but I have no clue if such layout is practical.