
Enjoy the benefits of a premium membership!
Upgrade Account
-
TalkBass has been independent since 1998. Add your voice.
Create a free account to reply to discussions, view embedded media, and browse with fewer display ads.
Join free Log in
Want zero display ads or expanded classifieds tools? Compare plans.
You are using an out of date browser. It may not display this or other websites correctly.
You should upgrade or use an alternative browser.
You should upgrade or use an alternative browser.
Yet another first build post
- Thread starter mikebpeters
- Start date
More options
Who Replied?I hope not. They will be anchored on the bottom in the actual builds, and they are only there to hold batteries so they shouldn't be too stressed. If you mean the template itself, that is why I made that one out of 1/2 plywood instead of MDF, and of course I will be extremely careful routing. Time will tell and I'll let you know how it works out.
Tonight it was time to cut my compound scarf joint and glue 'er up.
Time to cut - gulp, here we go. First time using this jig in anger.
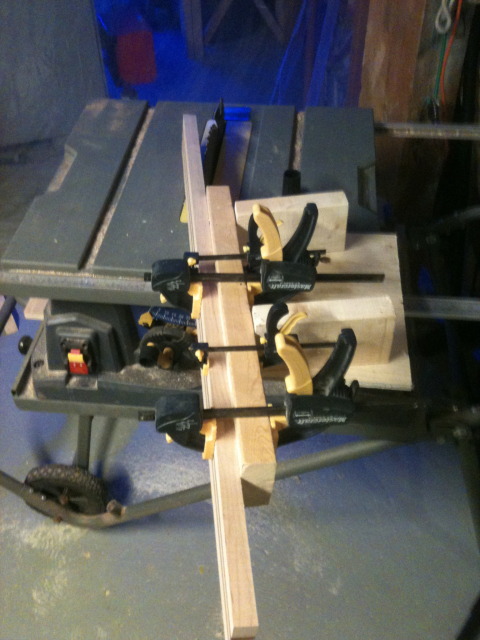
So far looks ok. A bit of burn, but nothting some sandpaper can't fix.
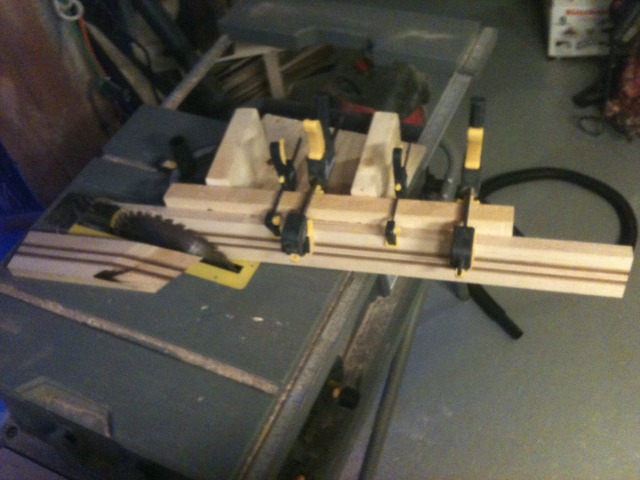
clean it up a bit
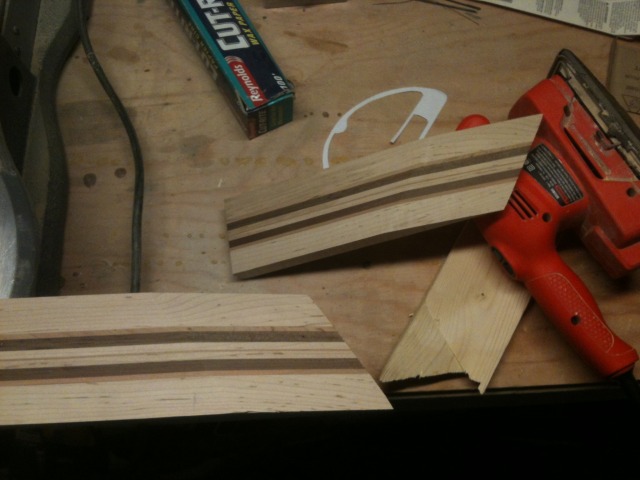
use the toothpick trick to keep things aligned - and . . . realize after I have glue already on it that I had it backwards. Because it is a compound scarf it only goes one way, so some frantic wiping and regluing and new pinning (should I say toothpicking)
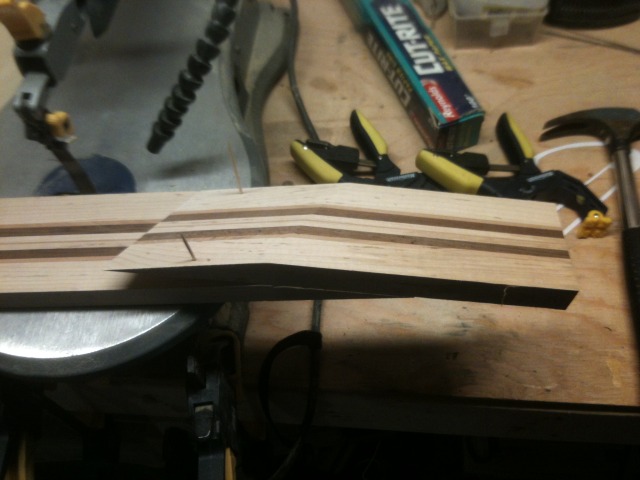
for better or for worse this neck is glued. Tomorrow will tell a tale when I pull the clamps off and clean it up and see what I have.
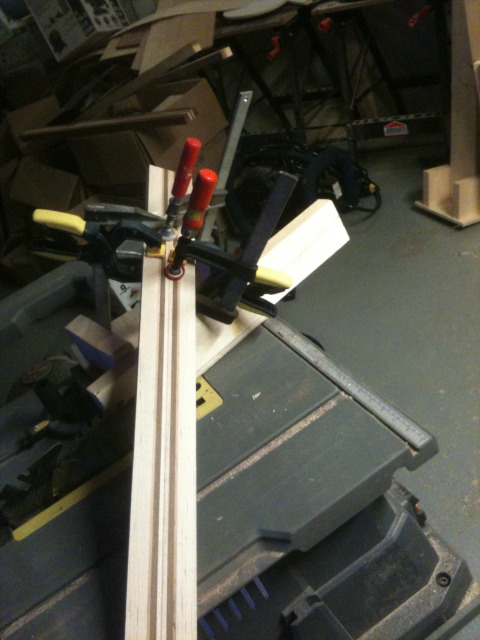
Time to cut - gulp, here we go. First time using this jig in anger.
So far looks ok. A bit of burn, but nothting some sandpaper can't fix.
clean it up a bit
use the toothpick trick to keep things aligned - and . . . realize after I have glue already on it that I had it backwards. Because it is a compound scarf it only goes one way, so some frantic wiping and regluing and new pinning (should I say toothpicking)
for better or for worse this neck is glued. Tomorrow will tell a tale when I pull the clamps off and clean it up and see what I have.
lesson learned - despite now hundreds of hours of reading I had missed a key point - compound neck angles won't work well with traditional bridges or straight frets. Yup, the good idea fairy finally dusted me as I was holding my new neck (came out nice by the way).
Not sure how I missed this despite Pilot Jones' pointed question earlier.
I do believe that I will save this neck for a future multi scale bass and make a new neck for this build.
The irony is I was so proud of myself that I was going to incorporate this feature that looked so cool and that hardly anybody else used. What a knucklehead I am. No wonder nobody does it this way for a 'straight' build - lol.Hey, its an excuse for another build - I already have the neck!
Not sure how I missed this despite Pilot Jones' pointed question earlier.
I do believe that I will save this neck for a future multi scale bass and make a new neck for this build.
The irony is I was so proud of myself that I was going to incorporate this feature that looked so cool and that hardly anybody else used. What a knucklehead I am. No wonder nobody does it this way for a 'straight' build - lol.Hey, its an excuse for another build - I already have the neck!

Hey there.
After making your own knobs, do you think my prices are still a little high? I am not tying to be mean, I truly want to know from your experience if you think my price is fair for all the work that goes into them.
Thanks!
Roger
THG
After making your own knobs, do you think my prices are still a little high? I am not tying to be mean, I truly want to know from your experience if you think my price is fair for all the work that goes into them.
Thanks!
Roger
THG
Hi Roger, from what I have seen you have a really high end product and I didn't mean to imply that you don't offer value for money, but I get a tremendous sense of satisfaction out of making stuff myself.
The cost of knobs isn't materials, it is quite correctly the labor, so - if you bill yourself out at any reasonable rate at all then your prices are very reasonable. As my labour costs me nothing and I get satisfaction out of the creation I'm going to keep trying to make my own. For those who don't have, the time, the interest, the skills or the tools I am glad that someone like yourself is there to provide the service that you do.
The cost of knobs isn't materials, it is quite correctly the labor, so - if you bill yourself out at any reasonable rate at all then your prices are very reasonable. As my labour costs me nothing and I get satisfaction out of the creation I'm going to keep trying to make my own. For those who don't have, the time, the interest, the skills or the tools I am glad that someone like yourself is there to provide the service that you do.
I'm putting my compound discovery neck aside for a future build so yesterday I cut and cleaned up the wood for my new neck.
Purpleheart core, maple accents, bubinga stringers and birdseye maple (only fairly low grade birdseye) outside - no dissapearing lams.
All glued up.
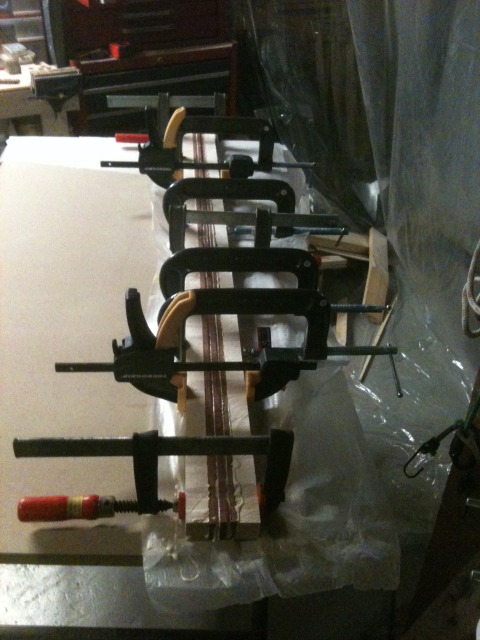
Purpleheart core, maple accents, bubinga stringers and birdseye maple (only fairly low grade birdseye) outside - no dissapearing lams.
All glued up.
Well, a bit more progress on this build too.
Another first for me today was using my router with a vacuum hooked up to it. I finally got around to buying a 1 1/4 inch attachement to hook it up and it works spectacularly.
Anyway, got my template screwed down to my workbench over top of my body blank, right were I wanted it and I started routing. All went very well.
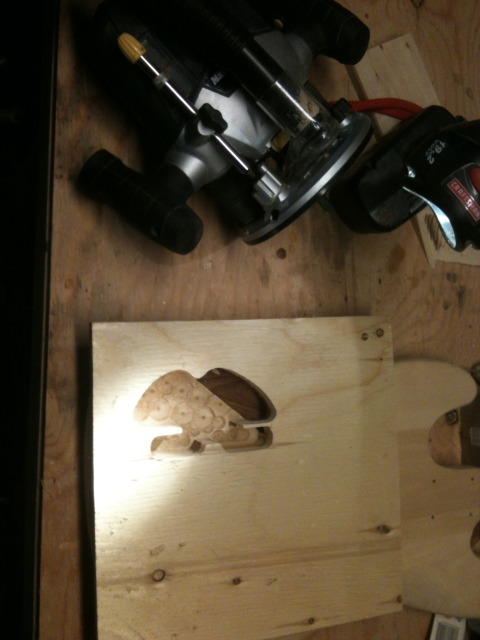
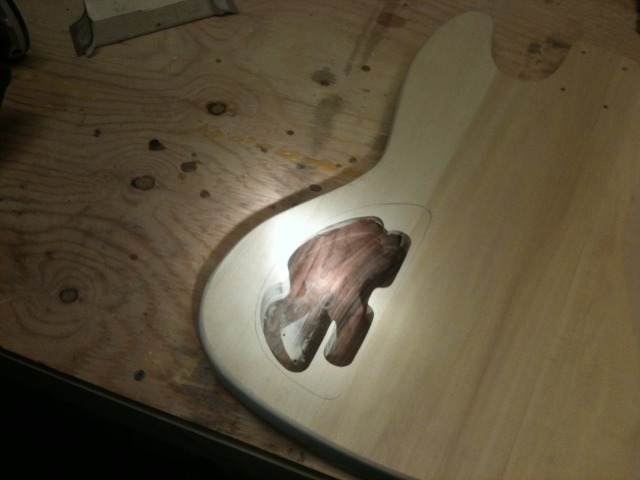
Where you can see the rosewood and not the hogged out basswood is where the original jazz cutout was, and you can see why that impacted the battery divider.
As this body began its life as a Saga kit body it was already routed for a front Jazz control cavity. Of course I couldn't leave well enough alone and would have been off starting from scratch. However, had I started from scratch I would have missed some of the lessons that I learned so far by using a pre shaped body as an initial pattern.
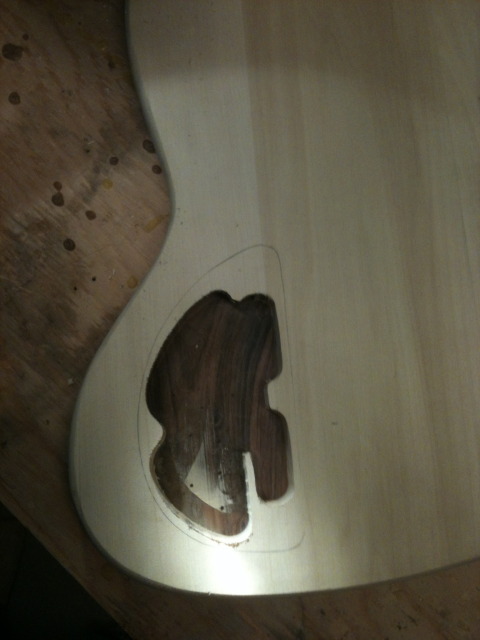
Anyway, there had been some question as to whether or not the slim bits of wood to hold the batteries from flopping would be strong enough.
The part where my new cavity intersected the existing Jazz cut out my slim piece of divider did not survive, in fact you can see here where the cavity extends under the topsheet.
The divider on the unadulterated side worked out perfectly though so it gives me confidence to try again on my next build and see how that works.
Next, to fashion a back sheet and cut out a continuous cover plate - as you can see I do like the 'coffee table' bass look
Another first for me today was using my router with a vacuum hooked up to it. I finally got around to buying a 1 1/4 inch attachement to hook it up and it works spectacularly.
Anyway, got my template screwed down to my workbench over top of my body blank, right were I wanted it and I started routing. All went very well.
Where you can see the rosewood and not the hogged out basswood is where the original jazz cutout was, and you can see why that impacted the battery divider.
As this body began its life as a Saga kit body it was already routed for a front Jazz control cavity. Of course I couldn't leave well enough alone and would have been off starting from scratch. However, had I started from scratch I would have missed some of the lessons that I learned so far by using a pre shaped body as an initial pattern.
Anyway, there had been some question as to whether or not the slim bits of wood to hold the batteries from flopping would be strong enough.
The part where my new cavity intersected the existing Jazz cut out my slim piece of divider did not survive, in fact you can see here where the cavity extends under the topsheet.
The divider on the unadulterated side worked out perfectly though so it gives me confidence to try again on my next build and see how that works.
Next, to fashion a back sheet and cut out a continuous cover plate - as you can see I do like the 'coffee table' bass look
I've been focussing a bit more on building an aquarium stand and on my other build so this one has suffered lately, but tonight I got a maple/rosewood/maple laminate layed up. The first maple/rosewood glue was dry, so I used what I learned is some recent veneer gluing efforts and have high hopes that this will come out nicely.
The piece of wood has some nice curl to it and it should make a very nice back.
I can hardly wait for the morning to see what I have accomplished.
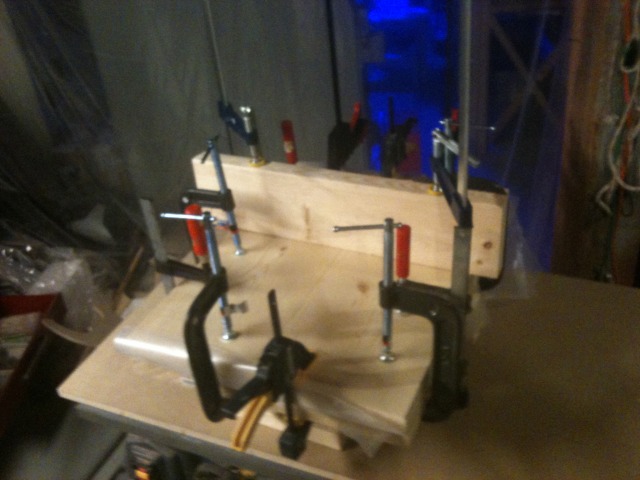
The piece of wood has some nice curl to it and it should make a very nice back.
I can hardly wait for the morning to see what I have accomplished.

I only had a moment on my way out the door this morning to leave for a business trip, but my lam worked out perfect. When I get home I try my first for real continous cover plate cut. I've tried a few practice pieces that went well but this time the stakes will be higher!
tonight was finally the night that I got to try my first real continuous cutout.
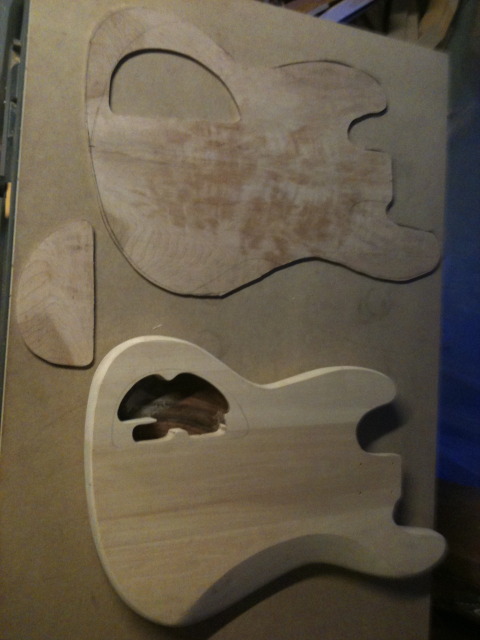
first off, here is a pic of my backplate laminate - figured maple/rosewood/maple.

I started by lining up my back plate and making easy to see marks aligning the centremarks from both the top and bottom of the bass.
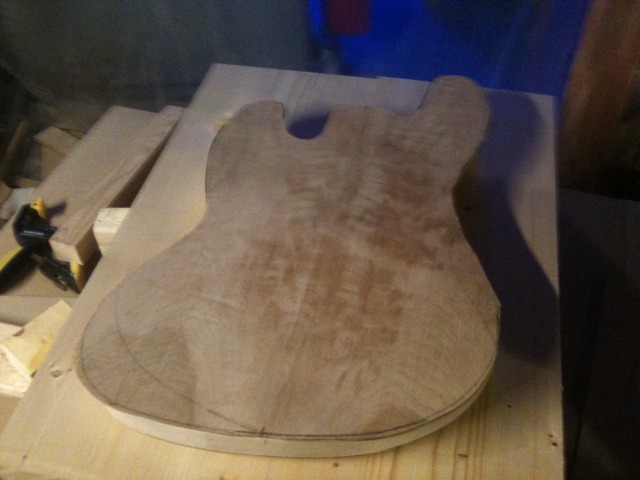
then I set my template over the cutout with just enough scrap to raise the template enough to slide the backplate in without disturbing it.
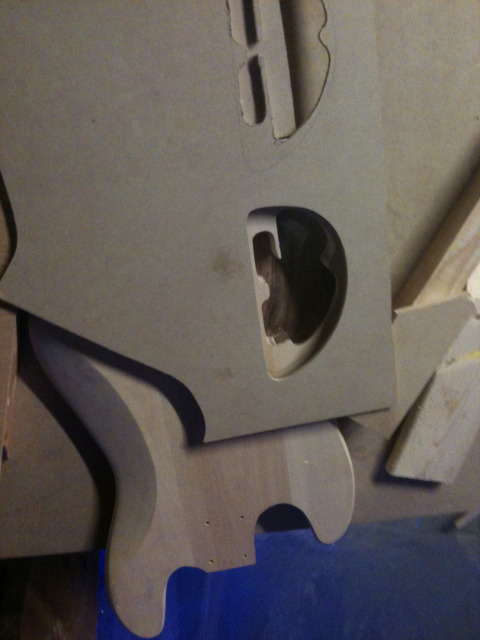
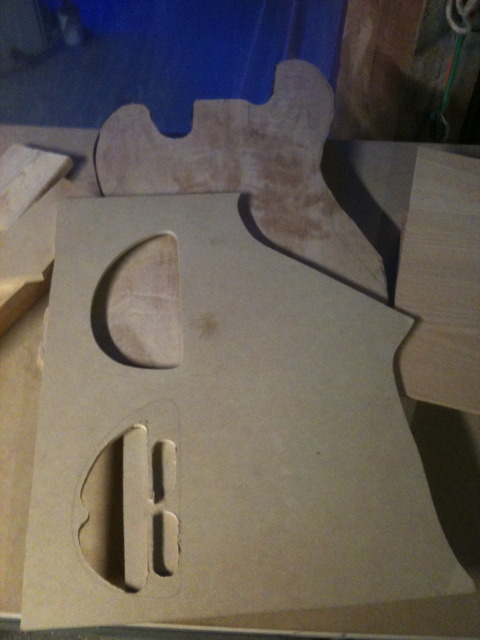
Then I carefully pulled the spacers out and traced the line onto the backplate.
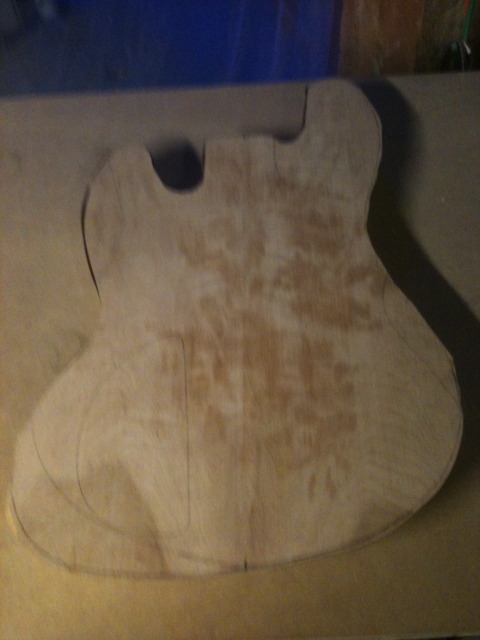
time for sawdust
I used my smallest drillbit for the pilot hole and then threaded the blade through onto my scroll saw
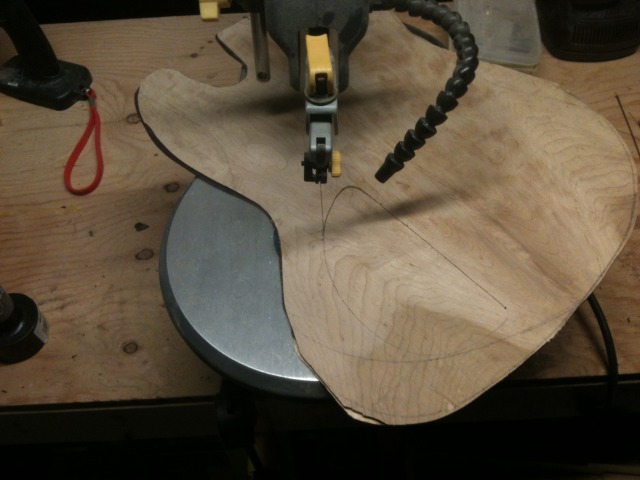
scary, scary, scary
it is easier for me to cut arcs than straight lines - suggestions welcome
in the end I got this
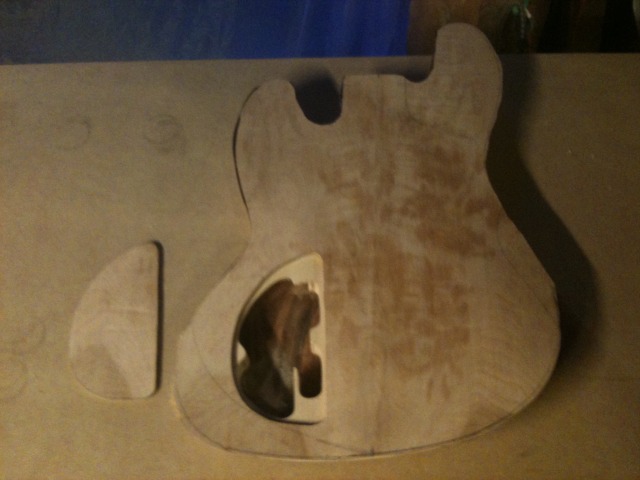
not quite perfect but at least no major oop's
a bit of sanding and it cleaned up really well.
back into the press . . .
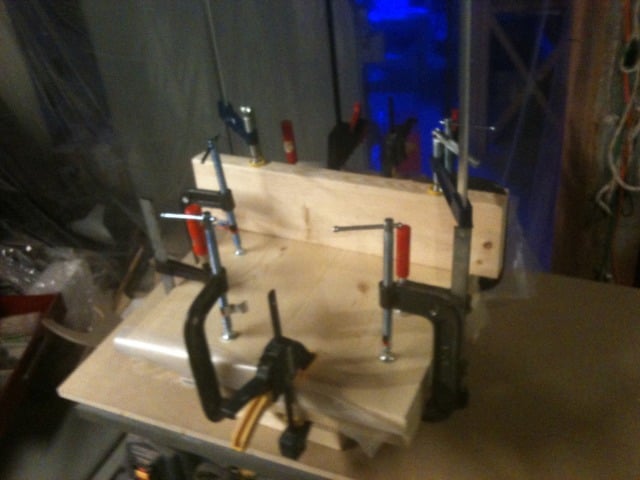
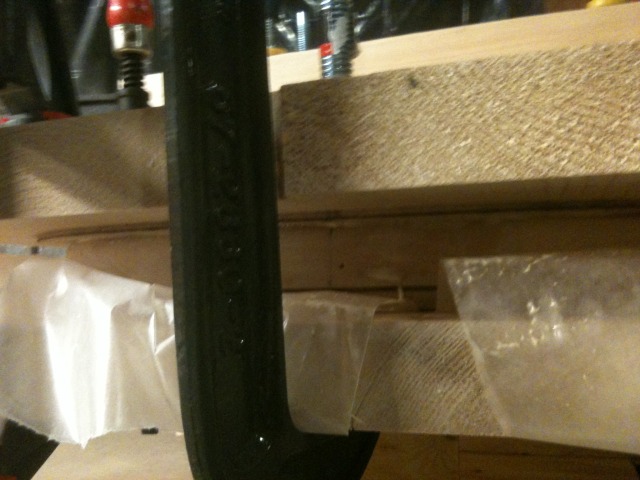
all nicely aligned
now I can hardly wait until tomorrow!
there may or may not be an easier way to do this, but if there is I would love to know about it!!!
first off, here is a pic of my backplate laminate - figured maple/rosewood/maple.
I started by lining up my back plate and making easy to see marks aligning the centremarks from both the top and bottom of the bass.
then I set my template over the cutout with just enough scrap to raise the template enough to slide the backplate in without disturbing it.
Then I carefully pulled the spacers out and traced the line onto the backplate.
time for sawdust
I used my smallest drillbit for the pilot hole and then threaded the blade through onto my scroll saw
scary, scary, scary
it is easier for me to cut arcs than straight lines - suggestions welcome
in the end I got this
not quite perfect but at least no major oop's
a bit of sanding and it cleaned up really well.
back into the press . . .
all nicely aligned
now I can hardly wait until tomorrow!
there may or may not be an easier way to do this, but if there is I would love to know about it!!!
Well, the scary part is done (for now) and it is on to the exciting bit.
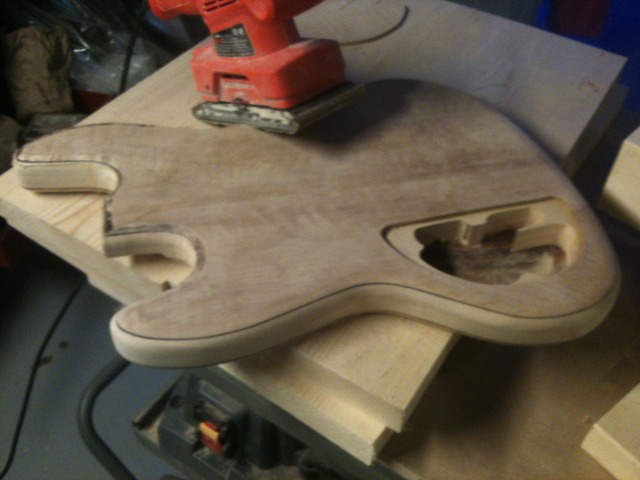
Here we are all glued up
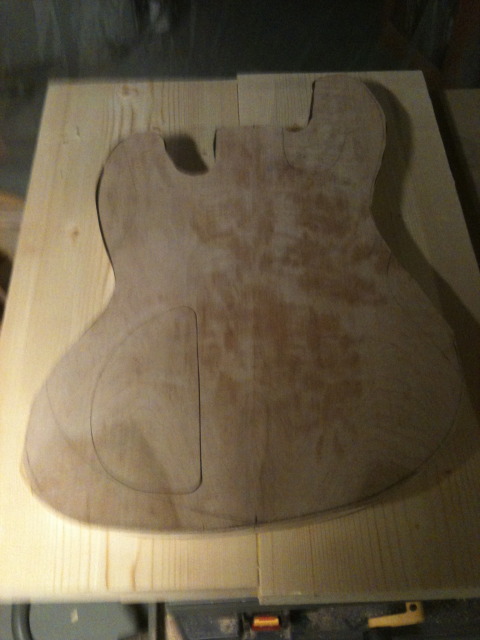
Start to sand
and after a bunch more sanding
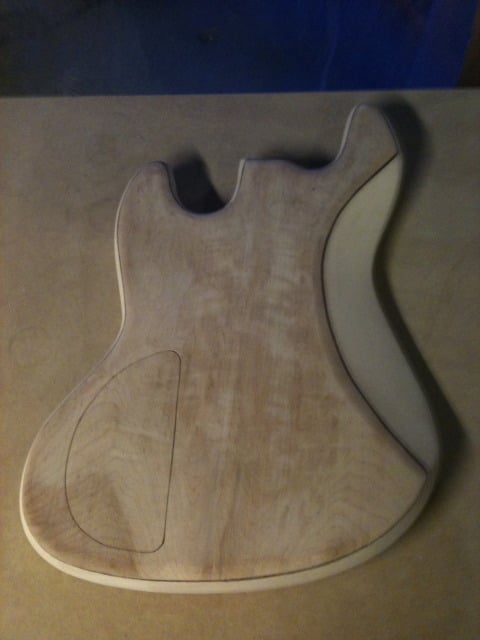
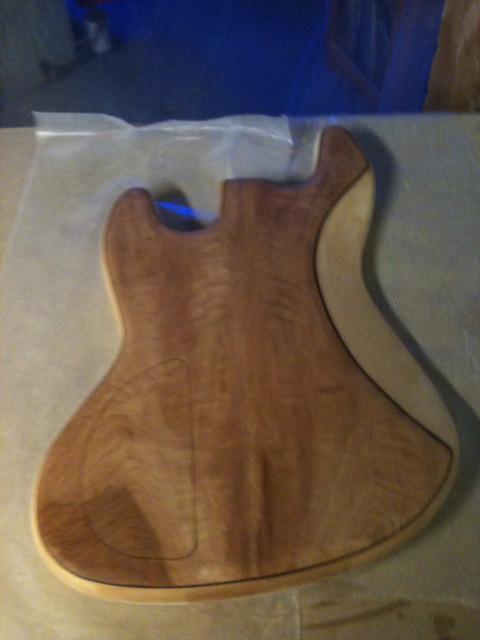
once I was done I wiped it down with mineral spirits and was very, very pleased. I did find a few spots that will need more attention, but this was only 40 grit so there is still lots of sanding to go. I stood there and looked at it thinking, and this is just the back . . .
Here we are all glued up
Start to sand
and after a bunch more sanding
once I was done I wiped it down with mineral spirits and was very, very pleased. I did find a few spots that will need more attention, but this was only 40 grit so there is still lots of sanding to go. I stood there and looked at it thinking, and this is just the back . . .



Very nice, but it would look a more "pro" if you smoothed out that curve. There's a sharp transition between the lower third and the middle third, that could be made right by "bellying out" a touch in the middle third, the lower third, or a bit of both.
IM unasked-for O, just calling out what immediately struck me when I saw the pics.
IM unasked-for O, just calling out what immediately struck me when I saw the pics.

Hey Pilot, you are right and I think I'll hit it will my sander again and see if I can round that out a bit more.


