

Enjoy the benefits of a premium membership!
Upgrade Account
-
TalkBass has been independent since 1998. Add your voice.
Create a free account to reply to discussions, view embedded media, and browse with fewer display ads.
Join free Log in
Want zero display ads or expanded classifieds tools? Compare plans.
You are using an out of date browser. It may not display this or other websites correctly.
You should upgrade or use an alternative browser.
You should upgrade or use an alternative browser.
Über-Jay V Spalted Maple
- Thread starter miziomix
- Start date
More options
Who Replied?


Hopkins
Commercial User

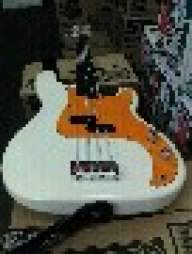

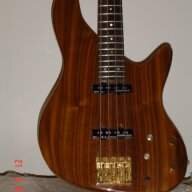


Thank you guys! it seems we have a winner. Both the owner and myself agree that satin is the way to go. I should thank him and you guys for this as I was for a glossy look initially. And this combo seems just right for the satin look 
Now... I am purposely slowing down this build. Compared to the 9 and 7 months of the first two prototypes this one has taken only 9 weeks so far - working time. But I need to let things settle and stare at the bass until something interesting happens - like, strabismus.
I will use this pause that I am imposing upon me to also start getting ready for the next builds, which are starting any day now.
I'll still go ahead with the small things - side dots, screw holes etc. But I'll hold the final stage a bit, in case serendipity hits again. In the end, between this and testing the set up, it will take most of the 6 months planned.
anyway... back to the WIP.
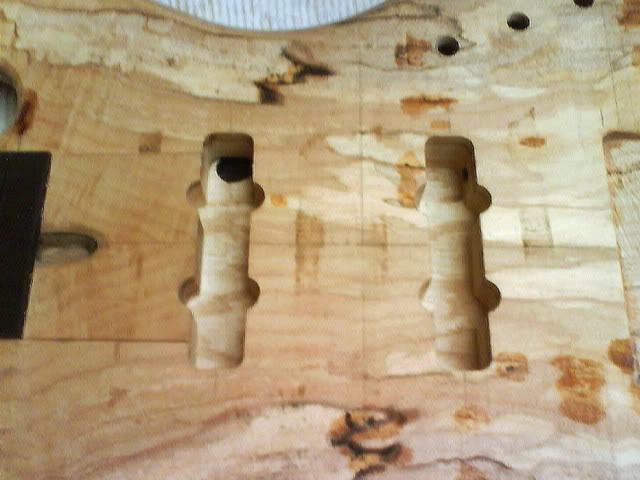
The extra wood at the end of the neck is finally routed in the shape of the p-up. We can retire the router for this build
The hole for the jack socket is a bit tricky due to the narrow area where the 1/2" bit has to drill.
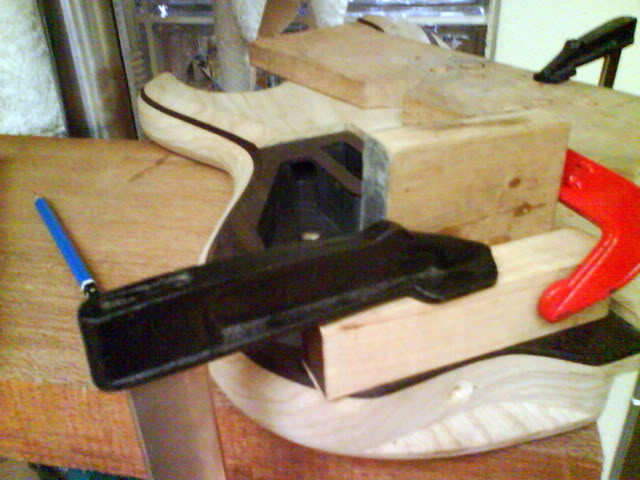
To avoid disastrous cracks I have clamped a piece of wood on top of the cavity edge - Curly Maple from my scrap treasure chest.
To get a clean cut at the exit point I have clamped another piece of wood - in this case a Lignum Genericum is perfectly fine
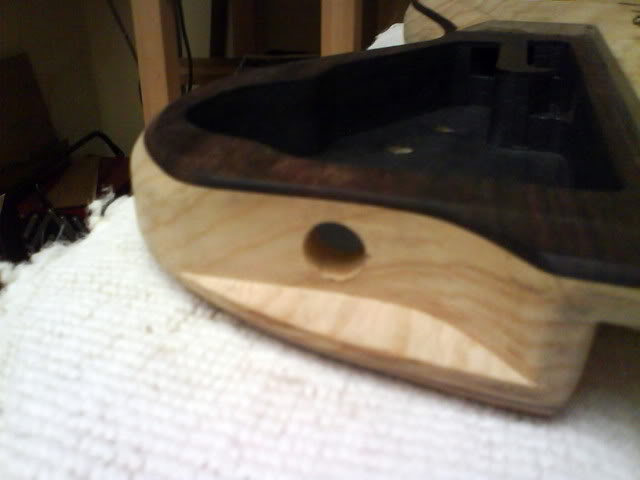
Side dots - white, gold or blue/green MOP. We picked the gold ones - which are actually more amber. It seems to nicely blend with the build.
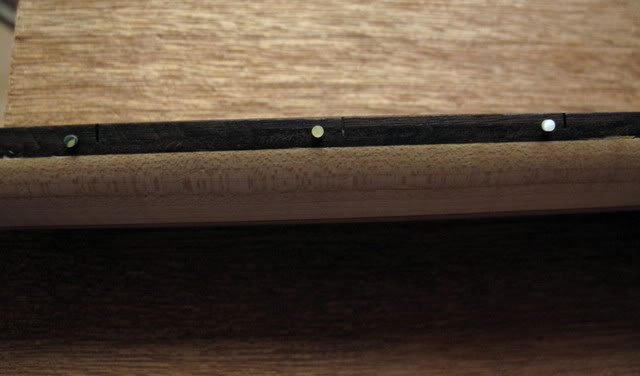
They will be positioned close to the fret, with two dots for the 12th fret.
ps: The difference between a proper camera (this pix) and a crappy phone one (all the others) is painfully visible. Too bad the 'proper' camera died on me and the crappy phone is still kicking.
It's a beautiful day over here and my bike is calling. I will just drill those strap lock holes first. And the bridge screw holes... oh yes, and the p-ups threads...
Now... I am purposely slowing down this build. Compared to the 9 and 7 months of the first two prototypes this one has taken only 9 weeks so far - working time. But I need to let things settle and stare at the bass until something interesting happens - like, strabismus.
I will use this pause that I am imposing upon me to also start getting ready for the next builds, which are starting any day now.
I'll still go ahead with the small things - side dots, screw holes etc. But I'll hold the final stage a bit, in case serendipity hits again. In the end, between this and testing the set up, it will take most of the 6 months planned.
anyway... back to the WIP.
The extra wood at the end of the neck is finally routed in the shape of the p-up. We can retire the router for this build
The hole for the jack socket is a bit tricky due to the narrow area where the 1/2" bit has to drill.
To avoid disastrous cracks I have clamped a piece of wood on top of the cavity edge - Curly Maple from my scrap treasure chest.
To get a clean cut at the exit point I have clamped another piece of wood - in this case a Lignum Genericum is perfectly fine
Side dots - white, gold or blue/green MOP. We picked the gold ones - which are actually more amber. It seems to nicely blend with the build.
They will be positioned close to the fret, with two dots for the 12th fret.
ps: The difference between a proper camera (this pix) and a crappy phone one (all the others) is painfully visible. Too bad the 'proper' camera died on me and the crappy phone is still kicking.
It's a beautiful day over here and my bike is calling. I will just drill those strap lock holes first. And the bridge screw holes... oh yes, and the p-ups threads...
Update time. The side dots are in. The two at the 12th fret are arranged further apart to visually tie with the block inlay.
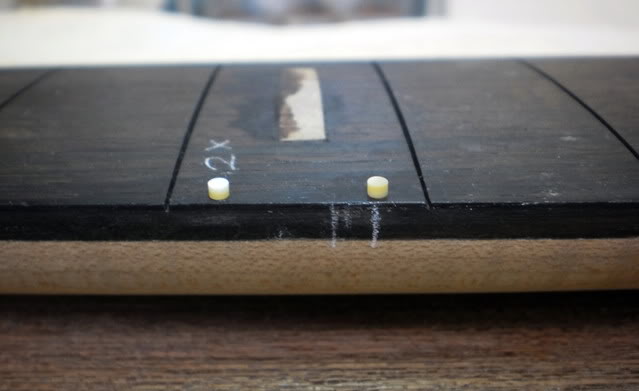
This is how the fb looks after gluing the dots. Pretty ugly uh? I have so far used CA for this but I'm planning to use epoxy in the future. It just gives you a bit more time to do the job.

Typically, I have to send my eyes for check up after this. But on 12" radius fb I can pretty much throw them away.
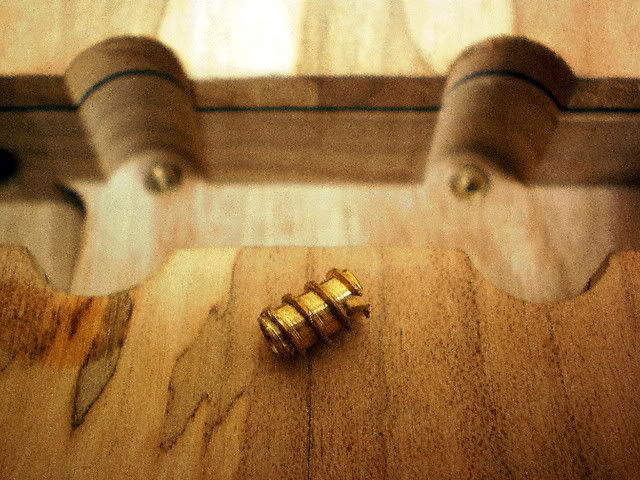
I really don't like it when the screws go directly into the wood. Threads do a much cleaner and more durable job and I like using them.
Next, on an almost finished cavity cover I decided to add veneers to increase strength. The Eldorado's Swamp Ash cover is perfectly fine and it hasn't moved at all, even in this humid climate. But some extra strength can only do good and since the bass is going to the other side of the world let's do that.
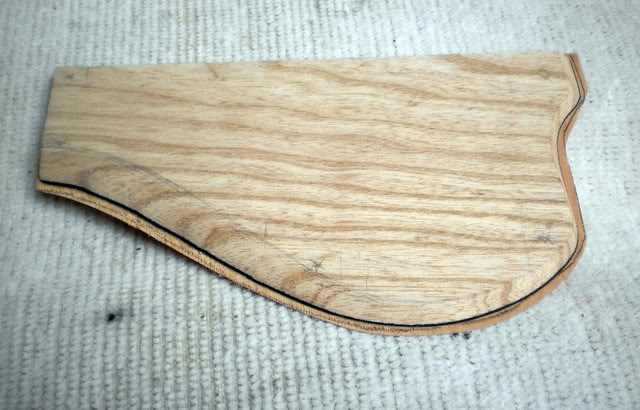
The veneer in between is Maple - black; then there are two white Maple veneers - cross grained. Tomorrow we'll shape it and drill for screws.
This is how the fb looks after gluing the dots. Pretty ugly uh?
I have so far used CA for this but I'm planning to use epoxy in the future. It just gives you a bit more time to do the job.Typically, I have to send my eyes for check up after this. But on 12" radius fb I can pretty much throw them away.
I really don't like it when the screws go directly into the wood. Threads do a much cleaner and more durable job and I like using them.
Next, on an almost finished cavity cover I decided to add veneers to increase strength. The Eldorado's Swamp Ash cover is perfectly fine and it hasn't moved at all, even in this humid climate. But some extra strength can only do good and since the bass is going to the other side of the world let's do that.
The veneer in between is Maple - black; then there are two white Maple veneers - cross grained. Tomorrow we'll shape it and drill for screws.
The other side of the world... you don't say!
beautiful work there miziomix.
Thank you cccy and Stumbo
 ....yes.... it seems that my basses like traveling.... ))) ...the next five basses will all go far. Mumbai is the nearest destination.... go figure. To see how they're doing I'll have to become a globetrotter... LOL
Latest posts
-

-

-
 I asked for feedback here a little while ago, and this is what it turned into
- Latest: instrumentlevel
-

-
