

Enjoy the benefits of a premium membership!
Upgrade Account
-
TalkBass has been independent since 1998. Add your voice.
Create a free account to reply to discussions, view embedded media, and browse with fewer display ads.
Join free Log in
Want zero display ads or expanded classifieds tools? Compare plans.
You are using an out of date browser. It may not display this or other websites correctly.
You should upgrade or use an alternative browser.
You should upgrade or use an alternative browser.
$100 Bass Challenge - Marceline's Axe Bass
- Thread starter mapleglo
- Start date
More options
Who Replied?

First sawdust!
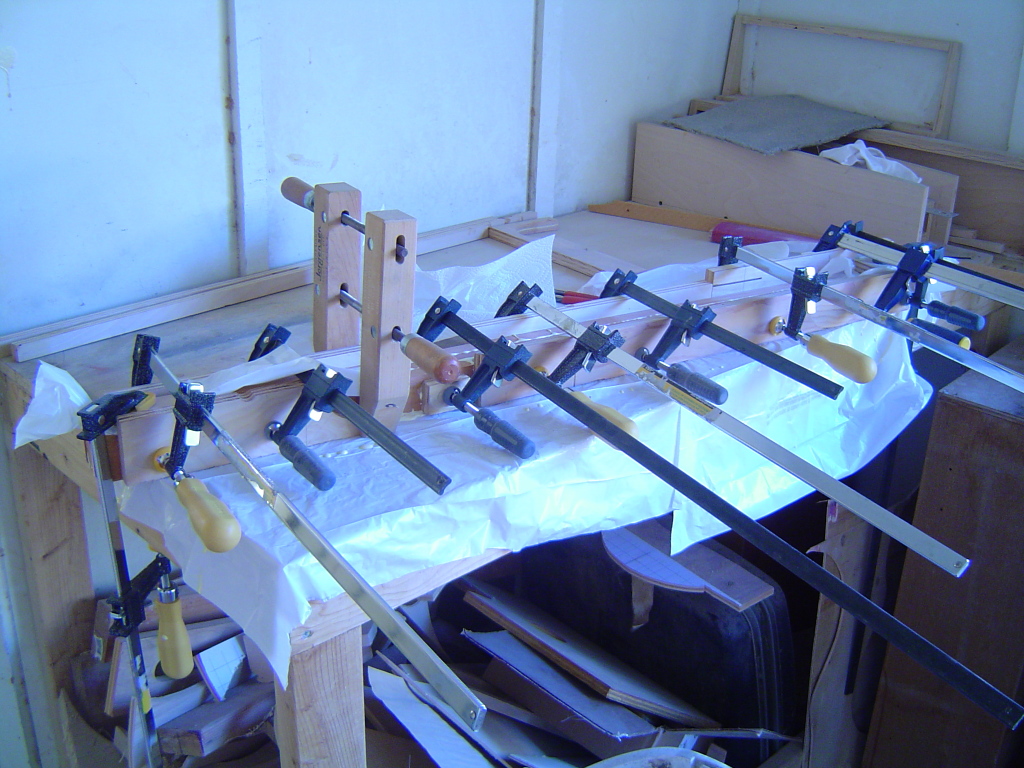
Glued up the neck this afternoon. It going to be slightly less than the planned 2.5", but I should be ok. Also, I think I'll only be using about 2/3rds of the 6 board feet I bought, so there should be some savings there. I was going to try and glue up the body panels as well, but started to lose the light. I'm looking forward to enclosing the car port. Also, I was wishing I had a few more clamps. When I bought a few more several weeks back, I was thinking that I now have enough clamps. I suppose it's like basses, one cannot have too many.
Glued up the neck this afternoon. It going to be slightly less than the planned 2.5", but I should be ok. Also, I think I'll only be using about 2/3rds of the 6 board feet I bought, so there should be some savings there. I was going to try and glue up the body panels as well, but started to lose the light. I'm looking forward to enclosing the car port. Also, I was wishing I had a few more clamps. When I bought a few more several weeks back, I was thinking that I now have enough clamps. I suppose it's like basses, one cannot have too many.

- May 1, 2014
- 2,494
- 2,341
- 56
- Disclosures
- Owner Melodious Resonance Constructs

Also, I was wishing I had a few more clamps. When I bought a few more several weeks back, I was thinking that I now have enough clamps. I suppose it's like basses, one cannot have too many.
Nope - you can only play one bass at a time (please let's not inject the silly pictures of two basses at one time, which may be performance art of some sort, but really isn't playing the bass - or accept that weird folks could perhaps use two at a time) while you can always use more clamps, because you really can use them all at once and have room for a few more.
I pulled the neck out of the clamps and ran it through the jointer. I had run out of wax paper so I used a plastic bag. Bad idea. The squeeze out was still wet. So I wiped off the remaining glue. It seemed to be dry, so I ran it through the jointer to clean up the edges.
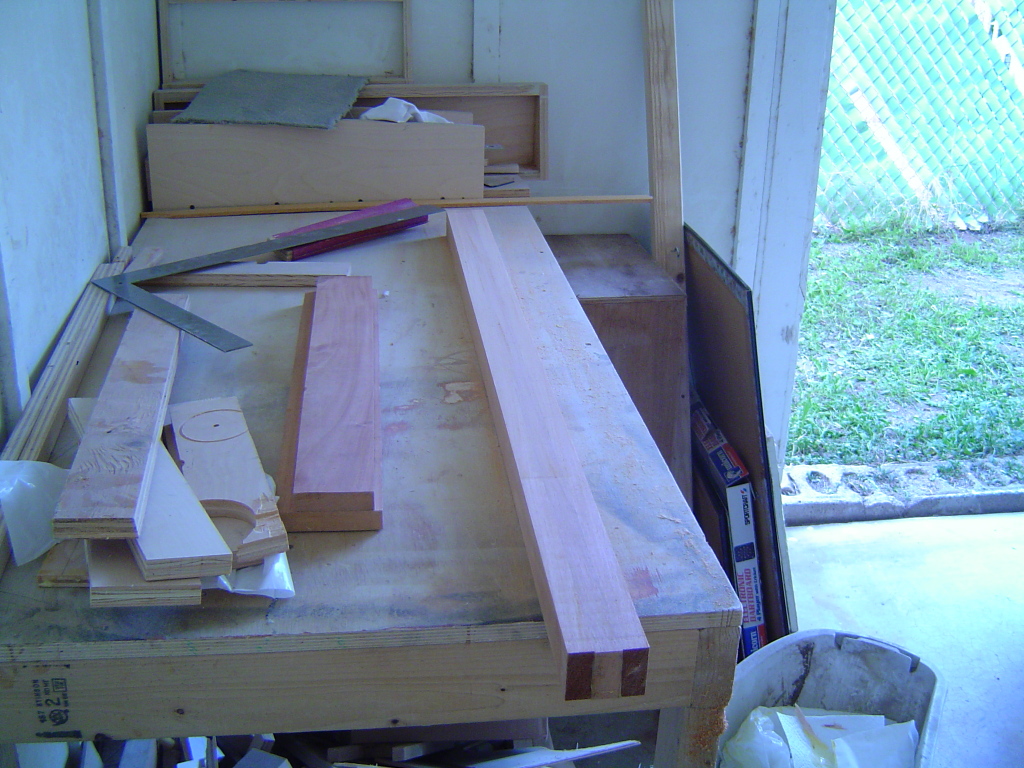
I can see why some people don't like jointers. I made a divot or two along the length when I placed pressure on the back side of the piece before it ran over the blades. I'll clean that up with the table saw and a bit of sanding.
As an aside, the open space you see in the above picture, beyond and to the right of the work bench, should be closed off tomorrow. We're putting up a wall there. After that, a door in the back, and after that, a garage door. We're going to use screws and cement anchors, so it won't be a "permanent" addition. That way, no permit is needed. Shhhhhh.
Anyway, I hope to start glueing up some more of the mahogany tomorrow for the body "axe" panels. I started on those two pieces to the left of the neck by running them through the jointer, but I seem to be unable to avoid doing that "back pressure" thing, only on those, it creates an two angled portions with a higher spot in the middle, so I'll be unable to glue them together. Again, I'll fix that with the table saw and some sanding. I totally see how a straight edge and router is a better method for truing the edges. I'll have to order that straight edge piece of aluminum.
I can see why some people don't like jointers. I made a divot or two along the length when I placed pressure on the back side of the piece before it ran over the blades. I'll clean that up with the table saw and a bit of sanding.
As an aside, the open space you see in the above picture, beyond and to the right of the work bench, should be closed off tomorrow. We're putting up a wall there. After that, a door in the back, and after that, a garage door. We're going to use screws and cement anchors, so it won't be a "permanent" addition. That way, no permit is needed. Shhhhhh.
Anyway, I hope to start glueing up some more of the mahogany tomorrow for the body "axe" panels. I started on those two pieces to the left of the neck by running them through the jointer, but I seem to be unable to avoid doing that "back pressure" thing, only on those, it creates an two angled portions with a higher spot in the middle, so I'll be unable to glue them together. Again, I'll fix that with the table saw and some sanding. I totally see how a straight edge and router is a better method for truing the edges. I'll have to order that straight edge piece of aluminum.

@mapleglo the jointer is a tricky tool and takes some getting used to. My preferred method is a straight table saw cut and then some sandpaper glued to a piece of plate glass from an old ikea coffee table. Rub the neck back and forth on it a few times letting the weight of the wood itself do the work and you have a nice true surface.
Edit: the piece of glass I use is 12" wide, 26" long and 1/2" thick. It has it's own place on my work bench and when not in use, a piece of 1/4" masonite gets pulled over it to hide it and protect it from dropping stuff on it.
Edit: the piece of glass I use is 12" wide, 26" long and 1/2" thick. It has it's own place on my work bench and when not in use, a piece of 1/4" masonite gets pulled over it to hide it and protect it from dropping stuff on it.

- May 1, 2014
- 2,494
- 2,341
- 56
- Disclosures
- Owner Melodious Resonance Constructs
I have had great luck with my jointer, but it took a lot of tweaking to get the blades aligned correctly so that the edges are true. I found this site to be helpful in getting my jointer tuned up to produce the best results.
Thanks for that link, that's quite helpful. Looks like I have "Convex Surface - center down" on those smaller pieces. Totally due to my technique. I should probably spend some time practicing on scrap.

Hopkins
Commercial User
I never use my jointer for a glue joint. I always use my router table with a flush trim bit and straight edge. It gives a better gluing surface than my jointer with no tear out.
I never use my jointer for a glue joint. I always use my router table with a flush trim bit and straight edge. It gives a better gluing surface than my jointer with no tear out.
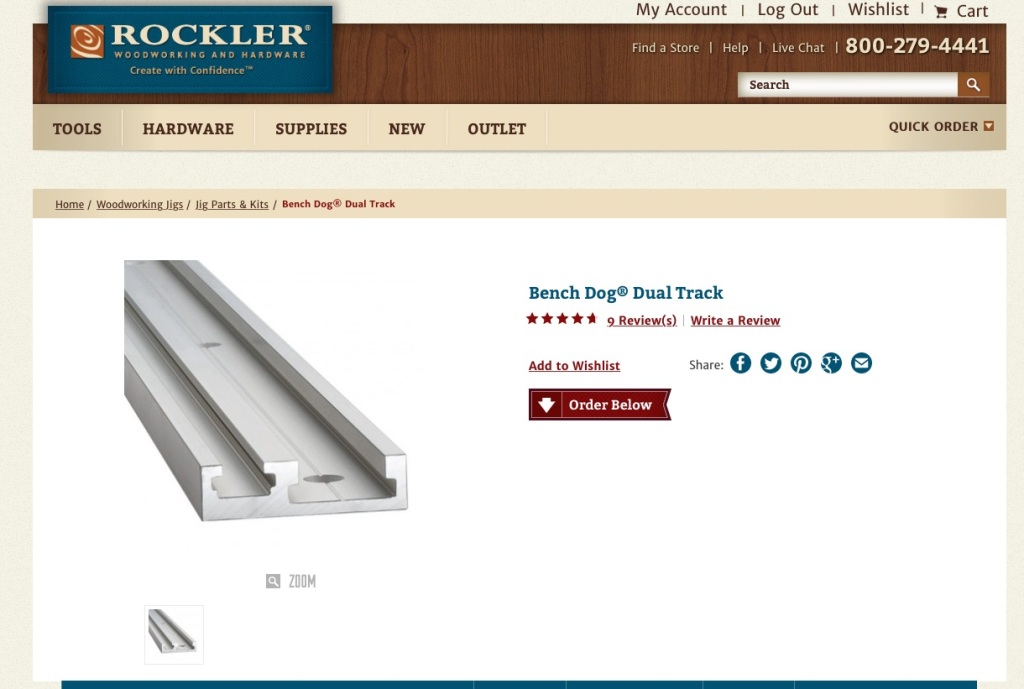
I ordered one of these yesterday:
Invalid Link Removed
36" inches long, aluminum. I'm thinking it will make a great straight edge for this purpose. Or maybe, I'll just break down and buy/build a router table.
Hopkins
Commercial User
I ordered one of these yesterday:
Invalid Link Removed
36" inches long, aluminum. I'm thinking it will make a great straight edge for this purpose. Or maybe, I'll just break down and buy/build a router table.
That should work great.

I don't think this guy did it for $100
I agree, and besides, he cheated. It's fretted.
Well, I didn't get to work on the bass today, as we started enclosing my workshop (aka the garage).
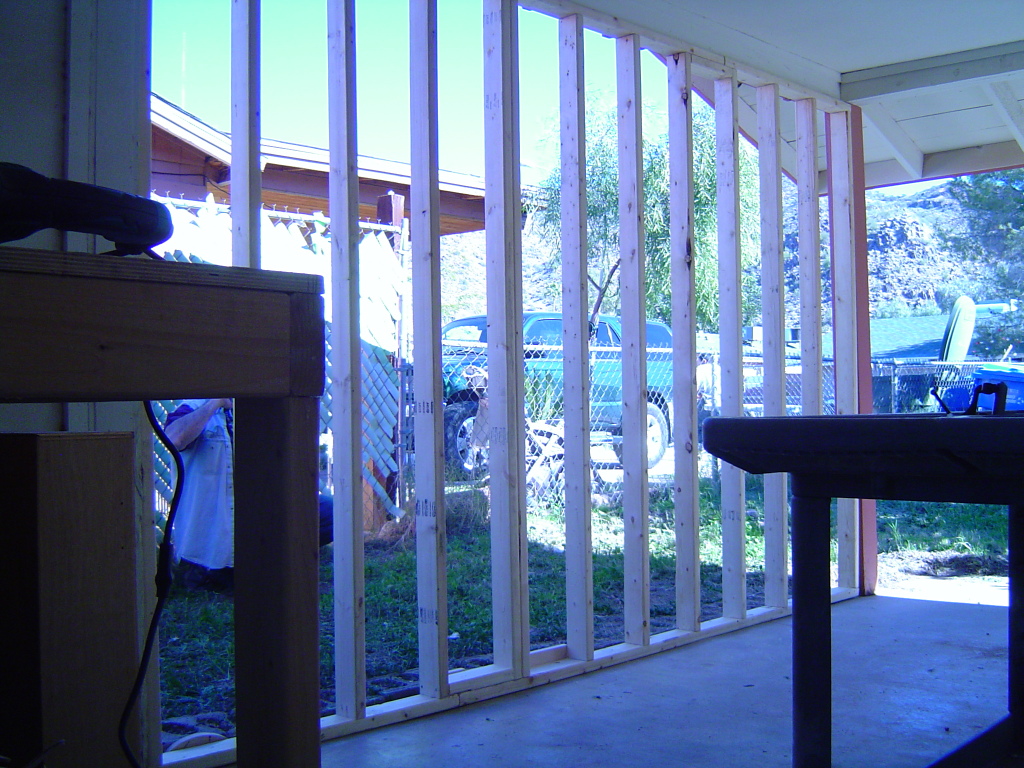
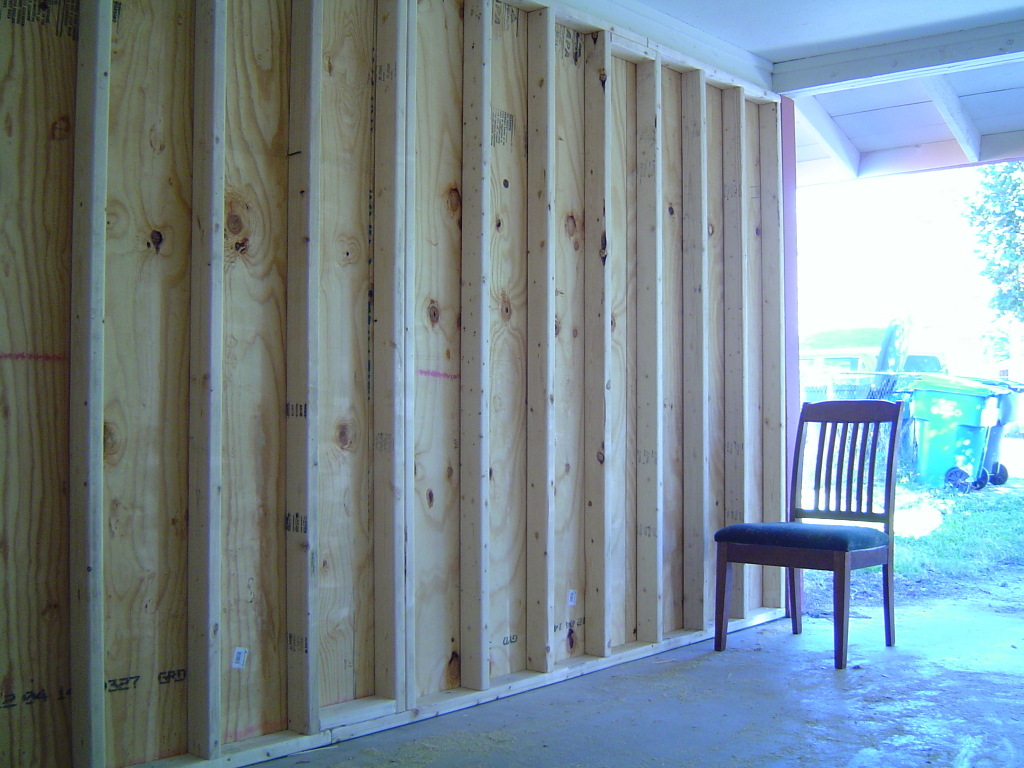
We just need to paint it, and screw it in place.
We're both pretty beat at this point, so I may just take the rest of the day off. Painting starts tomorrow.
We just need to paint it, and screw it in place.
We're both pretty beat at this point, so I may just take the rest of the day off. Painting starts tomorrow.
I have a 6" Jet jointer, and I had similar problems with it until I bought a magnetic jig to align blades. I take really light cuts with razor sharp blades, and my neck laminates came out dead flat. I think the longer the jointer bed, the better, the short Delta jointers with aluminum beds can flex a little under load. Good luck with the new shop space, we know you'll put it to good use.
Looks right to me, the other guys version looks too big. Are you doing full frets to make it playable (my vote) or intermittent like the cartoon? If I had it, us want to play it. Think Halloween gigs!
Looks right to me, the other guys version looks too big. Are you doing full frets to make it playable (my vote) or intermittent like the cartoon? If I had it, us want to play it. Think Halloween gigs!
I thought it might be slightly small, but I made the body a little smaller as well. It's smaller than the one in the video, which is probably sized correctly compared to the one in the animated series, but I think too big for actually playing comfortably.
I'm making this fretless, like the "real" one. I'm still not sure what I'm doing about fret lines. I'll have a fret line on every fret, unlike the "real" one, but I'm undecided about what I'll use for the lines. I may just do a magic marker/sharpie. That may be the most authentic.


