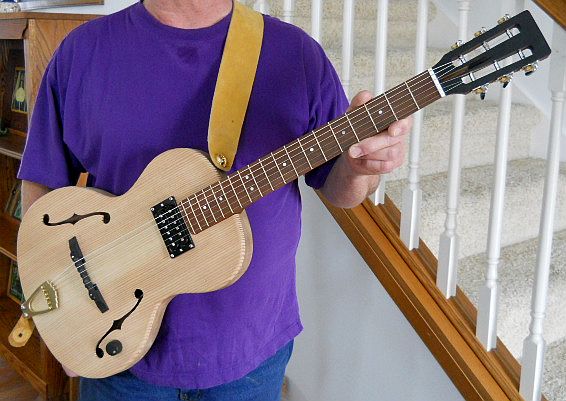
NOTE: The following 2 photos would coincide with Step #88 in the overview of the build shown on previous pages. It's one of those little details that I failed to photograph earlier!
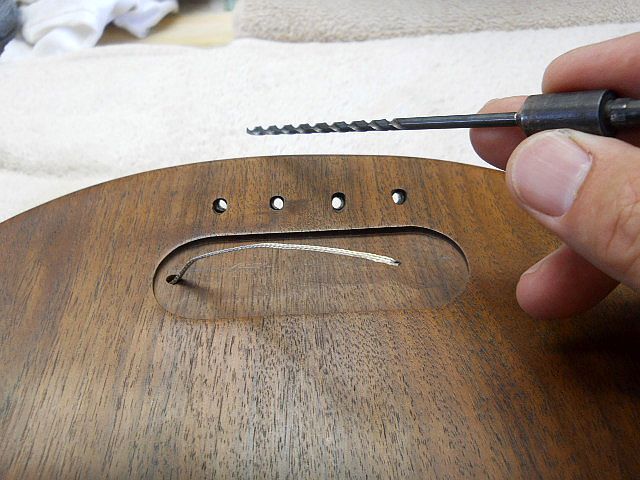
Here's a shot of the long shank 5/32" drill bit fitted with countersink that's used to drill the string holes from the front and countersink for the ball ends from the rear.
Here's a shot from the rear showing the results of the piloted countersink.
The smooth portion of the drill bit shank works nicely as a pilot to guide the countersink from the back. Since the holes are basically drilled at a 45 degree angle the piloted countersink makes it easy work to form perfect recessed pockets for the ball ends.
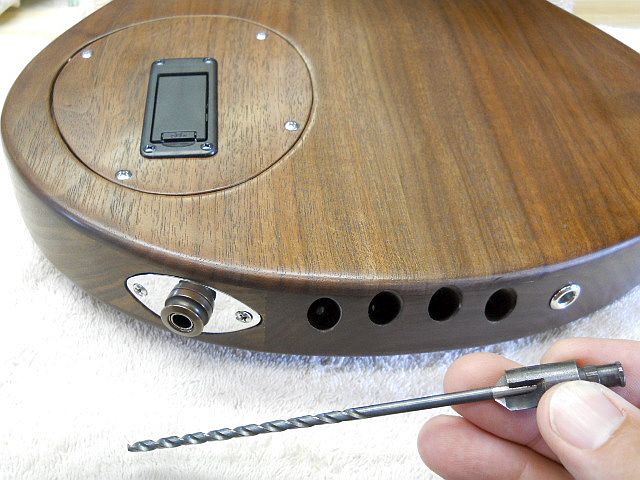
I thought I'd post these photos to demonstrate what I worked out to make the nice pockets in the end grain of the walnut.
Here's a shot of the long shank 5/32" drill bit fitted with countersink that's used to drill the string holes from the front and countersink for the ball ends from the rear.
Here's a shot from the rear showing the results of the piloted countersink.
The smooth portion of the drill bit shank works nicely as a pilot to guide the countersink from the back. Since the holes are basically drilled at a 45 degree angle the piloted countersink makes it easy work to form perfect recessed pockets for the ball ends.
I thought I'd post these photos to demonstrate what I worked out to make the nice pockets in the end grain of the walnut.
Last edited:






 Usually there's open back banjos going on in the shop. (Don't shoot!
  )
) )
)