• TalkBass has been independent since 1998. Add your voice.
    Create a free account to reply to discussions, view embedded media, and browse with fewer display ads.
    Join freeLog in
    Want zero display ads or expanded classifieds tools? Compare plans.

Classical drop-D extension focused build

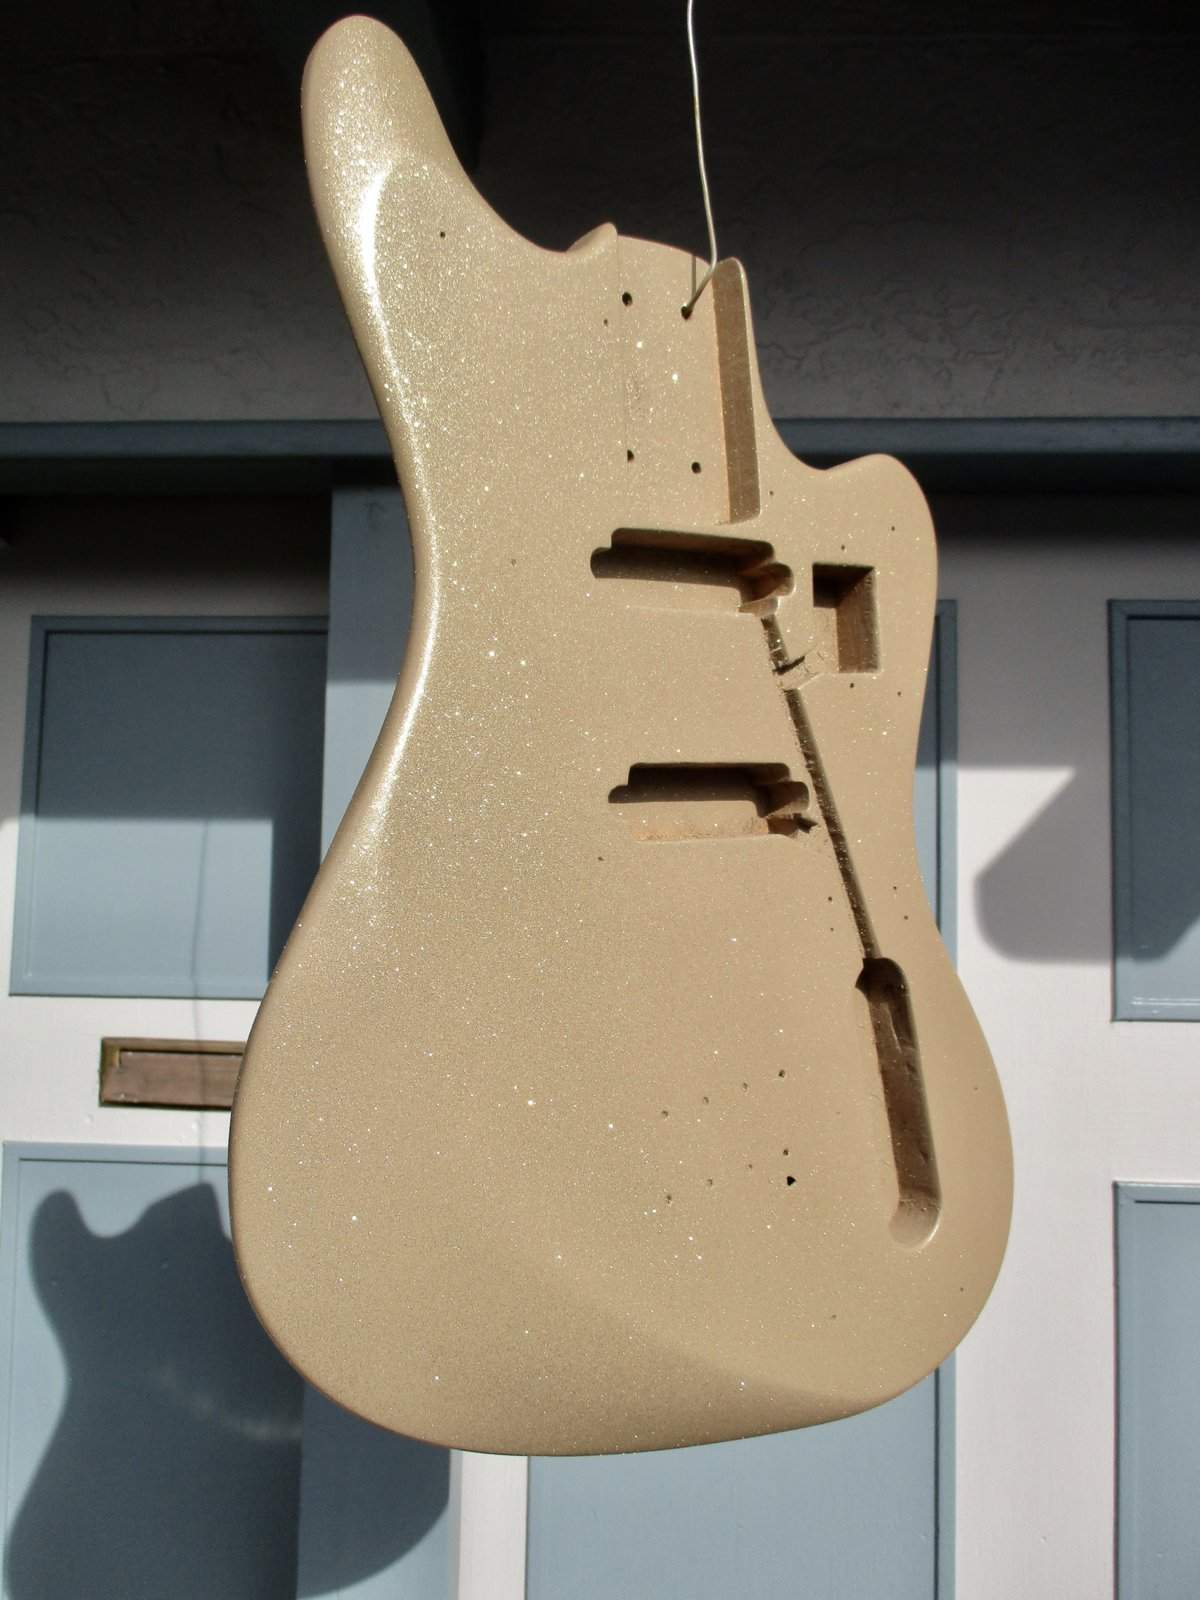
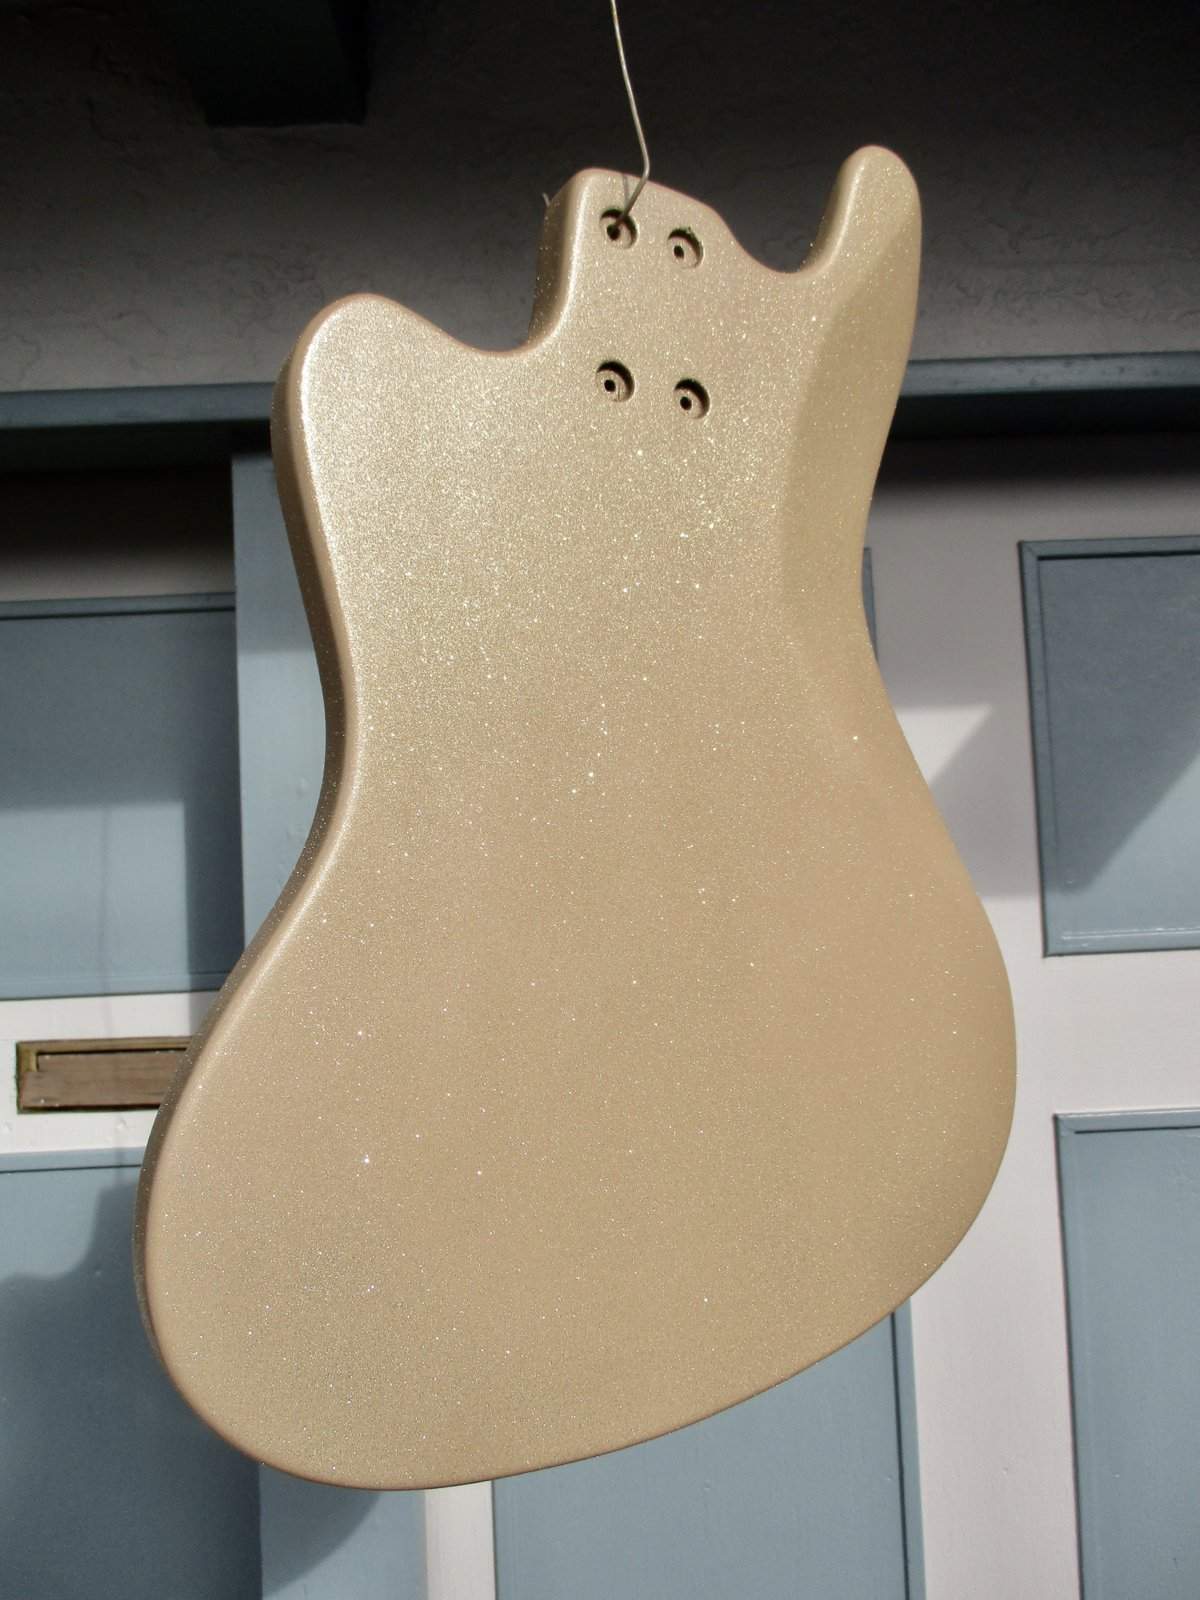
Finish finished! (or is it finished finish?) Sunny day, good breeze, shot the gold glitter blast and a multiple coats of satin nitro on top (with light sanding-pad between). I used most of the rattle can of the beige base colour the last couple days with an overnight dry. I find it very amusing spraying a bass body beige. And I'm not like, a nature obsessed person where I choose browns and beiges because "they're from nature" etc. (and nothing against those who feel that way) The way I see beige is through cosmetics - more related to women than tree's or soil or sand... well, maybe sand is ok, it's so much a part of where I live! Actually sand is very pertinent because it sparkles and glistens with texture... just like this finish! It's really tactile - interactive also... it just feels, nice. Will allow the nitro to do its curing thing now -
fullsizeoutput_d63.jpeg


fullsizeoutput_d62.jpeg
 
Finish finished! (or is it finished finish?) Sunny day, good breeze, shot the gold glitter blast and a multiple coats of satin nitro on top (with light sanding-pad between). I used most of the rattle can of the beige base colour the last couple days with an overnight dry. I find it very amusing spraying a bass body beige. And I'm not like, a nature obsessed person where I choose browns and beiges because "they're from nature" etc. (and nothing against those who feel that way) The way I see beige is through cosmetics - more related to women than tree's or soil or sand... well, maybe sand is ok, it's so much a part of where I live! Actually sand is very pertinent because it sparkles and glistens with texture... just like this finish! It's really tactile - interactive also... it just feels, nice. Will allow the nitro to do its curing thing now -

View attachment 2761802

View attachment 2761804
That's not beige, that's Champagne Gold!
 
  • Like
Reactions: JIO
Finish finished! (or is it finished finish?) Sunny day, good breeze, shot the gold glitter blast and a multiple coats of satin nitro on top (with light sanding-pad between). I used most of the rattle can of the beige base colour the last couple days with an overnight dry. I find it very amusing spraying a bass body beige. And I'm not like, a nature obsessed person where I choose browns and beiges because "they're from nature" etc. (and nothing against those who feel that way) The way I see beige is through cosmetics - more related to women than tree's or soil or sand... well, maybe sand is ok, it's so much a part of where I live! Actually sand is very pertinent because it sparkles and glistens with texture... just like this finish! It's really tactile - interactive also... it just feels, nice. Will allow the nitro to do its curing thing now -

View attachment 2761802

View attachment 2761804
Great contouring! I bet it will be super comfortable to play!
 
  • Like
Reactions: JIO

I wired it up like your schematic just as a harness, tapping the pu's for response - the switches leave it ON no matter which setting (no on/off - they don't seem to do anything and I can't tell about series/parallel) Both pu's respond to the V knob, but the tone knob, when full bass - off/nothing ... but rolling it off a bit and it's back on. No indication of tone variences. I'll check my wiring again, but I'm pretty sure it follows what you sent.

2 questions; in the schematic, there is a that short cut-off (blue wire) from where you wrote SERIES - ? And the purple (?) wire that connects to the T and V pots... (not indicated which pole) - I have it connected to the center tab of the V pot, which goes to hot at the jack. And finally, you have 2 arrows pointing down from the middle & bottom switches - ? not sure if they are ground or...?

Gotta get ready for a show (tonight) so will need to try again later - that's for your help so far.
 
Hmmm... OK in answer to your questions first. the little blue wire is an artifact from an earlier drawing (I reuse the switch elements) The downward arrows are ground connections (universal schematic symbols) On the pots, in the drawing the center is the center (wiper) the top is the Clockwise lug, and the bottom is the counter-clockwise lug. Keep in mind that lines of the same color are connected.

Basic Schematic:
JagWire3.png

If this helps, here's what should be going on with each switch position. The wires that are thicker have electrons flowing through them, this is how I ultimately verified the drawing:
JagWire3PAllOff.png

JagWire3PBO.png

JagWire3PNOff.png

JagWire3PBOff.png

Series mode
JagWire3SAlloff.png

JagWire3SBO.png

JagWire3SNO.png

JagWire3SBoff.png

Hope this helps.
 
Last edited:
  • Like
Reactions: JIO
JIO: Please get back to the drawing board and finish the capo lever design. I’m making parts for a drop-D headless bass and I’m in the stage where capo lever is next thing to do. You talked about sprung lever. Can you give some more info? Do you know how Kubicki lever works?
 
JIO: Please get back to the drawing board and finish the capo lever design. I’m making parts for a drop-D headless bass and I’m in the stage where capo lever is next thing to do. You talked about sprung lever. Can you give some more info? Do you know how Kubicki lever works?

Phils capo is spring-loaded - I will take the one I have off of my fretless Ex-Factor neck and shoot pics of it for you to study. The spring essentially keeps the capo in a dynamic down position (with pressure) on top of the string and you have to manually lift it to shift the E string over and then release it, after which (because of the spring and an indent on the hs) it drops out of the path of the string. I will be assembling the bass next week and getting it to operate correctly first, and once doing so the process of realizing the capo will be continued. In a perfect world I'd have made much faster progress - but life dictates what I can realistically make happen. :) Thanks for your interest!
 
Hmmm... OK in answer to your questions first. the little blue wire is an artifact from an earlier drawing (I reuse the switch elements) The downward arrows are ground connections (universal schematic symbols) On the pots, in the drawing the center is the center (wiper) the top is the Clockwise lug, and the bottom is the counter-clockwise lug. Keep in mind that lines of the same color are connected.

Basic Schematic:
View attachment 2762523
If this helps, here's what should be going on with each switch position. The wires that are thicker have electrons flowing through them, this is how I ultimately verified the drawing:
View attachment 2762524
View attachment 2762525
View attachment 2762527
View attachment 2762526
Series mode
View attachment 2762528
View attachment 2762529
View attachment 2762531
View attachment 2762530
Hope this helps.


Finally had a moment to look everything over and try to get it working. On your schematics Jon - does the thick line on each switch connecting 2 poles indicate actual (wired) connection? (or is is showing which poles are in play) I'm having trouble getting it to operate correctly and realized that may be where the problem lies as I have them connected with wires.
 
Ahhh... The thick black lines indicate the position of the slider in the switch. Not connections to be made.

Ok then! I just removed them and now it's acting more like it should - so it's not strung-up, just doing the screwdriver on pole touching test to determine what works. So both pu's go off/on (check), and the center (series/parallel) switch does this => when on the opposite side of the two 'on' pu switches (pu switches both R, center switch L) - everything seems correct. But once it's switched to the same side as the on pu switches (all R) - the B pu goes off. Not sure if that is what's supposed to happen or if not what I'm doing wrong. I'll check everything again - but at least I can assemble the bass and string it up to hear the differences in tone/sound.

