• TalkBass has been independent since 1998. Add your voice.
    Create a free account to reply to discussions, view embedded media, and browse with fewer display ads.
    Join freeLog in
    Want zero display ads or expanded classifieds tools? Compare plans.

Devil Magnum

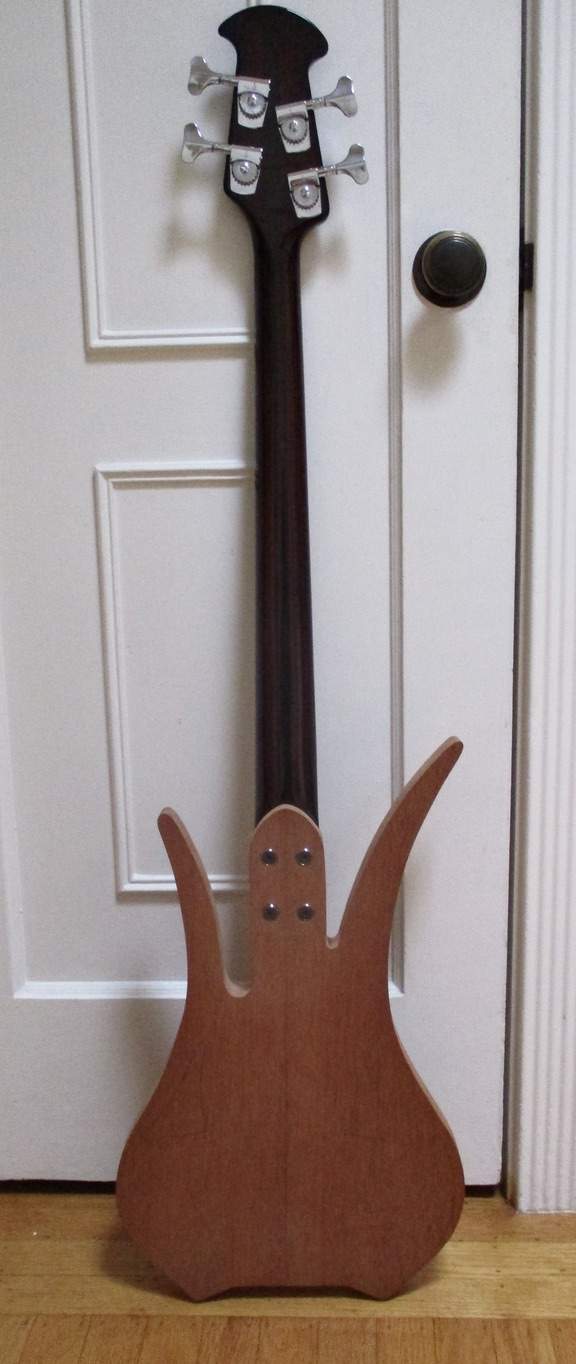
Lots done today - first off, drilled for the neck bolts. The Ovation neck has threaded inserts for machine bolts. I had some flat hex-head bolts that were compatible. Of course had to open the inset ferrule hole to allow for the bolt, as well as widen the scallop..
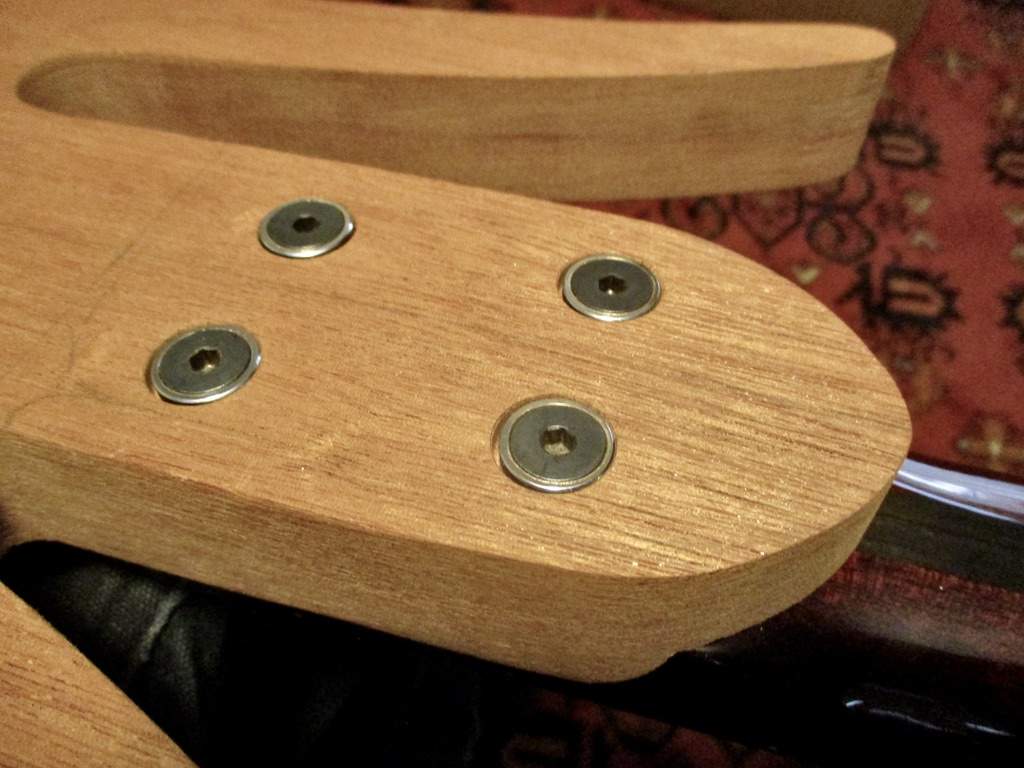
upload_2021-3-13_18-17-42.jpeg

So far, so good.
upload_2021-3-13_18-26-10.jpeg

Deep bevel router bit for some edge-sculpting -
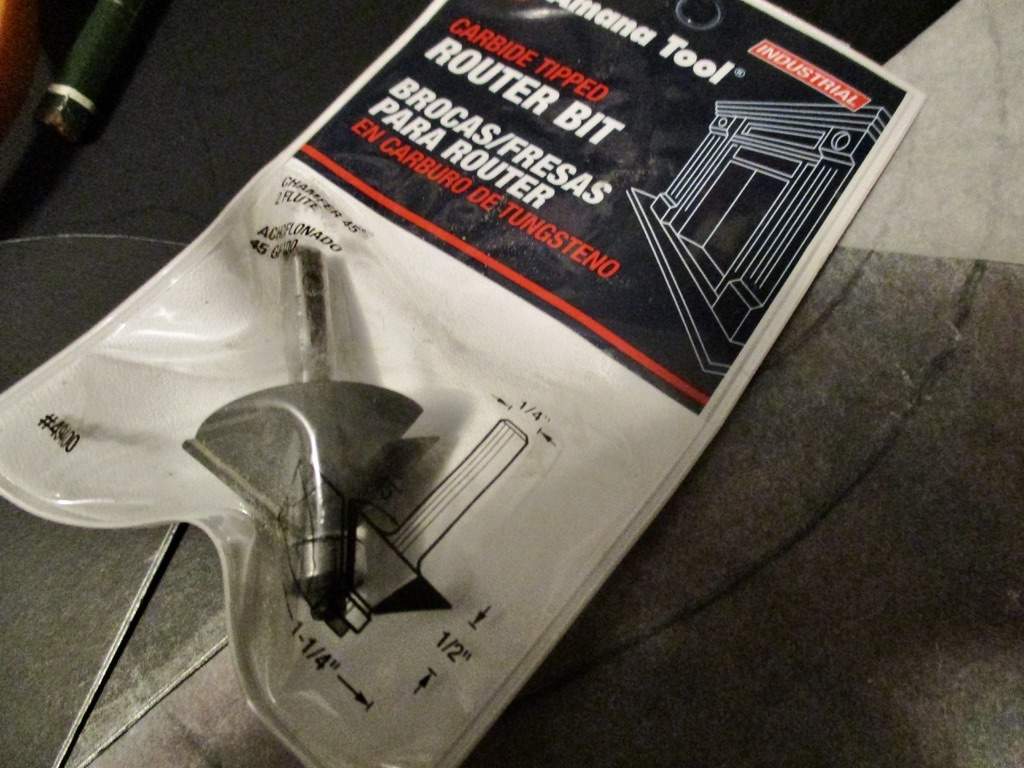
upload_2021-3-13_18-28-10.jpeg

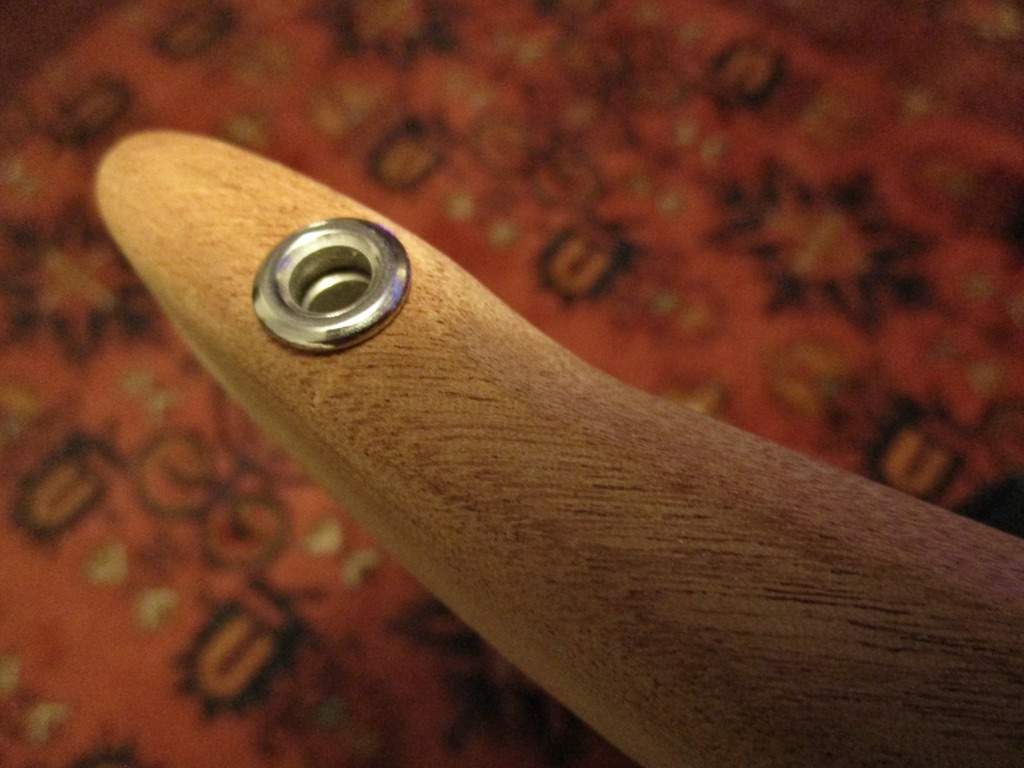
Upper horn Dunlop strap peg insert -
upload_2021-3-13_18-51-21.jpeg

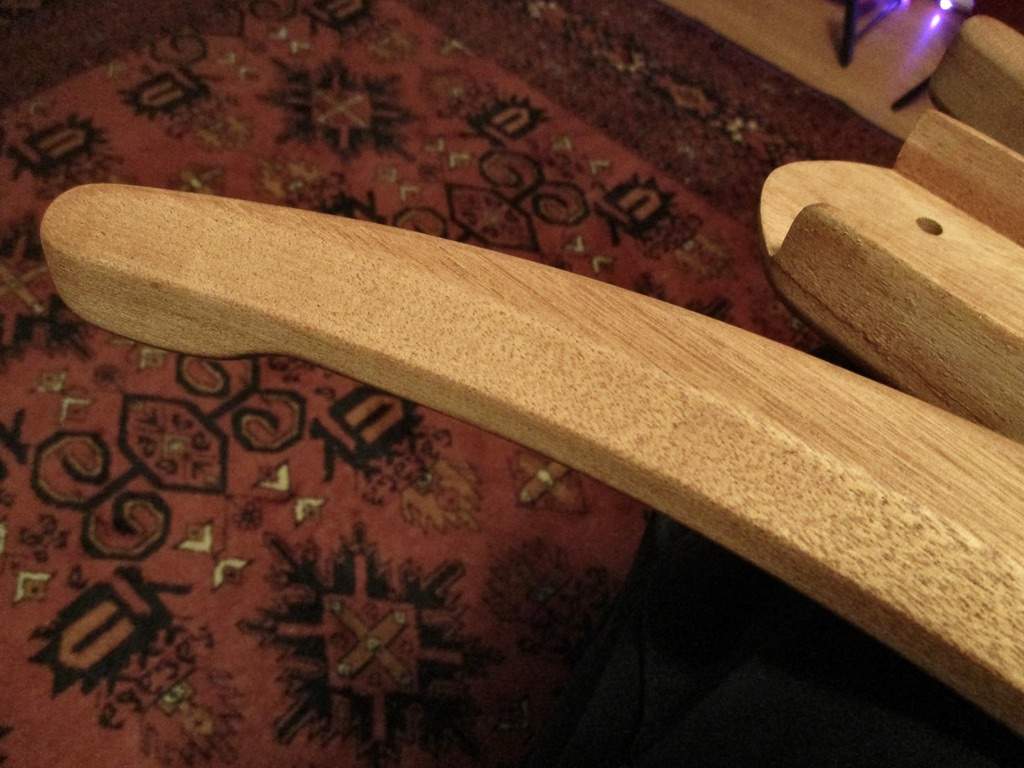
Front view of the upper horn -
upload_2021-3-13_18-51-47.jpeg

Sculpted heal - deeper on the underside, less so on the top.
upload_2021-3-13_18-52-23.jpeg

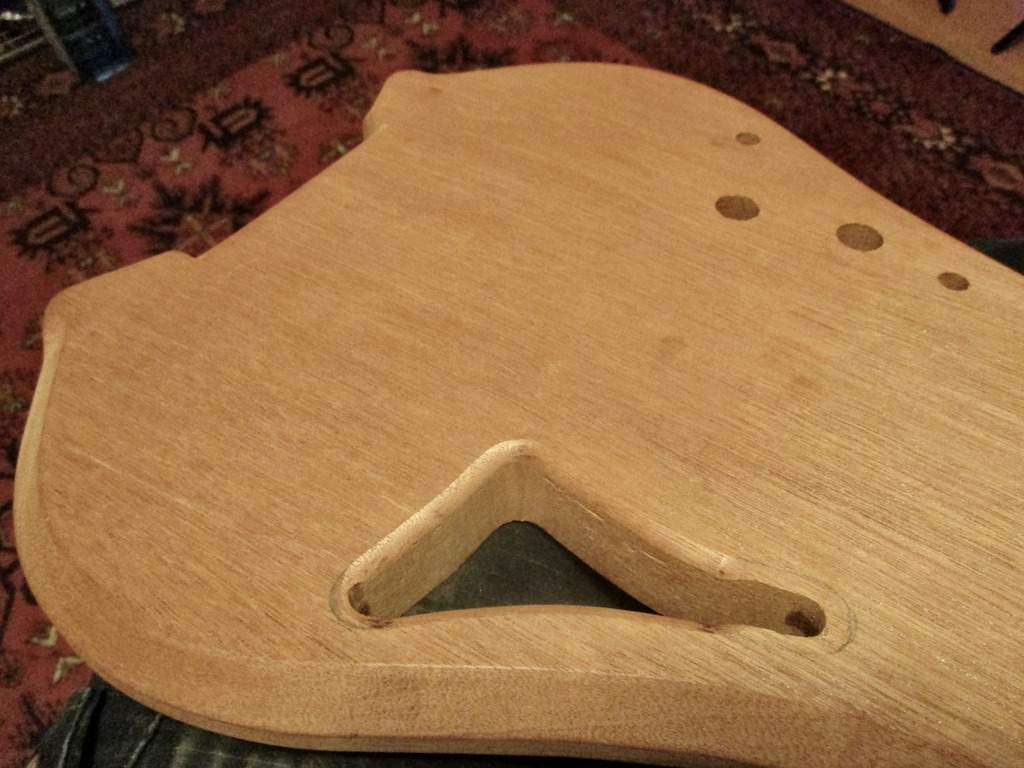
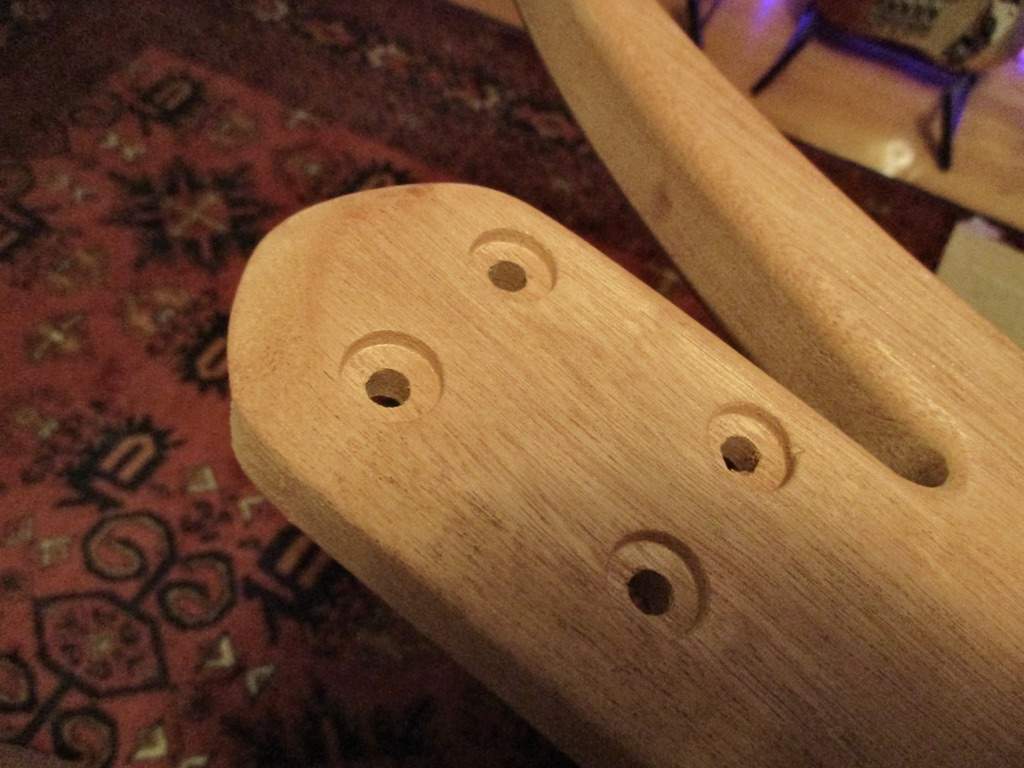
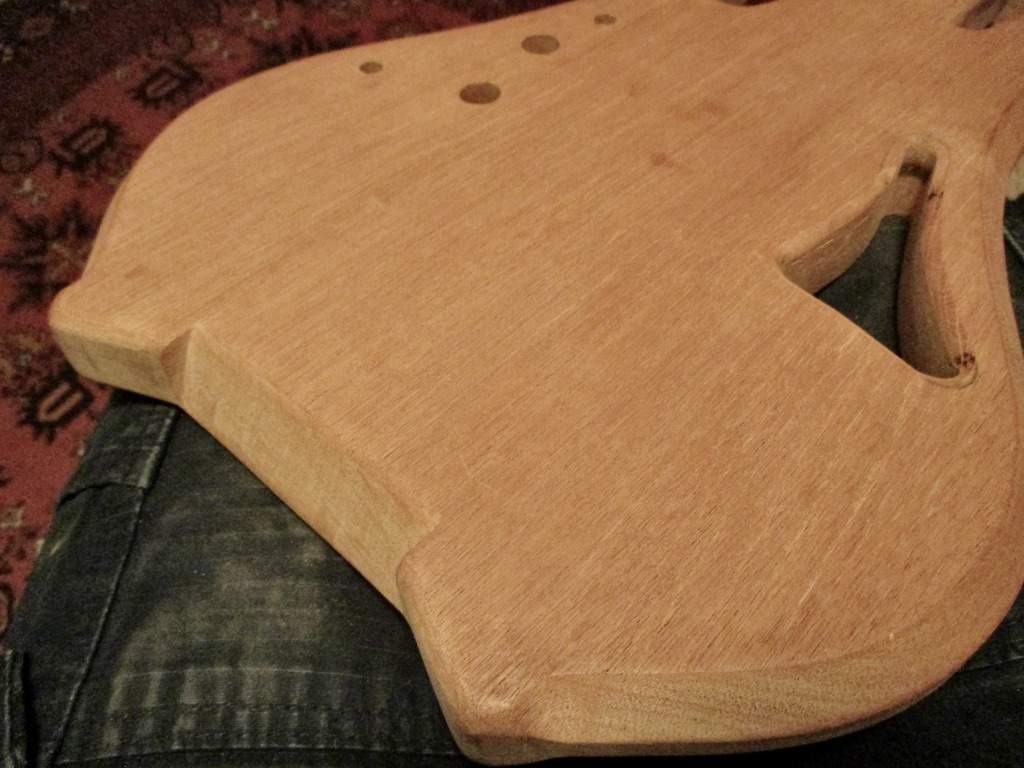
Angled ledge for string-thru ferrules. Body-thru cutouts in progress -
upload_2021-3-13_18-52-50.jpeg

In progress -
upload_2021-3-13_18-53-17.jpeg

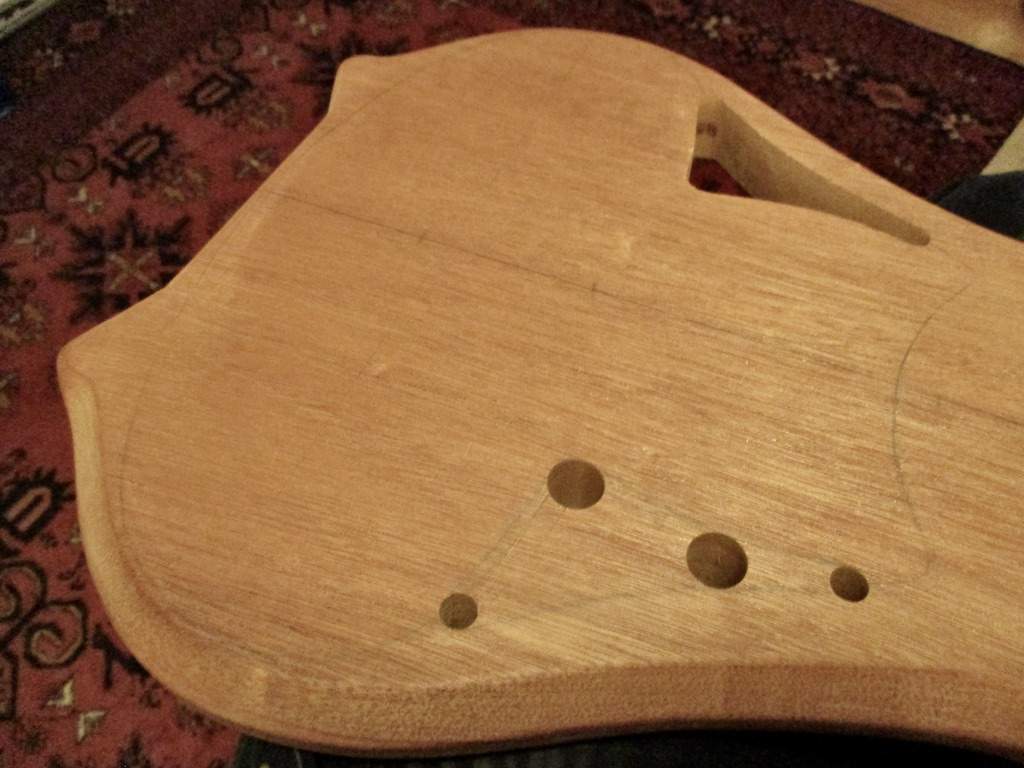
etc... not doing a belly bevel. I could add one but because it's already pretty sculpted - frankly it would be overkill.
upload_2021-3-13_18-53-54.jpeg


upload_2021-3-13_18-54-15.jpeg
 
Last edited:
String-thru ferrule alignment -

upload_2021-3-14_13-40-0.jpeg

Could have used the smaller ferrules - but have always liked these '51 P jumbo sized ferrules. Very retro-rocket/hot-rod. The milling is pretty crude so I'm sanding/polishing/getting them more refined (as first two from left) Also added the lower strap-peg flush so when engaged with the Dunlop strap the body stands upright.
upload_2021-3-14_13-41-0.jpeg
 
7lbs/2oz - Darkstar pu, HS bridge, electronics/knobs, string-thru ferrules, and strings will add some weight, but lookin' like a very comfy +/- 8lbs. Balances well as is, and will balance even better after the added weight of the bridge/pu. The arch of the upper horn ergonomically comforts to your body and the lower horn curve provides a very nice interface with ones leg. (it's flat where it rests on your leg) Add to that 100% access to the 20th fret and you have a bass that meets every criteria for instrument/player (happy!) relationship.

upload_2021-3-15_16-3-43.jpeg
upload_2021-3-15_16-7-20.jpeg
upload_2021-3-15_16-7-42.jpeg
upload_2021-3-15_16-21-58.jpeg
 
7lbs/2oz - Darkstar pu, HS bridge, electronics/knobs, string-thru ferrules, and strings will add some weight, but lookin' like a very comfy +/- 8lbs. Balances well as is, and will balance even better after the added weight of the bridge/pu. The arch of the upper horn ergonomically comforts to your body and the lower horn curve provides a very nice interface with ones leg. (it's flat where it rests on your leg) Add to that 100% access to the 20th fret and you have a bass that meets every criteria for instrument/player (happy!) relationship.

View attachment 4204512 View attachment 4204514 View attachment 4204515 View attachment 4204531


So cool!
 
  • Like
Reactions: JIO
Next step - bridge location/installation. Gotta get it right the first time so much measuring, remeasuring and remeasuring again until every measurement is in synchonistic alignment. Then, once the bridge post holes are drilled - the final fussing begins getting string-thru channels drilled for each string to their ferrules at the correct angle from the bridge. I did it once so I'm hoping I can do it again!

upload_2021-3-15_20-24-46.jpeg
 
Your Devil Bass looks like the young son who grew up in the '90's. The family blood is there, with some youthful crazy attitude. I like it, a nice design.

My only criticism is the corners of the upper pickguard. I'd bring them in closer to the neck, with a slight curve on the sides. Those straight lines mess with the beauty of all the other curves. The lower pickguard looks great.
 
Your Devil Bass looks like the young son who grew up in the '90's. The family blood is there, with some youthful crazy attitude. I like it, a nice design.

My only criticism is the corners of the upper pickguard. I'd bring them in closer to the neck, with a slight curve on the sides. Those straight lines mess with the beauty of all the other curves. The lower pickguard looks great.

Great eyes see alike! I was going to round-off the upper corners of the upper pg to soften the tips but adding a subtle curve on the sides is exactly the approach needed. :thumbsup: On the fence about adding the symmetric finger rests. I personally play over the pu or lower and rarely at the heal so it would be more of an aesthetic consideration based on referencing the Ampeg DB.

upload_2021-3-16_8-11-11.jpeg
upload_2021-3-16_8-11-34.jpeg
 
Last edited:
Some wise dude somewhere said something cool about form and function being joined at the hip. Or something like that. I dunno, I saw it in a sig somewhere....

Yah, that guy was Wright as rain. ;) I mean, I could do the finger rests as the bass will be for sale to someone who might play at the heal as many players do. Options could include curved ebony, clear lucite, or gold-leafed wood. (visually related to the Ovation hs decal) Lot's to do in the meantime.
 
String-thru channel layout - I will create a drill-bit guide that fits in the 1/2"deep ferrule holes so the angle is consistent/true. If all my calculations are correct, the exit holes should be right where the bridges 5/16" cut-outs under each saddle.

upload_2021-3-17_13-7-24.jpeg
 
String-thru channel layout - I will create a drill-bit guide that fits in the 1/2"deep ferrule holes so the angle is consistent/true. If all my calculations are correct, the exit holes should be right where the bridges 5/16" cut-outs under each saddle.

View attachment 4206889
Just a thought but if the strings angle up where they exit the body you may have an issue with them splitting the wood and lifting the pickguard? I think you need a straight shot to the saddle?
 
Just a thought but if the strings angle up where they exit the body you may have an issue with them splitting the wood and lifting the pickguard? I think you need a straight shot to the saddle?

I've already made a mock-up and as long as the pg is tight against the wood it exits at a clean oval. I will use pg screws where I will later drill the post-holes to keep it tight. But, having done this I will take the added precaution to see the exit holes in the wood before pushing through the pg, as I can align pg holes from a possibly not perfect aligned set of wood-exit holes.
 
Last edited:
I've already made a mock-up and as long as the pg is tight against the wood it exits at a clean oval. I will use pg screws where I will later drill the post-holes to keep it tight. But, having done this I will take the added precaution to see the exit holes in the wood before pushing through the pg, as I can align pg holes from a possibly not perfect aligned set of wood-exit holes.
I saw your drawing which is why I raised the question.
 
  • Like
Reactions: JIO