• TalkBass has been independent since 1998. Add your voice.
    Create a free account to reply to discussions, view embedded media, and browse with fewer display ads.
    Join freeLog in
    Want zero display ads or expanded classifieds tools? Compare plans.

fEarful 12/6 kit : a total noob build diary

clamps, as discussed, are indefensible for this.


I alos realized
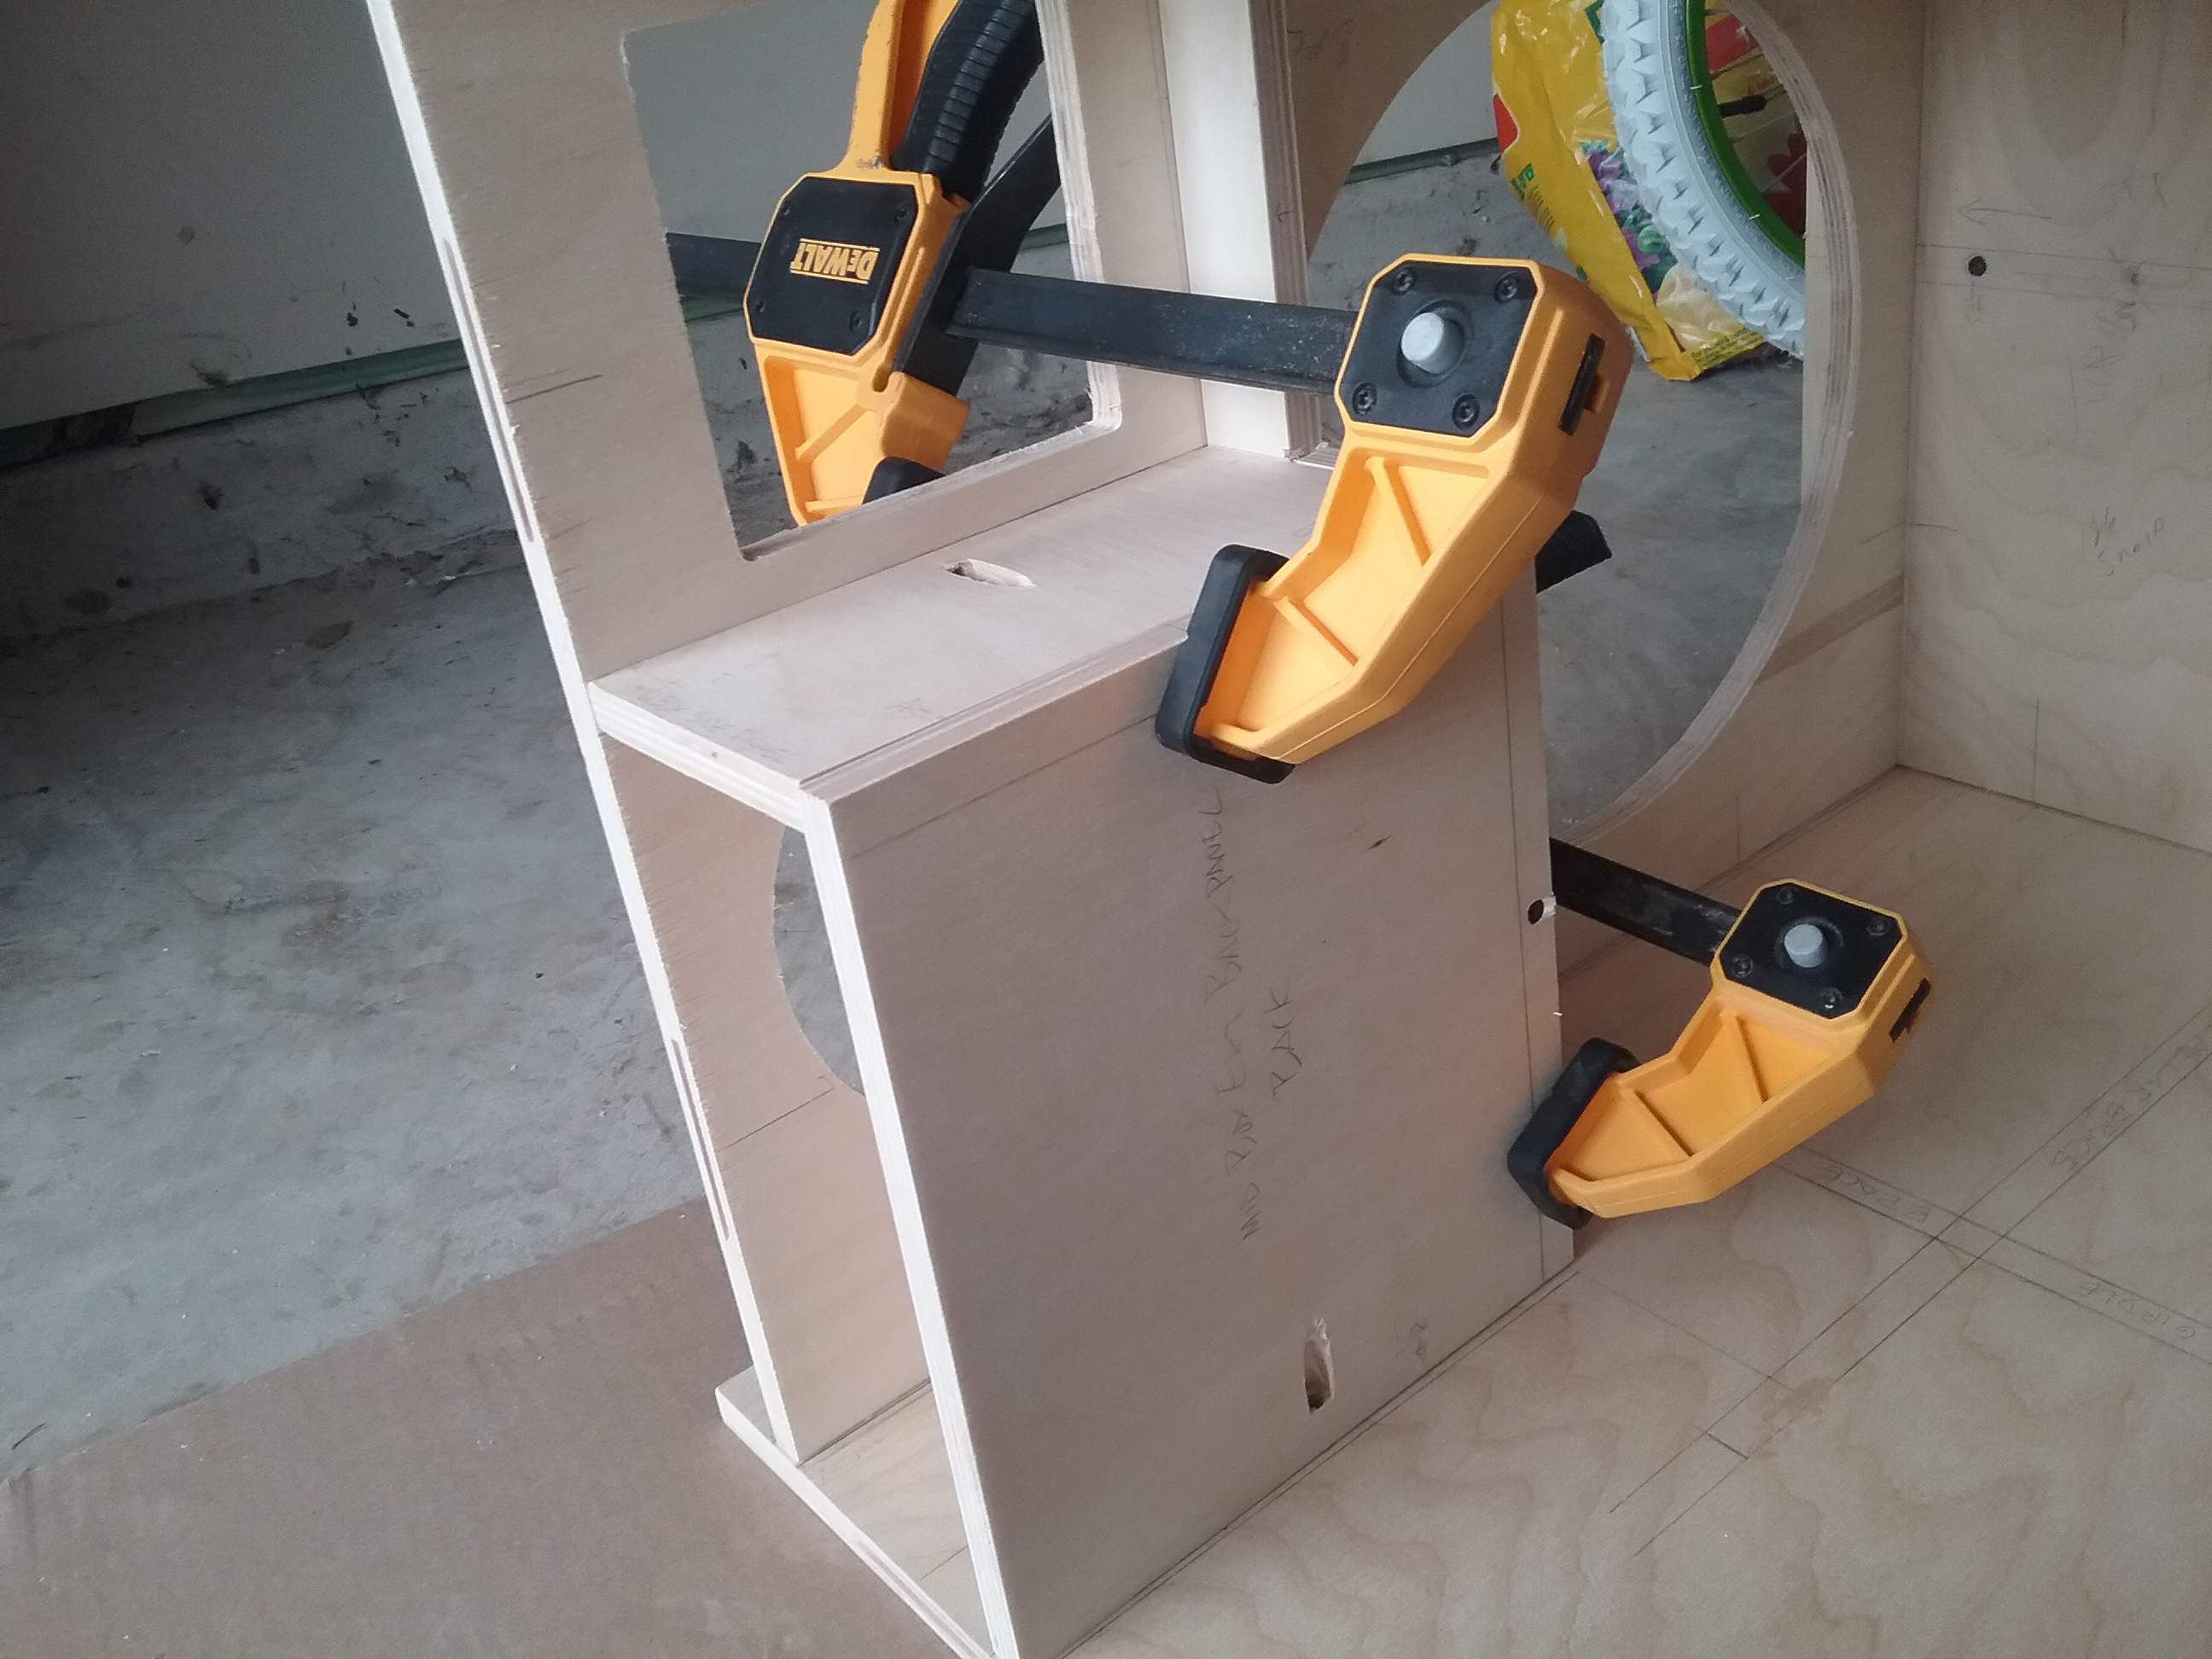
20200525_160702.jpg


about this time I realized I had been using the wrong screws for the pilot holes. If you are planning on going my way withe the flatpack plus the delux kit: the pilot screws come in the flat pack. Don't use screws in the deluxe kit for pilot screws!
 
It's all on like Donkey Kong.

Those are some mean looking clamps.

Looks like you need to be more careful marking and drilling screw holes?

Easiest to do your drilling in the vertical to keep it straight. Failing to keep it perpendicular can result in the screw pulling the panel sideways if you aren't lucky.
 
having found the correct pilot screws, I assembled the bracing. Because I ditched the baffle biscuits, the back panel is now satisfyingly flush with the sides.View attachment 3843504
I see you've got a helper, it's always nice when your kids want to get involved.

My eldest daughter always wanted to be helping me if I was woodworking and my youngest if I were soldering. With my son if it wasn't sport or maths he was nowhere to be seen.
 
Looking good. Your parts will show up at some point but you can proceed with confidence and get the cab finished while you're waiting.

You're coming up on corner roundovers soon. There's two ways to do it. You can use a router if your buddy has one, and that's easiest. Use a 1/4" radius bit. Routing requires a bit of practice so try to set up some dummy corners with some pieces of plywood if you can find them. Routers are dangerous as well so be careful.

Or you can use sanding blocks, which is a LOT of elbow grease. For the sanding blocks, use a couple pieces of 1/2" ply about 8" x 2" and some sand paper. Start with 40 - 60 grit to shape it and work your way to 120 to finish.

Either way, after the adhesive has cured you want to remove the screws and bondo the holes. Screws and router bits don't mix.
 
Last edited:
It's all on like Donkey Kong.

Those are some mean looking clamps.

Looks like you need to be more careful marking and drilling screw holes?

Easiest to do your drilling in the vertical to keep it straight. Failing to keep it perpendicular can result in the screw pulling the panel sideways if you aren't lucky.

Dont drive the screws in quite so deep (the wedge effect of the tapered head on the screws is powerful), adjust the ratchet chuck on your drill to a lower setting.
 
Dont drive the screws in quite so deep (the wedge effect of the tapered head on the screws is powerful), adjust the ratchet chuck on your drill to a lower setting.
I was gonna say...if your drill-driver has an adjustable clutch, which seems highly likely, you should dial back the clutch setting a bit. I noticed a counter-sink drill bit in one of your pics--you don't really need to use that if you're going to be removing the screws...you don't even need to seat them fully.
 
So I have some questions about the order or operations between the gluing and the assembly of the interior pieces - foam, crossovers, wiring etc. Presumably I won't be gluing the whole assembly before taking care of that stuff. Do builders typically leave the top ( or top and back? ) until after the foam and crossovers are attached?

I assume the foam will go on the sides and top, does the bottom get foam? The shelf I guess is left clear for mounting crossovers.

I did not spring for the more expensive mid range, for which stuffing is required, but is there an advantage to stuffing the mid box anyway?

I did not order pre-assembled crossovers, so the components were delivered with no circuit board to mount. I see some have mounted the circuits on to wood, but I also have seen generic crossover circuit pc boards available , I'm thinking about ordering those. Any advice on crossover assembly/installation would be appreciated.
 
Do not put damping on the bottom of the box. It's part of the port and must be unobstructed.

The mid chamber needs to be stuffed regardless of which driver you use. The only difference is that the specs call for using rigid foamboard to reduce the size of the chamber for the 18Sound driver.

I used zip ties to hold the Xover components directly onto the top of the shelf when I built one of my 12/6 cabinets.
 
  • Like
Reactions: flatwound251
I’ve done it both ways. A couple times I put blue tape over the edges of the top to remind me not to glue that side on, just fastened it with screws. It made it easier to get inside the cab to dink around with wiring changes, insulation, securing crossovers...etc. Screwing the top on helps hold things square. I also use scoop handles, so there were two largish openings on the sides before the handles get mounted.

I don’t like removing and reinstalling the drivers, it’s too much work, and I’m always worried about poking the cone with a tool.

With the 12/6 cubes, I assembled the whole thing and worked through the 12” hole, and the handle cutouts. With the smaller cab, it’s easy to reach inside. The 3012LF was the last part installed, followed by the grill.

I put my wiring in before insulation, to reduce and rattling.

Either way, I Duratex the cab before installing anything.

What are you planning for the finish?
 
  • Like
Reactions: Doufuss
I glued (both of) mine up completely before adding the poly damping, crossover, or painting.

Looking back it would have been easier to paint the port before glueing up but I managed it ok (with only small amounts of black paint on my hands).

The inside of a fEARful is subject to some serious air movement, hence vibration so zip tie and hot glue everything down "like your gig depends upon it".
 
I used zip ties to hold the Xover components directly onto the top of the shelf when I built one of my 12/6 cabinets
With no circuit board, or intermediate board of some kind? I guess these circuits don't generate much heat. Did you drill holes directly in the shelf for the zip ties?

Either way, I Duratex the cab before installing anything
.
If the glue , foam, and the duratex can deliver before the rest of the circuits, I may go this route. Between the woofer an tweeter cuts I should have plenty of room for attaching foam and crossovers...
 
With no circuit board, or intermediate board of some kind? I guess these circuits don't generate much heat. Did you drill holes directly in the shelf for the zip ties?
Yep. I drilled holes in the shelf and tied the components directly to it. I wasn't concerned about heat because I didn't cover them with damping. (I don't remember if I lined that box with open celled foam of poly fiber.)
I've powered that cabinet (loudly!) with amps capable of 450-500 watts and, as far as I know, there were no heat related problems.
One downside is that, at certain angles, the portion of the ties below the shelf can be seen through the port opening. But, if you've read any of my older posts in greenboy's forum, you know I'm not really concerned about cosmetics.
 
  • Like
Reactions: mambo4
Here is how I did mine many years ago . A piece of 1/4" ply with the caps and coils hot glued to it . I have moved on to circuit boards since then and they work very well . I didn't ty wrap on this but it is very important to do .
S7300454.JPG

The first picture is from my later 15/6/1 using the boards from Leland at Speaker Hardware . The board for the tweeter is mounted to the mid box . Makes a nice neat job . Below is my original 12/6/1 .

S7300302.JPG