• TalkBass has been independent since 1998. Add your voice.
    Create a free account to reply to discussions, view embedded media, and browse with fewer display ads.
    Join freeLog in
    Want zero display ads or expanded classifieds tools? Compare plans.

Five string single cut - oak content

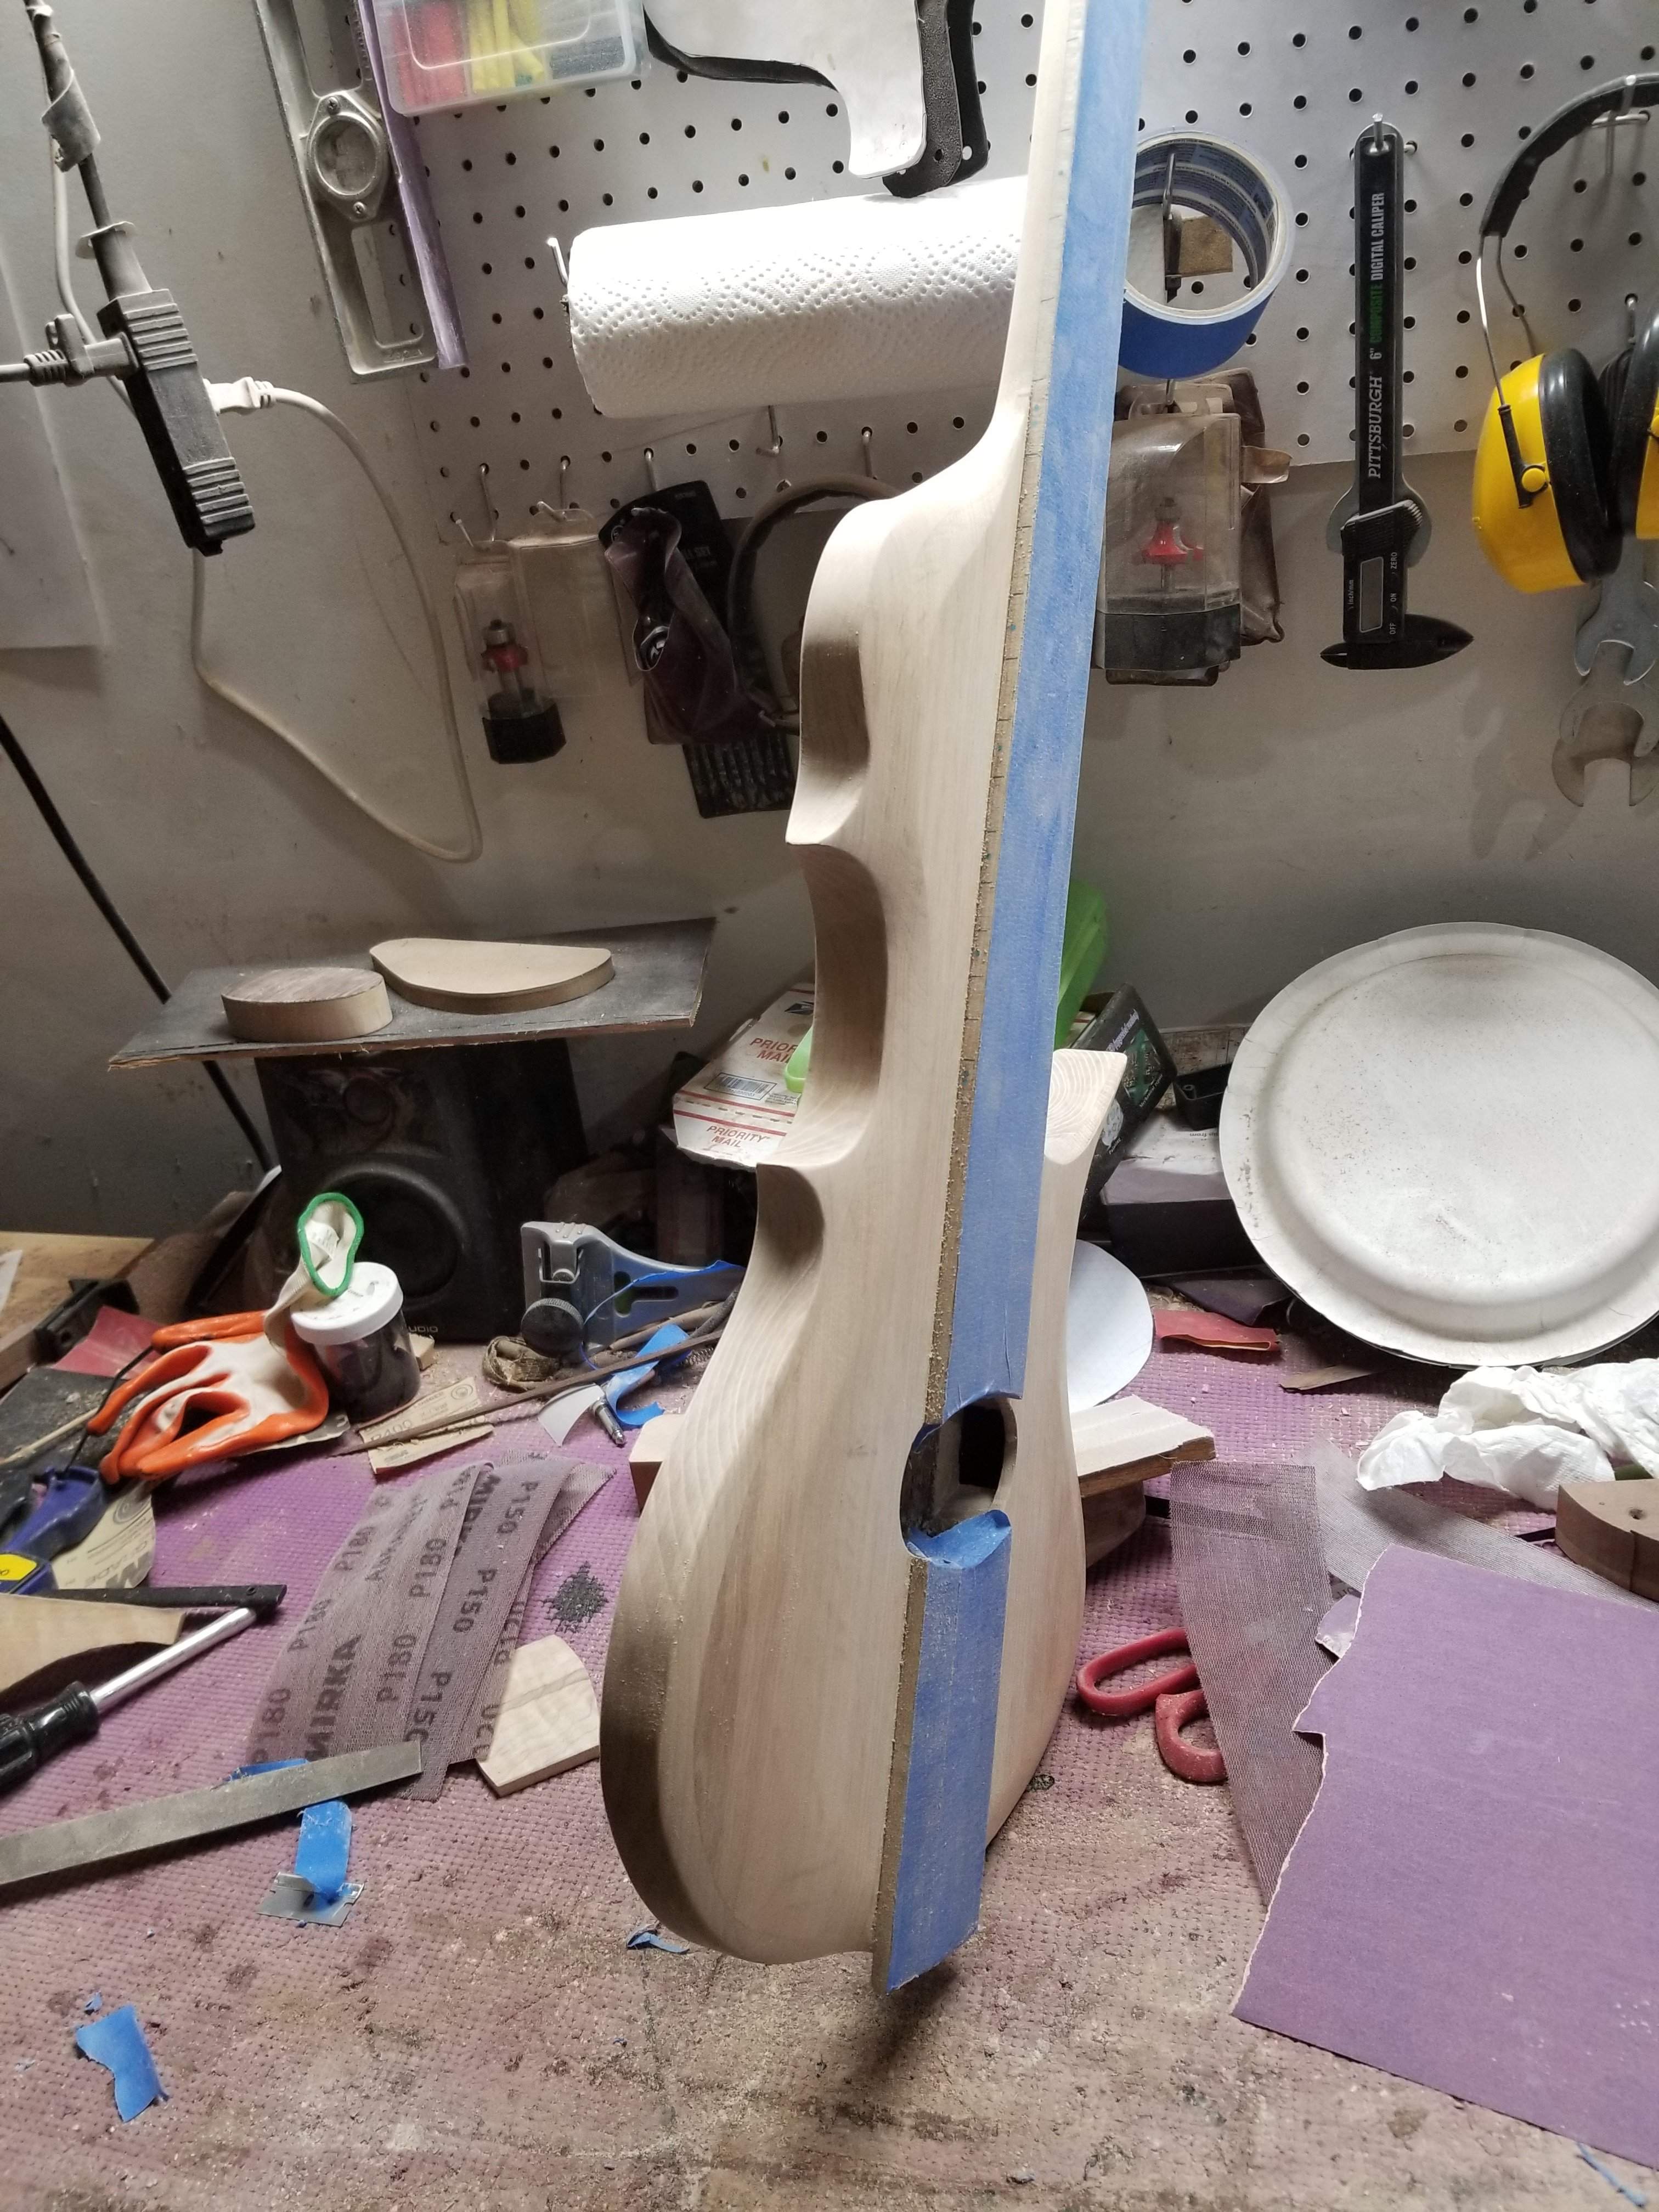
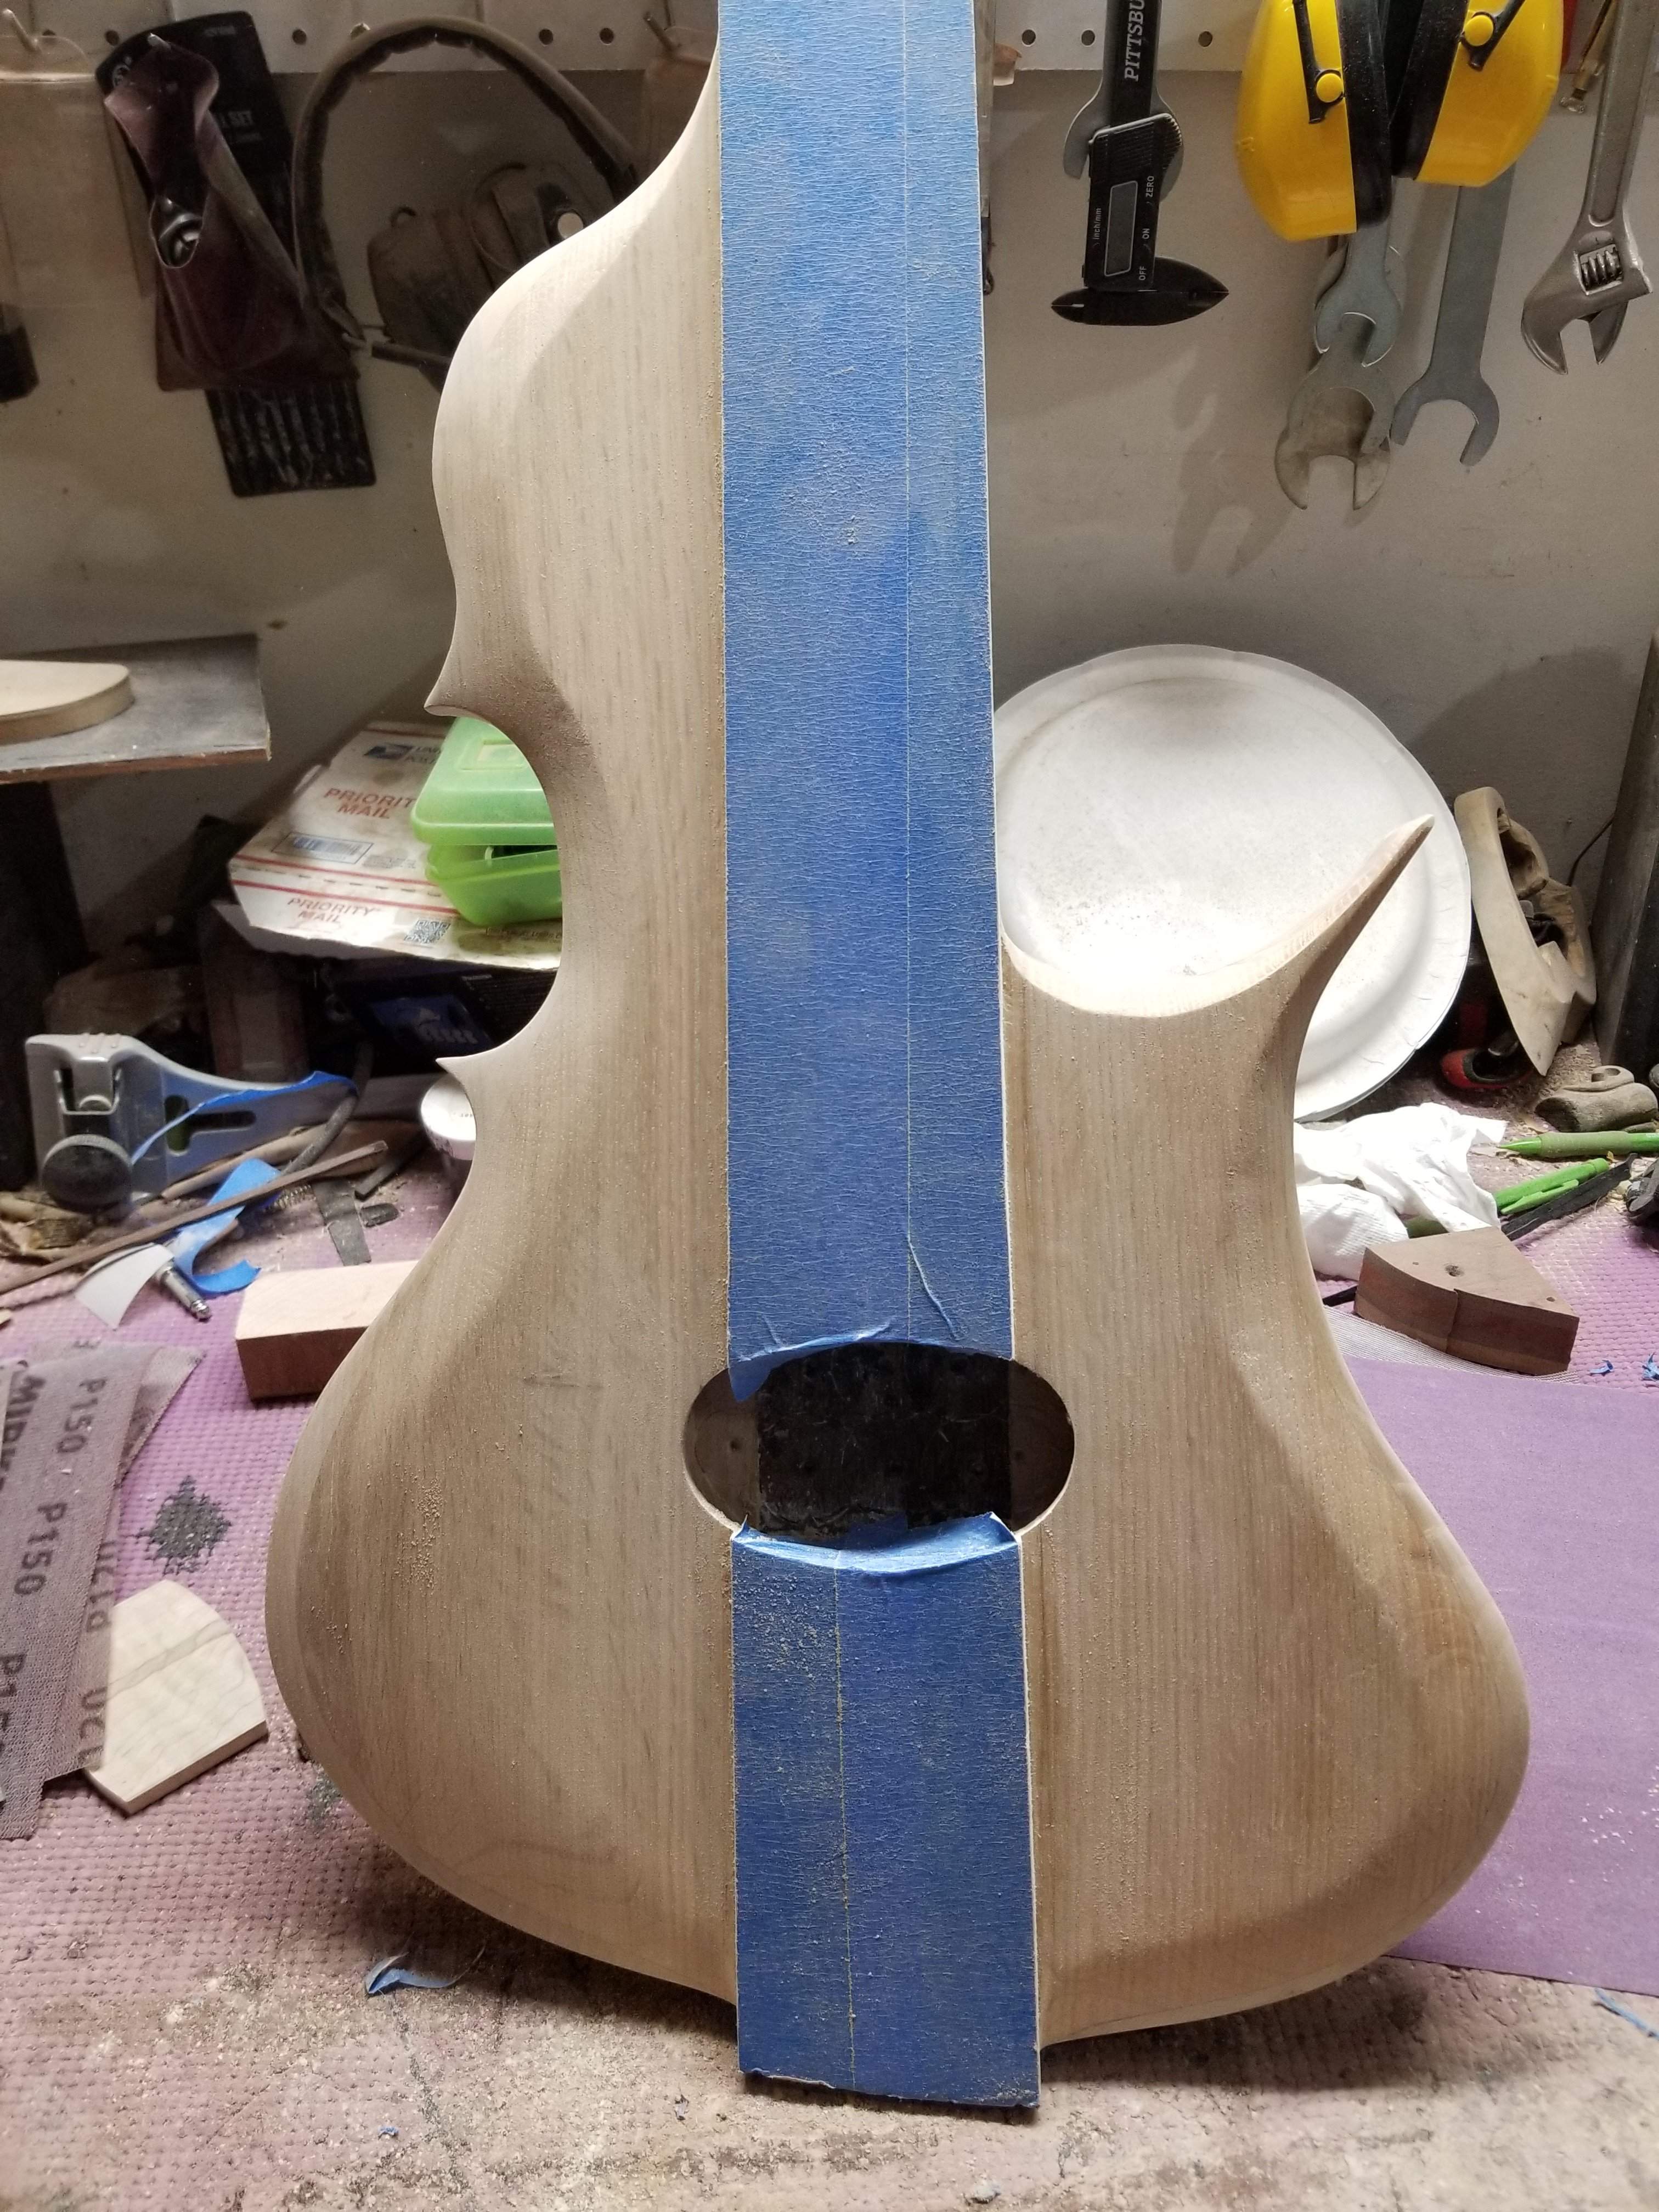
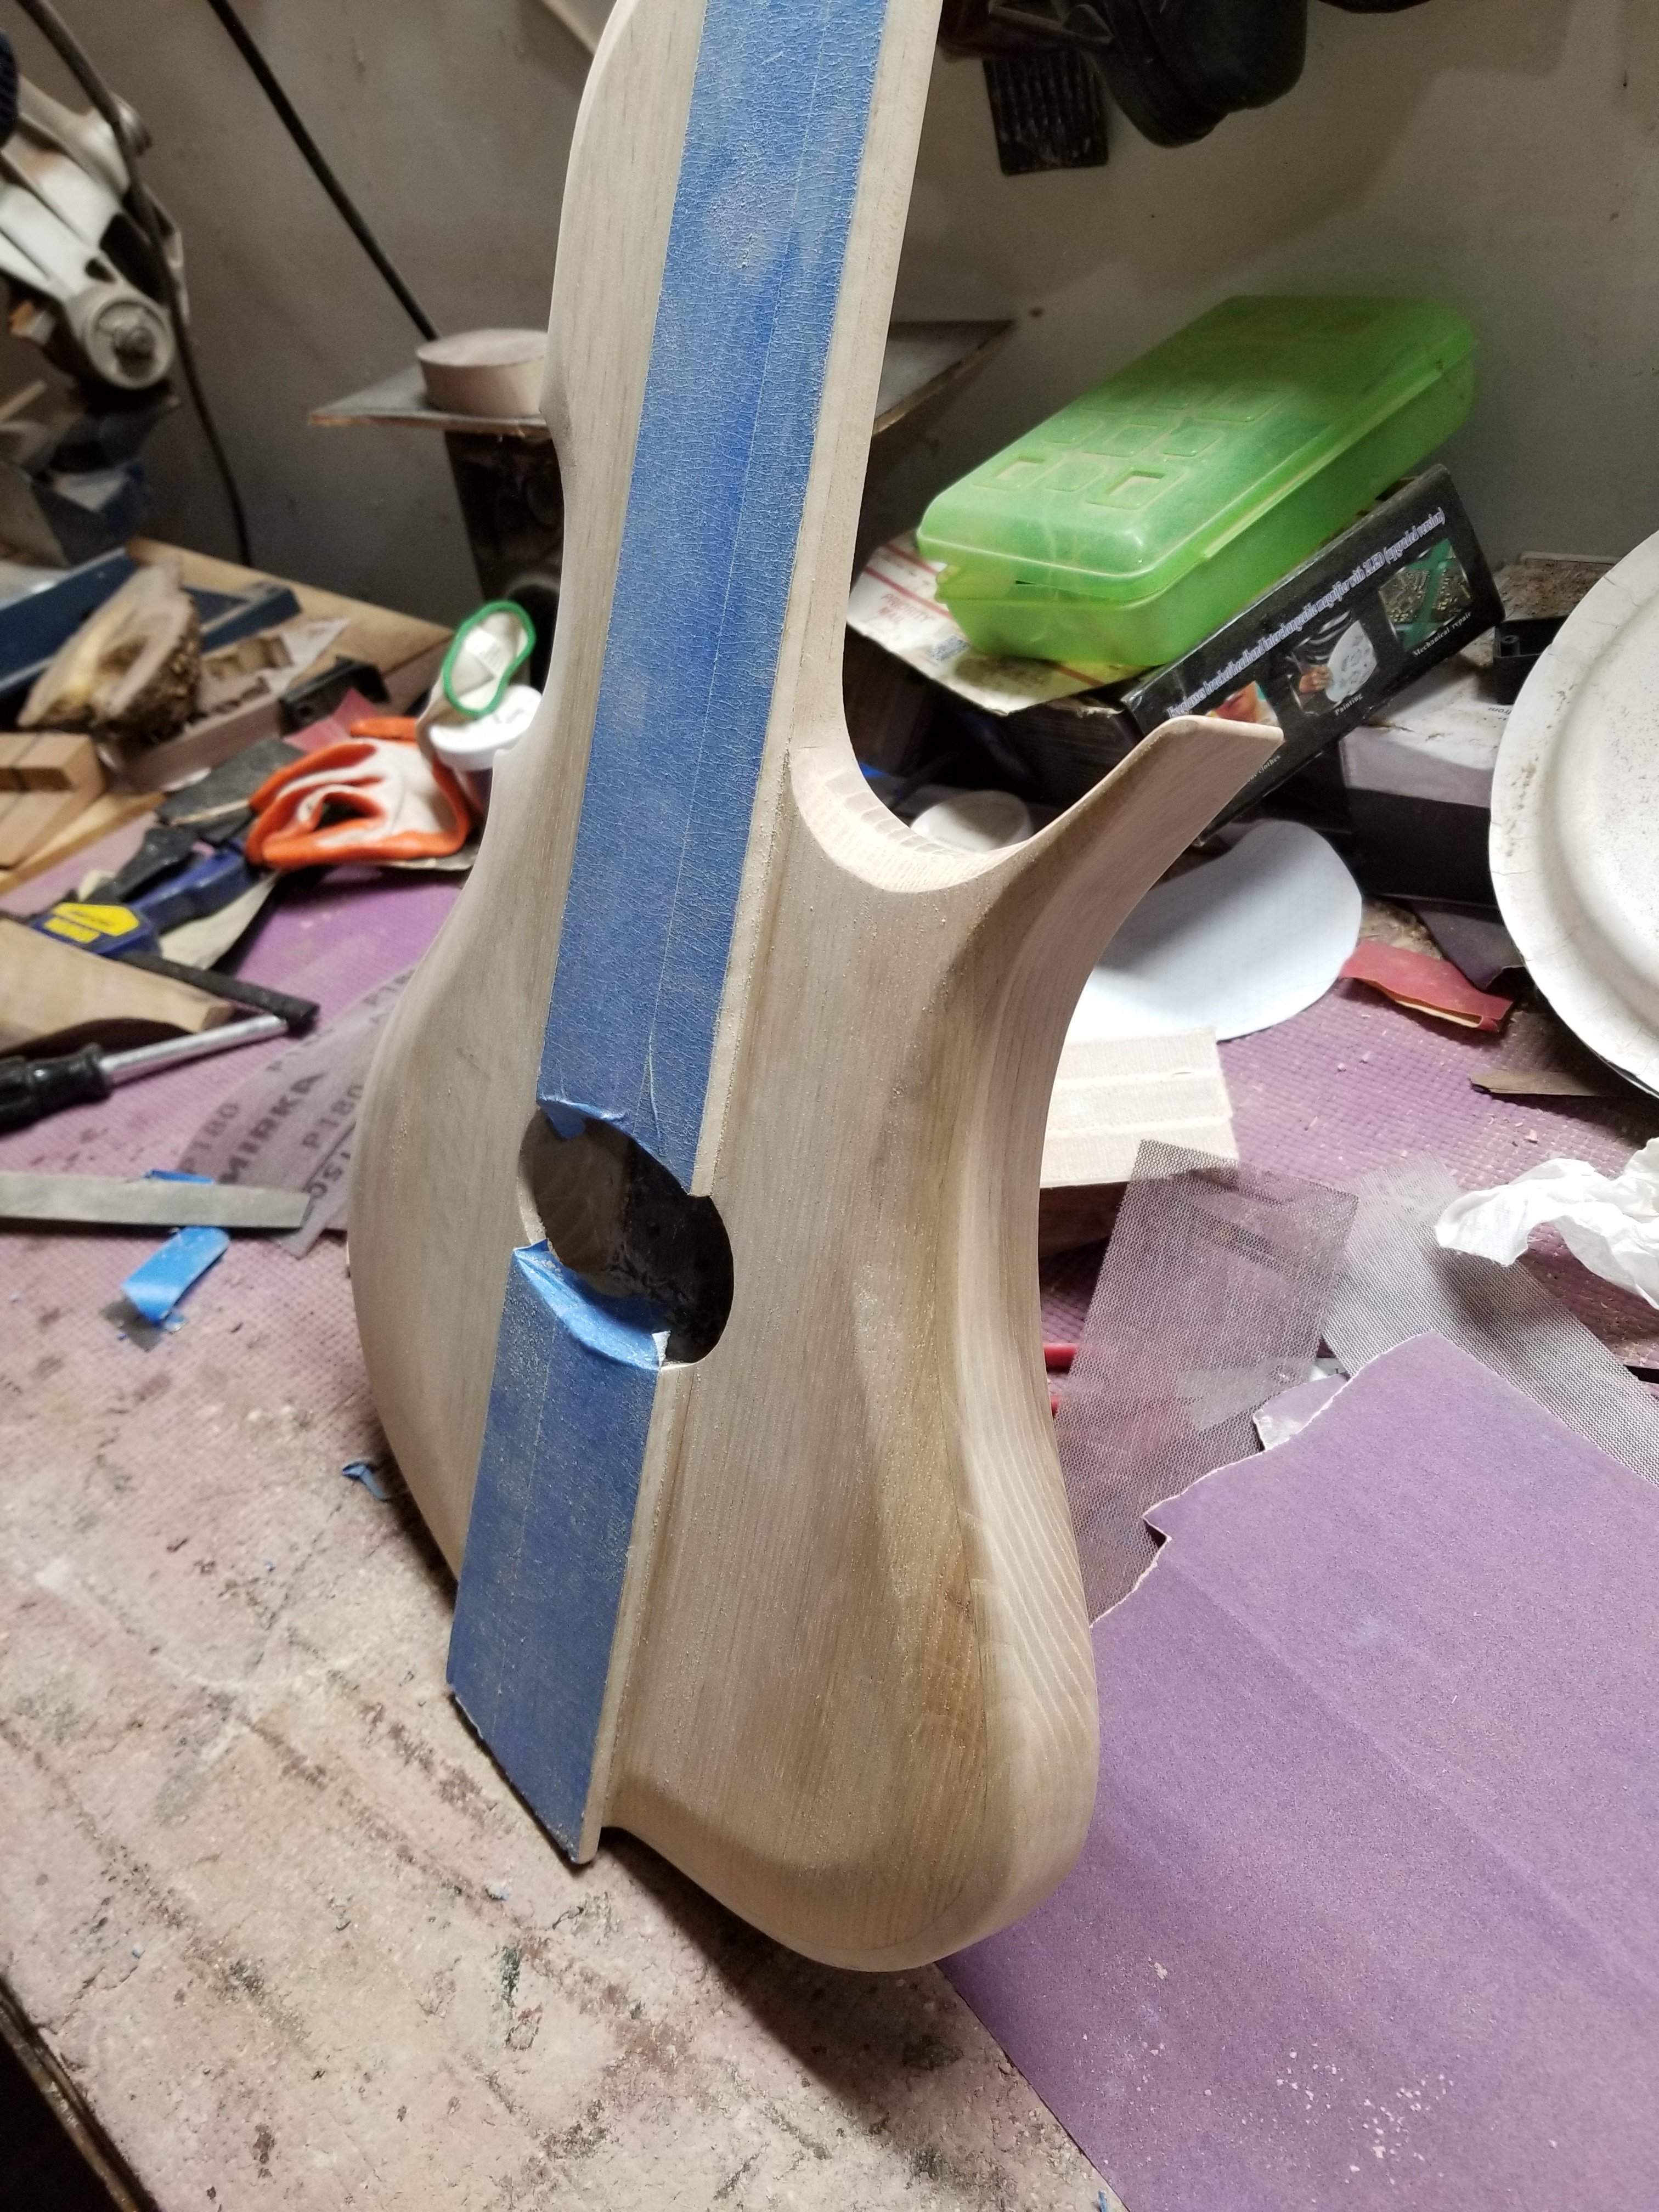
I spent a couple hours sanding, I think it's pretty much ready for the finish. I'm going to use water based Varathane for this one. Based on some advice from Bruce Johnson I'm going to do 3 coats of clear over the whole thing, tape off the ash, do a couple of coats of black tinted Varathane on the oak, then coat the whole thing in a couple coats of clear. I guess I'll do that tomorrow. I've had enough shop time today.
20190715_142557.jpg
20190715_142608.jpg
20190715_142616.jpg
 

Attachments

  • 20190715_113140.jpg
    20190715_113140.jpg
    1.3 MB · Views: 43
  • 20190715_125645.jpg
    20190715_125645.jpg
    1,021.6 KB · Views: 45
  • 20190715_125649.jpg
    20190715_125649.jpg
    1.3 MB · Views: 43
  • 20190715_130435.jpg
    20190715_130435.jpg
    1 MB · Views: 43
It's supposed to get humid here today, so I'm trying to get this done this morning. I may have to move inside later, which would be problematic, to say the least.

After the first coat of dyed poly, I'm thinking, "coverage sucks, hard to get a consistent cover"
20190716_080257.jpg

The bluish tinge from the poly will freak you out unless you know it goes away.

After the second coat I'm thinking, "this is a huge mistake", coverage is spotty, there are parts of the grain not taking poly at all (no pics because I was a bit flustered.

Third coat, now its drying fast and coverage is getting really consistent. I might do one more coat.
20190716_083521.jpg
 
I wanted to pull the tape off before it got too hard, just in case. I cleaned it up a lot with a razor blade before taking this pic. There were a lot of places where the poly got under the tape. Some of it is certainly my fault for not taping better, but a lot of it was the poly getting in the grain that was not fully filled in by the clear coats - both ash and oak have very open grain.

My big problem area is right along the fingerboard where the poly piled up, it's going to take a while to dry and then I'm going to have quite a job getting that removed cleanly (I think).

Using the dye directly on the wood then covering it with Tru Oil gives a much cleaner line than this, at least initially taking it off the stand. I think some of that has to do with the relatively small amount of liquid involved in that process versus this one which has a lot of liquid laying on the instrument, it just overwhelmed the tape. We'll see where we end up after fine tuning with a razor blade. When I did this with the dye directly on the wood there was very little clean up.

On the last coat the spray gun splooged a gob of poly onto the top. Hopefully that sands out. So far I'd say I have a decent shot at success here, but it will take some careful sanding and scraping.
20190716_095107.jpg
 
Well that was pretty much a complete failure. I worked with a razor blade for an hour or more cleaning it up. The joint between the neck and body was the worst spot, the Varathane gathered there (I probably sprayed into that corner too much). It created a fillet and getting rid of the top of the fillet that was on the neck was impossible without ripping it off the body as well. Ugh. I got it to an unacceptable level of messy, I really wasn't happy with it, but figured I'd see how it looked after a coat of clear.

Things did not get better. I put a coat on the top, let it dry for a bit and flipped it over, sprayed the back. Then flipped it back over again, the wet clear at that point had apparently dissolved the layer below it and black color was running over the somewhat crisp line on the outer edge onto the ash, it wasn't actually running, more like blurring, but the black was definitely migrating.

Perhaps I sprayed on too much clear at once. I don't know. I just took a paper towel and wiped off whatever I could. I'll let it harden and sand the rest off tomorrow.

I really wish I went with my initial idea that worked so well on the other top I dyed. I could have done that with water based on top of it, no problem.

I don't know how I'm going to finish it now, I guess I can sand it back and do the dye on wood thing. I suppose it's just the oak I need to sand all the way back.

Man that's a frustrating day, but if I think to what it looked like before clear I wouldn't have been happy anyway.

It's hot and humid out now, but I think a bike ride would be a good idea.
 
I'm watching and learning from your experiences. i have plans for a translucent or opaque finish using the varathane. I've been testing out wiping it on, but bought a cheap HVLP spray gun yesterday and hope to start my spray adventures next week. thanks for posting your progress, even if it doesn't go as planned.
 
I'm watching and learning from your experiences. i have plans for a translucent or opaque finish using the varathane. I've been testing out wiping it on, but bought a cheap HVLP spray gun yesterday and hope to start my spray adventures next week. thanks for posting your progress, even if it doesn't go as planned.
I may or may not be the right guy to be following here - I have zero experience with spraying finish, so I'm learning from the ground up. I understand that spraying water based poly is different than spraying other finishes, so maybe that's good I don't know what I'm doing? Ha!

Anyway, I'll try to document my progress here, I honestly don't know what I am going to do right now. I will sand it in the morning and figure out a plan from there.
 
I sanded it all back using a ROS this morning. It wasn't too bad, but I couldn't get to everything with it, so manual sanding came into play.
20190717_090811.jpg

Then I taped off the oak and put shellac on the rest of the body.
20190717_093549.jpg

After applying a coat of shellac I could see some spots where I didn't get all the finish off. I was able to spot sand and take care of them.

I taped off the non-oak and applied black dye to the oak, which also exposed spots where I didn't get all the finish off. I'll let it dry then sand it back again. This is frustrating, but just have to keep on keeping on.
20190717_103127.jpg
 
I put a coat of shellac on the whole thing, it's looking pretty good. I still have a few spots on the ash that need a little more sanding, but I'm getting there. I feel like I'm doing everything backwards, but I think I'll end up in a good spot. I'm going to finish with Tru Oil, the water based stuff looks good if you're going for a gloss finish, I don't think I want that on this one.
 
I finalized the pickup cover and glued a holder across the bottom to hold the pickup in the cover. It's "lightly" glued, it wouldn't be fun to extricate it, but it wouldn't be impossible either. I had to modify the pickup a bit to get it to fit and get screws in.
20190718_083505.jpg
I am at about five coats of Tru Oil. I'll probably do another one this afternoon, sand back in the morning and finish up after that - I'm not looking for a thick coat here, I want the grain to show through. It's looking pretty good. I guess if I'm being honest I should start over on the finish one more time, but there is a bigger issue in that I shouldn't have used ash for the back, the grain is too similar to the oak. I should have use maple back there, so there would be not only color contrast, but also more grain contrast. It looks like I randomly dyed the wood, not that it's two kinds of wood.
20190718_141034.jpg

I know I've whined a bit in this build, sorry about that, it's all a learning experience for me, sometimes stuff doesn't go perfectly and I get a little frustrated. It's all good in the end, I have very little money invested in this build.

I can't wait to pull the tape off and see how that fingerboard looks against the black.
 
I spent the afternoon putting this one together. First I have to say that I'm super happy with how this turned out. I have pretty much written this one off several times (as you can see by other posts I've made), I couldn't have imagined it would look like this when it was done.

Pulling the tape off the fingerboard was the first time I could kind of see some light. I have tried to take pics of this board many times, they don't do it justice. The fact that this was a free board from my wood guy is just icing on the cake. I had some black tapewounds in my toolbox I was going to use on a the last singlecut, but they weren't long enough, they look great on this one.
20190719_160023.jpg

I only have black tuners here, and I was thinking that silver would look good, but now I'm back to liking the black tuners. I'll make a truss rod cover out of the same material as the fingerboard, the nut needs a little fine tuning.
20190719_160235.jpg

My first scarf joint, it came out pretty good I think, it's not quite perfect. Next time I'll do some contrasting wood in the joint, I didn't have the confidence to do that this time around, I could barely get my head wrapped around the concept of what I was doing.
20190719_155346.jpg


The control cover is finished with the water based Varathane dyed black and covered in a few coats of clear, this is what the oak on the body was supposed to look like. Right now it's held in place by friction, my engineer friends tell me to never use friction or gravity, I'll put some screws in it later.
20190719_155332.jpg

The bridge is just a thin piece of ebony, I wasn't sure how tall it needed to be, it turns out not very tall. I cut slots in it, which is probably a good idea anyway. The pickup cover is coated in clear Varathane and polished. I need to do a bit more polishing on it, you can see some minor scratches in it.
20190719_155410.jpg

I put an EMG preamp I bought used on Reverb in it, it's pretty simple, just treble and bass. It sounds good. Now I think it will be worth making knobs for it :-D.

I really like how the black dyed oak came out, so much better than the solid black it was at first. I think the amber from the Tru Oil added a lot to the way that black section looks too - the parts where you can see through the black are a nice amber instead of white like when I first started putting the Tru Oil on.

I'll admit I was a little concerned about the string terminations on the bottom. The routes are pretty tight for the ball ends, they only fit in standing up, they all went in easily. I was also concerned that the maple wouldn't be strong enough to hold them, it does not appear to be a problem at all, there's zero deflection. All of the strings are picking up the grounding springs, I didn't check that they are actually grounded, I'd have to check on the cut strings as the nylon wrap isn't conductive. I didn't hear any noise when I plugged it in.
20190719_155359.jpg

The thing that took me the longest on the final build was getting the pickup cover in the hole, the fingerboard encroached on the opening a bit and the finish made the hole too small. I probably need to cut the cover down a bit, the screws are just barely long enough.
20190719_155410.jpg

20190719_155324.jpg

It plays really nice, I could probably bring the action down just a little more if I wanted too. I play a fair amount of slap and pop, that's not really an option on this one with no room between the strings and the fingerboard all the way down. The intonation worked out great with just the slant to bridge.

I'll record something in a bit, I need to get to some Honey-Do list items.