

Enjoy the benefits of a premium membership!
Upgrade Account
-
TalkBass has been independent since 1998. Add your voice.
Create a free account to reply to discussions, view embedded media, and browse with fewer display ads.
Join free Log in
Want zero display ads or expanded classifieds tools? Compare plans.
You are using an out of date browser. It may not display this or other websites correctly.
You should upgrade or use an alternative browser.
You should upgrade or use an alternative browser.
Five string single cut - oak content
- Thread starter Jisch
- Start date
More options
Who Replied?

I got back from France last night, I'm beginning to really hate flying. I'd say it's the specific airline I fly, but even when I've flown other airlines I've had issues. It's just a sucky thing if you do it often enough.
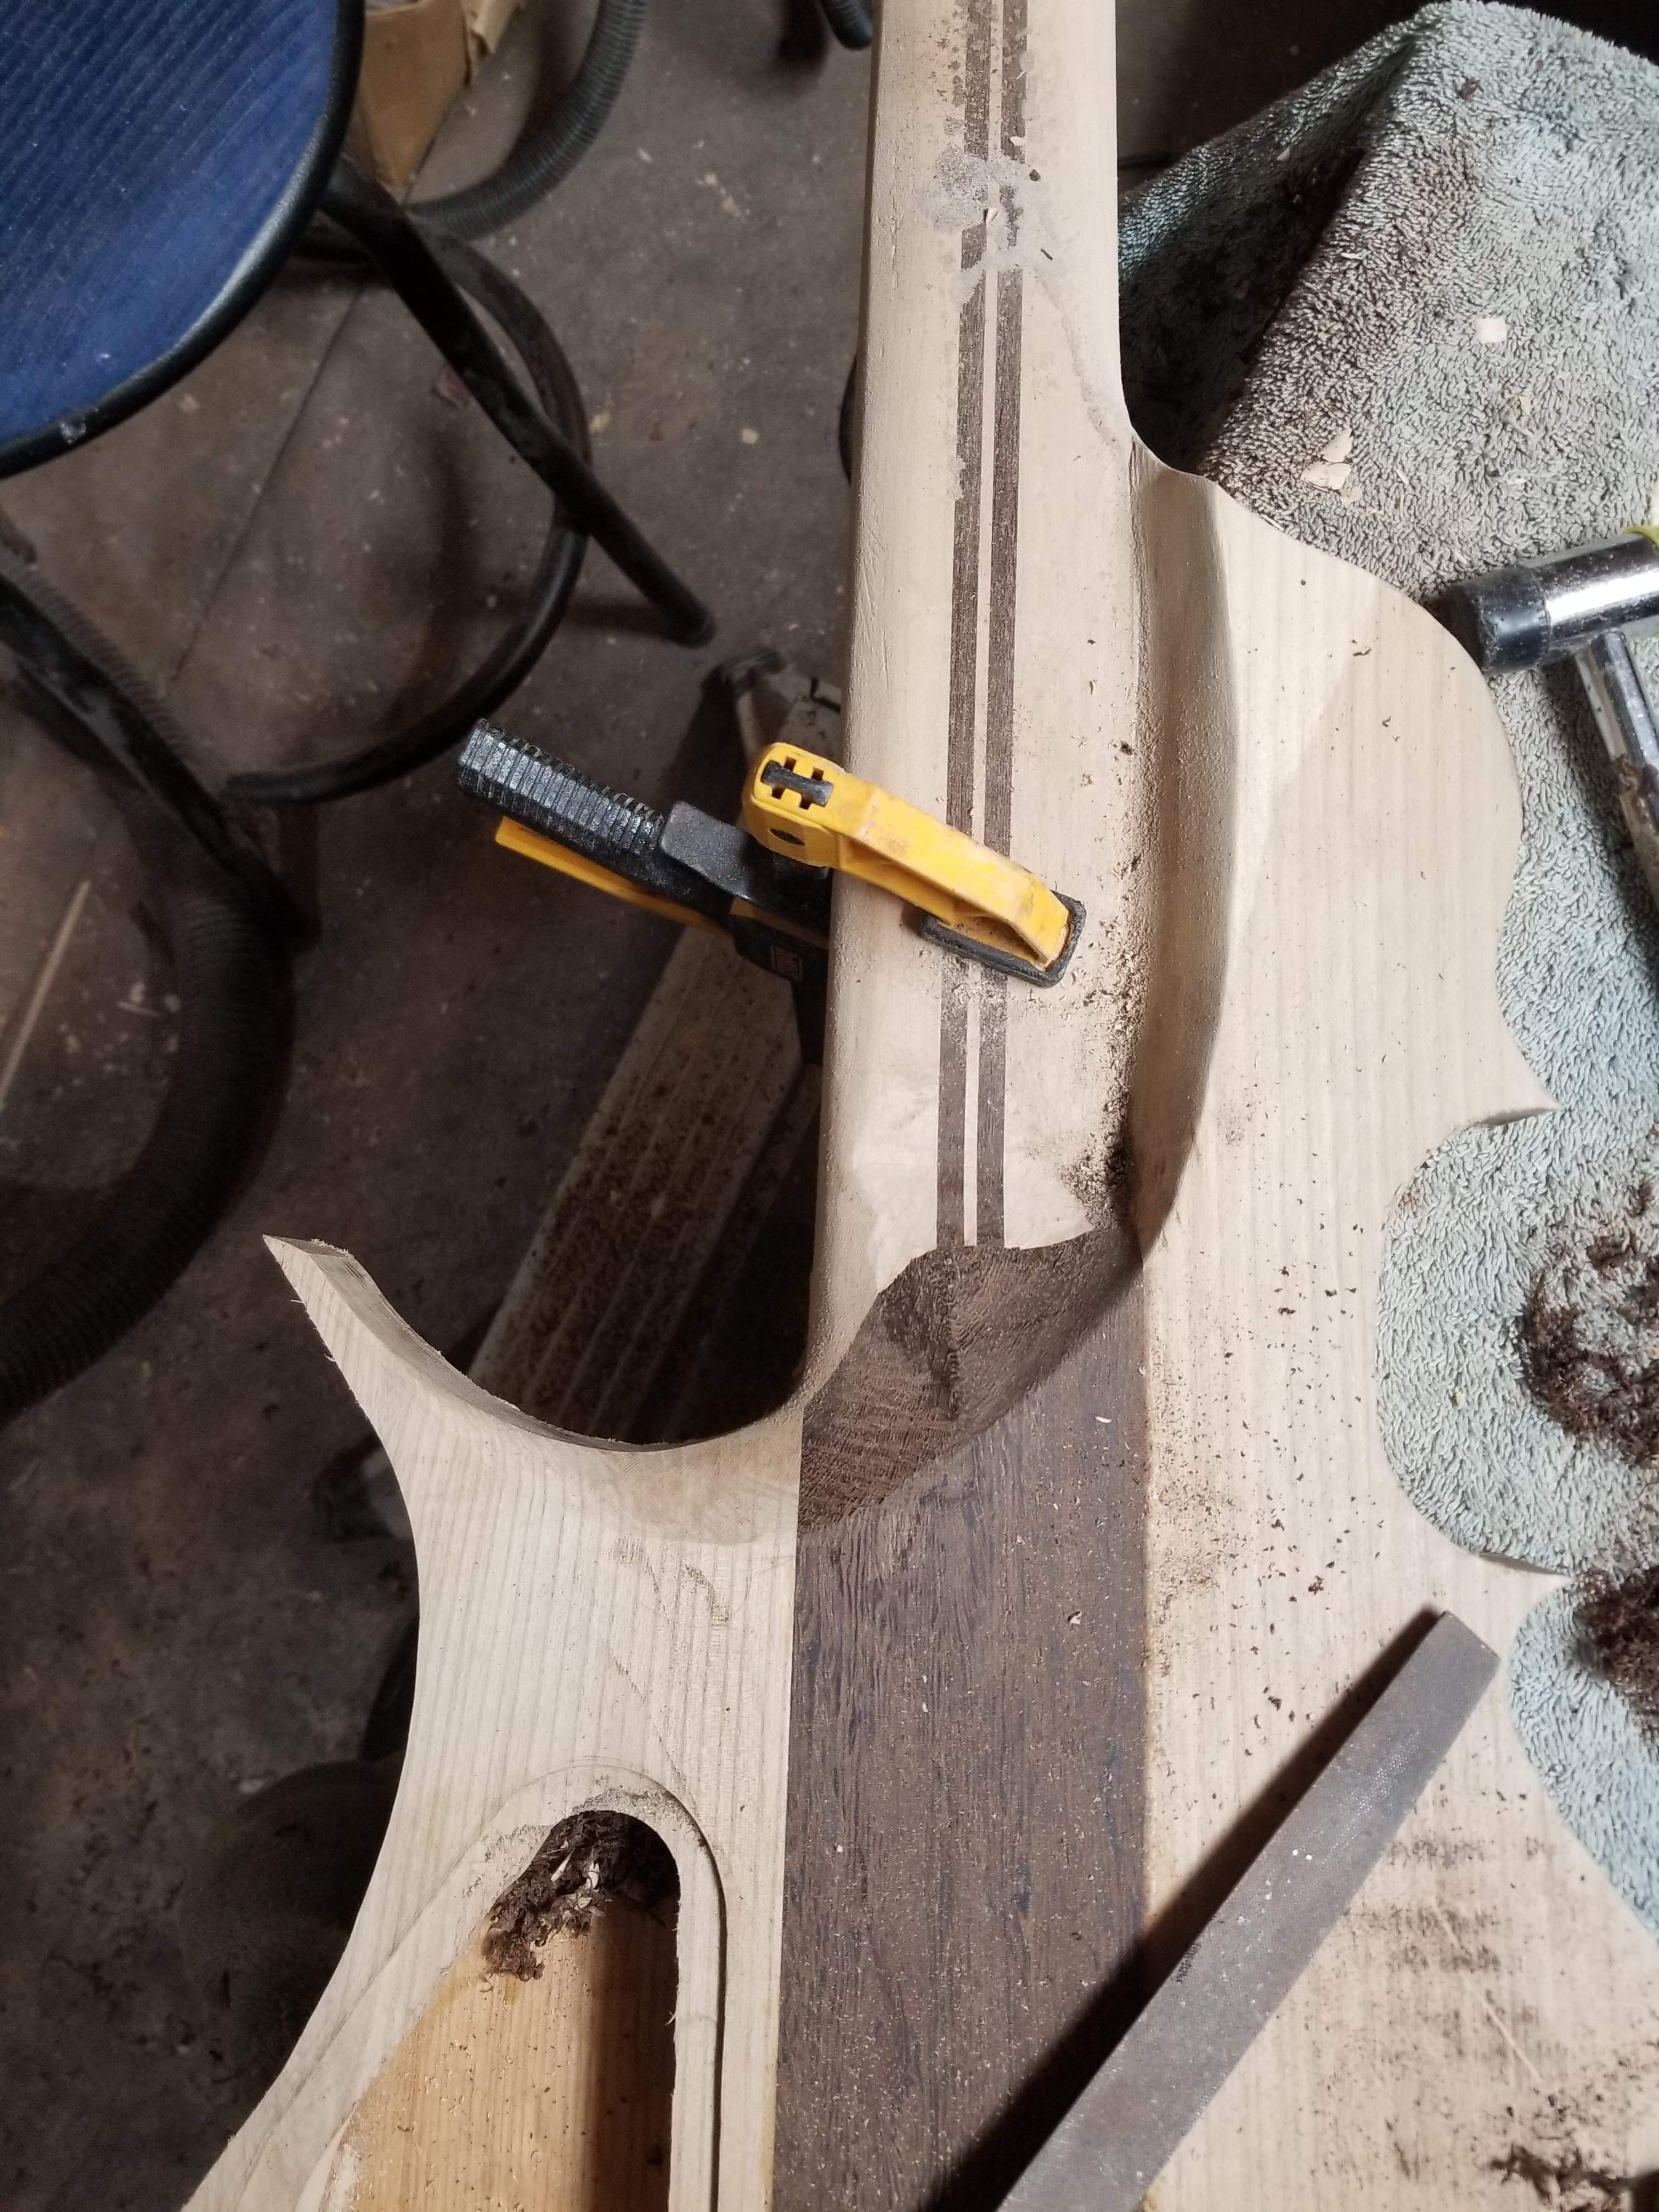
I started out working on the neck heel and back carve. I want this to be a nice curve all the way around, I have to incorporate the neck carve and heel - it's a lot to consider. Honestly I get a little overwhelmed thinking of all of that at once, but once I start and move around from place to place it starts to come into focus. I used a combination of dremel, gouge, sandpaper and every other conceivable tool I have and maybe a few my wife has.
Once I got that done I marked out the carving for the front. On the one I showed above it's got a shelf on the outer edge with a ramp up to the full height toward the center. I marked it to do that carve.

I used mostly the shinto with a few other tools mixed in. I will be dyeing the oak black and leave the ash natural color. When I first started carving I lost track of when I went through the oak - in certain spots the wood coloring is very similar.
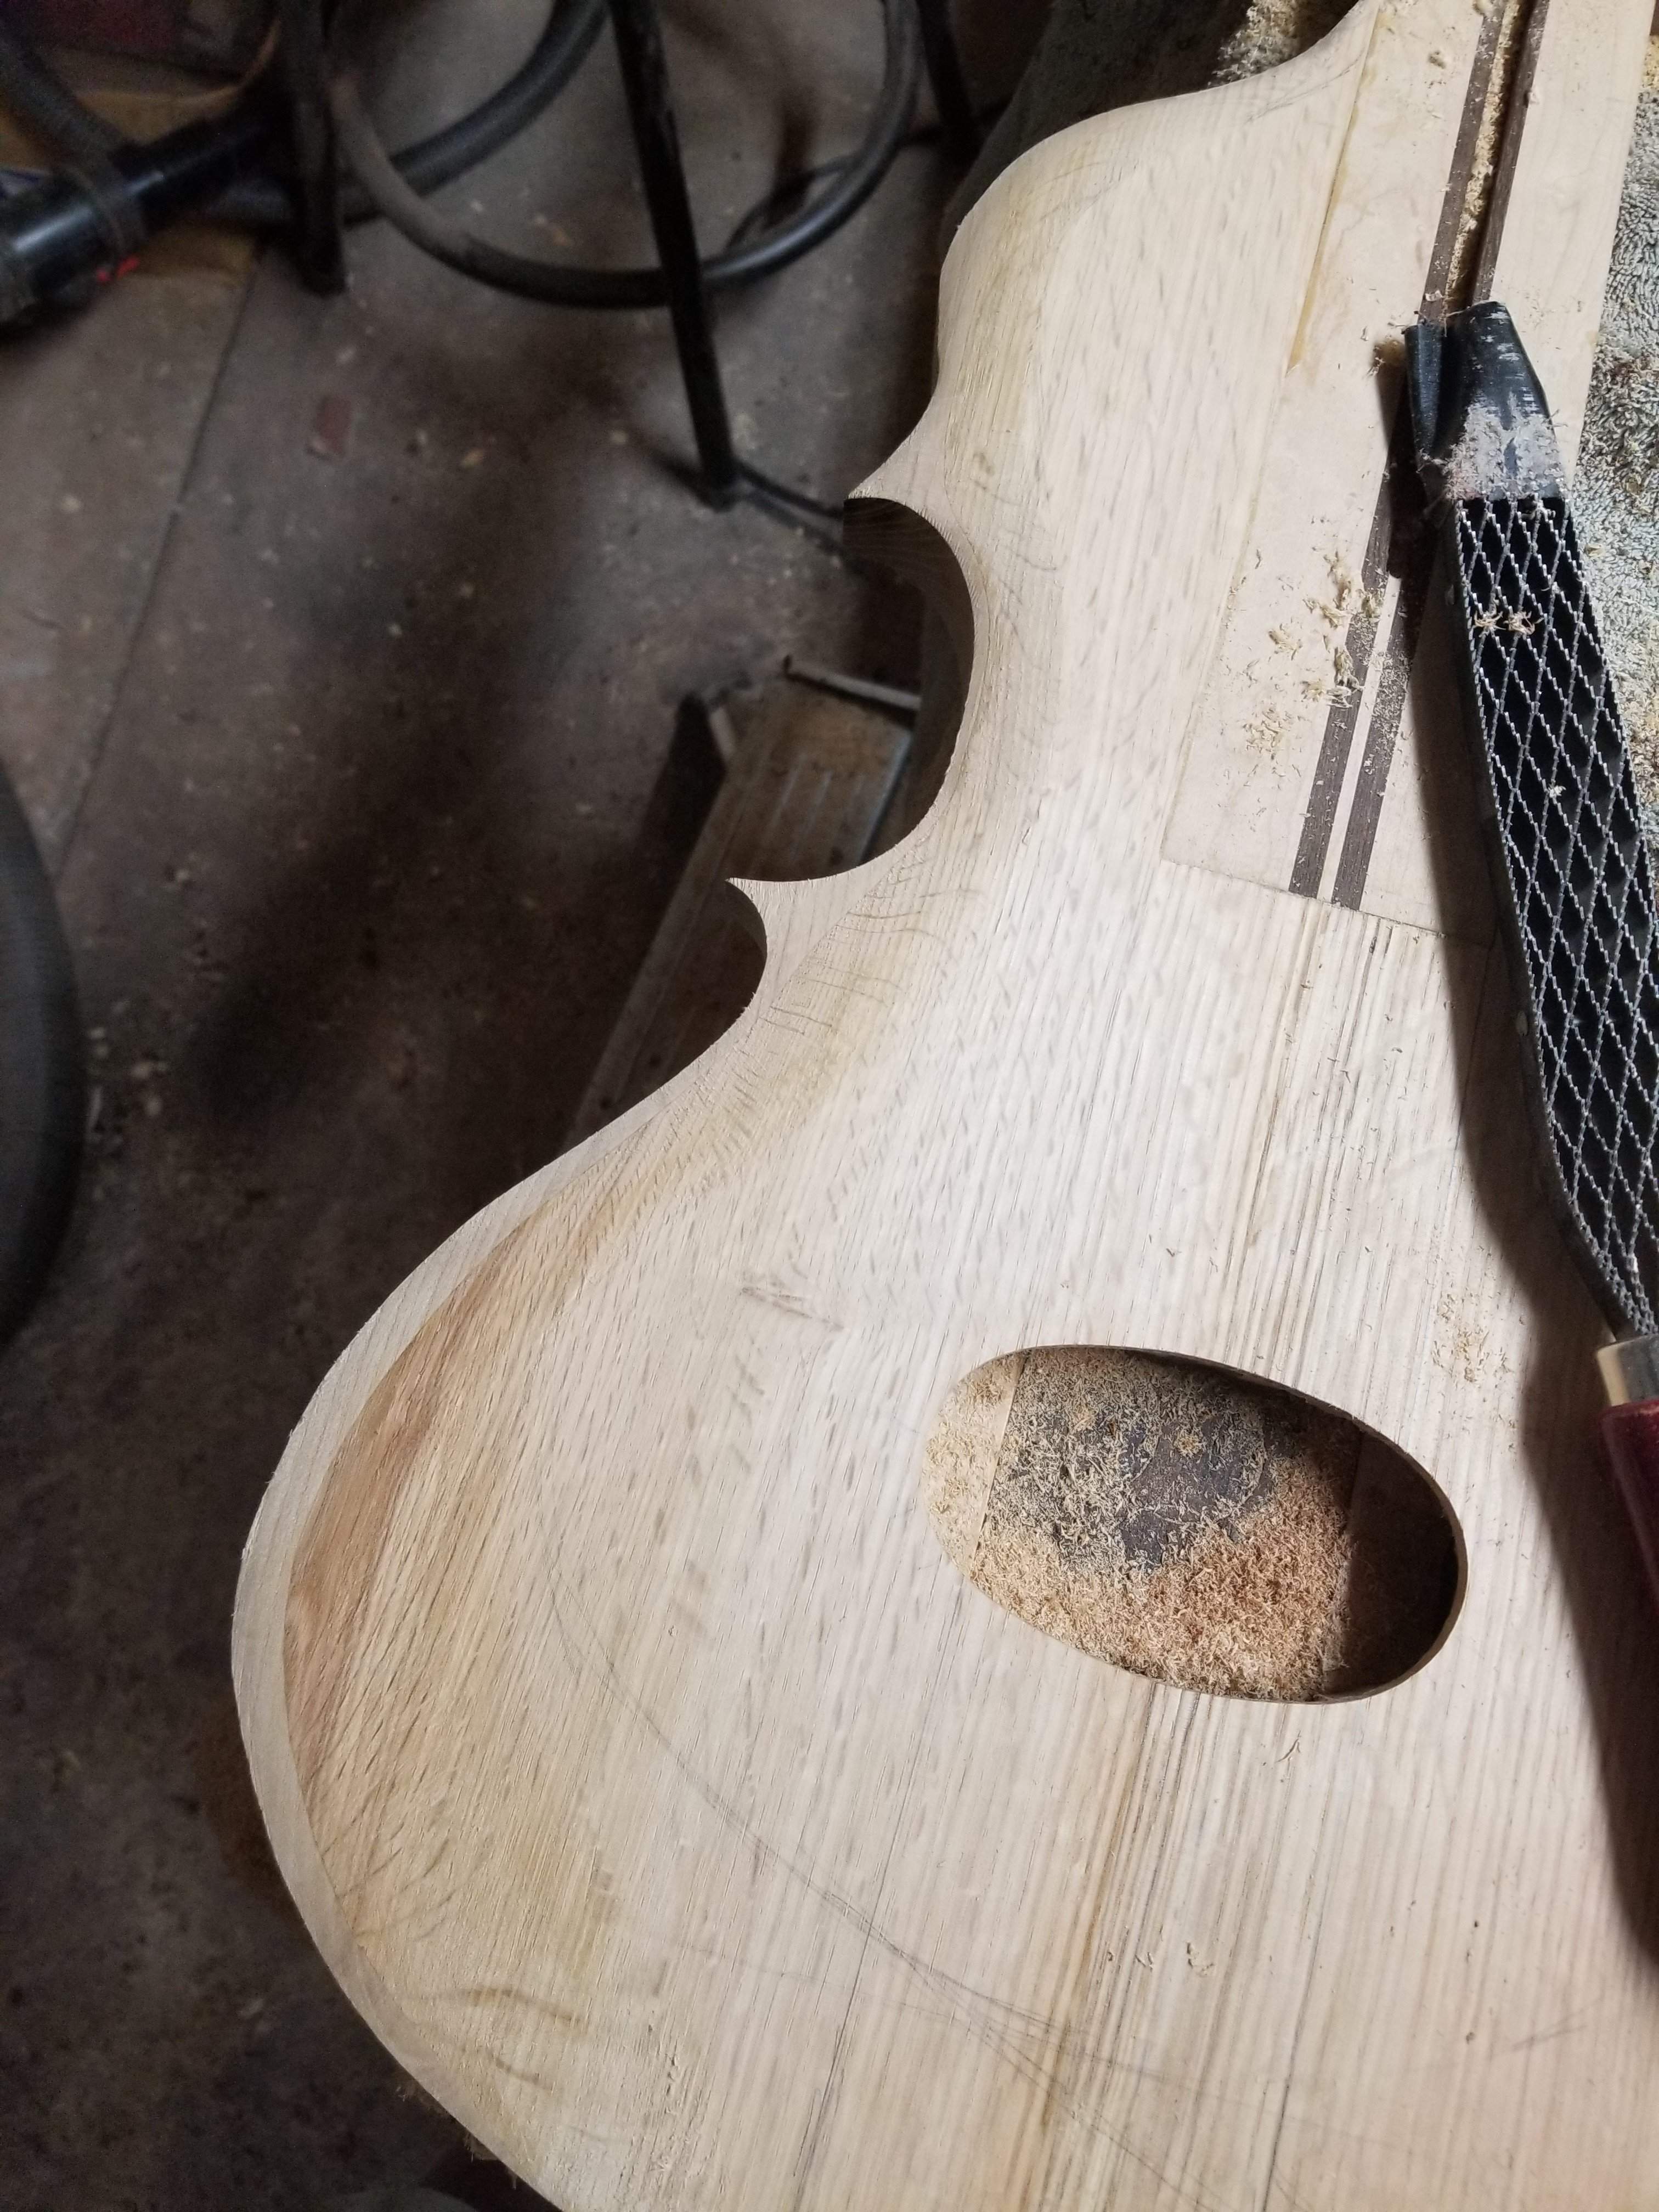
Then I repeated it on the back.
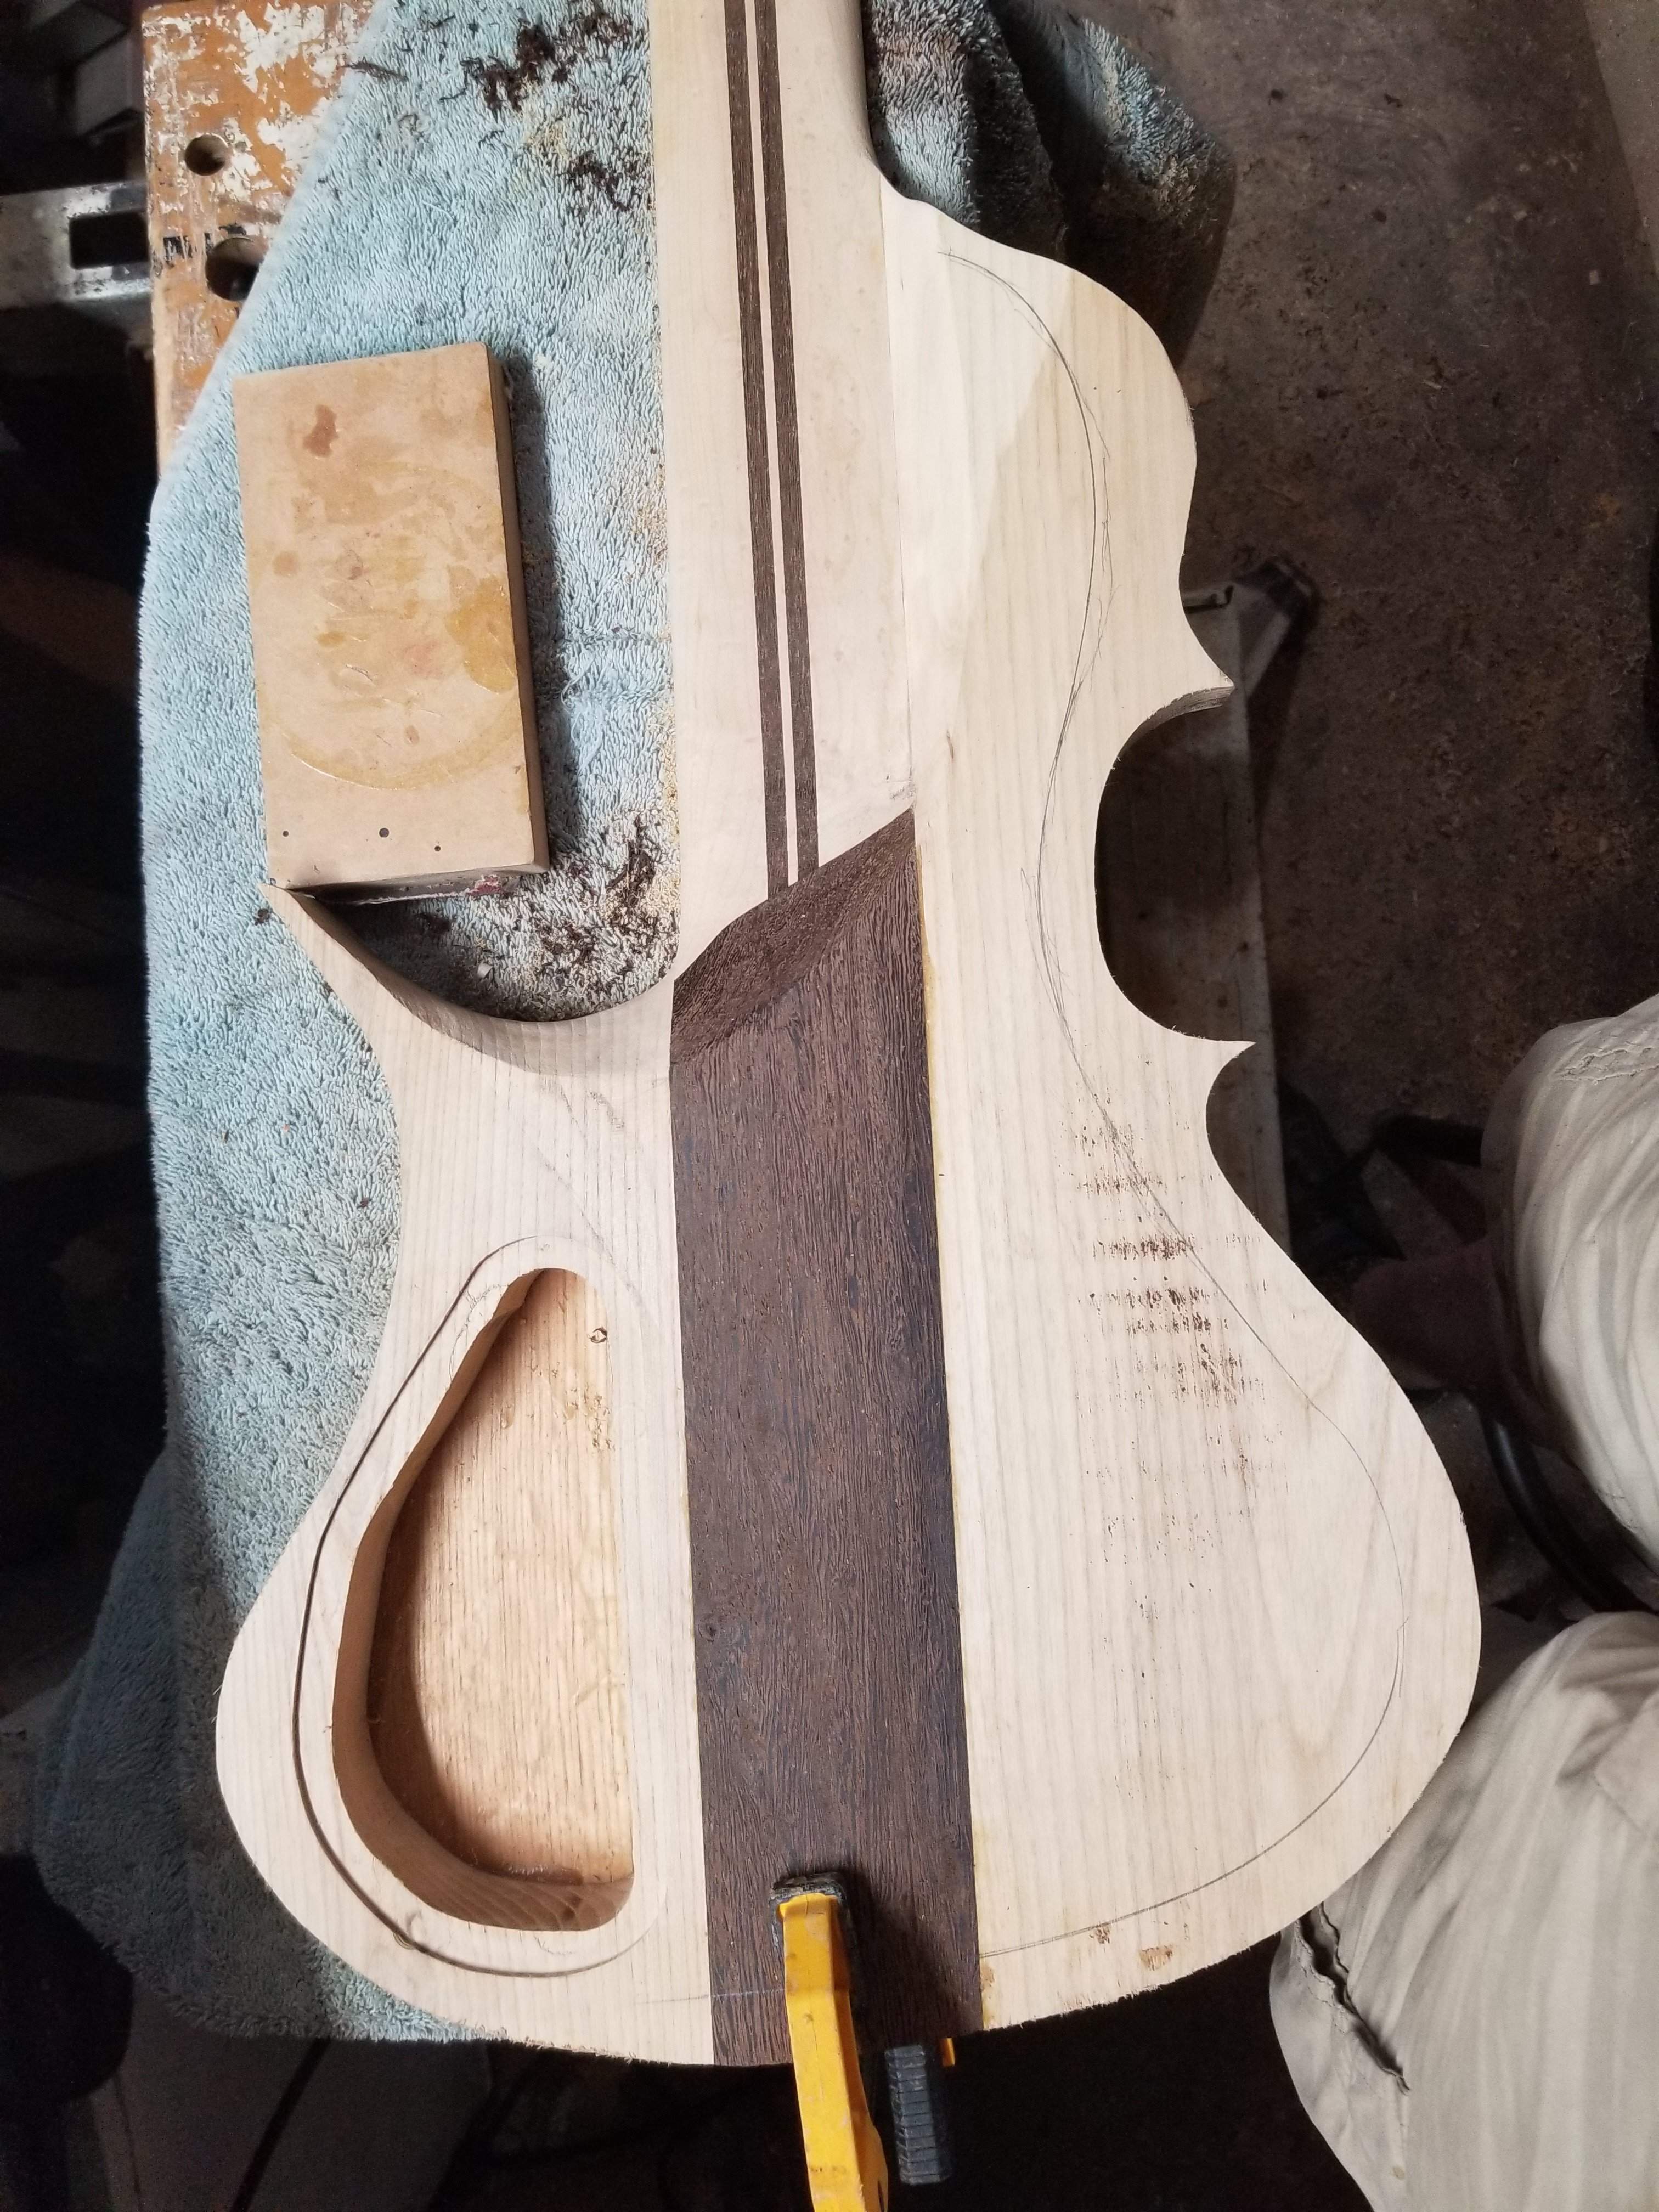
After looking at how the ash was looking through, I decided I would go for a more standard carve, no shelf. This is after cleaning things up a bit. This is obviously rough, there's a lot more to get it finished. It's funny how much better it looks in person, under this overhead light you can see every flaw. By the time I get it ready for finishing it will look good under the light. I ran the random orbital sander over it after I took these pics, which smoothed things out.

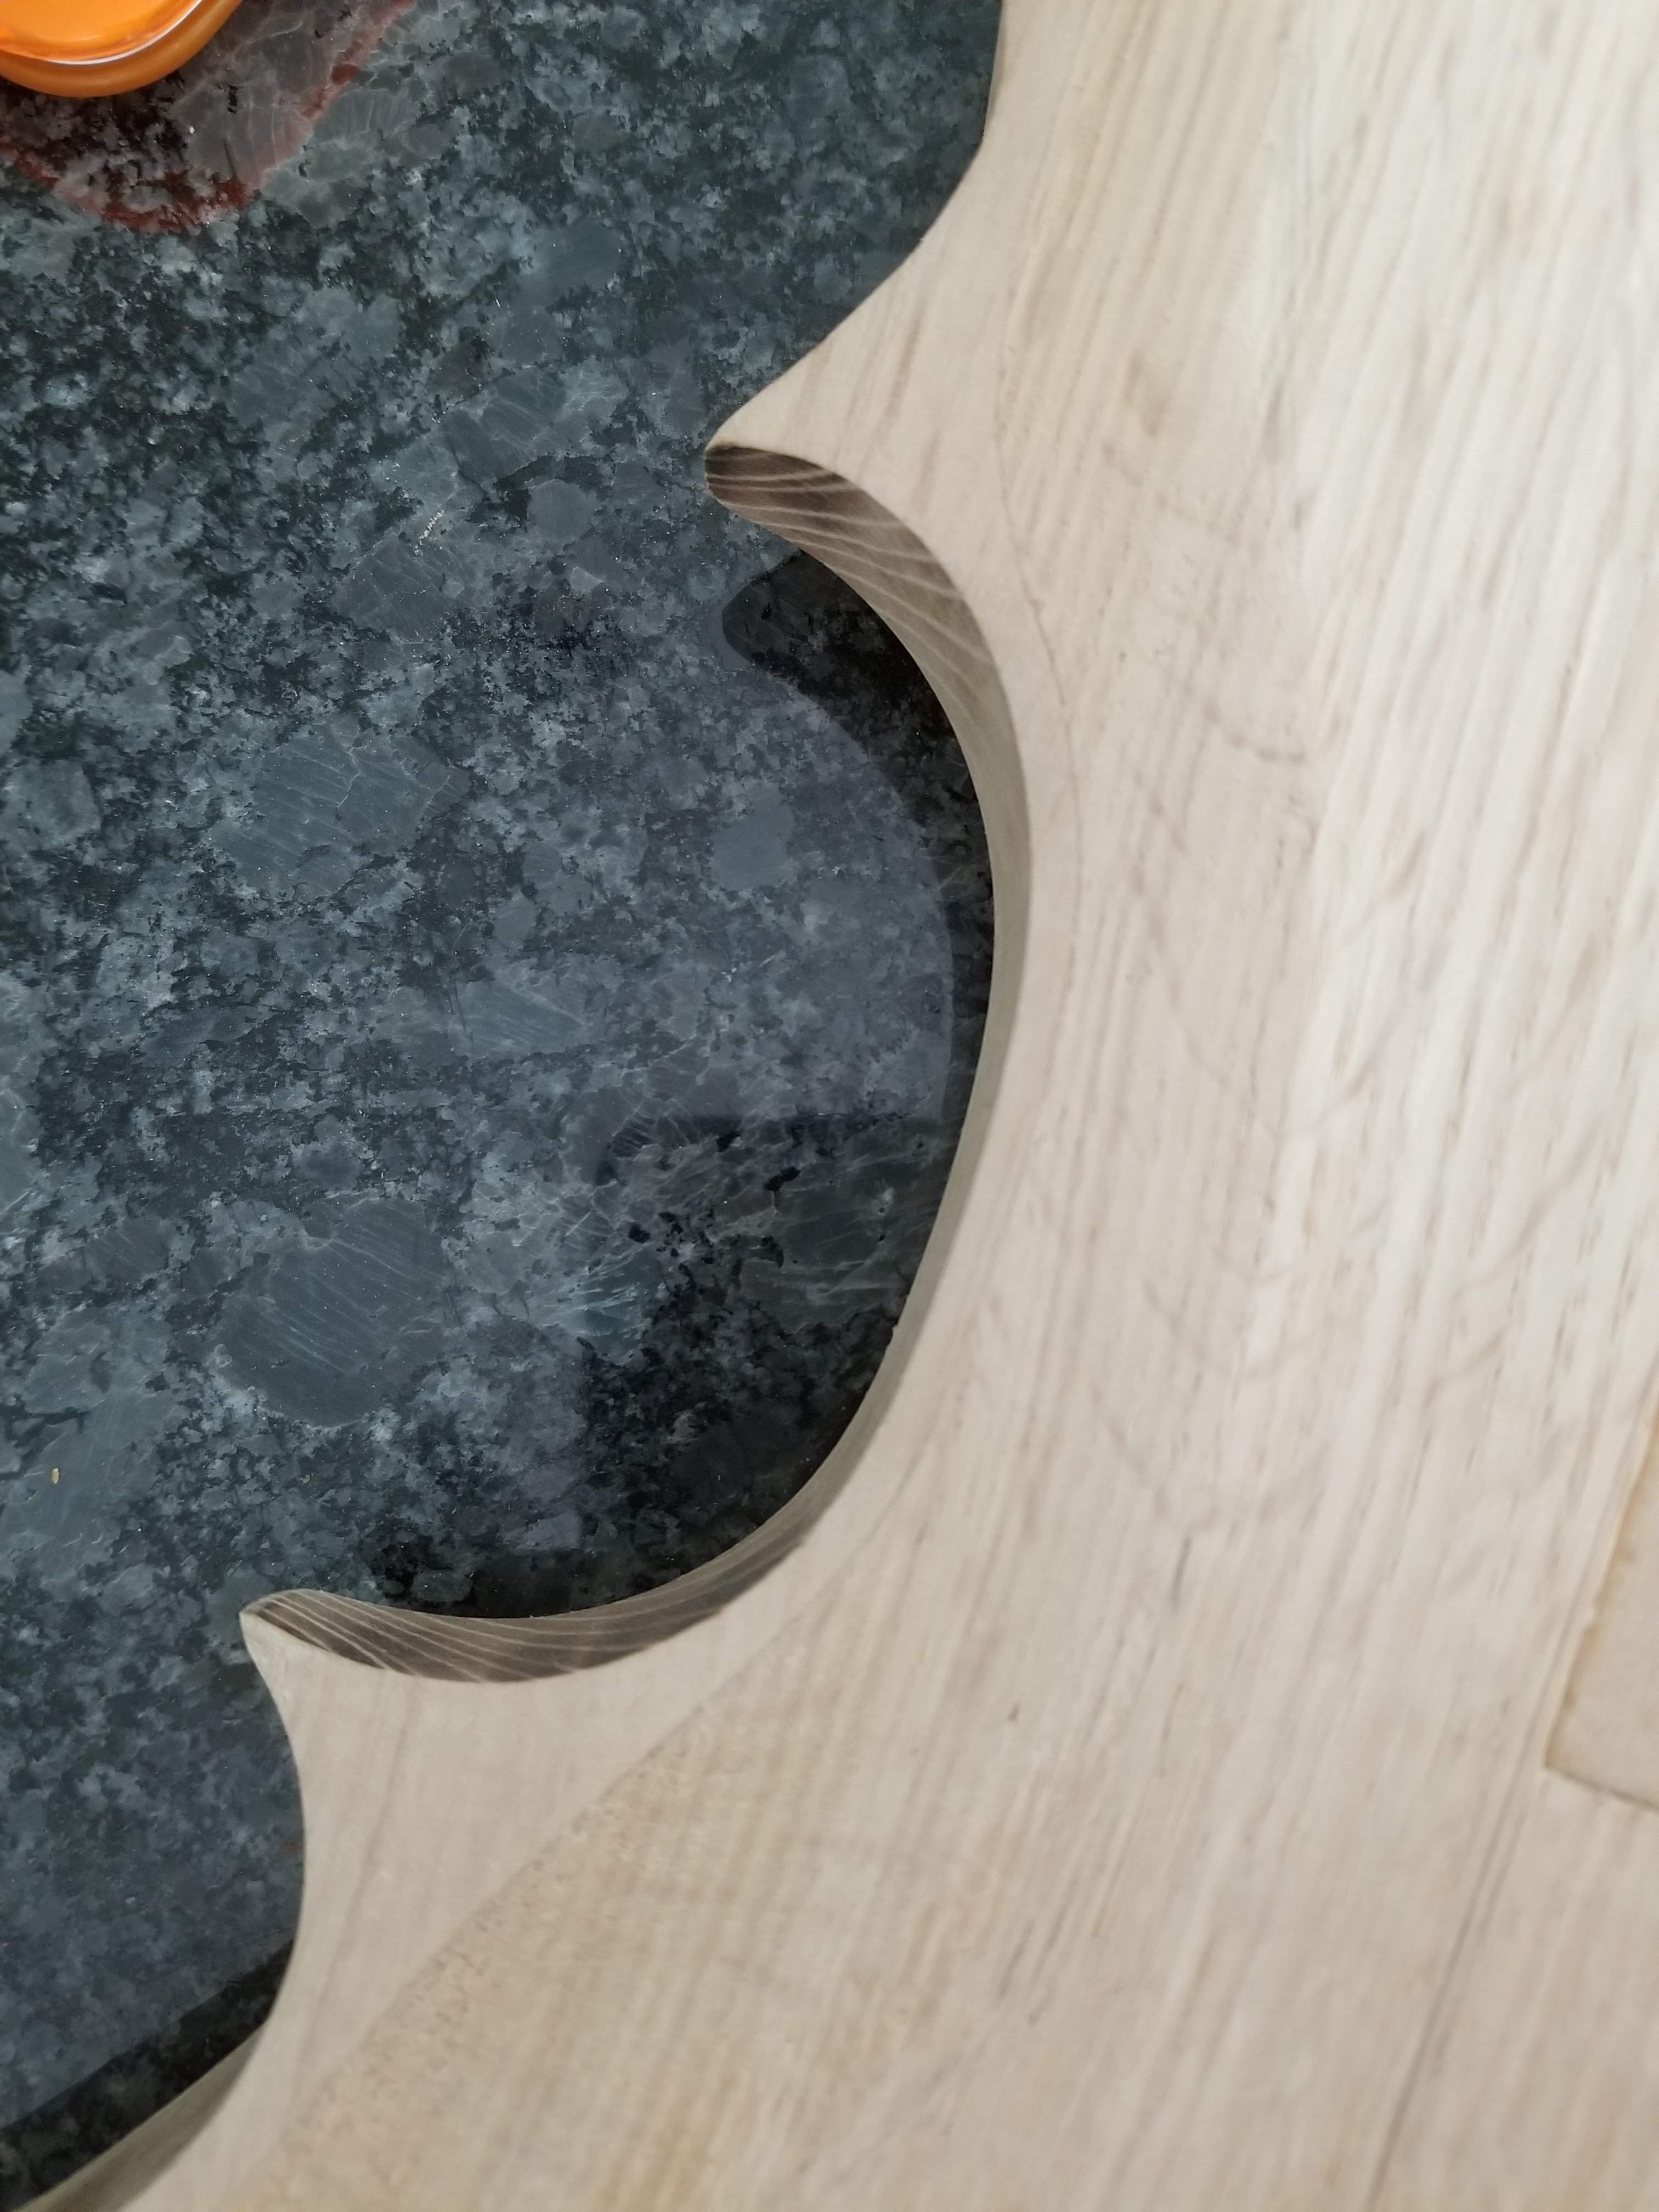
And the back, you can see that I forgot to route out for the output jack (again).

This shows the carve on the front and how the ash shows through.
I started out working on the neck heel and back carve. I want this to be a nice curve all the way around, I have to incorporate the neck carve and heel - it's a lot to consider. Honestly I get a little overwhelmed thinking of all of that at once, but once I start and move around from place to place it starts to come into focus. I used a combination of dremel, gouge, sandpaper and every other conceivable tool I have and maybe a few my wife has.
Once I got that done I marked out the carving for the front. On the one I showed above it's got a shelf on the outer edge with a ramp up to the full height toward the center. I marked it to do that carve.
I used mostly the shinto with a few other tools mixed in. I will be dyeing the oak black and leave the ash natural color. When I first started carving I lost track of when I went through the oak - in certain spots the wood coloring is very similar.
Then I repeated it on the back.
After looking at how the ash was looking through, I decided I would go for a more standard carve, no shelf. This is after cleaning things up a bit. This is obviously rough, there's a lot more to get it finished. It's funny how much better it looks in person, under this overhead light you can see every flaw. By the time I get it ready for finishing it will look good under the light. I ran the random orbital sander over it after I took these pics, which smoothed things out.
And the back, you can see that I forgot to route out for the output jack (again).
This shows the carve on the front and how the ash shows through.
It's hot and humid here today, I decided to hold off on the bike ride until tonight. Jet lag is setting in, so it will be good to be somewhere where I can't fall asleep.
I cleaned up the body more and got the side dots installed (not shown).
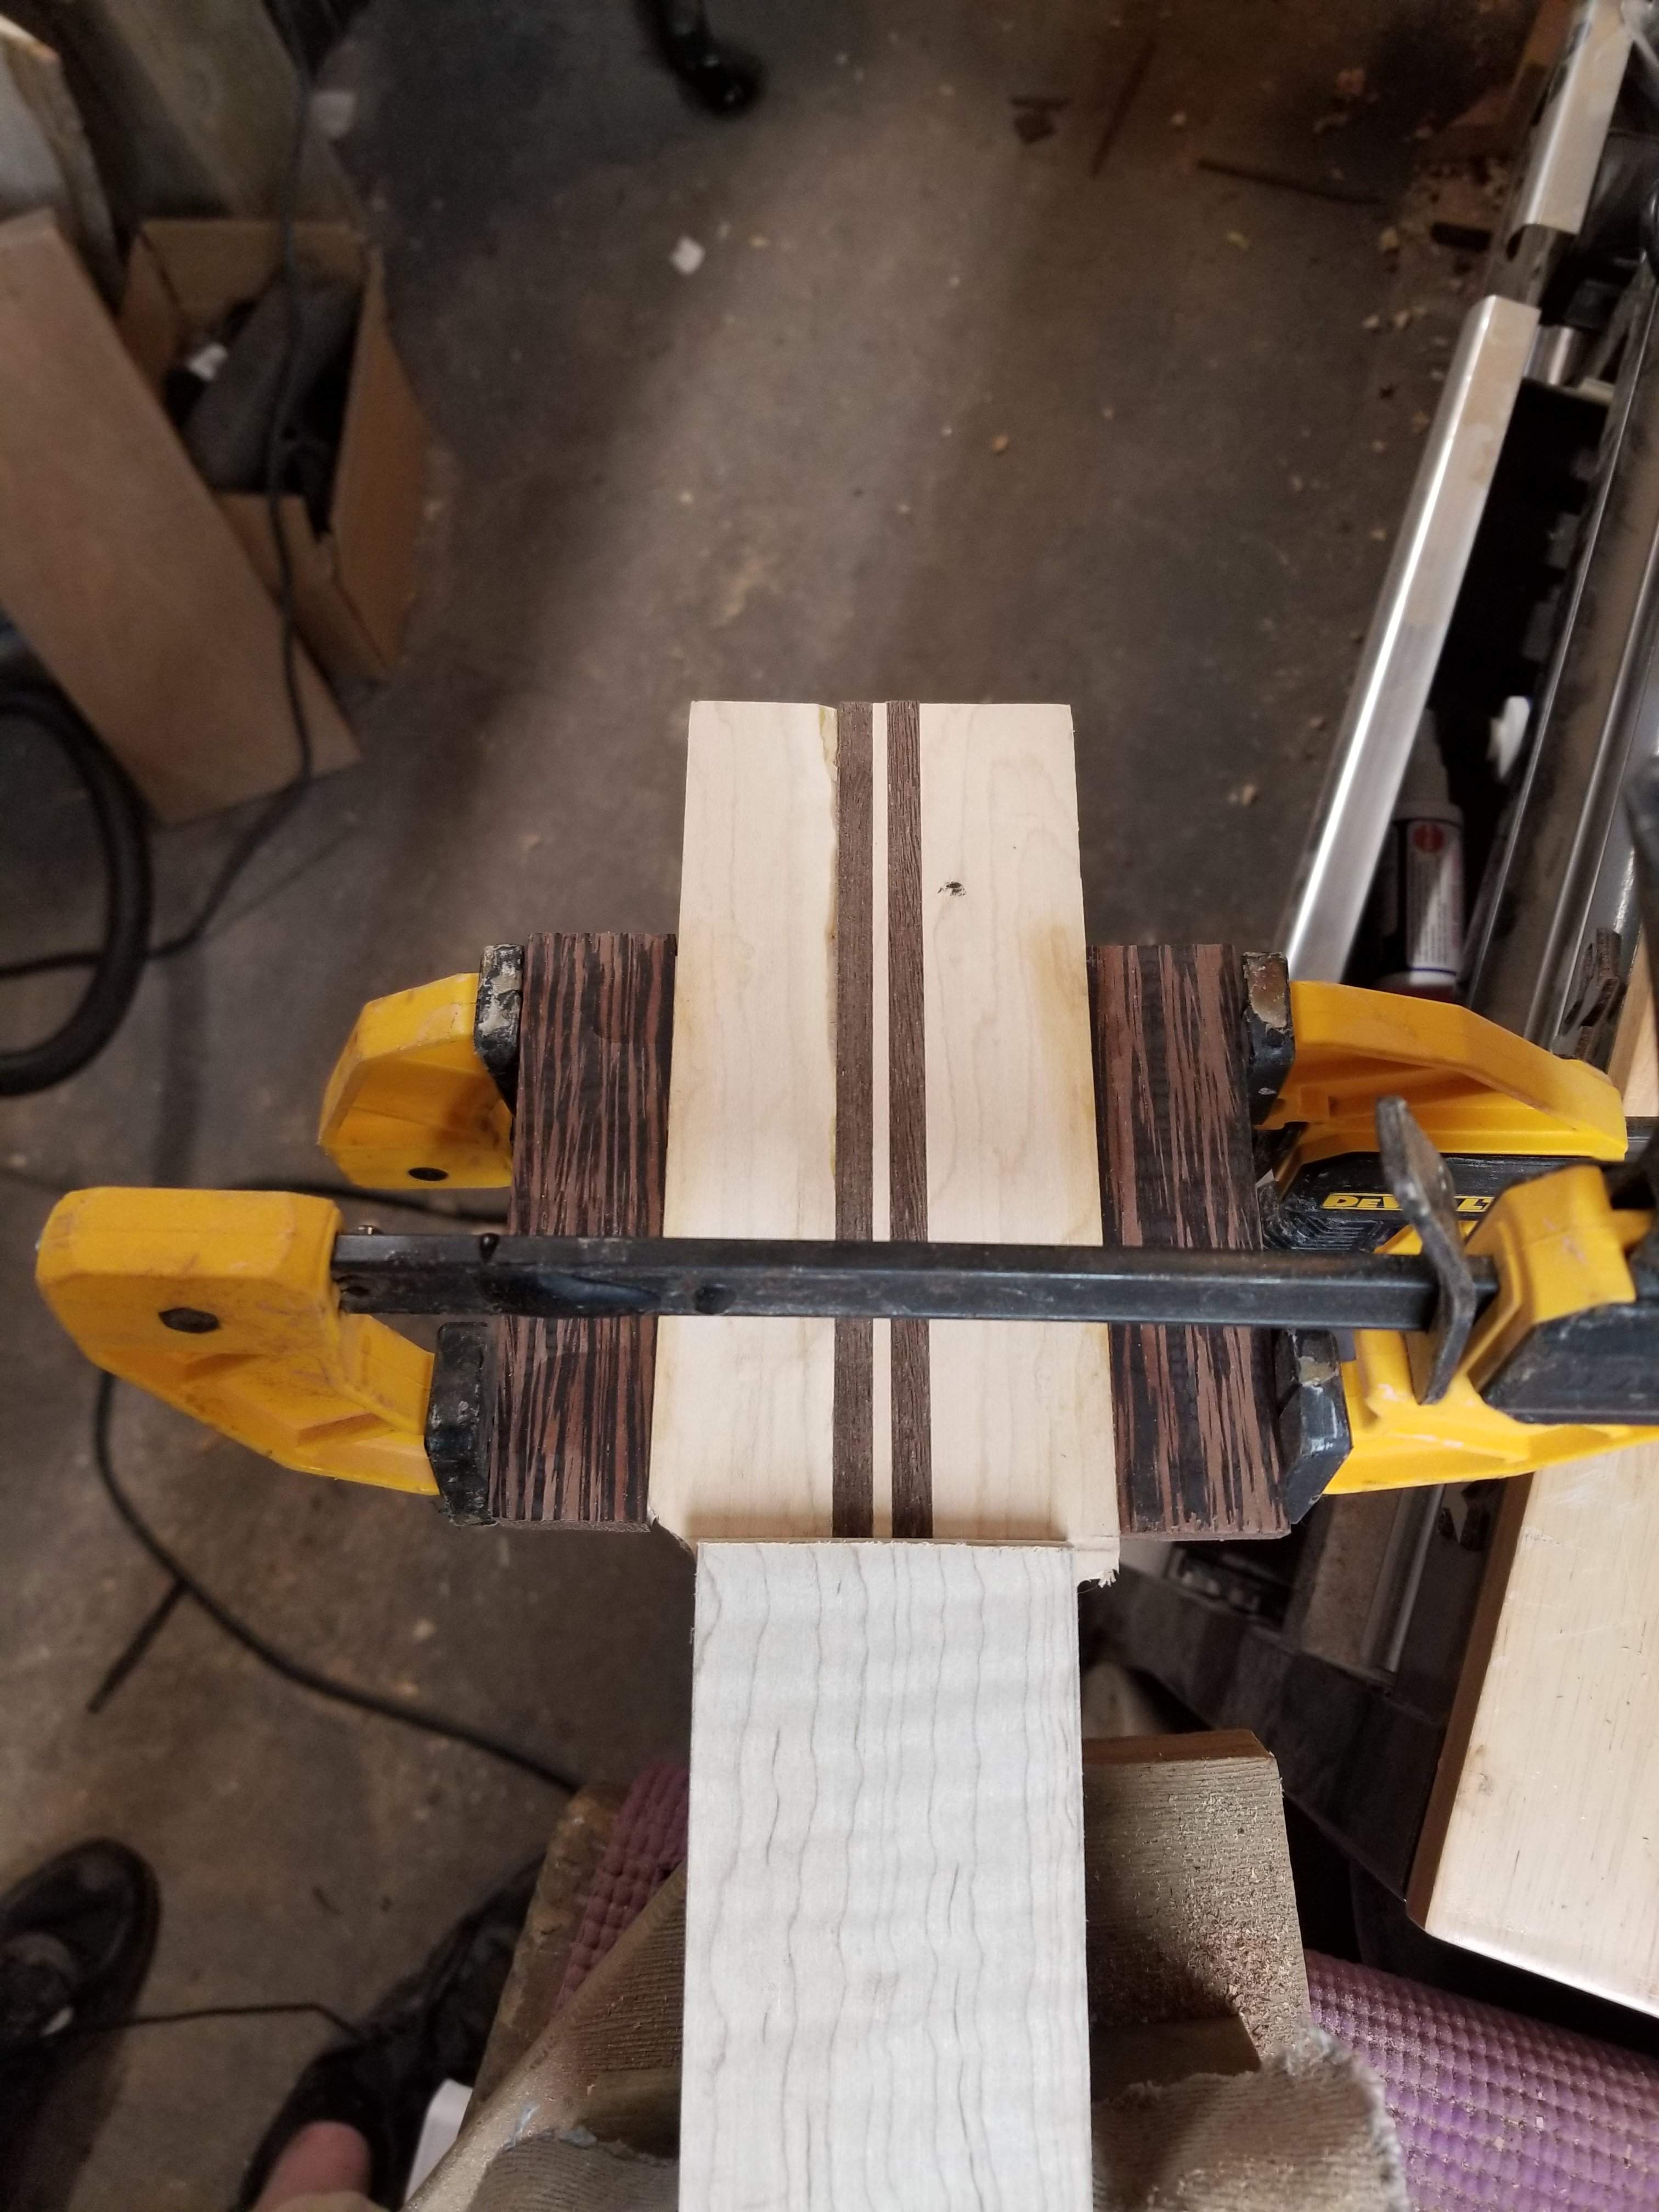
I also added ears to the headstock, I chose to put on wenge. I'll be putting an oak laminate on it, so this will only be seen from the back.
I got the fretboard cut to length and to the pickup cover, it was easier than I thought it would be and looks great. You can see I printed out a picture of the target bass for reference.
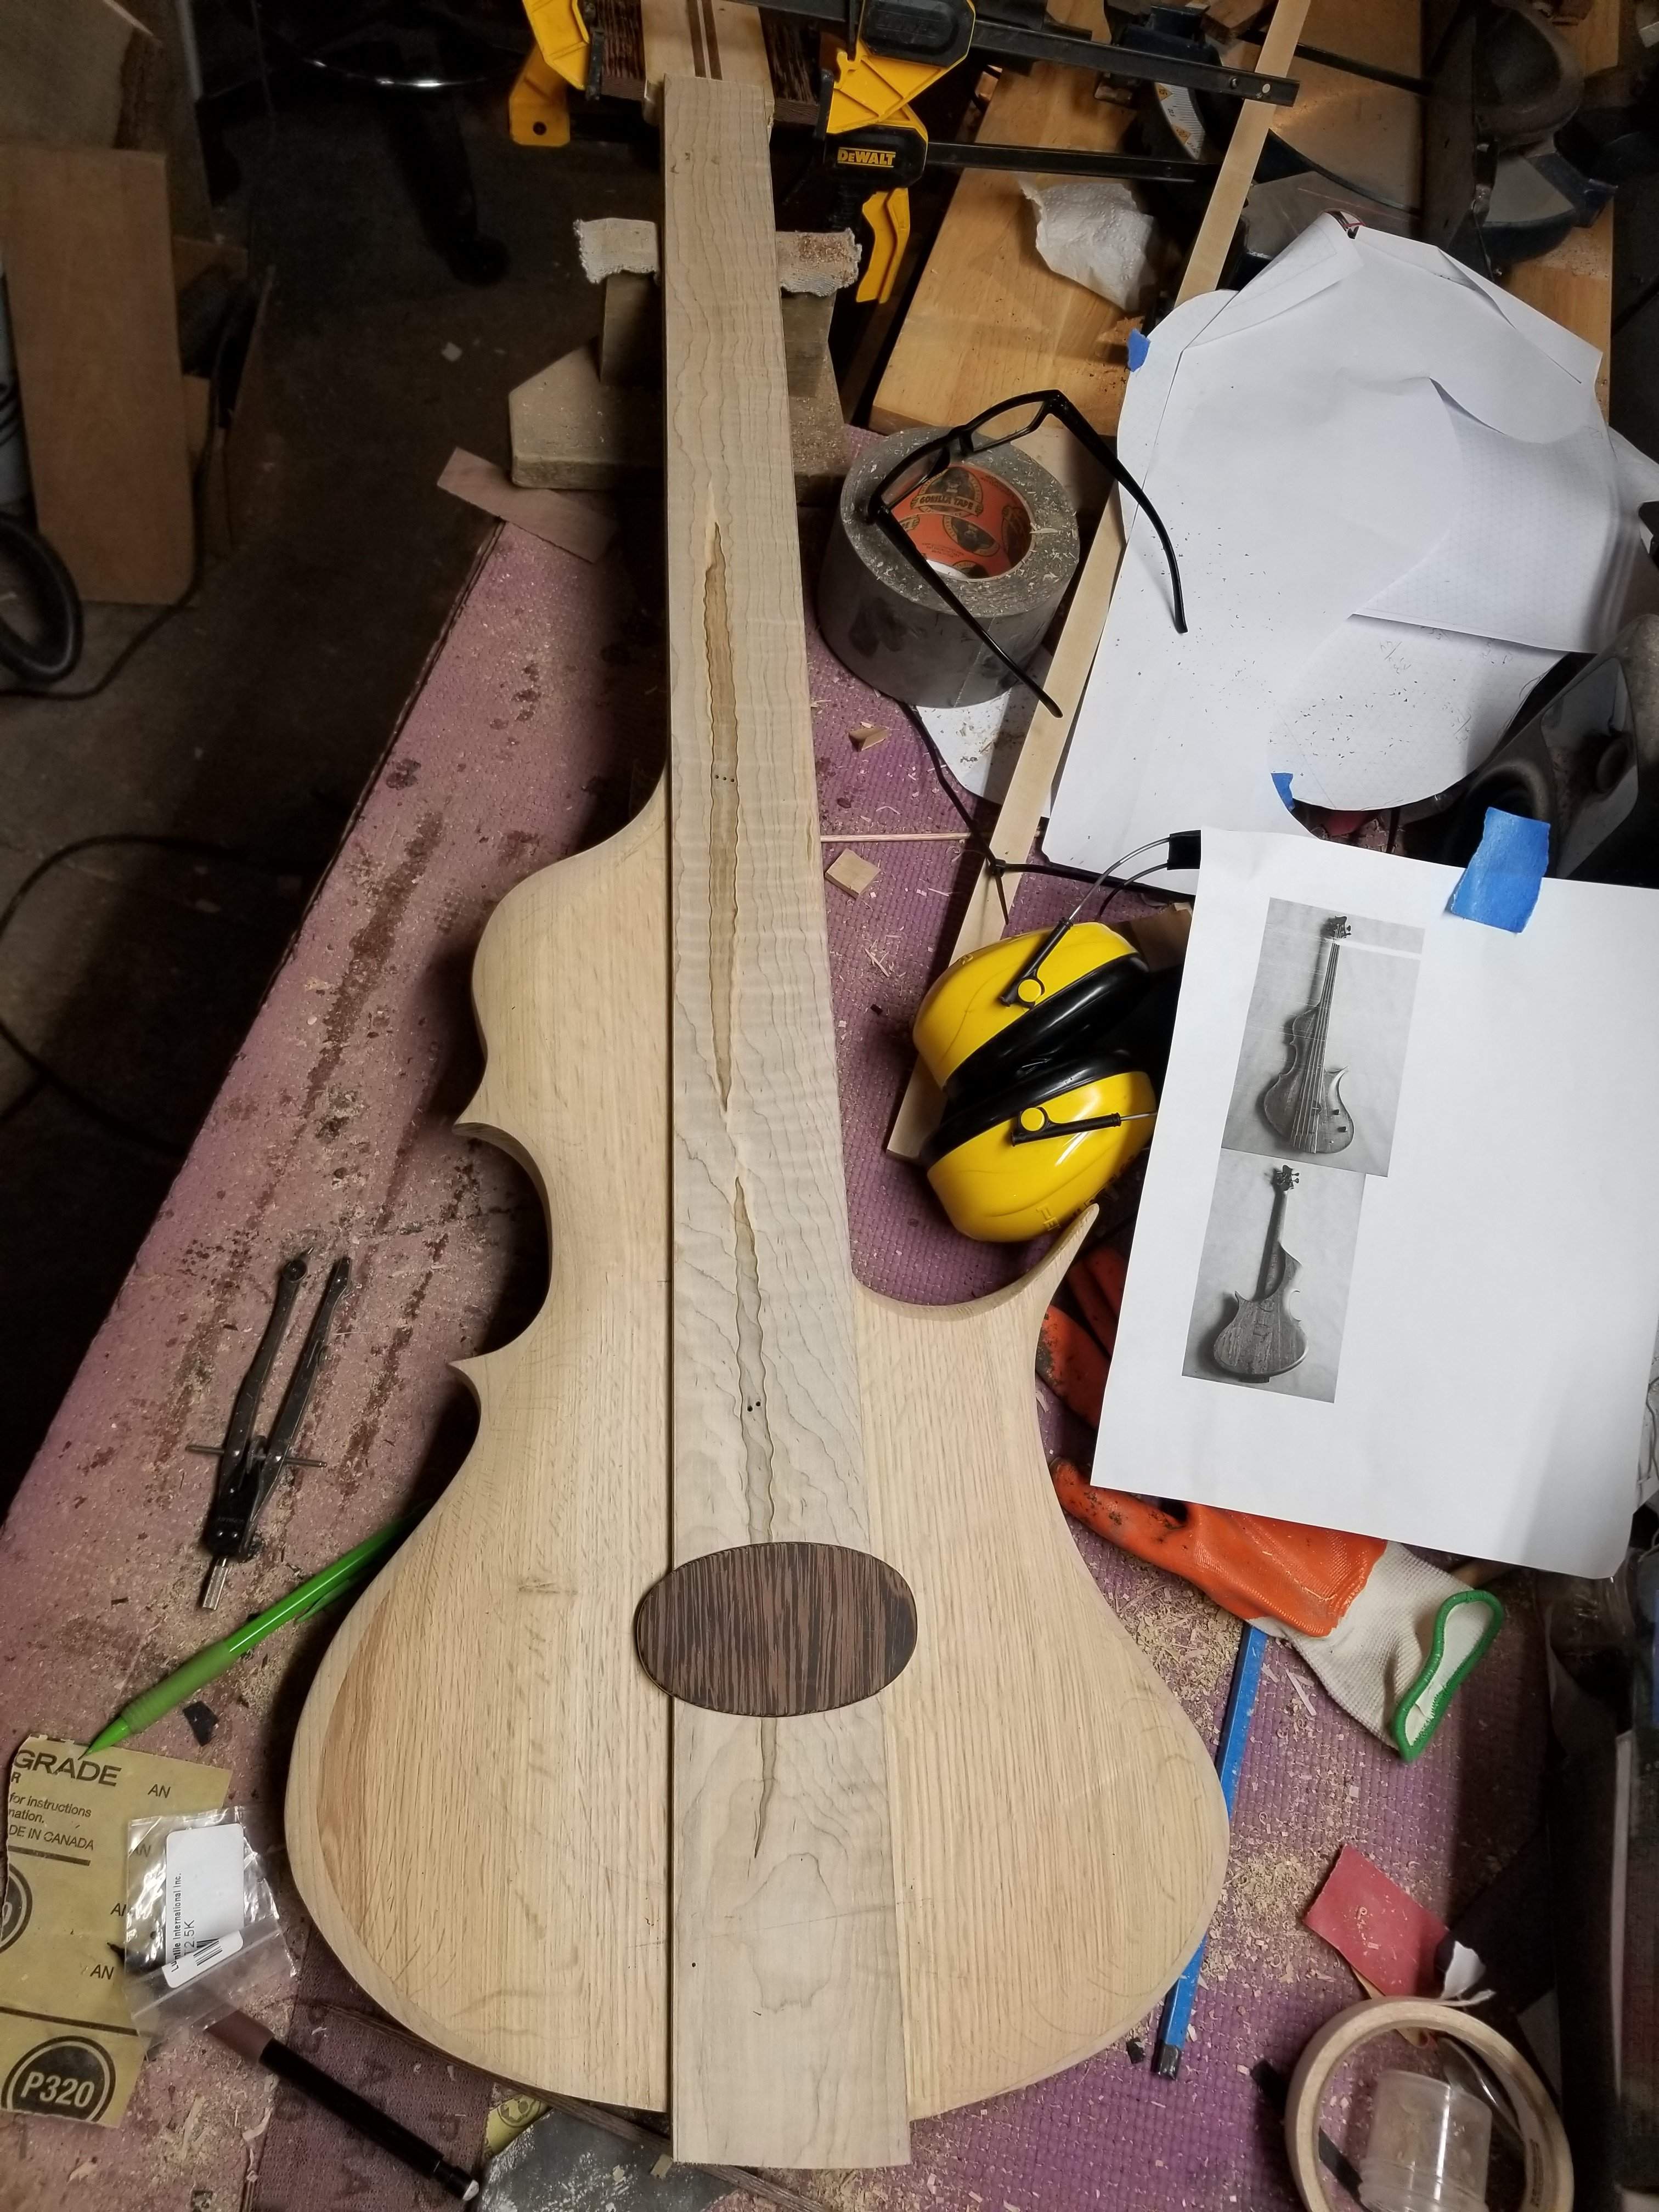
Next I need to figure out how the strings mount, you can see I marked the 35" at an angle, I'll probably use a bike spoke as a "zero fret" on the bottom, or maybe a small piece of ebony. I'll have to try a few things. The Stradi has slots cut up from the back and the strings slide in, what I'm not sure about is what it looks like under that fingerboard. I have to do some measurements, but I presume I'll need to route underneath it for clearance for the ball ends.
But that's tomorrow, off for a ride!
I cleaned up the body more and got the side dots installed (not shown).
I also added ears to the headstock, I chose to put on wenge. I'll be putting an oak laminate on it, so this will only be seen from the back.
I got the fretboard cut to length and to the pickup cover, it was easier than I thought it would be and looks great. You can see I printed out a picture of the target bass for reference.
Next I need to figure out how the strings mount, you can see I marked the 35" at an angle, I'll probably use a bike spoke as a "zero fret" on the bottom, or maybe a small piece of ebony. I'll have to try a few things. The Stradi has slots cut up from the back and the strings slide in, what I'm not sure about is what it looks like under that fingerboard. I have to do some measurements, but I presume I'll need to route underneath it for clearance for the ball ends.
But that's tomorrow, off for a ride!

Wow, this is going to be a stunner! So many things going on with carving. The neck transition would leave me baffled, I think. Awesome work!
Thanks! so much more sanding to do, but it's getting there.Wow, this is going to be a stunner! So many things going on with carving. The neck transition would leave me baffled, I think. Awesome work!
I got an hour in the shop pre-ride this morning.
I started staring at the string terminations, I briefly considered using string ferrules (and I may still). I looked at the Stradi and it sure does not use ferrules. I'll probably just do the same as on the Stradi.
With limited time this morning, I decided I'd focus on the other end of the bass. I got the volute carved, a bit strange, but I think it fits with the bass.
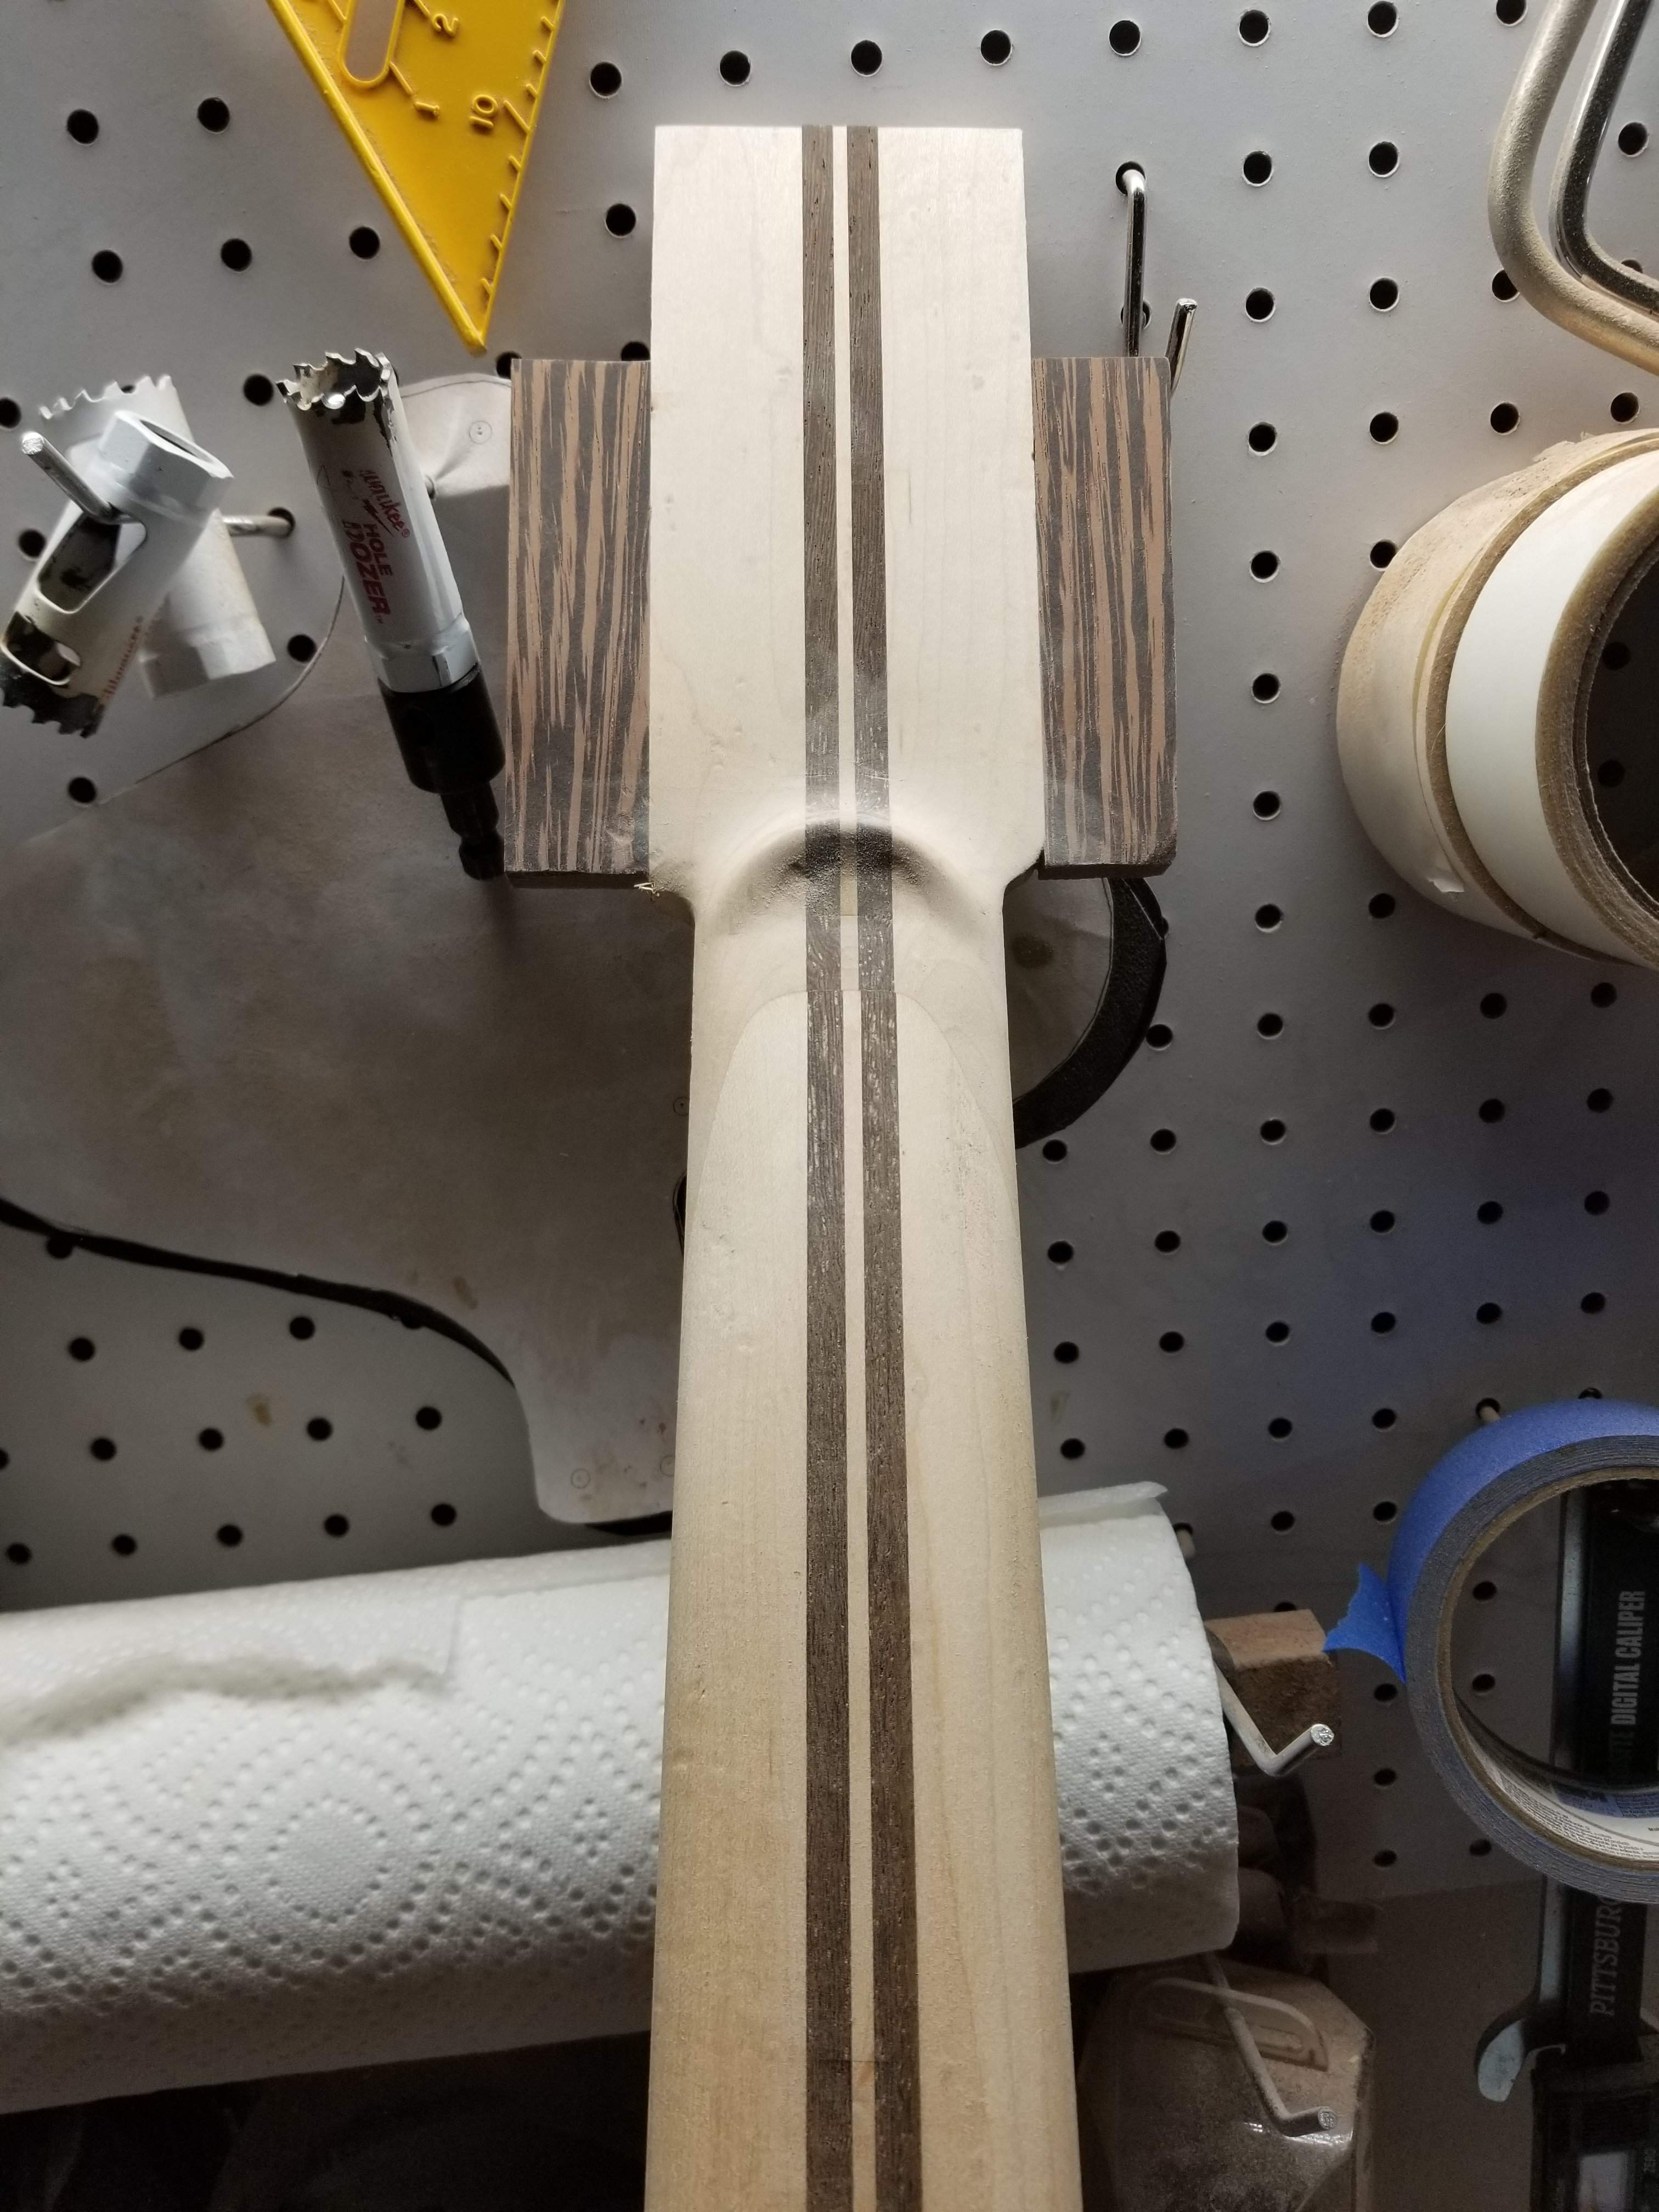
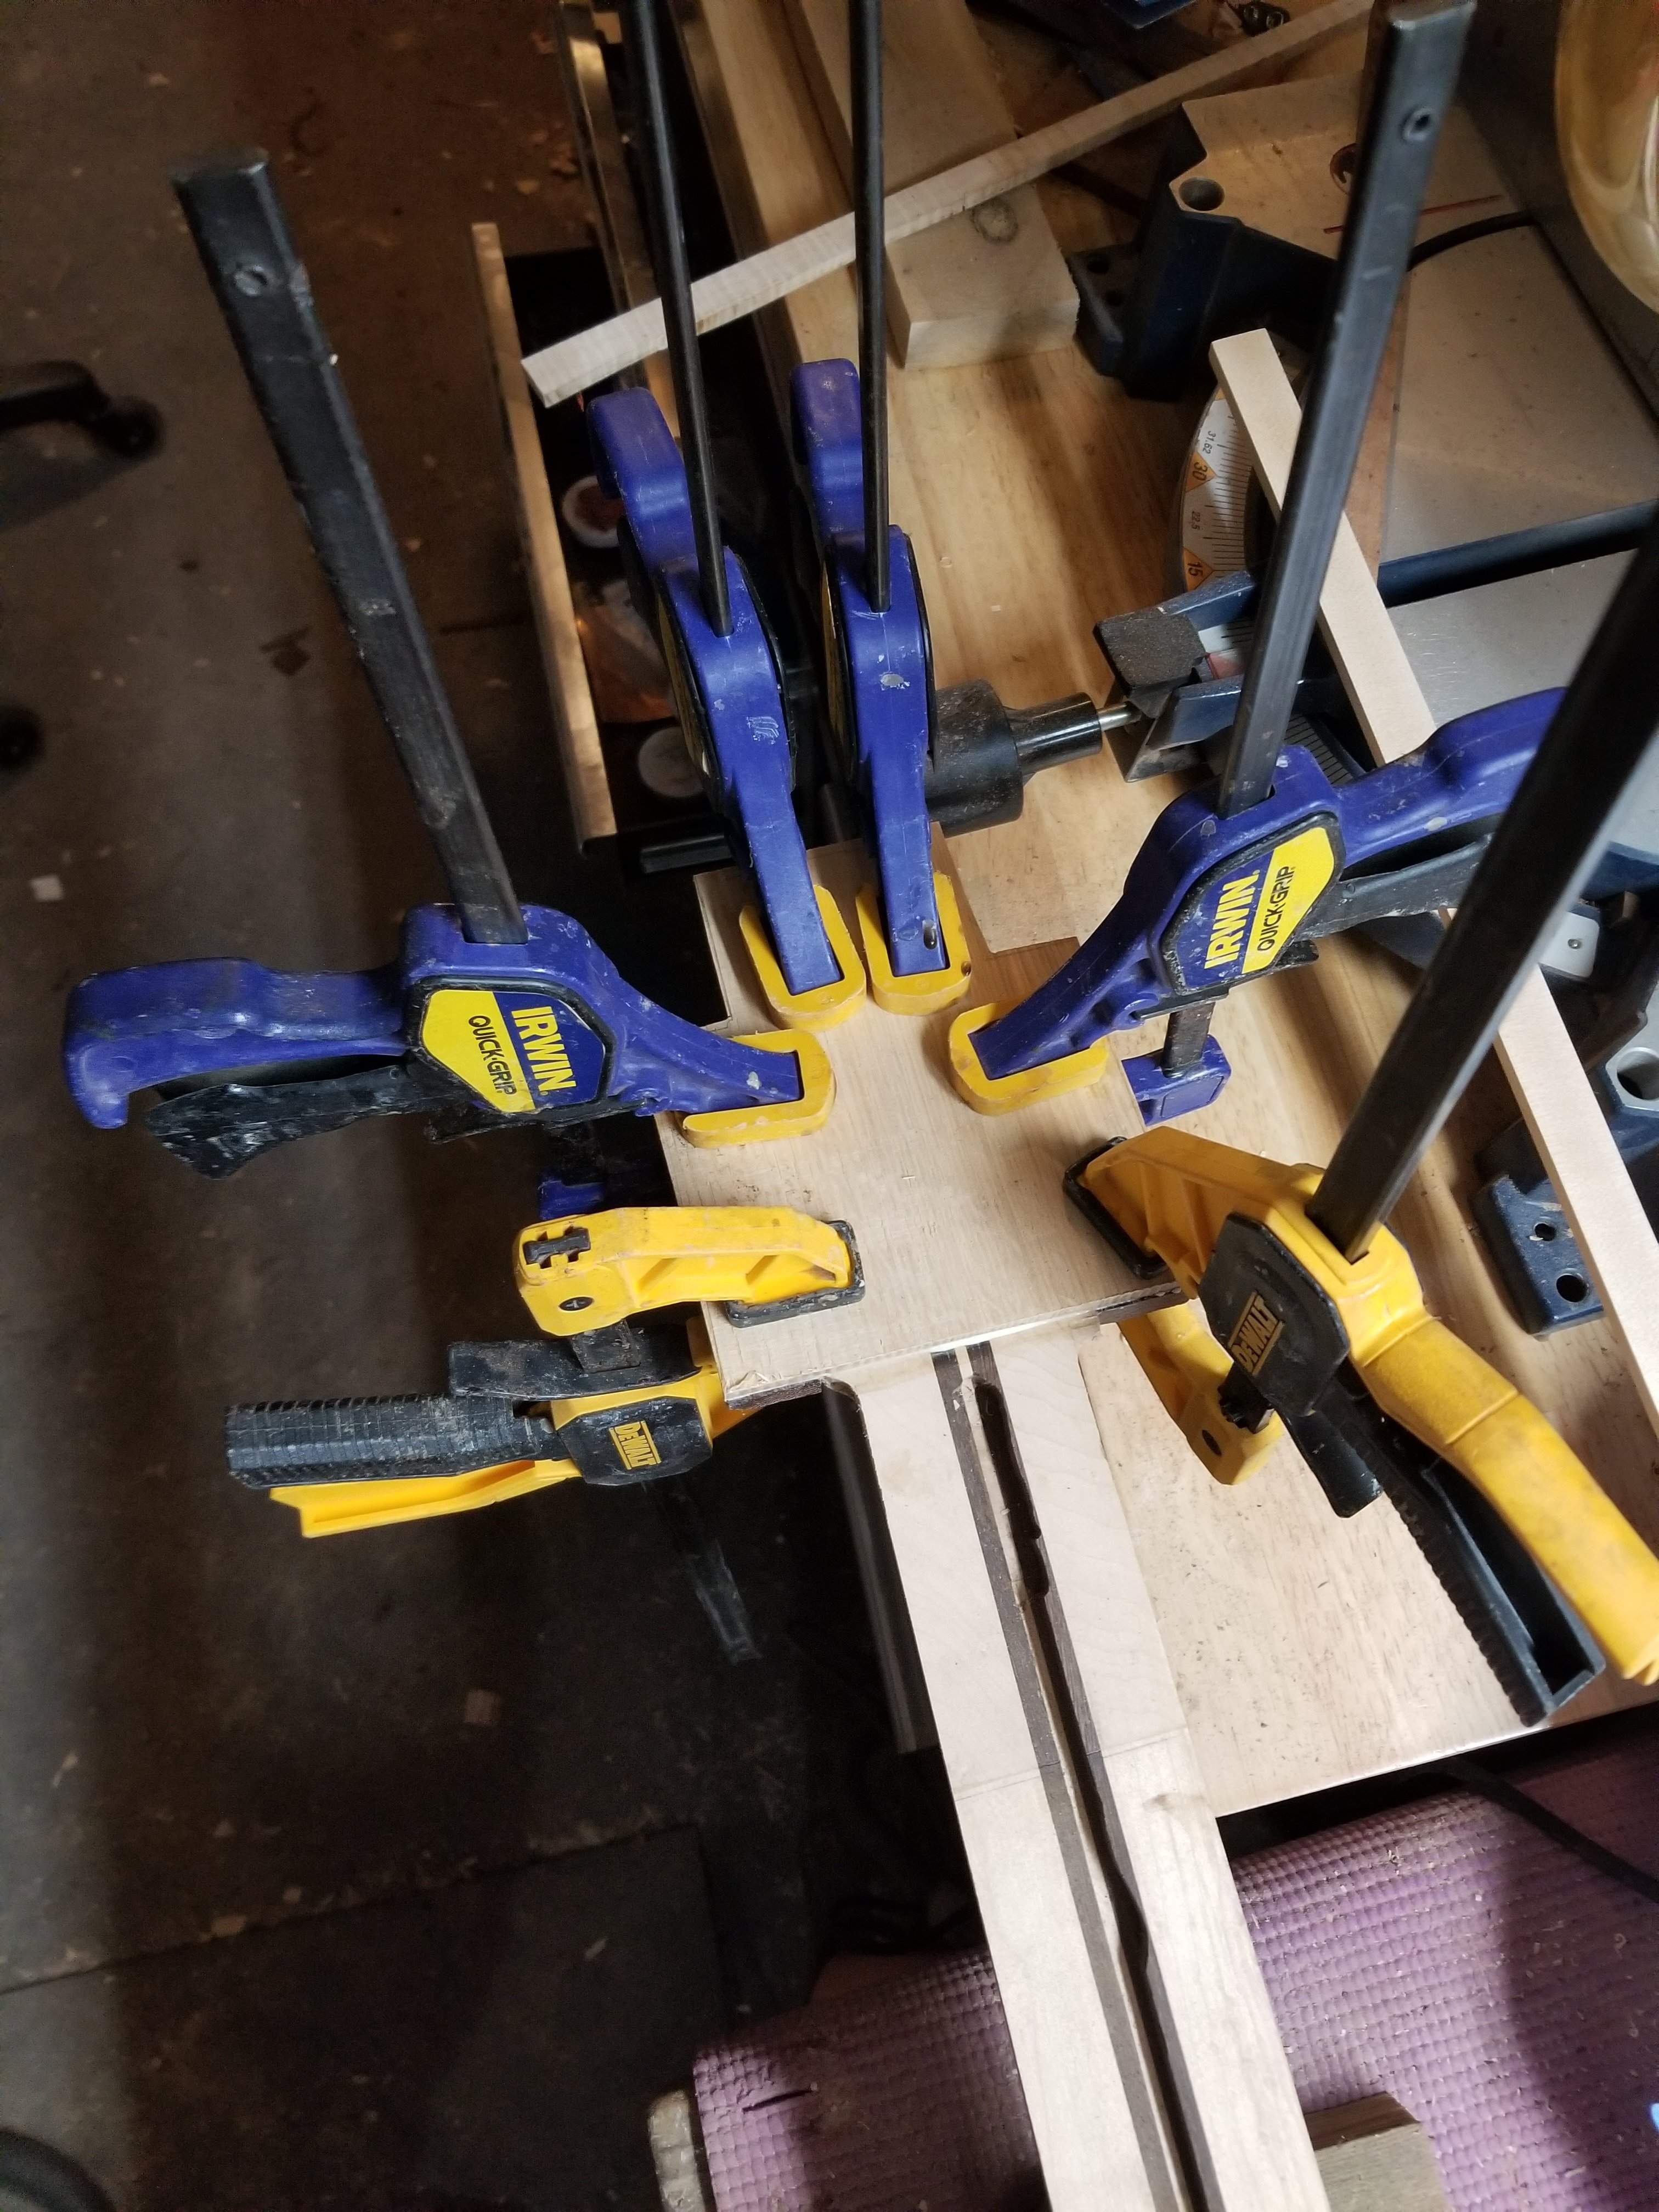
and I got the head plate planed down and glued up.
I need to design the headstock, so I left it large for now. A lot of times I design the headstock before I put the head plate on, this is probably better so I only have to do it once.
I started staring at the string terminations, I briefly considered using string ferrules (and I may still). I looked at the Stradi and it sure does not use ferrules. I'll probably just do the same as on the Stradi.
With limited time this morning, I decided I'd focus on the other end of the bass. I got the volute carved, a bit strange, but I think it fits with the bass.
and I got the head plate planed down and glued up.
I need to design the headstock, so I left it large for now. A lot of times I design the headstock before I put the head plate on, this is probably better so I only have to do it once.
I got a nice couple of hours in the shop this afternoon.
I started out working on the rear string terminations. I made a test piece first.
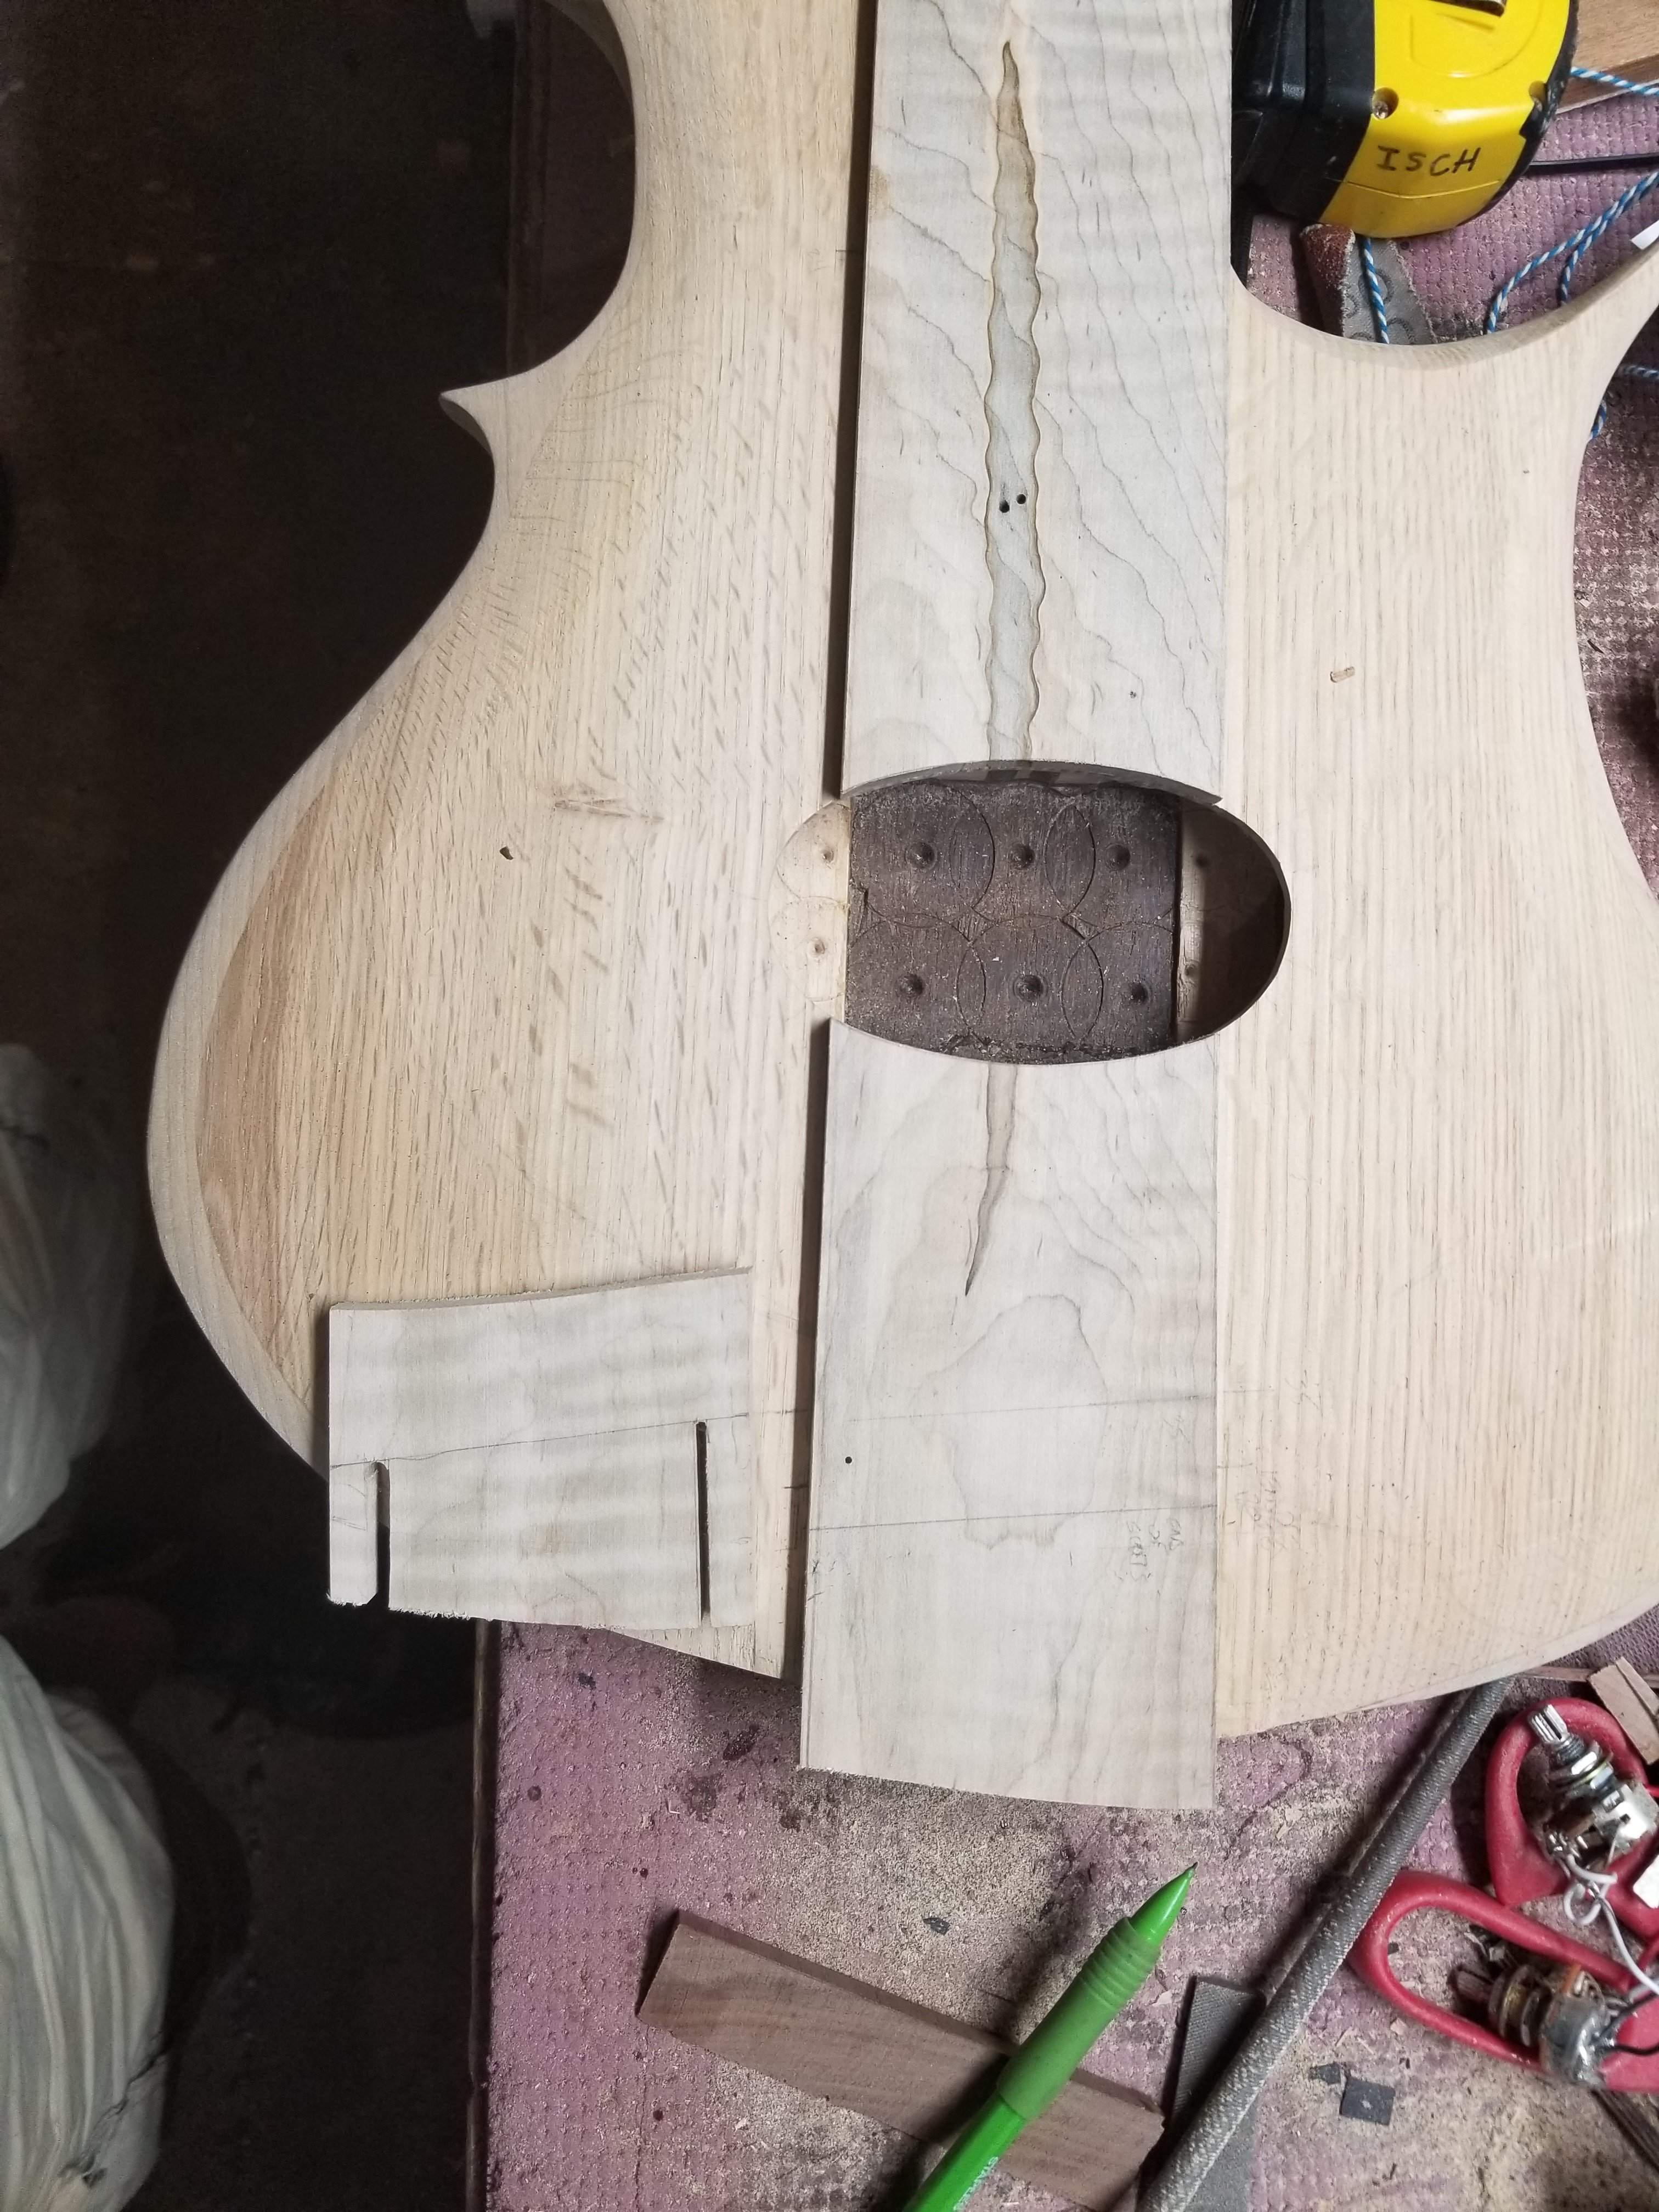
Satisfied that I could execute I moved onto the real piece.
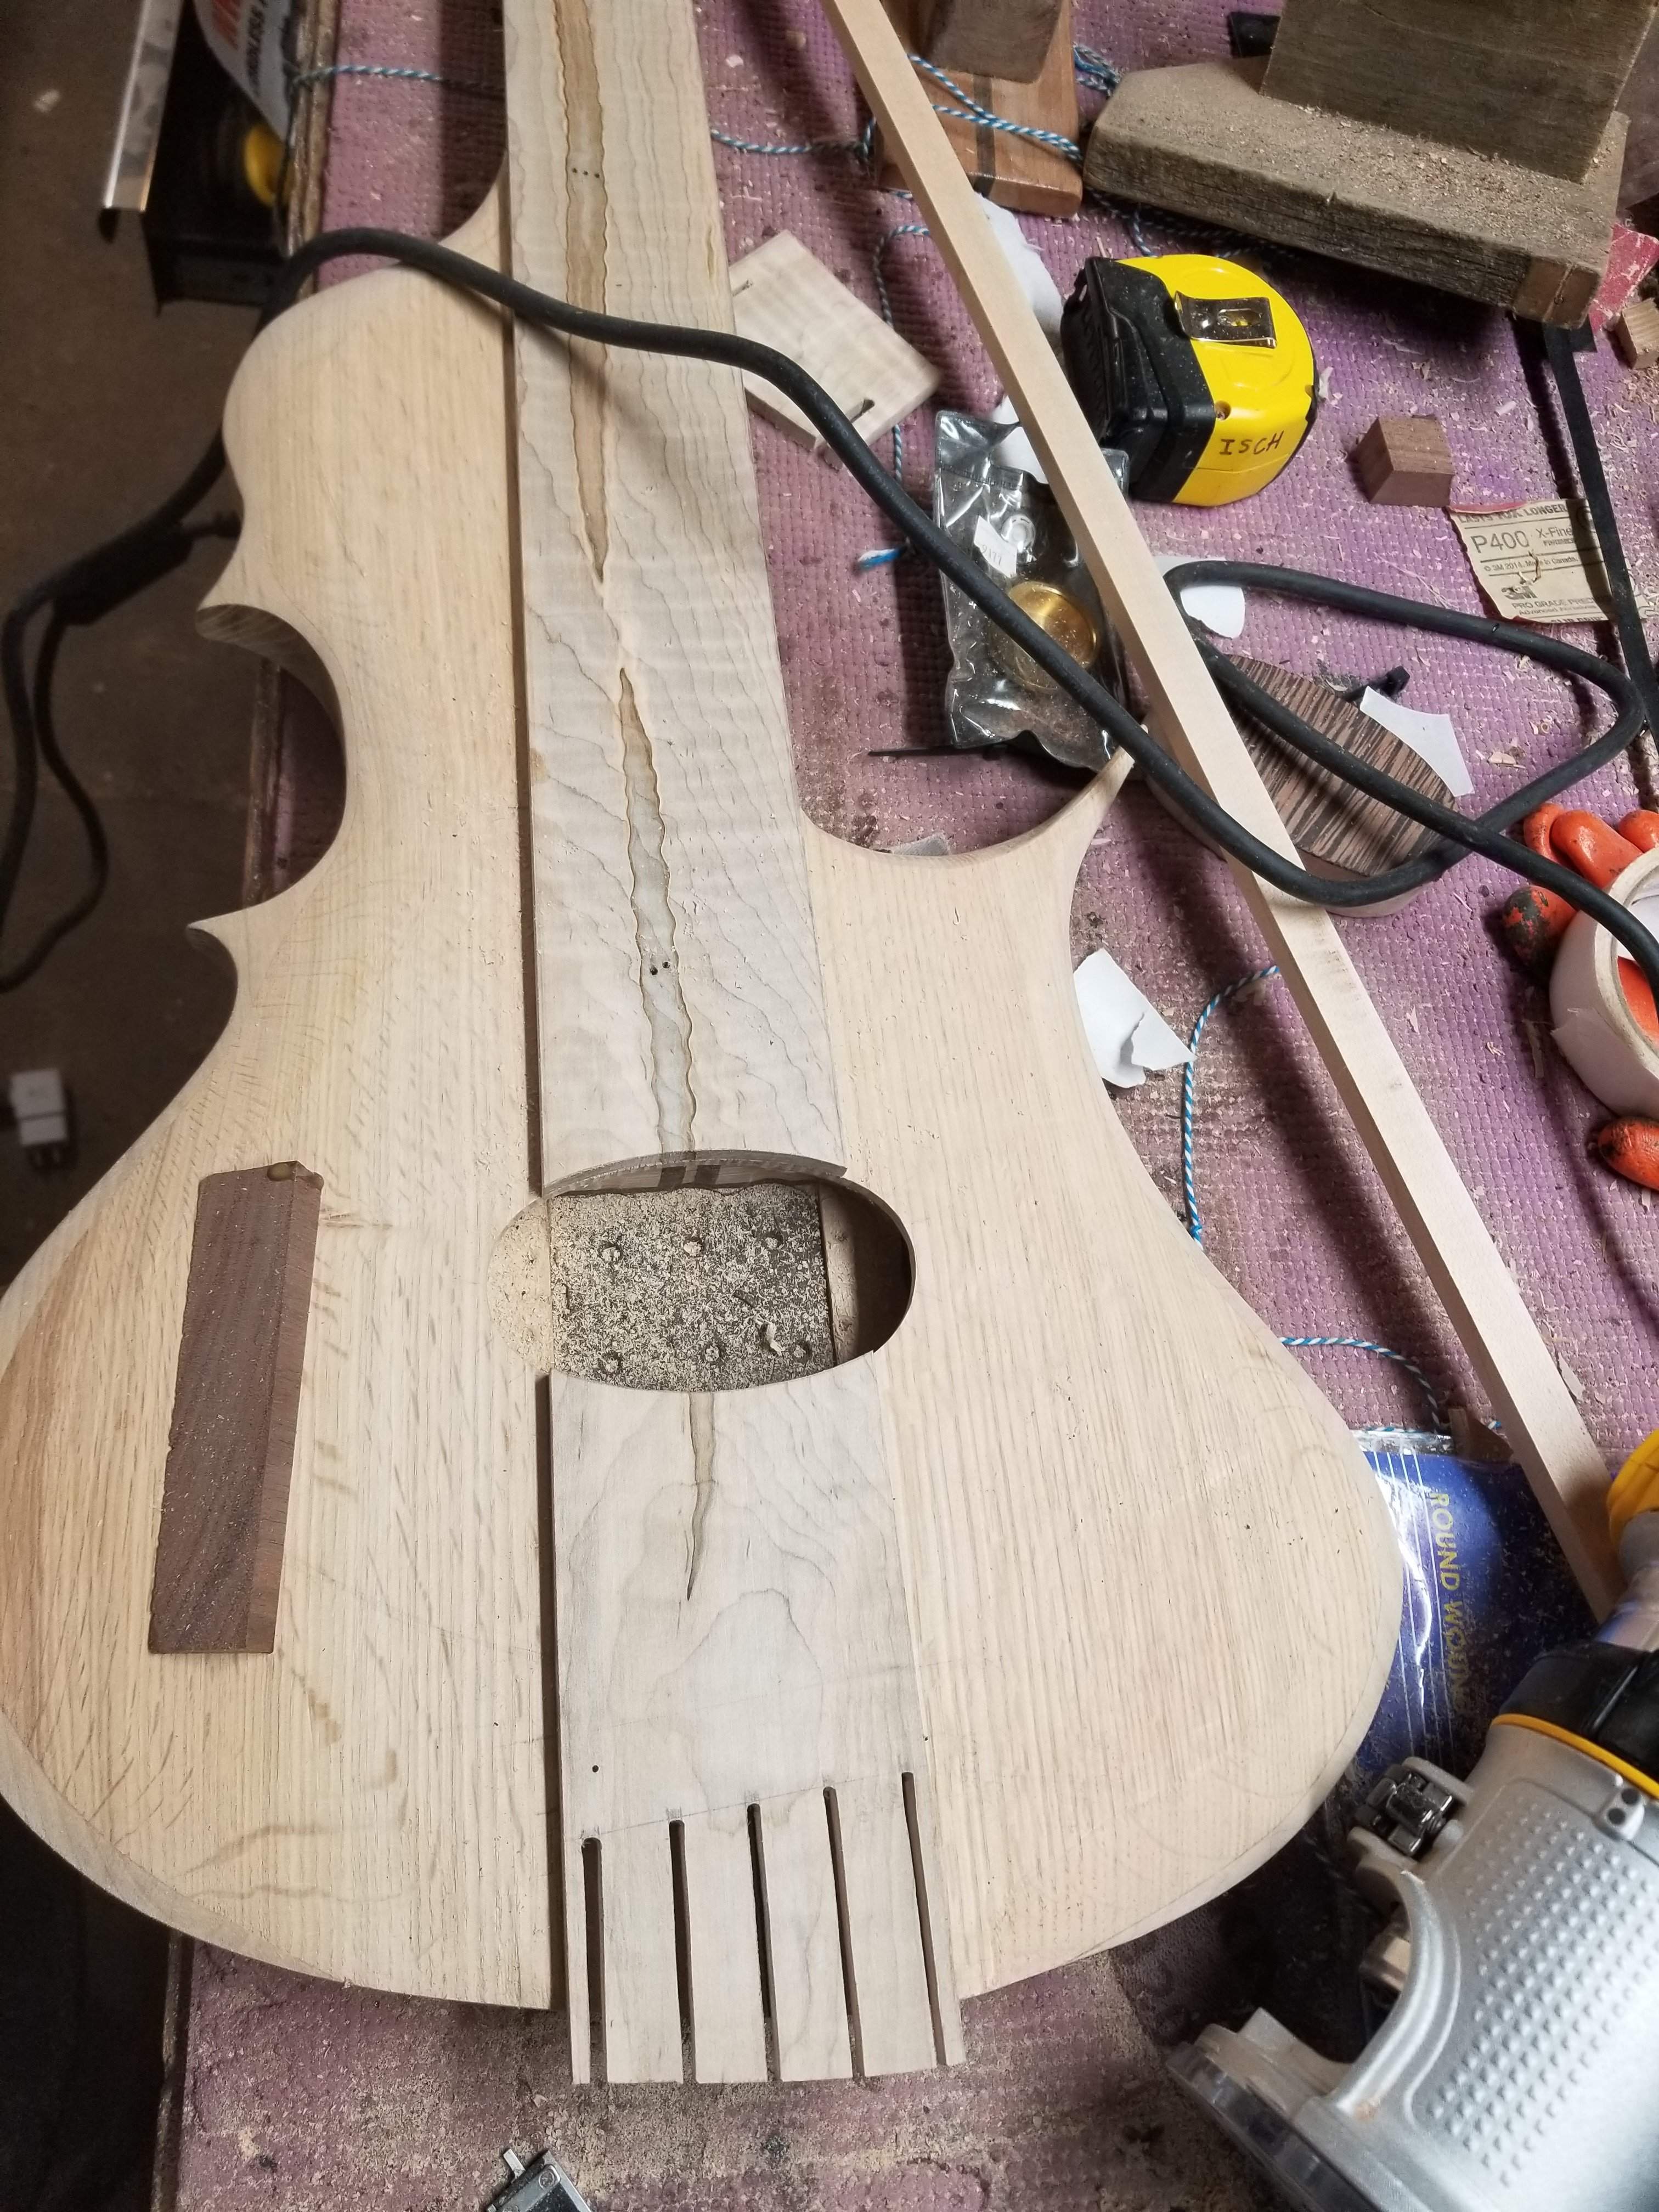
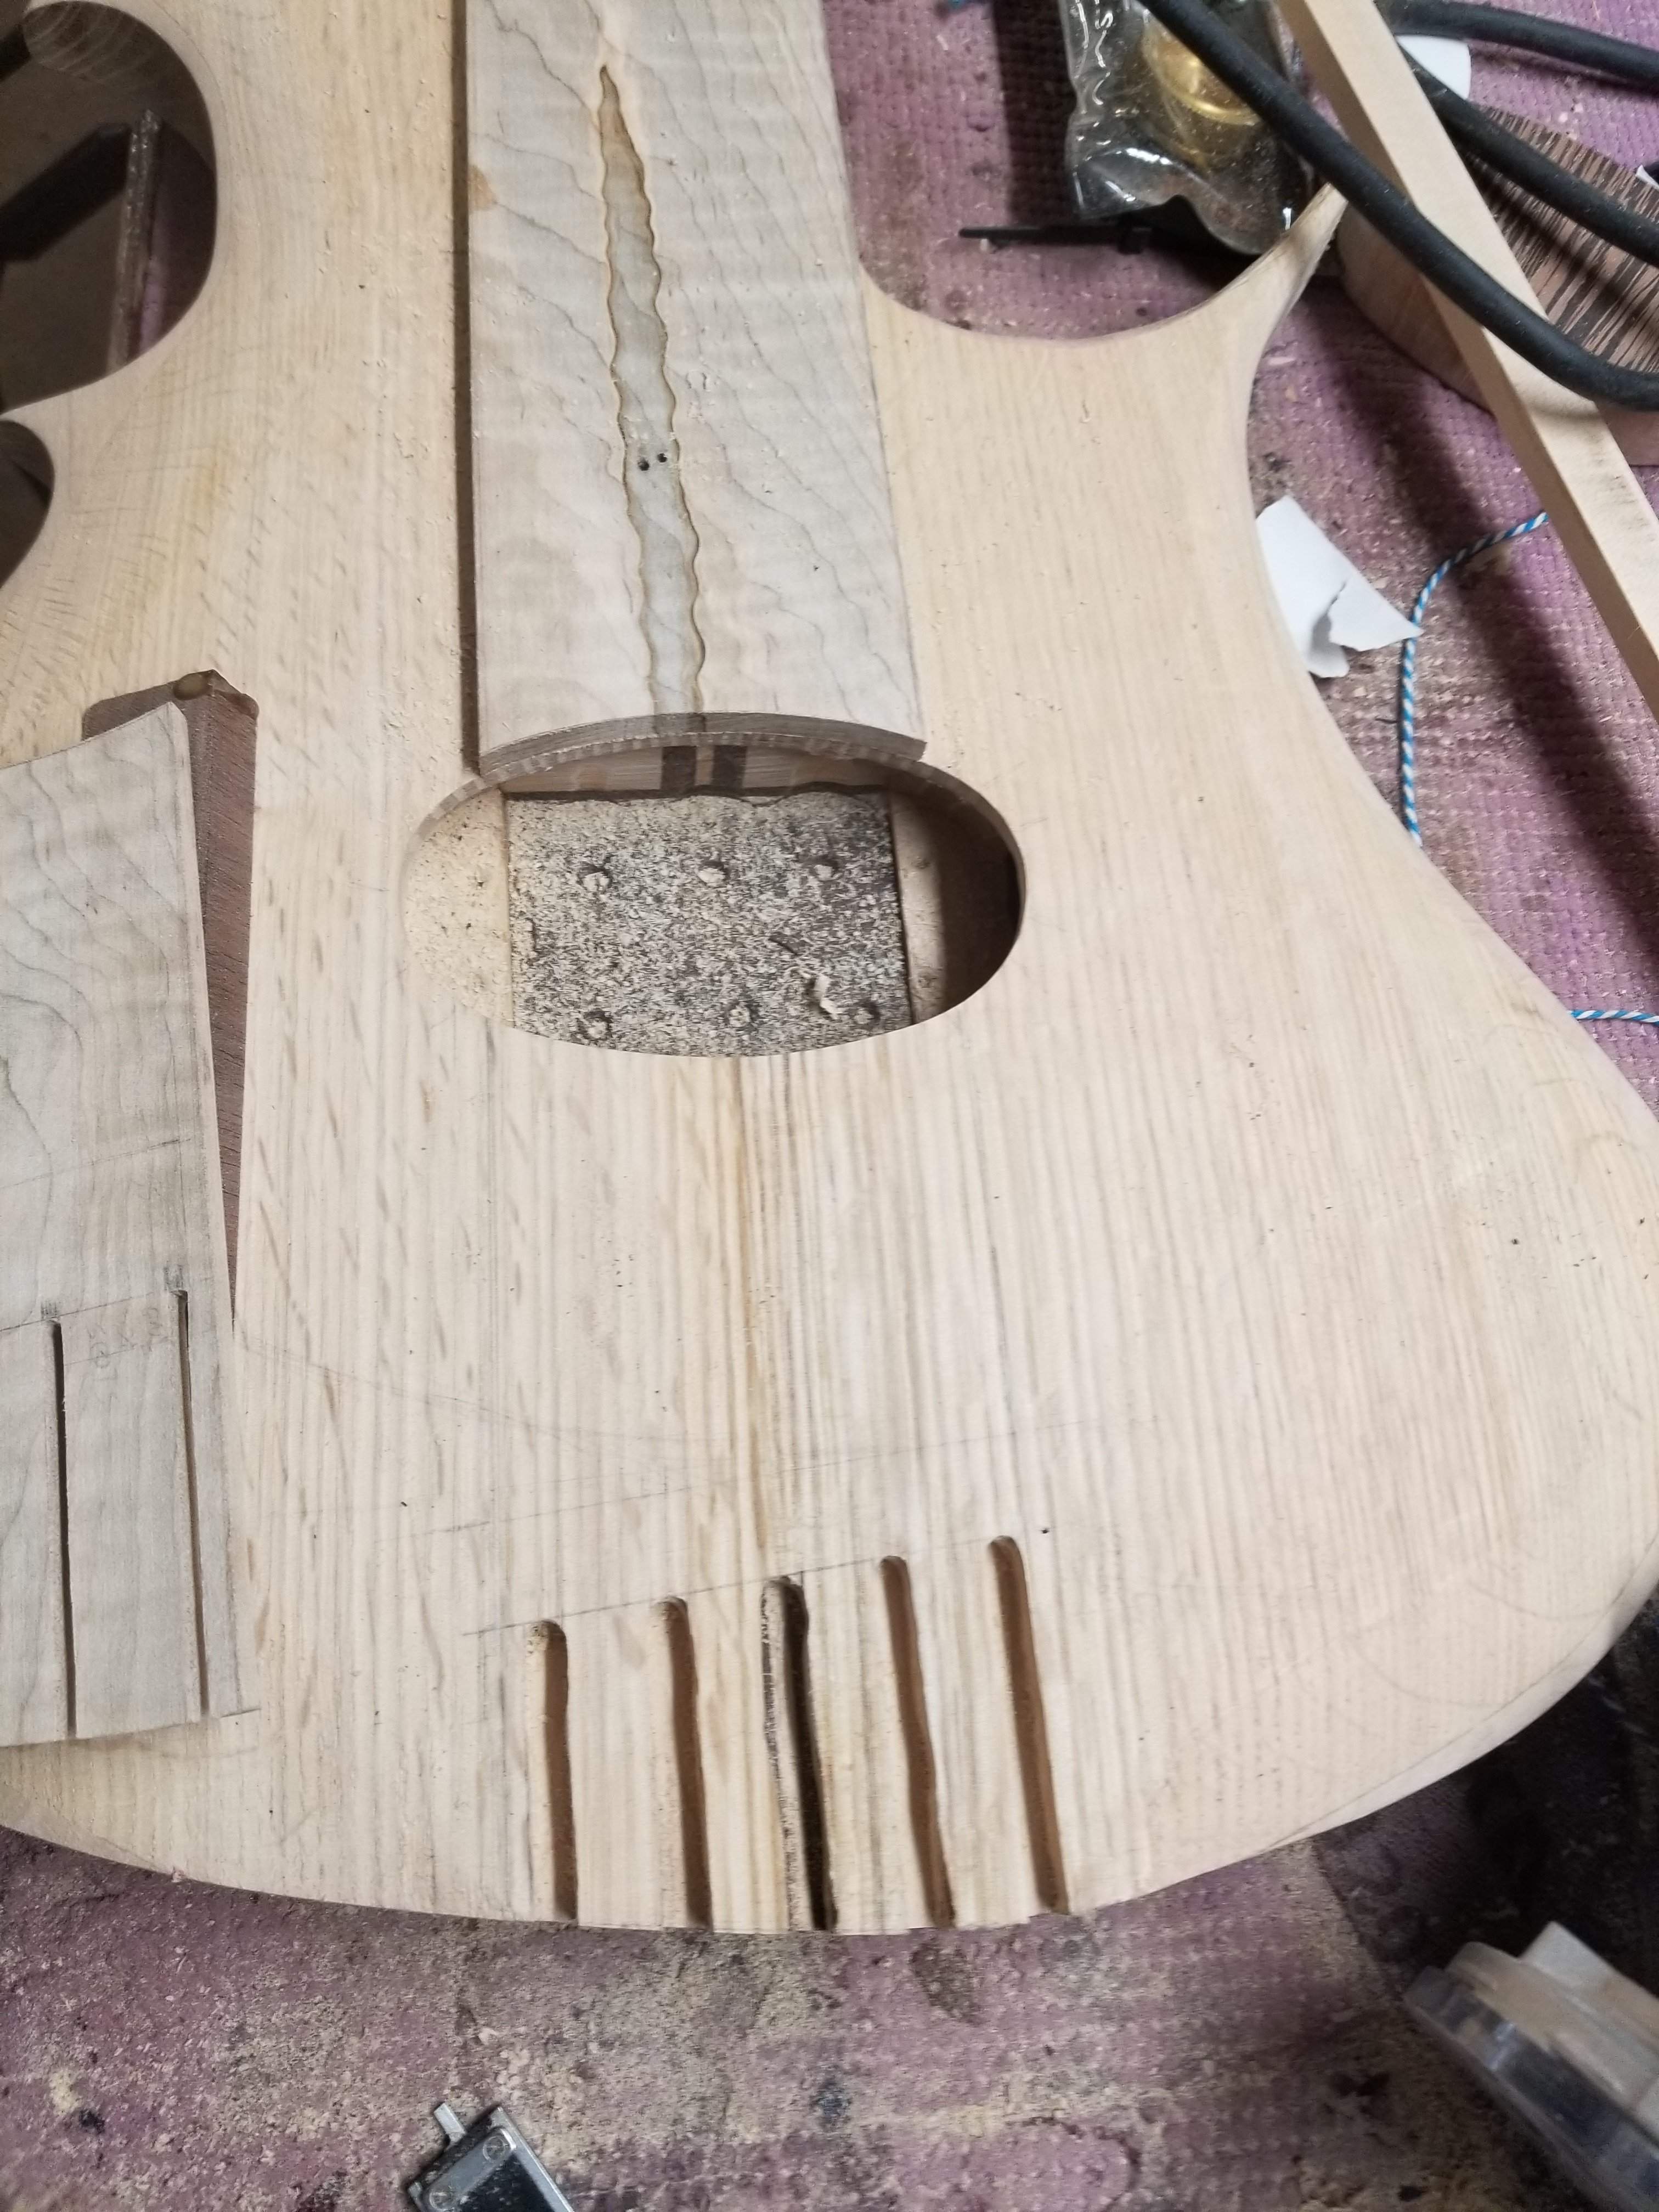
I transferred the slots to the body. I initially was going to just make a pool route underneath but I was concerned about the strength, so instead I did slots for each. I made the slots wide enough for the ball ends to run up and down (that's skinnier than the other way). I freehanded them, which was probably not the smartest thing, but it looks good from the end once the cover is on. Unfortunately while working on this I lost the G string. I have searched high and low in the shop, it has to be here somewhere!
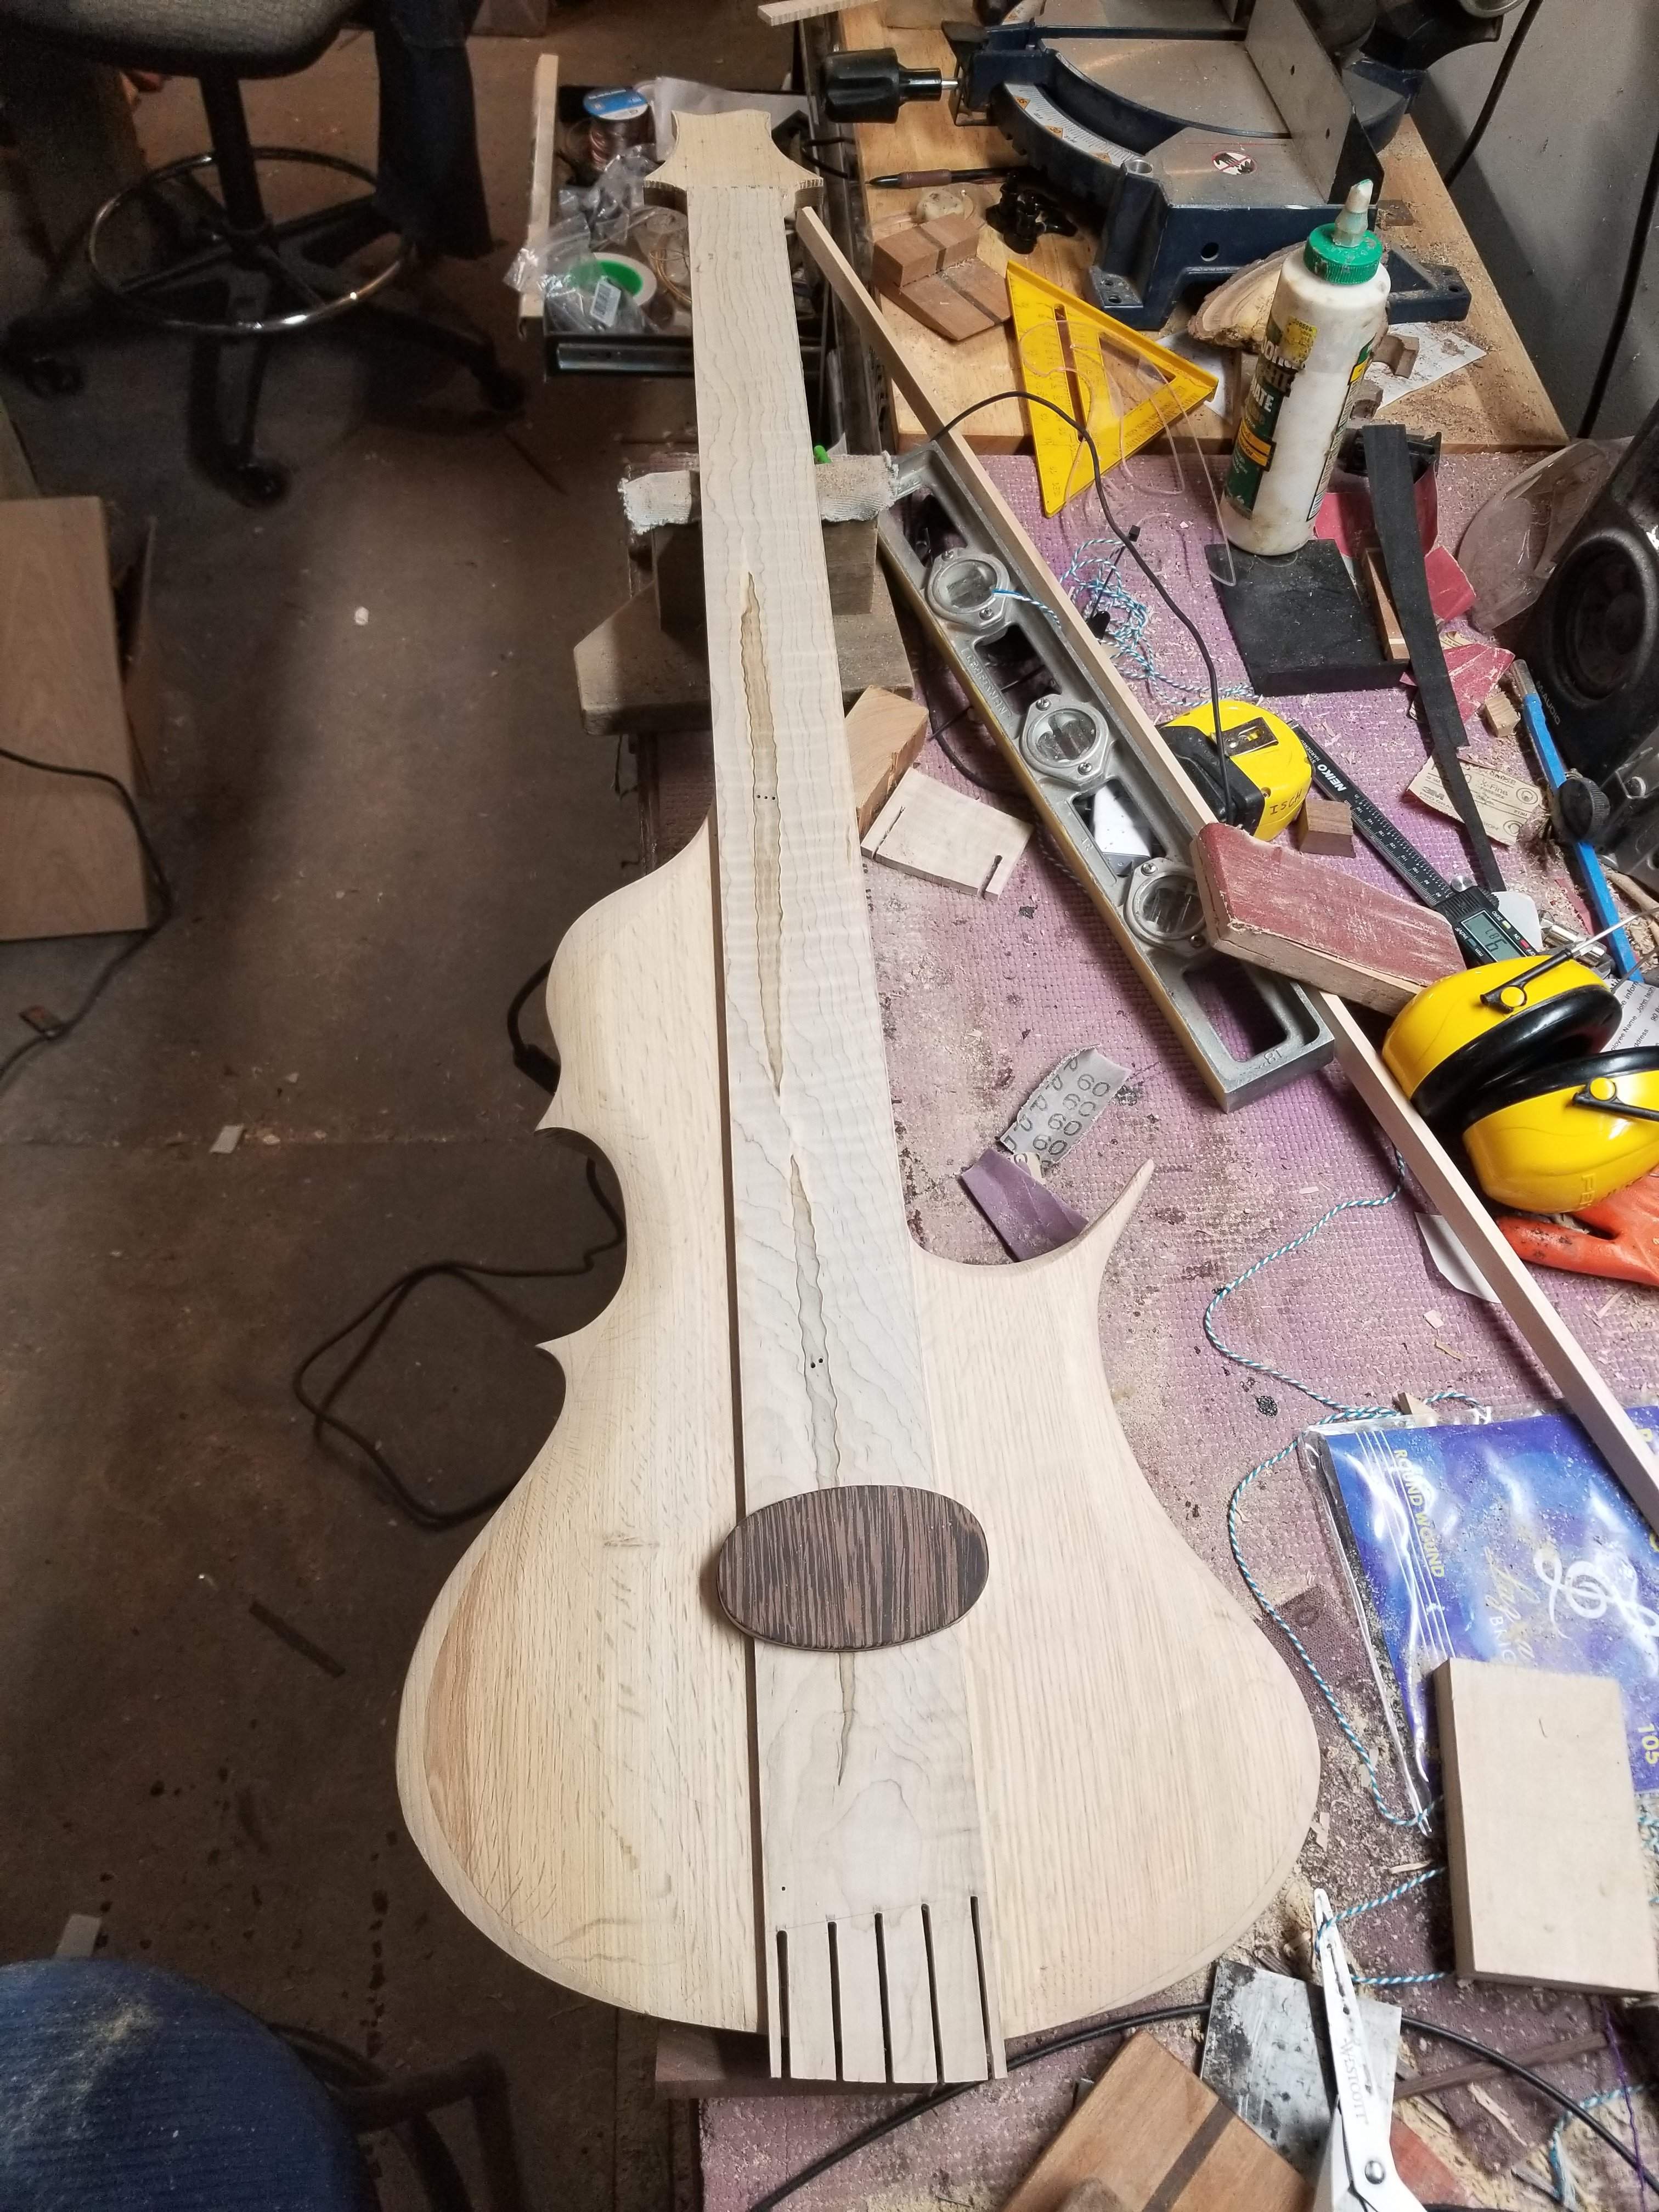
all together
I got the headstock shaped and drilled

I had to flatten out the top of the neck, the scarf joint had a little back angle to it, all good now. It looks like I need to do a little work on the truss rod slot, and cut the access hole on the headstock.
I made the jack hole, it went ok, but not great. While carving out from the inside my dremel jumped and hit the back of the body. A small chip, I'll fill it in. I had to do a lot of carving with the dremel, a lot. I need to get a new 9/16" forstner, this one is dull and it means I had to put a lot of pressure on it. When it broke through I dented the body, I can sand it away.
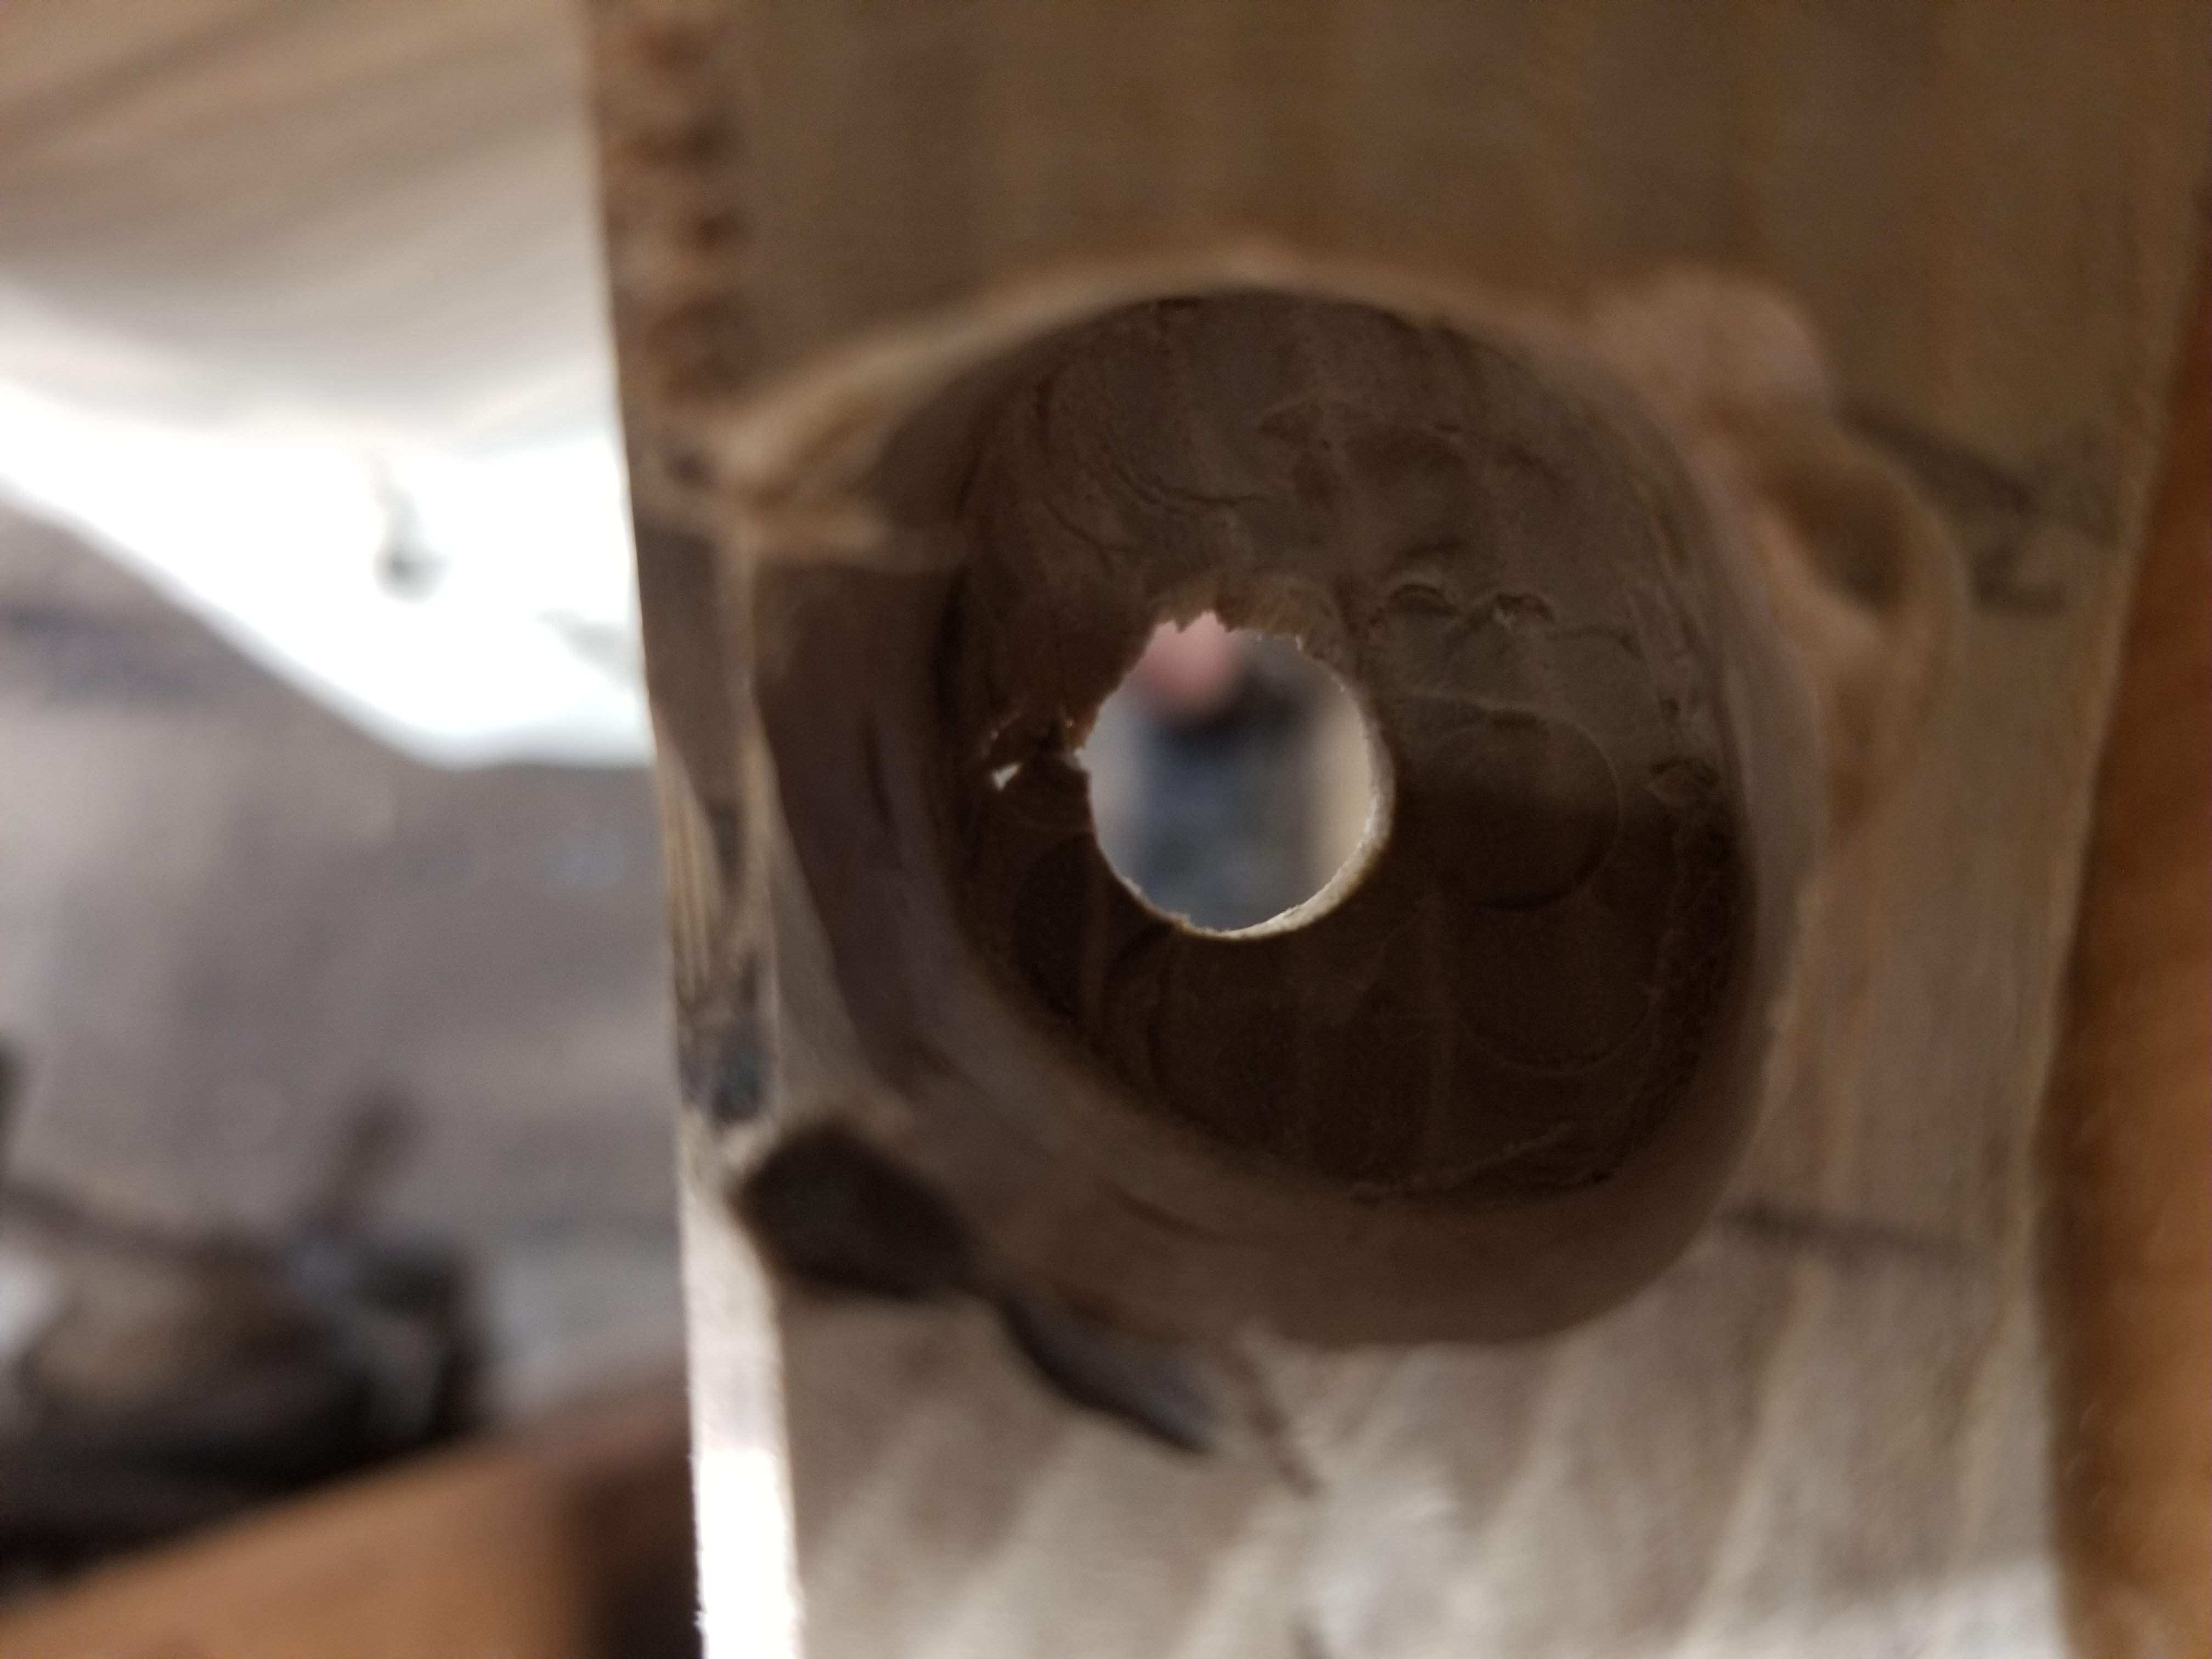
That little chip ends up under the washer, so it won't show.
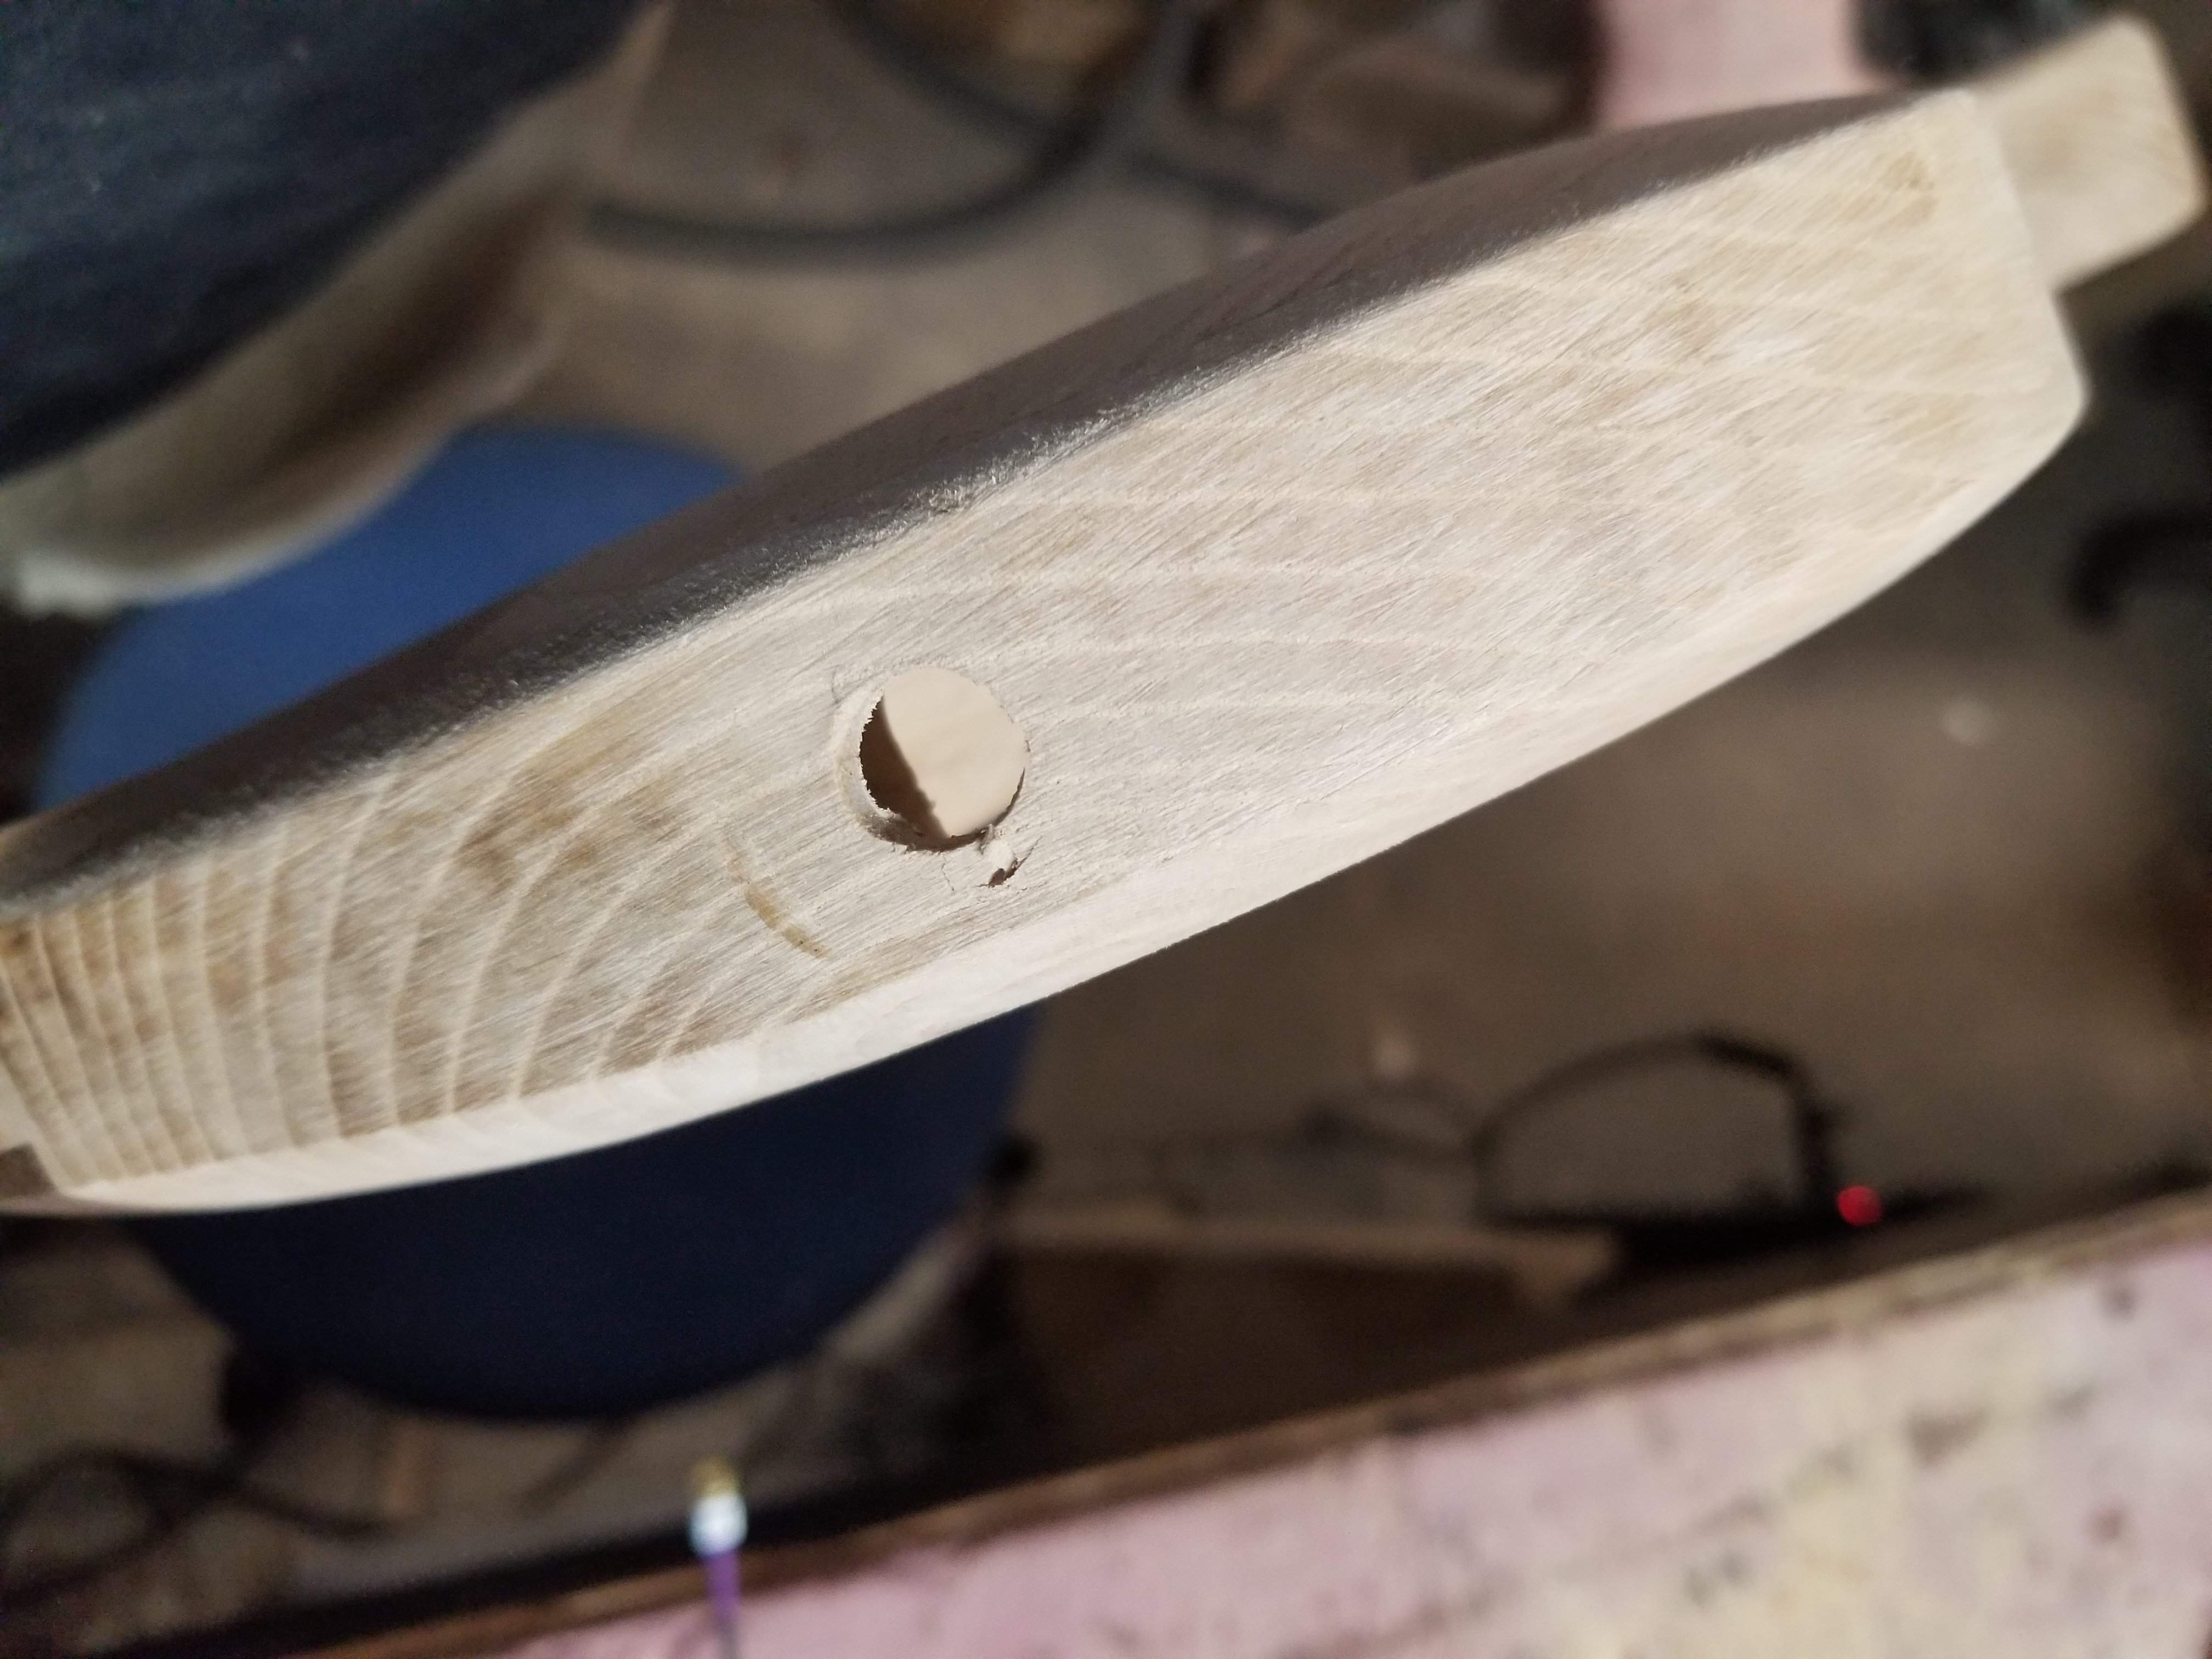
Next I need to get the finger board mounted. I'm tired and hungry, good time to stop.
I started out working on the rear string terminations. I made a test piece first.
Satisfied that I could execute I moved onto the real piece.
I transferred the slots to the body. I initially was going to just make a pool route underneath but I was concerned about the strength, so instead I did slots for each. I made the slots wide enough for the ball ends to run up and down (that's skinnier than the other way). I freehanded them, which was probably not the smartest thing, but it looks good from the end once the cover is on. Unfortunately while working on this I lost the G string. I have searched high and low in the shop, it has to be here somewhere!
all together
I got the headstock shaped and drilled
I had to flatten out the top of the neck, the scarf joint had a little back angle to it, all good now. It looks like I need to do a little work on the truss rod slot, and cut the access hole on the headstock.
I made the jack hole, it went ok, but not great. While carving out from the inside my dremel jumped and hit the back of the body. A small chip, I'll fill it in. I had to do a lot of carving with the dremel, a lot. I need to get a new 9/16" forstner, this one is dull and it means I had to put a lot of pressure on it. When it broke through I dented the body, I can sand it away.
That little chip ends up under the washer, so it won't show.
Next I need to get the finger board mounted. I'm tired and hungry, good time to stop.

I agree with you 100%. I wasn't going to do an oval, but if you're going to do a full length fingerboard, I think it's the only shape that will work. I looked at rectangles and they just don't look right.I've never been a huge fan of oval pickups or oval pickup covers but I have to say, it's looking great on this design, it just fits.
I got an hour in the shop today.
I routed for truss rod access (needs to be fine tuned)
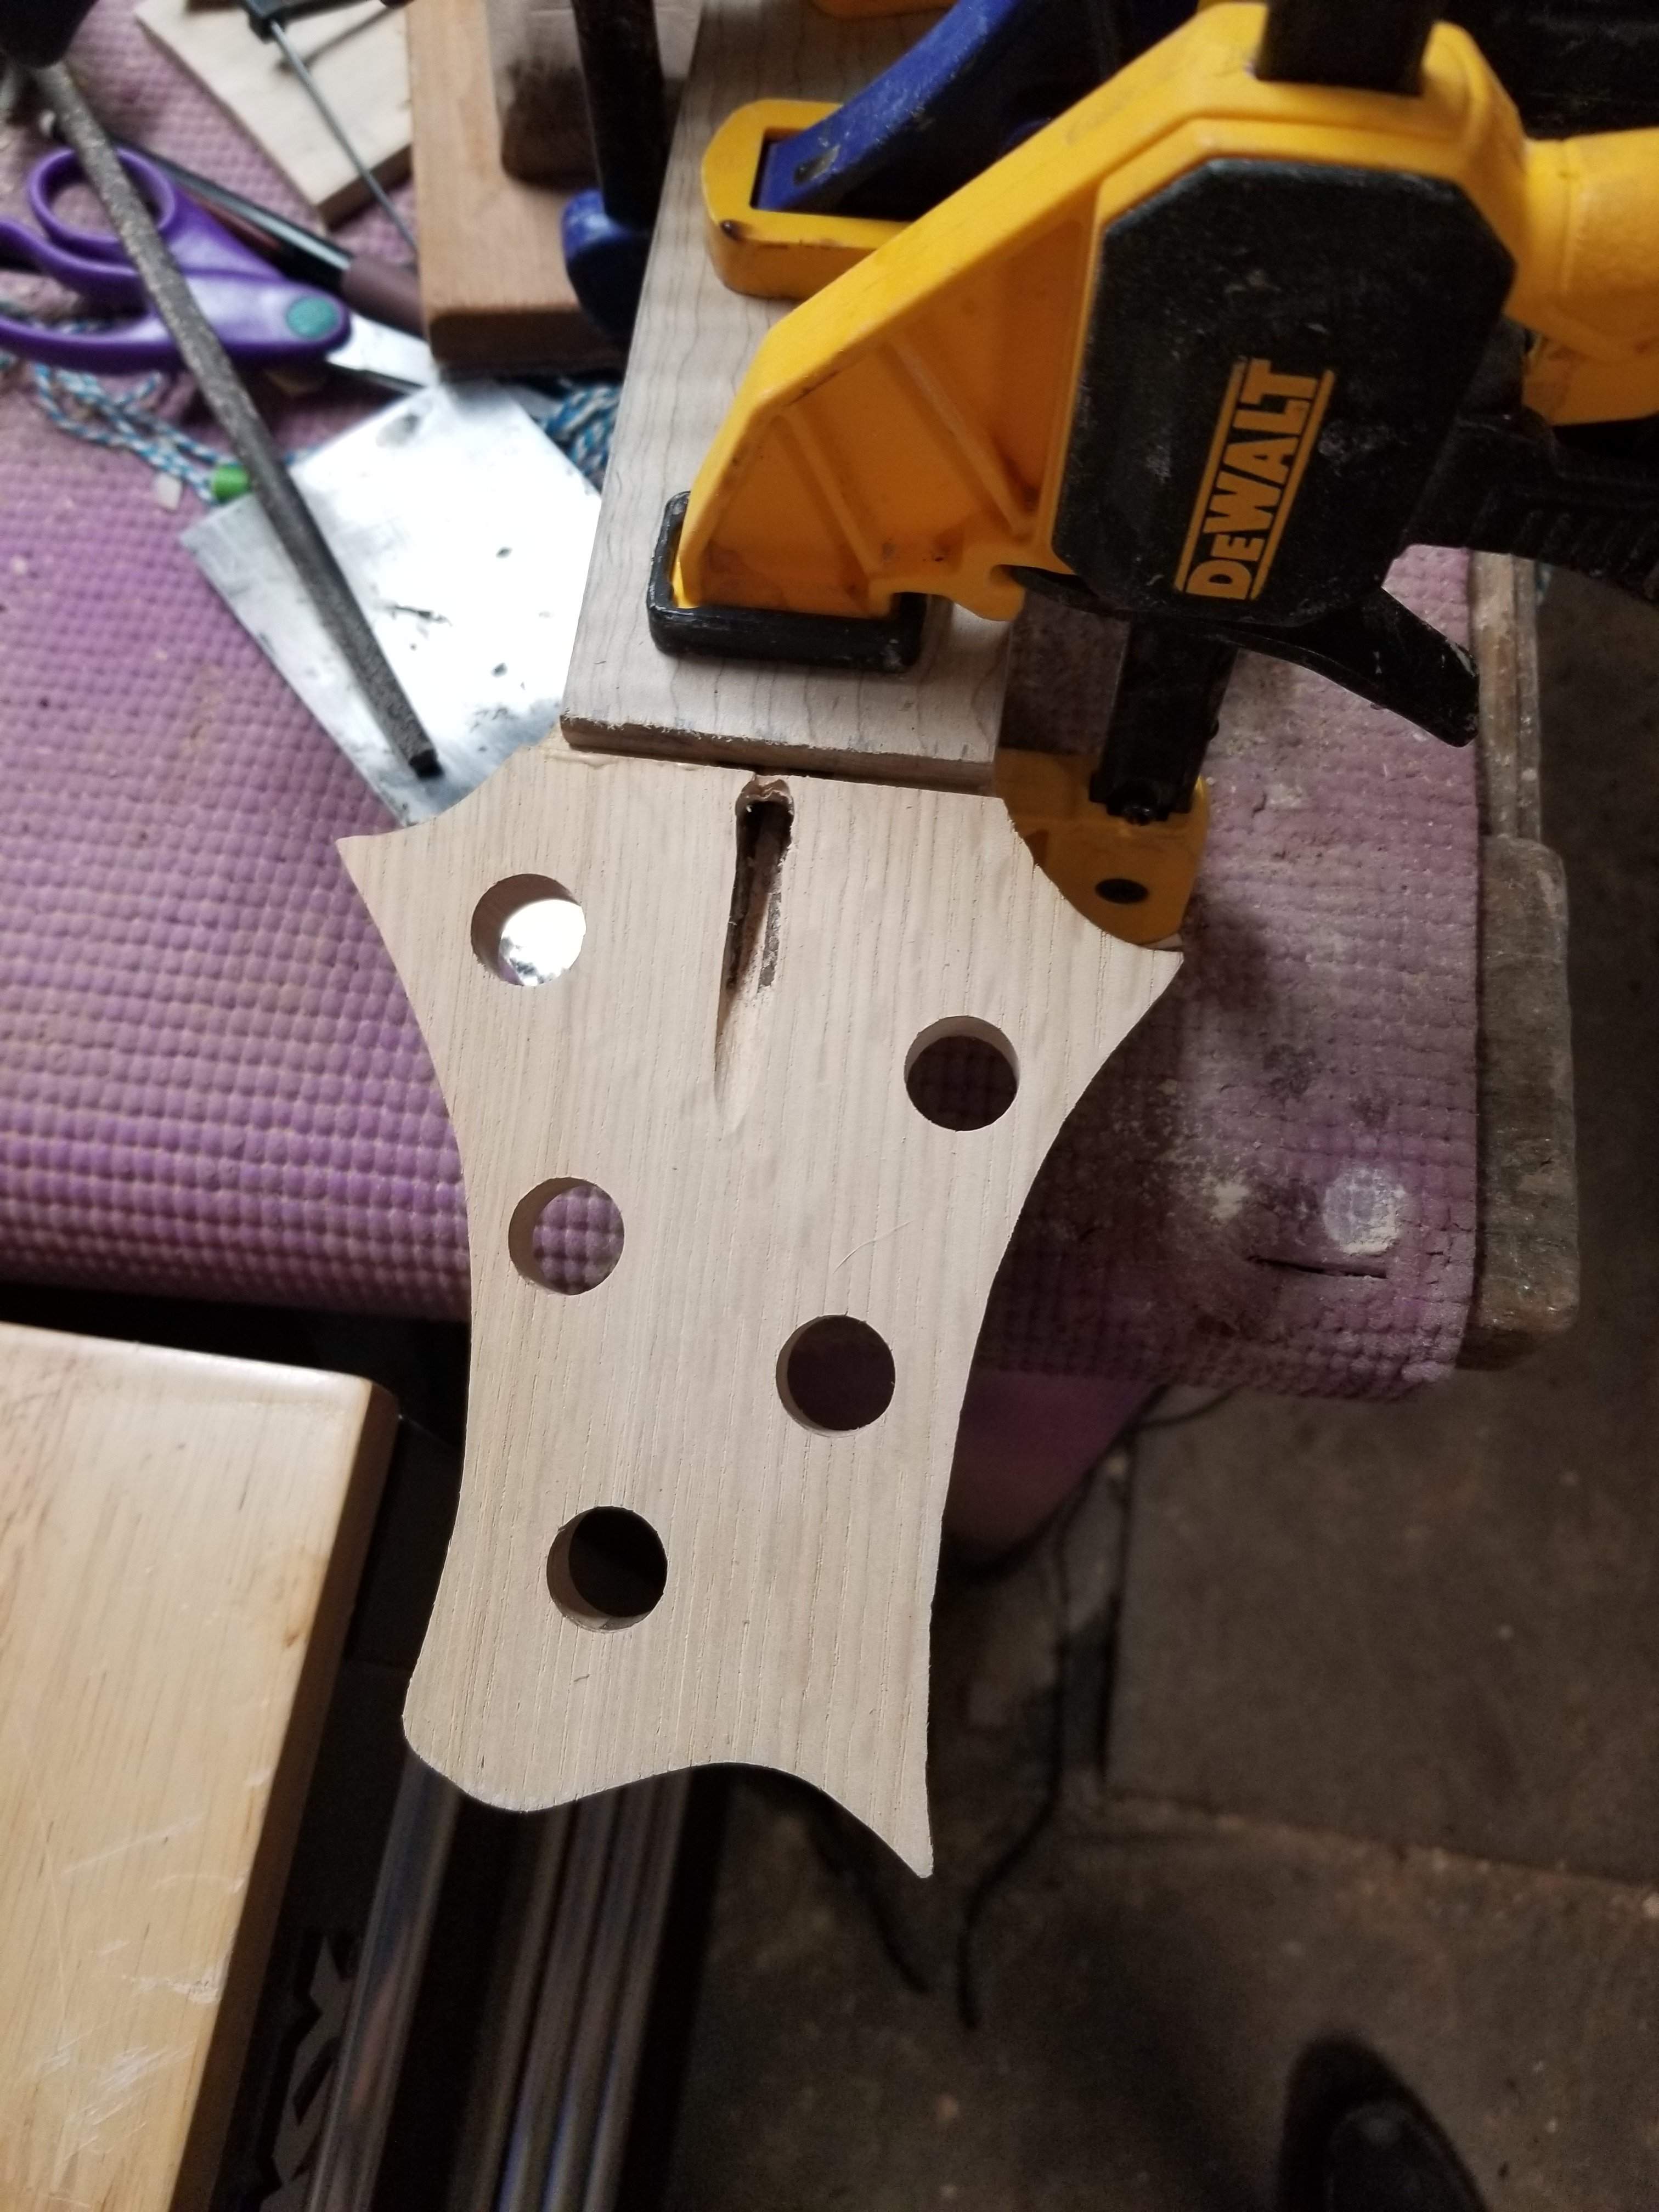
I fine tuned the truss rod slot, then glued on the top part of the fingerboard. It took a couple tries to get it lined up, some cuss words may have been spoken.

I need to figure out how to ground the strings before I can glue on the bottom part of the fingerboard, I have an idea, but I have to test it out.
I've got this coming week off work, so I expect this will be finished by next weekend at the latest.
I routed for truss rod access (needs to be fine tuned)
I fine tuned the truss rod slot, then glued on the top part of the fingerboard. It took a couple tries to get it lined up, some cuss words may have been spoken.
I need to figure out how to ground the strings before I can glue on the bottom part of the fingerboard, I have an idea, but I have to test it out.
I've got this coming week off work, so I expect this will be finished by next weekend at the latest.
I started thinking about how I could ground these strings, my initial thought was to embed some copper foil in the slots, but I could see it getting worn off and then there's no easy way to fix it. I was looking around and found pickup springs, cut to the right length they'll put a little pressure on the strings - not enough to push it out, but enough for contact.
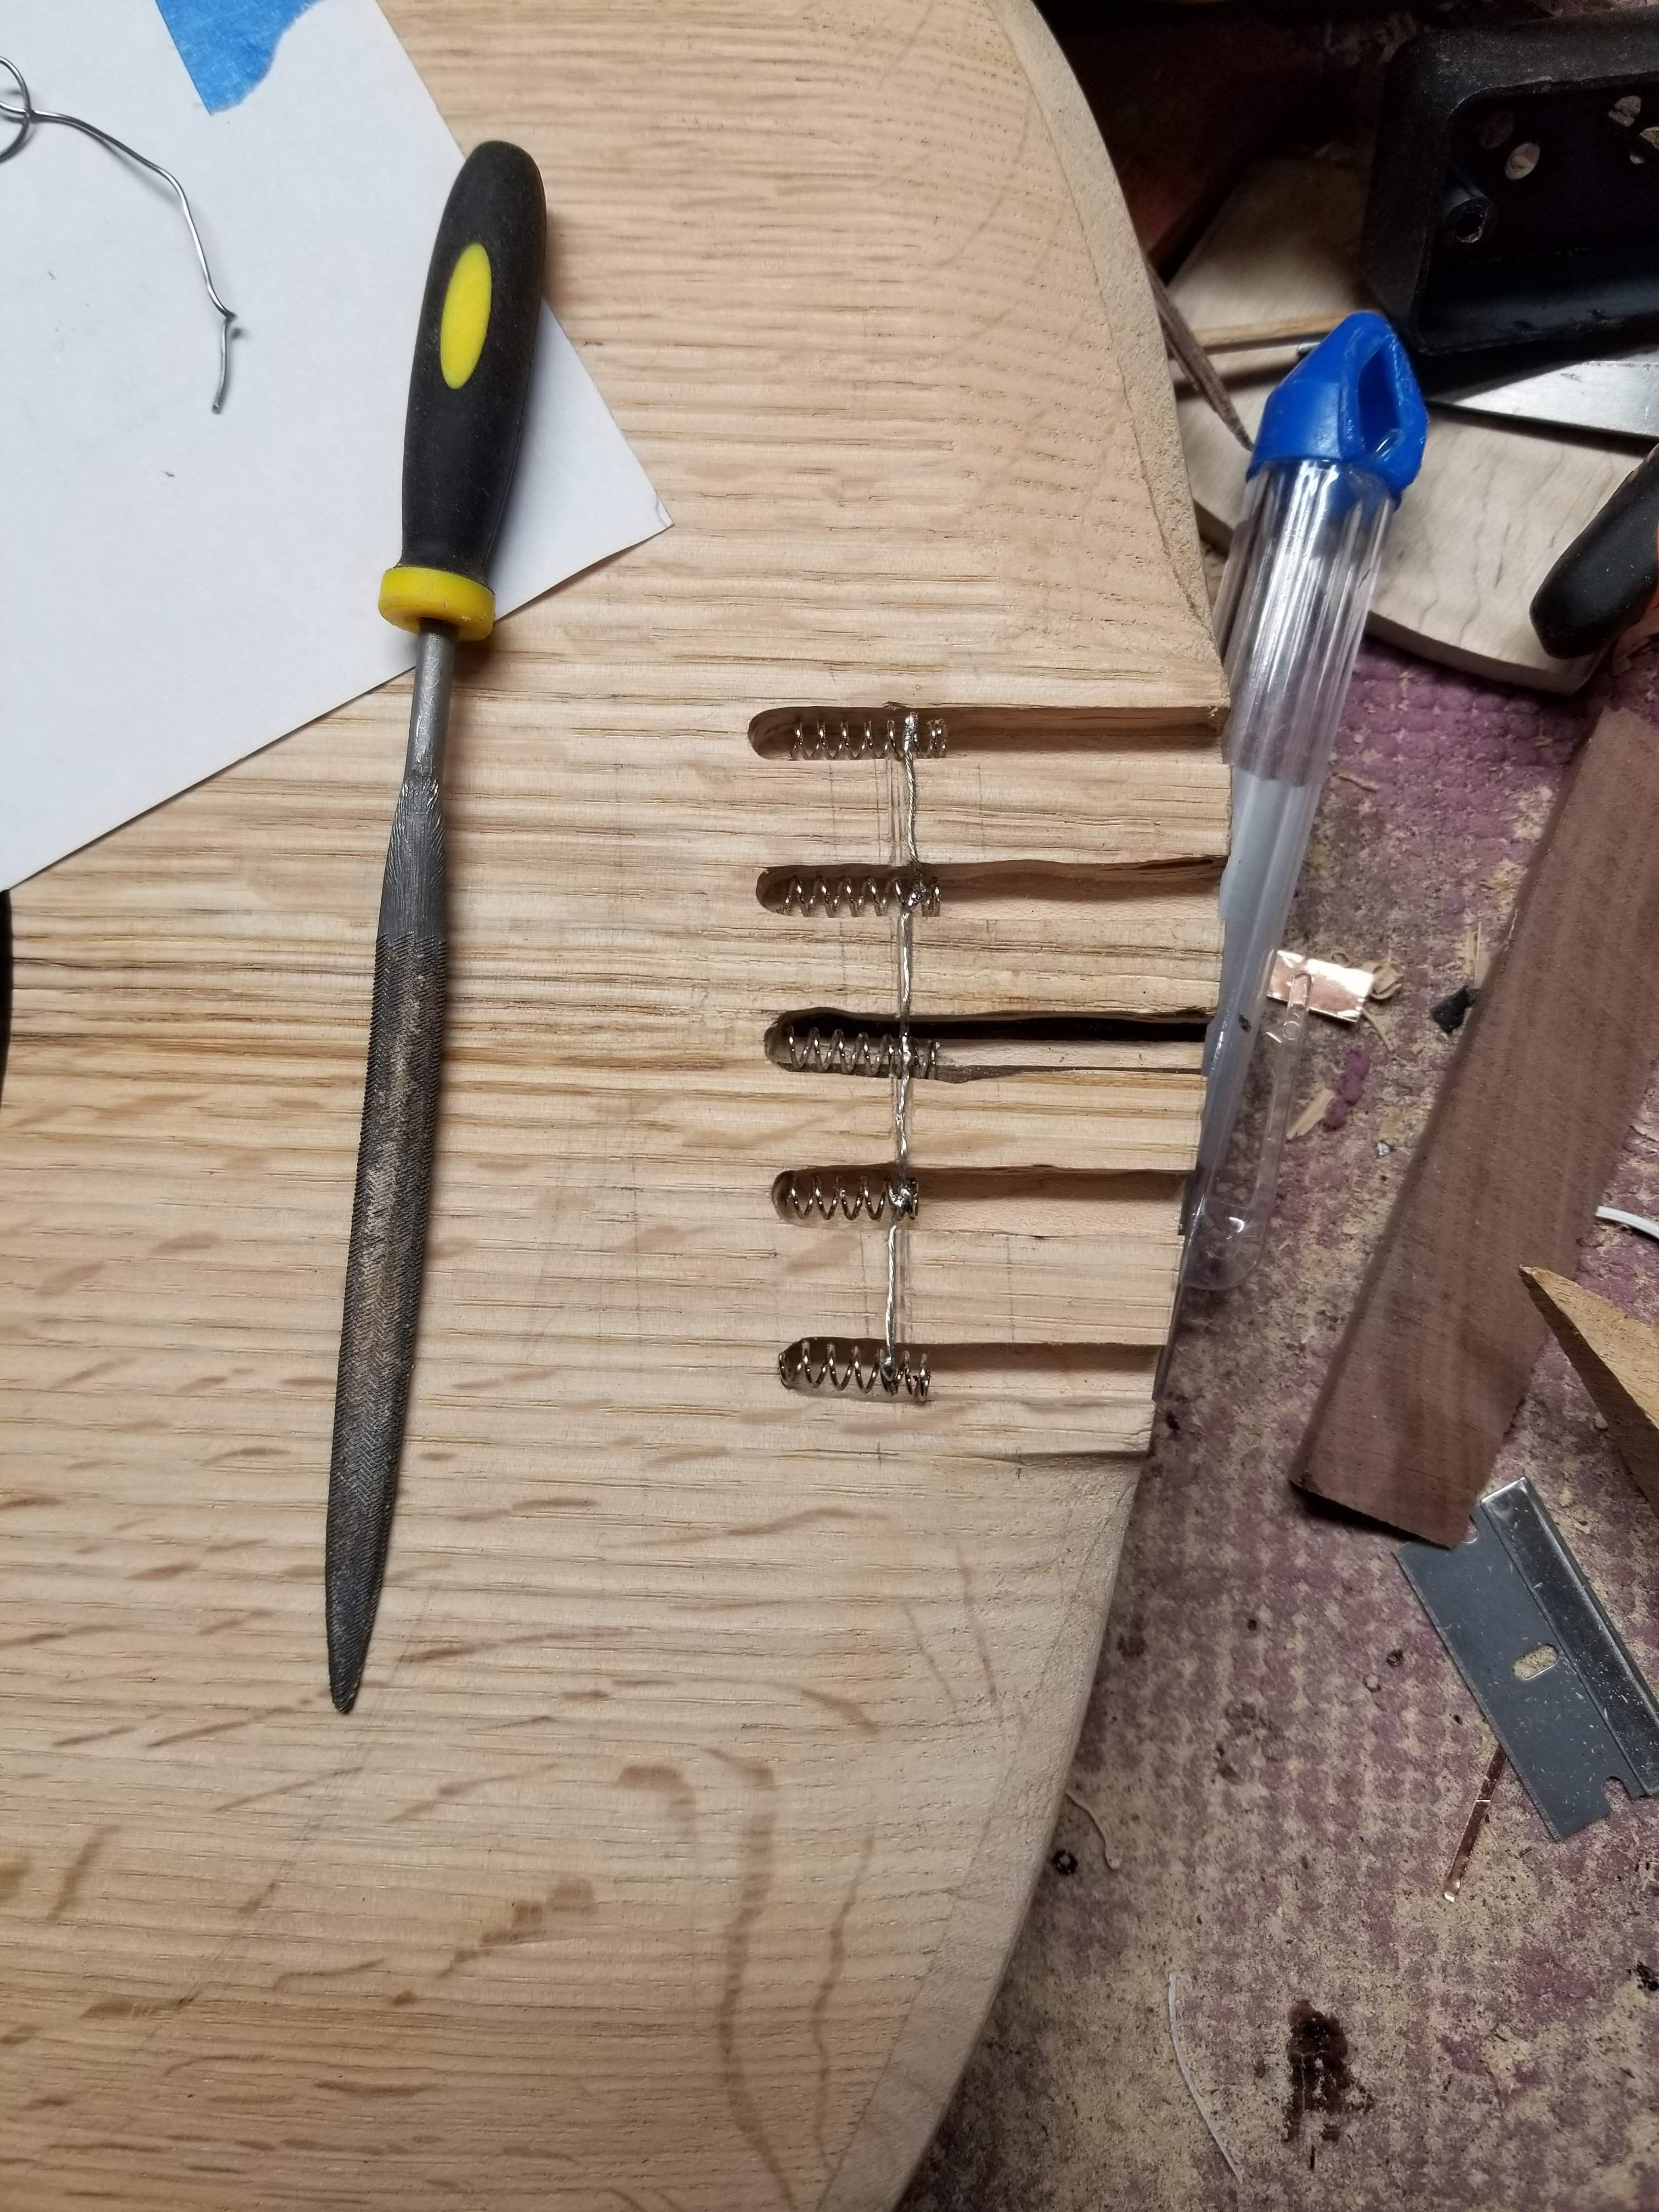
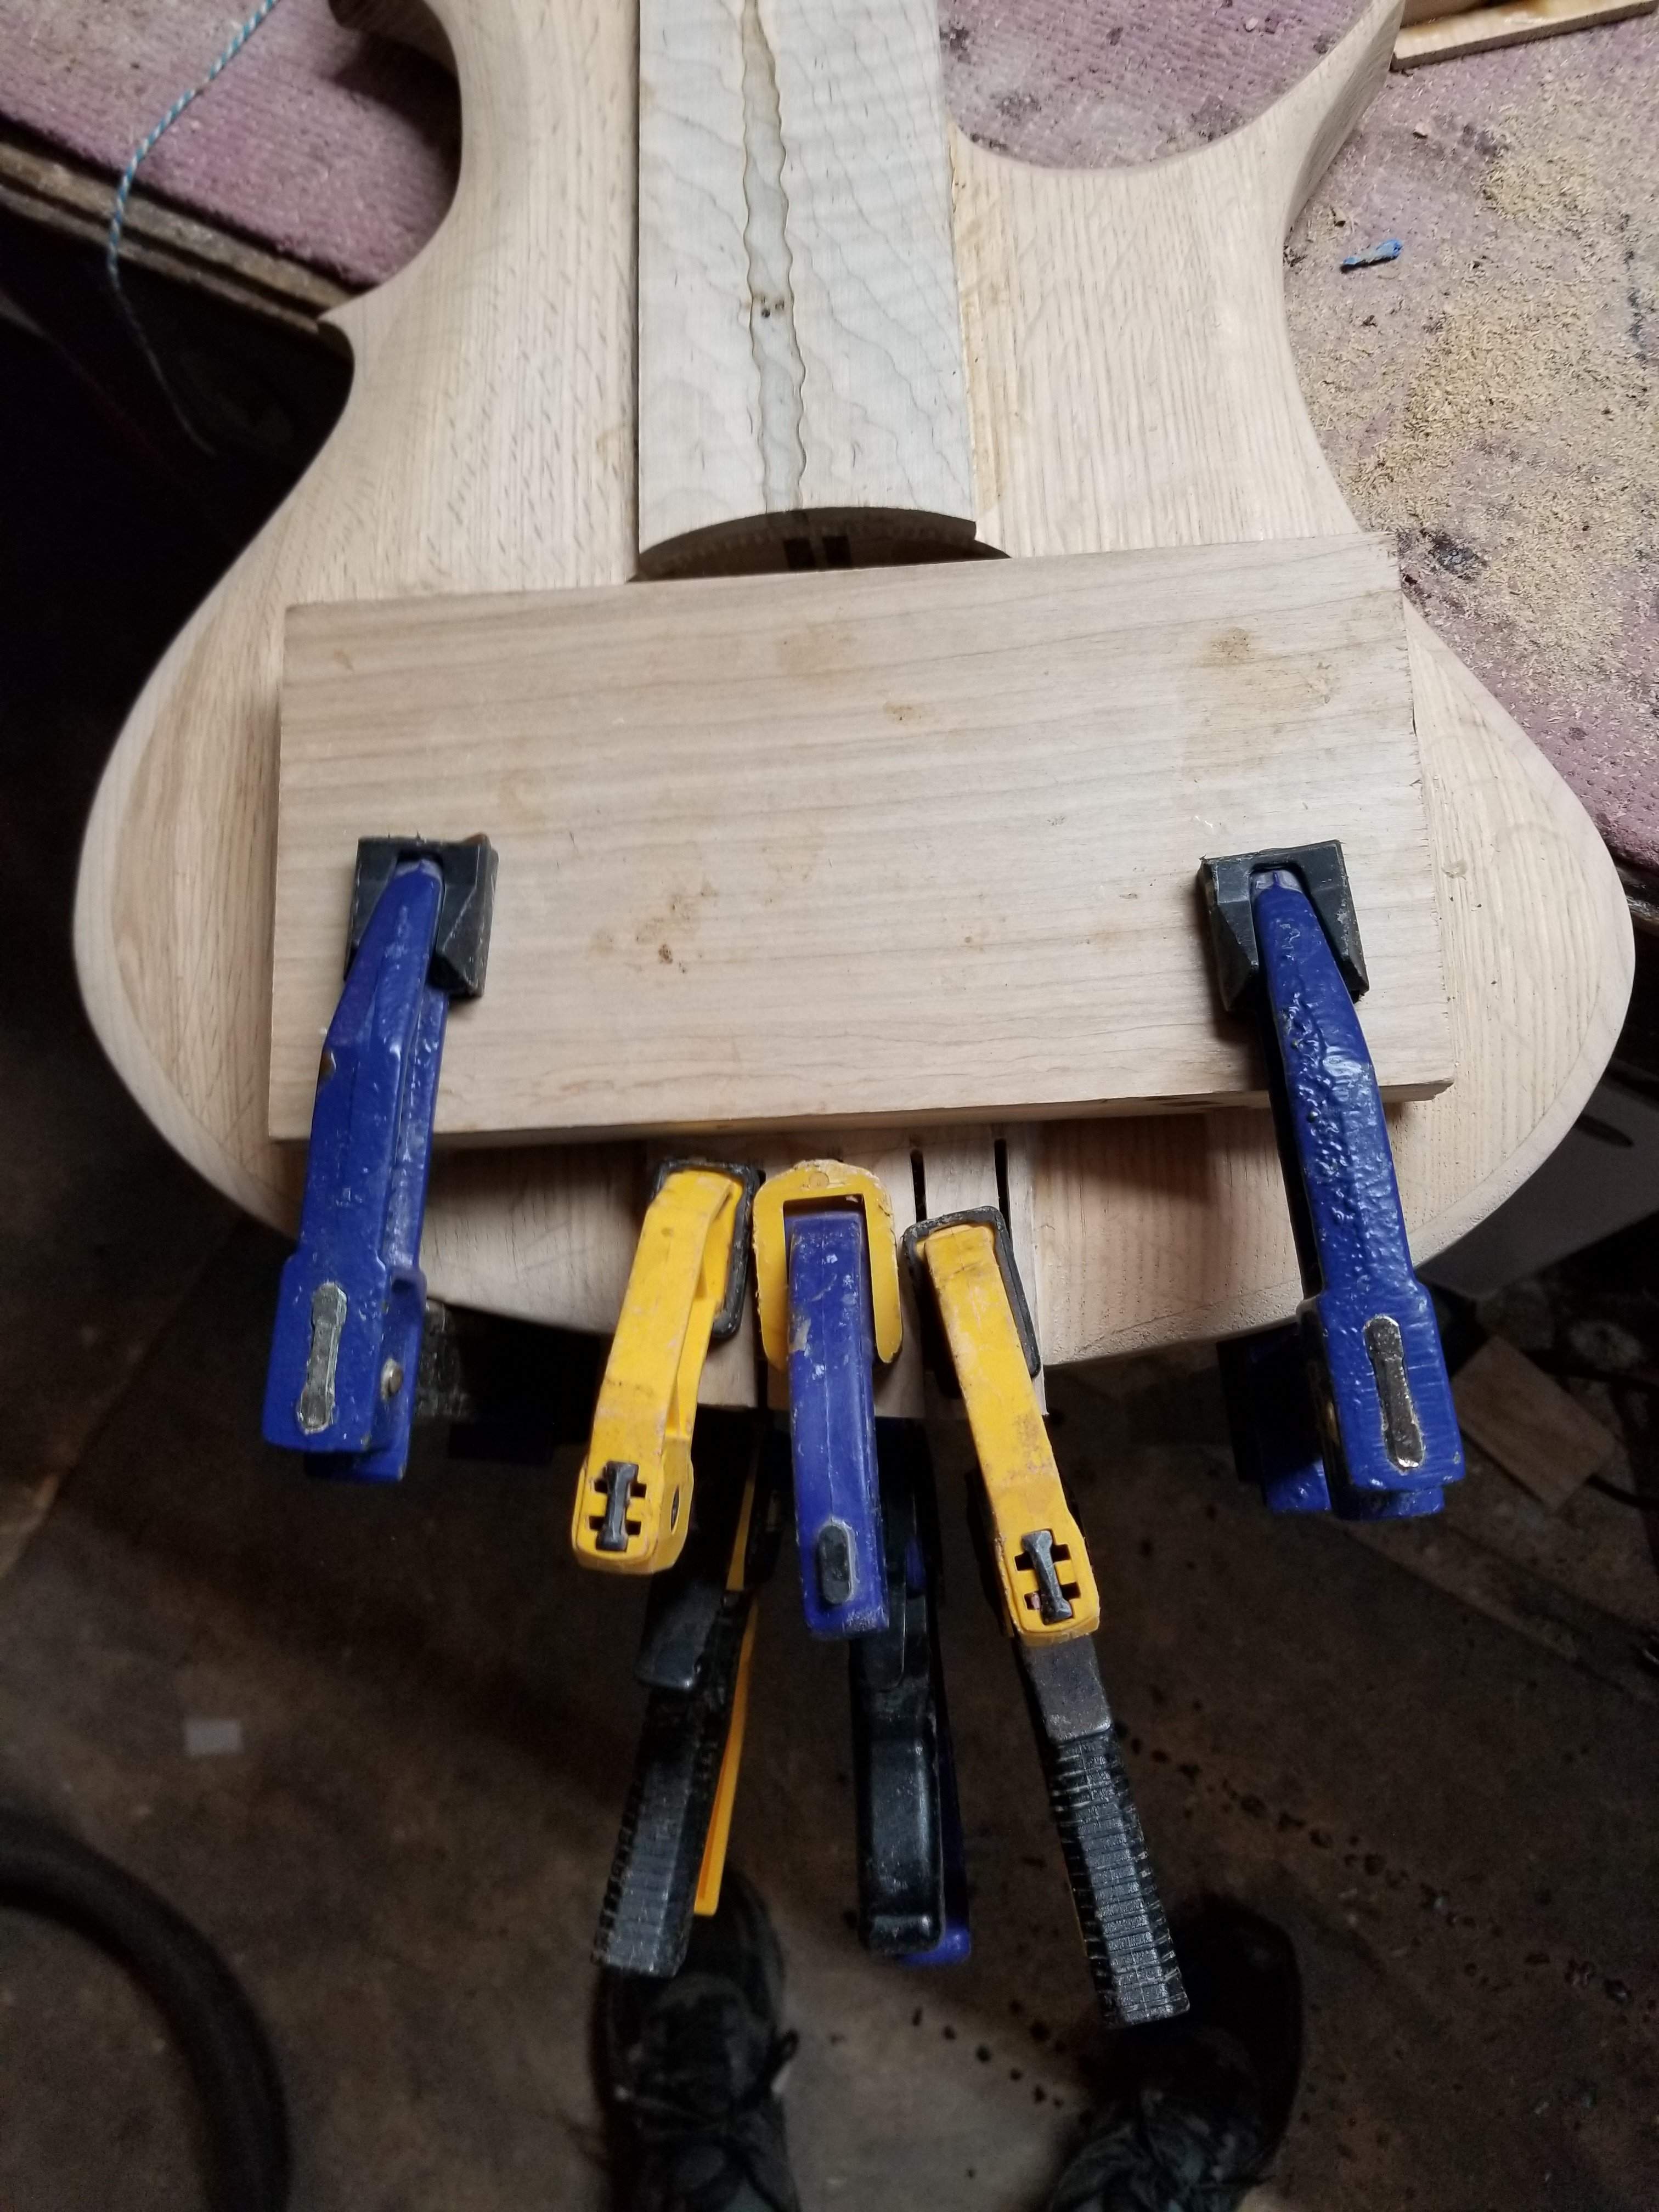
I CA glued the wires in place then put the cap on.
I have stacked pots for the preamp for this one, I'm going to use EMG knobs, as lame as that is, maybe I'll make some later on, but knobs on stacked pots are more difficult to make for sure. I'm not sure I've been successful at that.
I CA glued the wires in place then put the cap on.
I have stacked pots for the preamp for this one, I'm going to use EMG knobs, as lame as that is, maybe I'll make some later on, but knobs on stacked pots are more difficult to make for sure. I'm not sure I've been successful at that.
I’ve got $10 on 5 weeks if there is a pool.
Shooting for 3 weeks, Speedy Gonzales?

Unfortunately while working on this I lost the G string. I have searched high and low in the shop, it has to be here somewhere!
Did you check with the wife?

Z O
Ha! I woke up this morning and knew right where it was. I went to the workshop and it was there. Weird the way that happens sometimes. I looked for a solid half hour yesterday.
Did you check with the wife?
Ha! I woke up this morning and knew right where it was. I went to the workshop and it was there. Weird the way that happens sometimes. I looked for a solid half hour yesterday.
Based on the forecast it looks like I'll be spending the majority of the week in the basement. I'm not a big fan of summer, to be honest.
I spent a lot of time on the neck this morning, still more to go, but it's getting there.
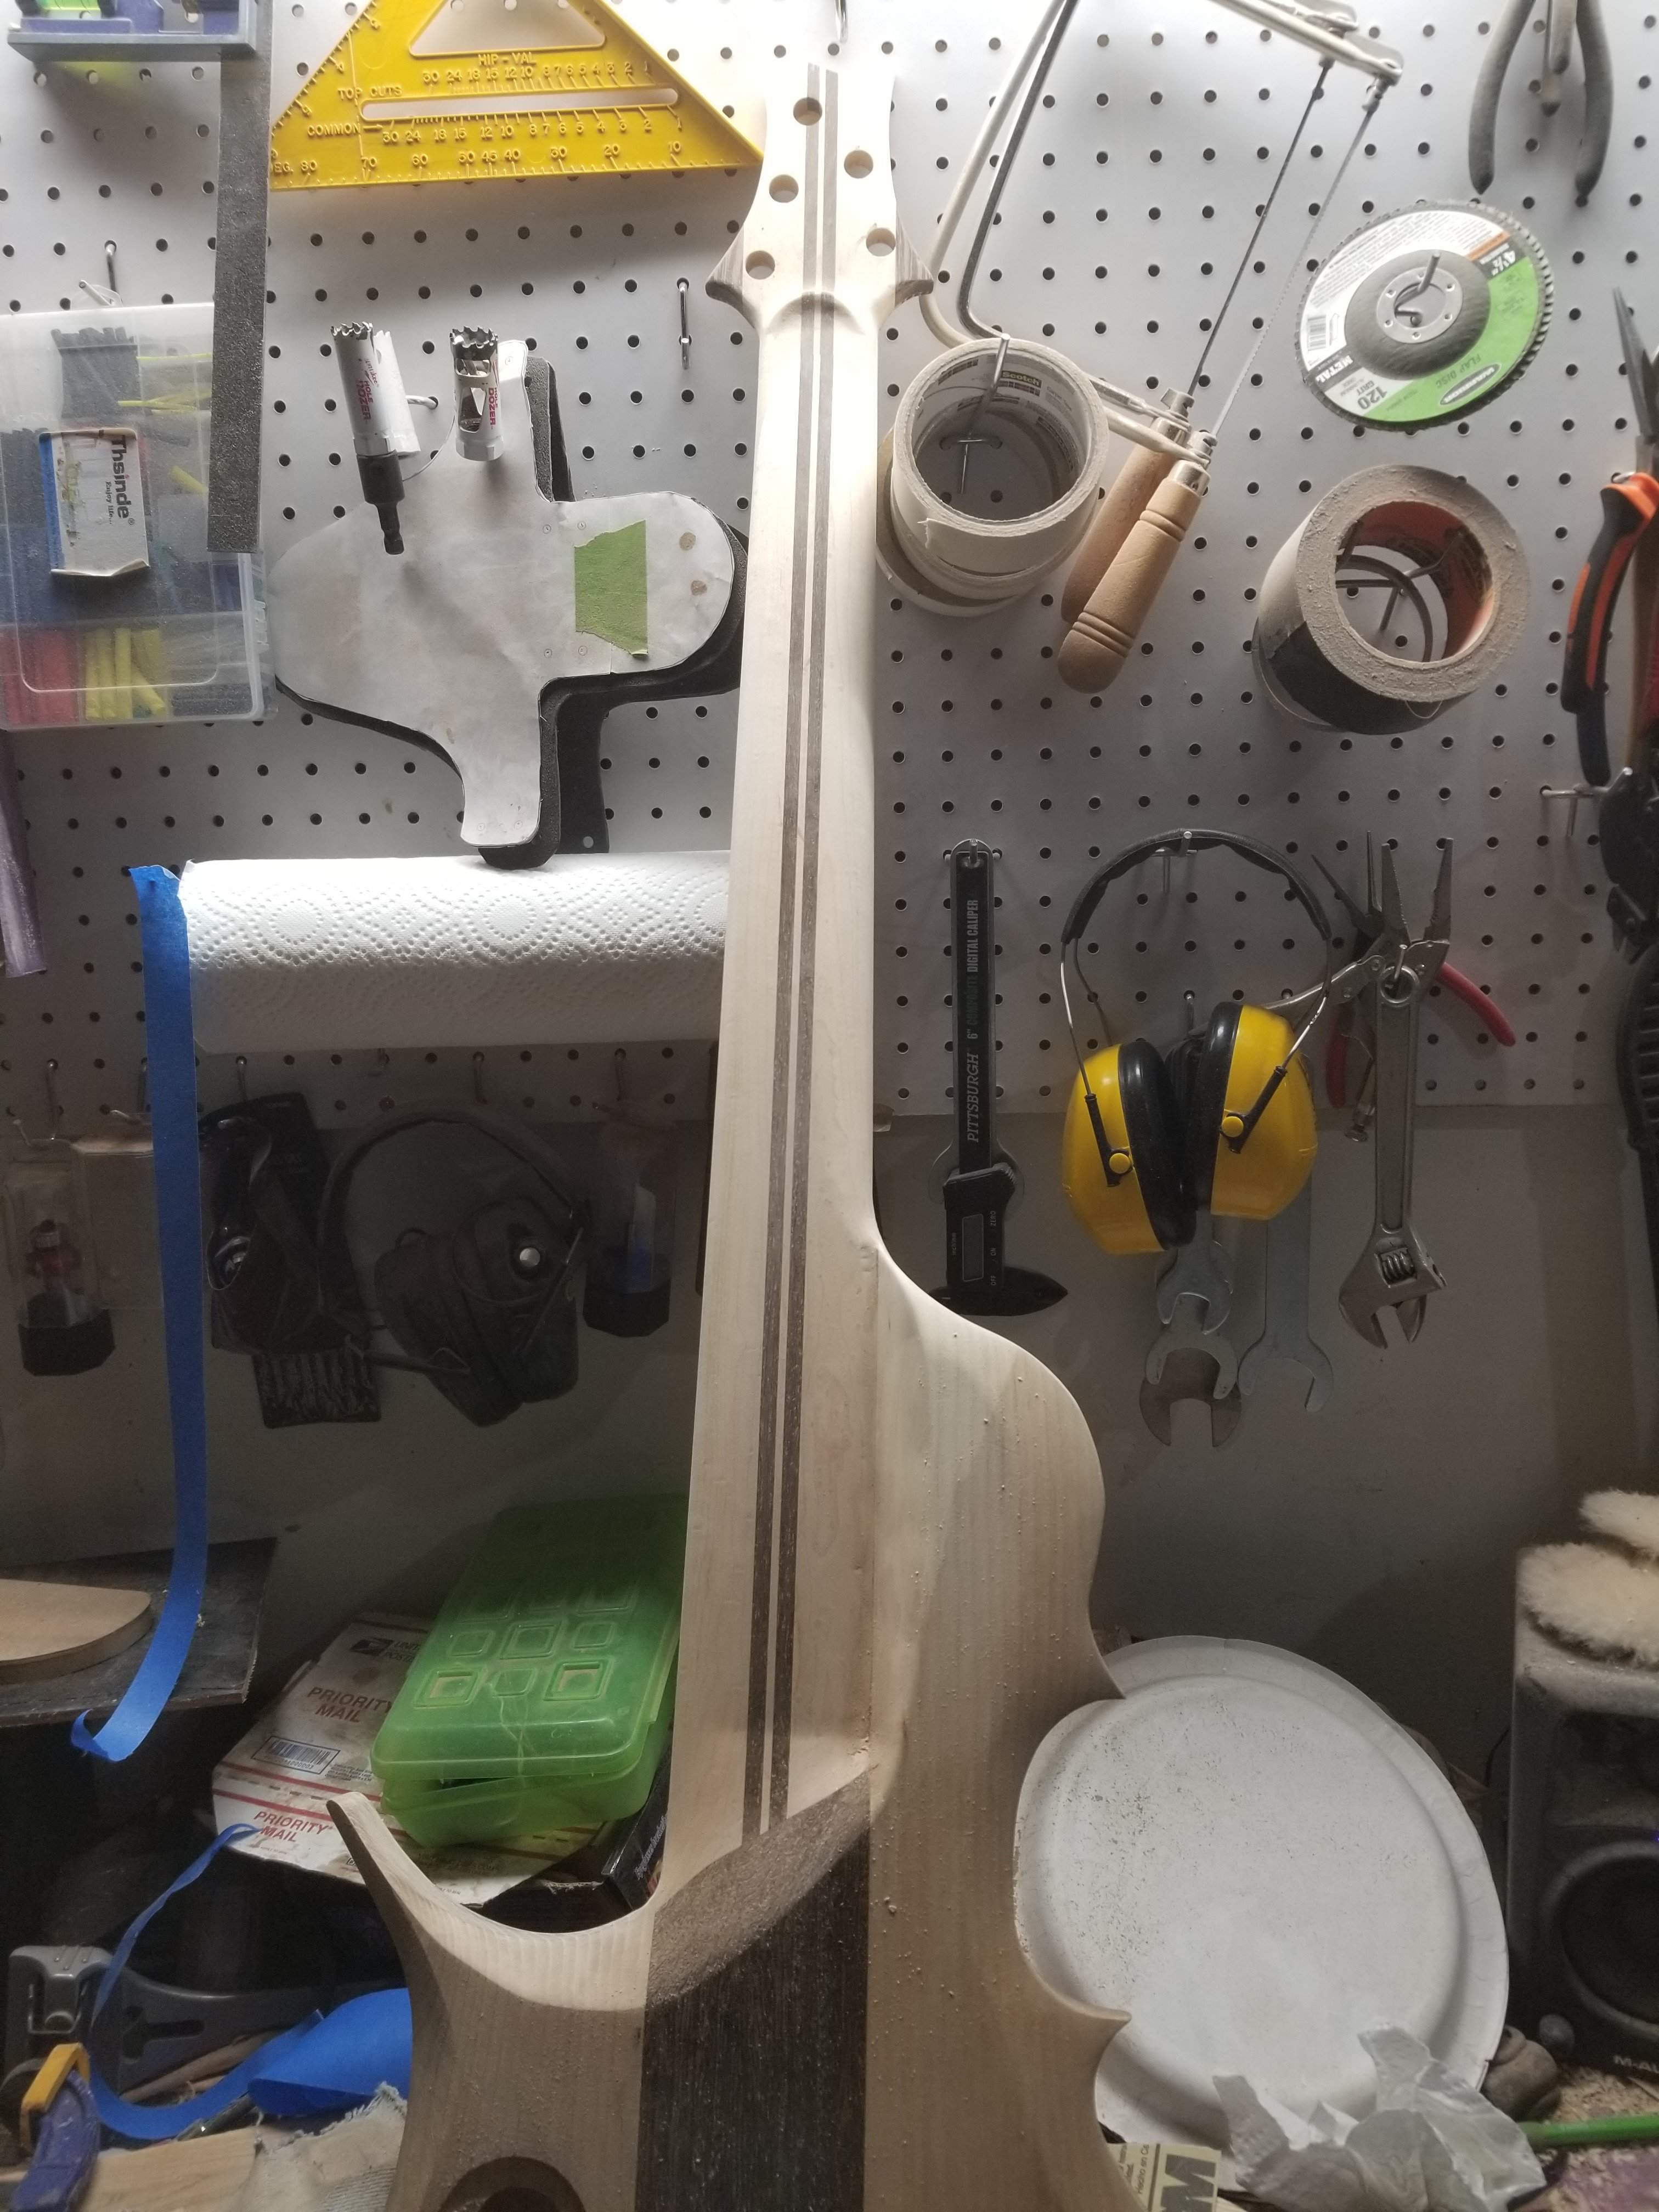
I also filled in the worm holes, flattened the fingerboard and sanded it up to 600, it looks so good, pictures don't do it justice. I also did a lot of forming on the body to finalize the shape, not much to see, but up close it's looking a lot better.
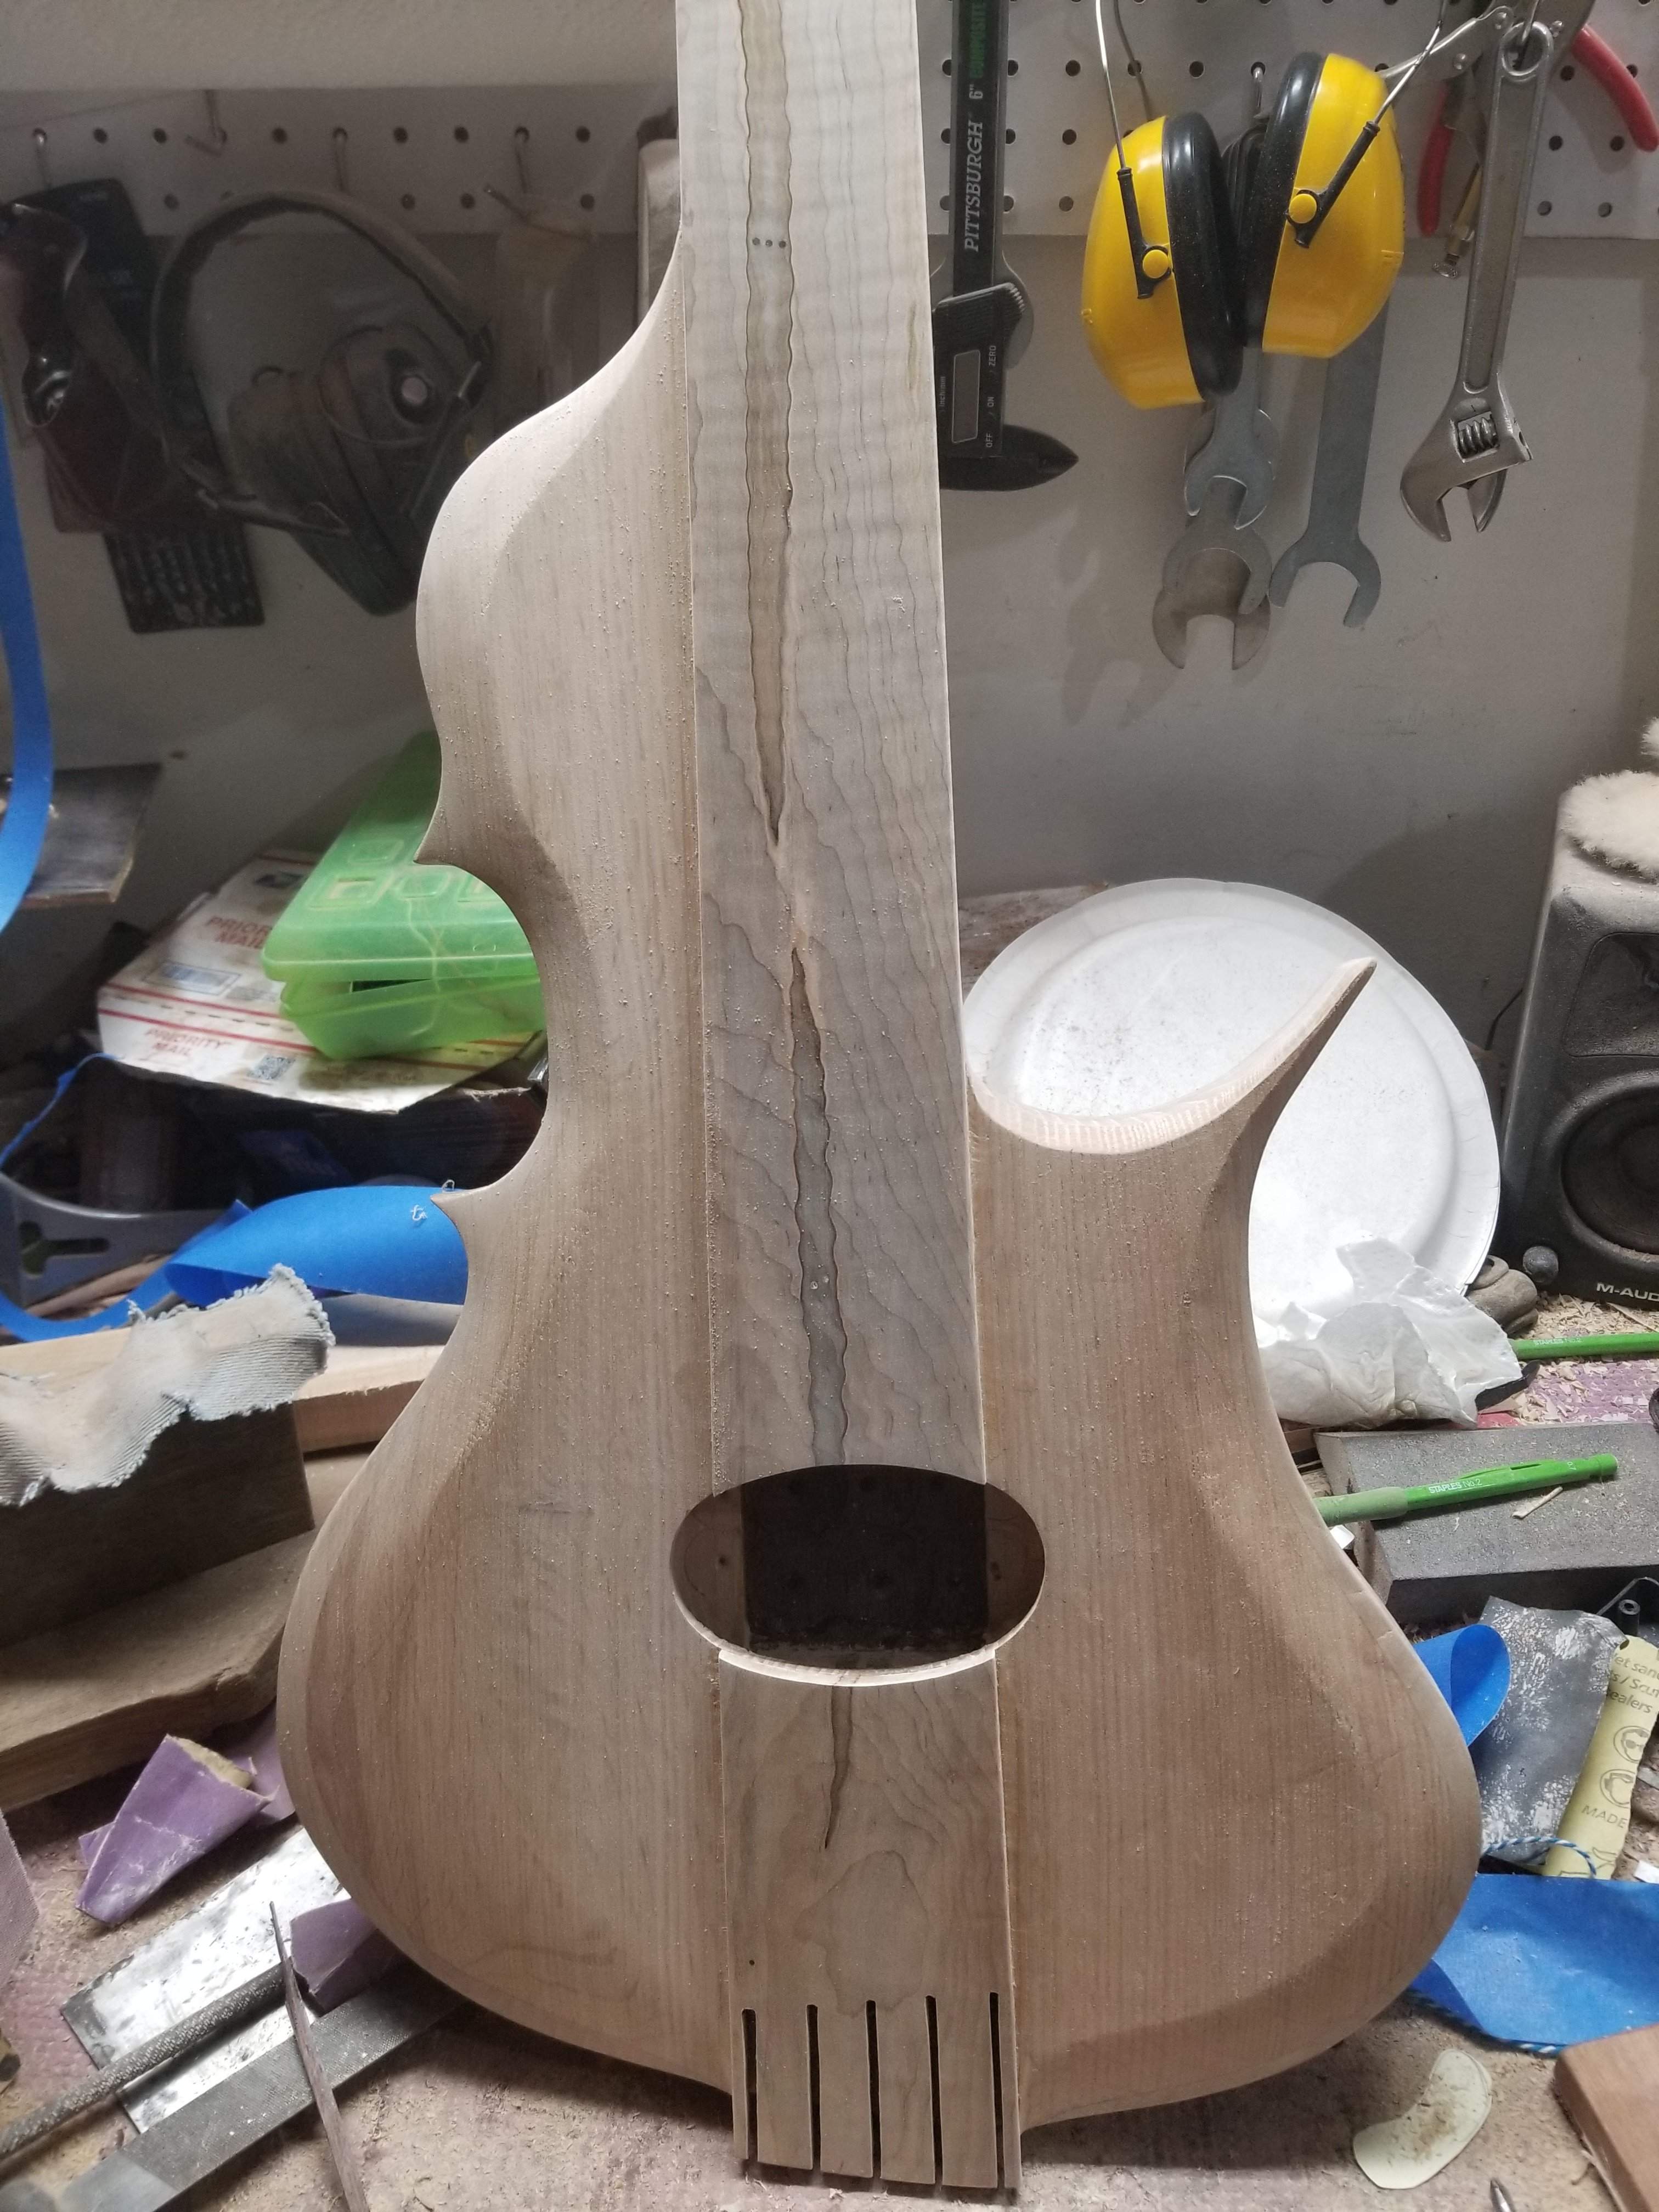
I'm hoping to get to do the CA coating on the fingerboard this morning/afternoon. I'm really not looking forward to that step, but I'll be happy when it's done.
I spent a lot of time on the neck this morning, still more to go, but it's getting there.
I also filled in the worm holes, flattened the fingerboard and sanded it up to 600, it looks so good, pictures don't do it justice. I also did a lot of forming on the body to finalize the shape, not much to see, but up close it's looking a lot better.
I'm hoping to get to do the CA coating on the fingerboard this morning/afternoon. I'm really not looking forward to that step, but I'll be happy when it's done.

If it works out, could you post some details of the CA process? I’m sure it’s been covered elsewhere but I’ve got a bass I’m considering doing that on. Thanks.
Sure thing. I've tried a lot of things to make this better, here's where I'm at:
Use thin viscosity CA. Thicker viscosity CA takes longer to dry, isn't has hard and tends to dry with more imperfections. Of course the thin stuff takes more coats. Avoid using accelerator, it makes the CA wrinkle as it dries. Your board should be level before you start, I wouldn't try to use CA as a leveler.
The process:
I take a rubber glove and cut the fingers off it, I put one of the cut off fingers on my pointer finger. I've tried using whole gloves but, like skin, CA bonds instantly to rubber gloves, so you end up with a mess of stuck together fingers. I've seen people use paper towels to spread it, but when I do that the glue dries, the paper gets stuck to the board and it makes a mess. I am sure I'm just not moving fast enough, but I find the rubber glove finger makes the CA easier to spread.
Start at one end of the board and pour a little bit of CA and spread it using the gloved finger, spread it really thin and add more until you get to the bottom of the neck. Look at the neck from a low angle and if there are any puddles smooth them out. I spin the rubber glove finger so each coat is done with fresh rubber. The hardened CA on the glove makes it hard to spread smoothly. It takes anywhere from 3 minutes to 15 minutes for coats to dry. I think the 15 minutes happens when I don't let a coat dry all the way before adding another one. I can be impatient at times.
I'll do 3 or 4 coats, sand it flat with 220 grit then polish with 320 repeat until you get to about 10 coats. If all goes well I'll use maybe 20% of a small bottle to do a board (that's a guess).
If you get a bad coat and there are imperfections, it's best to just sand it back to flat at that point. When you spread CA like this it will not fill in. Drop filling will cause witness lines.
Once you have 10 or so coats I polish up to 4000 abralon pads then do anti-swirl.
Out of the last 5 I've done, 4 went really well, I just followed the above with no do overs. The one I did before this one went horribly. I don't know why, but the CA wouldn't dry flat. I sanded back 3x after having 10 coats on, I used an entire small bottle of CA glue on that one board.
It's probably obvious but ventilation is super important, this stuff is terrible, it will make your eyes water like you're cutting a thousand onions, I'm sure it's not good for your lungs. Last time two times I did it inside I put a box fan at the end of my bench pushing air away from my bench and that worked great.
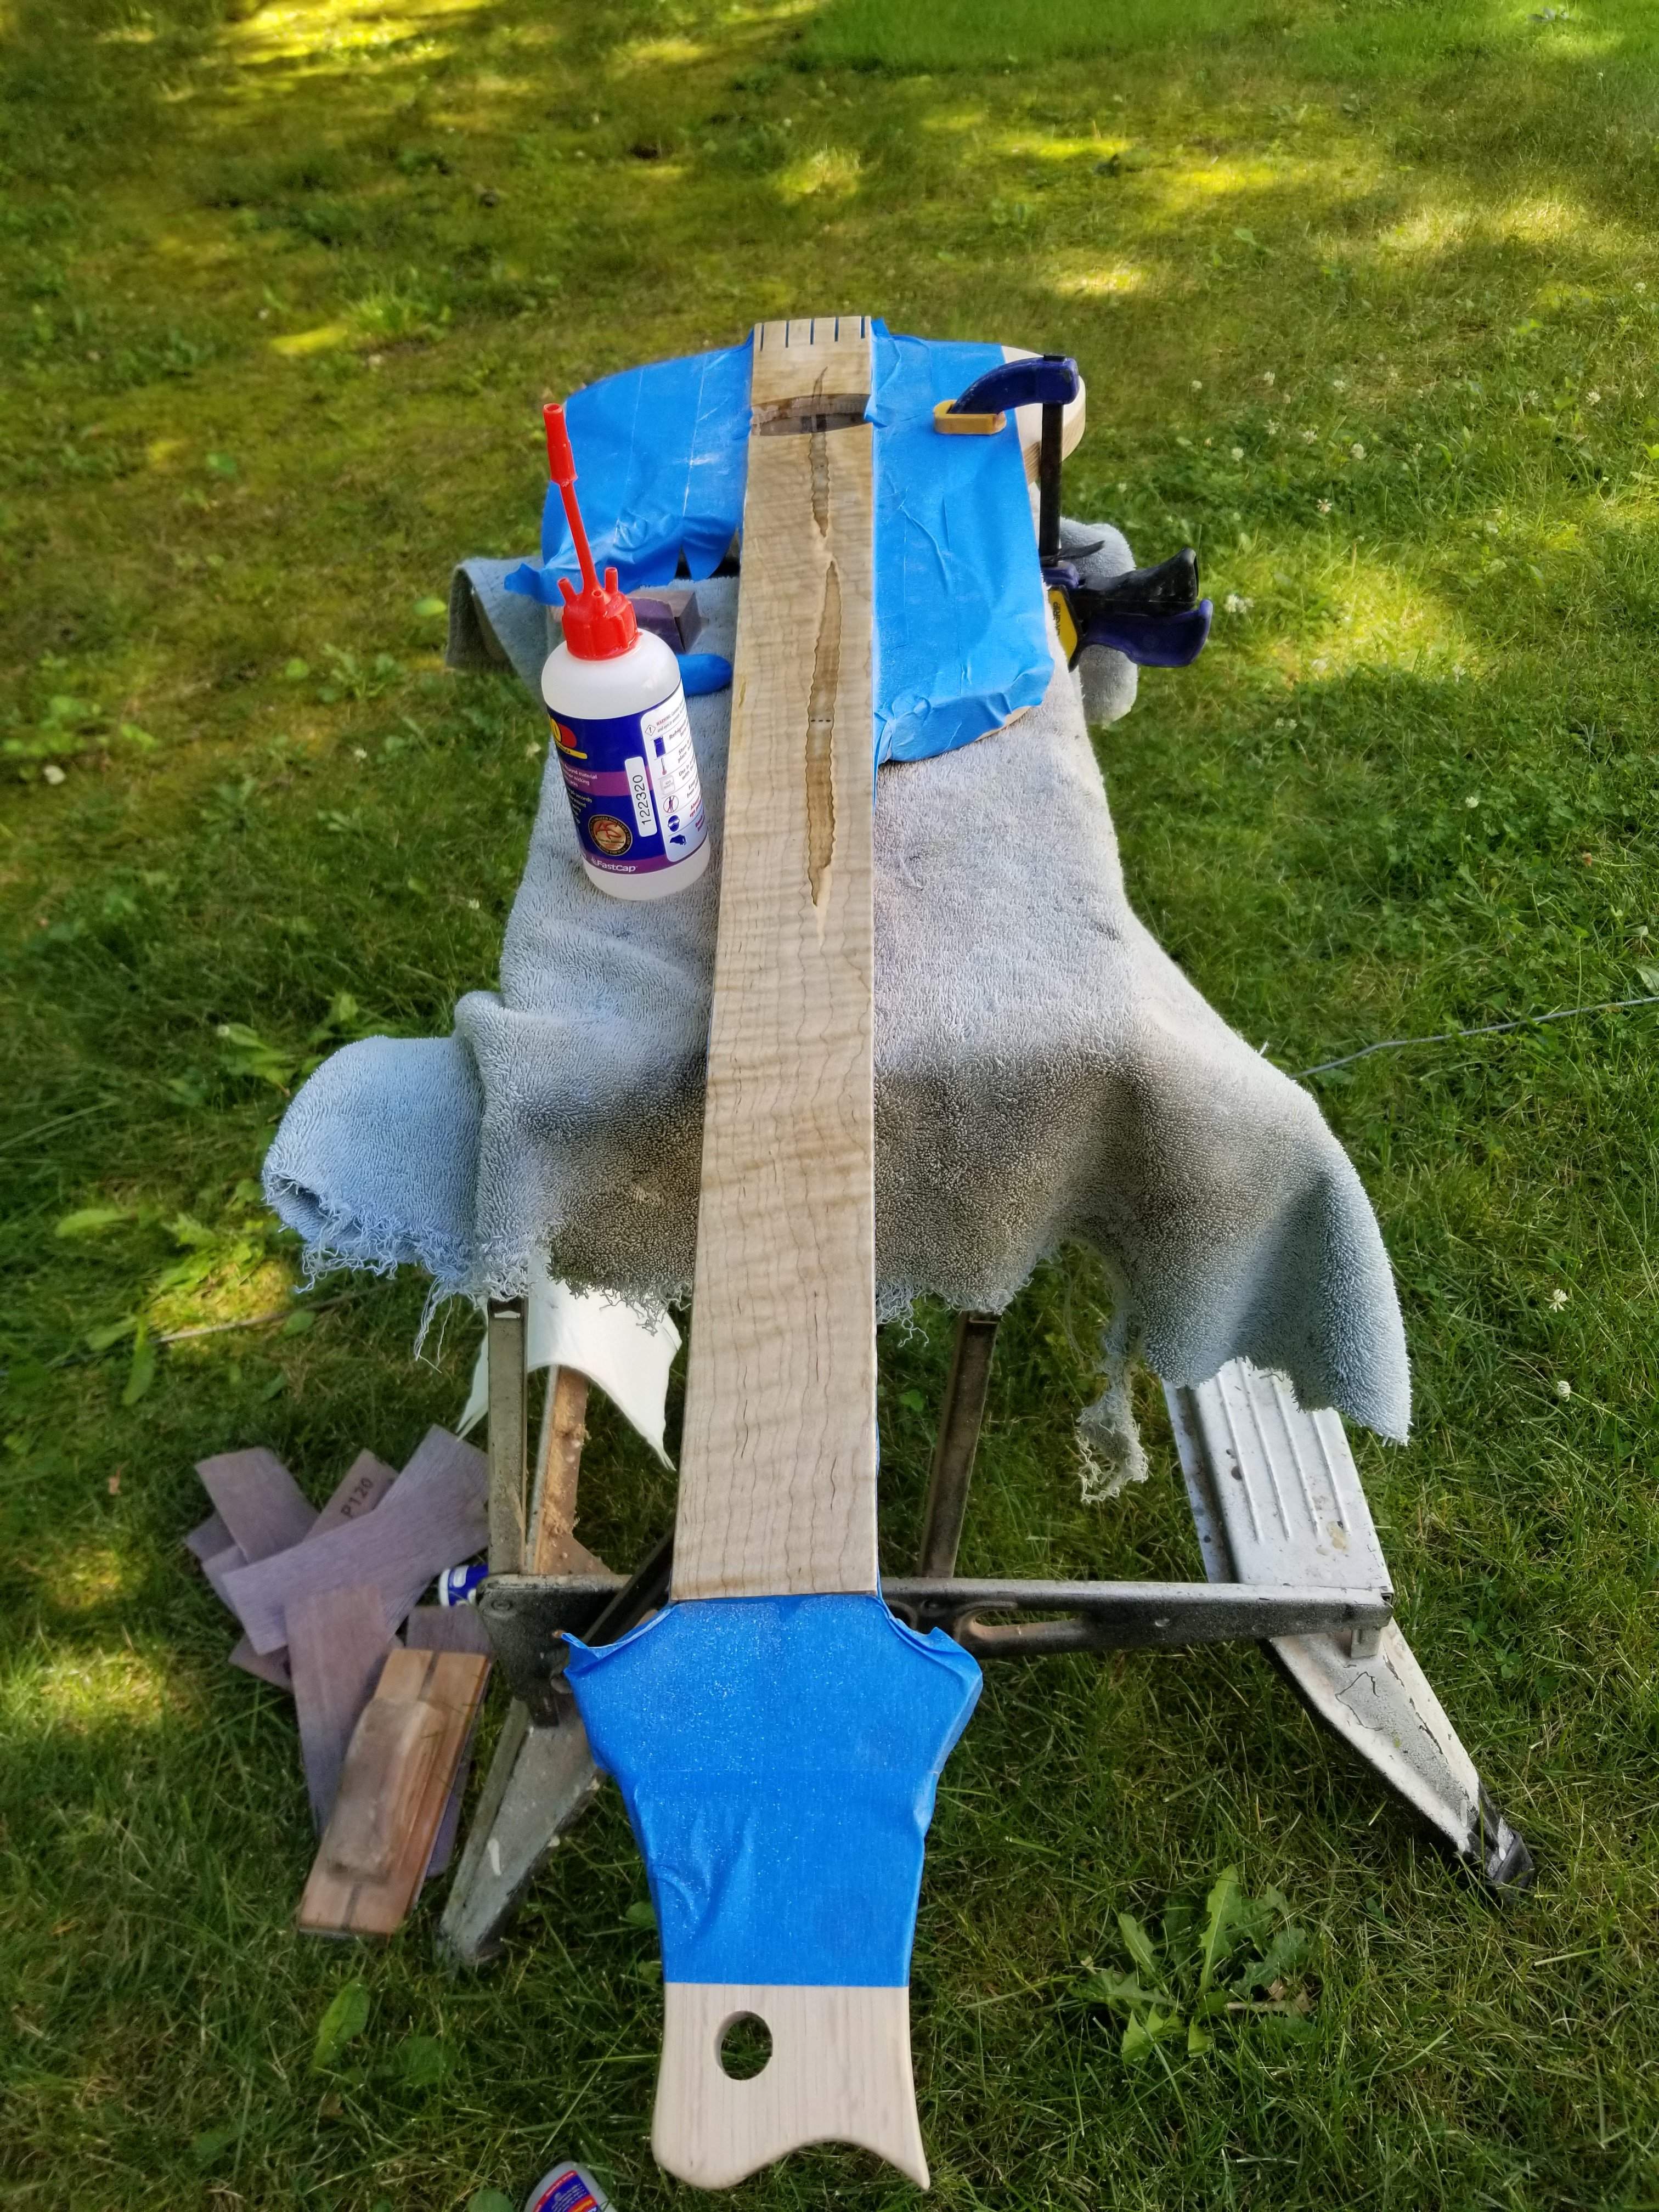
Today I moved my operation outside. It's going pretty well so far, I need to sand back, do 3 more coats and I'm done (I hope). It's so nice to do this without any fumes. whew.
Let me know if any of that isn't clear.
Use thin viscosity CA. Thicker viscosity CA takes longer to dry, isn't has hard and tends to dry with more imperfections. Of course the thin stuff takes more coats. Avoid using accelerator, it makes the CA wrinkle as it dries. Your board should be level before you start, I wouldn't try to use CA as a leveler.
The process:
I take a rubber glove and cut the fingers off it, I put one of the cut off fingers on my pointer finger. I've tried using whole gloves but, like skin, CA bonds instantly to rubber gloves, so you end up with a mess of stuck together fingers. I've seen people use paper towels to spread it, but when I do that the glue dries, the paper gets stuck to the board and it makes a mess. I am sure I'm just not moving fast enough, but I find the rubber glove finger makes the CA easier to spread.
Start at one end of the board and pour a little bit of CA and spread it using the gloved finger, spread it really thin and add more until you get to the bottom of the neck. Look at the neck from a low angle and if there are any puddles smooth them out. I spin the rubber glove finger so each coat is done with fresh rubber. The hardened CA on the glove makes it hard to spread smoothly. It takes anywhere from 3 minutes to 15 minutes for coats to dry. I think the 15 minutes happens when I don't let a coat dry all the way before adding another one. I can be impatient at times.
I'll do 3 or 4 coats, sand it flat with 220 grit then polish with 320 repeat until you get to about 10 coats. If all goes well I'll use maybe 20% of a small bottle to do a board (that's a guess).
If you get a bad coat and there are imperfections, it's best to just sand it back to flat at that point. When you spread CA like this it will not fill in. Drop filling will cause witness lines.
Once you have 10 or so coats I polish up to 4000 abralon pads then do anti-swirl.
Out of the last 5 I've done, 4 went really well, I just followed the above with no do overs. The one I did before this one went horribly. I don't know why, but the CA wouldn't dry flat. I sanded back 3x after having 10 coats on, I used an entire small bottle of CA glue on that one board.
It's probably obvious but ventilation is super important, this stuff is terrible, it will make your eyes water like you're cutting a thousand onions, I'm sure it's not good for your lungs. Last time two times I did it inside I put a box fan at the end of my bench pushing air away from my bench and that worked great.
Today I moved my operation outside. It's going pretty well so far, I need to sand back, do 3 more coats and I'm done (I hope). It's so nice to do this without any fumes. whew.
Let me know if any of that isn't clear.
I'm going to amend the above just a little based on this most recent board. This is my first time using Mikro pads for sanding. I was working with the 220 pad and not getting the imperfections out, I switched to a 180 and things went much faster. Once I got all the imperfections out I hadn't sanded through anywhere so I went up through the Mikro pads, then switched to the Abralon pads then anti-swirl. Probably one of the better boards I've done and definitely the fastest. I think there are something like 6 or 7 coats on this. It doesn't need to be thick, strings are not going to wear through it.
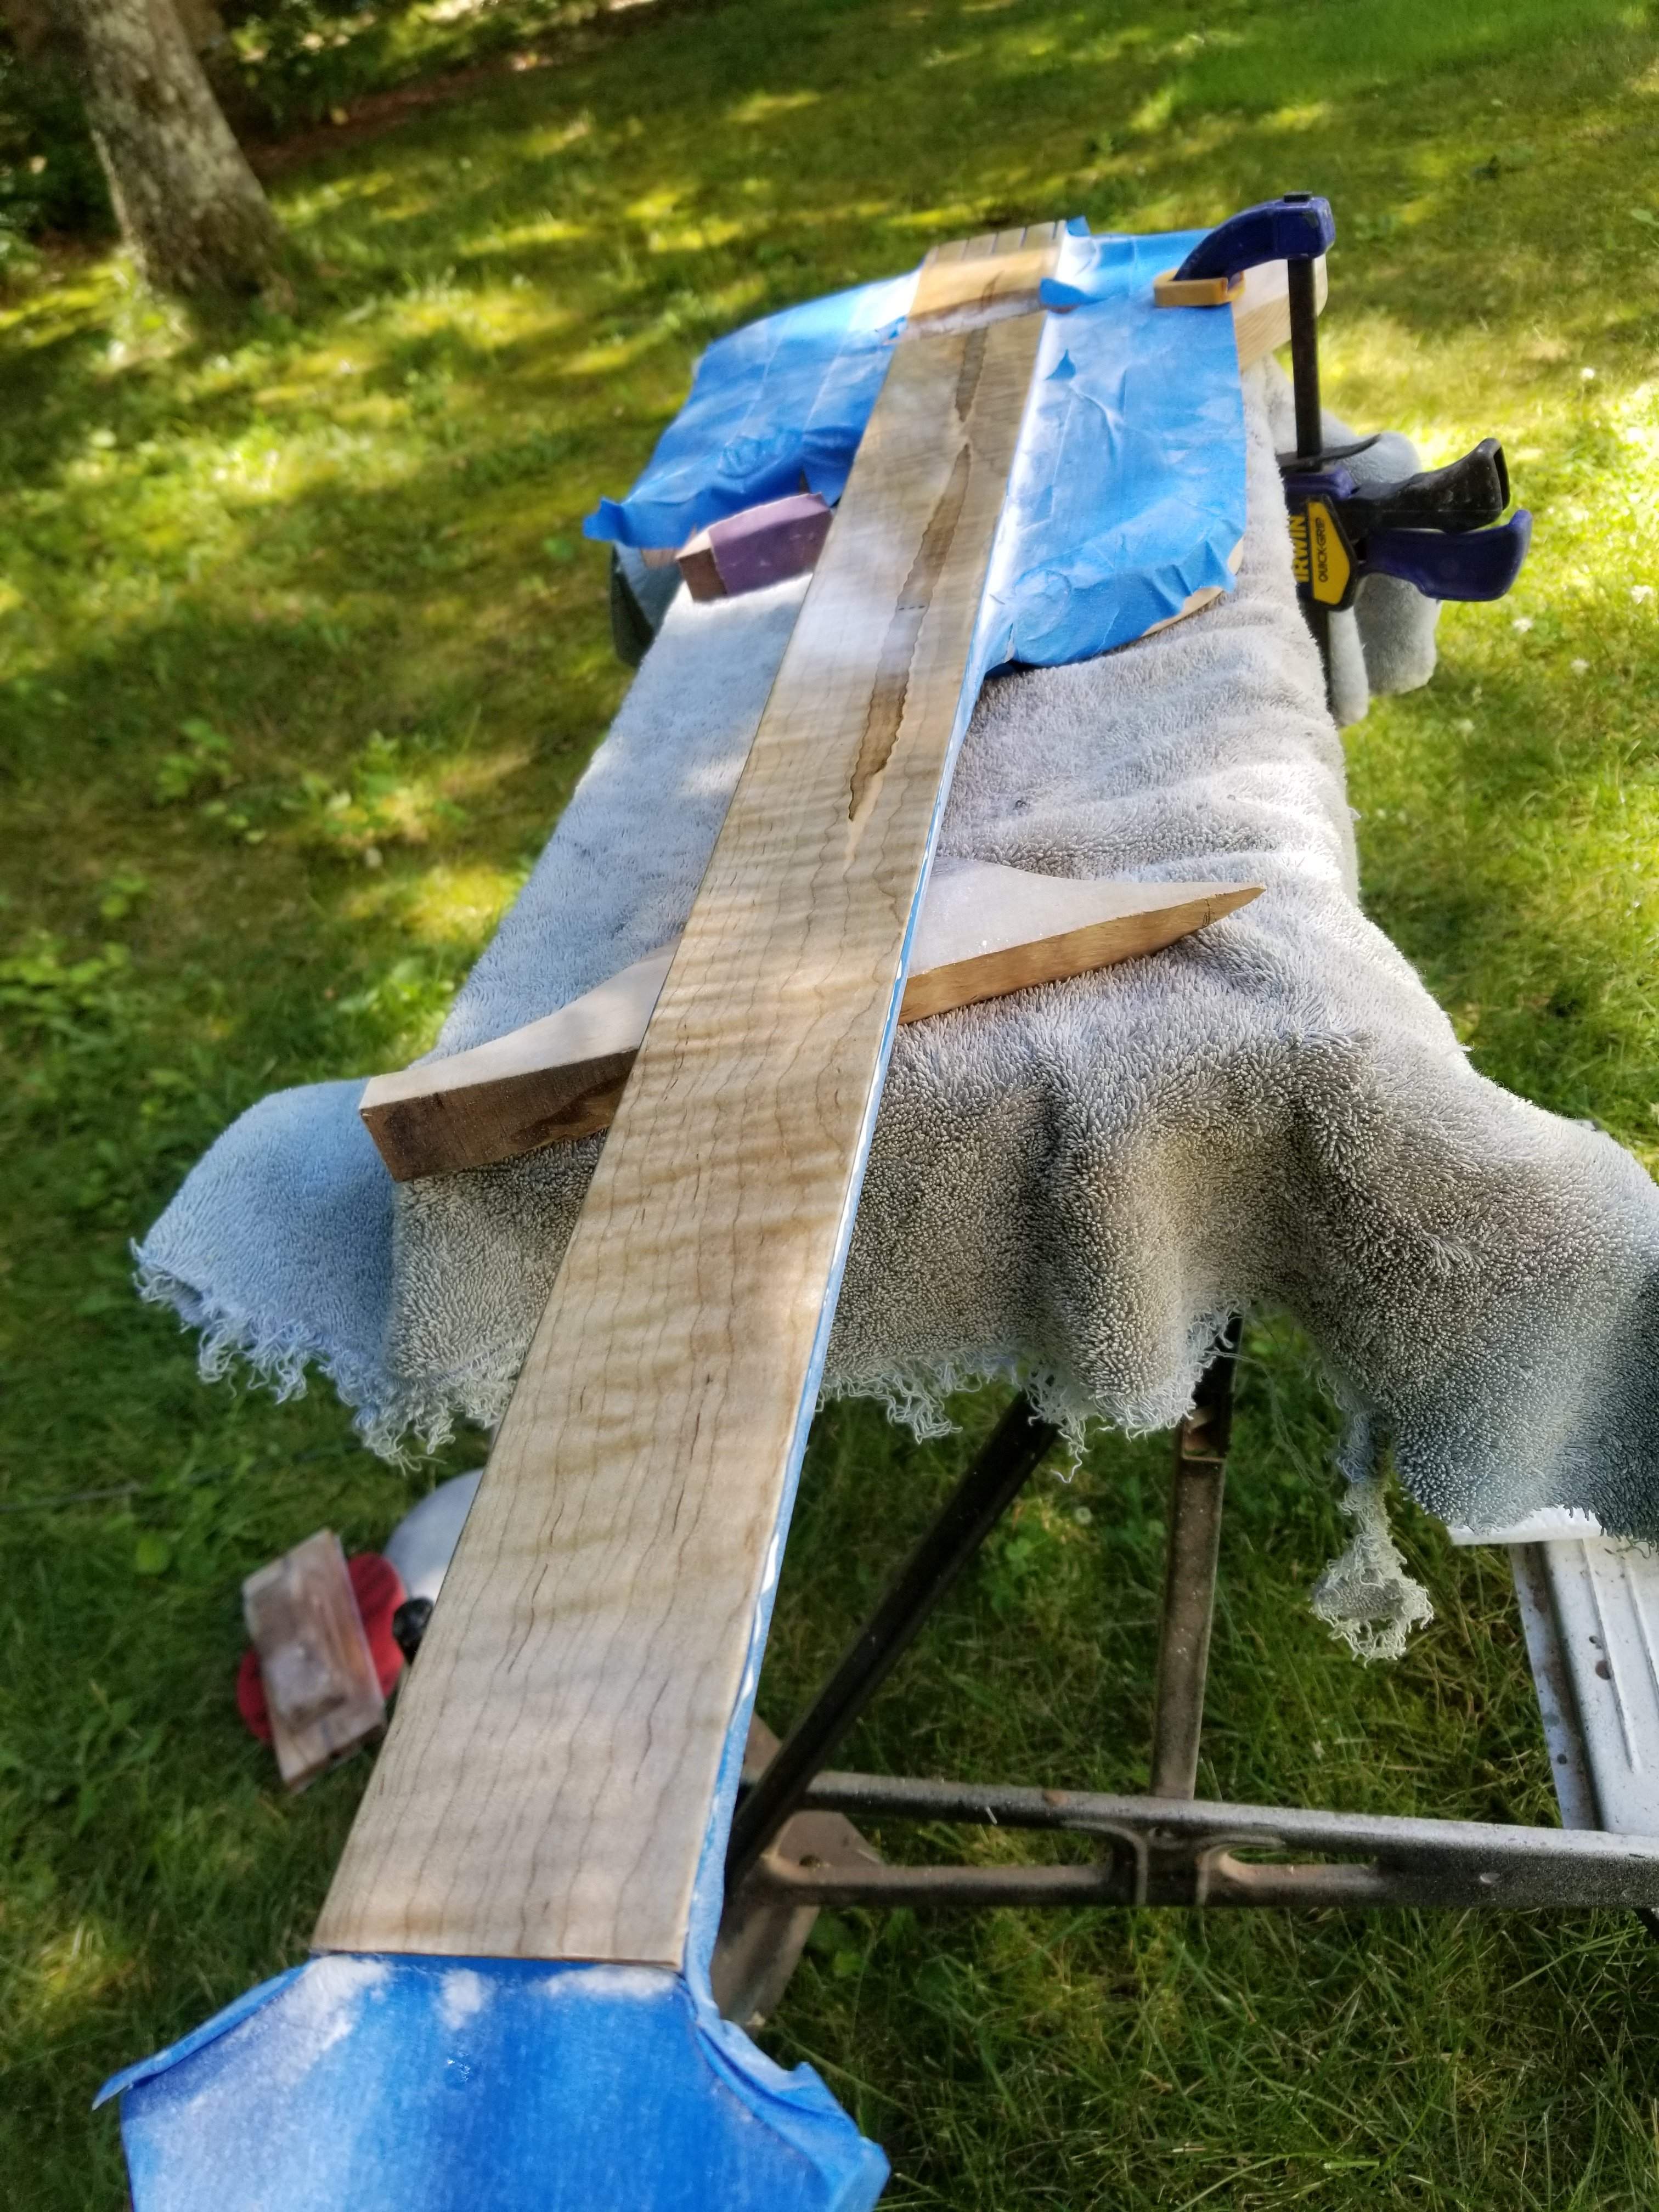
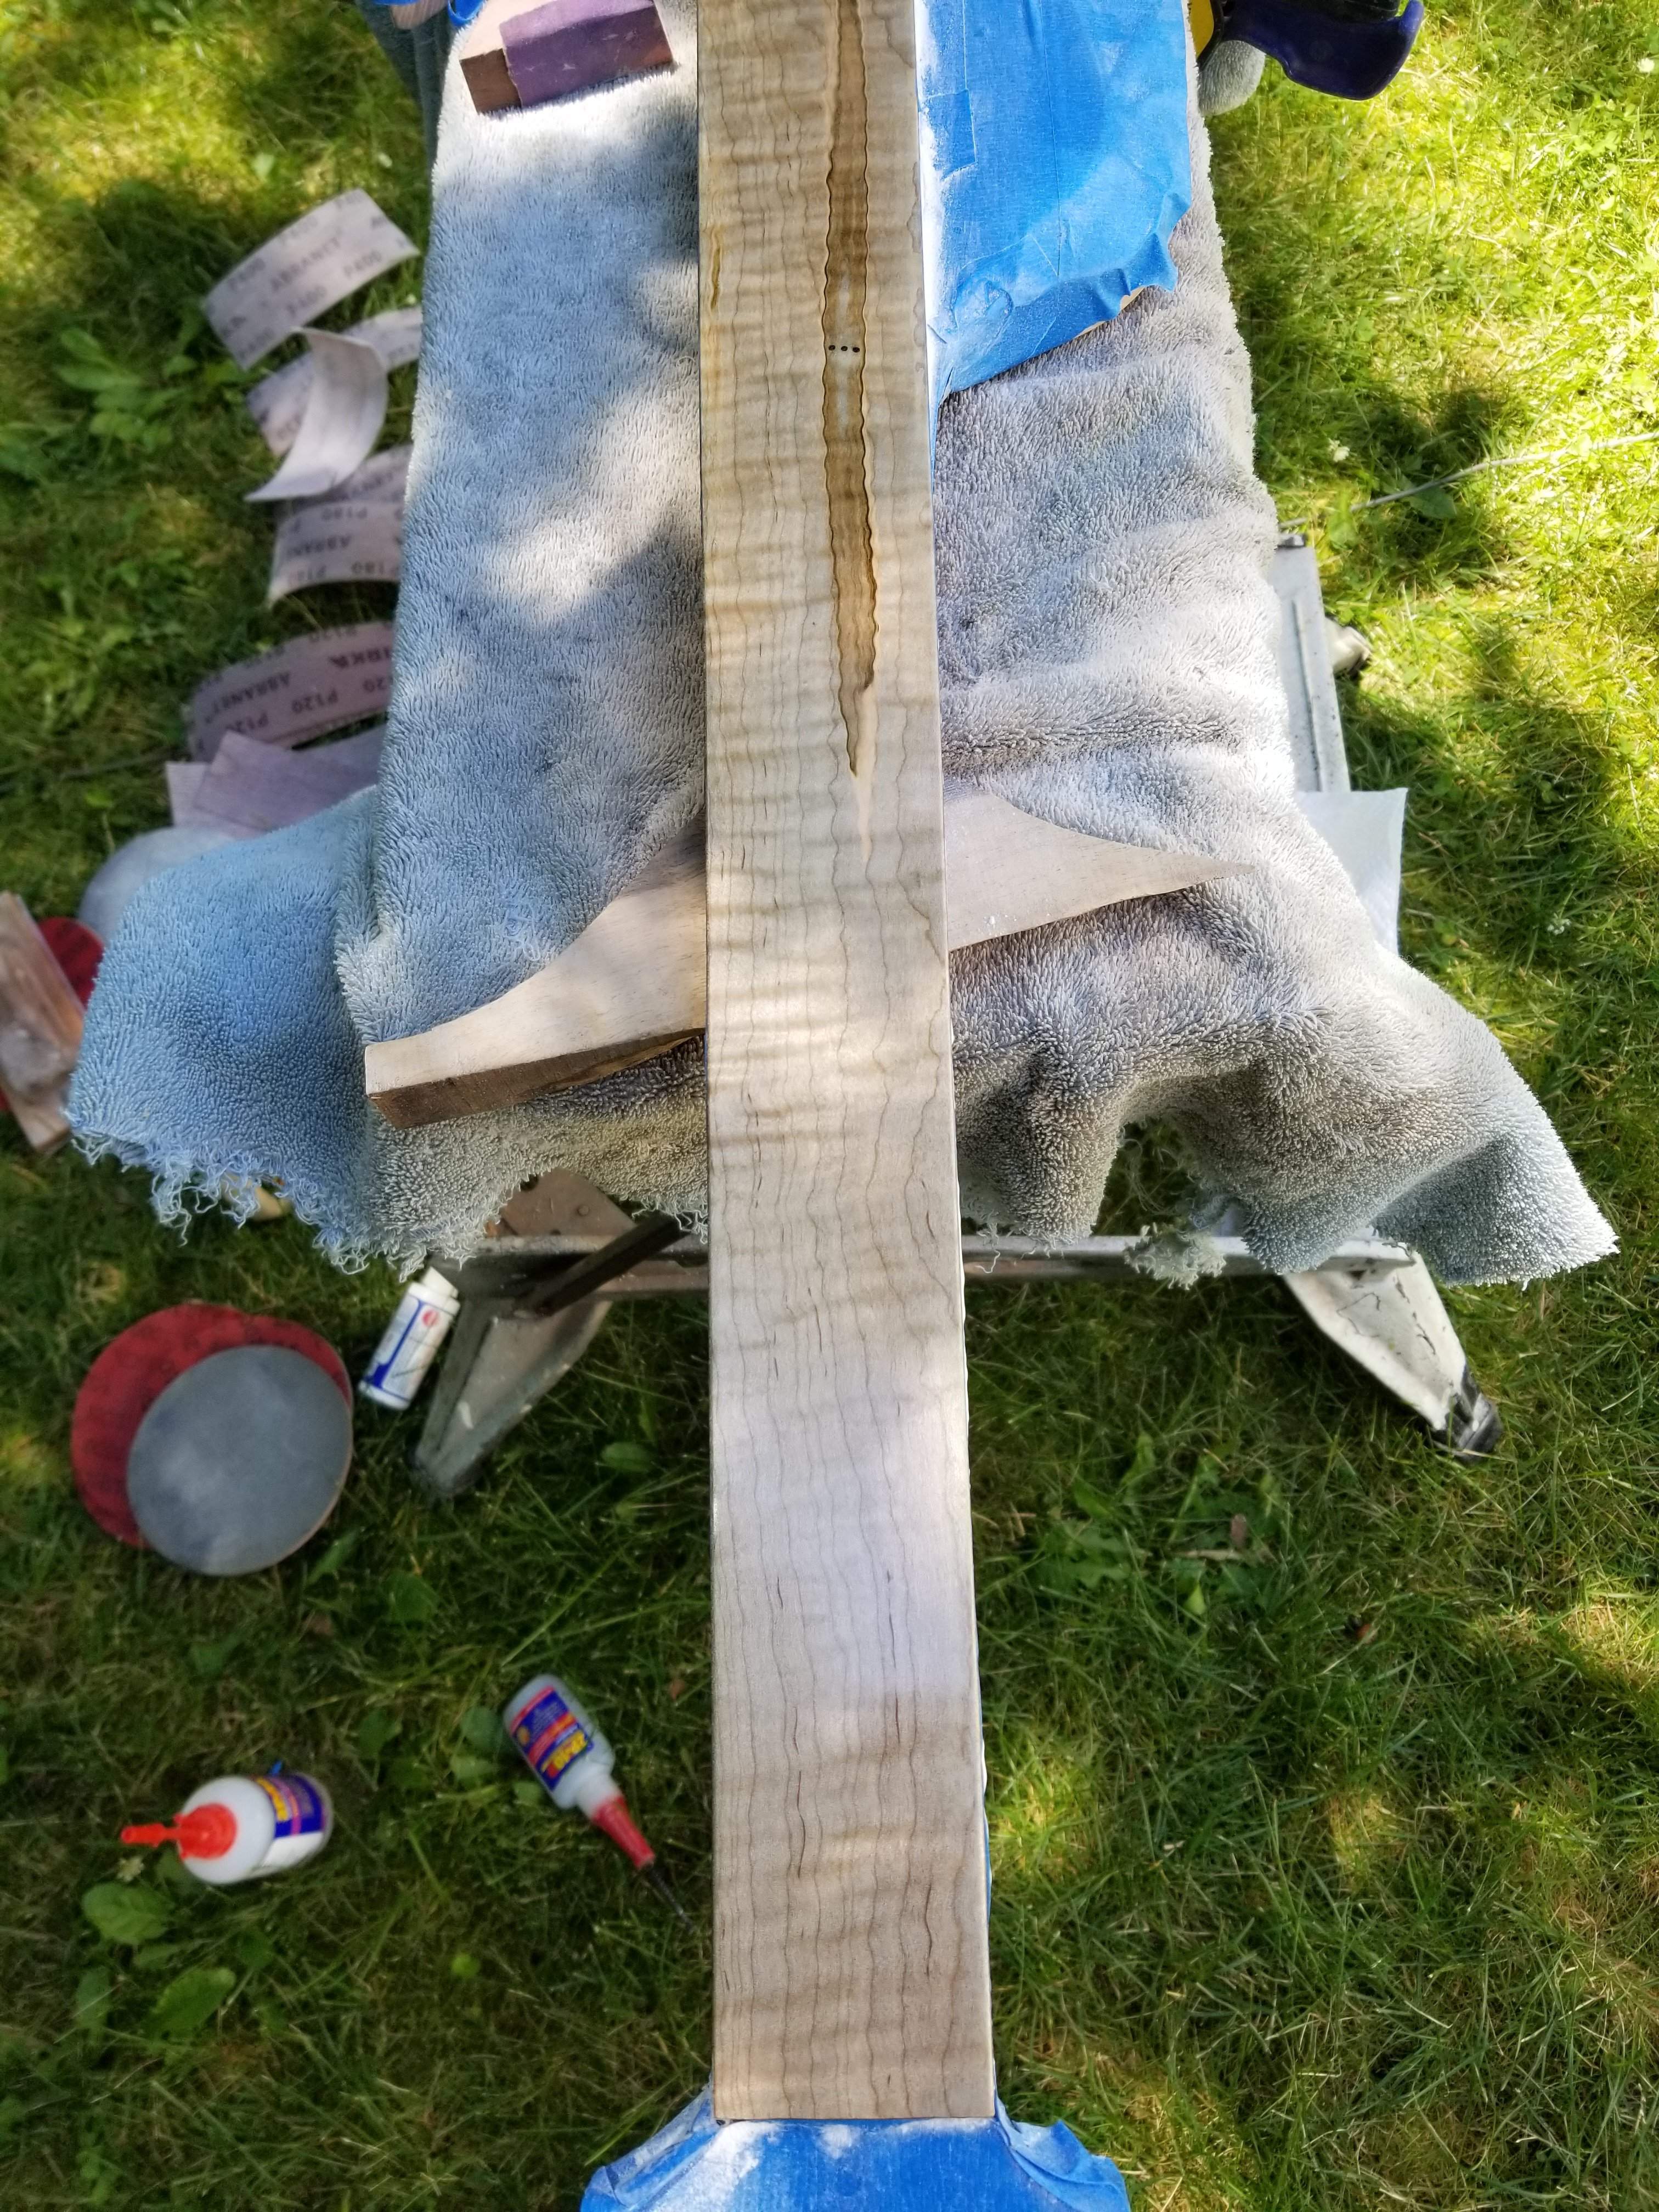
You can see how little CA I used - that was a full bottle when I started.
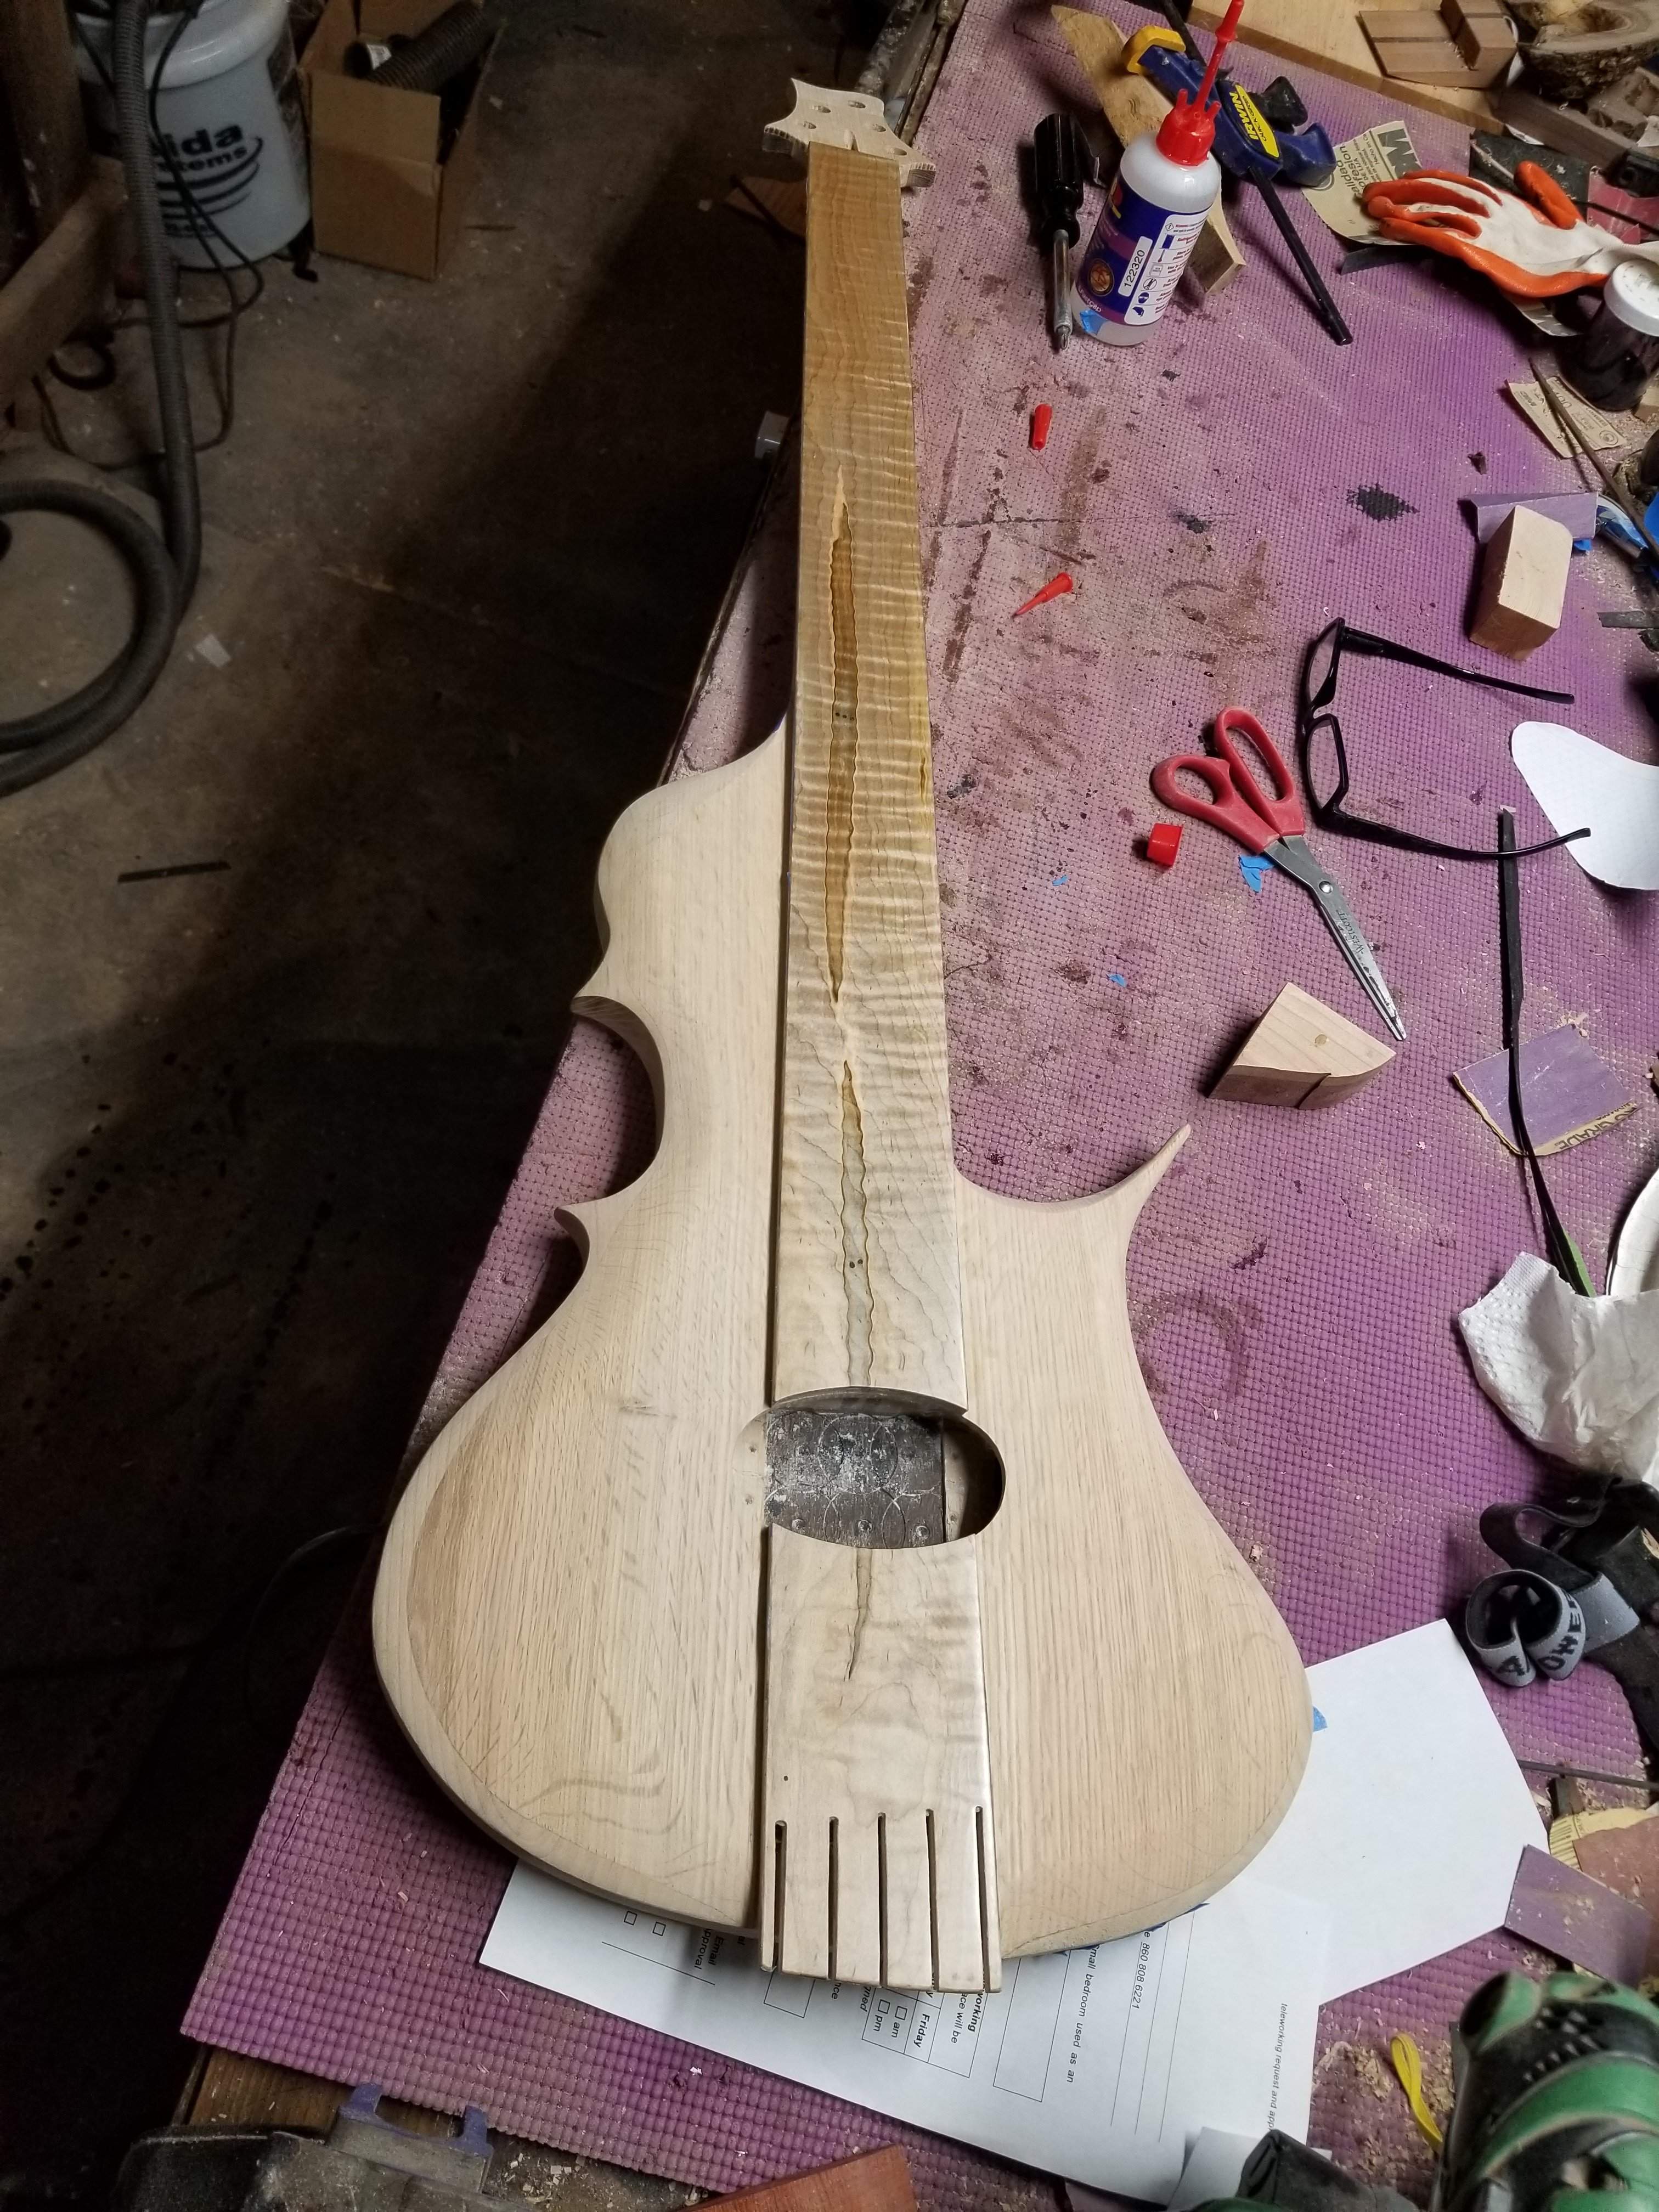
You can see how little CA I used - that was a full bottle when I started.


