• TalkBass has been independent since 1998. Add your voice.
    Create a free account to reply to discussions, view embedded media, and browse with fewer display ads.
    Join freeLog in
    Want zero display ads or expanded classifieds tools? Compare plans.

GEO's 1st bass restoration

JIO

Scott Lives
Gold Supporting Member
Commercial User
Jun 30, 2010
49,602
222,030
The Mission SF/CA
www.facebook.com
Disclosures
musician/artist/owner - Gildaxe
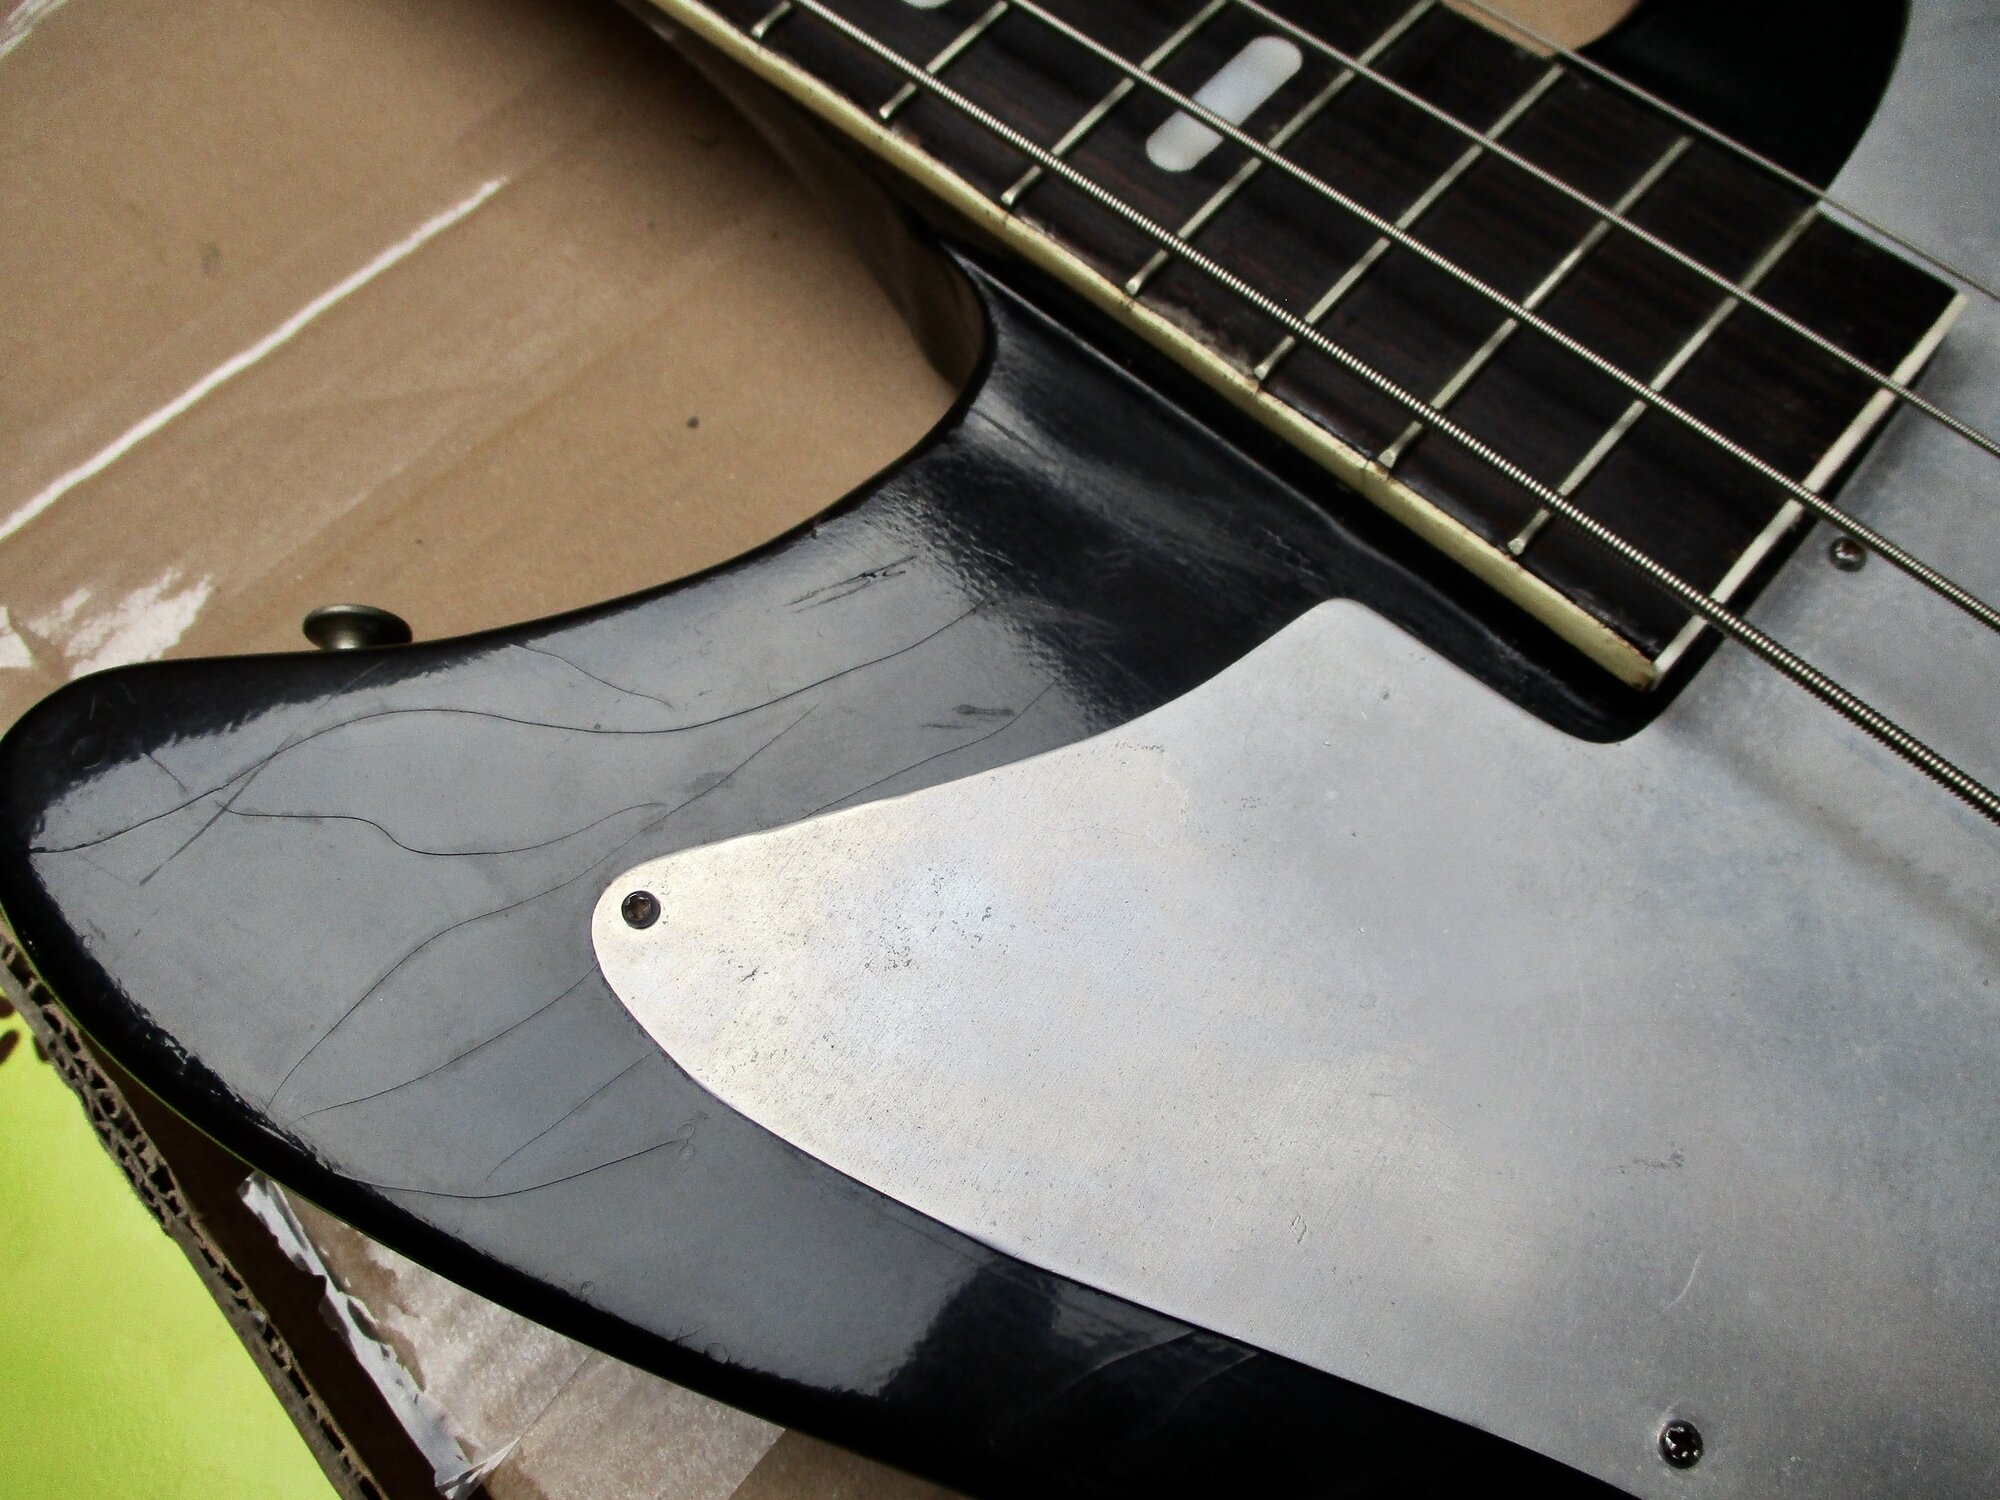
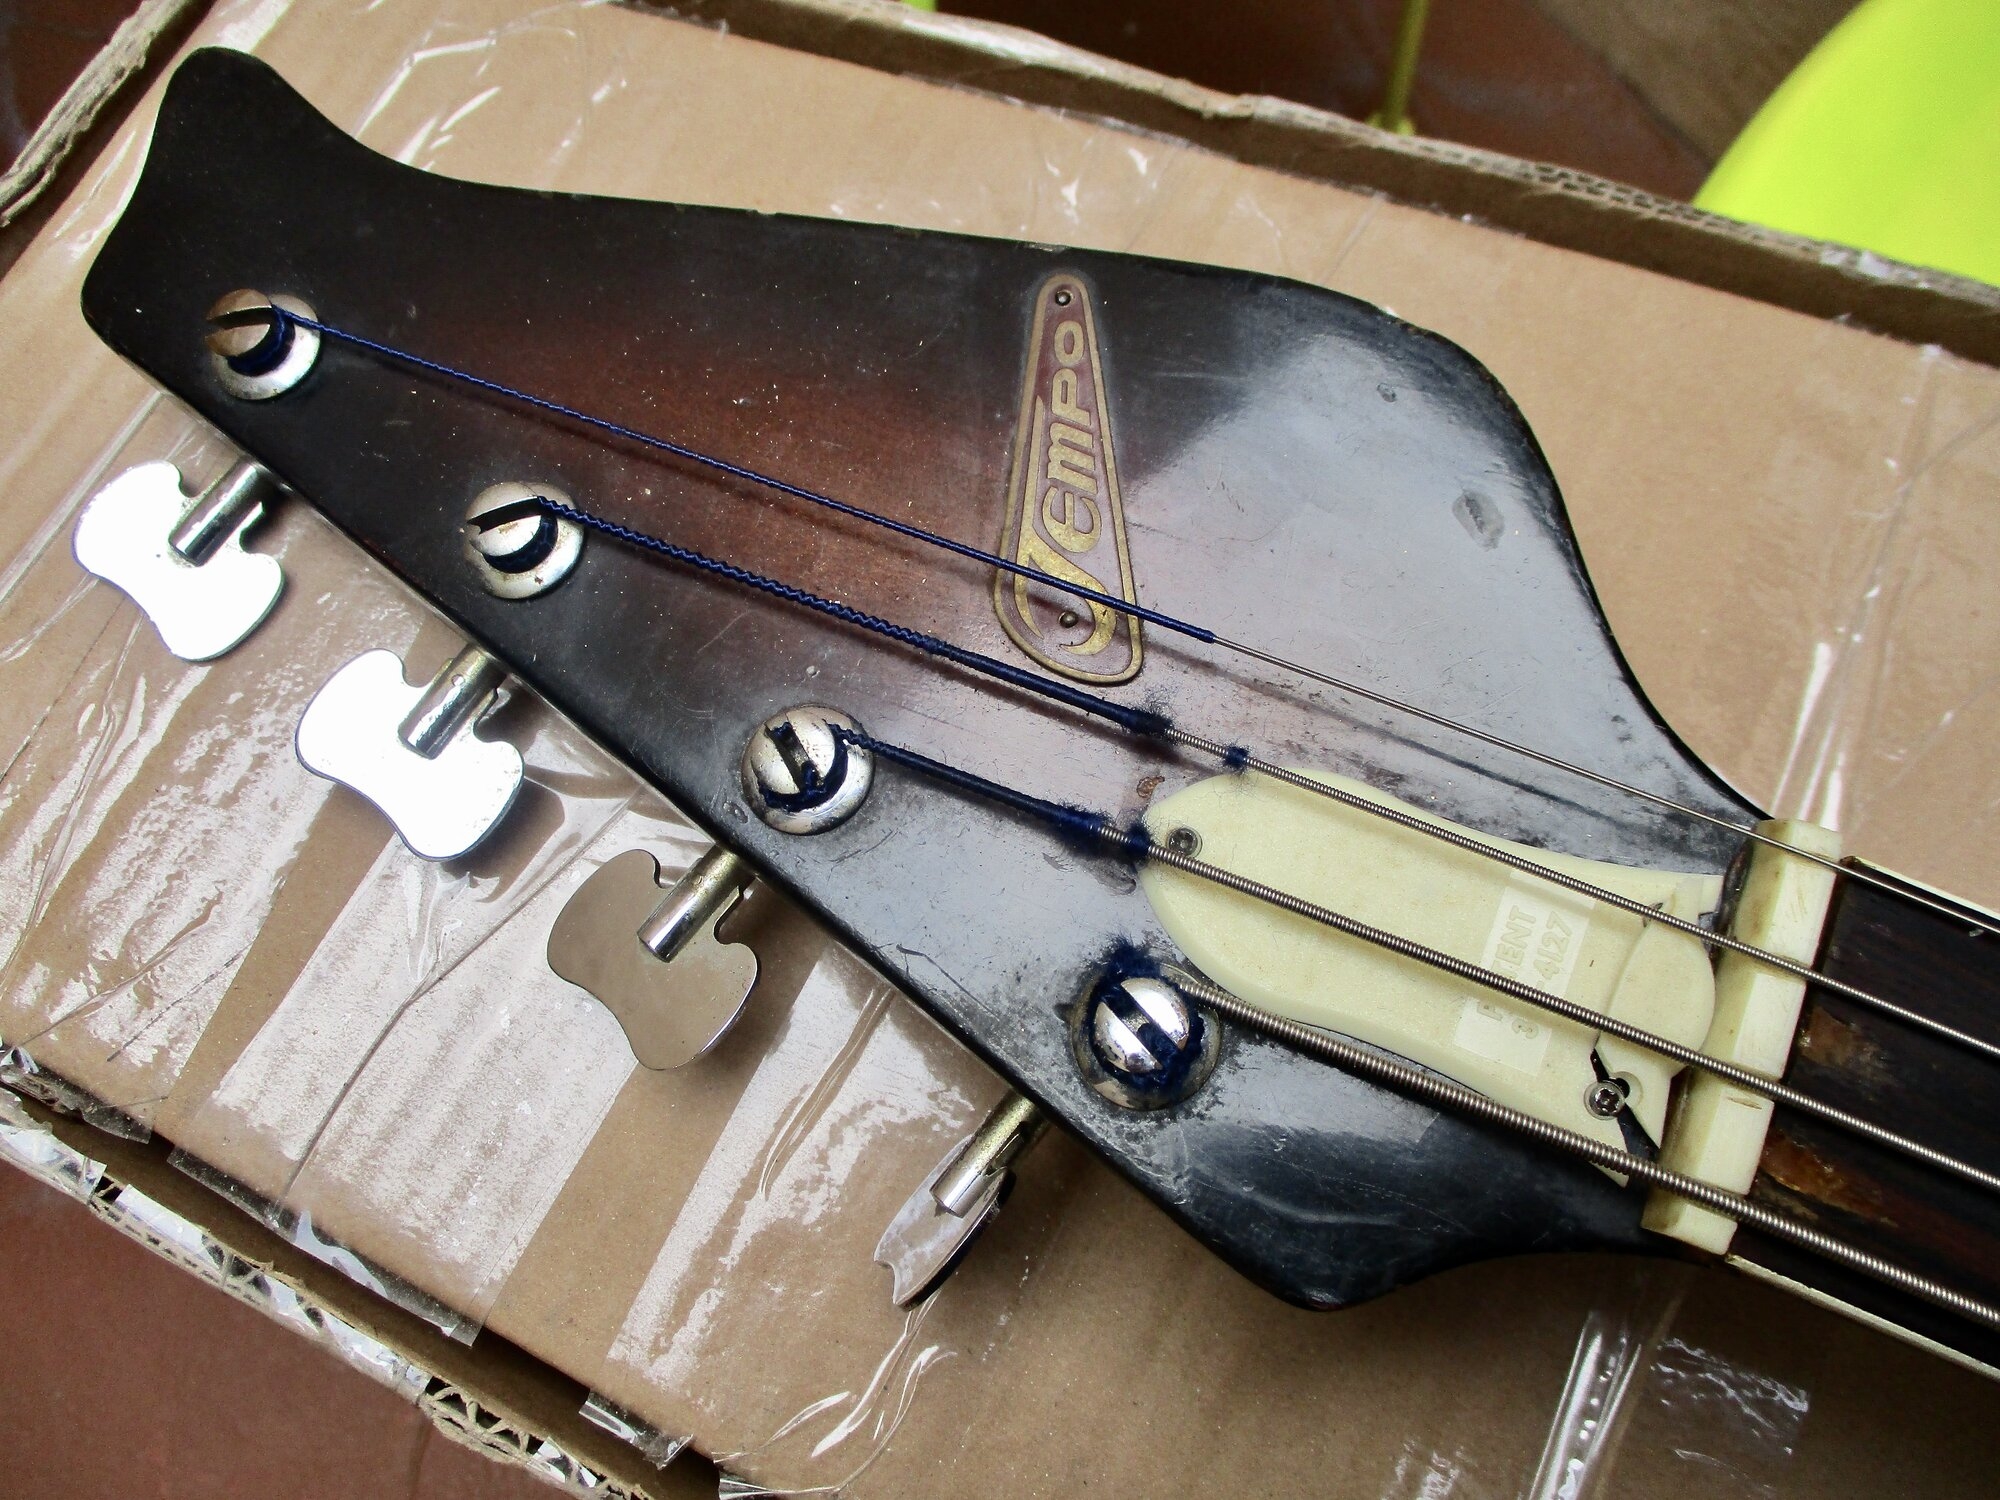
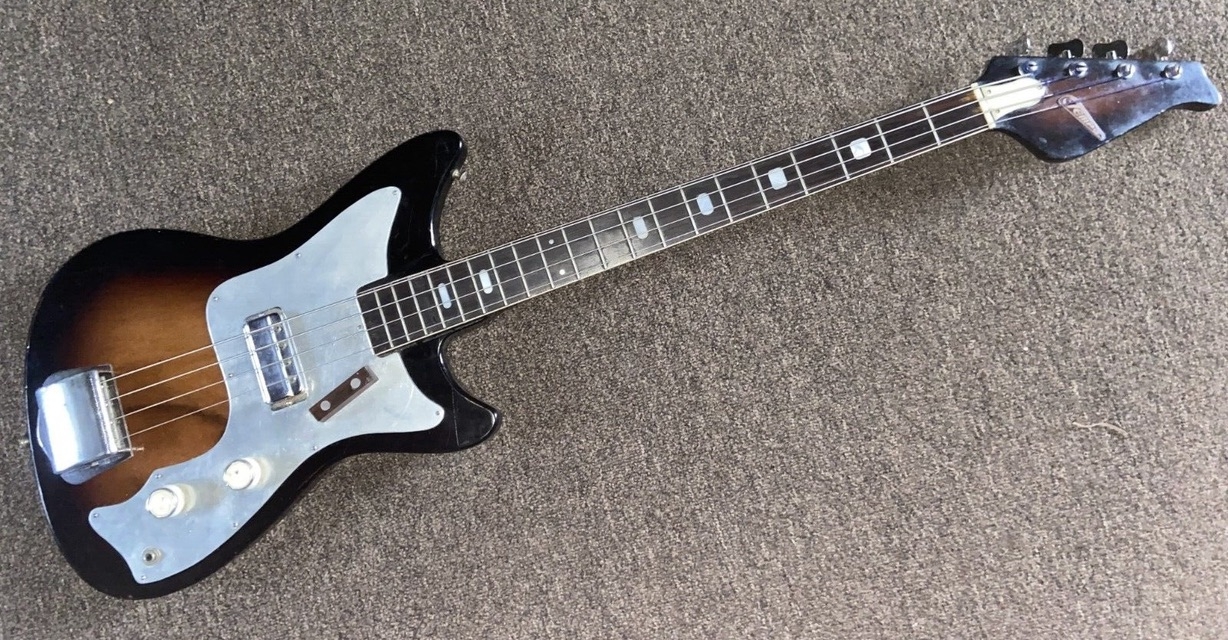
I just acquired a long-scale, solid body bass from Japan, a bass like my very 1st bass. I don't know for certain if it was made in 1966, but that's the year that I as a 13yr old bought one like it for $40 at Woolworths Dept Store. Being a 59yr old instrument, it has some questionable past repair issues. The cost was nominal so dealing with 'issues' was factored in to my buying it. As you'll see in my pics of it, cosmetically it's in fairly good condition. I doubt it came in any other finish, a standard brown-burst. My goal here is to restore the bass as good as possible considering a few key issues and use as many original screws as I can. Three were striped and had to be drilled out, so there's that. All & all I have my work cut out for me. At least I'll do a thorough once-over and at best I'll make it playable.

A few pics to start with and then everything removed from the bass- 34" scale wasn't common from Japan then until after '65 or so. Mostly short-scale basses.
1746038157494.jpeg

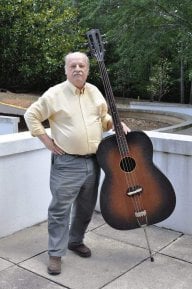
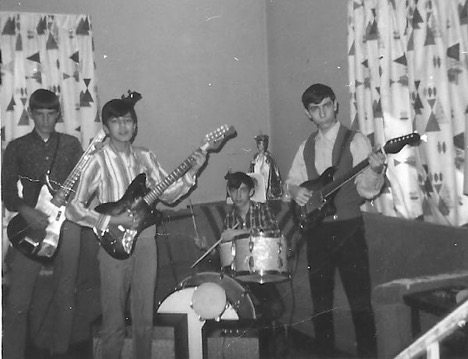
1967 - Stadium hs badge is behind Gilbert's head! Only pic I have of the bass.
1746039399251.jpeg

1746034521126.jpeg
1746034588503.jpeg

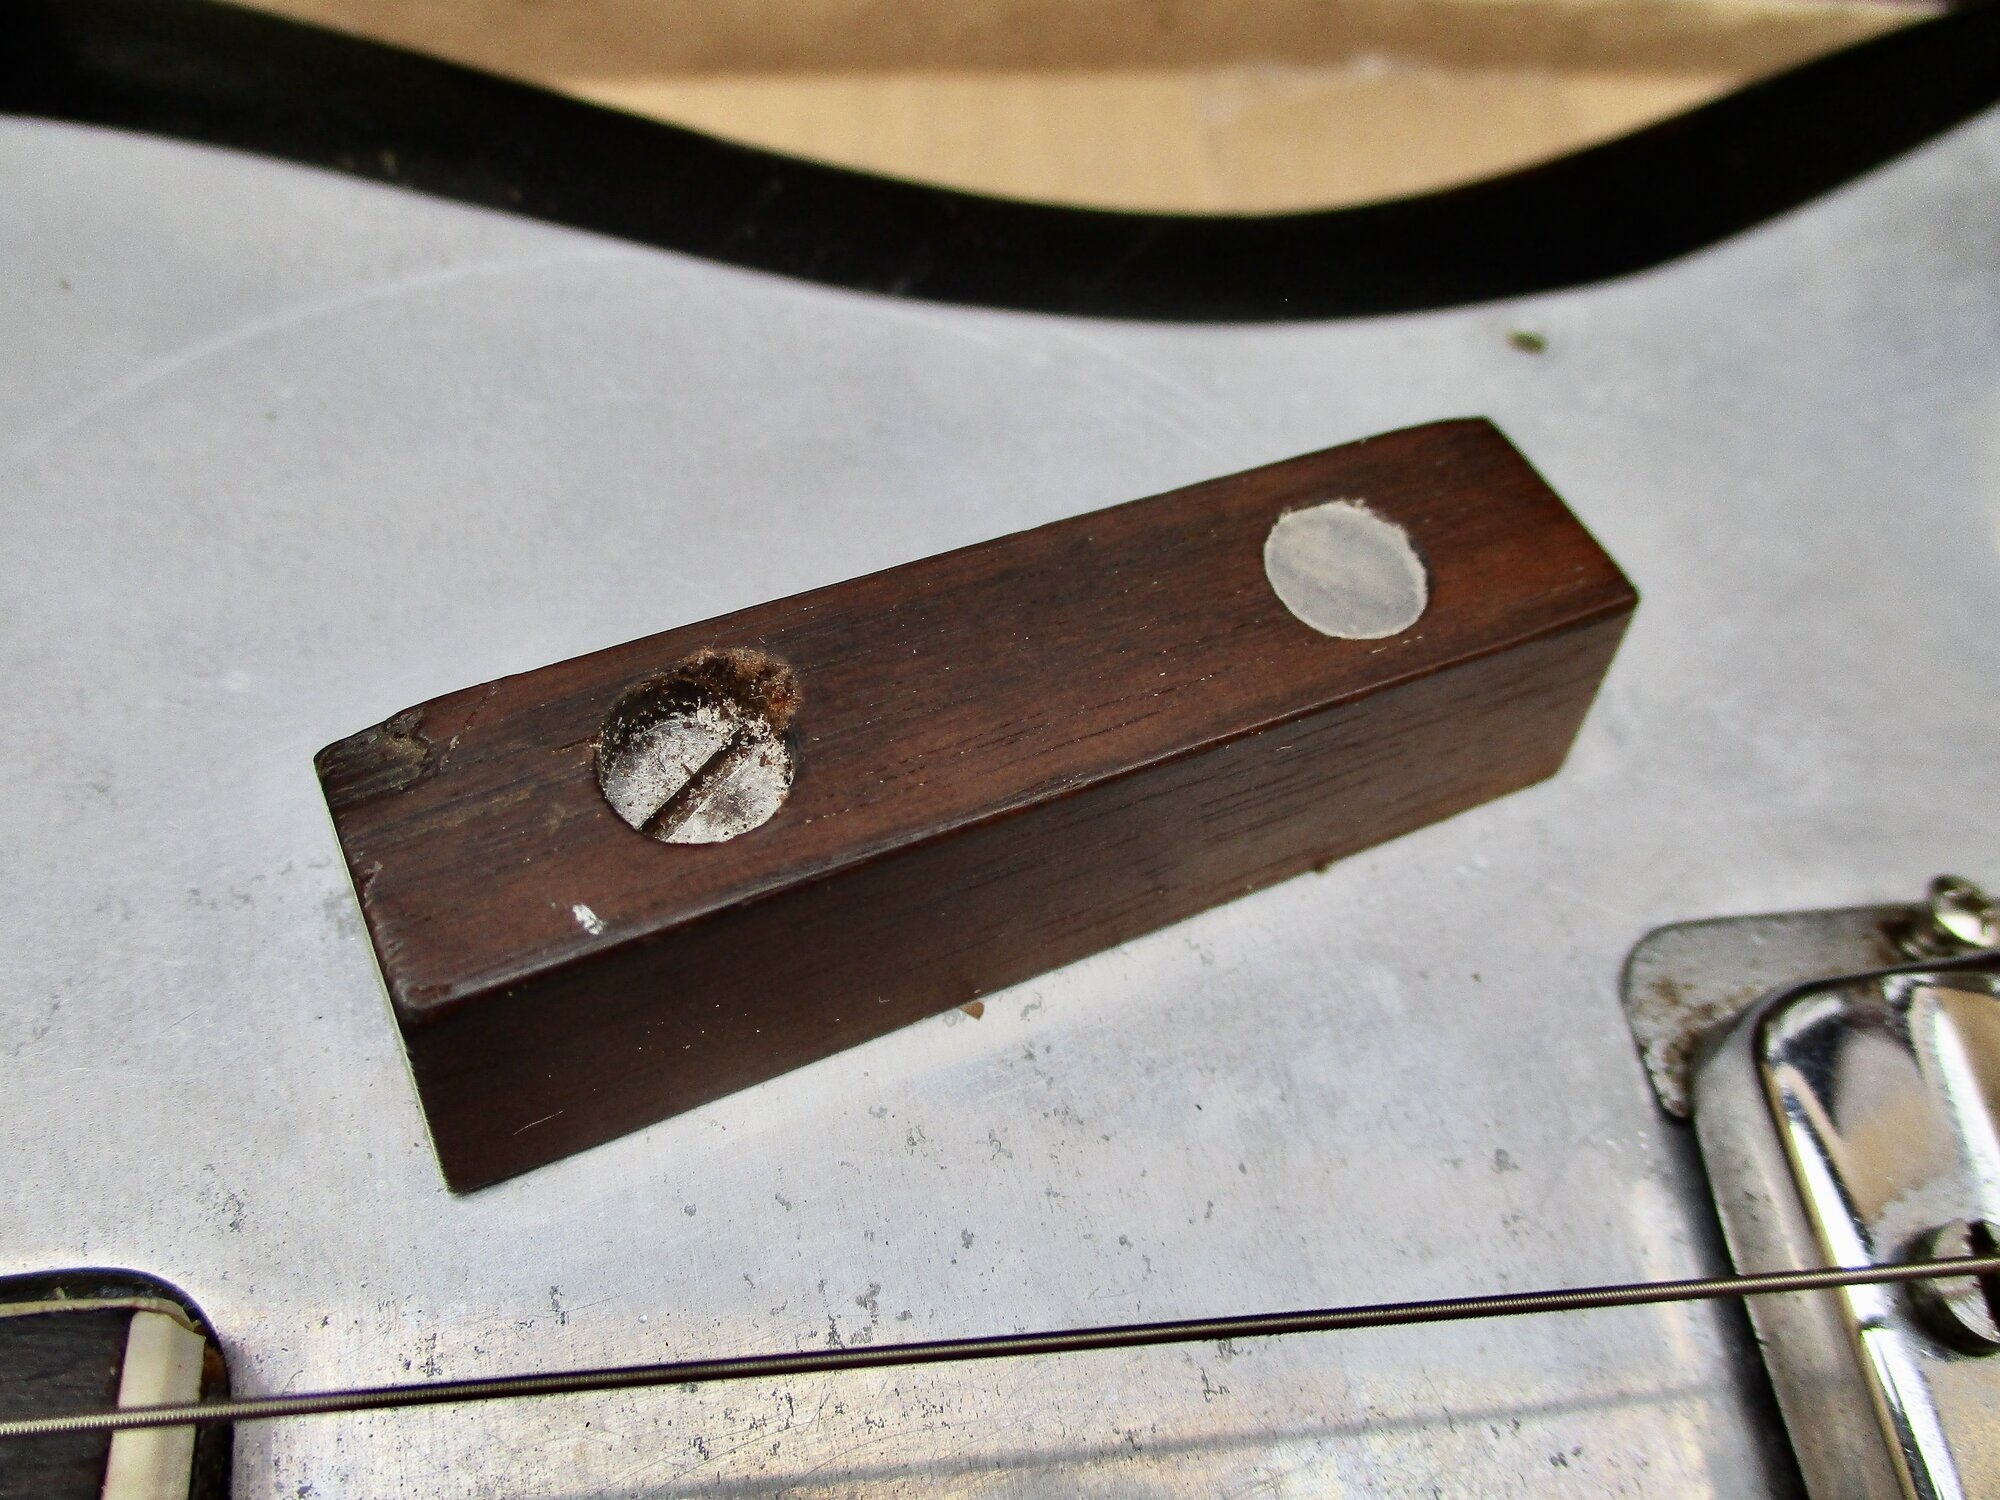
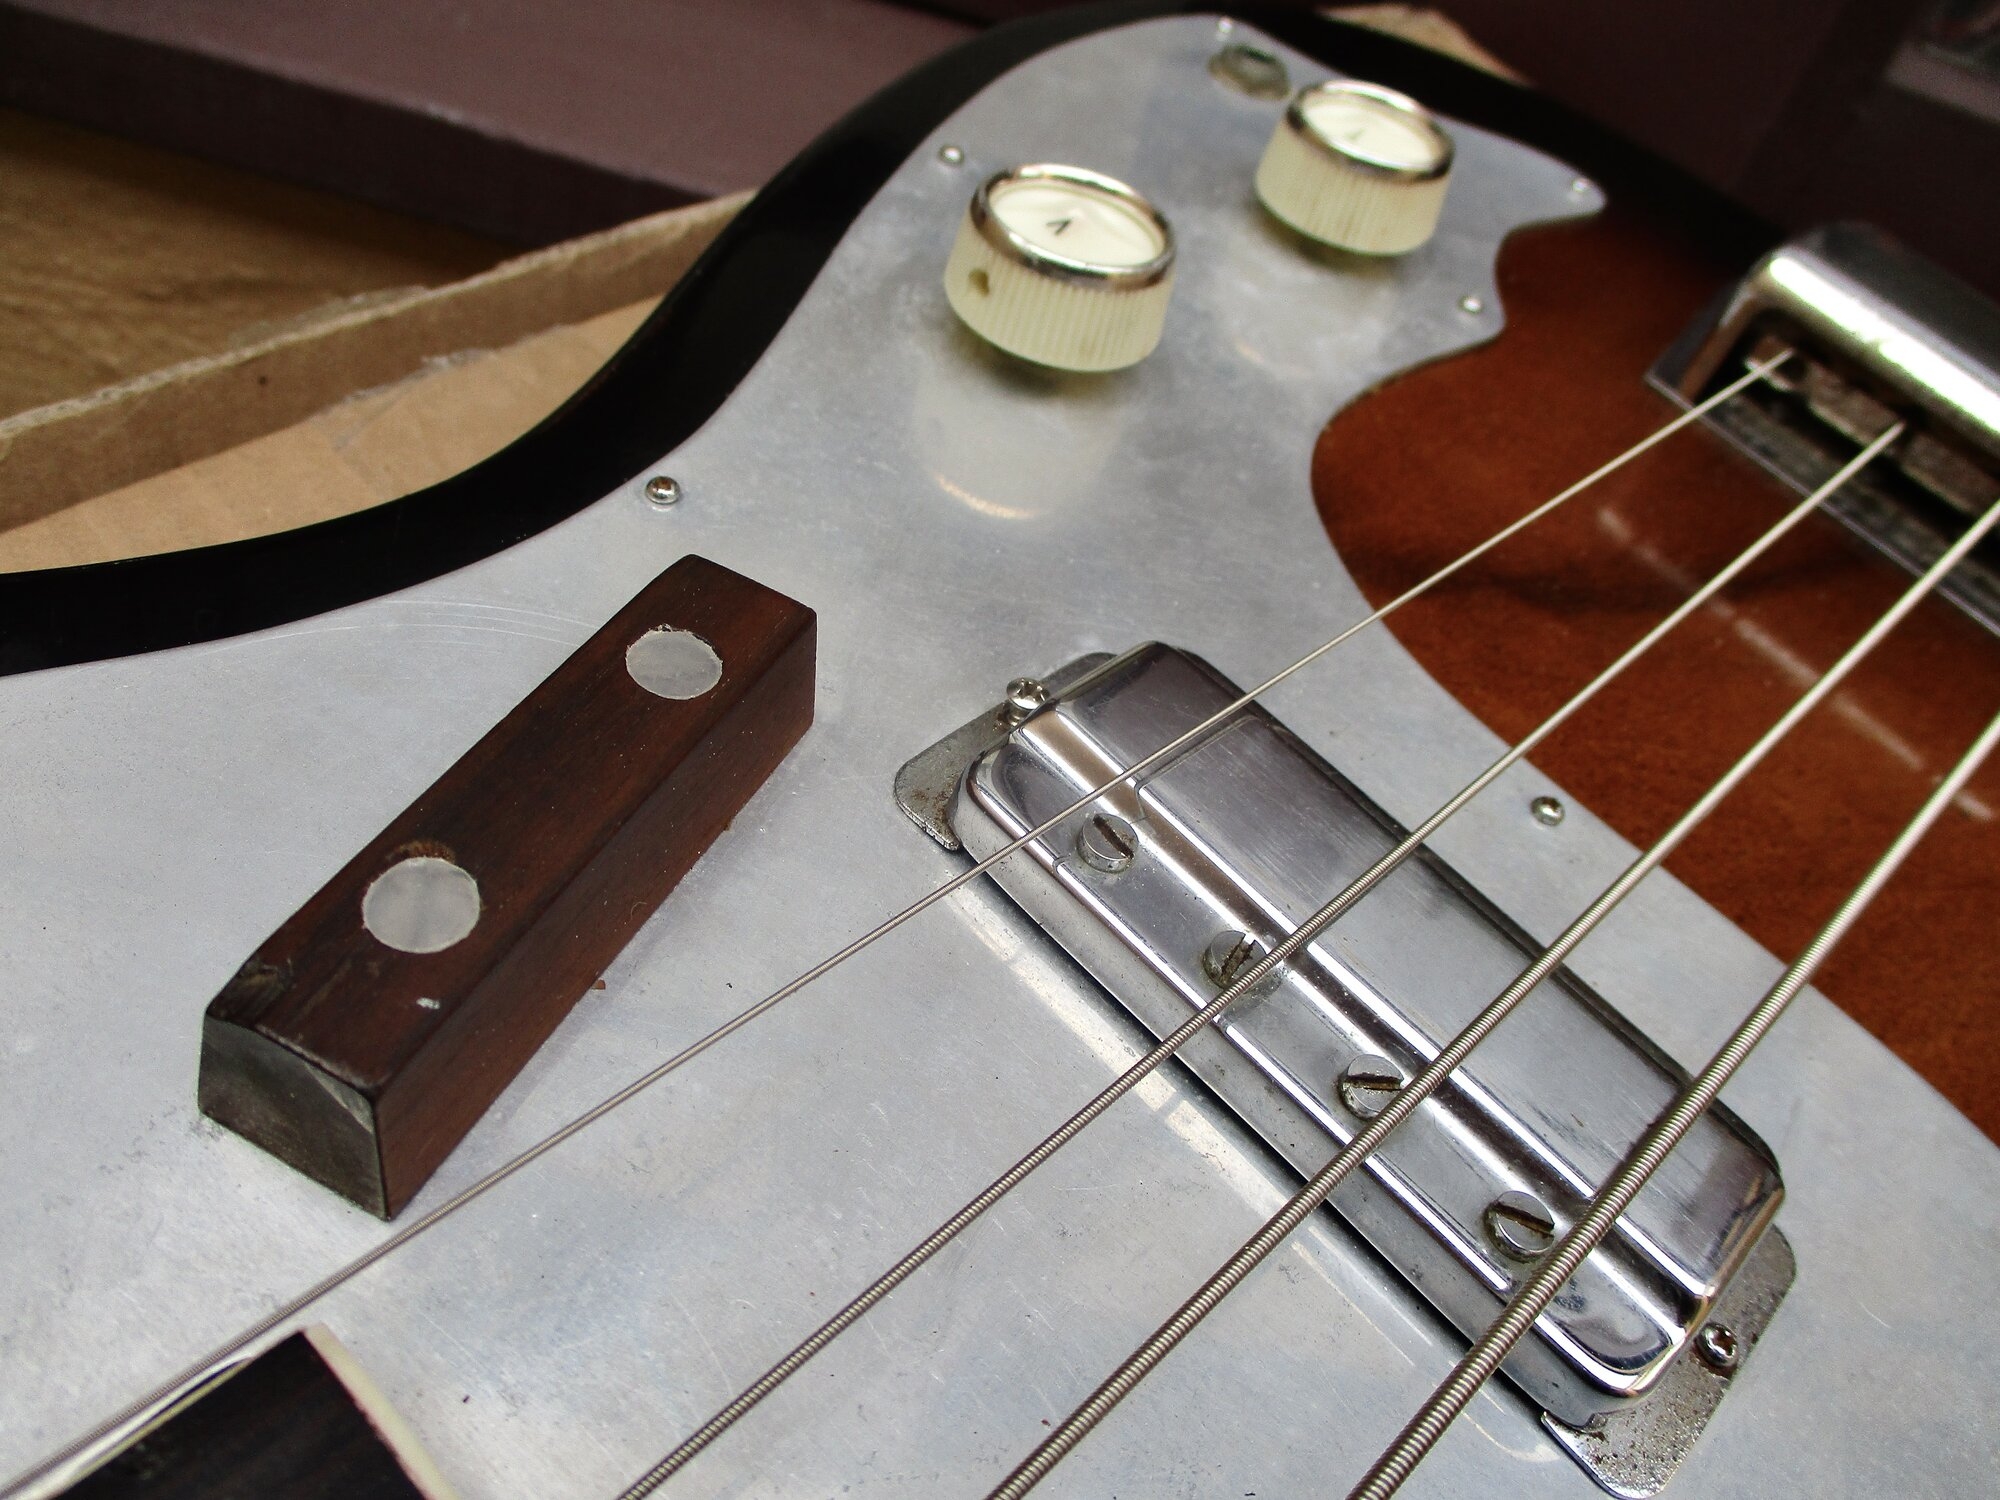
This is 100% original- but very inconvenient. (tug-bar screws into the body with pearl caps... I'll probable screw into it from the back so the pg can be removed more easily.
1746036509320.jpeg
1746036539061.jpeg

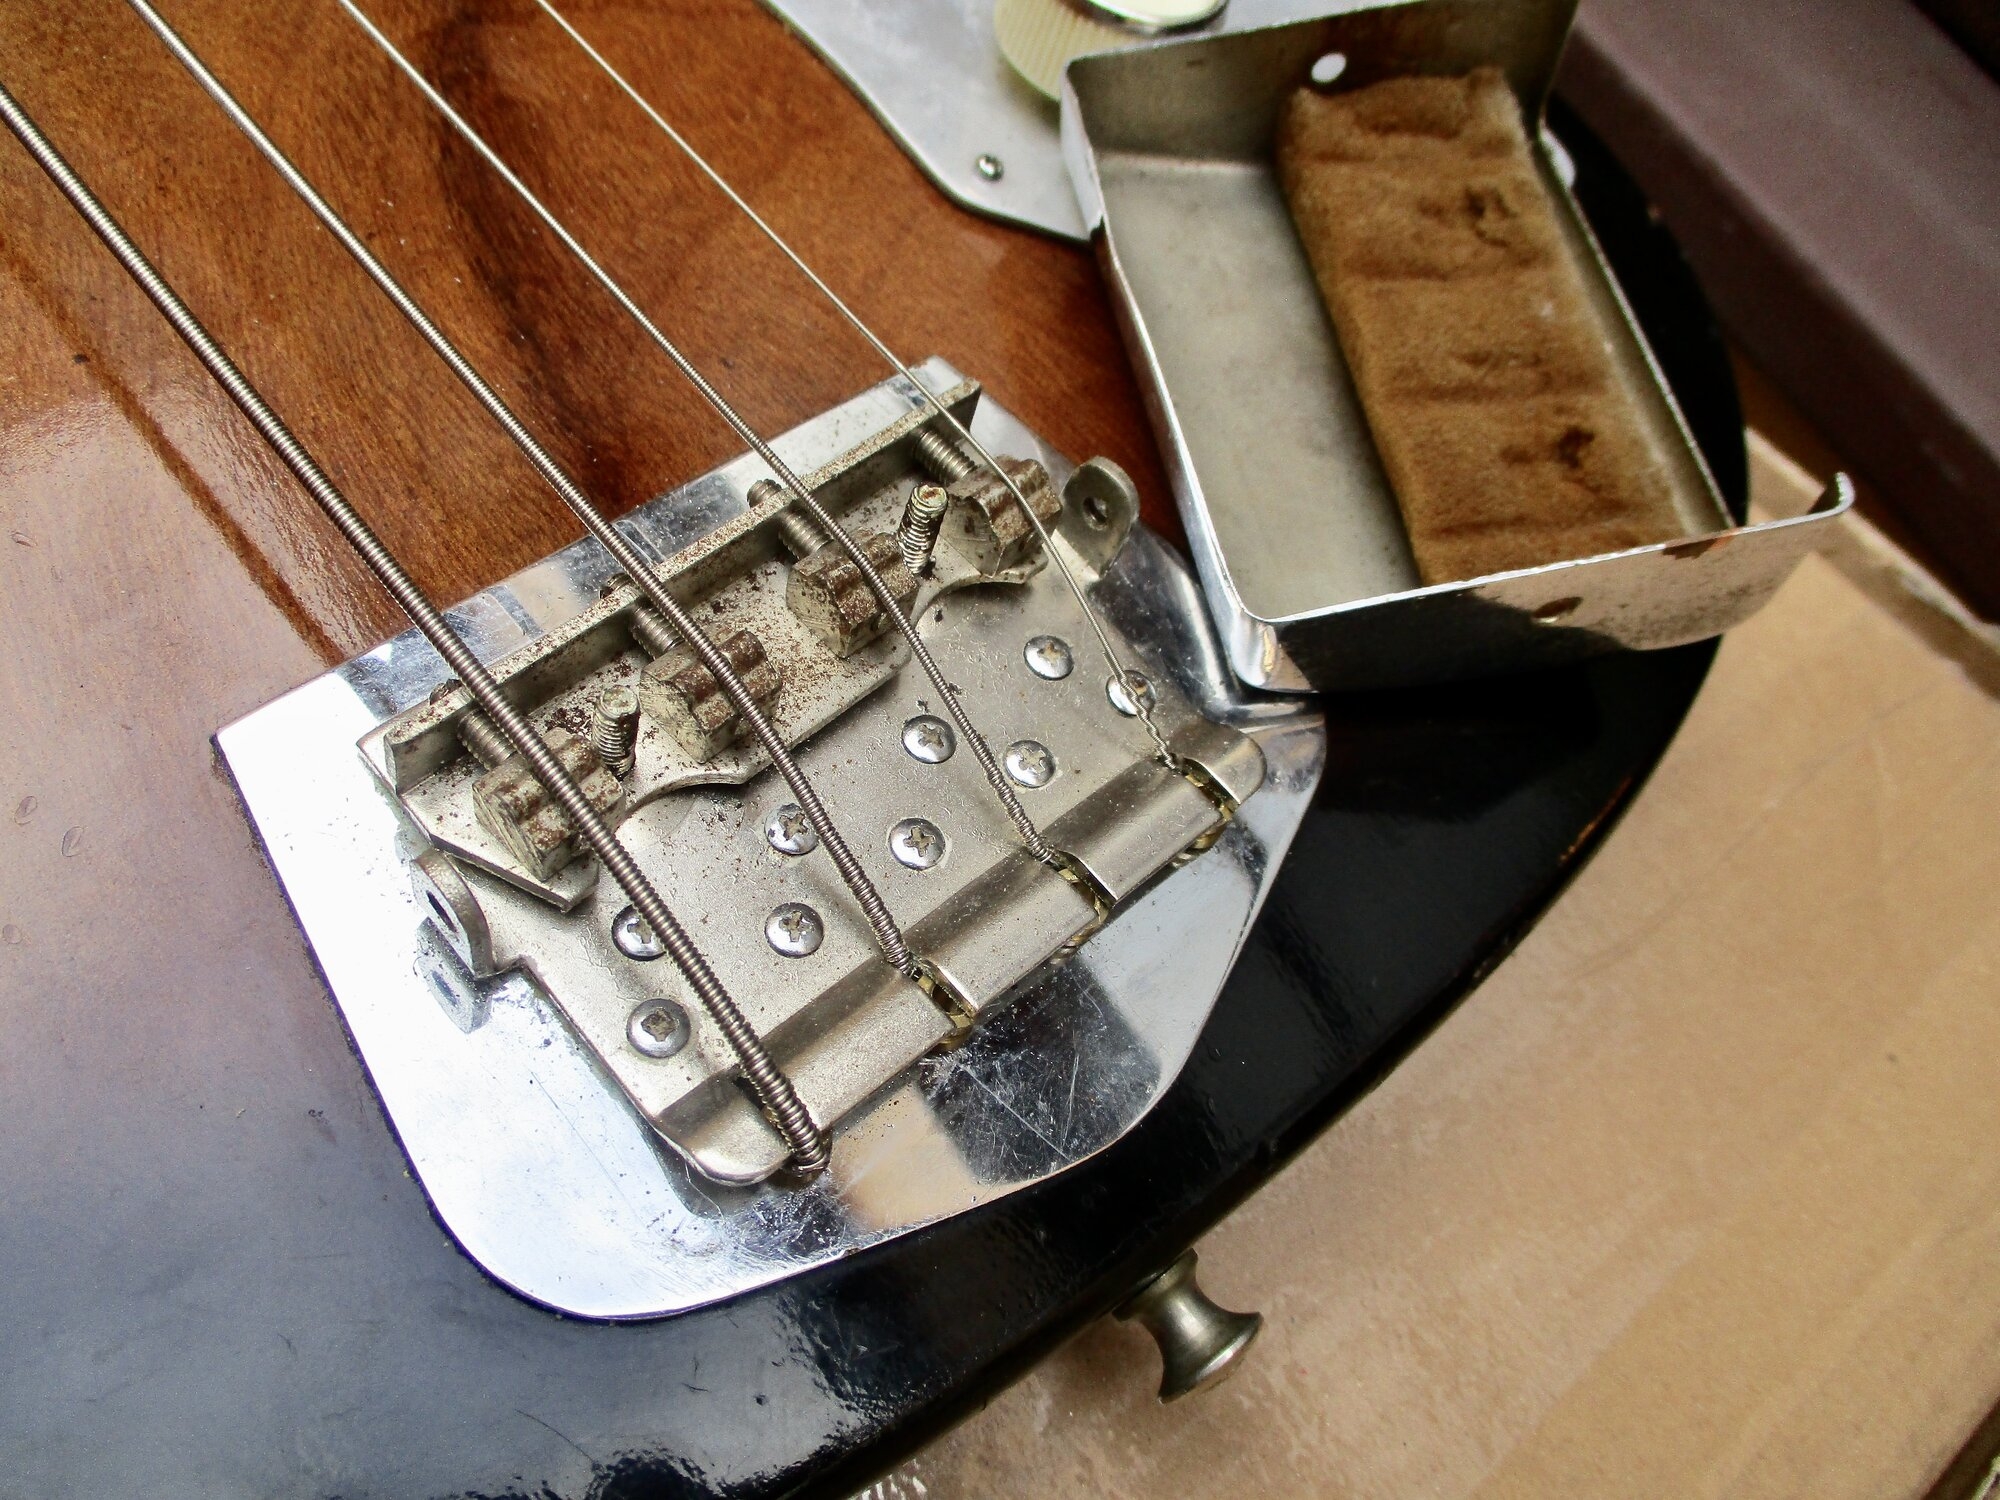
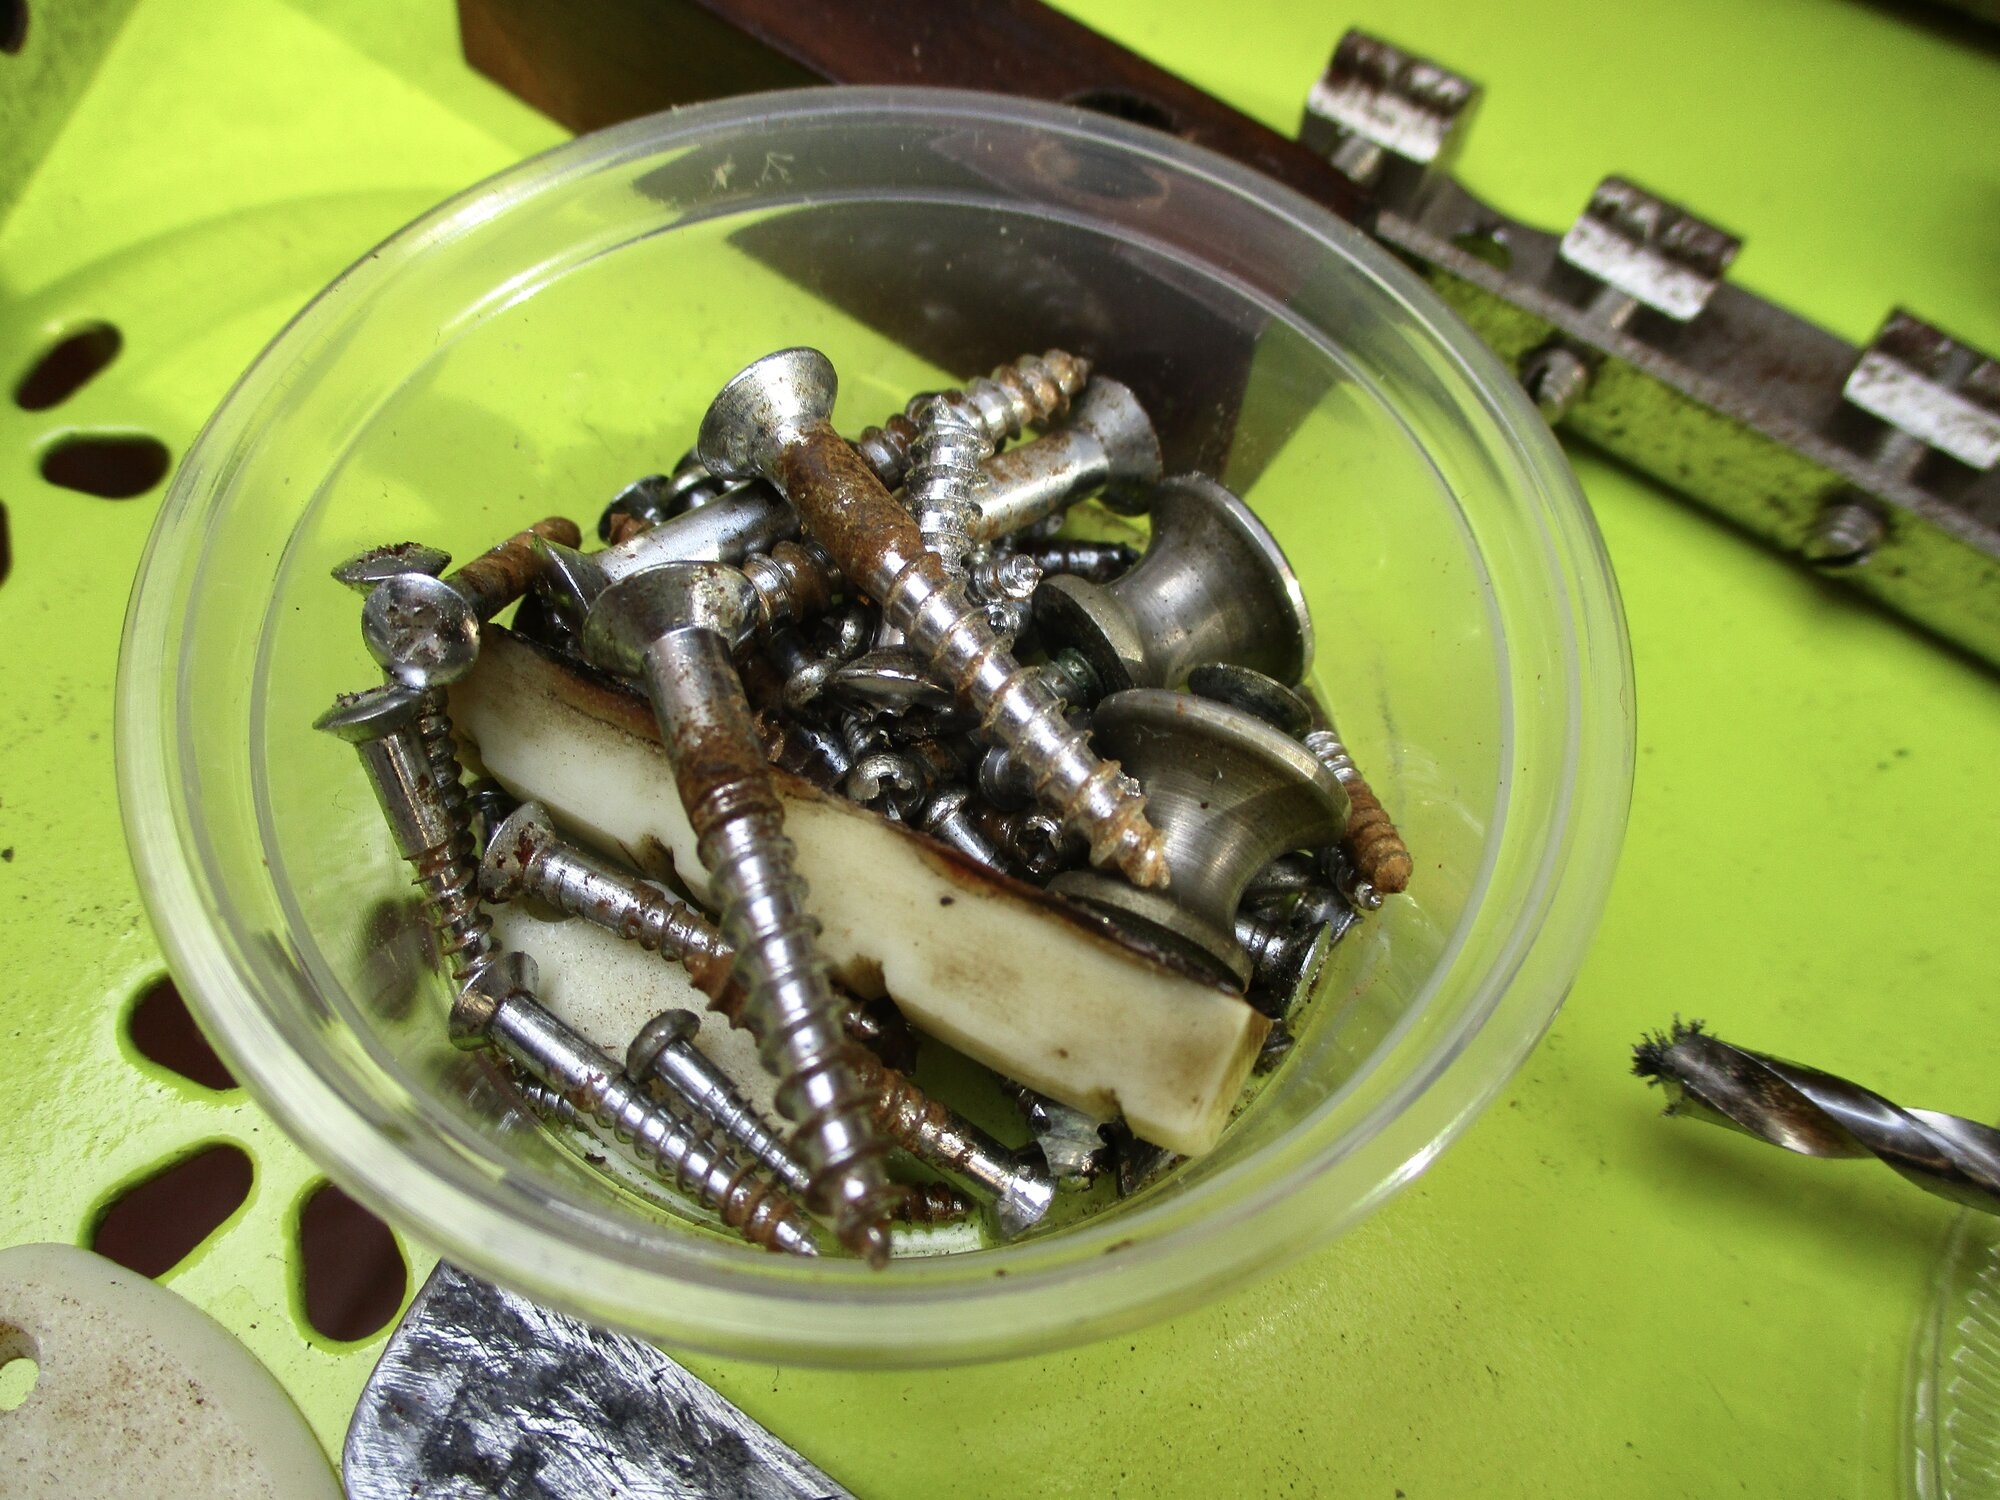
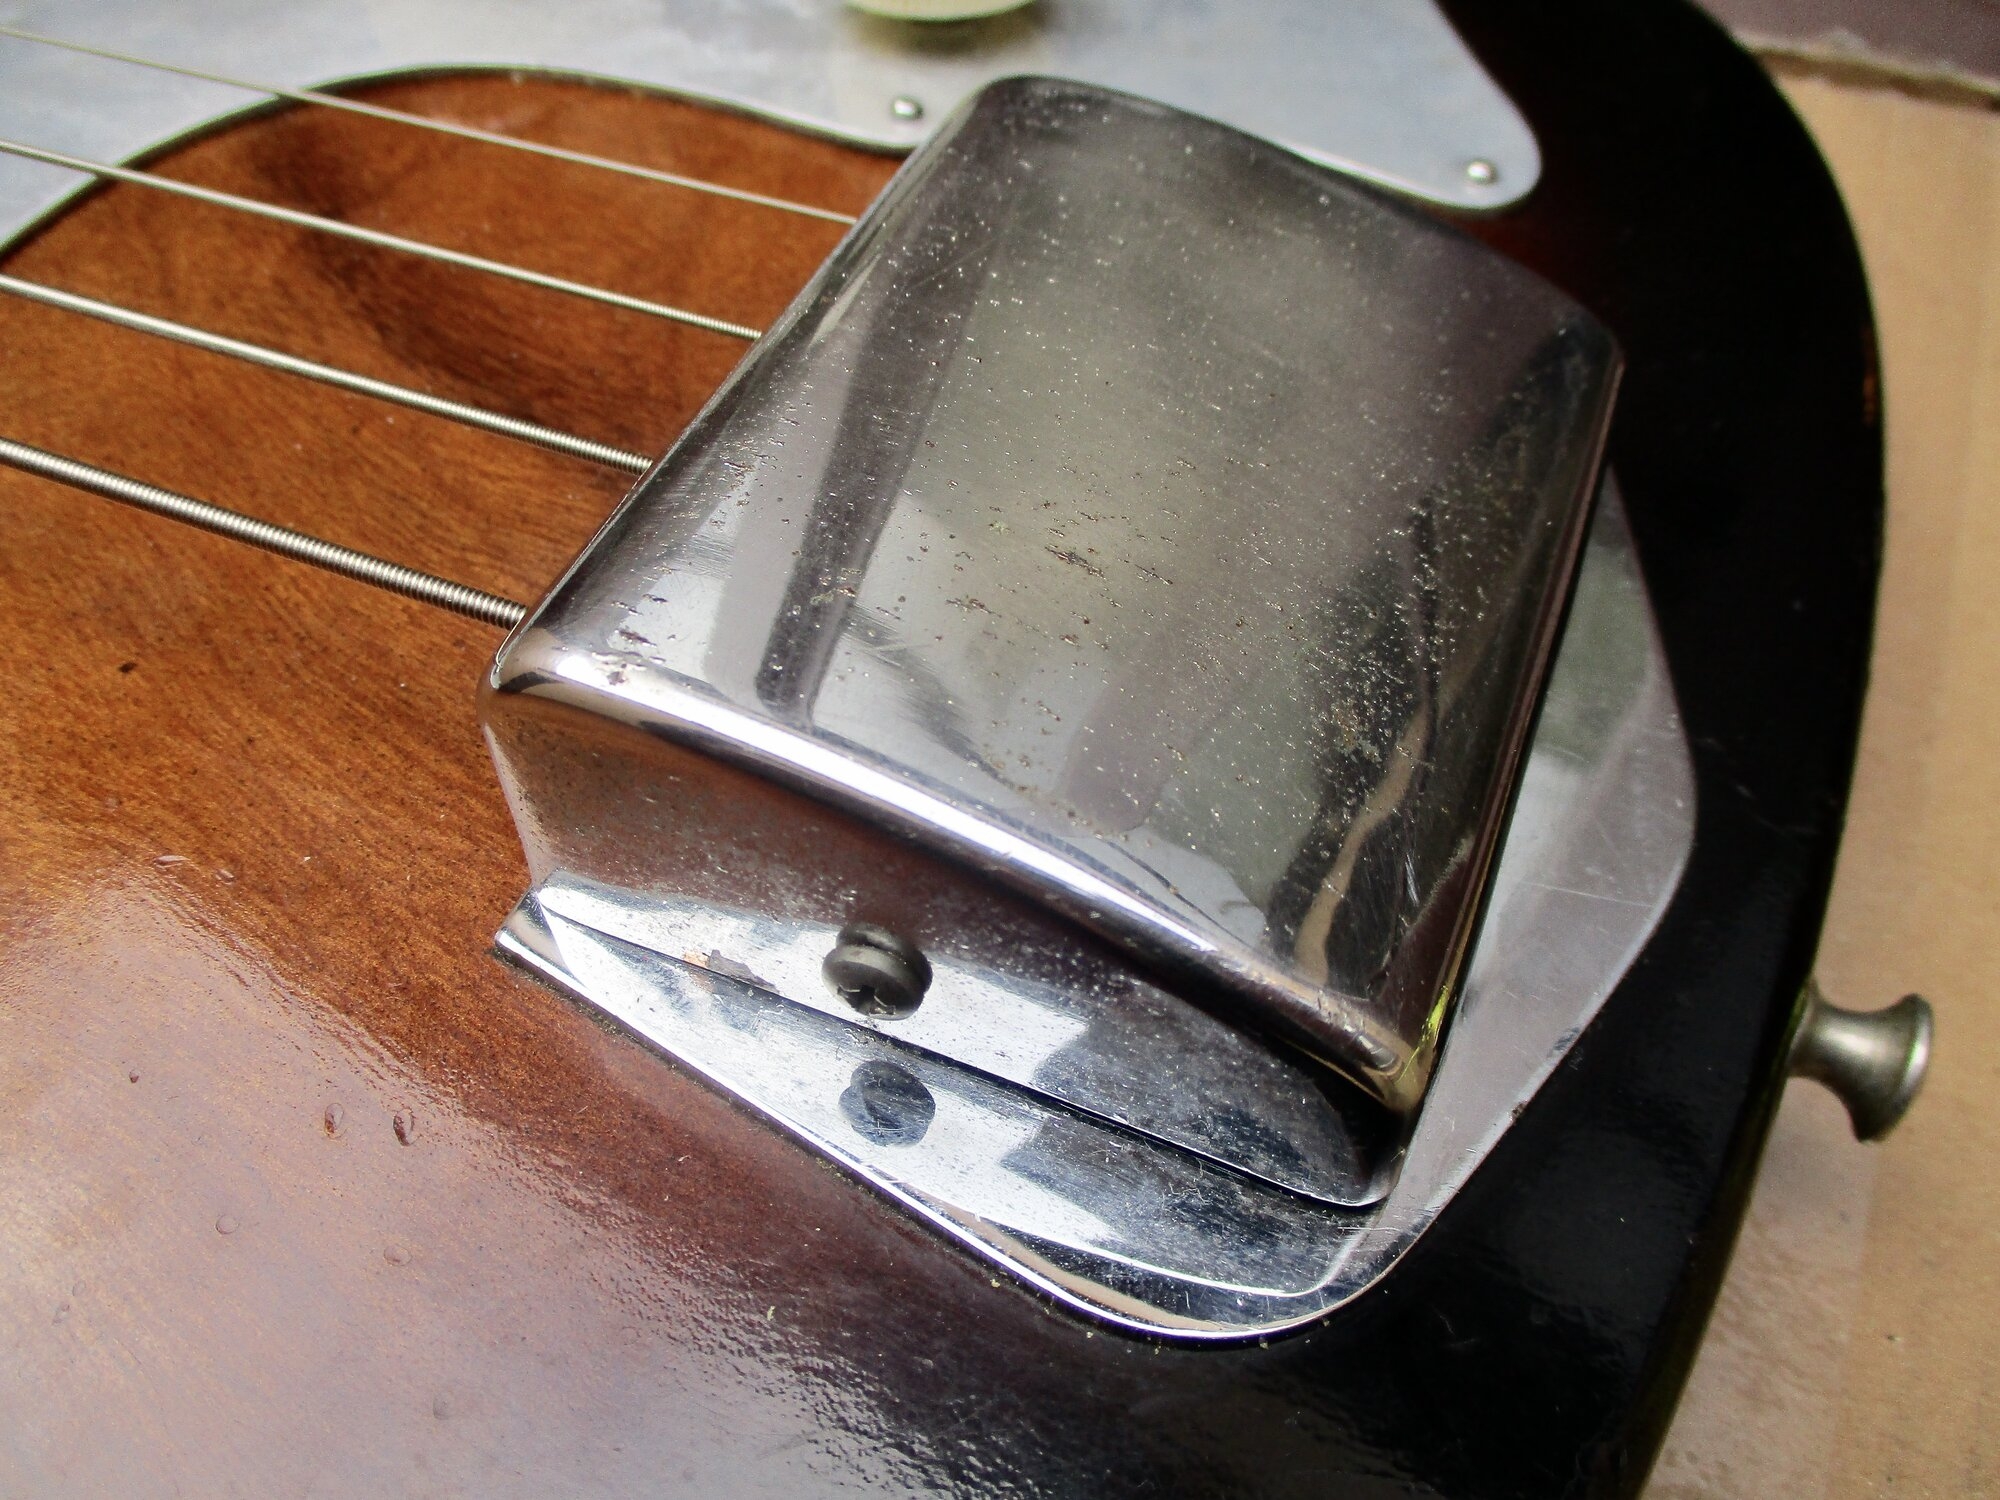
Bridge cover intact - original 59yr old foam for muting.
1746034653184.jpeg
1746034750503.jpeg

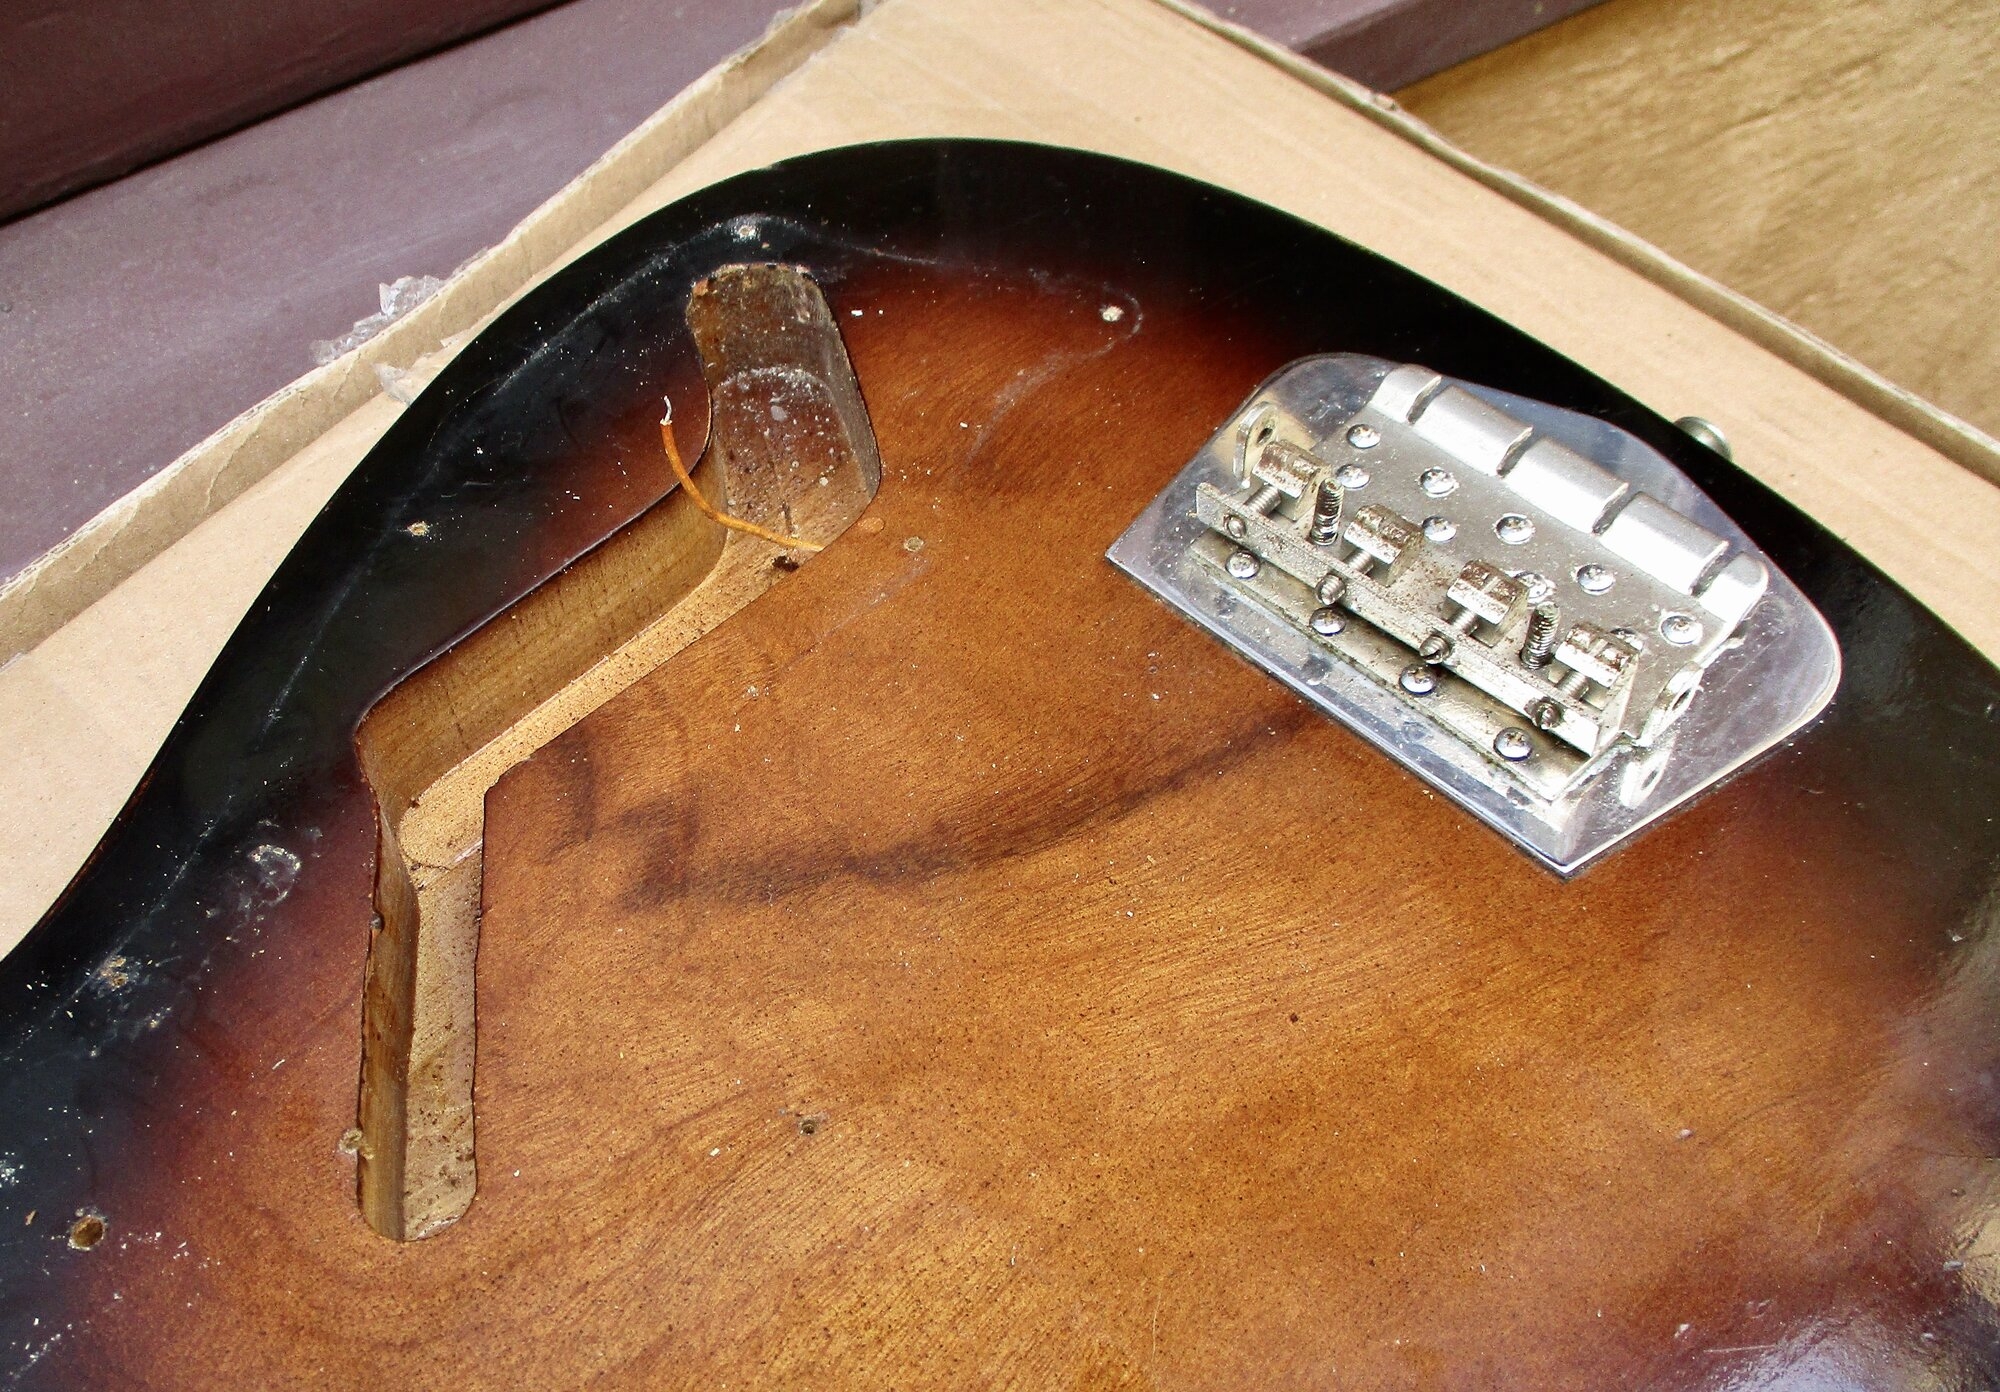
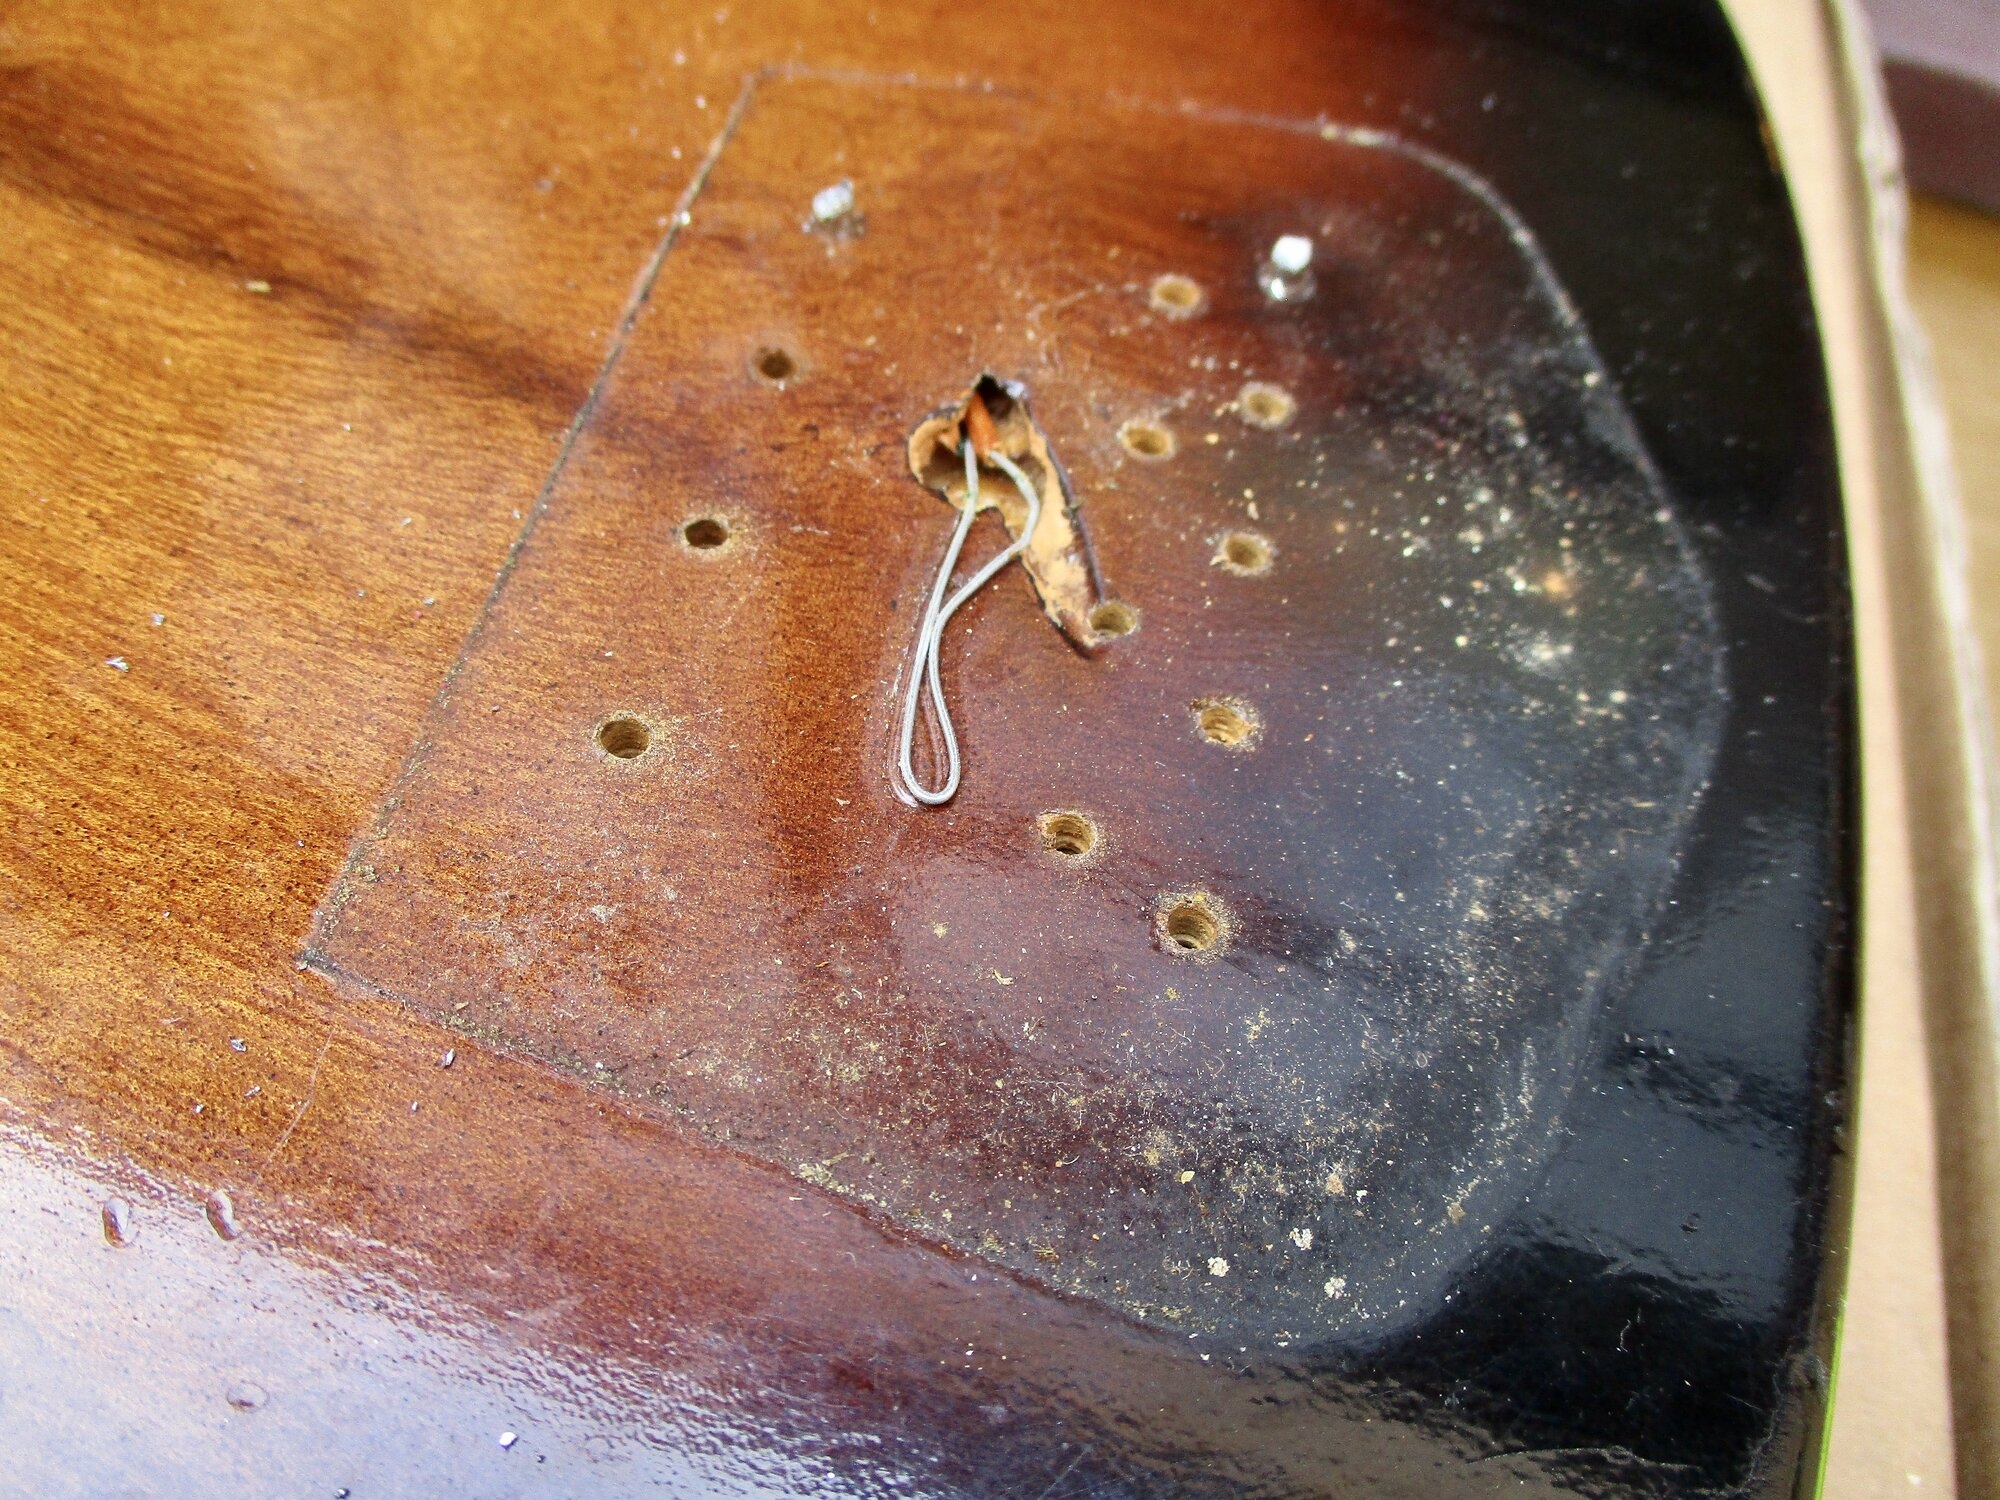
12 bridge screws - two were stripped and required extraction.
1746034858791.jpeg
1746034917782.jpeg

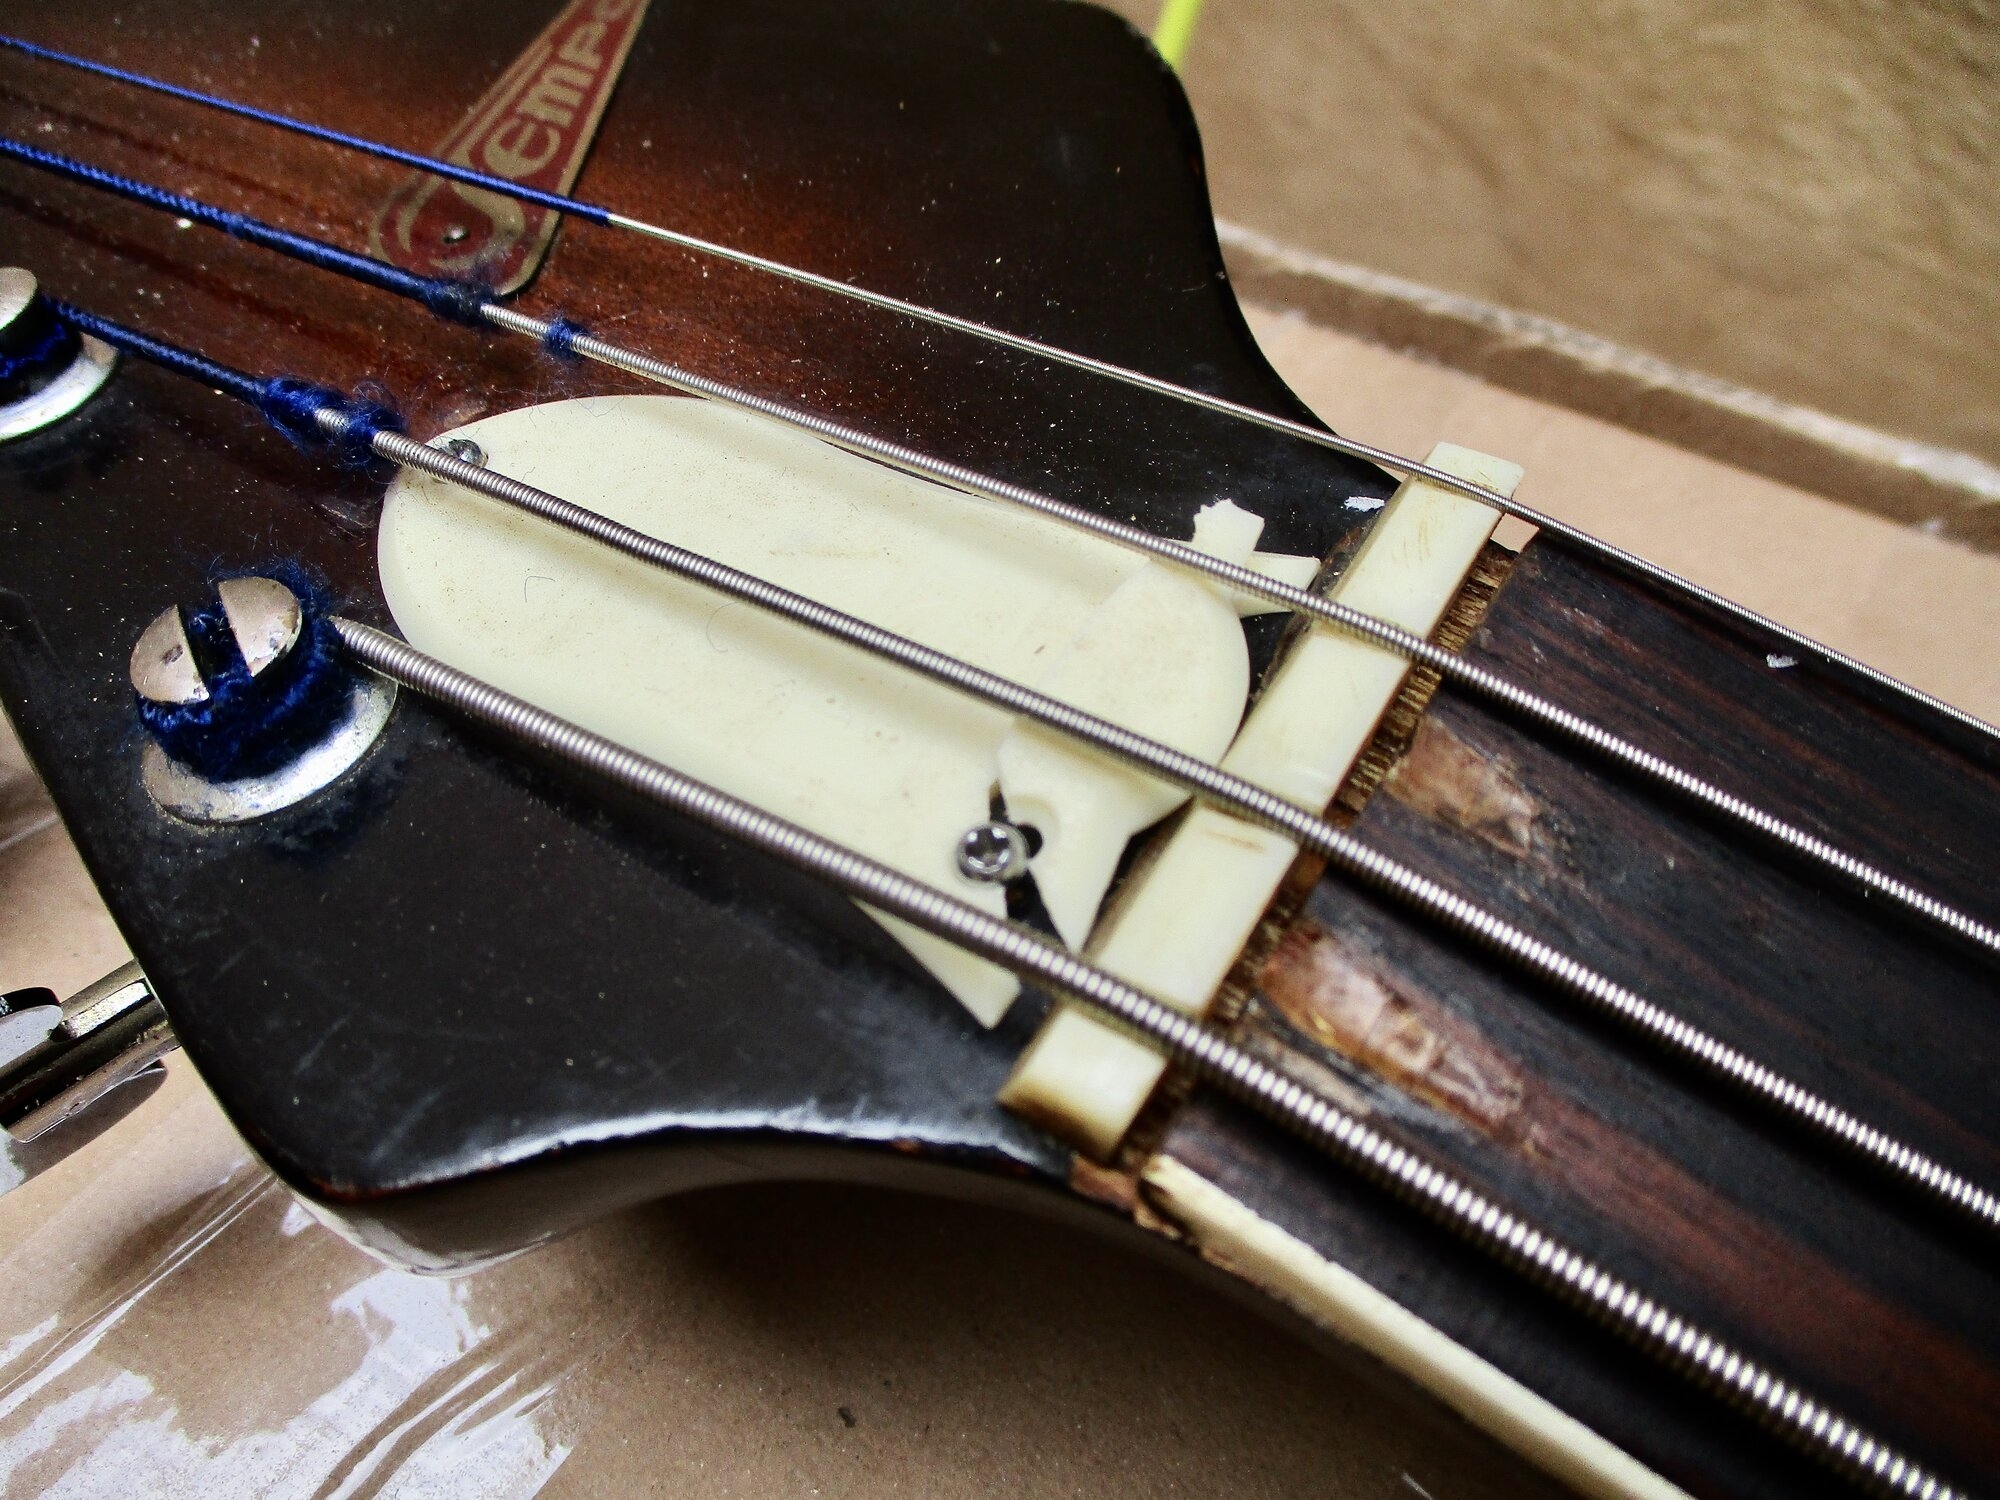
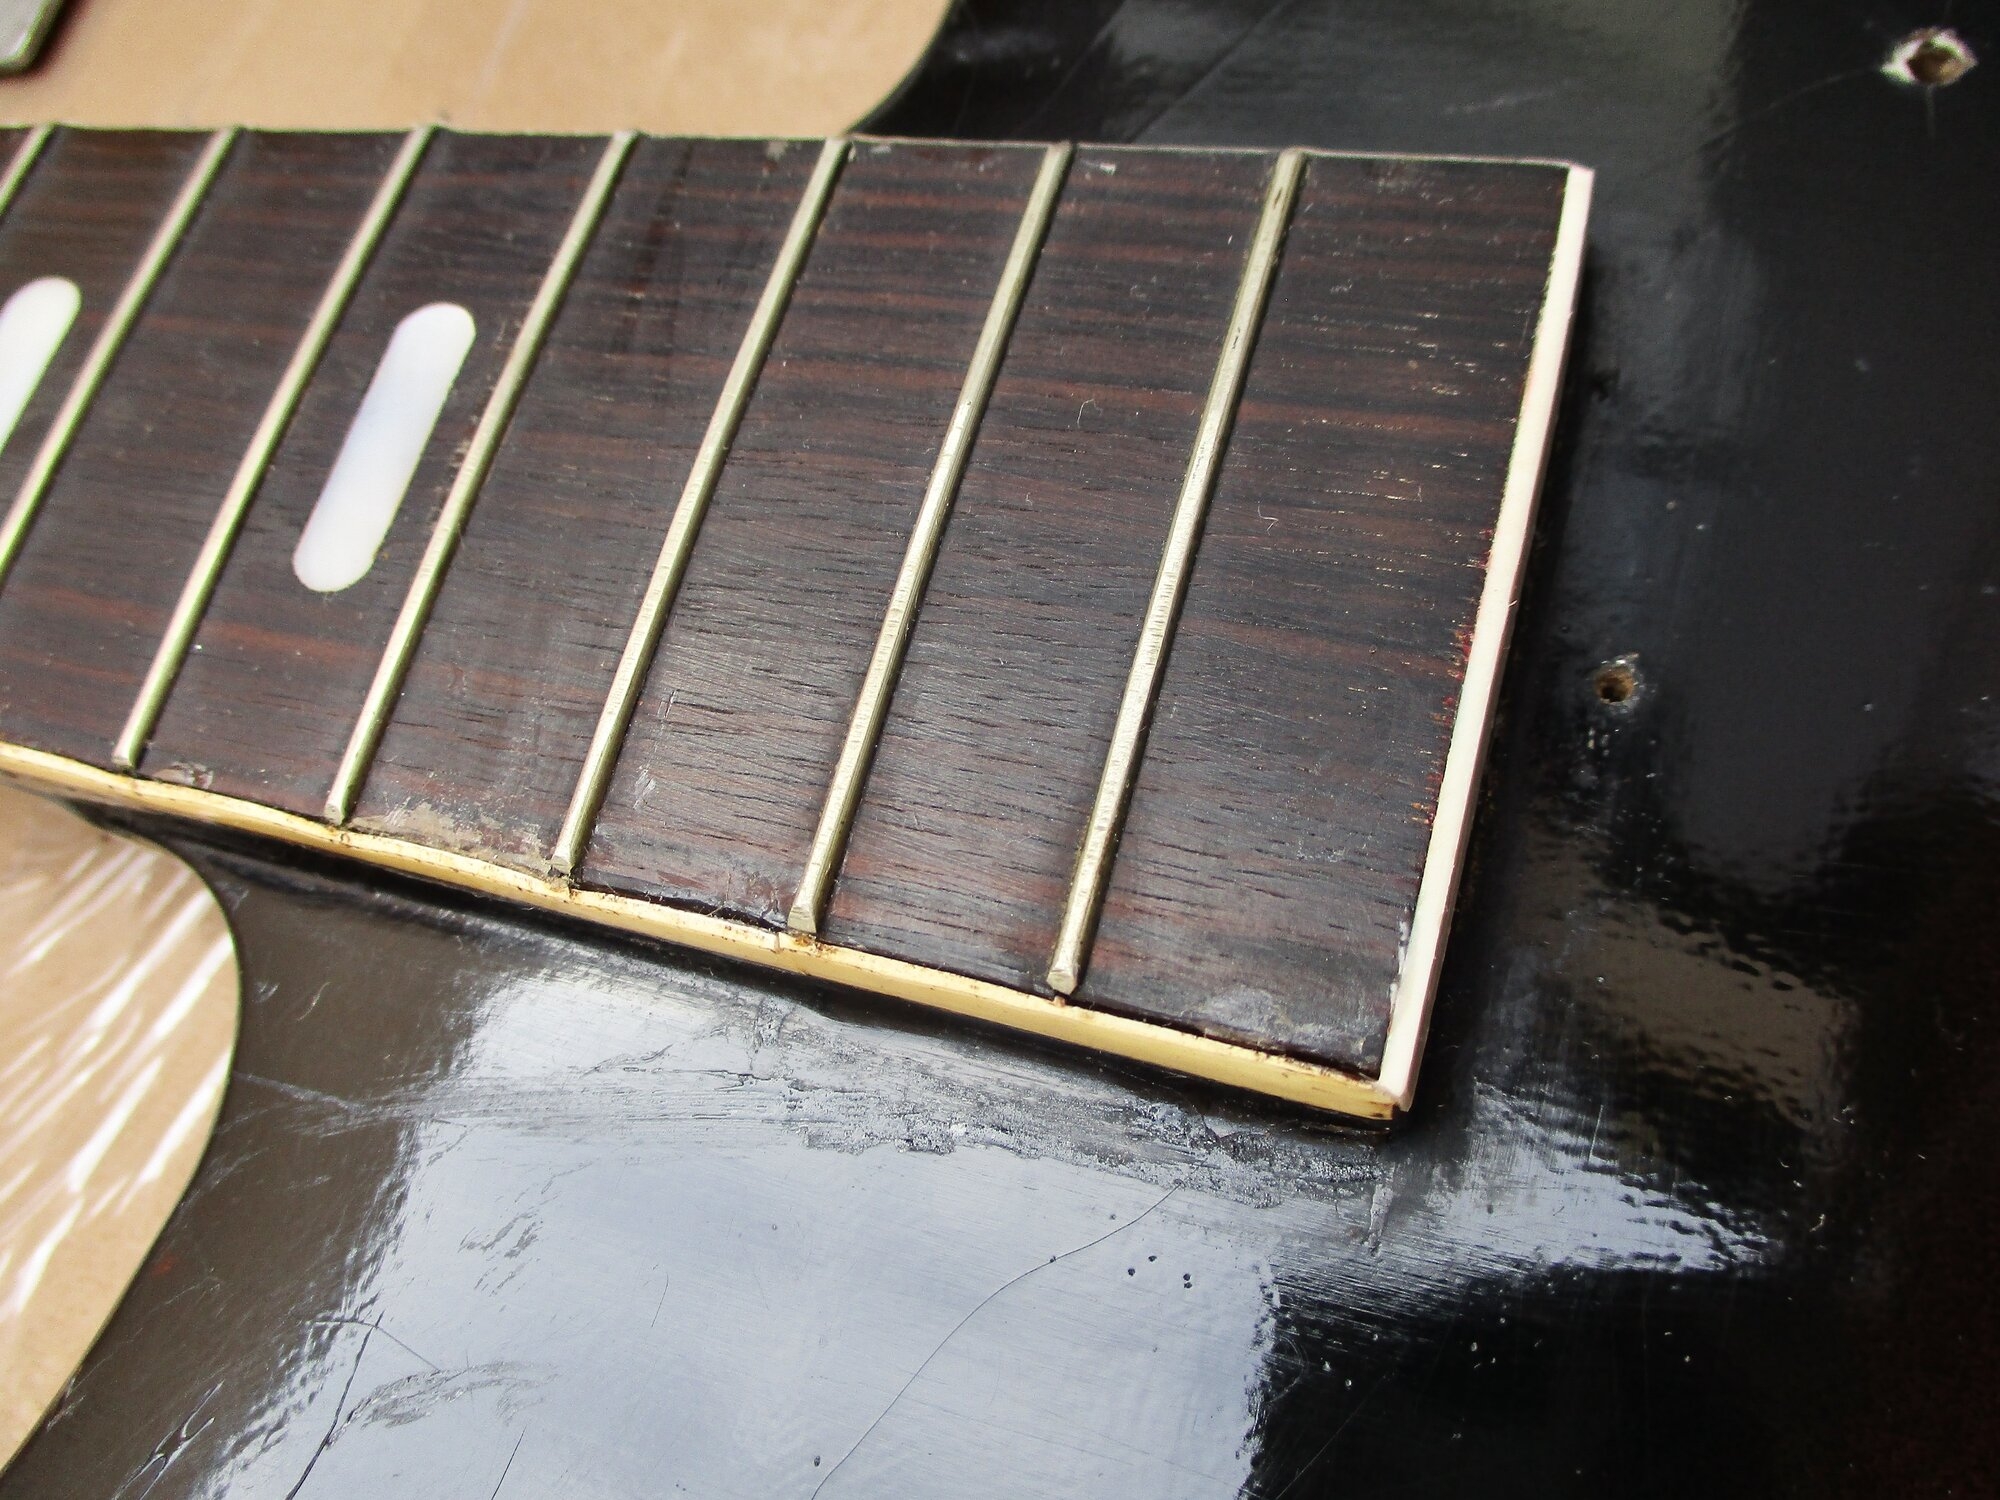
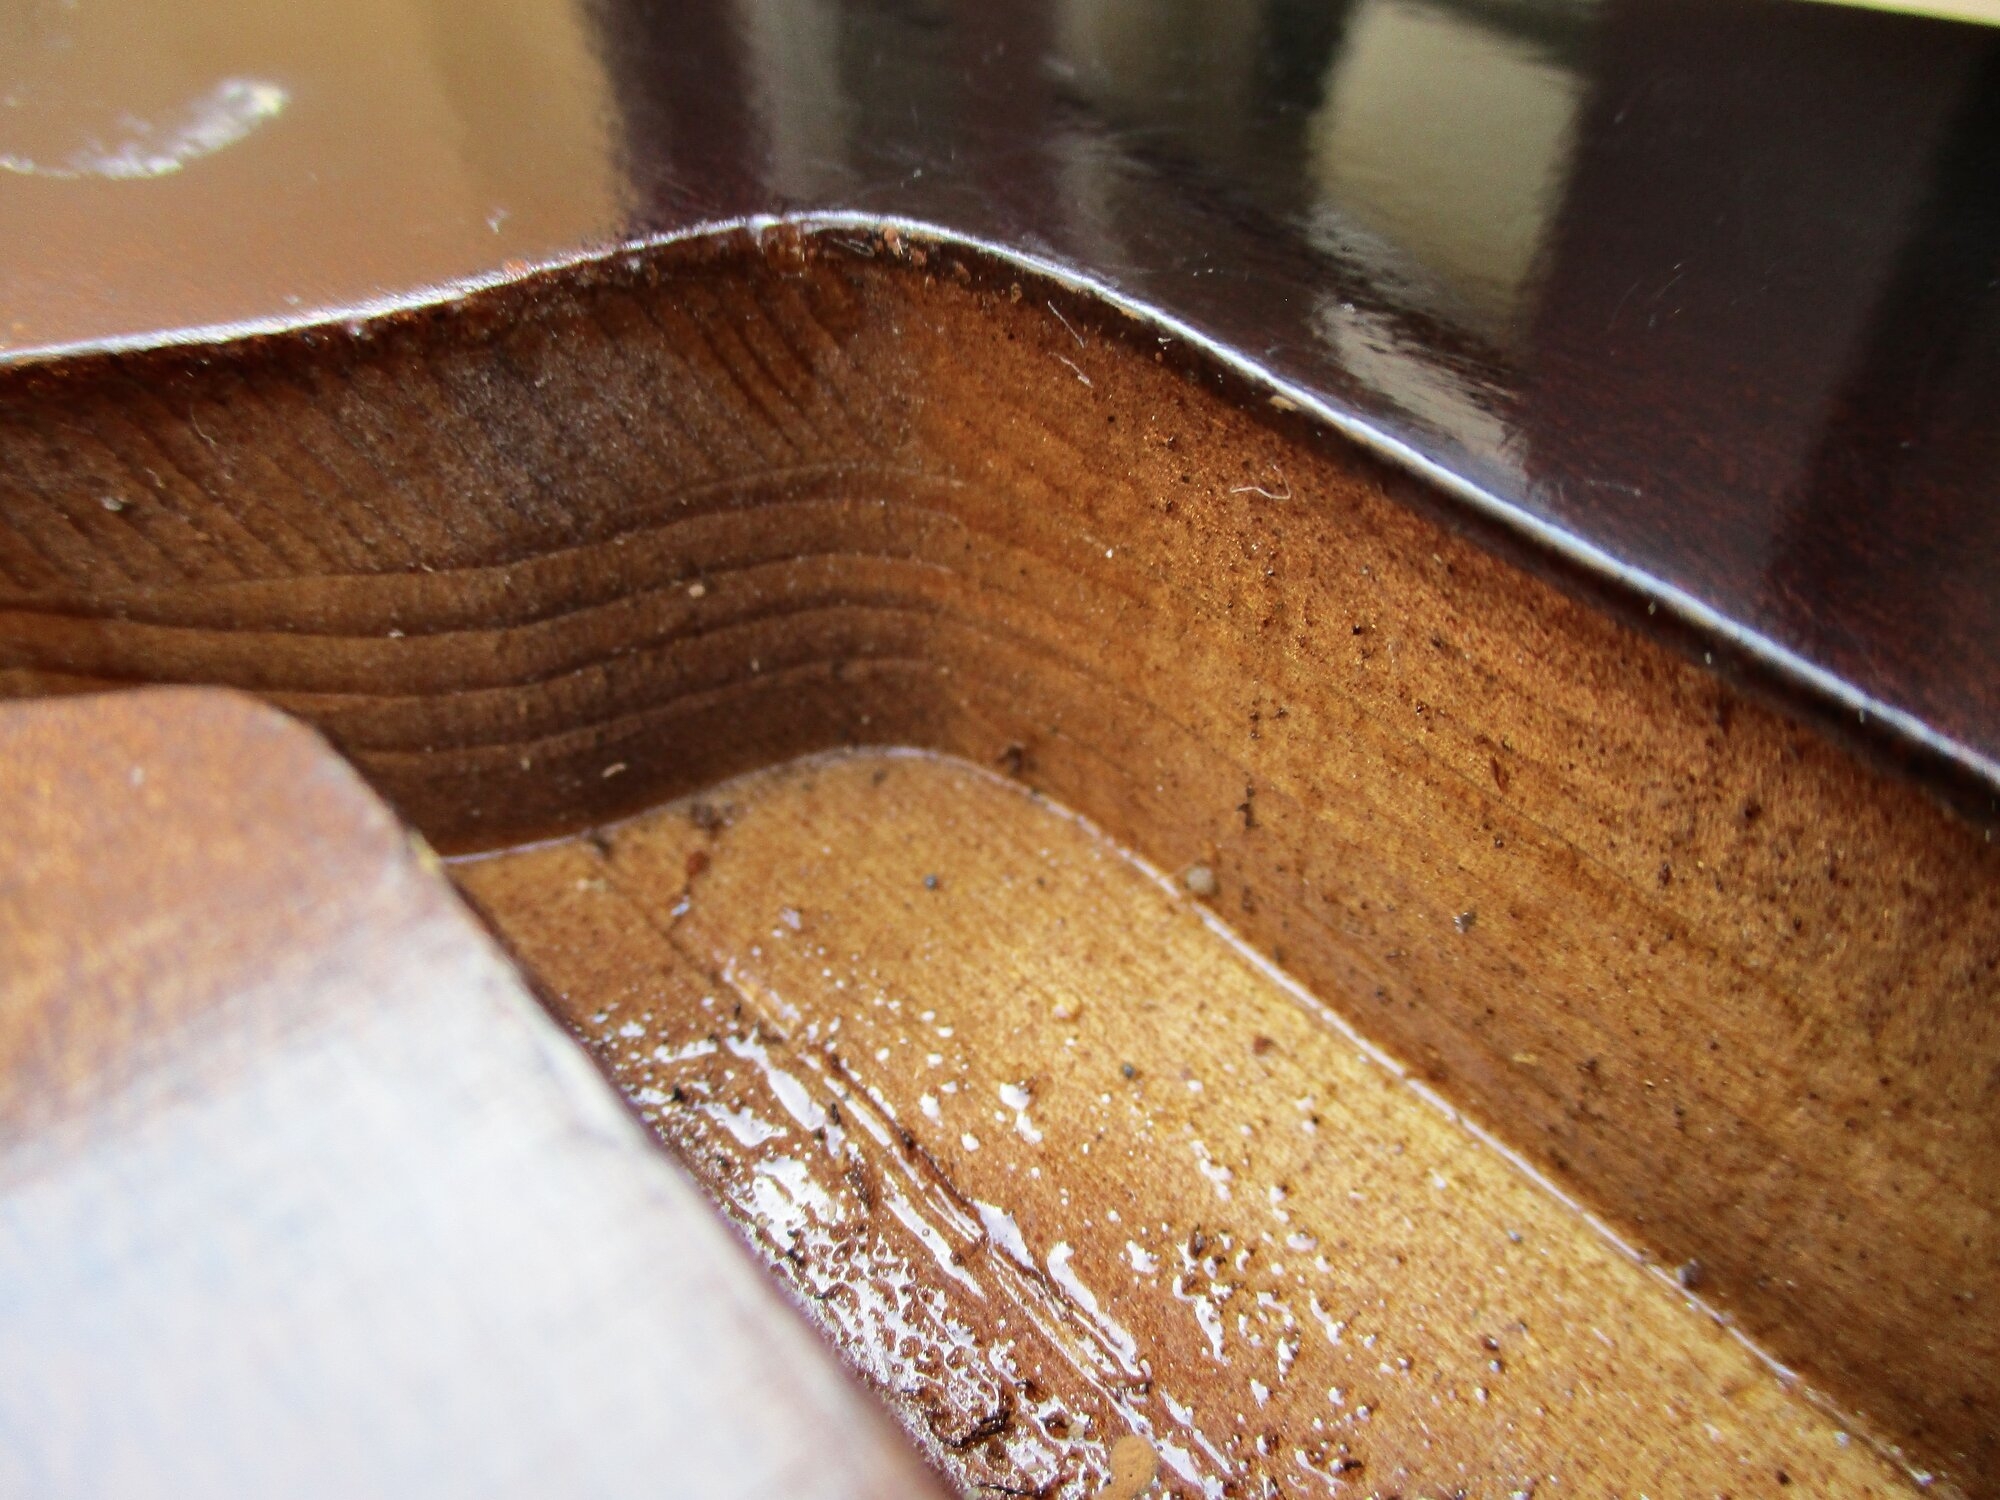
Body is made of a top and back layer. No shielding in the cavity - something I will upgrade. Truss-rode cover in pieces. Nut appears to be bone. And some poor fb repair.
1746034974564.jpeg
1746035042254.jpeg

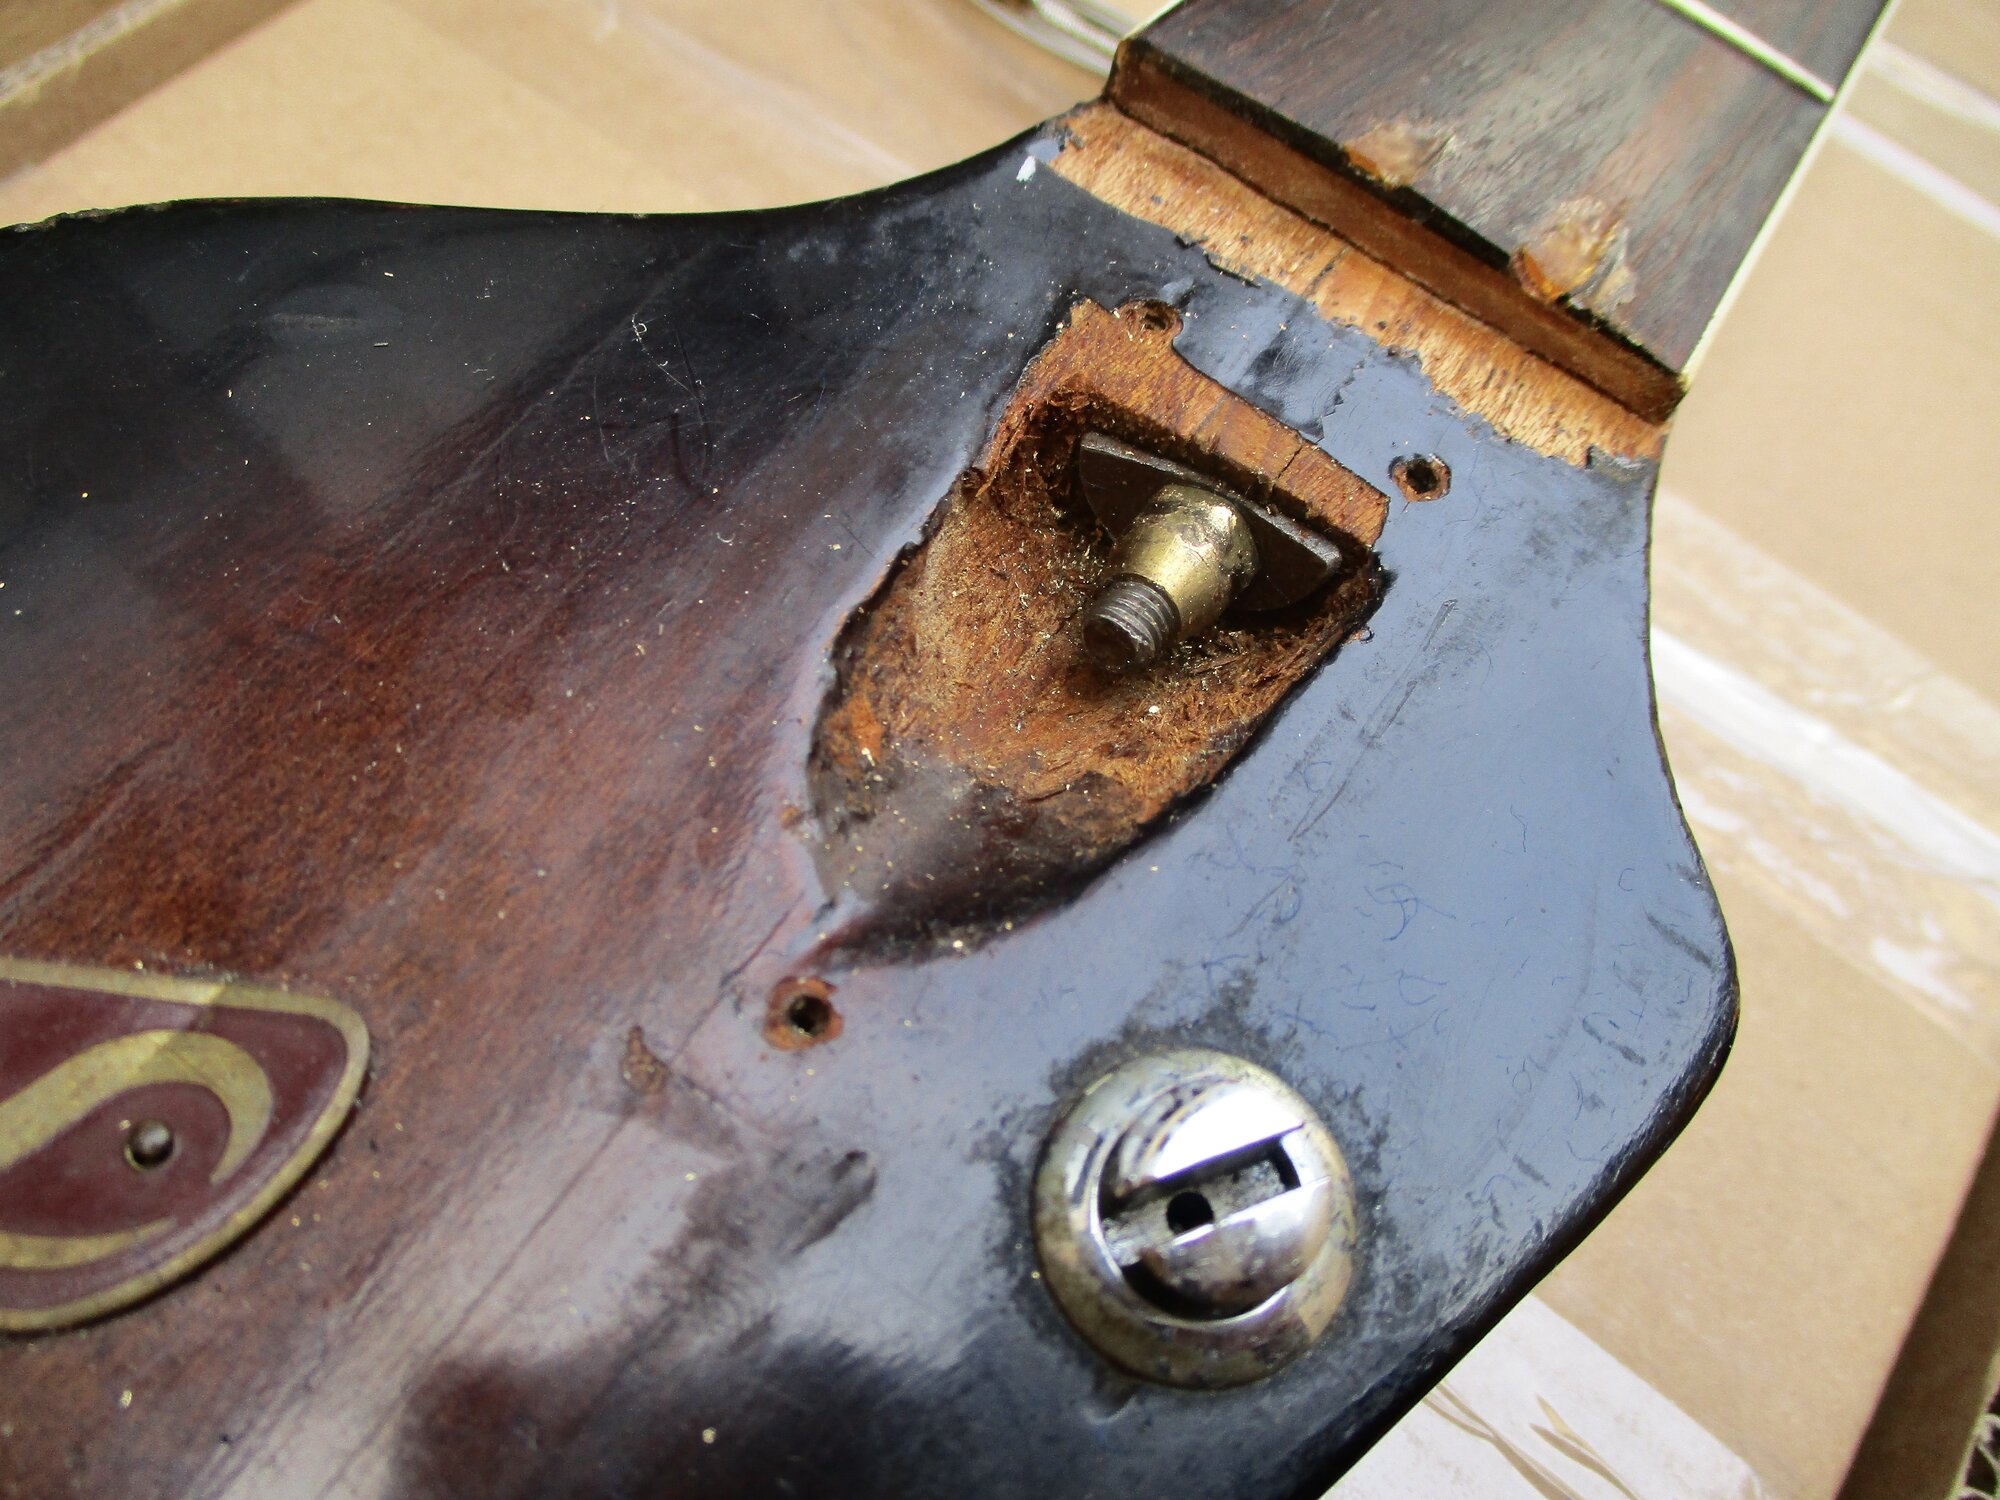
...fb delaminating. The neck has a "skunk stripe"-like central laminate. One thing to address. Truss-rod bolt is stripped (of course it is!) but I was able to easily remove it.
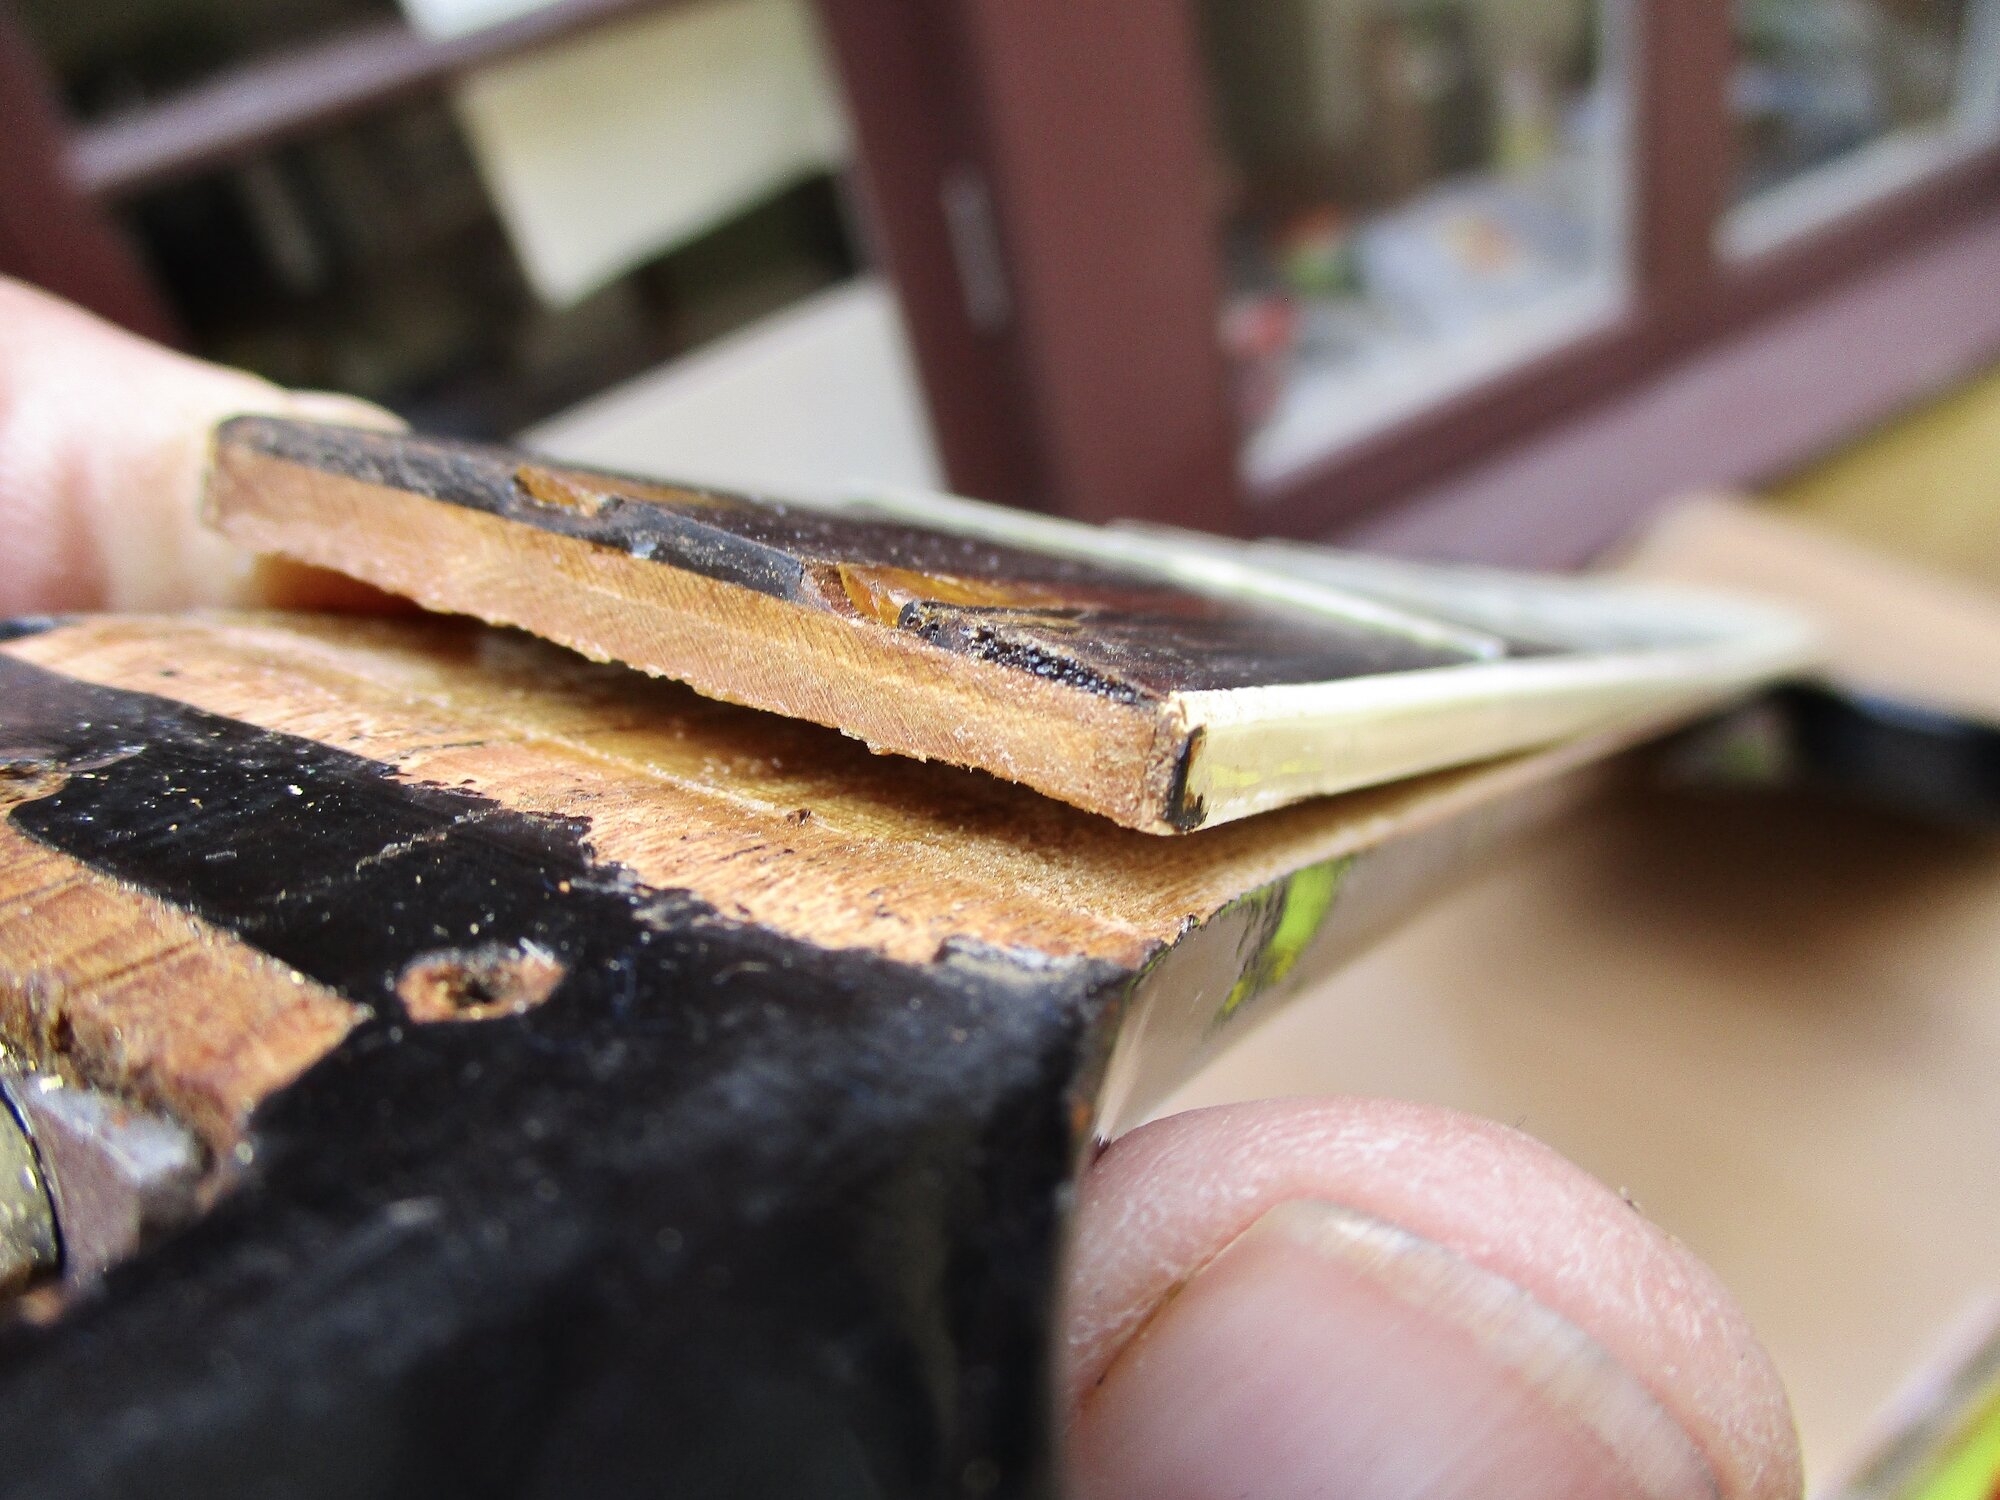
1746035559481.jpeg
1746035090445.jpeg

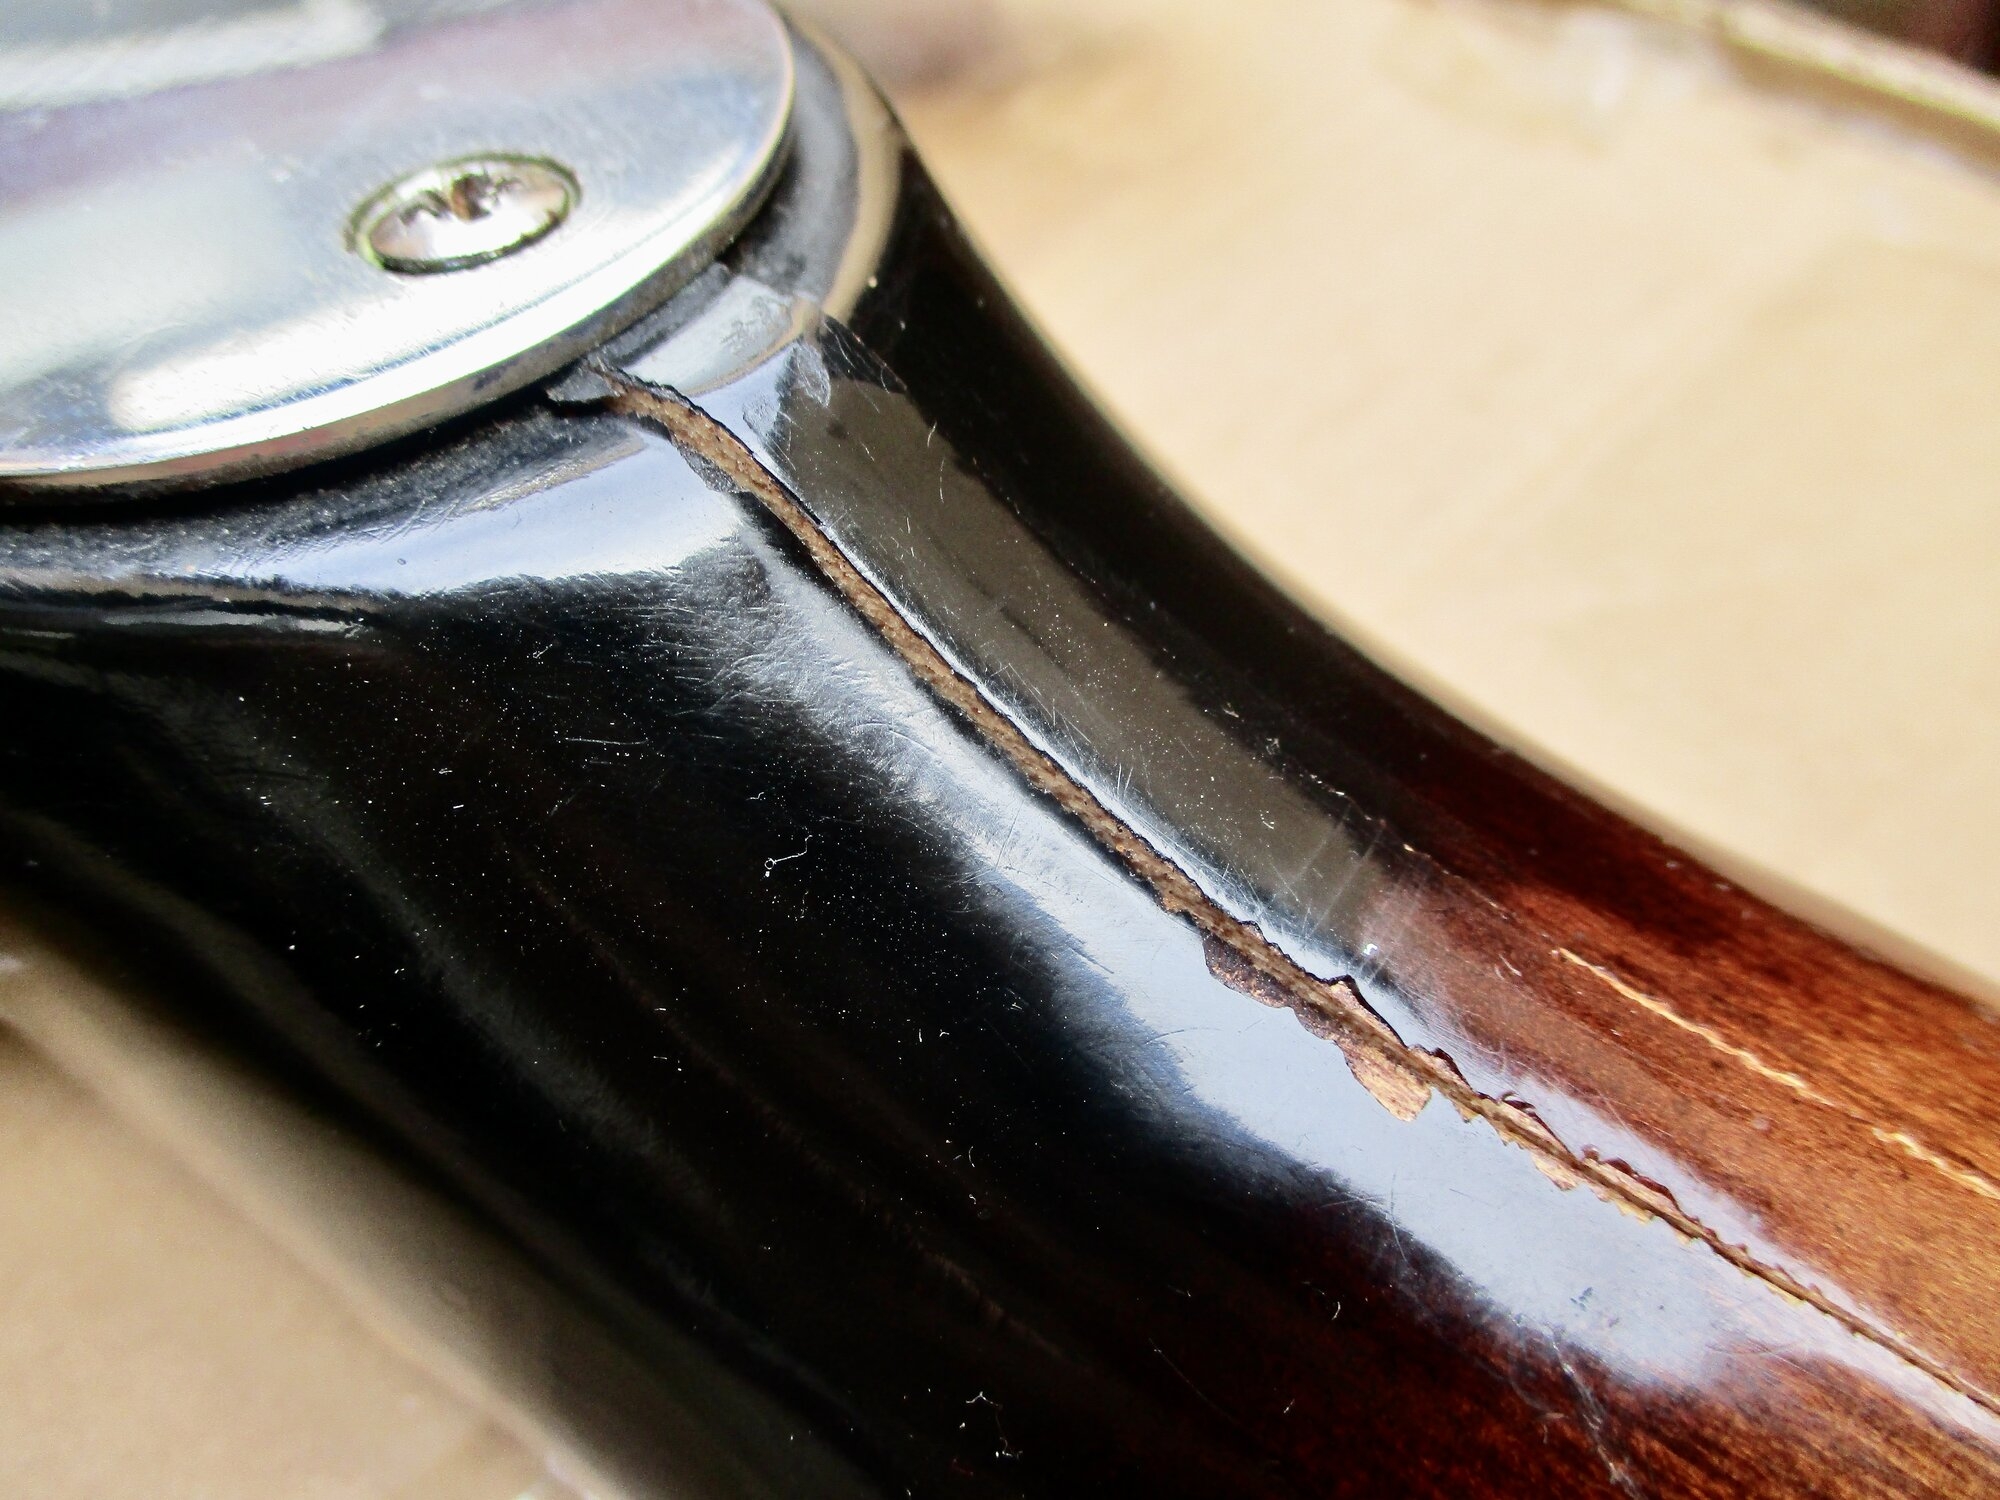
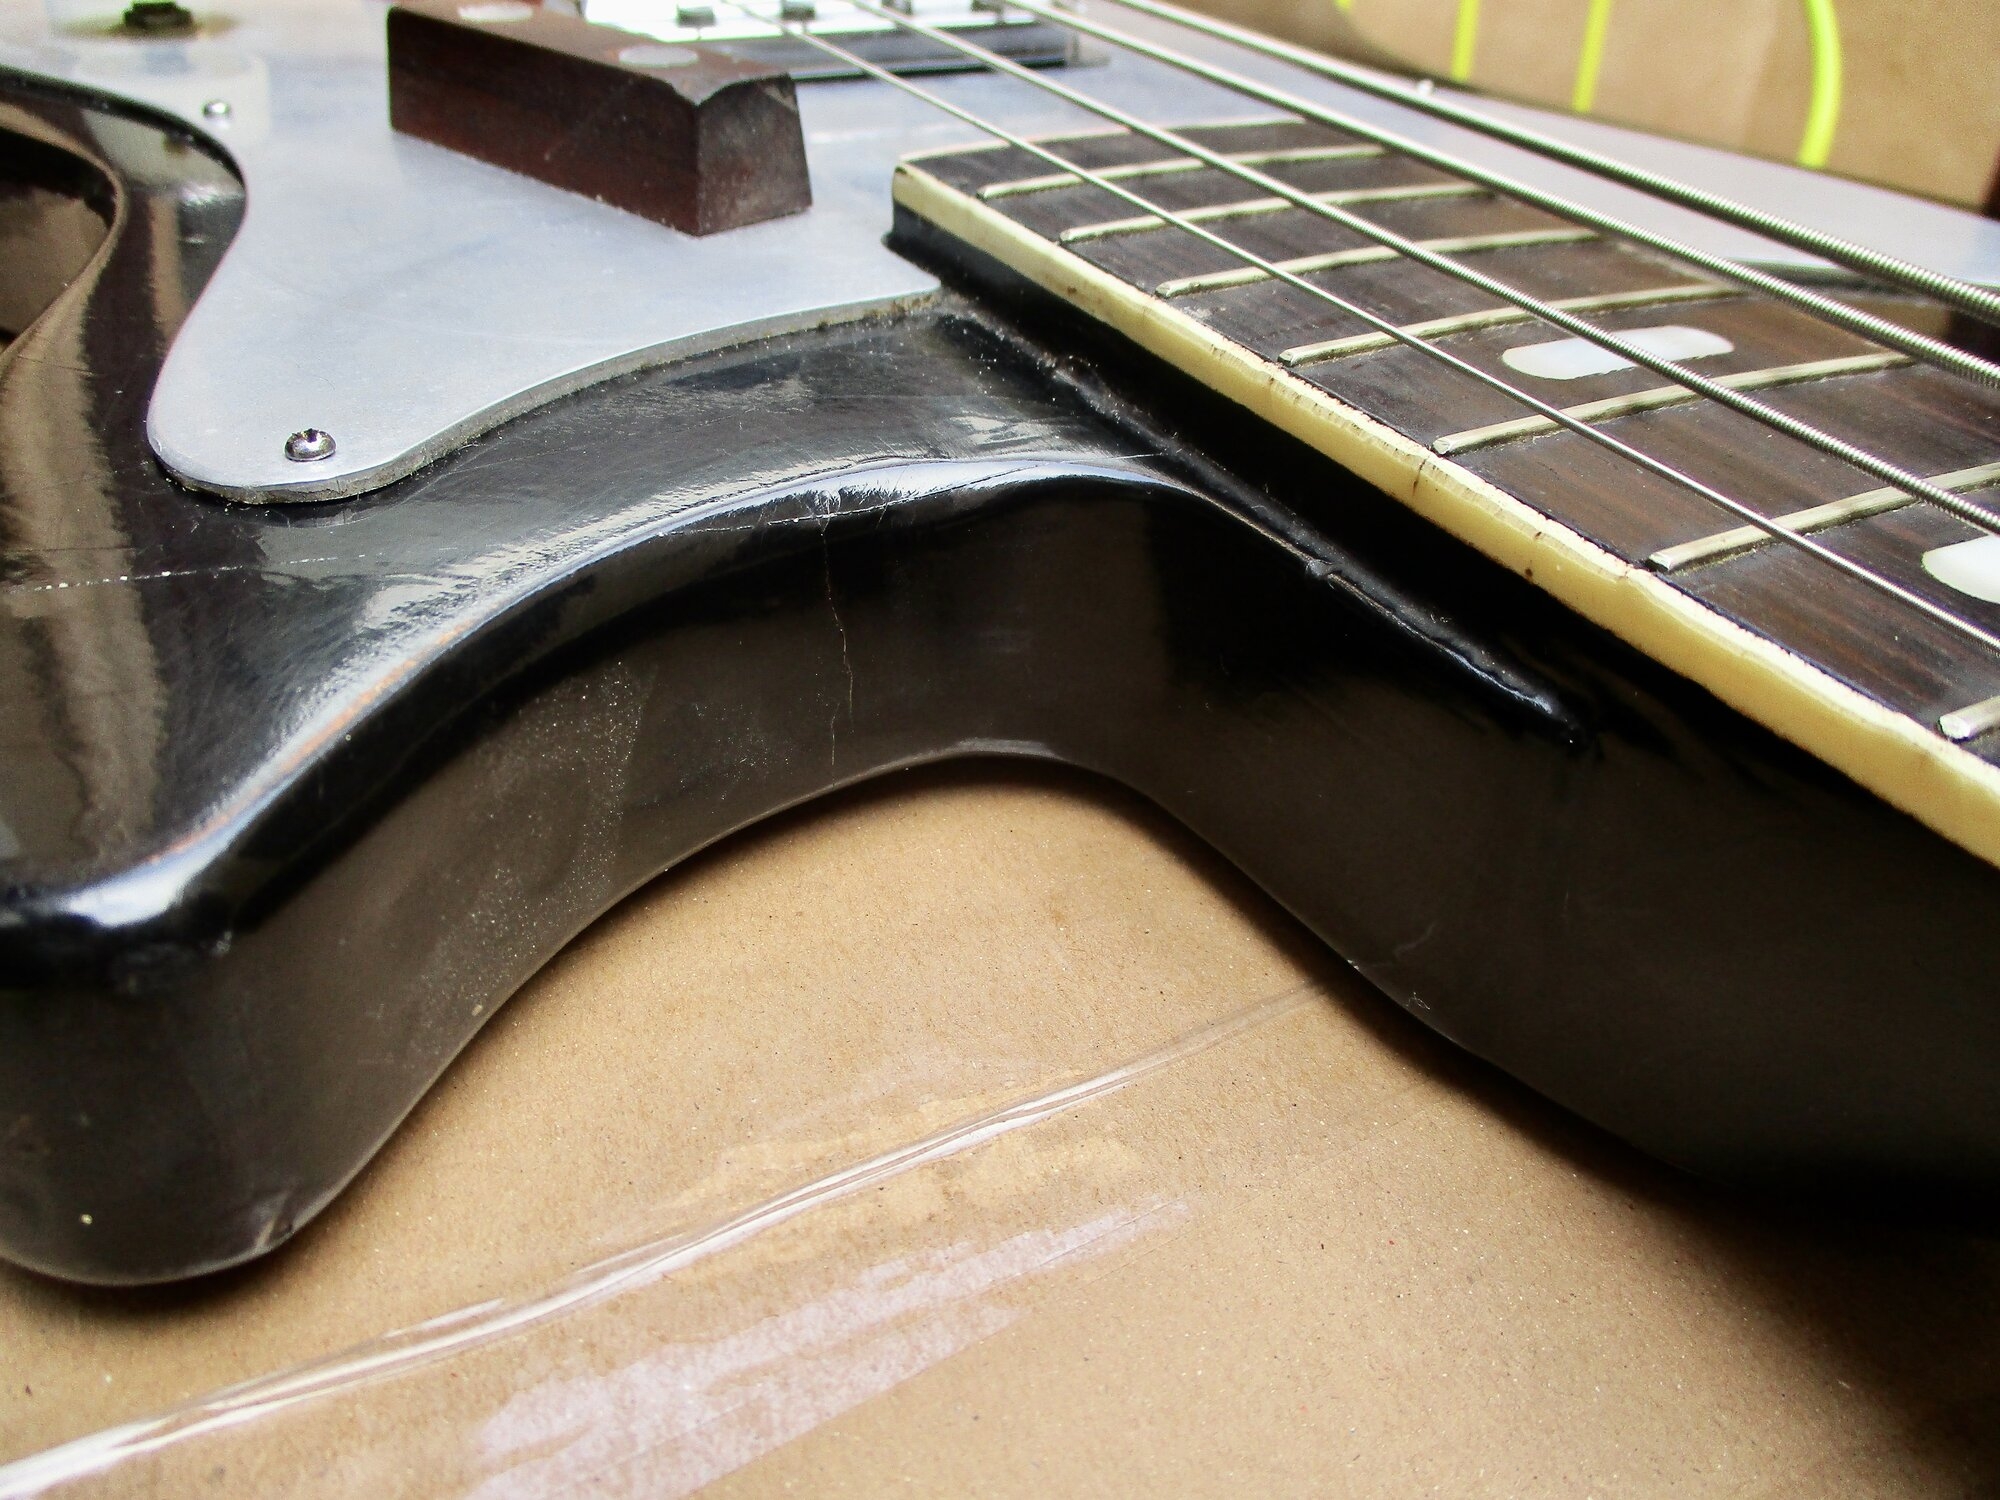
Then there's this. That central laminate risen above the neck heel. Will work to get it glued back down.
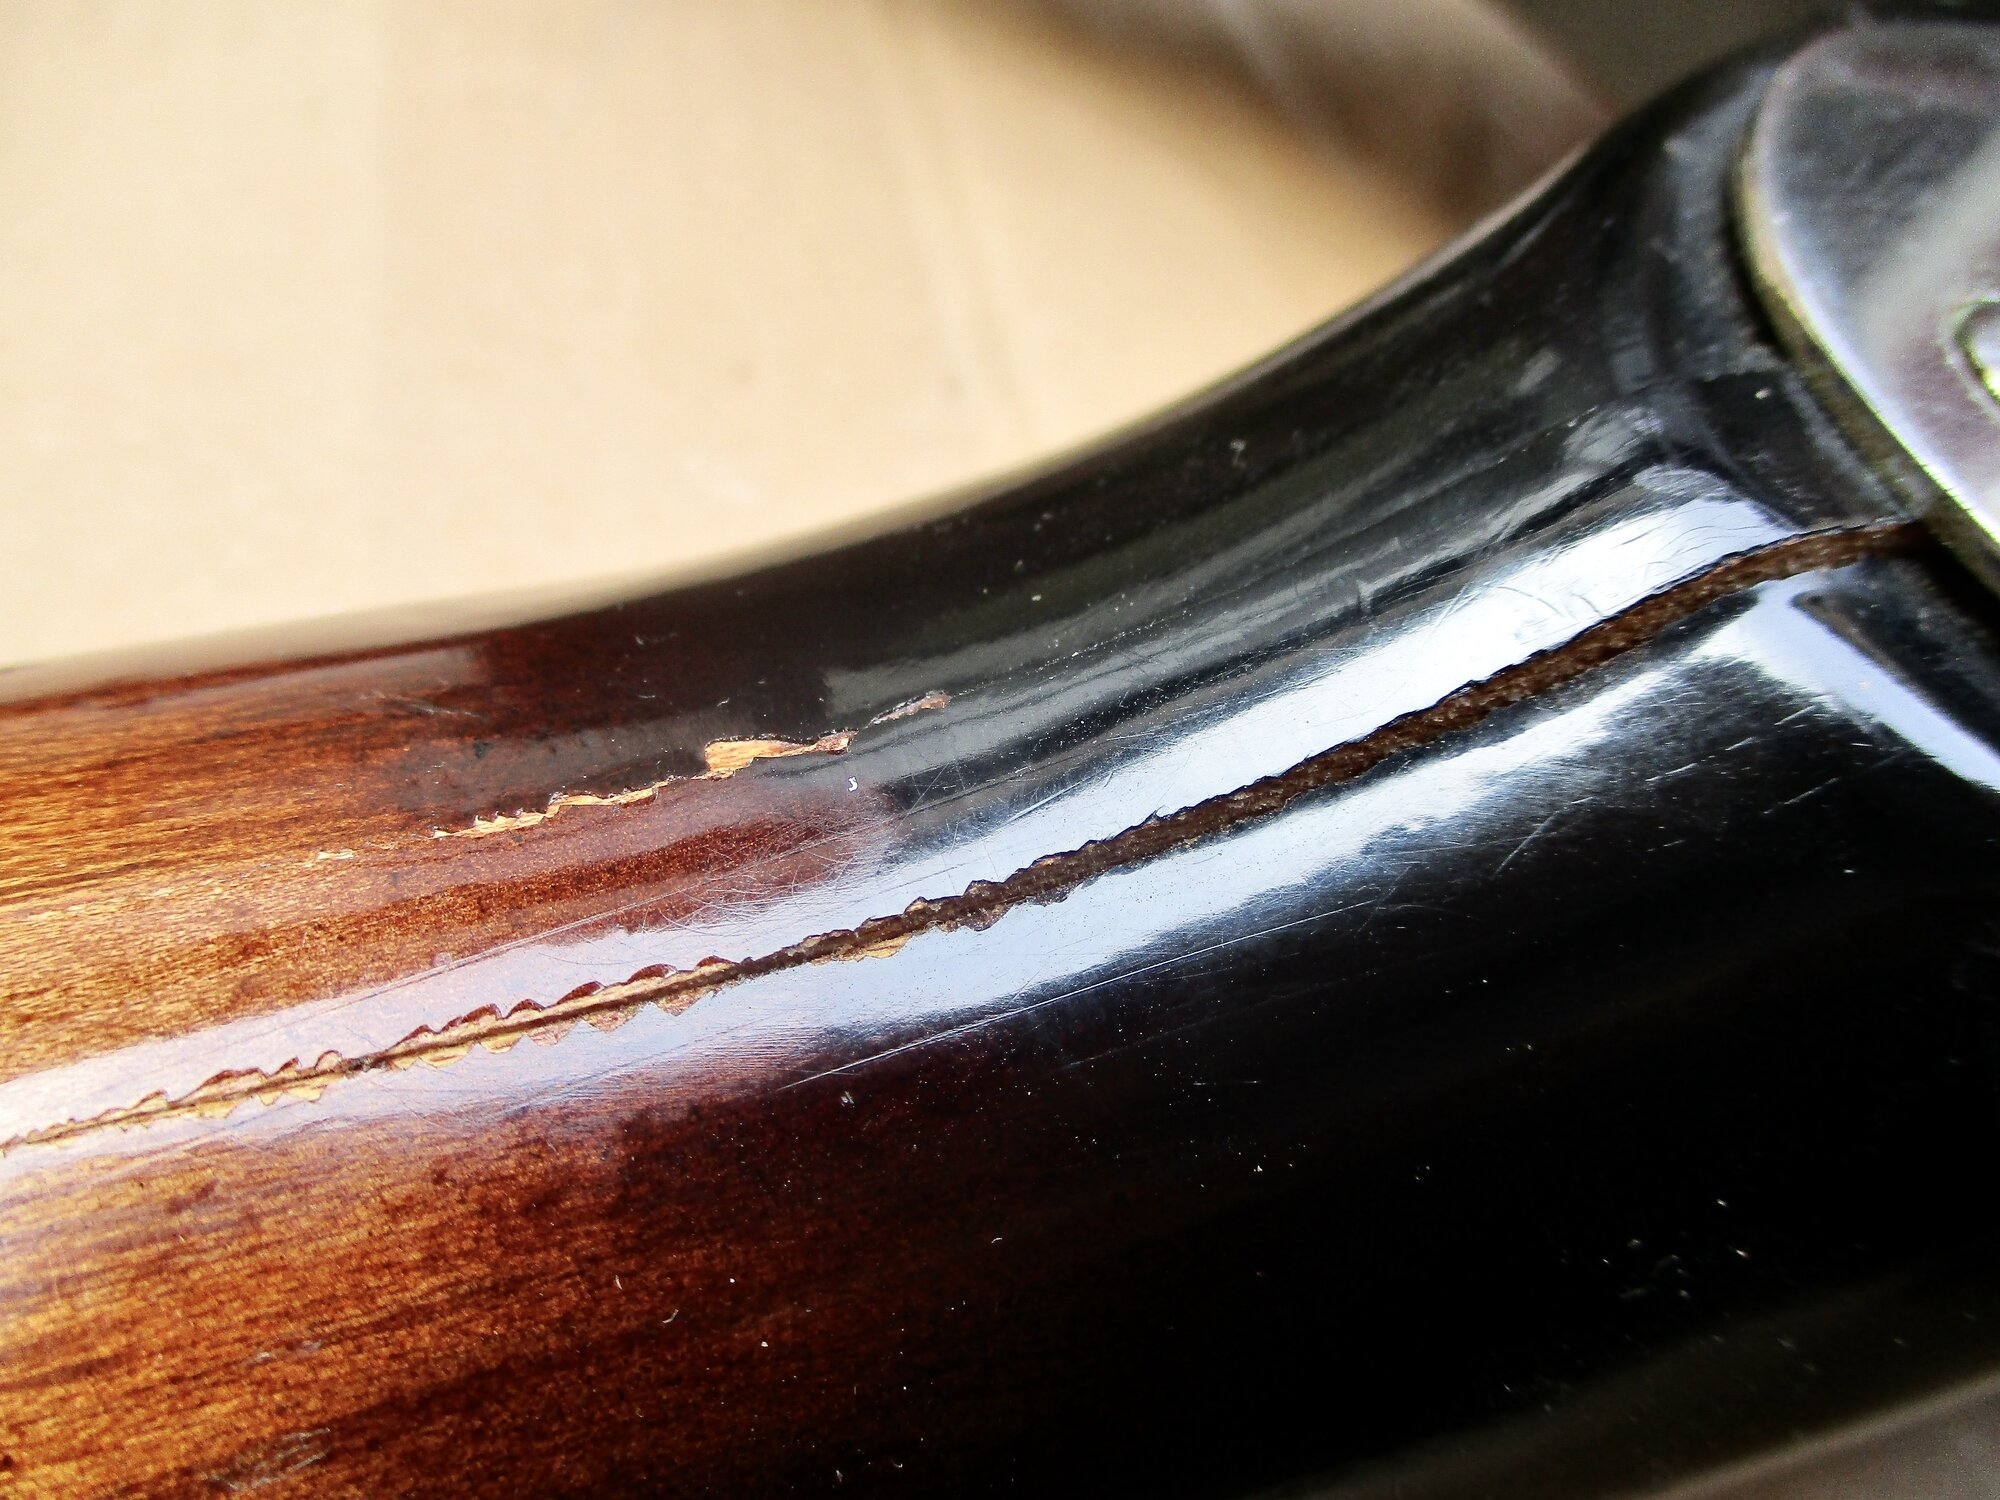
1746035424780.jpeg
1746035454380.jpeg

Here's the part of the major issue - this was a bolt-on neck originally. It has been mucked with, and not recently. I'll make an educated guess that the neck was glued into the pocket. You can see two screws that I doubt are original. You can see funkiness on the fb, and it was sprayed w/tobacco black/brown lacquer a long term time ago.
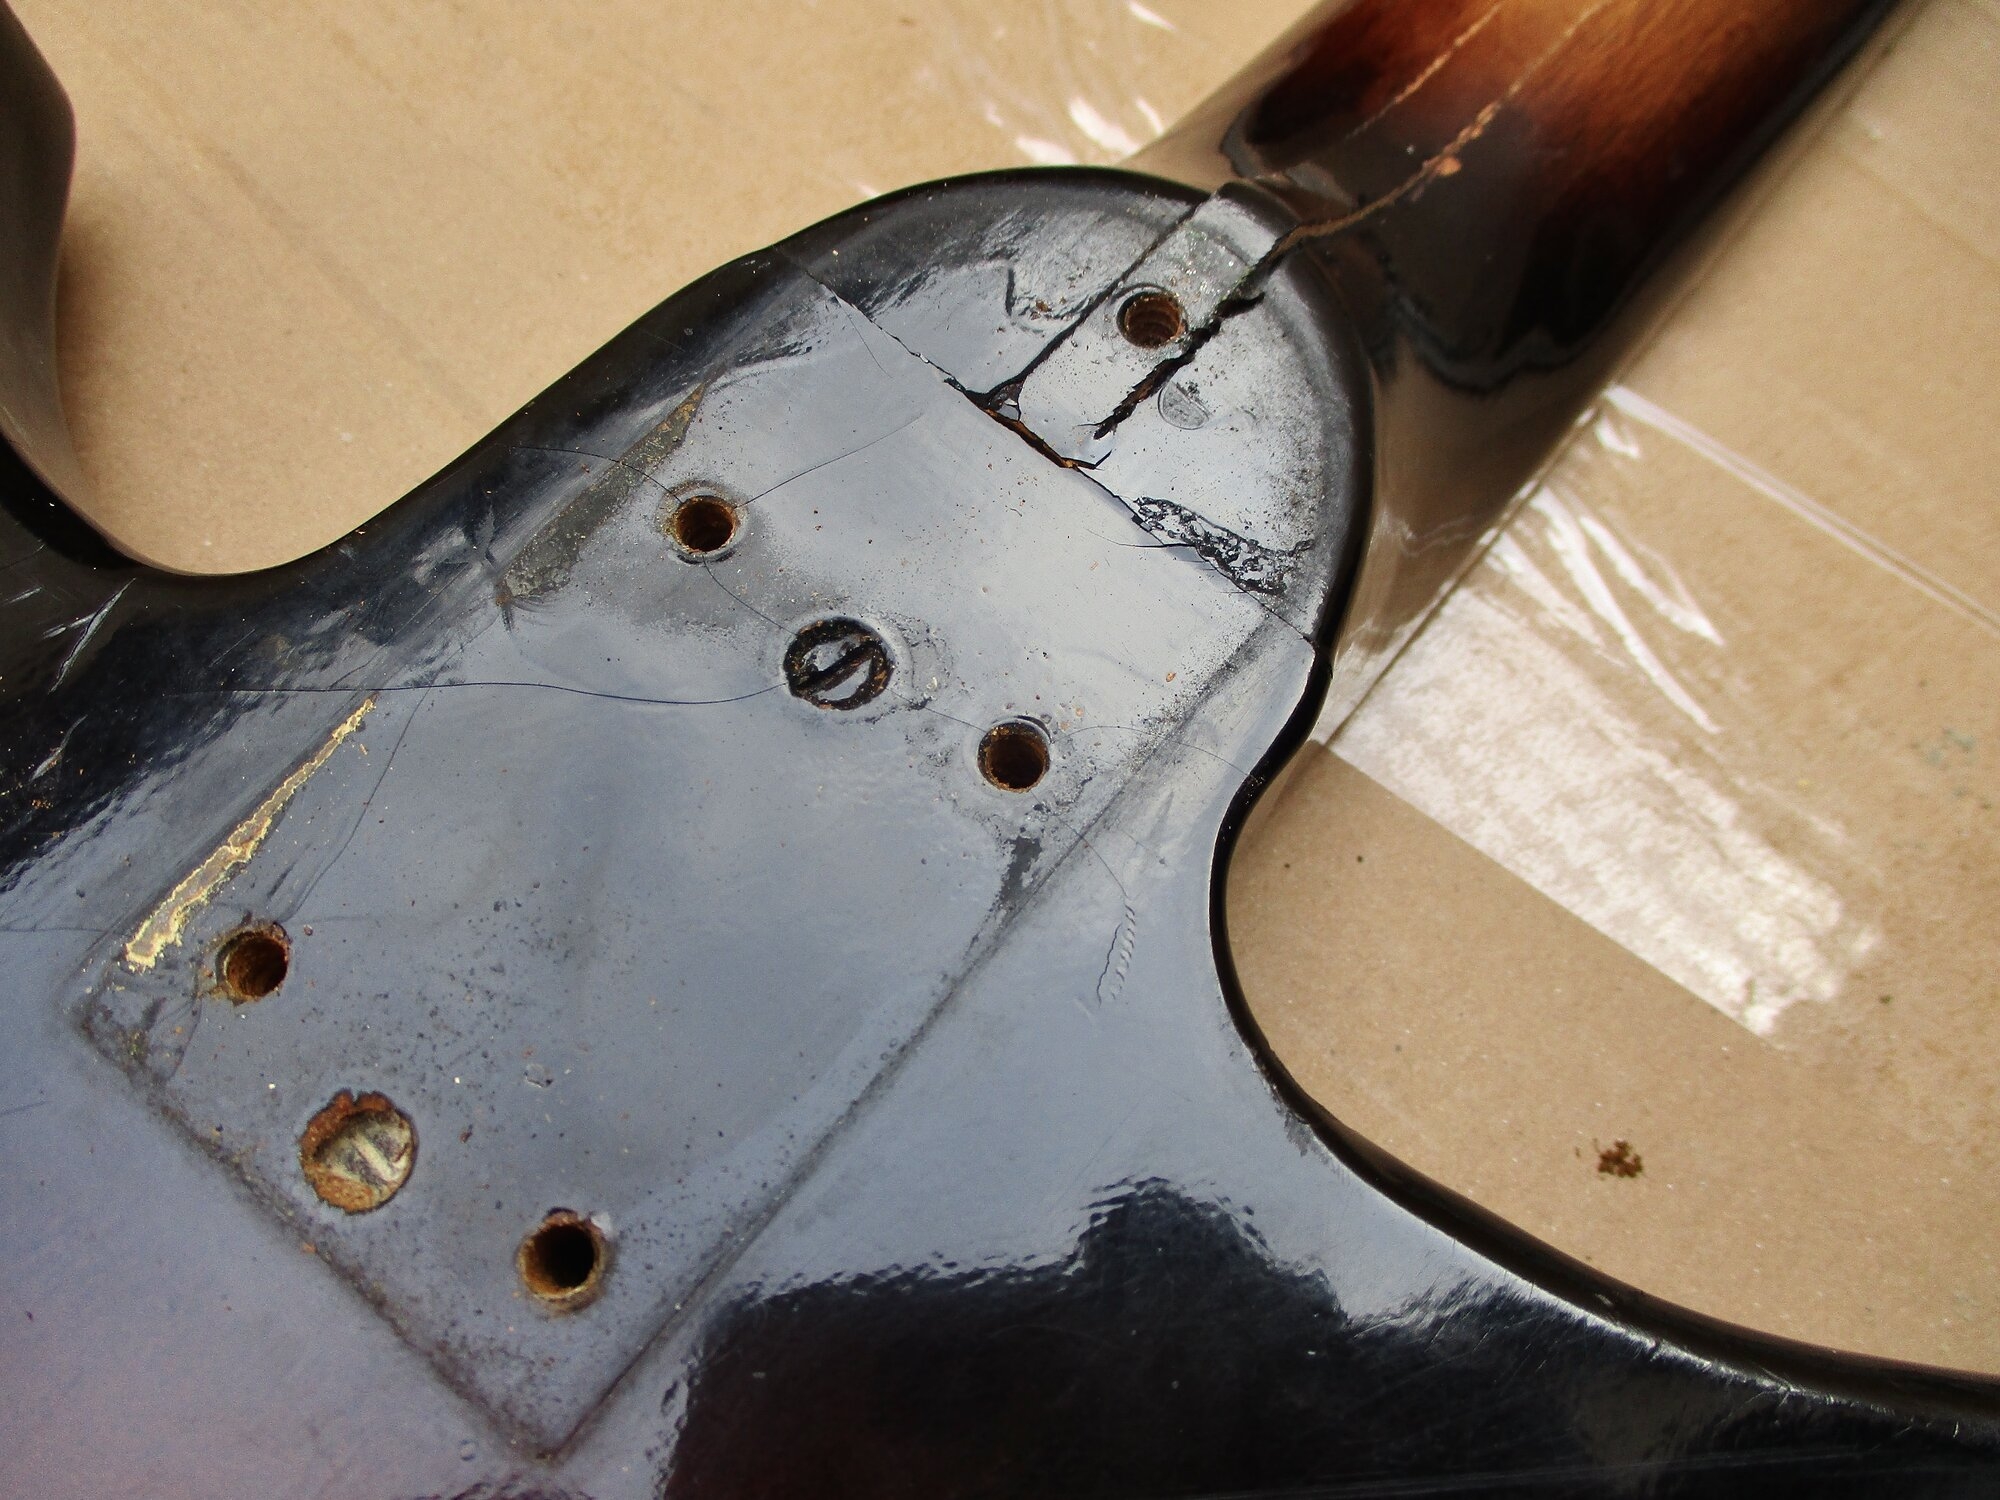
1746035916478.jpeg
1746036172750.jpeg

Heel/pocket seams were filled (with something) and sprayed to hide the fix. Not the best job of it but the tobacco overspray is pretty seamless.
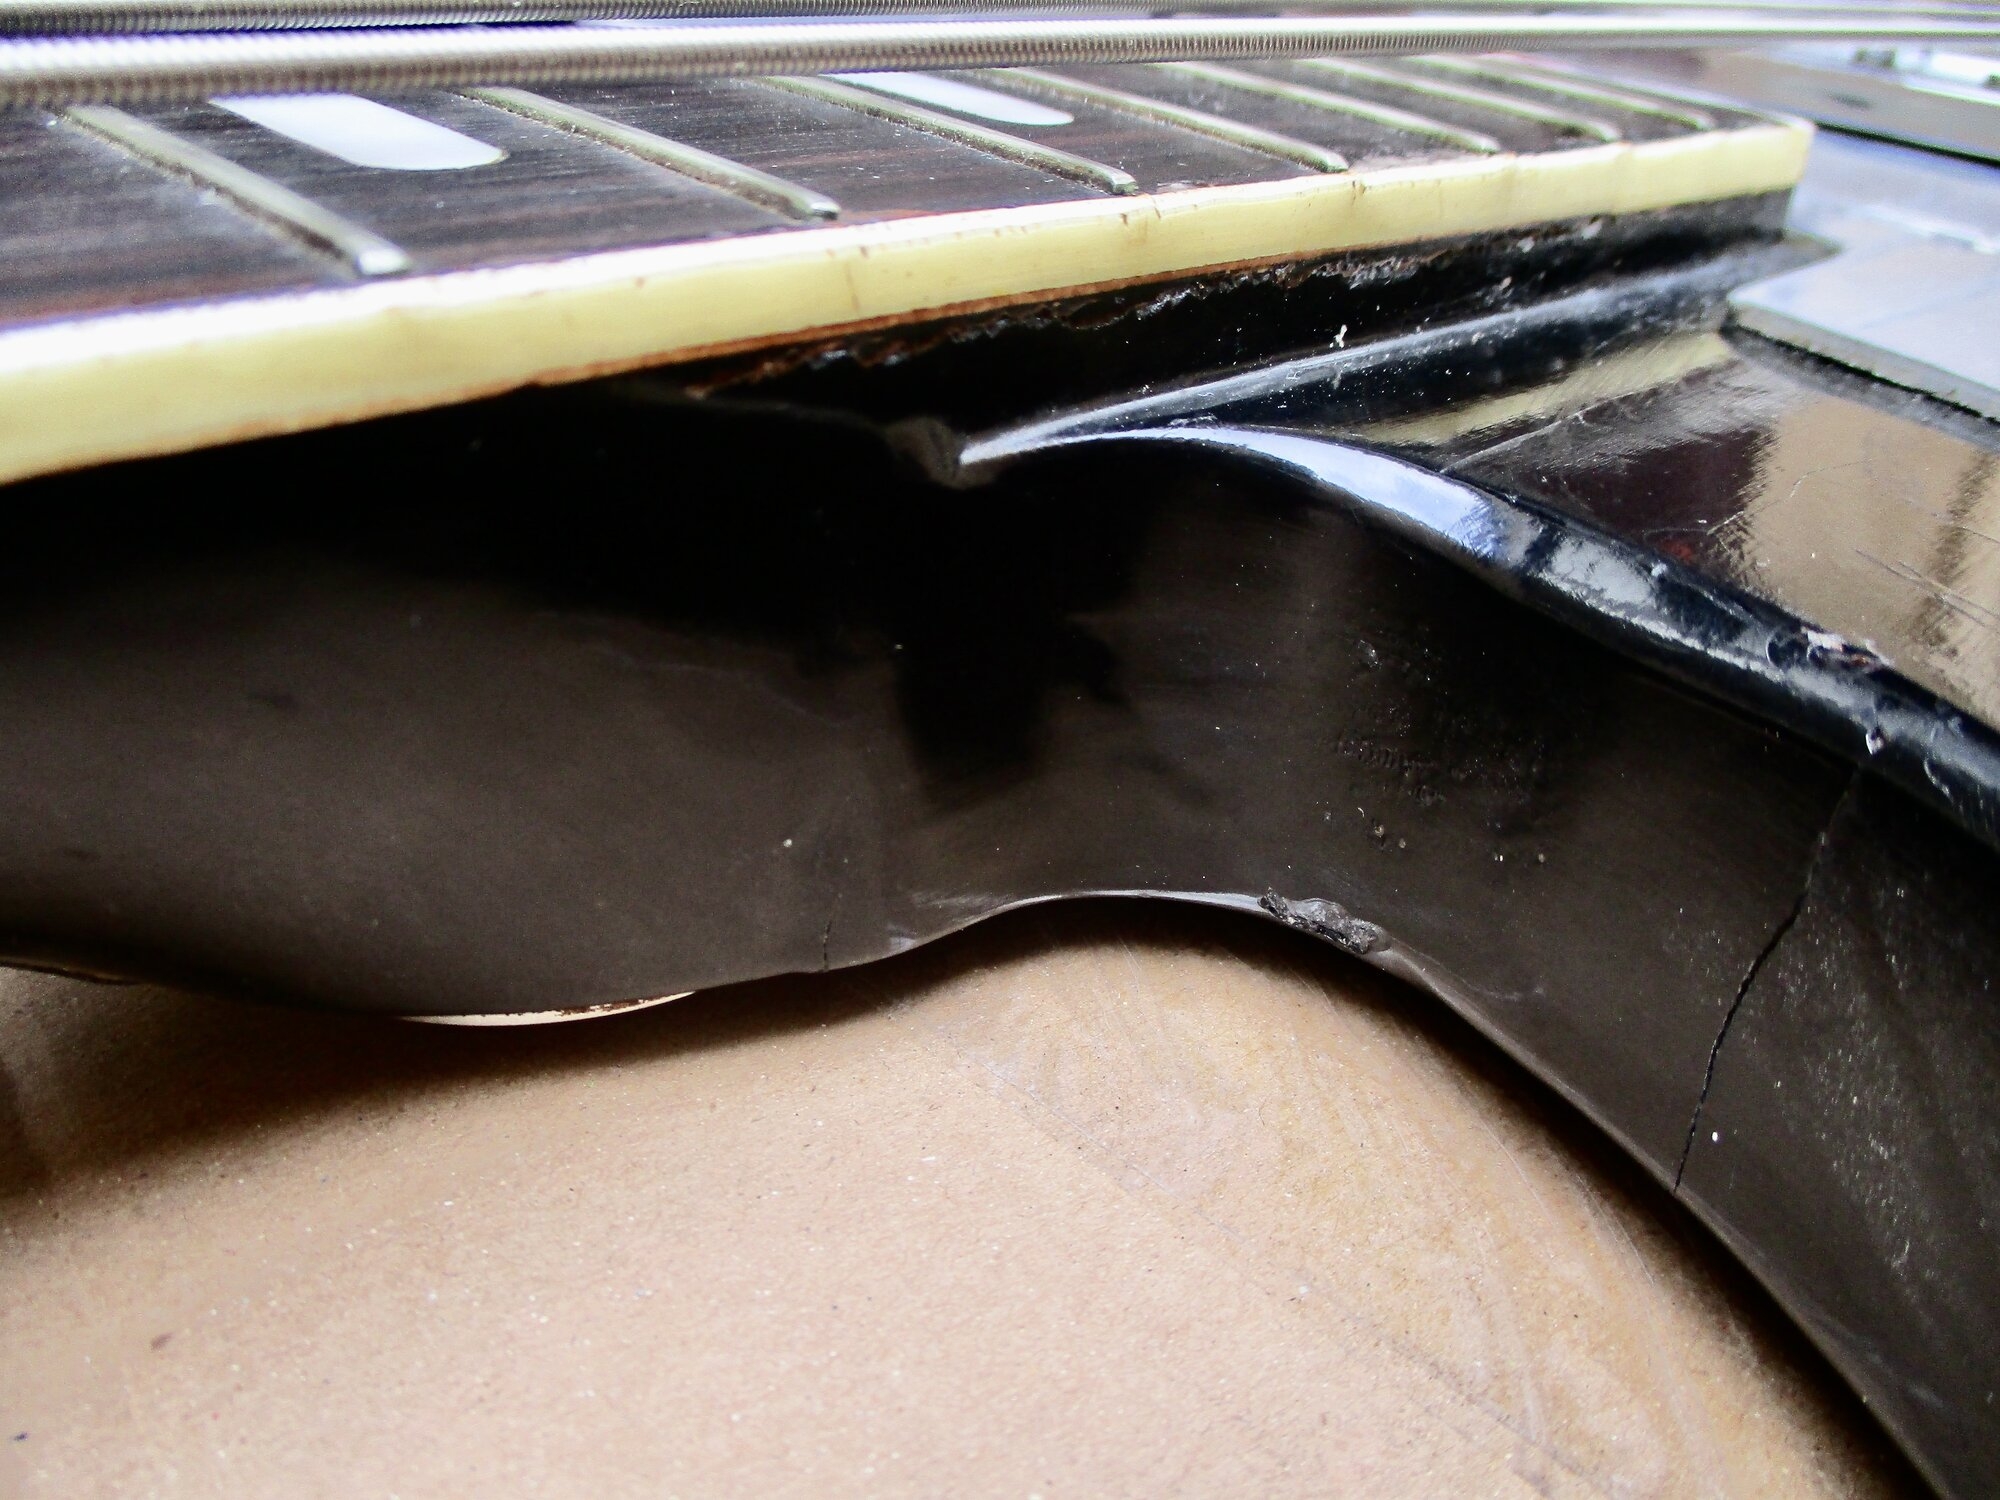
1746036313540.jpeg
1746036347417.jpeg

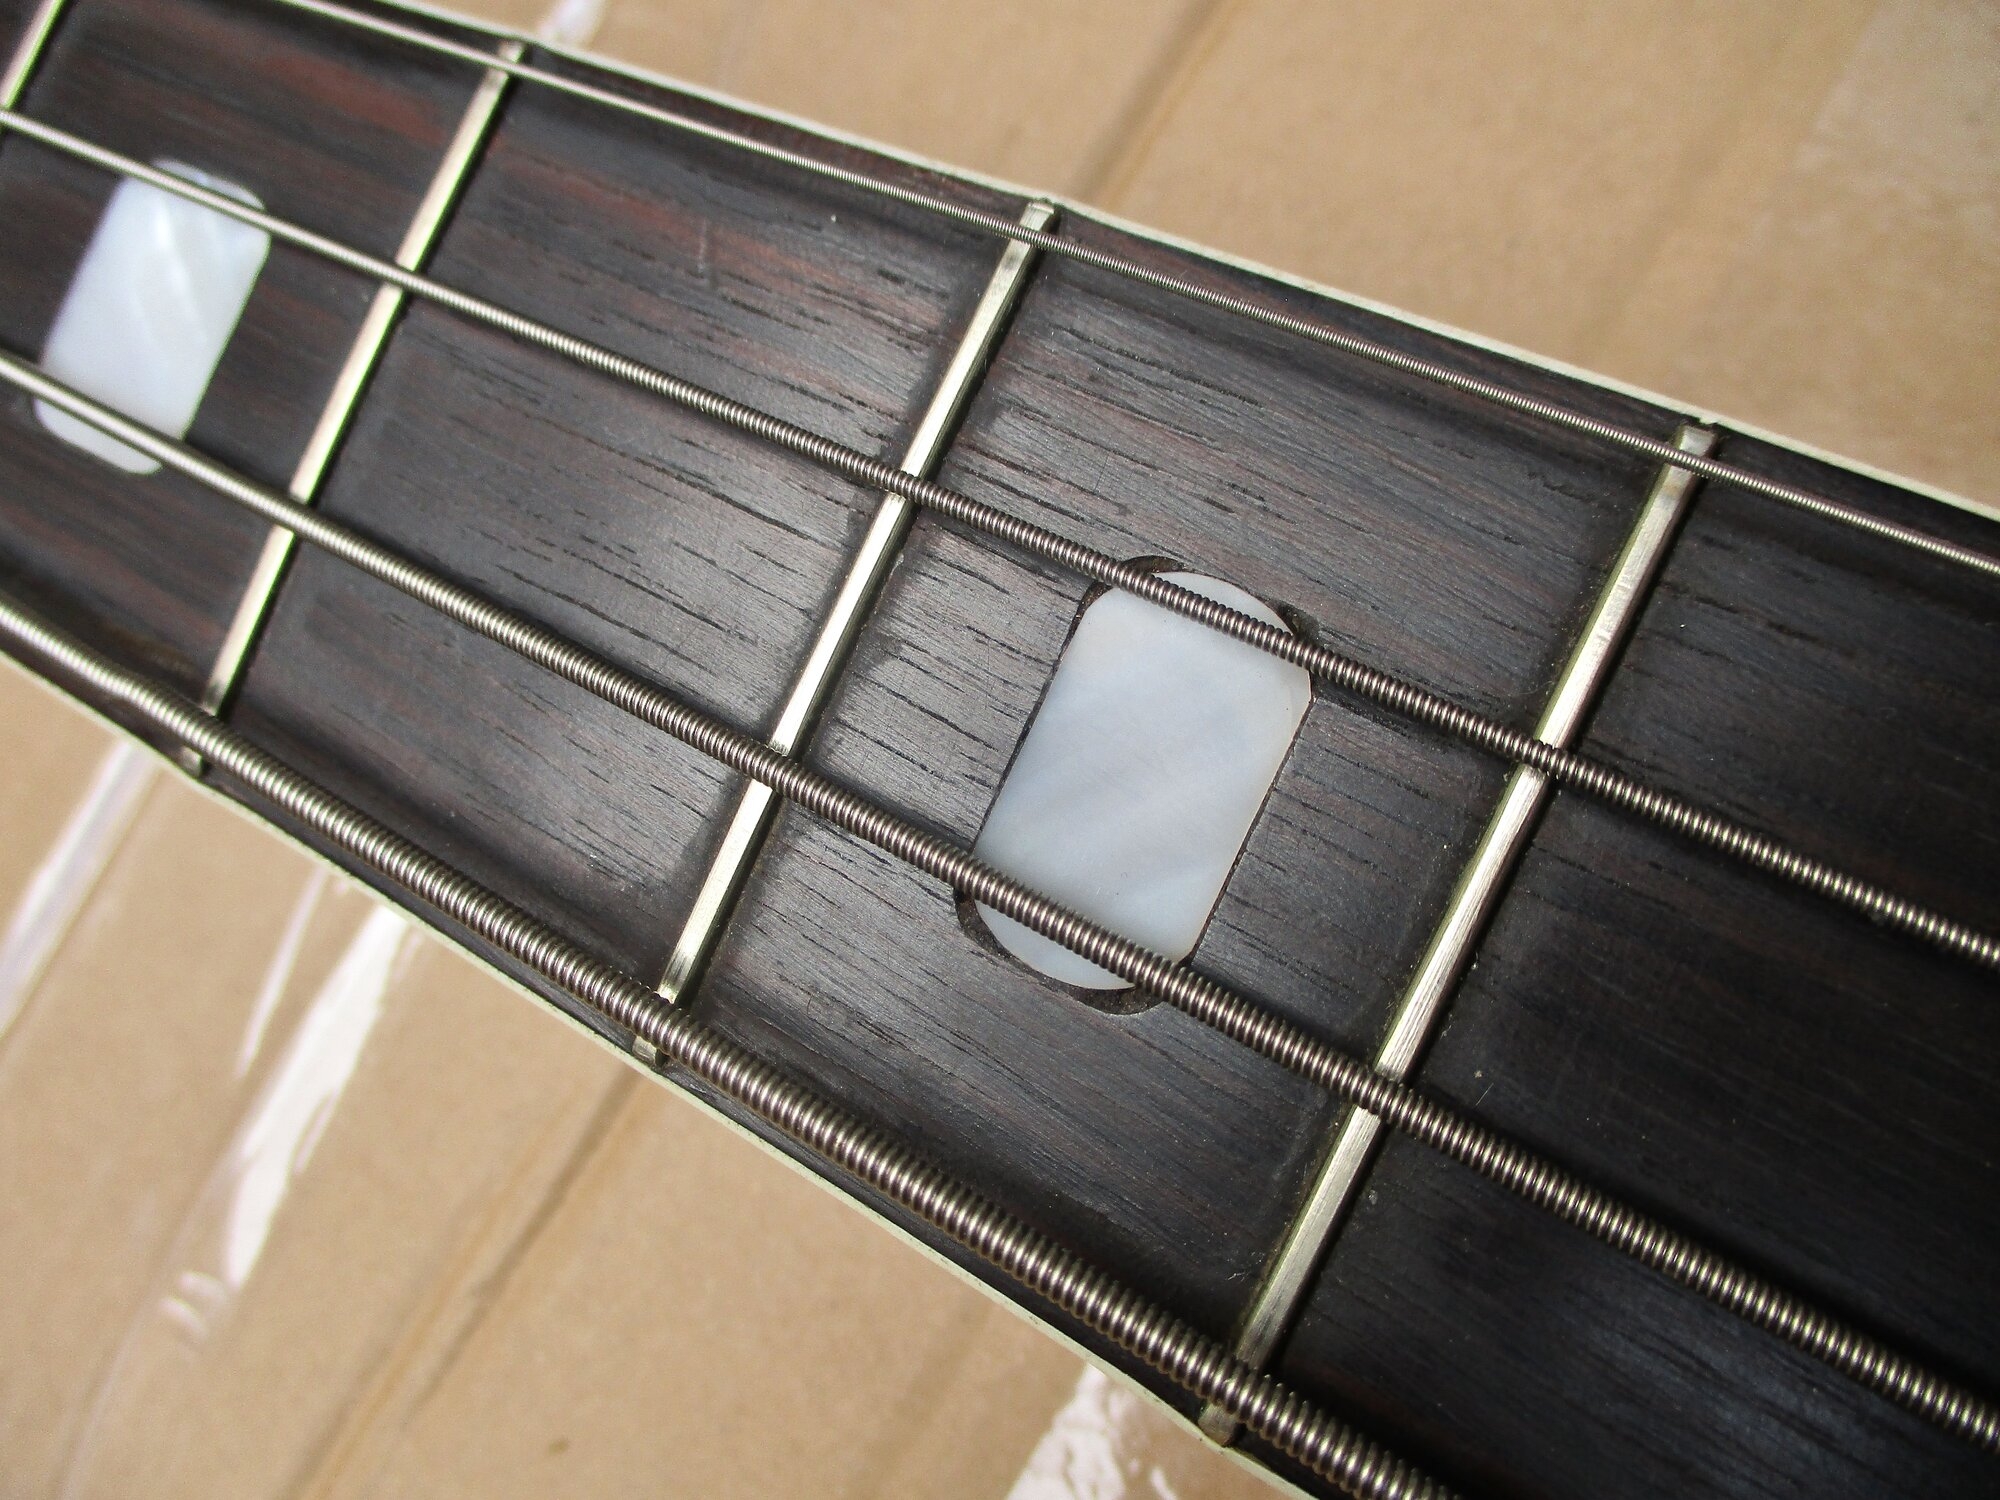
Not sure if this pearl marker is original but judging by the mis-fit compared to the one above it... and original hs badge.
1746037305778.jpeg
1746037380864.jpeg

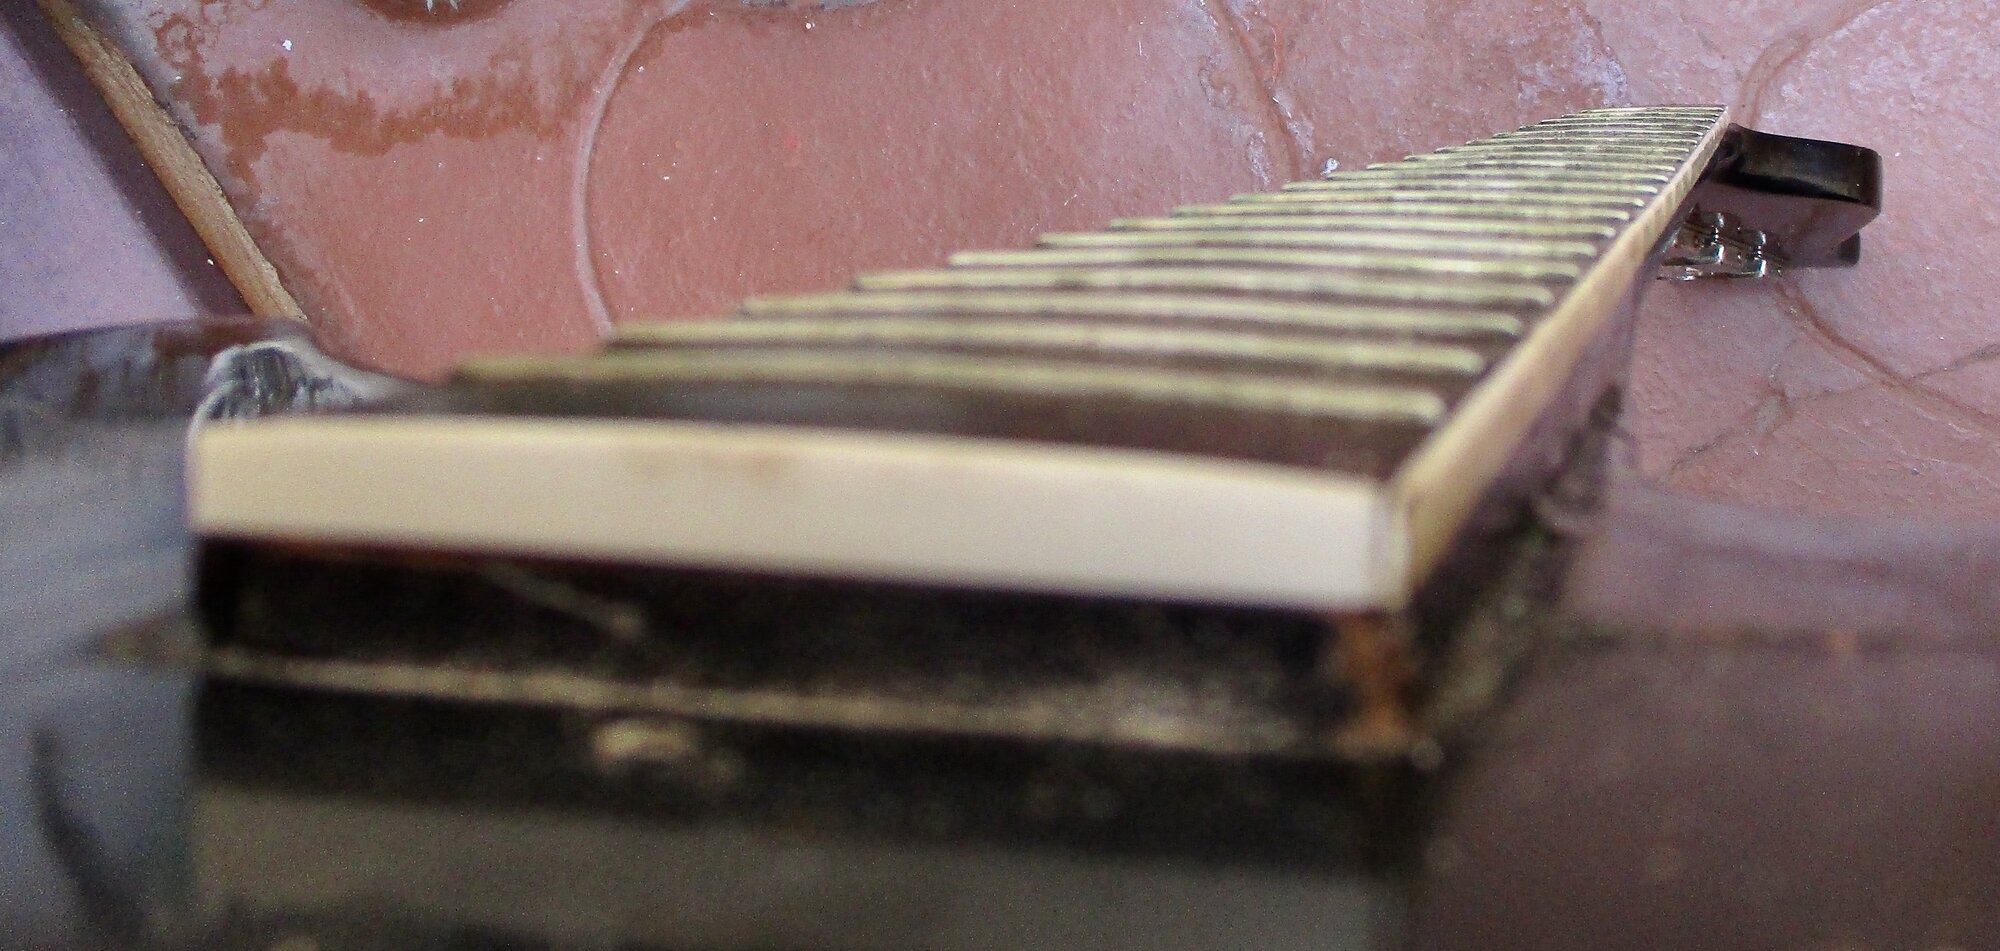
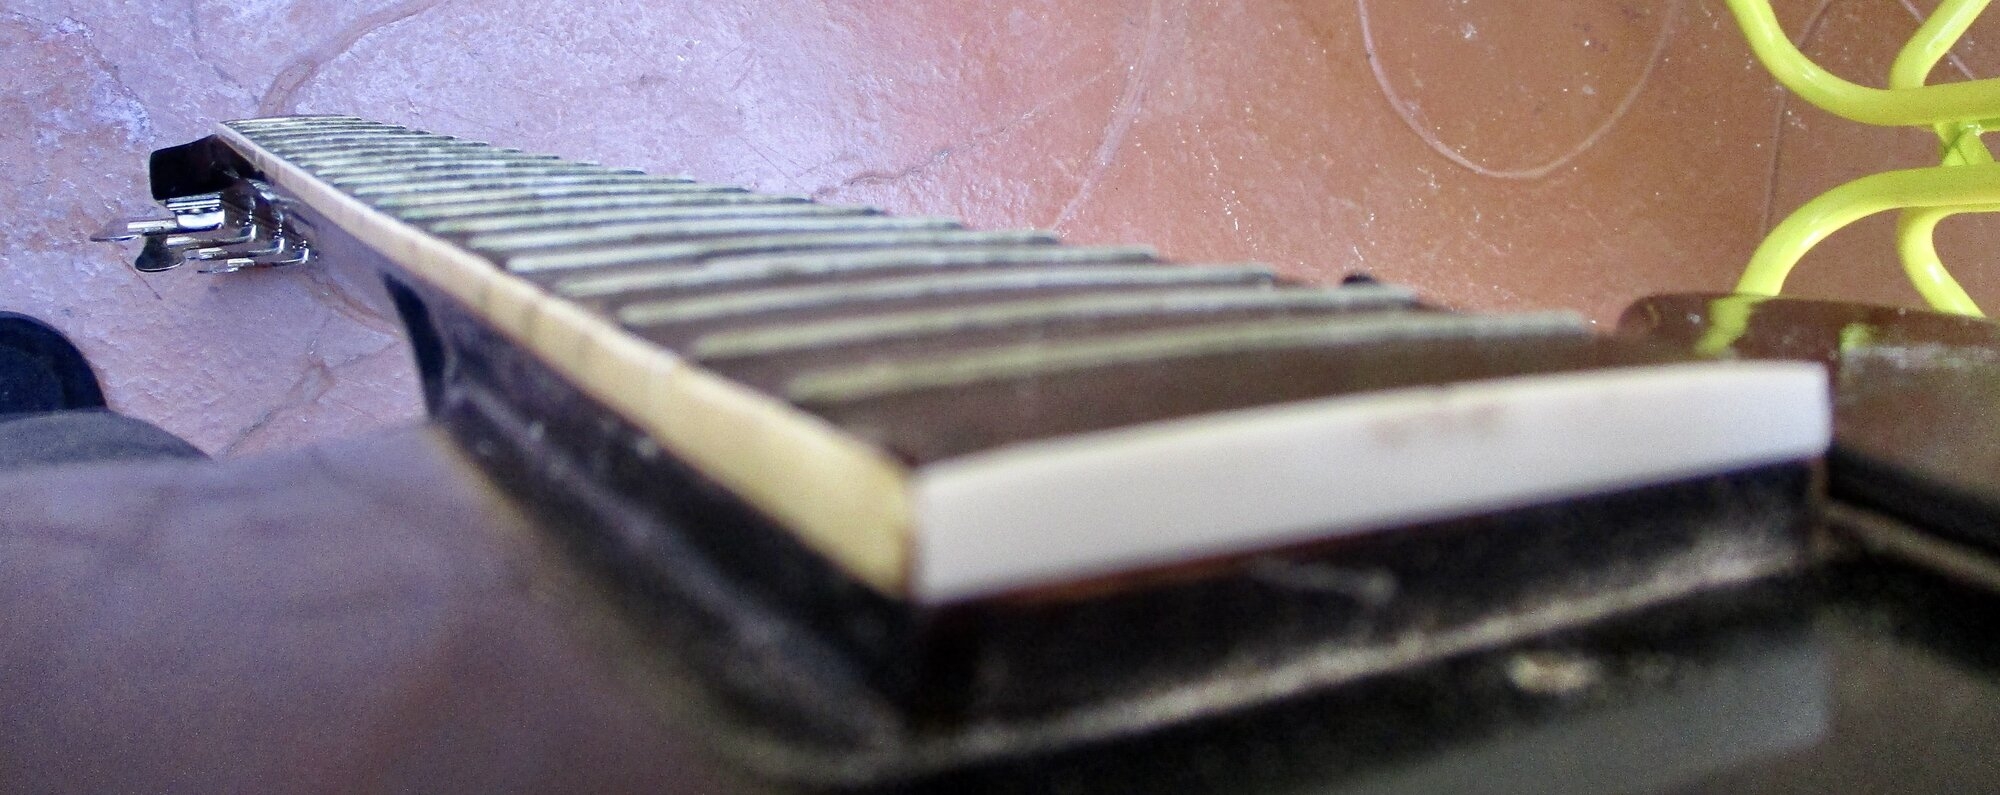
I'll do my best to make it playable but the neck/fb has some major issues to overcome since the neck is glued into the heal ~
1746038456108.jpeg
1746038479177.jpeg

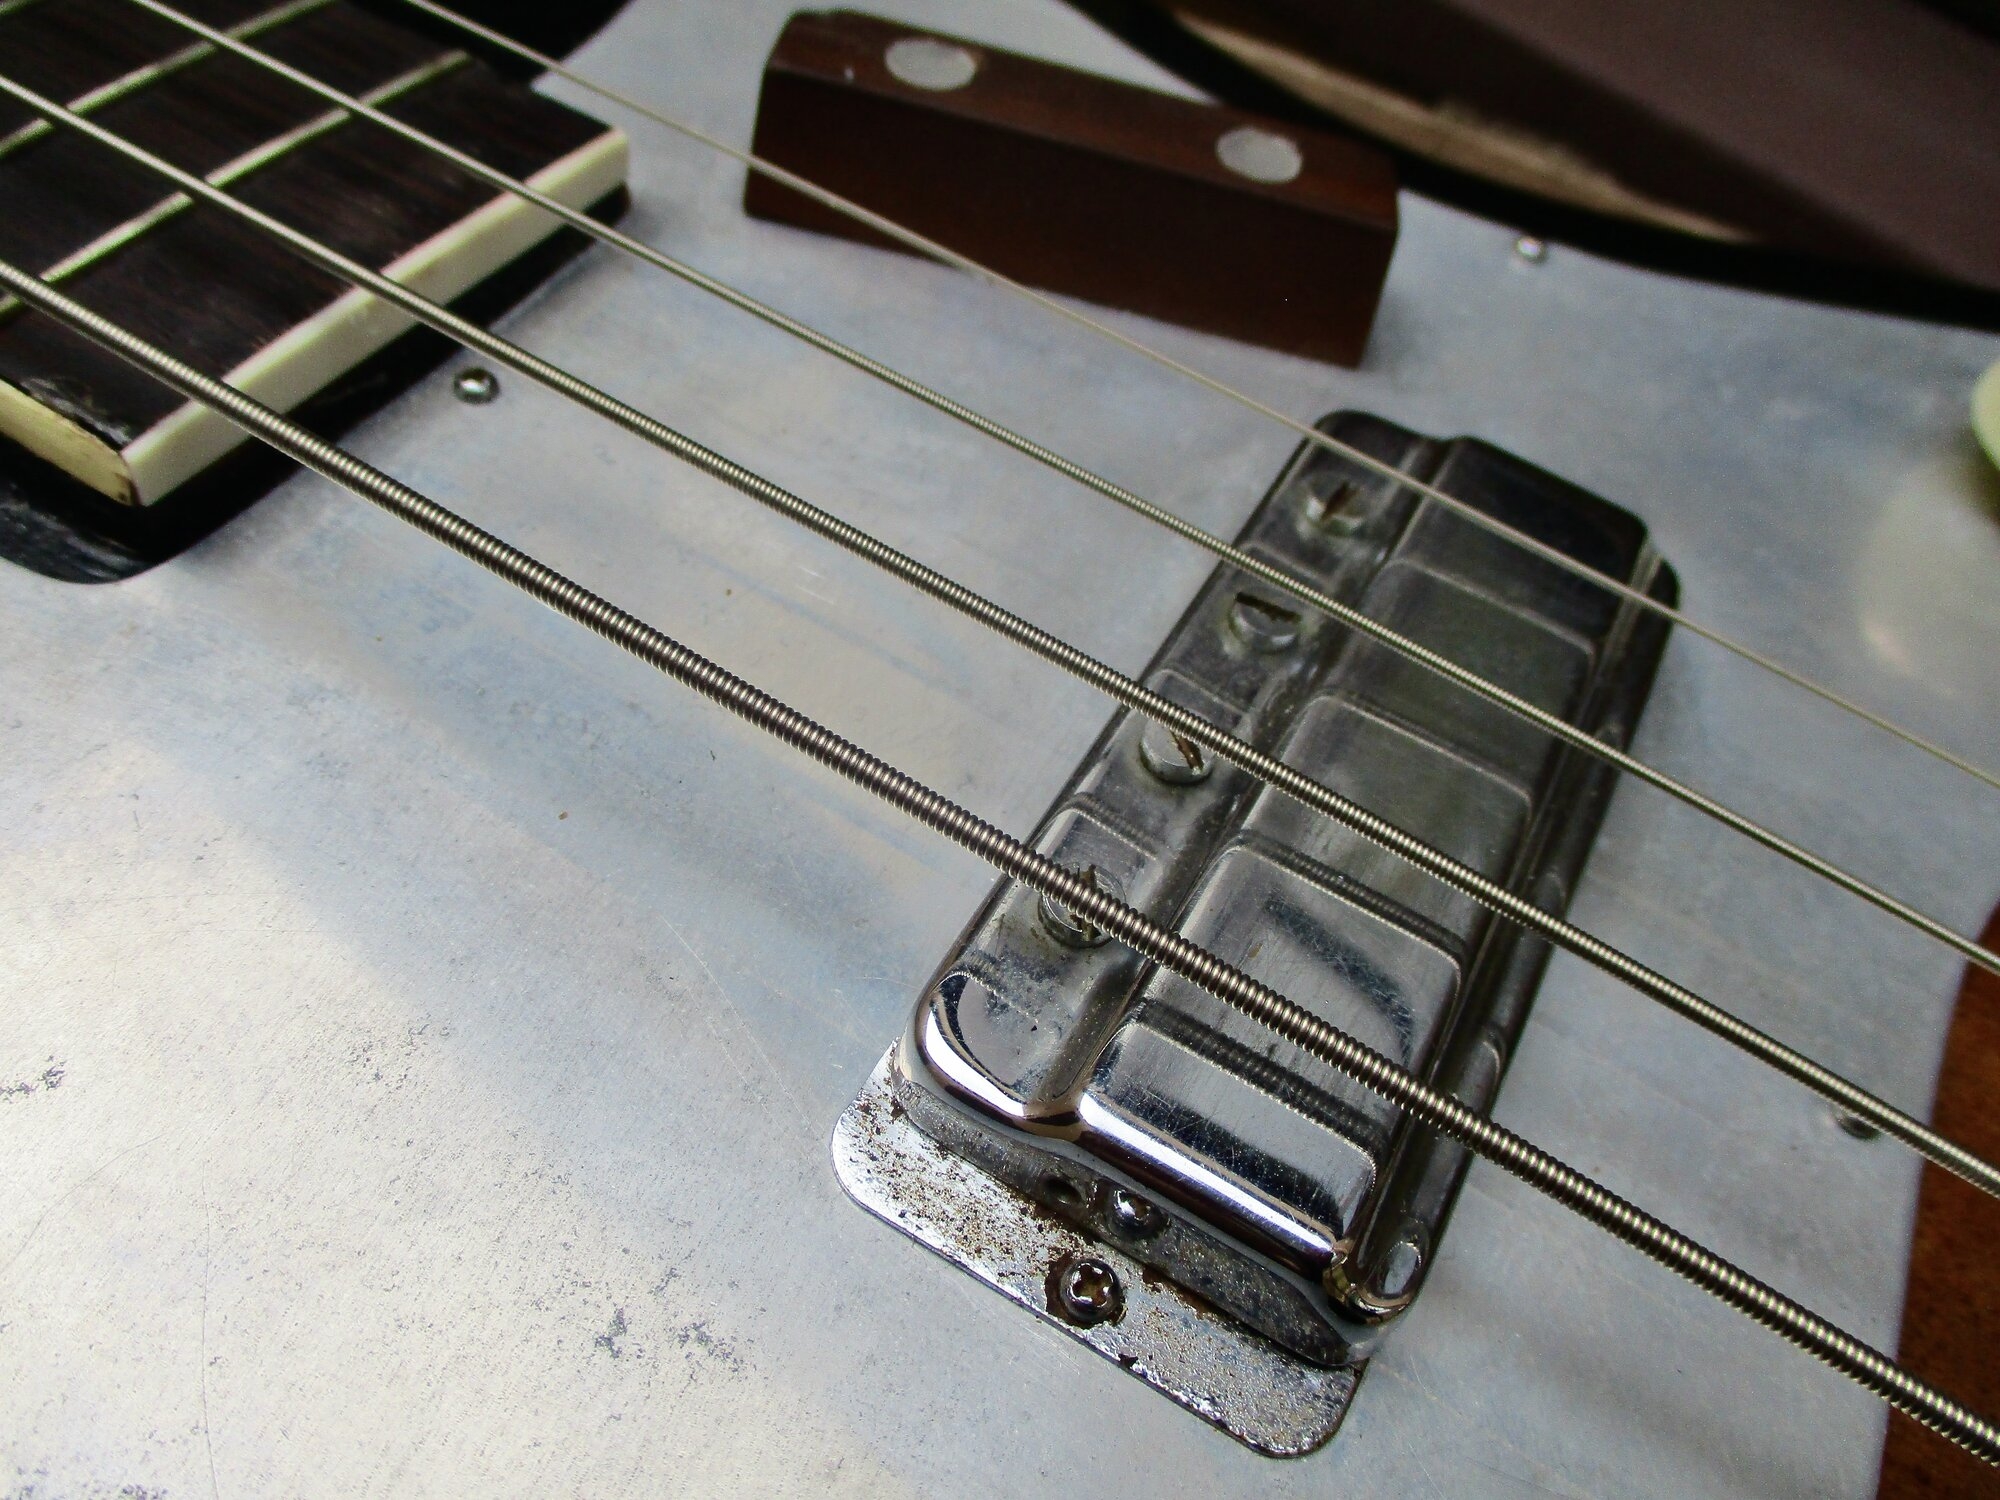
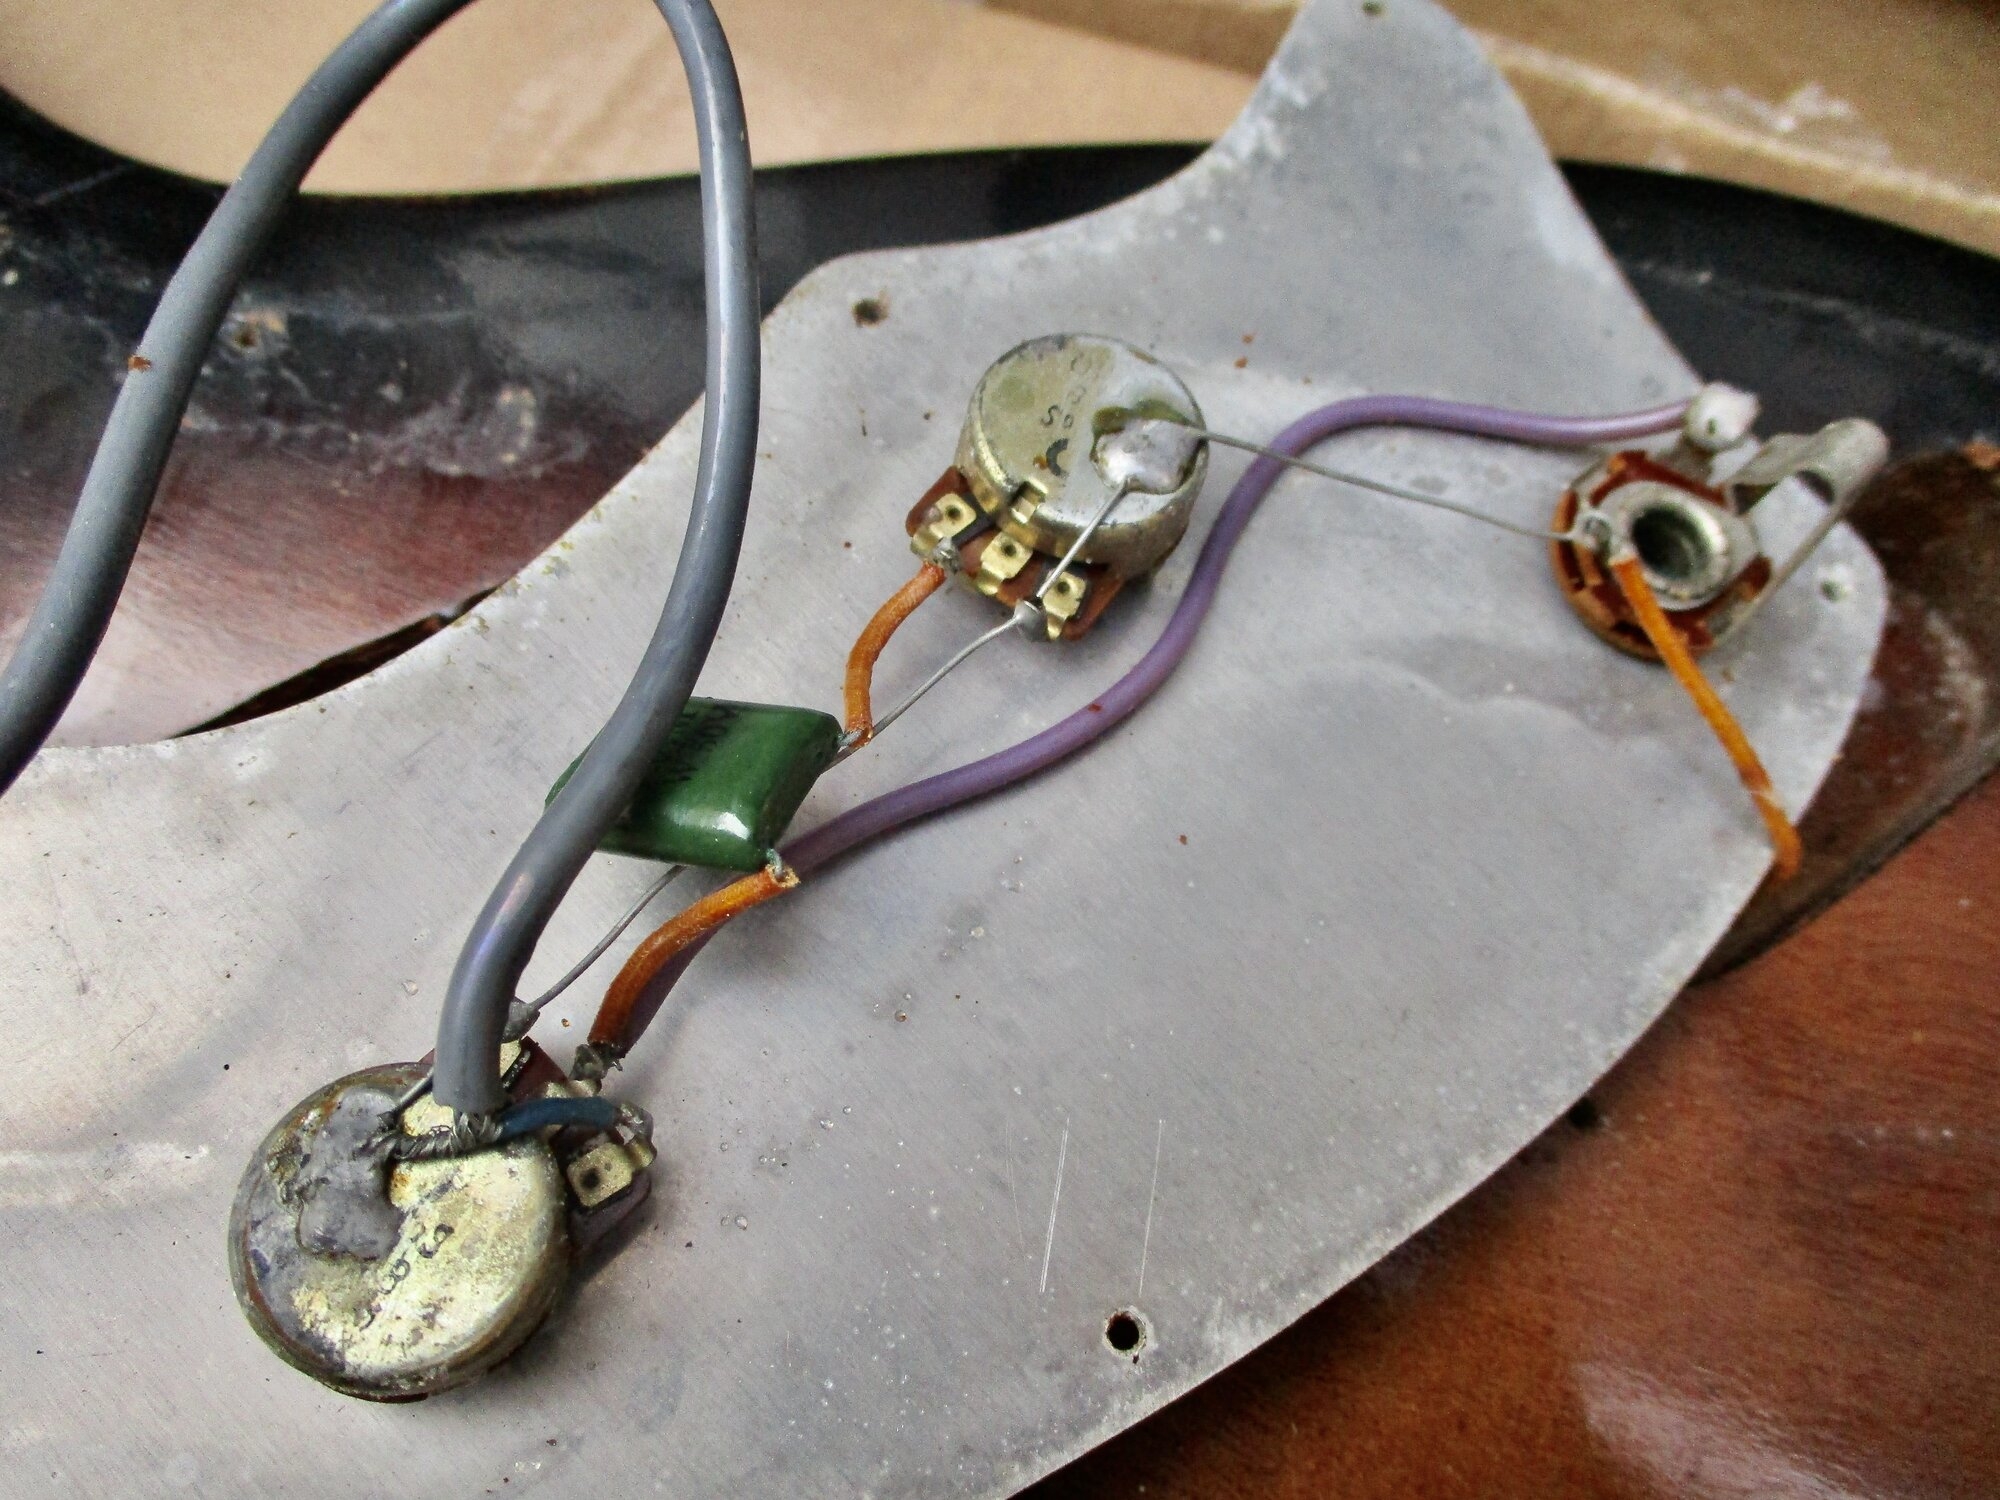
Your basic harness - untouched. Jack needs some steel wool cleaning in the barrel. Rusted screws and bridge/saddles need rust-removal.
1746035134566.jpeg
1746037550909.jpeg
 
Last edited:
I bought a copy (not an exact copy) of my first bass that has some wiring issues, and it also has pearl caps on the tugbar screws. I am reluctant to drill them out, but I don't know how to remove the pg otherwise.

Nice to see that bridge; I've wondered about its provenance. I've got a few of those in my parts bin, and a couple of my Multivox Marvels have them.
 
  • Like
Reactions: JIO
I bought a copy (not an exact copy) of my first bass that has some wiring issues, and it also has pearl caps on the tugbar screws. I am reluctant to drill them out, but I don't know how to remove the pg otherwise.

Nice to see that bridge; I've wondered about its provenance. I've got a few of those in my parts bin, and a couple of my Multivox Marvels have them.
The tug-bar circular inserts are some sort of semi-opaque white plastic. I unfortunately don't have that size pearl or I'd replace them. I'm going to rig it so the tug-bar attaches to the pg and drill channels in the body under them. Same with the pu - screwed through the pg into the body. The twelve screw bridge is missing the two bolt wheels for up-down adjustment. Any chance you have two extra wheels that will thread on this bridge's posts?
 
Last edited:
The tug-bar circular inserts are some sort of semi-opaque white plastic. I unfortunately don't have that size pearl or I'd replace them. I'm going to rig it so the tug-bar attaches to the pg and drill channels in the body under them. Same with the pu - screwed through the pg into the body. The twelve screw bridge is missing the two bolt wheels for up-down adjustment. Any chance you have two extra wheels that will thread on this bridge's posts?
I will have to look. I know two of my Marvels have these bridges, and am confident I have two or three spares. Loose thumb-wheels I'm not sure about, but I can send you a complete bridge. Not seeing your bridge (and not knowing whether this particular bridge type came in various sizes or not), I cannot say for sure that any loose wheels I find would fit your posts.
 
  • Like
Reactions: JIO
I will have to look. I know two of my Marvels have these bridges, and am confident I have two or three spares. Loose thumb-wheels I'm not sure about, but I can send you a complete bridge. Not seeing your bridge (and not knowing whether this particular bridge type came in various sizes or not), I cannot say for sure that any loose wheels I find would fit your posts.
Thanks - In the meantime I'm going to see if I can find a thumb-wheel or something that would work at the hardware store.
 
Much progress - to start with I took apart the tuners, cleaned them up and lubed the gears. I cleaned up the (solid plastic) nut, glued the tr cover back together, scraped the fb wood and addressed the tug-bar. I used a bolt from the top side, secured it with a lock-washer & nut, and drilled out a cavity in the body for them to sit in. Plugged the top holes with the plastic dots - done. Oh, and I I did wood repair on the tug-bar and fb near the nut. Refer to earlier pics for comparison.

1746149008106.jpeg
1746149050813.jpeg

1746149361297.jpeg
1746149361490.jpeg

Next.., the 'skunk-stripe' issue. I scored the separation to give it a chance to move, flooded the seams with epoxy, and clamped to as flush as possible. While curing, I created a channel for a brass brace/'band-aid'. (brass band- aid...) :) hee-hee
1746149487417.jpeg
1746149605735.jpeg

I cut a 1/8" thick brass plate drilled out for flush wood screws (the two that used to secure the tug-bar) to prevent that skull-stripe from lifting again. Filed & sanded the remaining heal discrepancy- I'll address finishing fixes later. First priority is to get it repaired and playable.
1746149724360.jpeg
1746149752230.jpeg

On to the tr nut/plate. As you can see, a very sub-standard (bent from tension) brace. 86 that failed attempt -
1746150078642.jpeg
1746150127051.jpeg

I put on my MacGyver hat and came up with a decent solution. The key-ring hole was exactly the right size. Needs a washer...
1746151006708.jpeg
1746151133813.jpeg

Speaking of MacGyver.., where there's a will, there's a way. Funny backstory - I was at my local hardware store and looked for a thumb-wheel (the bridge was missing them) No dice after searching all the bins, I was at the counter paying for a few items. The guy asked "did you find everything you were looking for?" I said, no... do you know what a thumb-wheel is? He said no, so I pulled out the bridge to show what it did, "It's a threaded wheel that threads on these posts to raise & lower a bass guitar bridge. It has knurled edges like a coin - about the size of a... quarter !!! I can make them out of quarters!" So I did. Oh also, I had to move the bridge (two-part unit) over toward the G-side incrementally so the strings lined up over the pu poles as closely as possible. When the DIY work was done on the neck heal, they did not realign it correctly so it was off. You can see how far off in the earlier pics I posted of it pre-disassembly.
1746151269025.jpeg
1746151385652.jpeg

And lastly for today, I glued the separated fb from the nut to approximately the 8th fret and glued in the nut. Bicycle inner-tube works like a charm. Tomorrow I'll do work on the neck to see how straight I can get it, and reinstall the pg with pu and harness. So far, so good.
1746152122961.jpeg
1746152160554.jpeg
 
Last edited:
I love the quarters-as-thumb-wheels! Do they actually raise/lower the bridge?
Yes, they work exactly as a thumb wheel. It wasn't until I said "knurled edges" out loud that I realized a quarter would be perfect! Drilling the hole dead-center was tricky but I got close enough on both. I had the correct tap to thread the hole, and Bob's yer' uncle! :)

1746160300414.jpeg

1746160349909.jpeg
 
Yes, they work exactly as a thumb wheel. It wasn't until I said "knurled edges" out loud that I realized a quarter would be perfect! Drilling the hole dead-center was tricky but I got close enough on both. I had the correct tap to thread the hole, and Bob's yer' uncle! :)

View attachment 7216579
View attachment 7216580
Nice! What a great solution!
 
  • Like
Reactions: JIO
Yes, they work exactly as a thumb wheel. It wasn't until I said "knurled edges" out loud that I realized a quarter would be perfect! Drilling the hole dead-center was tricky but I got close enough on both. I had the correct tap to thread the hole, and Bob's yer' uncle! :)

View attachment 7216579
View attachment 7216580


Plus in a financial pinch you’ll always have 50 cents ready to go. :smug:
 
  • Like
Reactions: JIO
Coated the control cavity with shielding paint (3 coats), reattached the pg and removed the inner-tube. Used this method to put the neck into a back-bow and tightened down the tr nut and left overnight. This morning I strung it up and wasn't surprised that I was close but no cigar. First off, the reason the thumb-wheels were missing is because it made the bridge too high, so I removed the wheels which brought it down a bit. Going back to the DIY neck pocket work - there is no other way to make it right. The neck relief isn't great but it could work.., but if the action after the 12th fret got any lower - all strings would touch the pu. They are already barely not touching if fretting the 20th fret. The pu is pg mounted so no lowering. Also, once back at tension the skunk-stripe rose up at the heal slightly. Luckily my brace held up under the neck-plate but otherwise there's nothing left to do. In order to get the action lower I would have to cut an opening under the pu and the rout out under the bridge.

At this point I think it's "as-is" - it would be too much extra effort for too little return. It intoned correctly and it can be played with a strong left hand up to the 12th fret. (which after my carpel tunnel issues - I don't have) The sound?... it sounds about like what you'd expect - nothing special. Maybe later on if I really have nothing better to do I could revisit it, but all things considered it is what it is. Which is a bit of nostalgia more than an actually instrument I would play.

1746207774379.jpeg

1746207811885.jpeg

1746215053675.jpeg
1746215118359.jpeg

1746215187951.jpeg
 
You cannot shim the neck to get the strings lower and then return the thumb-wheels to get a little bit higher bridge? Sort of a double compensation?
The neck was glued into the pocket somewhere along the line - a dead end. It's one reason I've steered away from Gibson with neck-thu's and set-necks. Leo did it right with a removable, adjustable neck. The only way this bass could be made to have close to acceptable action would be to remove the fb and make a wedge between the neck & fb - and that's a bridge too far.
 
Last edited: