
Fantastic! Glad it is all working out. You got a PERFECT tigerstripe contrast right there.

Enjoy the benefits of a premium membership!
Upgrade Account
-
TalkBass has been independent since 1998. Add your voice.
Create a free account to reply to discussions, view embedded media, and browse with fewer display ads.
Join free Log in
Want zero display ads or expanded classifieds tools? Compare plans.
You are using an out of date browser. It may not display this or other websites correctly.
You should upgrade or use an alternative browser.
You should upgrade or use an alternative browser.
I got some Peavey parts...
- Thread starter Reedt2000
- Start date
More options
Who Replied?

It's getting thereFantastic! Glad it is all working out. You got a PERFECT tigerstripe contrast right there.

I'll feel better when the build is thicker

It's getting there
I'll feel better when the build is thicker
It's going to start building fast once the grain is fully sealed!
It's definitely sealed and building a glossy shell.It's going to start building fast once the grain is fully sealed!
I decided I'm too heavy handed with sandpaper so I've switched to 3M super fine scuff pads (grey scotchbrite) for scuffing. They take out dust nibs and fibers (OK, cat hairs, I've got 2 losing their winter coats so the best effort of lint lifting still isn't 100% effective
 ) but there's much less risk of taking too much away. Adhesion still looks good with no clouding or other weirdness. I coat the back first, sweep the sides catching anything running, then I coat the top, sweep the sides again, and rotate so the back faces up. At that point the top has self leveled and the back has started to tack up so I'm not getting runs. Progress continues
Passini
Commercial User
- Dec 11, 2018
- 66
- 164
- Disclosures
- Guitar and bass bridge manufacturer, called NOVA Guitar Parts

The brass nut should work unless you use coated strings or tapewounds. I don’t think they are conductive.
Correct me if I'm wrong, but I always thought brass was non-conductive?
Well, according to the internet it's 28% as conductive as copper so I hope that's enough for this application. If I have issues I can always lay a strip of copper under all the bridges, or paint their recessed area with shielding paint...Correct me if I'm wrong, but I always thought brass was non-conductive?

Correct me if I'm wrong, but I always thought brass was non-conductive?
Like @Reedt2000 said, it may not be as conductive as some metals but brass is definitely conductive. Enough for grounding the strings. I suspect a lot of brass objects have a clear coat on them to help prevent tarnishing and that is going to be nonconductive.

It's definitely sealed and building a glossy shell.
View attachment 5018961
I decided I'm too heavy handed with sandpaper so I've switched to 3M super fine scuff pads (grey scotchbrite) for scuffing. They take out dust nibs and fibers (OK, cat hairs, I've got 2 losing their winter coats so the best effort of lint lifting still isn't 100% effective
View attachment 5018962
I've done the same; switched to scotch brite after level sanding. And for the same reason...
I've never tried a high-gloss finish with the stuff, though; I'm curious to see how it turns out.
Looking awesome so far!

Can't wait to see this one finished it's going to look amazing
Still applying coats

Move along people, nuthin to see here...
Move along people, nuthin to see here...
It really doesn't look any different than the last pic I posted, and it won't until the time when I can level sand and polish. Being an oil-based poly, and being layered on pretty thick, it will take 3-4 weeks after the final coat before that's possible. It has to be fully cured or it'll end up a mess that needs to be stripped and redone.Nooooo I need to see
It's cool, while it cures I can plan the next project, which I may or may not have already bought stuff for
More on that later

Entering the home stretch
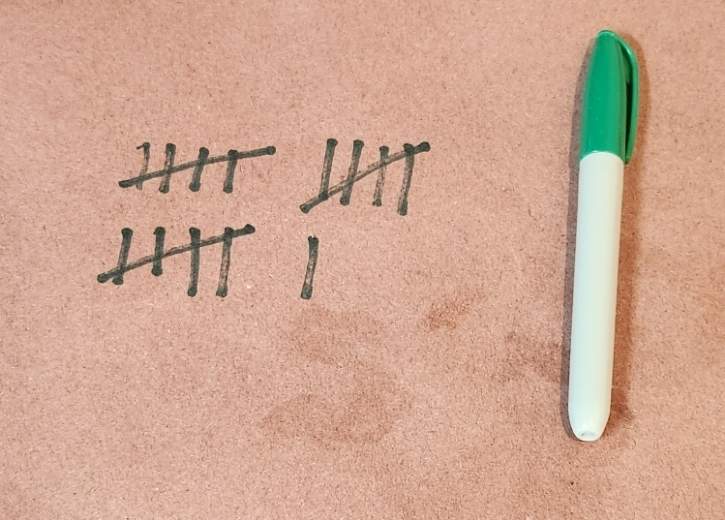
I'm going for 20 coats total so by Monday I'll be there. As the coats build, I've not only been flattening any runs, but also looking at overall flatness trying to get the final coats as smooth as possible so there's minimal unevenness when it's time to wet sand and buff. It's not bad, though with a rattle can I've gotten smoother results at this point, compared to wiping it on. It looks good, but in the future I think I need another alternative. I've considered I can't believe it's not lacquer (or I could just be happy with a simple satin finish, if I did this body in the same poly as the neck I'd be assembling right now). The short curing time is really attractive. I've also considered a compressor and spray gun. Both are kinda pricey and I don't know if I'll do this enough to be worth the investment.
In any case this continues to move forward.

I'm going for 20 coats total so by Monday I'll be there. As the coats build, I've not only been flattening any runs, but also looking at overall flatness trying to get the final coats as smooth as possible so there's minimal unevenness when it's time to wet sand and buff. It's not bad, though with a rattle can I've gotten smoother results at this point, compared to wiping it on. It looks good, but in the future I think I need another alternative. I've considered I can't believe it's not lacquer (or I could just be happy with a simple satin finish, if I did this body in the same poly as the neck I'd be assembling right now
). The short curing time is really attractive. I've also considered a compressor and spray gun. Both are kinda pricey and I don't know if I'll do this enough to be worth the investment.In any case this continues to move forward
.
- Apr 18, 2008
- 16,013
- 1
- 31,725
- Disclosures
- I'm highly opinionated and extremely self-assured
I know, right!?!?I’m getting impatient….
Stupid lack of instant gratification!

So all the coats are on. It's got some good build up, I think more than the last such project which I shot with a rattle can and it cut and buffed well. There's definitely some surface texture and it'll need level sanding, here's hoping the clear is thick enough to allow it to get totally flat without burning through 
Now... I wait... a while... like it won't be before cinco de mayo that I can consider taking sandpaper to it.
In the meantime check this out:


That is a roasted maple neck, with roasted bird's eye maple fretboard, made by builder Andrew Drake. He was building it for a commission and didn't like the tiny (and I mean tiny) gaps under the fret tangs, or the laminated back of the headstock (he planned on adding a matching cap to the body wood but didn't get there so I'll likely need to in order to get the right thickness). This thing is some of the tightest grain I've ever seen in a piece of maple, and it has CF stiffeners. It needs some finishing touches but nothing I can't do. Plus it's got the EVO frets. I bought it for an incredibly reasonable price, far less than if I commissioned it (turns out Mr. Drake is a really nice guy, super helpful).
The plan is to scratch build a body for it. I'm pretty sure I have an understanding of how to accomplish all the different parts of that, just got to finalize a design and map out the steps.
I also have to buy a blank, I don't have tools enough to glue one up at home. Any insights into where to get one, and what to look for? There are some nice looking options on ebay, that are pretty affordable (less than $100). Most say they have moisture content in the 10% range, is that appropriate? Any suggestions or links would be appreciated
Now... I wait... a while... like it won't be before cinco de mayo that I can consider taking sandpaper to it.
In the meantime check this out:
That is a roasted maple neck, with roasted bird's eye maple fretboard, made by builder Andrew Drake. He was building it for a commission and didn't like the tiny (and I mean tiny) gaps under the fret tangs, or the laminated back of the headstock (he planned on adding a matching cap to the body wood but didn't get there so I'll likely need to in order to get the right thickness). This thing is some of the tightest grain I've ever seen in a piece of maple, and it has CF stiffeners. It needs some finishing touches but nothing I can't do. Plus it's got the EVO frets. I bought it for an incredibly reasonable price, far less than if I commissioned it (turns out Mr. Drake is a really nice guy, super helpful
).The plan is to scratch build a body for it. I'm pretty sure I have an understanding of how to accomplish all the different parts of that, just got to finalize a design and map out the steps.
I also have to buy a blank, I don't have tools enough to glue one up at home. Any insights into where to get one, and what to look for? There are some nice looking options on ebay, that are pretty affordable (less than $100). Most say they have moisture content in the 10% range, is that appropriate? Any suggestions or links would be appreciated
Last edited:
Approaching the 2 week mark for finish curing. It's still nice and shiny and smelling less like oil based finish by the day
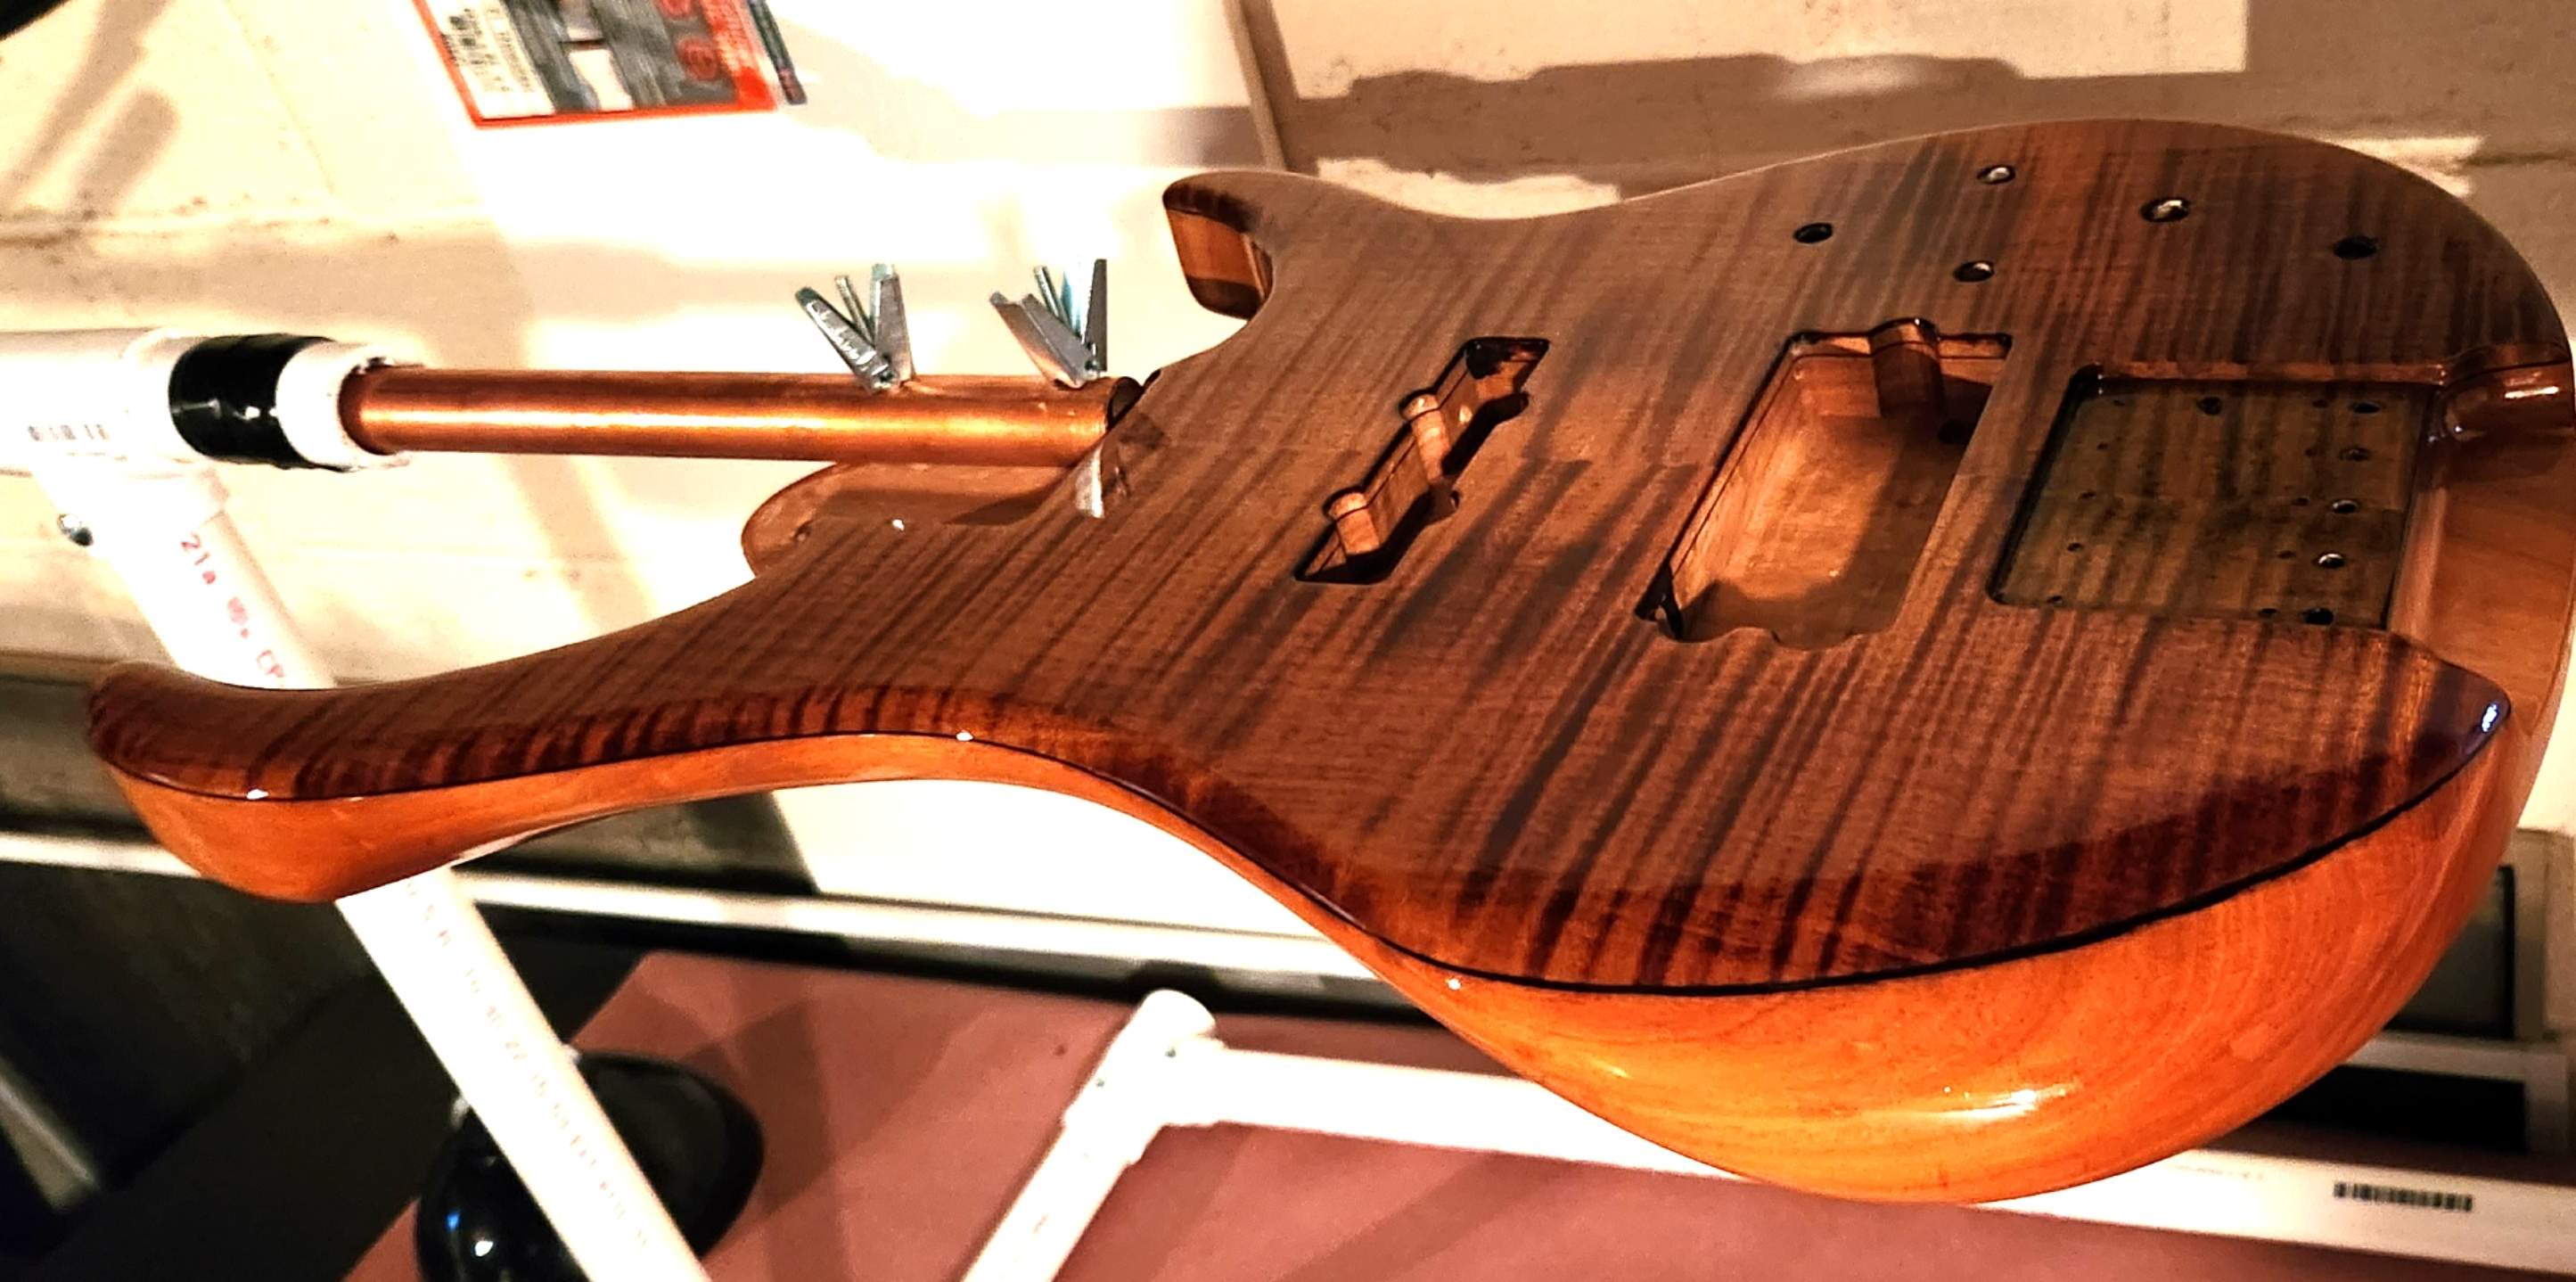
Approaching the 2 week mark for finish curing. It's still nice and shiny and smelling less like oil based finish by the day
View attachment 5041407
I really like how the amber highlights in the topwood striping picks up the color of the body core. Great stuff!!


