

Enjoy the benefits of a premium membership!
Upgrade Account
-
TalkBass has been independent since 1998. Add your voice.
Create a free account to reply to discussions, view embedded media, and browse with fewer display ads.
Join free Log in
Want zero display ads or expanded classifieds tools? Compare plans.
You are using an out of date browser. It may not display this or other websites correctly.
You should upgrade or use an alternative browser.
You should upgrade or use an alternative browser.
Jimmy Bones' Skully Bass (Ongoing Project)
- Thread starter Jimmy Bones
- Start date
More options
Who Replied?
Been a while since I made an update or any progress.
I got a neck off EBAY a while back. Not a Peavey neck, but it fits the pocket good and snug. All I need to do is fill in the screw holes and redrill to match the screw locations on the neck plate.
I bought several paints, and because I haven't heard anything back for my skully design, and had a change of heart - I've rethought my design philosophy.
I intend to use some cheap alnico pickups and black hardware from Allparts. Black thumbrest (not pullbar). All black body, glossy, matching headstock, with this as the PG:
http://www.allparts.com/ProductDetails.asp?ProductCode=PG-0095-042
I begin the painting process tomorrow or Friday, after I've acquired my sandpaper.
The issue for me is going to be figuring out what I need to do to get it wired correctly, everything that I need (bare minimum) for it to make noise, and then playing it a whole lot.
I am getting the feeling that it's gonna be sexy as hell, just as long as I get the paint right.
I got a neck off EBAY a while back. Not a Peavey neck, but it fits the pocket good and snug. All I need to do is fill in the screw holes and redrill to match the screw locations on the neck plate.
I bought several paints, and because I haven't heard anything back for my skully design, and had a change of heart - I've rethought my design philosophy.
I intend to use some cheap alnico pickups and black hardware from Allparts. Black thumbrest (not pullbar). All black body, glossy, matching headstock, with this as the PG:
http://www.allparts.com/ProductDetails.asp?ProductCode=PG-0095-042
I begin the painting process tomorrow or Friday, after I've acquired my sandpaper.
The issue for me is going to be figuring out what I need to do to get it wired correctly, everything that I need (bare minimum) for it to make noise, and then playing it a whole lot.
I am getting the feeling that it's gonna be sexy as hell, just as long as I get the paint right.
I take it back. Just ordered a wiring kit and a set of EMG Select passive pickups (good price from a manufacturer I trust and adore).
I am thinking about which knobs I wanna go for: black translucent hatboxes/speedknobs like on an LP, or black metal dome knobs like on my stiletto.
Thoughts?
I am thinking about which knobs I wanna go for: black translucent hatboxes/speedknobs like on an LP, or black metal dome knobs like on my stiletto.
Thoughts?
Ok, began painting today with the headstock. Holding off on the body until I hear back again from pickguardian about whether or not I ought to fill in the pickguard holes or if they have a Peavey Fury pickguard stencil already. If they do, then I'll just paint over them and let the screws go back into their old slots, otherwise, I fill them, sand them, finish over them, then drill new holes for the new guard.
First, I took the neck, and wrapped the nut and part of the first fret in painter's tape. Then I wrapped the rest of the neck in a couple sheets of newspaper and secured them with tape. After that, I outlined the edge of the head so that only the face would be colored.
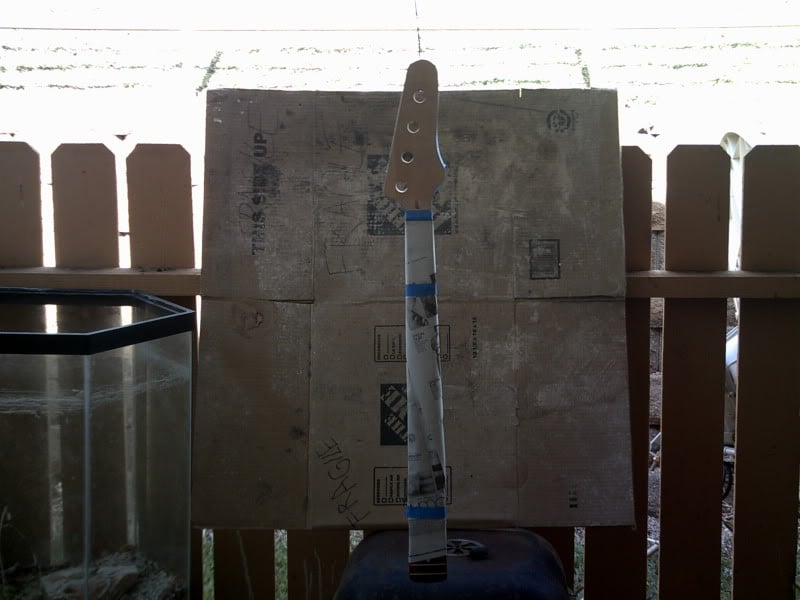
I suspended it from a misshapen wire hanger, strung up by a bungee cord, in front of my handy dandy protective cardboard box.
Here's the first coat of glossy black:
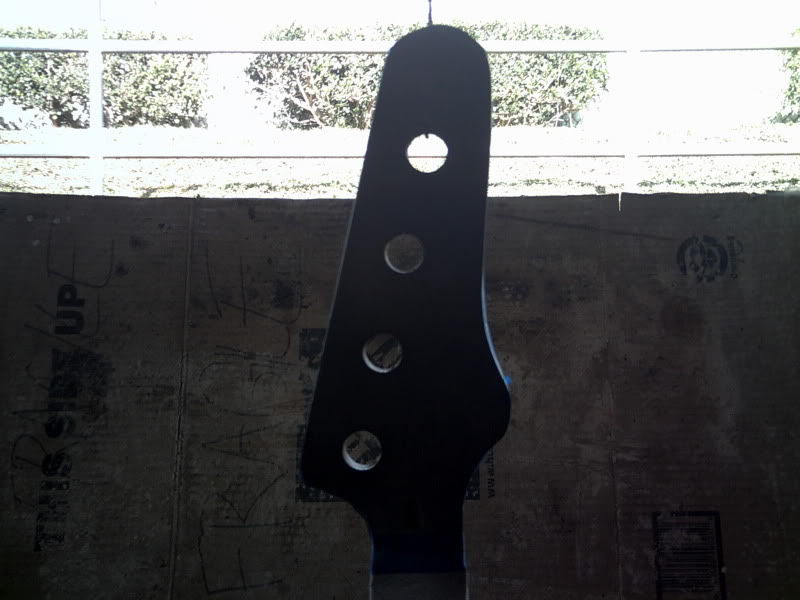
And the second:
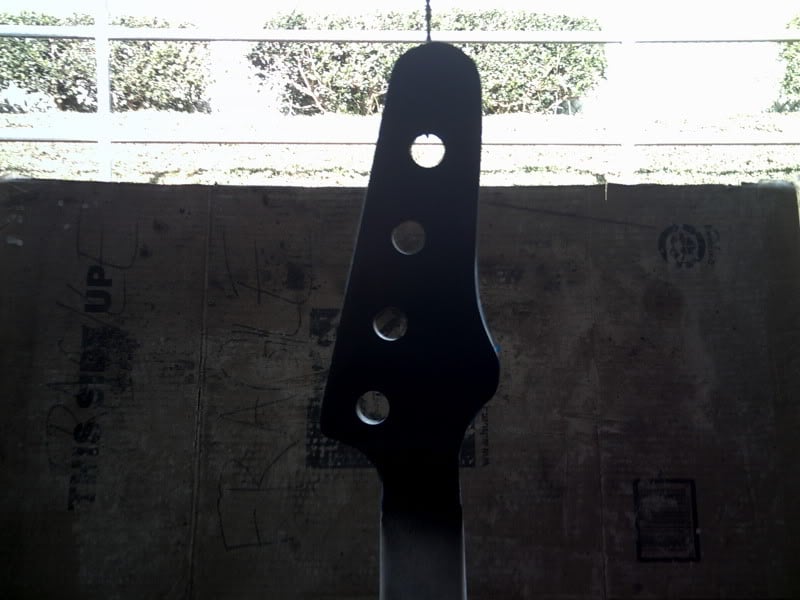
More to come later.
First, I took the neck, and wrapped the nut and part of the first fret in painter's tape. Then I wrapped the rest of the neck in a couple sheets of newspaper and secured them with tape. After that, I outlined the edge of the head so that only the face would be colored.
I suspended it from a misshapen wire hanger, strung up by a bungee cord, in front of my handy dandy protective cardboard box.
Here's the first coat of glossy black:
And the second:
More to come later.
Ok, so, finished the headstock. Three coats of black, five coats of clear. Haven't completed the shining/buffing stage, so it looks more matte than glossy, but even so, I like how it turned out. A lot better than my last painting project (a saga Telecaster guitar).
So, started on the body today, got through two coats of black. First two coats took the remainder of my spray can, roughly two thirds of a can. I have one more to use, and I plan on using the whole thing on it. Still have 2/3 of a can of clear and a full can of clear both (bought 4 cans total, 2 black, 2 clear). I didn't want to spend a bunch of money on the reranch stuff ($12 a can is too rich for my blood - got all four of what I have now for less than $12). I am using Krylon lacquer.
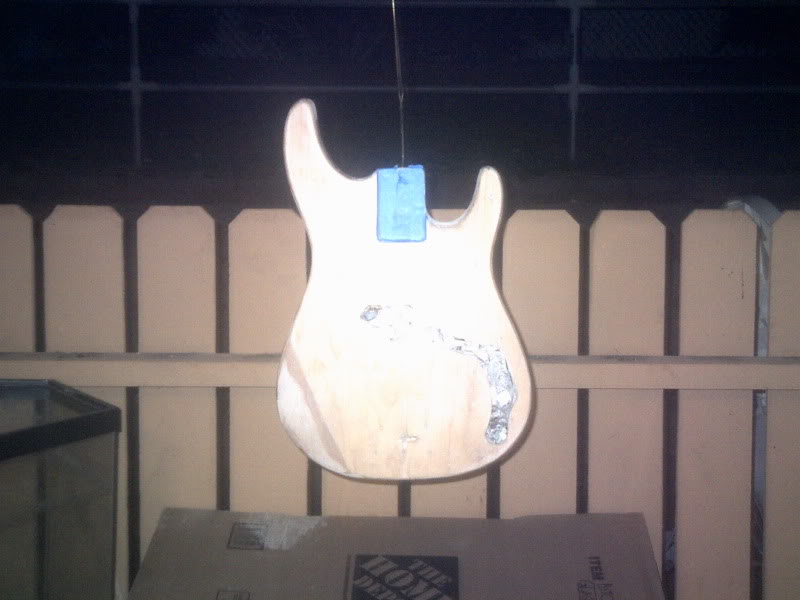
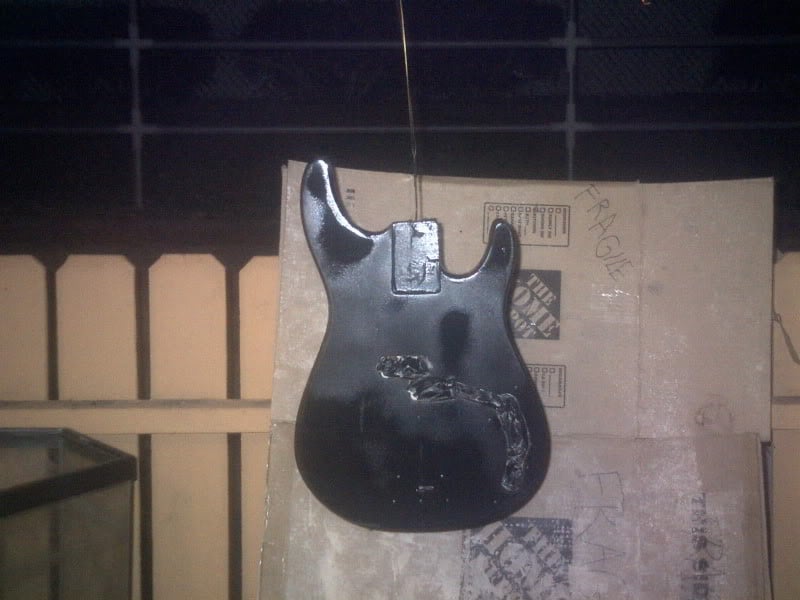
Anyhow, here's a couple bad pictures of the unfinished body:
Sans Flash:
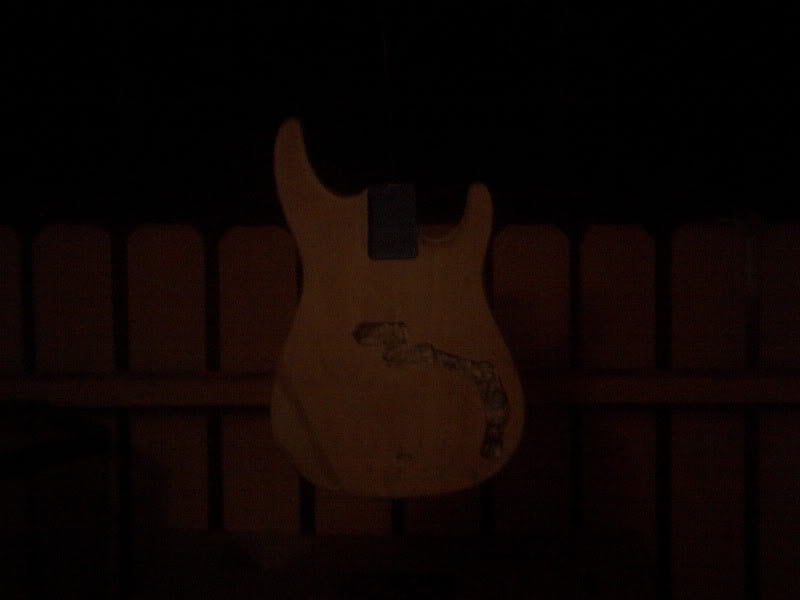
With Flash:
Here's the body with the first coat. Looks a lot lest pooled and drippy now, but I haven't taken any pictures past the first coat:
The sanding job I did wasn't great when stripping, so the bass is going to have... character... when I am done with it.
The funny lookin stuff in the routing is crinkled up newspaper. Don't want to have to redo the shielding, so I didn't strip that part, and don't want to flub it with too much drippage from the new color. If it turns out to have not worked right, I'll just slap on some shielding tape from Stew-Mac. It's pretty cheap through them.
So, started on the body today, got through two coats of black. First two coats took the remainder of my spray can, roughly two thirds of a can. I have one more to use, and I plan on using the whole thing on it. Still have 2/3 of a can of clear and a full can of clear both (bought 4 cans total, 2 black, 2 clear). I didn't want to spend a bunch of money on the reranch stuff ($12 a can is too rich for my blood - got all four of what I have now for less than $12). I am using Krylon lacquer.
Anyhow, here's a couple bad pictures of the unfinished body:
Sans Flash:
With Flash:
Here's the body with the first coat. Looks a lot lest pooled and drippy now, but I haven't taken any pictures past the first coat:
The sanding job I did wasn't great when stripping, so the bass is going to have... character... when I am done with it.
The funny lookin stuff in the routing is crinkled up newspaper. Don't want to have to redo the shielding, so I didn't strip that part, and don't want to flub it with too much drippage from the new color. If it turns out to have not worked right, I'll just slap on some shielding tape from Stew-Mac. It's pretty cheap through them.



To take good pictures when there isn't much light, you need to set up your camera on a tripod and then use night mode. This will give you a long exposure pic, so it will look good, but without flash. It's essential that you use a tripod or some other support though, otherwise it will be blurred.
S.P.
S.P.
Thanks SP, 'cept that the pictures are ancillary - not trying to impress you with my shutterbugging. 
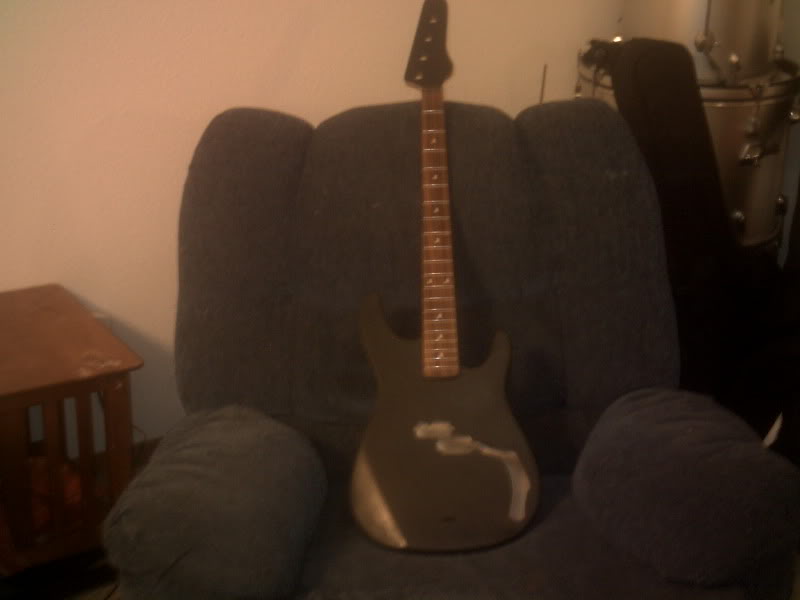
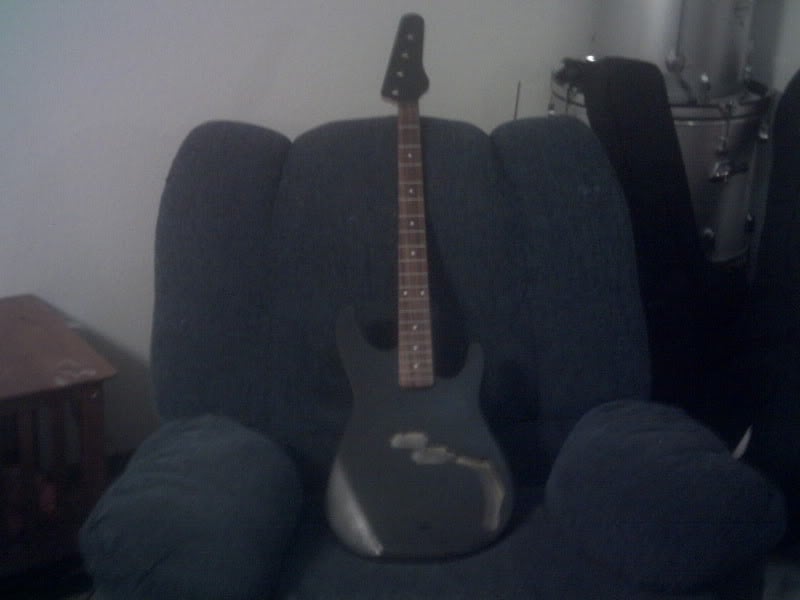
Ok, finished up the last clearcoat and did my light sanding. Came out more matte than I wanted, and there were a few flaws (RE: Character), but all in all, I am satisfied. Came out better than my Tele did.
Here's a couple piccies with the neck stuck in the pocket for reference:
Gonna see if I can't photoshop a mockup of what the finished product will look like.
Here's a couple piccies with the neck stuck in the pocket for reference:
Gonna see if I can't photoshop a mockup of what the finished product will look like.

Just an quick update:
Blew two tires on the highway last night, so that's gonna cause a major delay in being able to afford the pickguard ($80 cut and shipped).
So, expect a couple weeks before the next progress report.
Blew two tires on the highway last night, so that's gonna cause a major delay in being able to afford the pickguard ($80 cut and shipped).
So, expect a couple weeks before the next progress report.
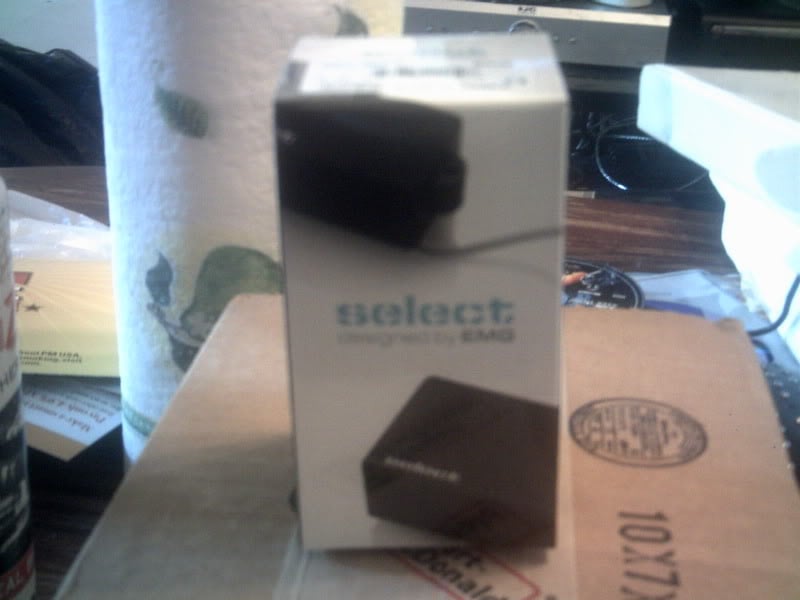
Quick update, nothing on the bass itself, but my order from Stewart Macdonald came in today:
My EMG SELECT P Pickups - $24
2x Black speed Knobs - $7
P Bass Wiring Kit - $16
Roller String Tree - $3
2x Strap Buttons - $5
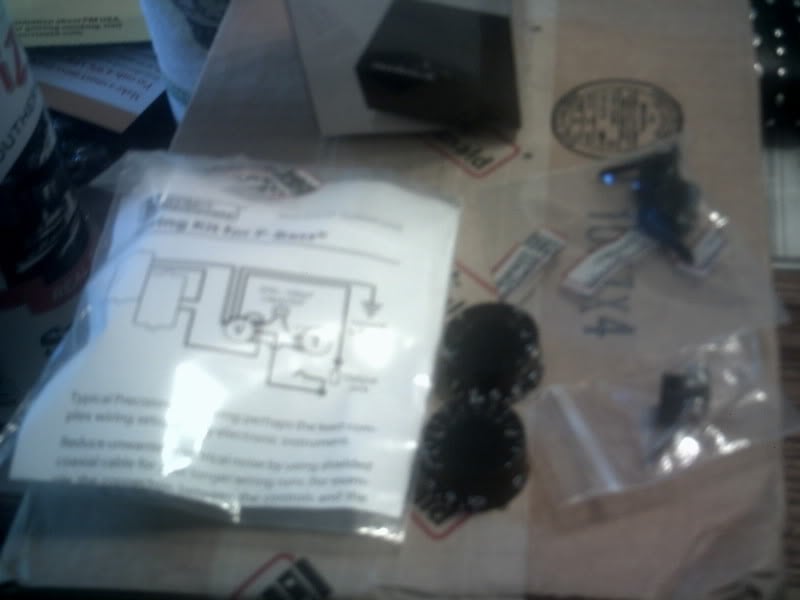
Only things I need now to finish this sucker up are the pick guard, bridge, and tuning machines. I actually plan on using those strap buttons on something else, since I decided to go with chrome instead of black hardware because I found an old set of chrome straplocks I never installed on anything.
I added the prices up there (rounded up) not as an ad for StewMaC, but as a reference for people who were interested on the pricing of this kind of stuff. Now here's the StewMac plug: I paid under $10 for shipping, and it got here 3 days later. To Hawaii. From the Mainland. Even rush orders from Rondo and MF take twice as long shipping here - StewMac now gets my repeat business in the future.
My EMG SELECT P Pickups - $24
2x Black speed Knobs - $7
P Bass Wiring Kit - $16
Roller String Tree - $3
2x Strap Buttons - $5
Only things I need now to finish this sucker up are the pick guard, bridge, and tuning machines. I actually plan on using those strap buttons on something else, since I decided to go with chrome instead of black hardware because I found an old set of chrome straplocks I never installed on anything.
I added the prices up there (rounded up) not as an ad for StewMaC, but as a reference for people who were interested on the pricing of this kind of stuff. Now here's the StewMac plug: I paid under $10 for shipping, and it got here 3 days later. To Hawaii. From the Mainland. Even rush orders from Rondo and MF take twice as long shipping here - StewMac now gets my repeat business in the future.
Latest posts
-
 How can Fender release a "Vintage" series with an unplayable bridge?
- Latest: PBandJazzBass
-
-

-
