• TalkBass has been independent since 1998. Add your voice.
    Create a free account to reply to discussions, view embedded media, and browse with fewer display ads.
    Join freeLog in
    Want zero display ads or expanded classifieds tools? Compare plans.

Koa P

Scoops

Why do we use base 10 when we only have 8 fingers
Supporting Member
Oct 22, 2013
4,177
11,676
Sugar Creek, Wisc
Ok the next build is under way

Specs
Strings: 5
Body Style: 51 P
Body construction: Solid
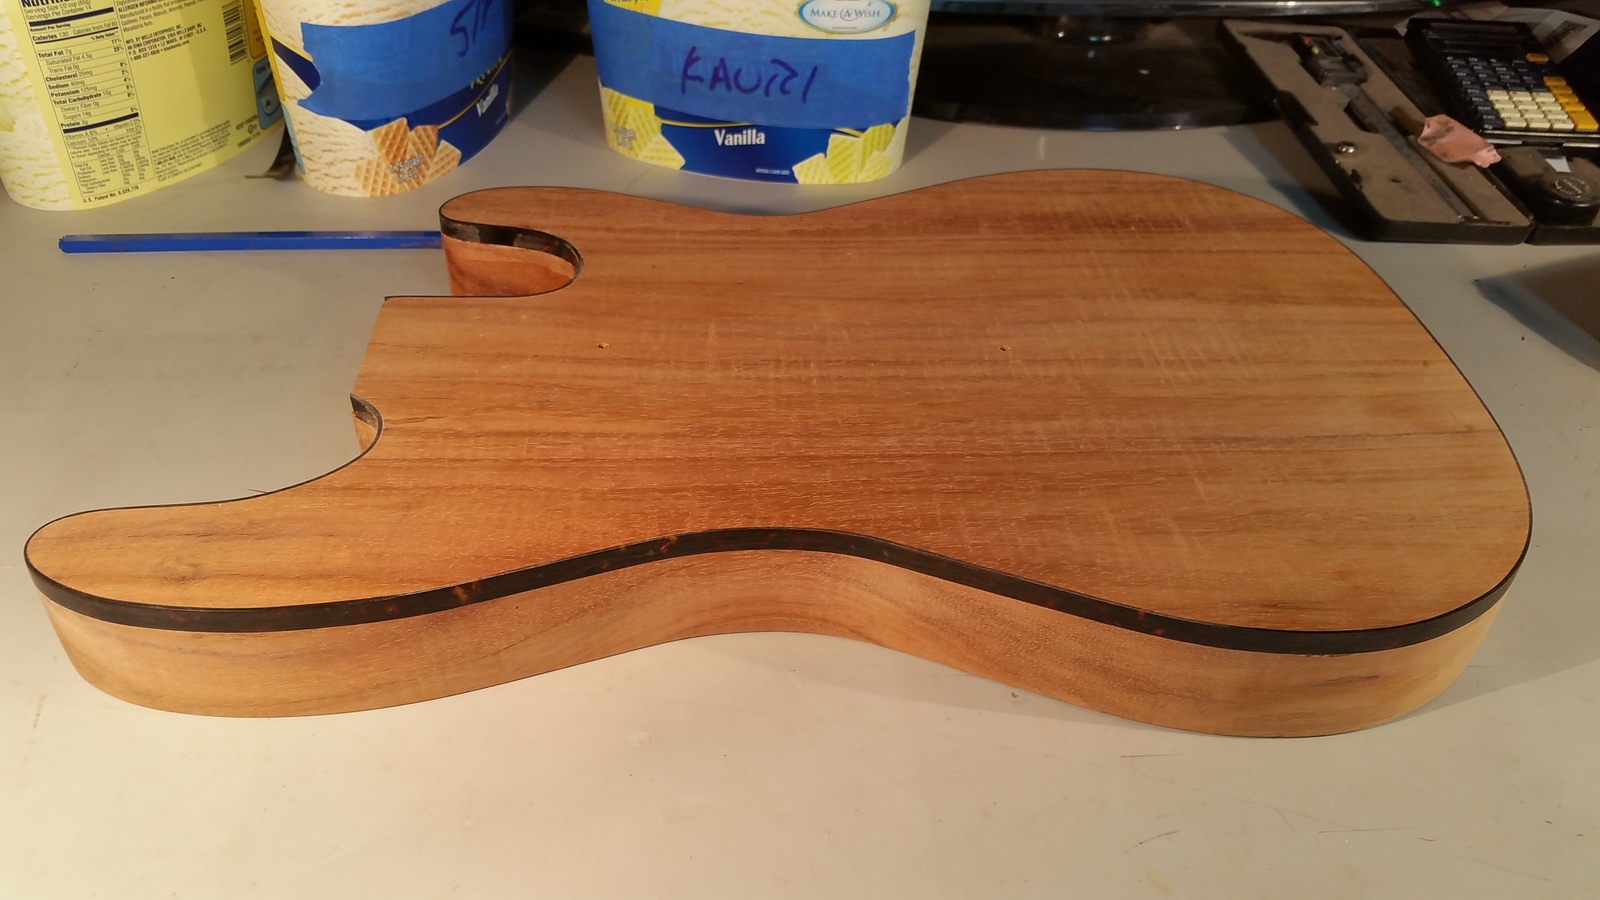
Body Wood: Flamed Koa
Binding: Tortoise
Neck: Flamed Koa
Fingerboard: Gabon Ebony
Bridge: Hipshot Style A .708 spacing
Tuners: Hipshot Ultra Lites
Pups: Bill Lawerence P46, and J45
Pickguard: None

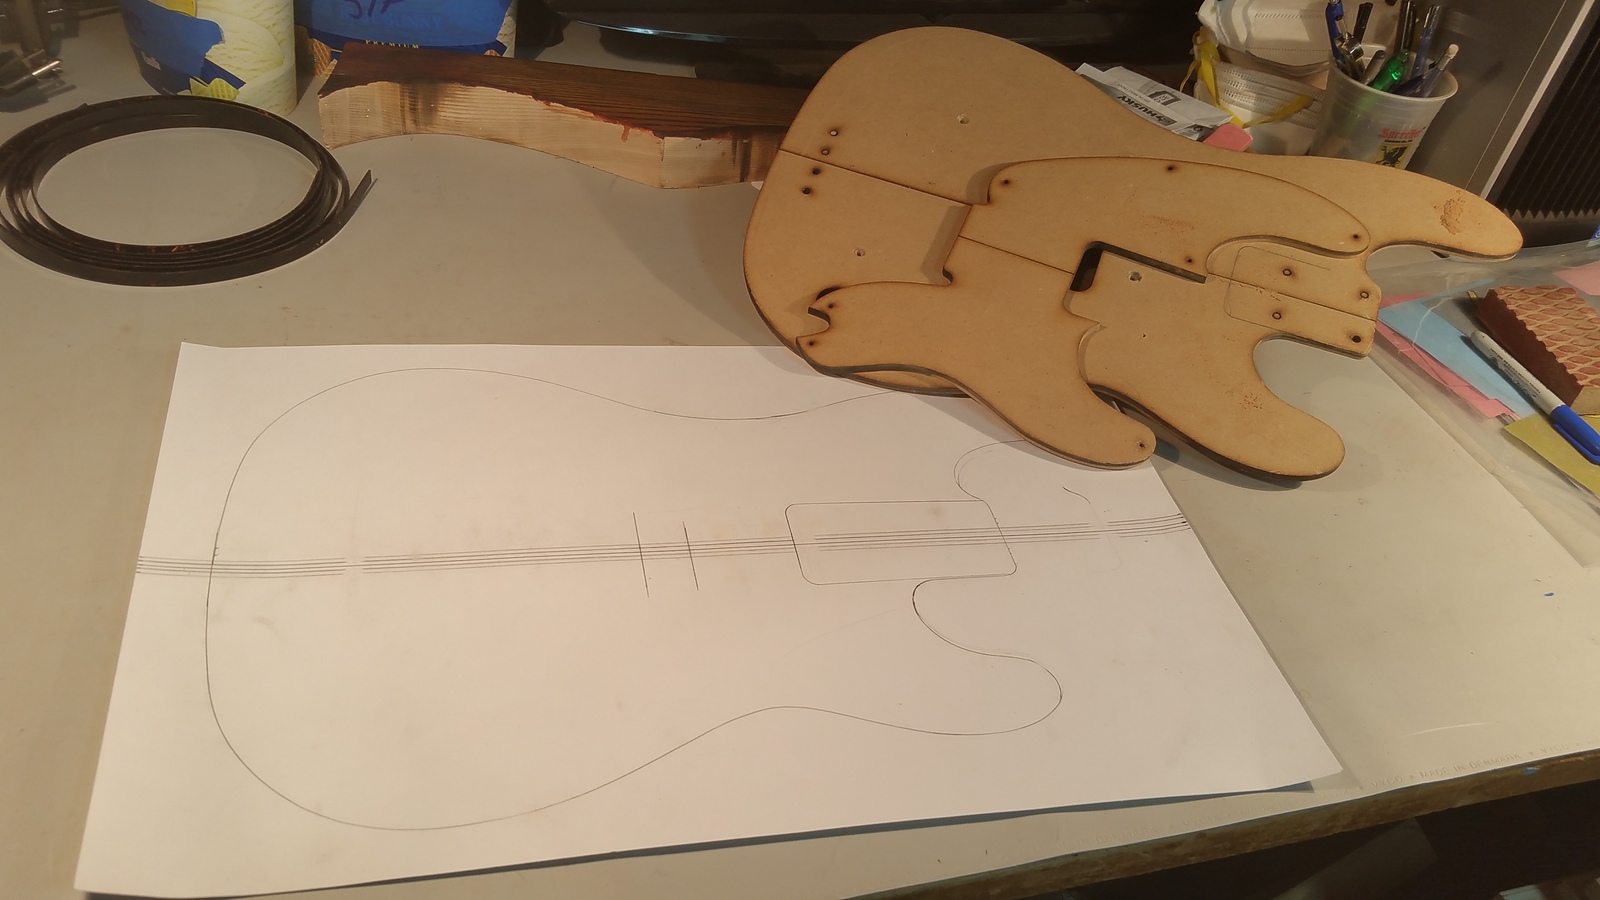
As with all builds, I need templates. Because I'm making a 5 banger, Ill need to create a new one. I once again used a template that I got on line, and use them to draw up my design. Again, this bass will come in at 12.25 wide
5-51P2.jpg


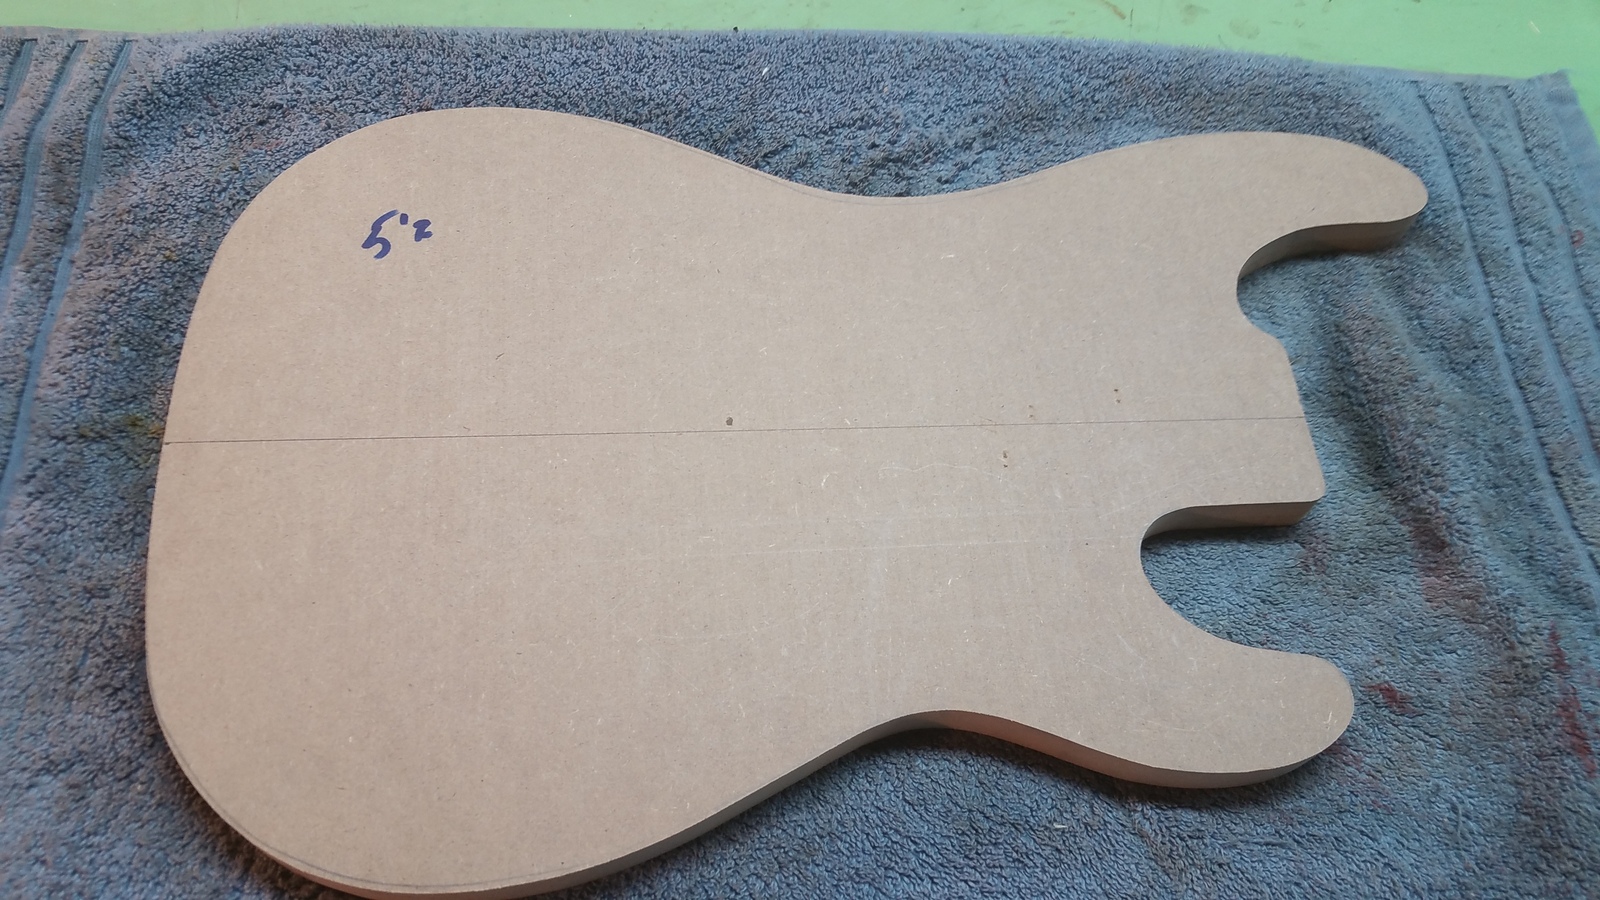
I cut out the drawing on the cardboard with a razor knife, and used that as a template to draw onto a piece of MDF. I then cut out the MDF
5-51P3.jpg


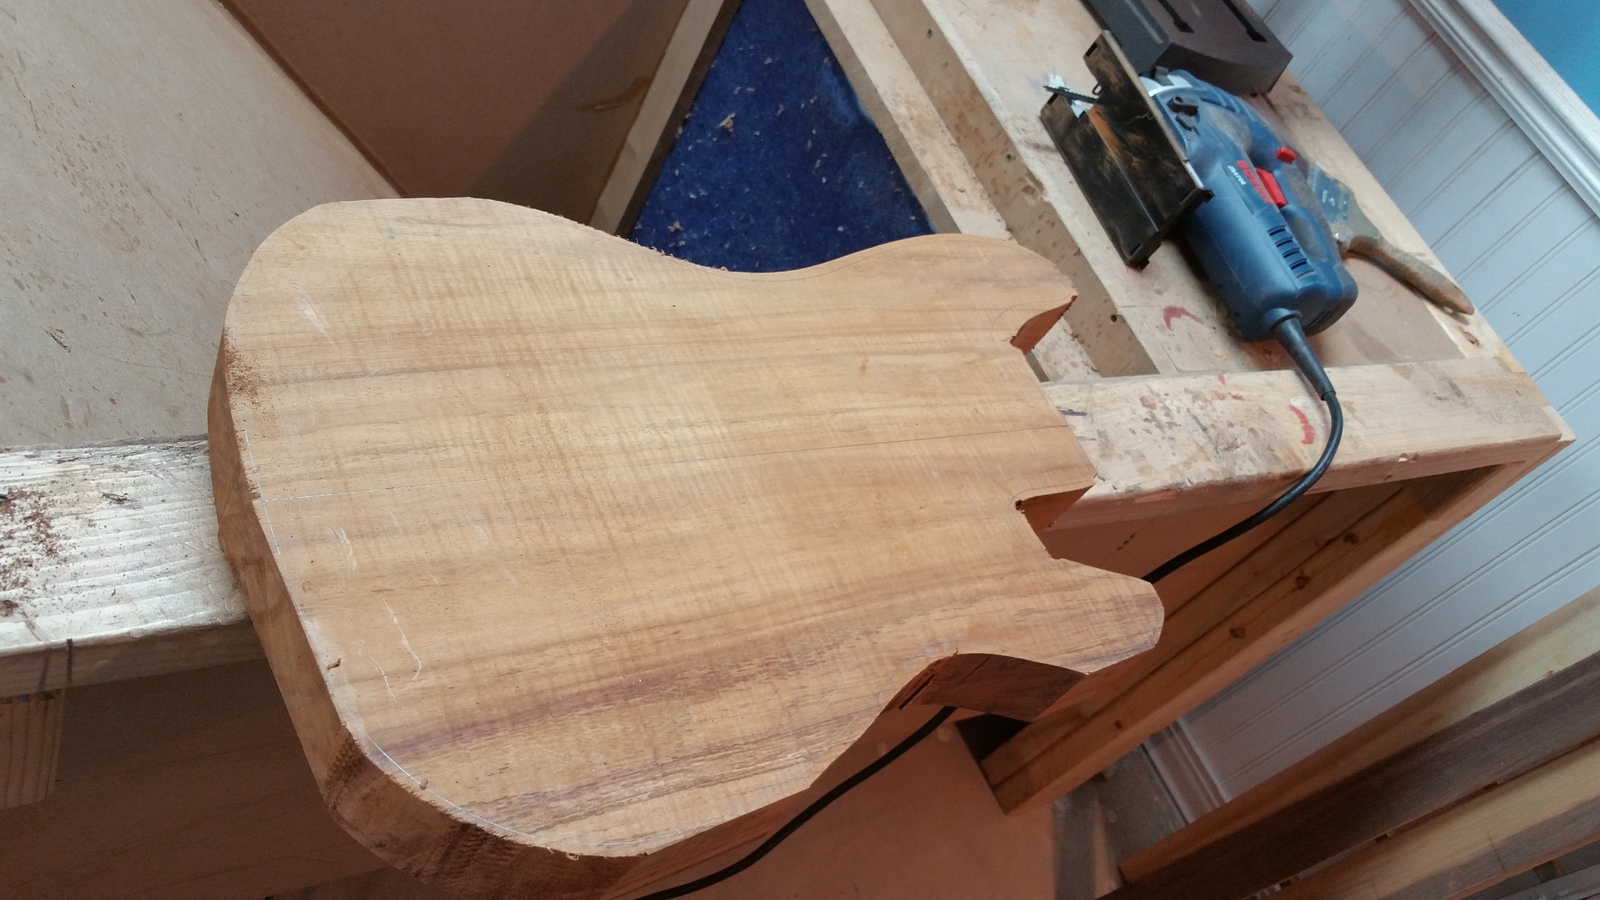
I then roughly cut out the body with a sabre saw.
5-51P4.jpg


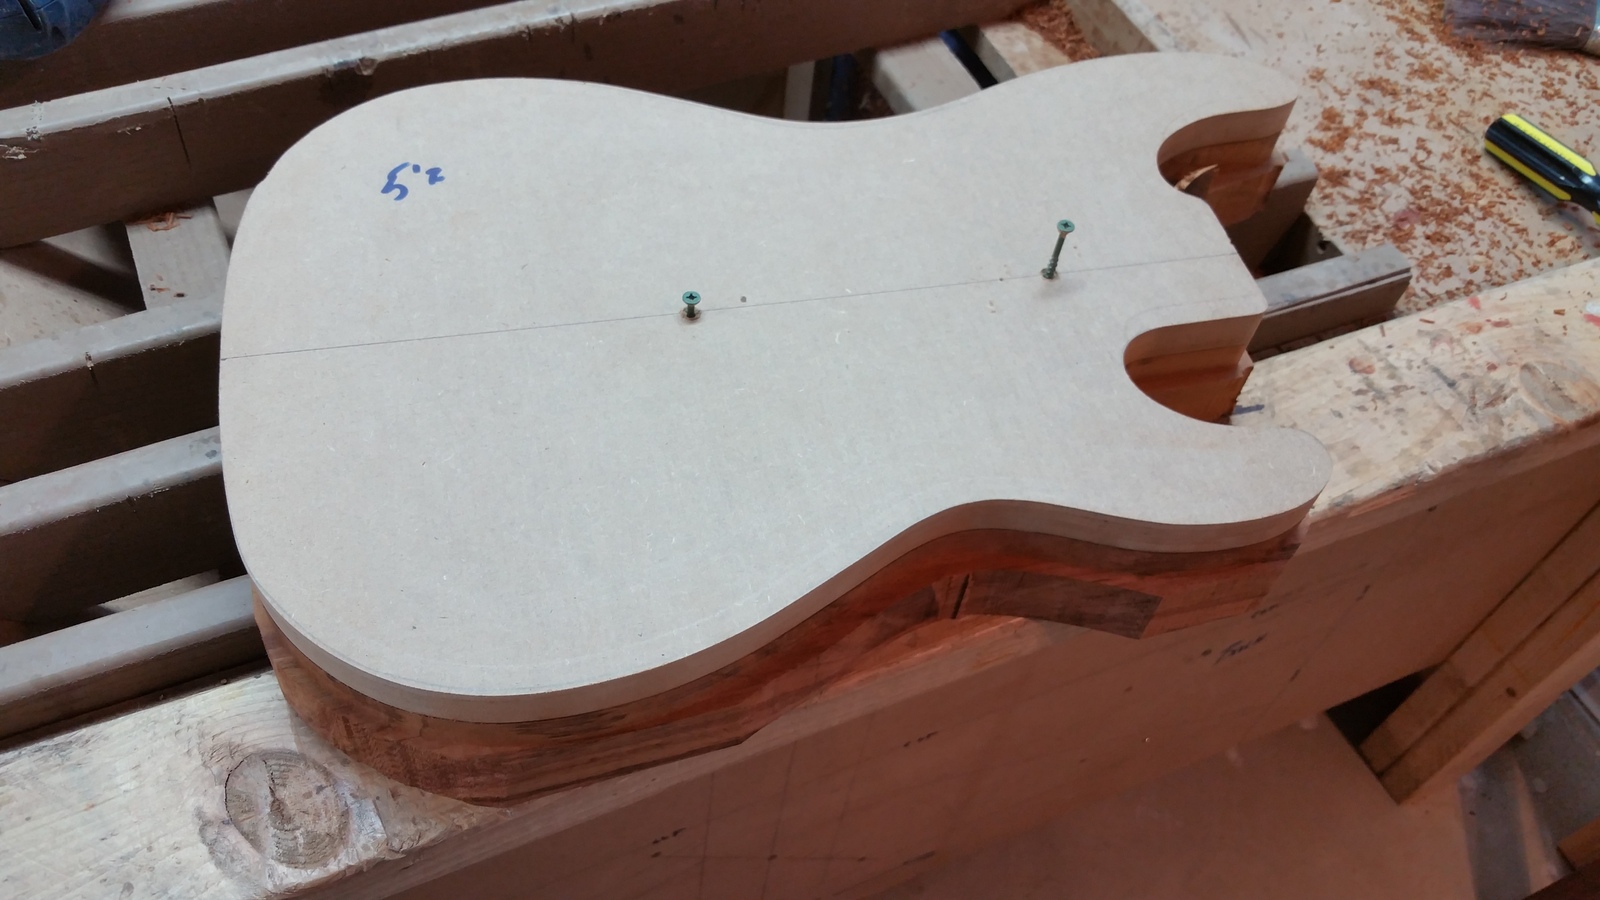
I then attach my template to the body blank, and route it out
5-51P5.jpg


Because this is going to be a 5 stringer, I need to make a neck template. Using the template from the past build I got the head shape. Heal width is 2.9", nut width is 1.7"
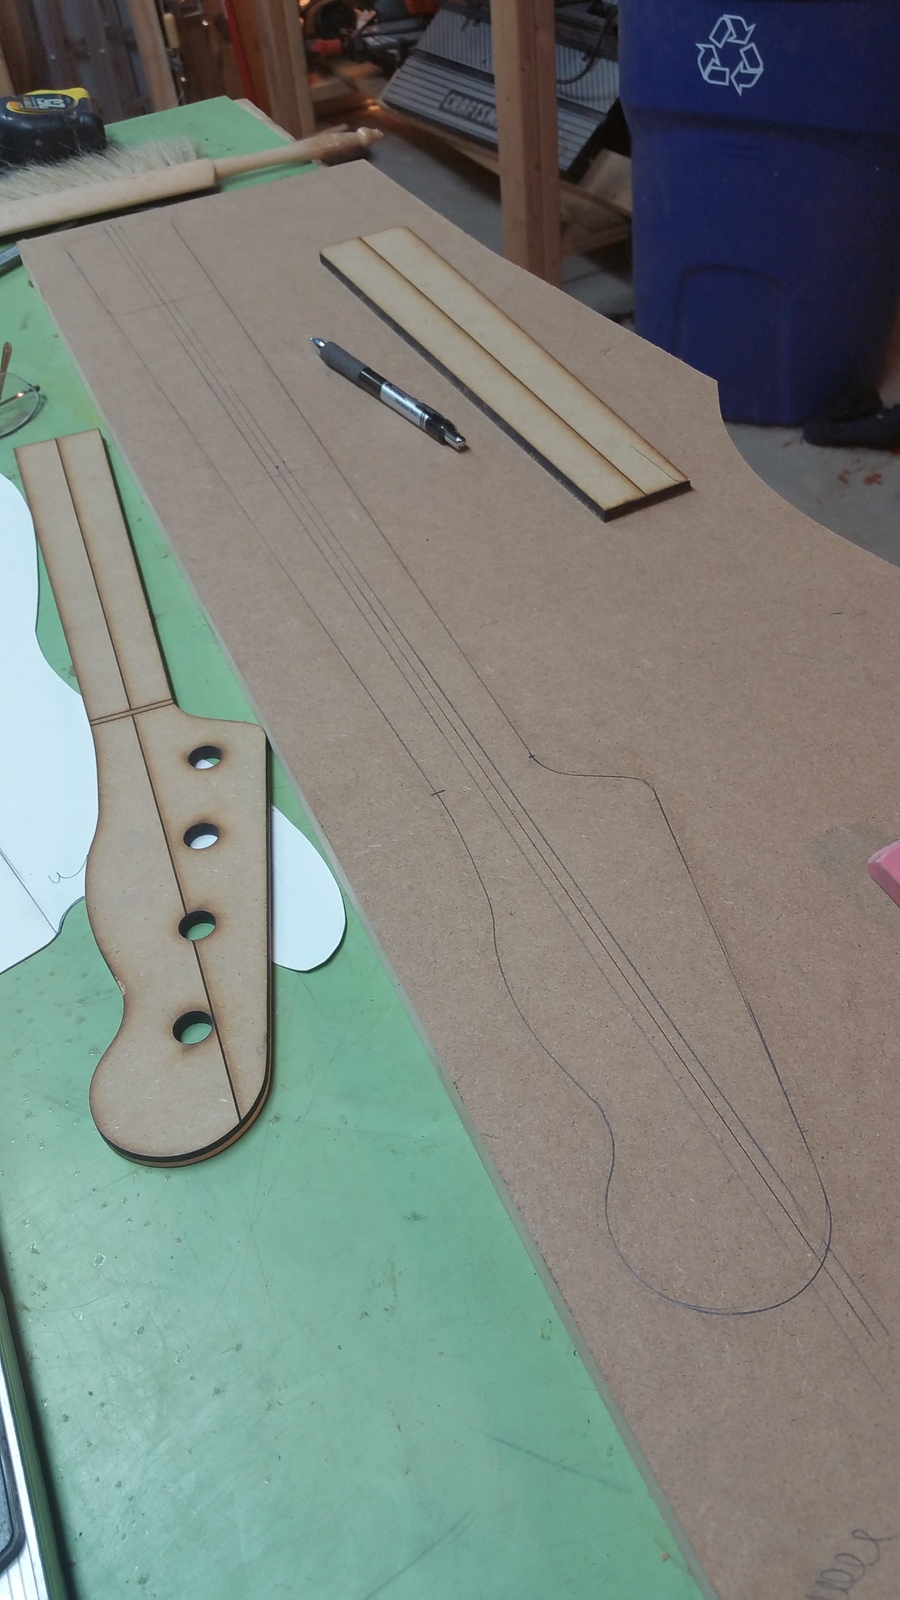
5-51P6.jpg


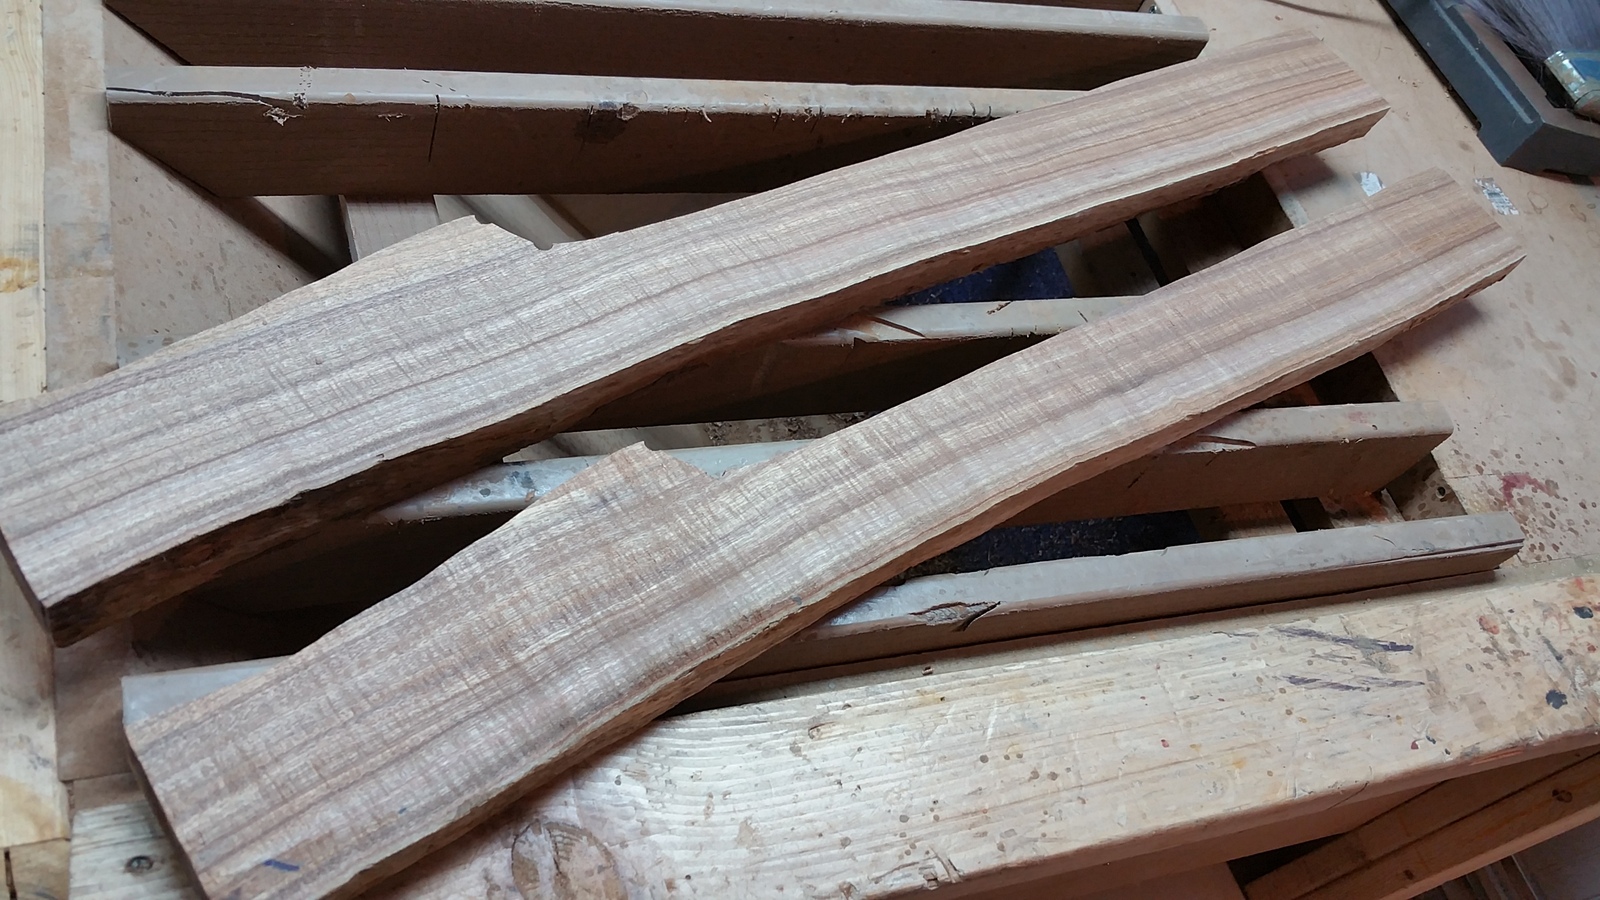
Once I got my template made, I needed to get the neck. On my table saw I cut the thickness, and I then cut out the rest of the neck with my sabre saw.
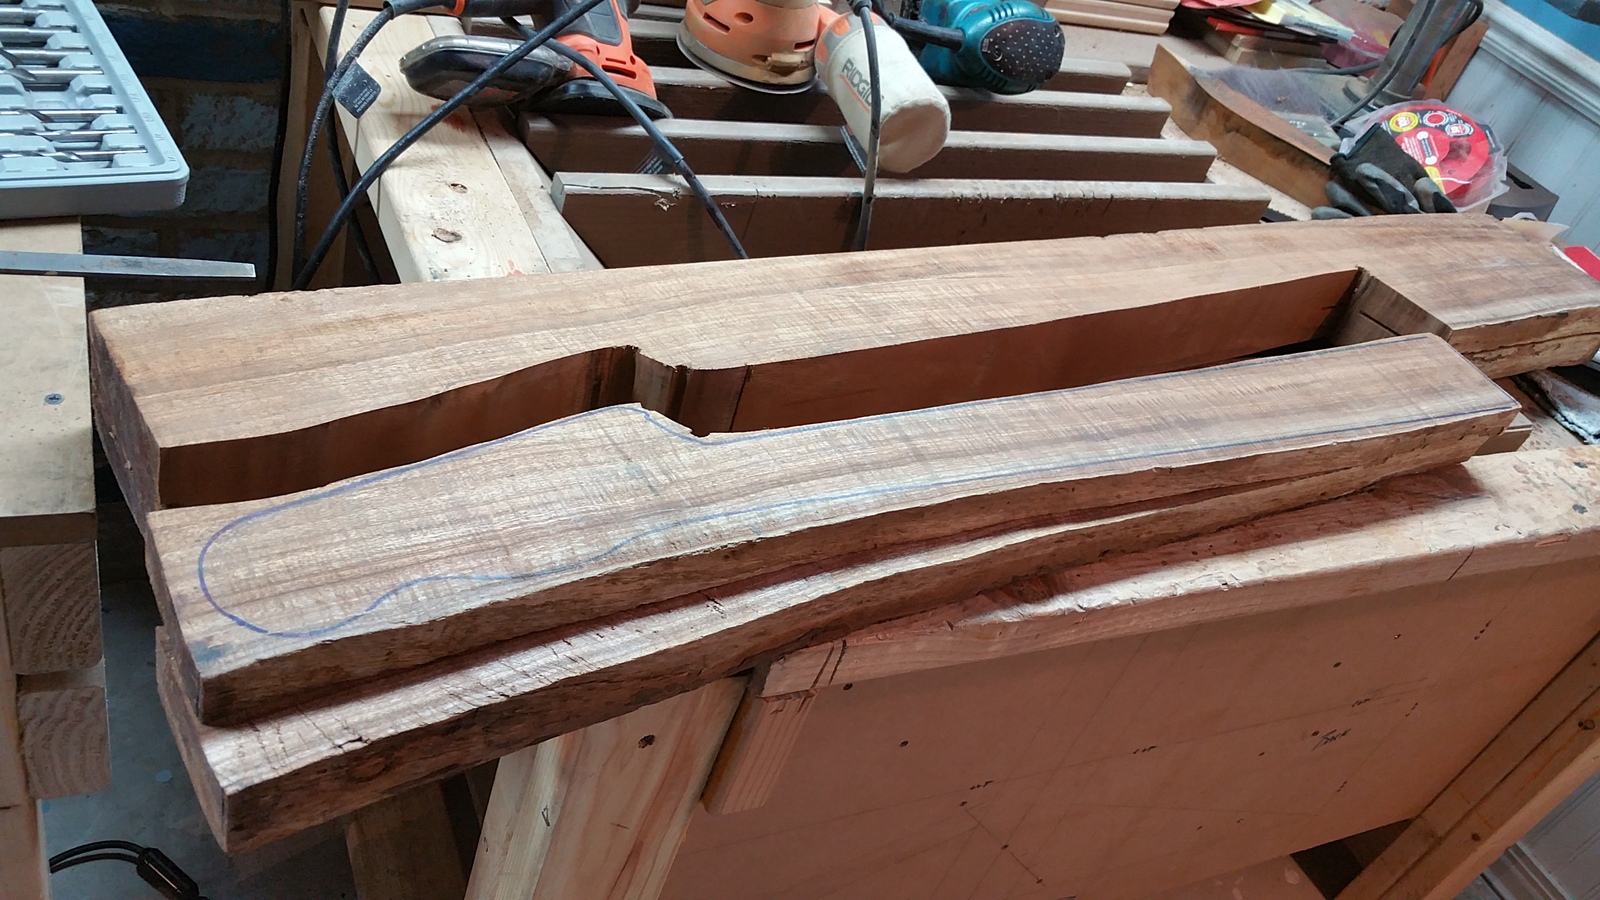
5-51P7.jpg


Got two nice necks out of that

5-51P8.jpg


Used the template to route out the neck
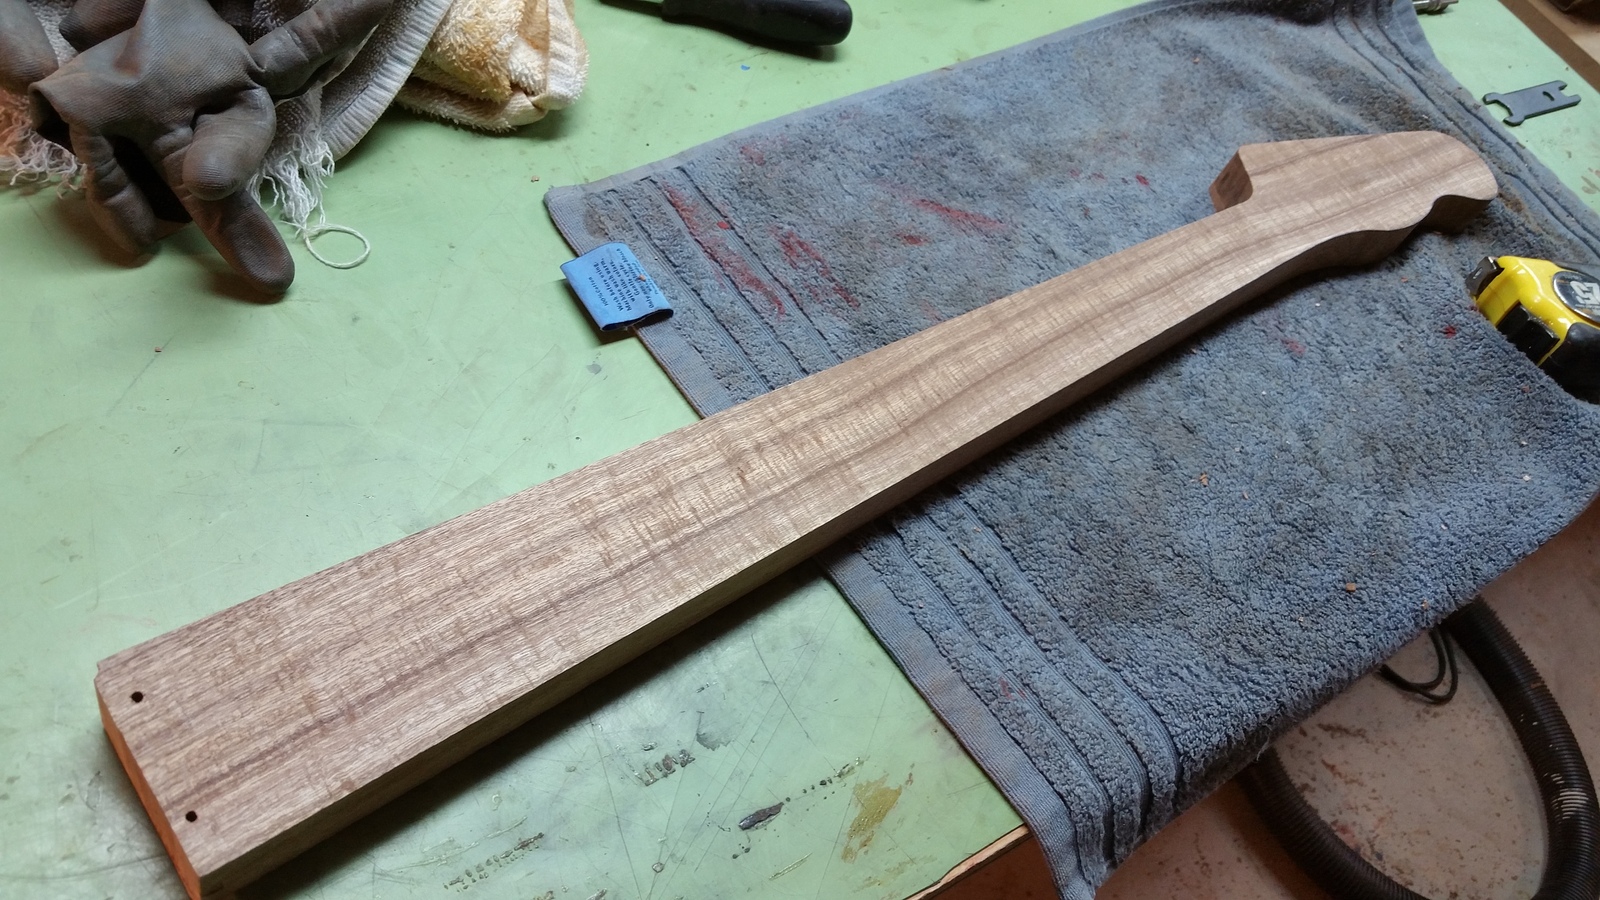
5-51P9.jpg


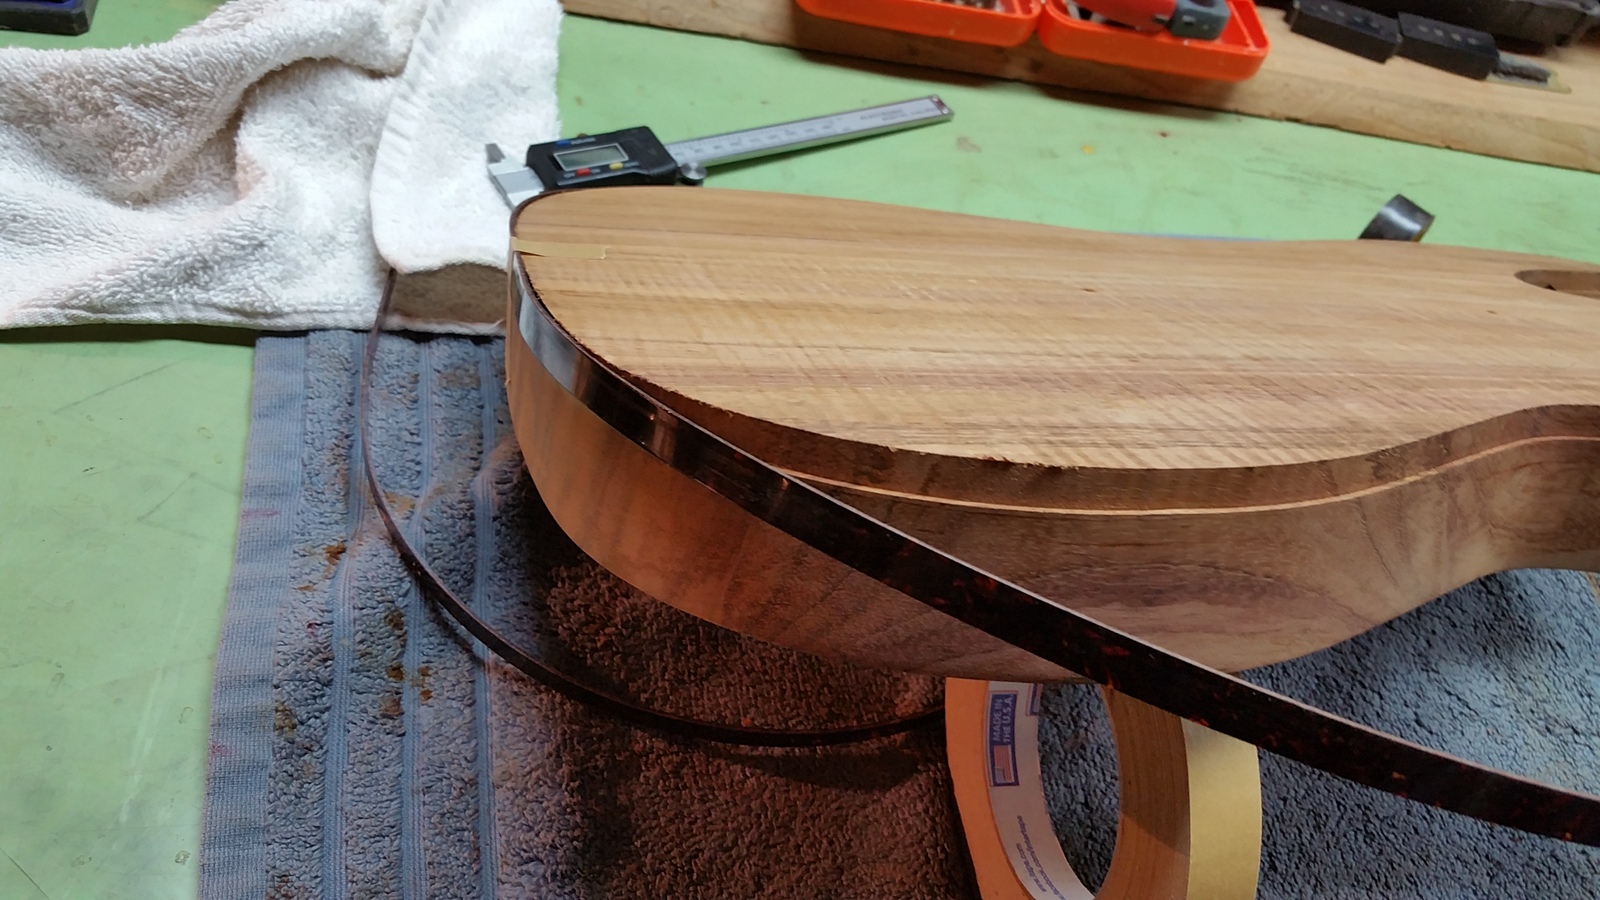
Routed for the binding.........
5-51p10.jpg


.......and installed the binding
5-51P11.jpg


Cheers
 
Last edited:
Update:
1) Hogged out the neck pocket
5-51P12.jpg


2) Fit the neck
5-51P13.jpg


3) Rounded off the heal
5-51P14.jpg


4) Routed the TR channel
5-51P15.jpg


5) Glued down the FB
5-51P16.jpg


6) Trimmed off the fat and found the nut location
5-51P17.jpg


7) Cut the nut slot (Piece of maple was my fence)
5-51P18.jpg


8) Because the neck is really thick, took .100 off the back
5-51P19.jpg


9) Used spindle sander to shape
5-51P20.jpg


10) Leveled off the heastock face
5-51P21.jpg


11) and put a radius on the neck
5-51P23.jpg


Thanks for looking!
 
Solid flame koa?
Wow....that's not a cheap piece of wood!
Where do you get your koa?

Looking very nice by the way.

Rôck, Thanks for the comps.

I got both the body blank and the neck blank off of ebay.
The body blank was a piece that was 50"x12.5"x2. Got it for 550 plus shipping. I'll get 3 bodies out of this. 2 basses, and 1 guitar(Tele). I contemplated re-sawing and getting at least 8 nice tops, but I really like solid body Koa. Bottom line, I'll be getting a 3 Koa solid bodies for @$200/ea. Not bad for Koa.

The neck material was a piece that was 56"X7"x2.5. Beautifully quarter sawn. Got that for 250 plus shipping. I'll get 4 really nice necks out of this.

I've had both of these pieces for a while now. Was just trying to figure out what I'd do with it.
 
Koa is pretty stuff, as is this build!
That's a pretty nifty router sled you have there. It looks like it has radius-cutting functionality as well?

It's actually 2 different fixtures.
In step 4 from my last post, that's my radius jig. I used it in that step to cut the TR channel. I can also use that fixture to cut the radius. I got my inspiration from Ledbelli in his post Fingerboard Radius Jig for Router | TalkBass.com
In step 8, that's a different fixture, and that my actual router sled. I never did finish off the sled rail for this, but it works, so I go onto other things

Cheers
 
Ahhh, gotcha. I built a similar router sled from aluminum angle stock. Reminds me I need to level it out for my next builds. I had been using a Safe-T-Planer, but I wasn't thrilled with the results due to my ad-hoc drill press table. Thanks for the link! It is always fun to see how others engineer the crap out of things.
 
More stuff here:

1) Put a taper on the neck
5-51P24.jpg


2) Spindled in the volute. Here's something I'm doing a little different. The location of the volute is set just about where the 1st fret is, rather than where the nut would be. I've been doing this for a while. Couple reasons why I do this. It will add strength to this area. 2) It really helps me find the note F on the e string. For the most part, playing fret less bass comes pretty easy for me. But one thing that is a tad bit difficult is to hit the note F in tune. Moving the volute to where I have it help me find F easier because my thumb and index finger are usually in the same plane. Make sense?
5-51P25.jpg


3) Hogged out the neck profile. Mostly used the rasp, but used other tools as well.
5-51P26.jpg


4) Successfully routed out the pups
5-51P27.jpg


5) Made the neck pocket just a tad deeper. The height of the neck at the top of the crown of the FB is .375 above the level of the body.
5-51P28.jpg


6) The neck for this is just monstrous. I have a theory I'm developing. It seems the more mass there is to a neck, the more I like it. In this case, Koa is not as dense as other woods like Ziricote or Ebony, so I make the neck a little thick. For this bass the neck pocket is 1.13 deep.
5-51P29.jpg


7) So I have some opportunities that I'm pondering for contouring the heal
5-51P30.jpg
 
  • Like
Reactions: Why Nautilus‽
Man, with the weather in the high 60's lower 70's with a sunny blue sky, it's hard to stay in the basement, but I am getting some stuff done

Not show, I have the nut blank in the slot and am sanding the neck. It doesnt seem to have as much flame to it as when I first cut it. Maybe it will come back when I finish it. It was a mild flame.

I will probably string this up real soon. This neck it real thick, and Id like to know if Im going to like it. There's really only 1 way to find out.

In the meantime, I did get the control cavity routed out. Might use a scrap of African black wood. I need to see if I have a piece of Koa laying around.

Cheers

5-51P31.jpg
 
I have what may be a stupid question - how are you going to get the wires from the front pickup into the control cavity? I'm about to start a body that is from a single piece of wood, and I can't figure out how I'm going to get that front wire to the control cavity. My first thought is to inlay a skunk stripe on the back and put a wire channel under the inlay, but I'd rather not do that if I can figure out a different way to route the wire through the body.
 
I have what may be a stupid question - how are you going to get the wires from the front pickup into the control cavity? I'm about to start a body that is from a single piece of wood, and I can't figure out how I'm going to get that front wire to the control cavity. My first thought is to inlay a skunk stripe on the back and put a wire channel under the inlay, but I'd rather not do that if I can figure out a different way to route the wire through the body.

The most common way is to drill with a long bit from inside the heel of the neck pocket through both pickup routs, then drill from bridge pickup into cavity. So neck pup wire goes through the bridge rout then both neck and bridge wires exit the bridge rout into the control cavity.

Liking the Koa :)
 
I have what may be a stupid question - how are you going to get the wires from the front pickup into the control cavity? I'm about to start a body that is from a single piece of wood, and I can't figure out how I'm going to get that front wire to the control cavity. My first thought is to inlay a skunk stripe on the back and put a wire channel under the inlay, but I'd rather not do that if I can figure out a different way to route the wire through the body.

I'll be able to drill a hole from both pups right to the control cavity. There's only about 1/2 inch to go thru. I'll post a pic when I get to it.

In the meantime......Preview

5-51P32.jpg