• TalkBass has been independent since 1998. Add your voice.
    Create a free account to reply to discussions, view embedded media, and browse with fewer display ads.
    Join freeLog in
    Want zero display ads or expanded classifieds tools? Compare plans.

Laguna burger build

Feb 21, 2021
6,232
15,043
WNY
I have access to a real table saw this week, so I'm taking the plunge and cutting up a perfectly fine Laguna Ocean TB75. Actually, not perfectly fine. I pulled the frets 10 yrs ago just out of curiosity but never set it up or played it. It's just been sitting in the case with a crappy fretless conversion.
Going to cut the body wings off, make a new body and give it a new finish. I'm hoping this inspires me to both start playing again and even build a few basses from scratch.
I'm keeping all the hardware and electronics the same. There's not too much to the headstock, so I don't have enough material to reshape it. So, the neck will stay completely the same other than a new finger board with frets and a new finish. It's a 5 layer maple and wenge neck-through so it's a good start. And it's a comfy neck to play.
I'm basing the body design on something someone else based on a Mayones design. I liked their rendition better. Mine may vary slightly, but probably not much.
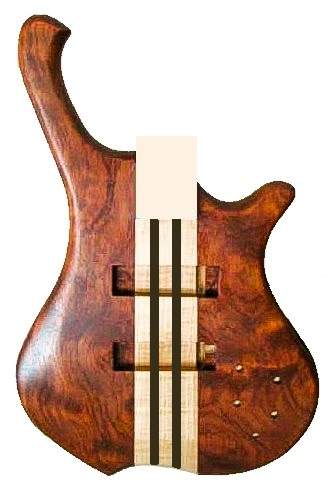
Body_edited 3.jpg

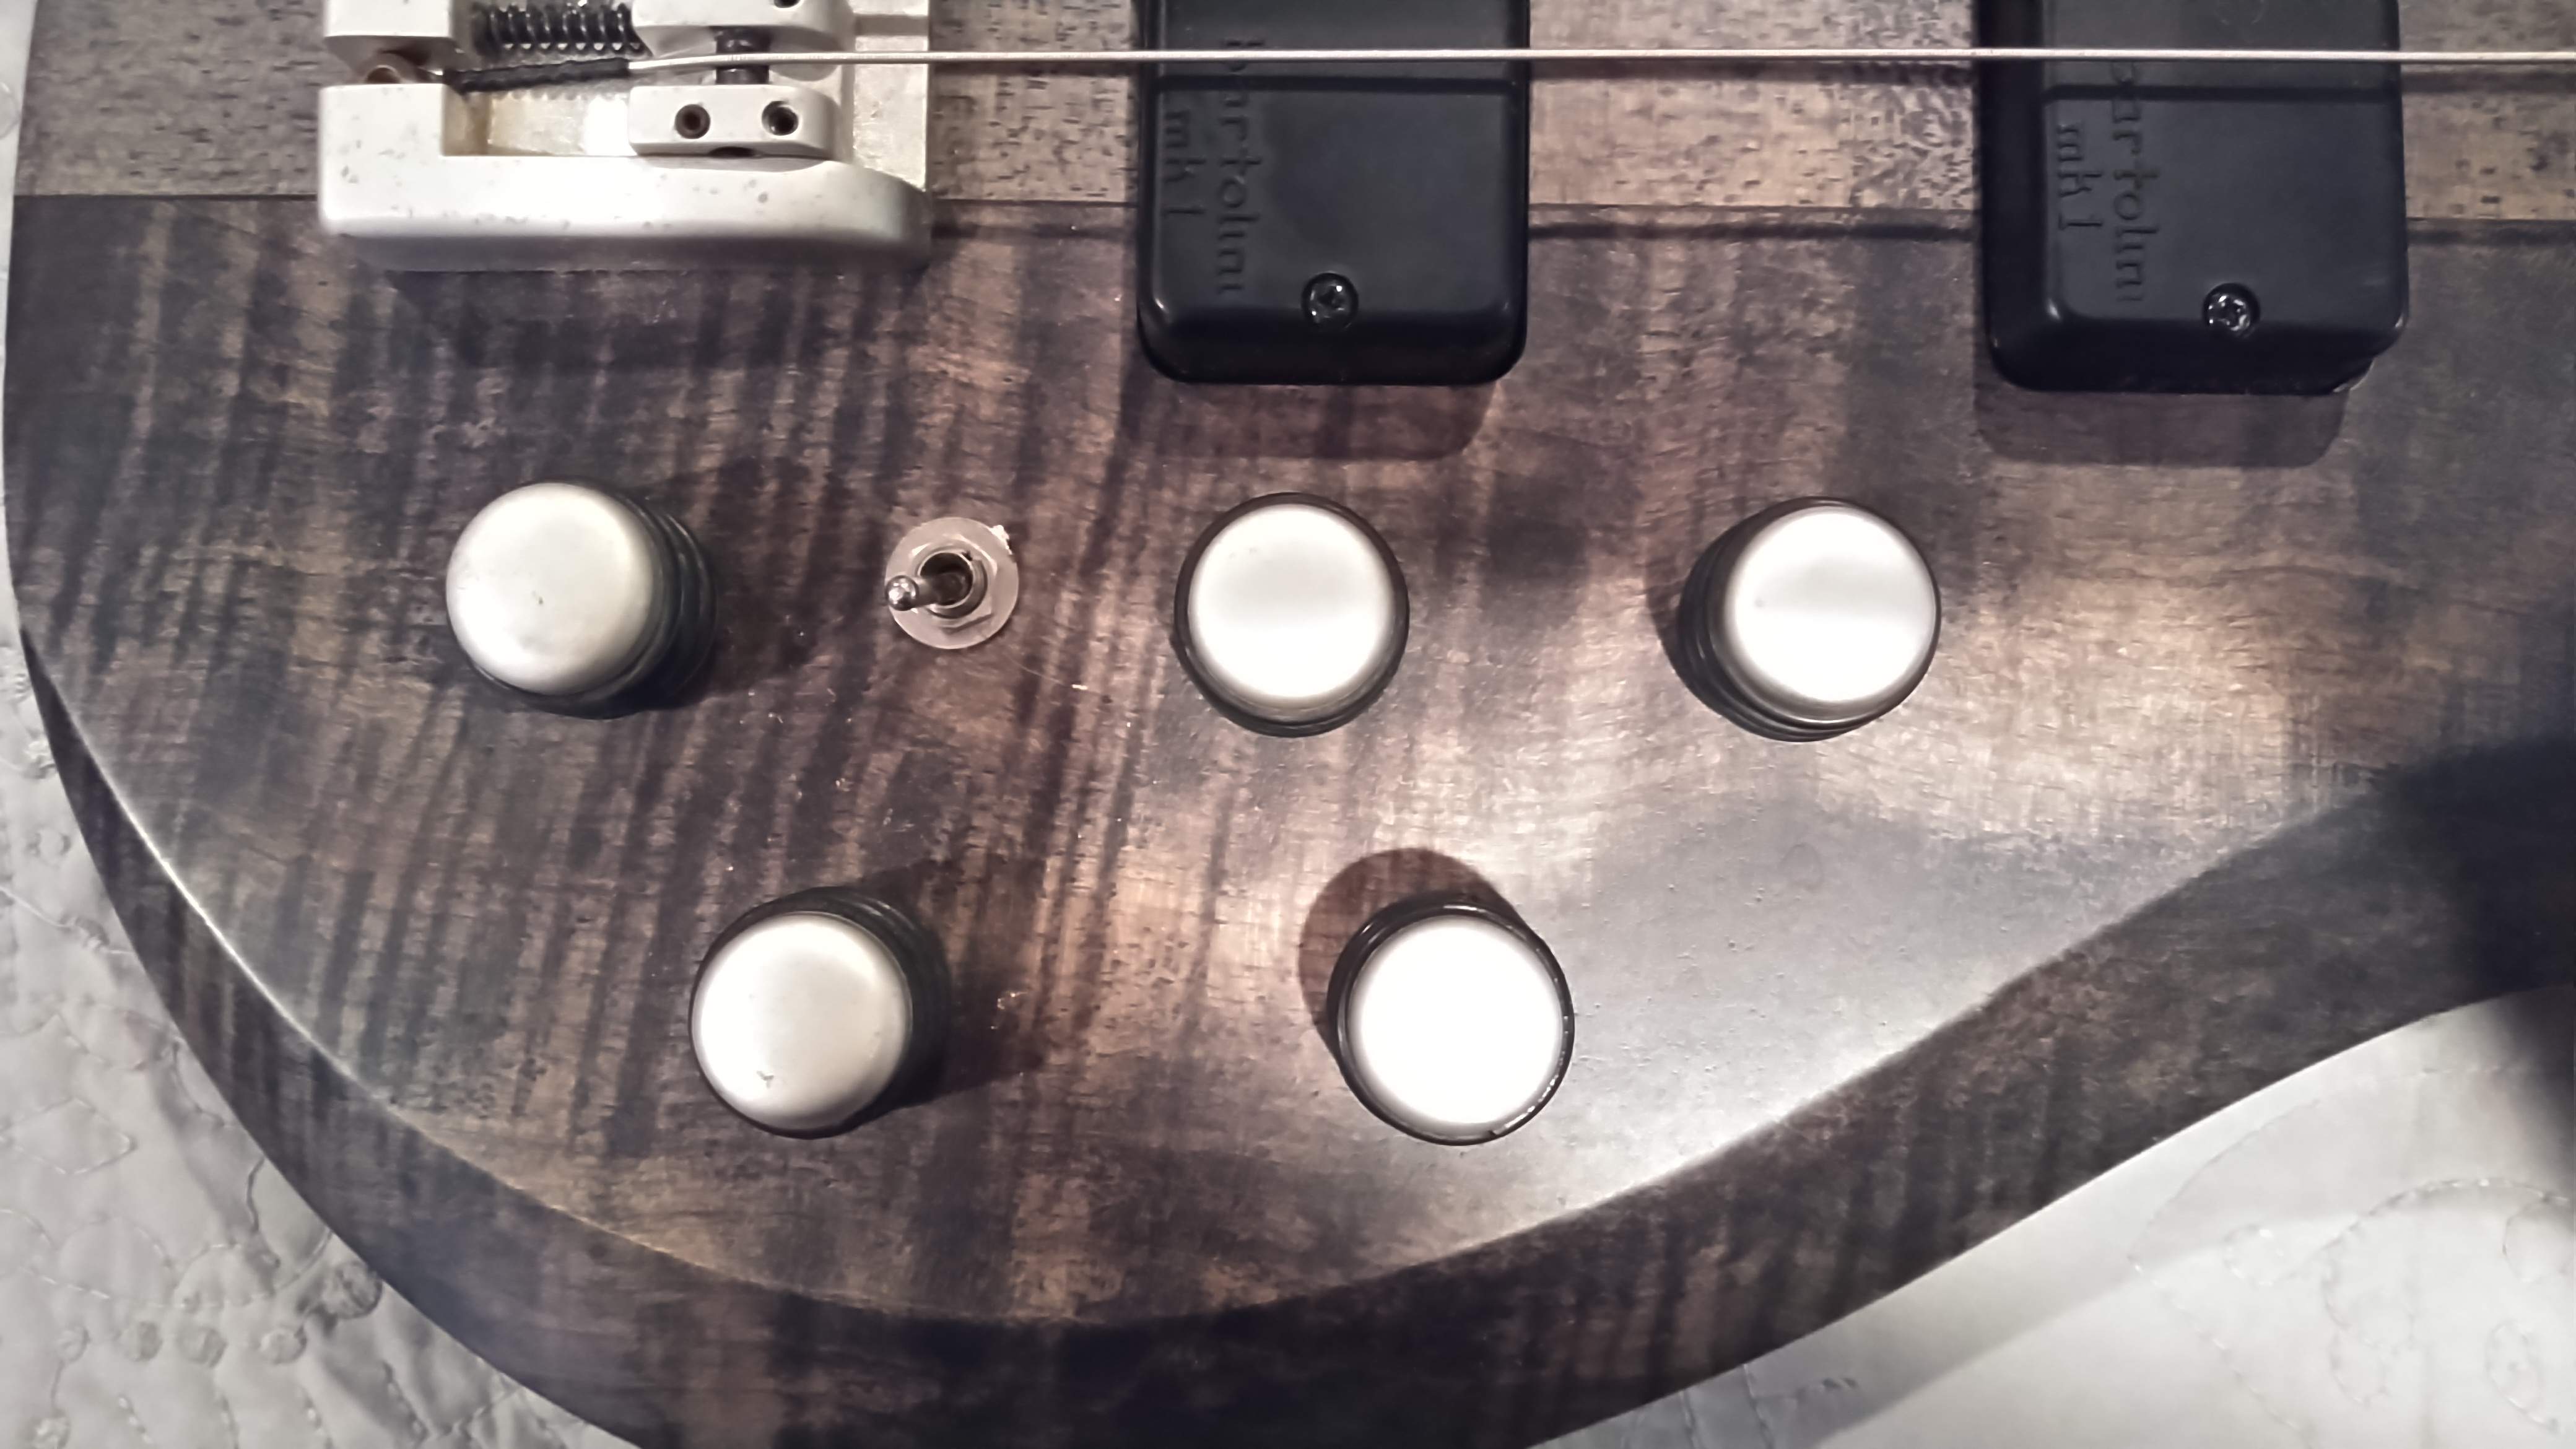
The hardware seems to have a silver/aluminium colored paint finish with some blemishes from sitting in the case in a basement for the last 5-6 yrs. I'd like to refinish the bridge and knobs in black, so if anyone has suggestions, I'm all ears.
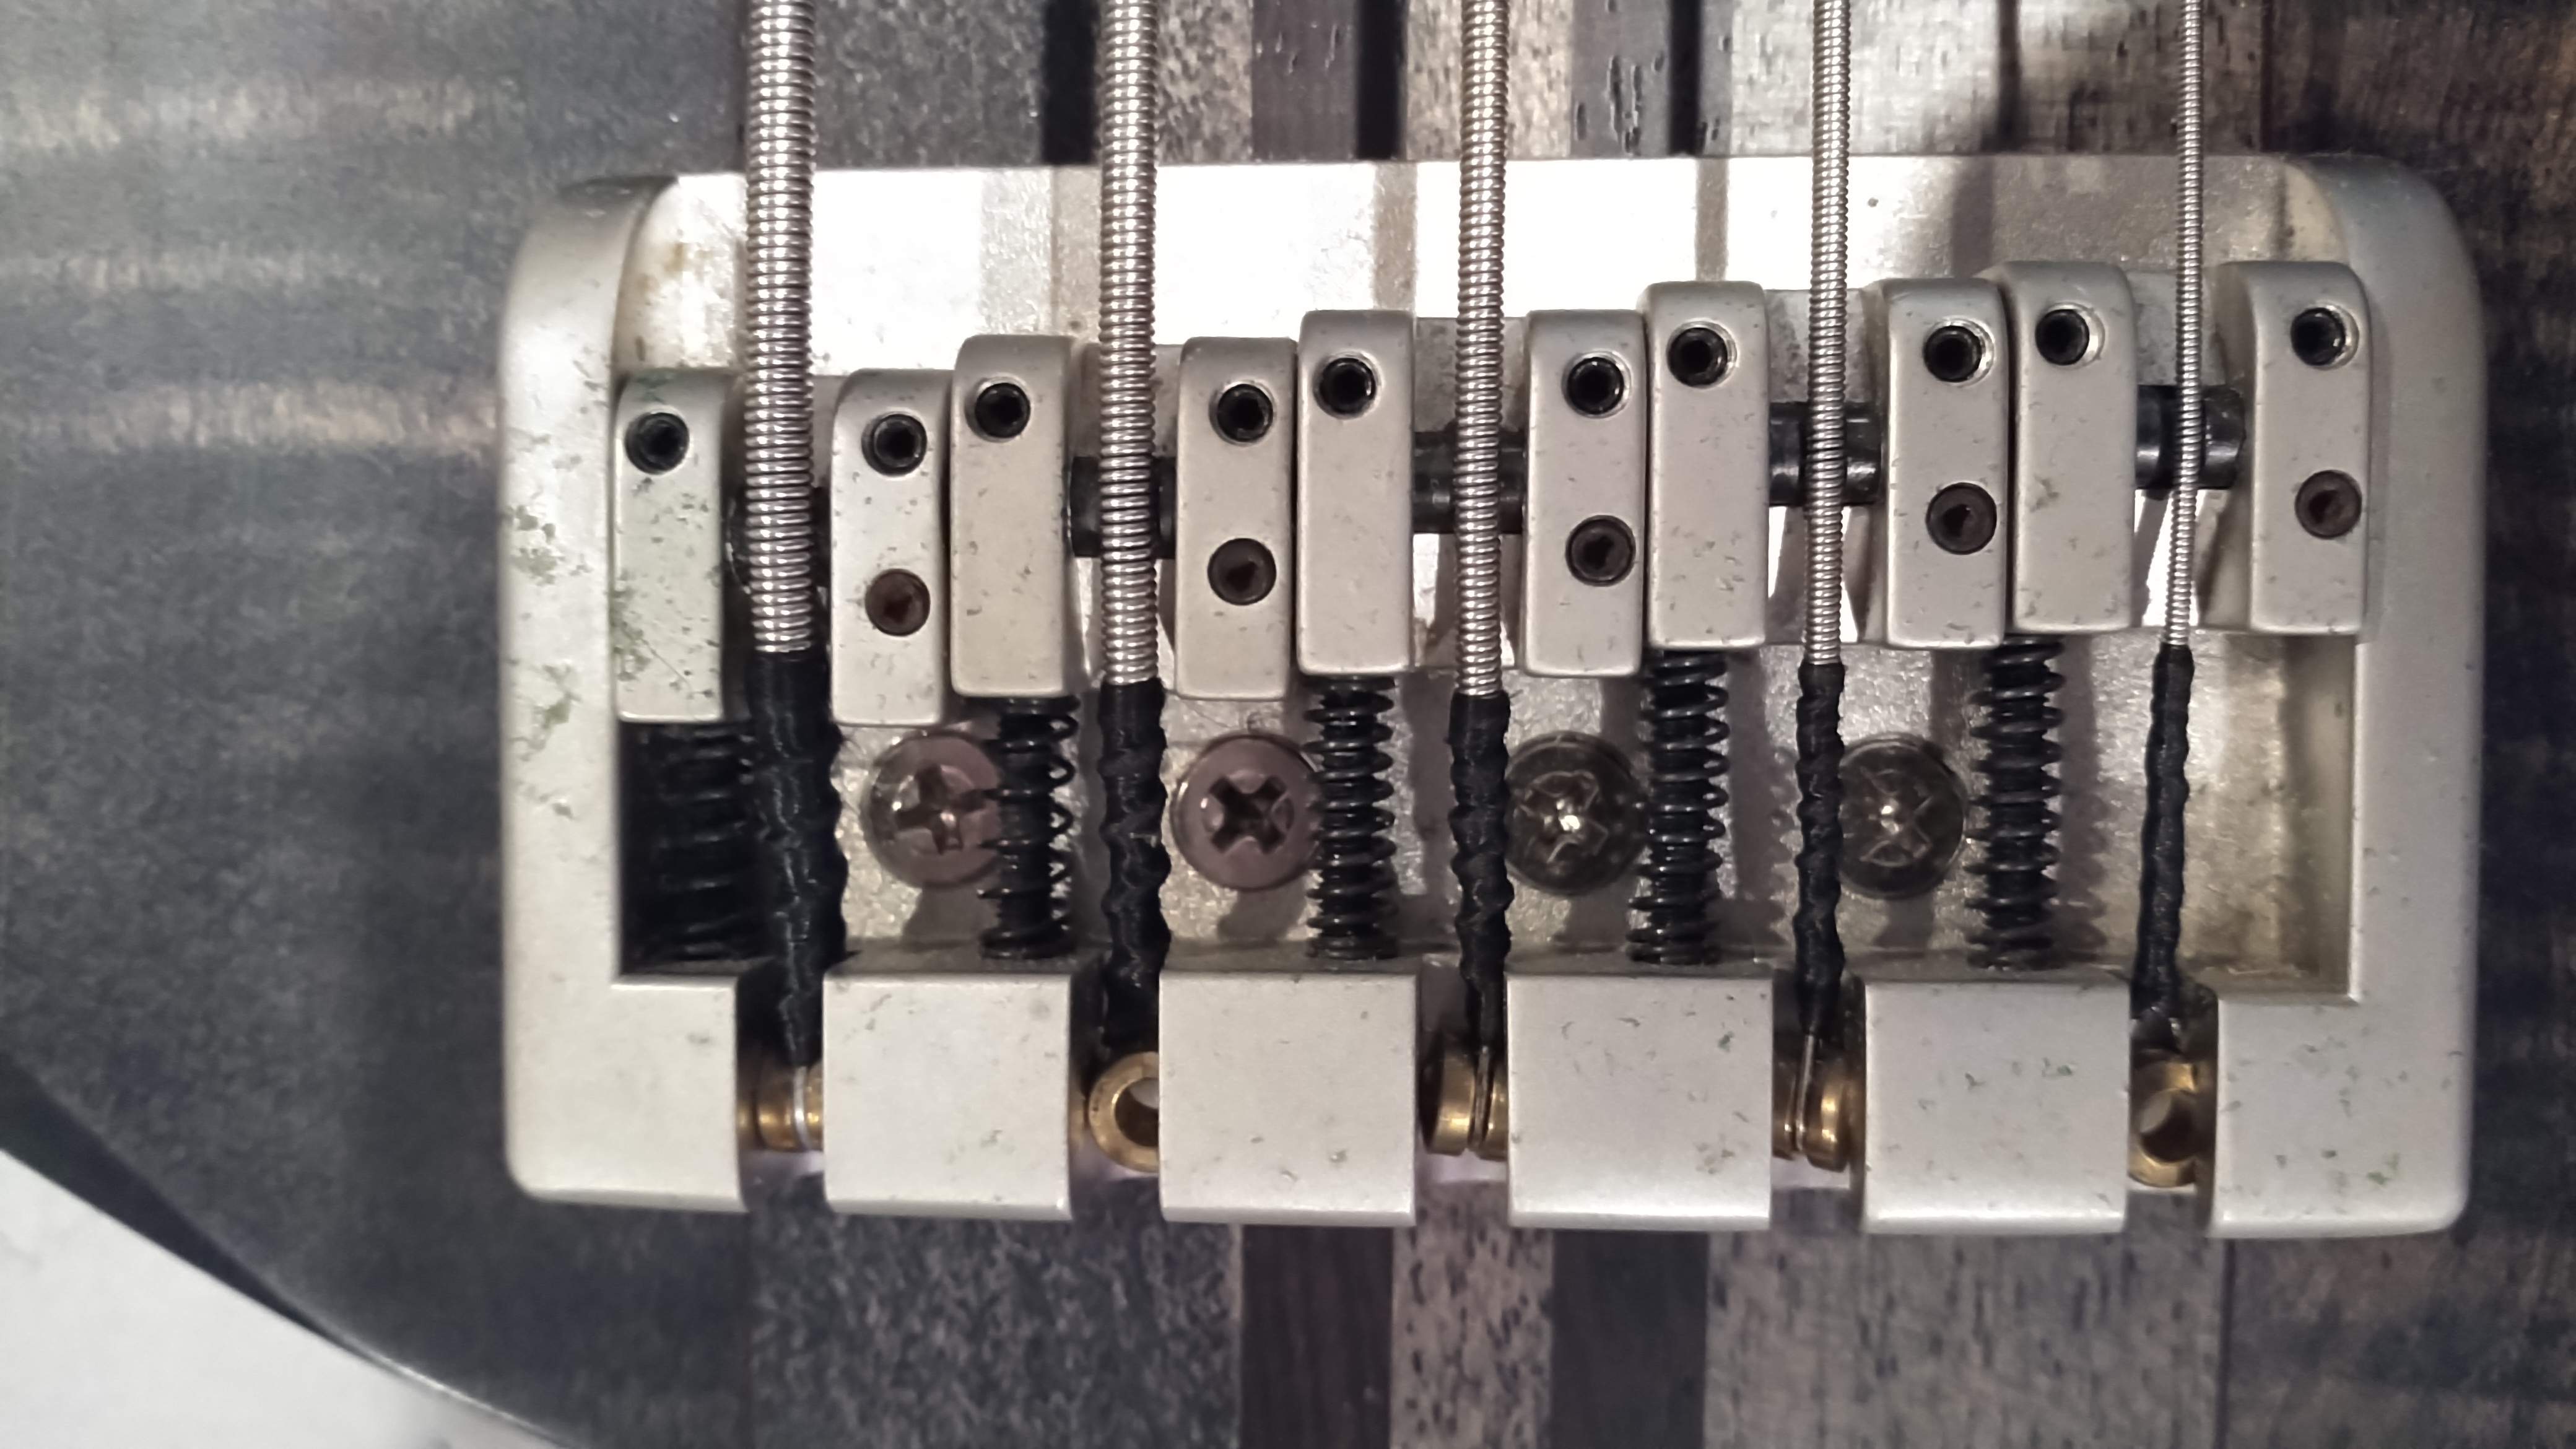
KIMG1418.JPG
KIMG1417.JPG

Not sure what wood I'll use for the core, but I'd like to top it with something like bubinga. Possibly walnut but I like the bubinga color and grain. It will likely come down to seeing the wood in person and the pieces I have to choose from. The bass weighs 9 lbs and I'd like to shave a pound off and counter by having a slightly longer top horn. We'll see how it works out.
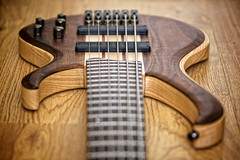
These are 2 pics that are inspiring me for the top look.
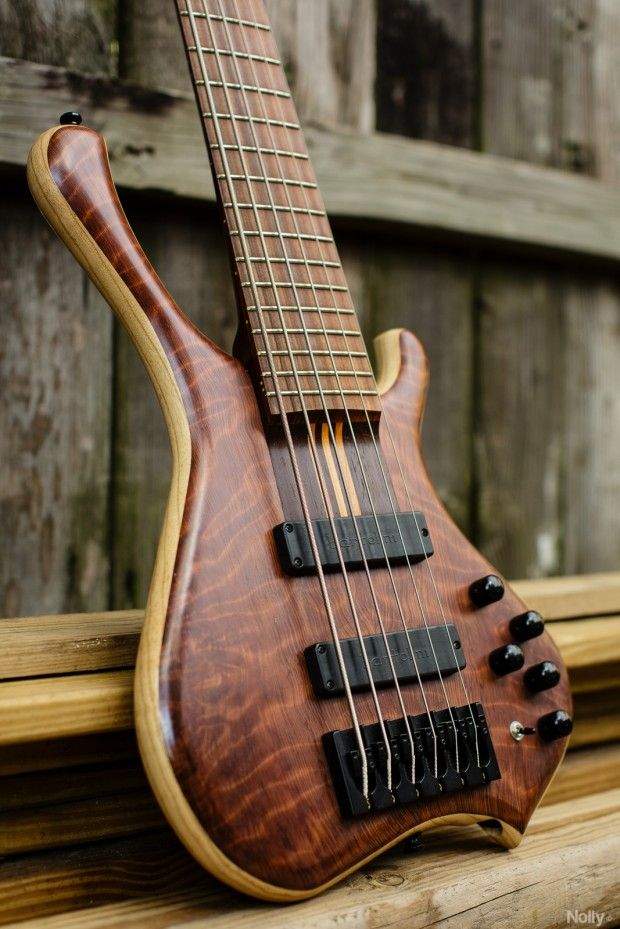
eaa8d4cd84d56603950d22773f2cf6c7.jpg
3558363400_9a4cf05282_m.jpg

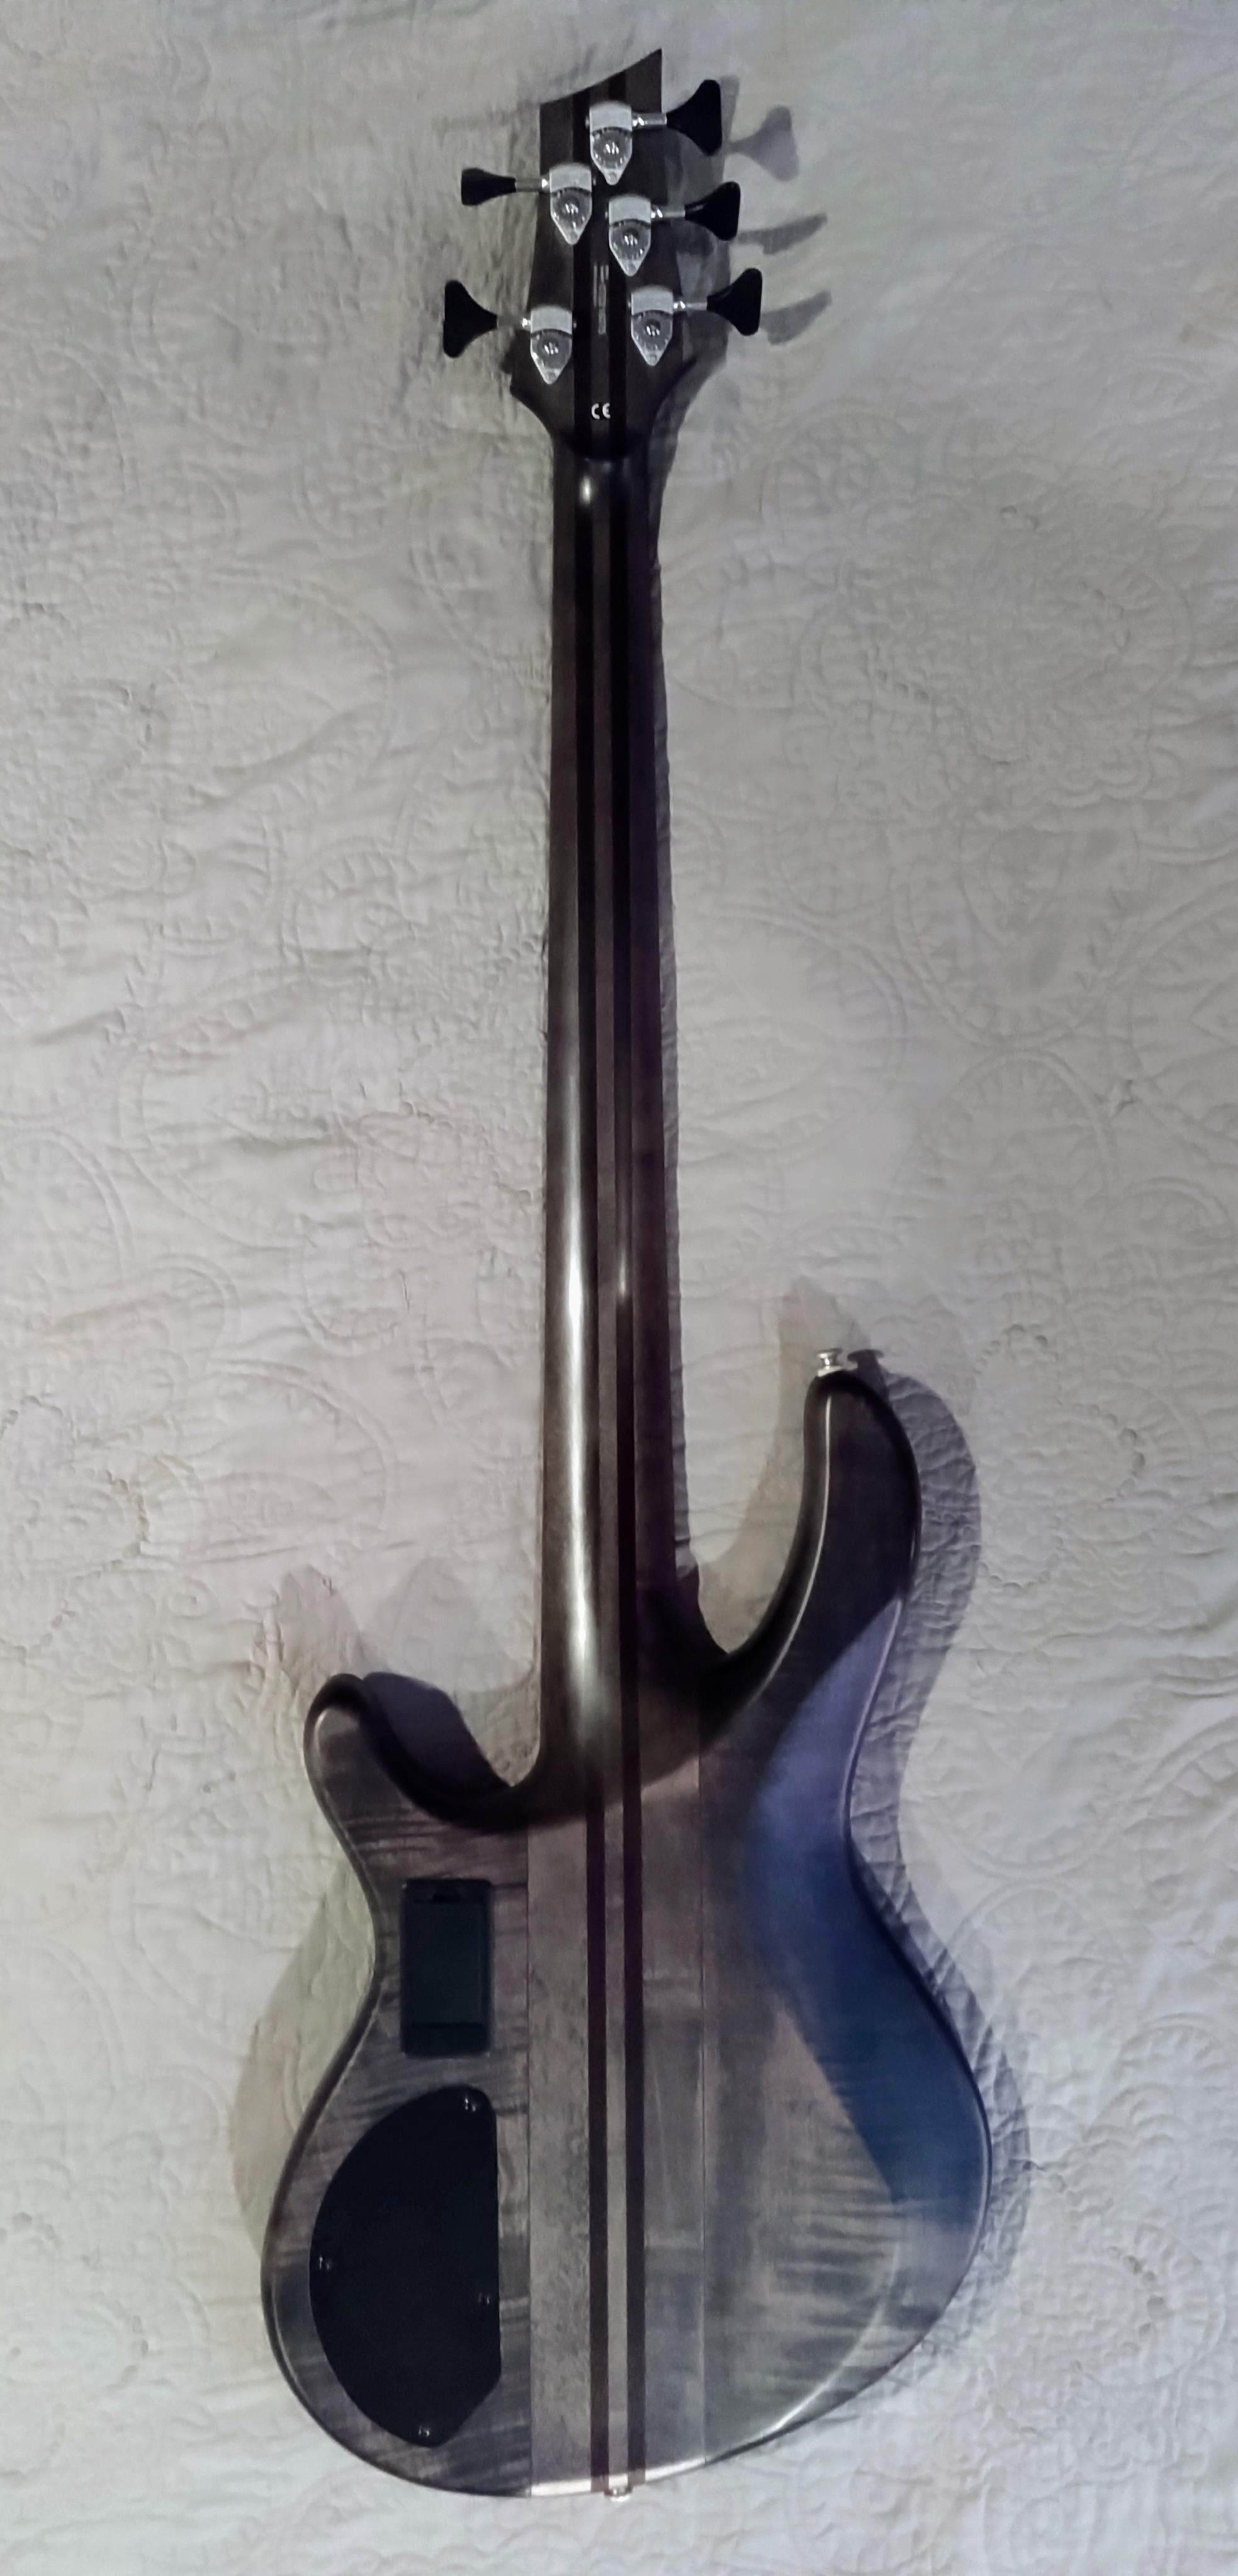
And this is how the doner bass looks as of now.
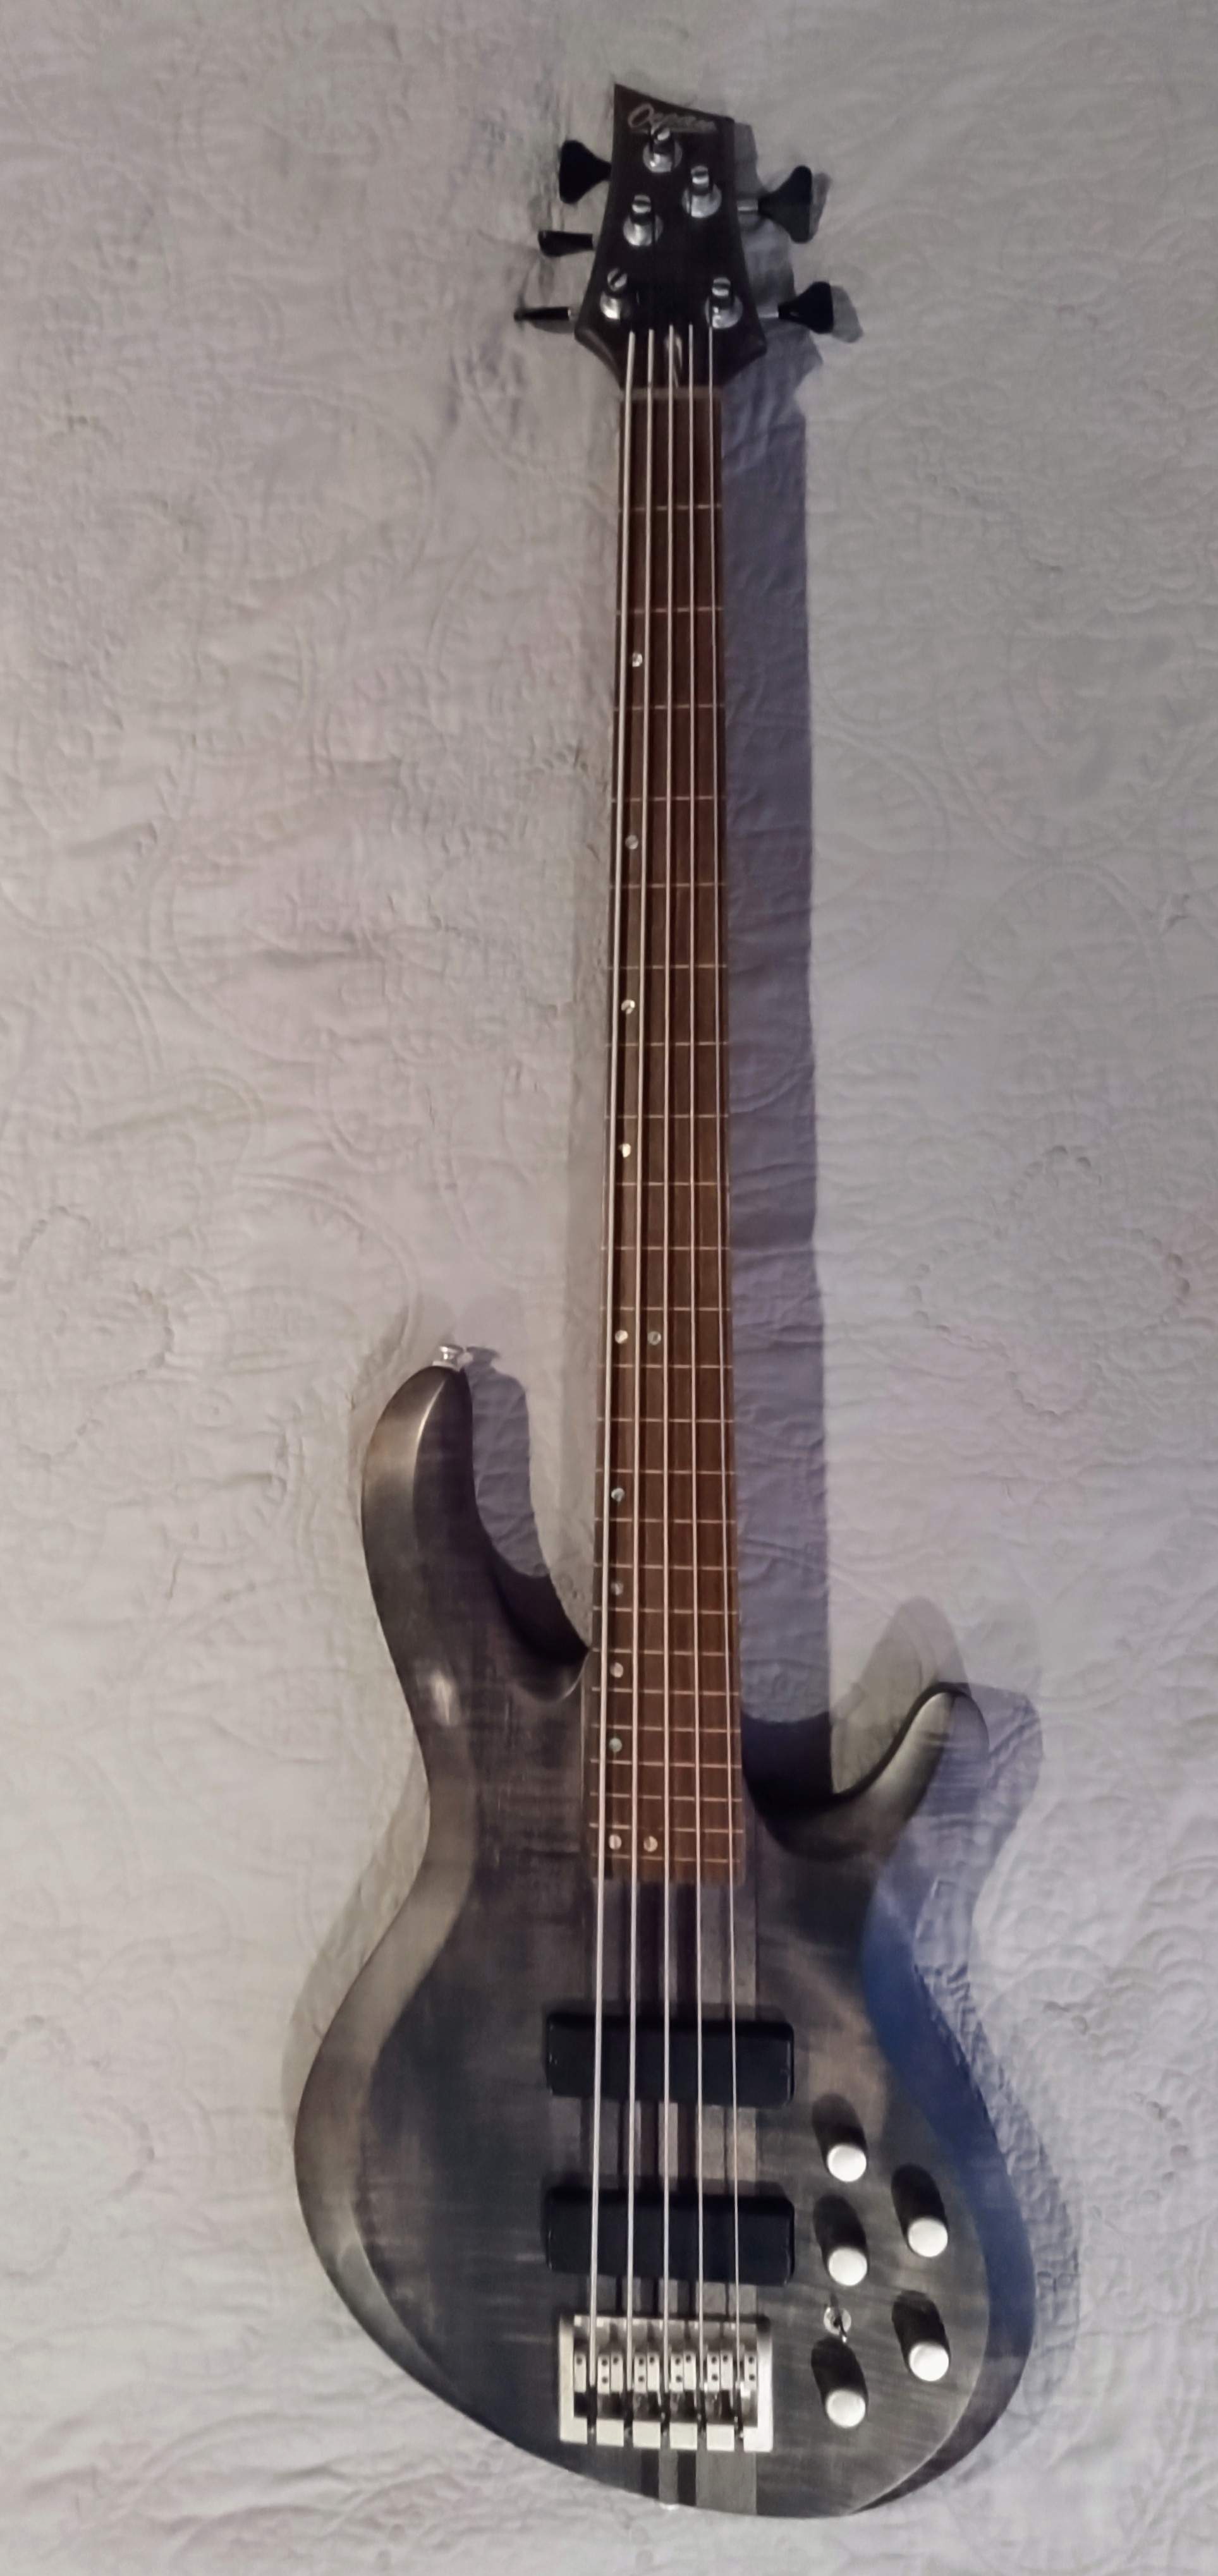
KIMG1410~2.JPG
KIMG1412~3.JPG

Wish me luck.
 
Last edited:
That first photo you posted looks close to my Thumfinizenvette mashup shape:

Special Edition Build Off: The Thumfinizenvette
build thread - 4 string right handed Thumfinizenvette clone

That fretboard color looks weird to me with the otherwise black finish. I think your ideas will look much better in terms of the body colors. Bubinga is very heavy and walnut isn't exactly light, if you use those woods you might want to plan on hollowing out the wings to save weight. My original thumfinizenvette is, if I recall, something above 9 pounds and is mostly bubinga and ovangkol - the copy I made with mostly cherry and maple is like 7.5 pounds!

Do you have a plan for the saw cuts yet?
 
Someone suggested attaching the bass to plywood so that the edge is even with the side of the neck. Something along those lines.
Still not sure if I want to leave a strip of the maple body on either side. I guess I could always run through again to get all the way to the neck, since the first cut would be parallel with the neck at that point.
I'm wondering if I can get away with a lighter core if I top it with something heavy. I'm thinking 1" core and 1/2" top.
The current body is right at 1.5"
 
That's what I would do. Get a scrap of plywood or mdf and rip it on the saw to a fixed width, say 9" or something. Then set the bass on top with the neck/wing joint aligned with the edge you just cut, with one wing hanging off over the edge, and screw the bass to the plywood via the opposite wing. Cut off the wing, then slide the fence over so the neck is on the other side of the bass and cut off the other side.

I would leave a strip of the existing wing wood on the neck. It'll look like a purposeful accent and it'll give you some "meat" if you need it when you're truing up the surfaces, etc.

In terms of the core and top - I would just base it on what lumber you have and what you like the looks of, then hollow the wings if needed to get them lighter.
 
Is this the one with the cherry body that's under 8 lbs?
View attachment 4187118

Yup that's it!

Those basses have 1 1/4" thick bodies. That one has a fairly slim neck, lightweight tuners, and a big control cavity - nearly the entire lower wing is hollow just from the control cavity. The only thing going against it is the fairly heavy brass bridge. I bet if I hollowed the other wing and used an aluminum bridge it would have been right around 7 pounds. The top is walnut but it's very thin so it doesn't really impact the weight at all. The cherry in the body core is pretty light.
 
Cherry tends to be a little pinkish.
Not sure how that would finish next to something like bubinga.
Did yours still look pink, or did it shift to yellow/orange with the finish?
I don't HAVE to top it with bubinga, but definitely something similar to that grain/color. I think something that finishes blonde for the core.
 
Before you hack off the wings... I highly recommend taking many, many detailed photographs and also measuring lots of distances and recording those for future reference.

I'd also suggest using a pattern bit to make templates for the pickup cavities and control cavity. Basically, you put some masking tape down on the body and double-side tape down a blank piece of MDF over the cavity. Then use a router with one of these bits to trace around the inside of the pickup cavity, which transfers that shape to the MDF template above. :thumbsup:
514Po5yLNnL._AC_SL1080_.jpg


You'll thank me when you have some perfectly sized templates to use for routing the new body in the future... :D
 
Before you hack off the wings... I highly recommend taking many, many detailed photographs and also measuring lots of distances and recording those for future reference.
That's good advice. Ever since smart phones have been a thing, I try hard to do this with many things I take apart that need going back together. Most of the time I still forget I can take a pic with my phone, but it helps a lot when I remember.
With keeping the neck, the pup and bridge locations should be easy(er). I took a bunch of pics of the electronics, in case things get nuts and disconnected somehow. But there is so much going on in there that I'm going to remove it all with disconnecting only what is absolutely necessary to remove the entire cluster at once and then put it in the new body in basically the same config.
And I will definitely take the advice on making the pup hole template.
 
  • Like
Reactions: Beej
Cherry tends to be a little pinkish.
Not sure how that would finish next to something like bubinga.
Did yours still look pink, or did it shift to yellow/orange with the finish?
I don't HAVE to top it with bubinga, but definitely something similar to that grain/color. I think something that finishes blonde for the core.

I use cherry pretty frequently. It usually ends up a sort of rich medium brown/tan after it has aged a couple years. I'm not sure how it would look next to bubinga in the same instrument. Since you already have maple on there and it looks good with bubinga, I might be tempted to use maple on the body cores, but I'd definitely want them hollow as maple is pretty heavy. Bubinga also looks good next to wenge and ovangkol but again - really heavy!
 
That almost looks like you could just cut the wires that lead to the body, and pull out the rest as one.
Maybe get some paint markers, and paint on the wires you need to cut in different colors. Cut mid way in the paint, you know which ends to match back up, and there's no bits of tape to lose.

I may need more coffee.


Yep, basically just the pups and battery wires get disconnected. They are color coded so I cut them an inch above where they were soldered to the pots so I can see which wire went where.
Plus, I took a ton of closeup pics so I had a visual reference for where every wire is attached. And wrote down a few notes on paper. I'm a very visual person. Things like formulas and complicated schematics make my brain shut down.
So, a ton of pics it is.