• TalkBass has been independent since 1998. Add your voice.
    Create a free account to reply to discussions, view embedded media, and browse with fewer display ads.
    Join freeLog in
    Want zero display ads or expanded classifieds tools? Compare plans.

Maple + Mahogany short scale

Figured I've been a lurker here long enough and I should start posting a bit more. This is my second build but my first build thread.

4 String
30.5 scale
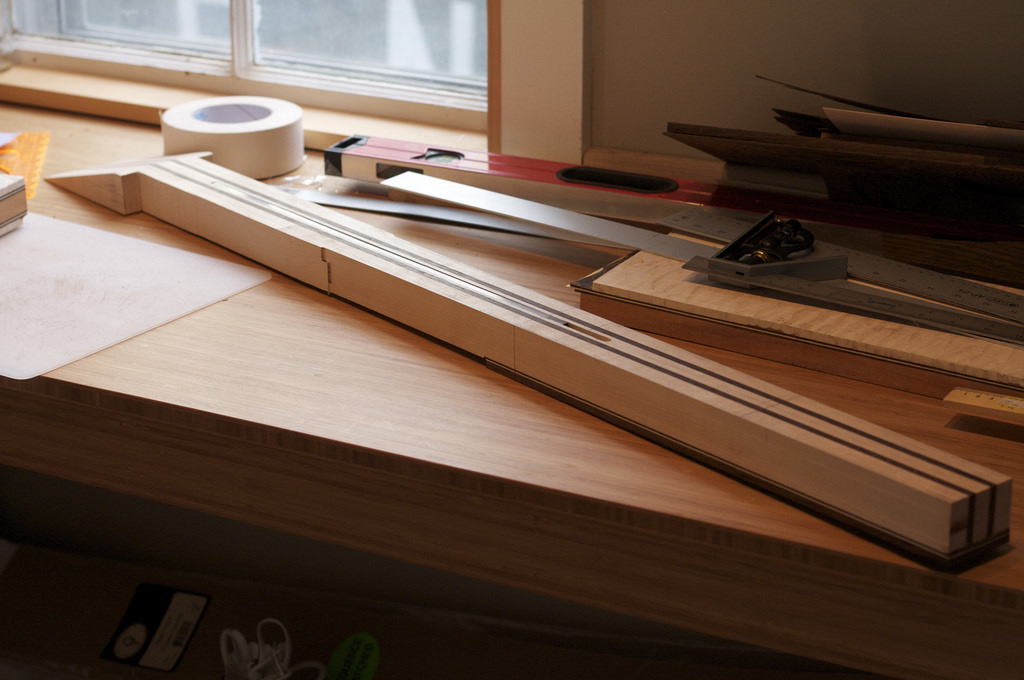
5 piece maple/wenge neck
Ebony Fretboard

Body -
Mahogany Core
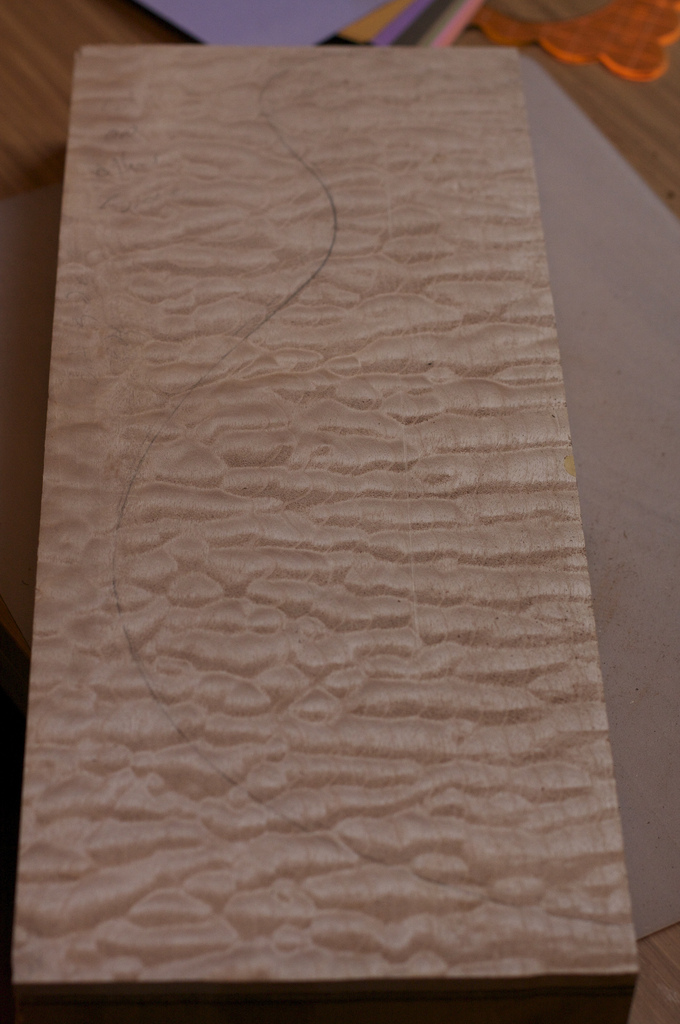
Quilted maple top and back
Wenge + maple accent stripes

Hipshot hardware - bridge + tuners
ACG preamp - (got it for a real good price last year when the pound dropped against the dollar)
Bartolini Pickups
4183206838_c3c4466bff_b.jpg


4182444483_95d9d87ee4_b.jpg

Body wing

4183207574_43dd1d1dbf_b.jpg

Body laminations

The accent stripes are done with 2 layers of veneer for each stripe. It works but I would prefer that they were single pieces. Wenge veneer is a real pain at times, just look at it and it will fall apart on you. Anyone know if a thickness sander can get things down to a 1/16 on an inch?

4182445965_c6455651e7_b.jpg


Here's and idea of the body design, basically a squished LP sort of body shape. I'm going for Stanley Clarke sort of thing but with more of an LP sort of feel.


And here's the obligatory pic of my first bass.
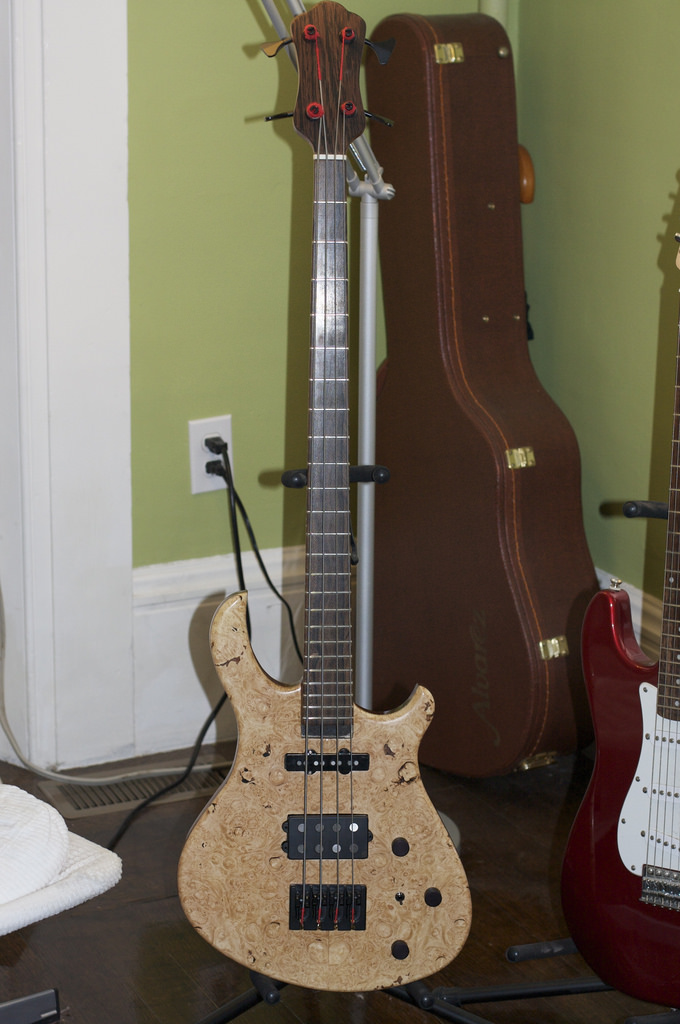
4125323249_b16f508ca6_b.jpg
 
A thickness sander will easily get wood down to 1/16". Even less if you have some method of keeping the wood flat, i.e. vacuum or double sided tape.
When it gets super thin, the heat generated has a tendency to allow the wood to bend upward towards the drum if you don't consciously keep it down.
 
ah, thats because thats not my shop but my office, with the wife not overly joyed about the amount of cluter going on in there at the moment. My shop is in the basement (read dungen) of my very old house. I have to pick and choose places to work where I can stand up straight to avoid all of the duct work :)

There's a few pics of it on my flickr account from the last bass that I built.

http://www.flickr.com/photos/23397529@N05/3802642772/in/set-72157621983939438/
 
this should look really nice when its done! are you finishing the bass? nitro, laquer, etc. personally, i would go with tung oil, but that is just me.

I'm leaning toward target coatings laquer right now for the top coats. My original plan was to do a blue dye on the quilted maple but I'm not sure about that anymore. I'll take the scraps left over from cutting out the wings and do some tests on them to see what it looks like and then decide.
 
neat; is the scale length on your first bass 30.5" as well?

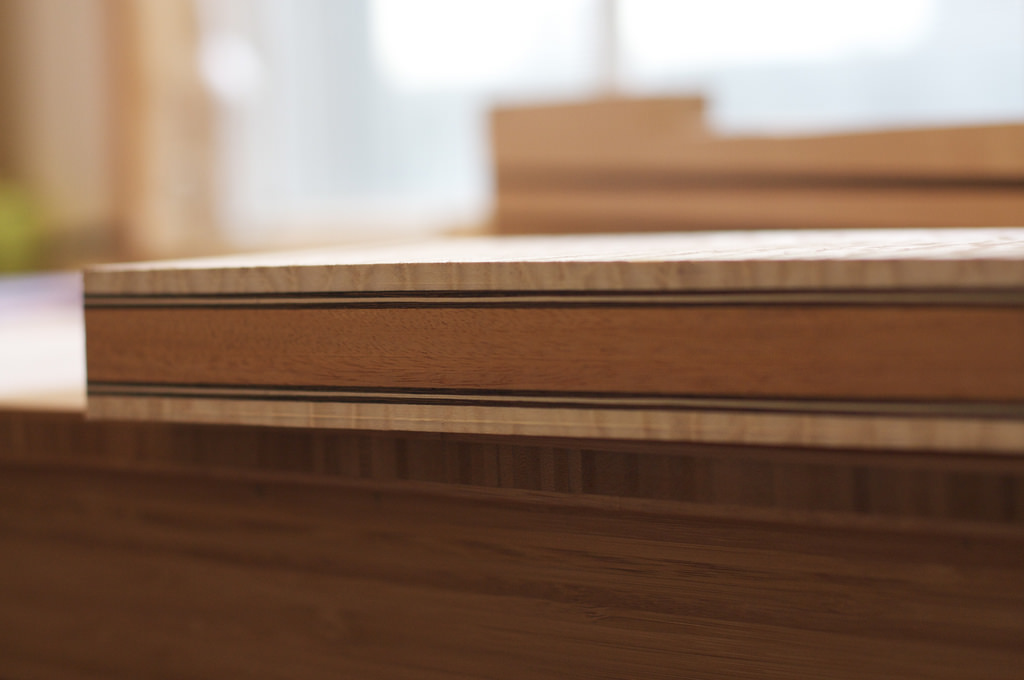
nope, its 32" , I like short scales but in the next couple ofter this one I'll be doing a longer scale. I have some bamboo left over from building out my office and think I'm going to laminate a couple of pieces together for the body. The bamboo has this really cool edge pattern to it which you can see in a couple of the pic above. I think something with a single cut sort of look would be pretty cool for that.
 
I was thinking the same thing with the blue, I just need to do up some test pieces to make sure I can get the color I want and that I can do it without bleed through to the neck. As far as headless goes, they're ok but I always feel looking at them that there is something missing, with the exception of Factor Basses ( I love them ). I might try one in the future but have no plans right now.
 
Got a bit more done today. I trimmed the neck flush with the fretboard on the router table with a pattern bit. I really need to get some longer pattern bits though. I made the one half flush with a bit that had the bearing on the bottom, then I changed bits to a flush trim bit with the bearing on the top to finish. It's not hard just bit of a pain.

After that I roughed out the neck shape.

4197813471_fb97f499c5_b.jpg


The double stick tape I just bought appears to be a bit stronger then the tape I had used before. It was really hard to get the template off of the fretboard. Neck time a litte less tape and I wont place it directly on the ends.


4197813711_bdfb0557ea_b.jpg


4197815423_7938ec9120_b.jpg


Heal area roughed in. I wont shape this any more until the wings are attached and I can blend the neck and wings together. Note the crack in the wenge backer :( I'll try to fill it in with wenge dust and CA and see if that works. If it doesnt I may just put an inlay in there instead.


4198569236_1aff757b14.jpg


I also got the scarf joint glued up. Once it dries over night I'll cut the headstock neck transition. I'll also cut the width down to glue wings onto the headstock to hide the scarf joint once the top and back are laminated. This is all depending on how much snow we get here tonight supose to get anywhere from 3 - 12 inches depending on which way the storm goes.
 
Hi rdrr:
Did you notice the crack in the wenge before you put everything together? Or not?
From your pic, it almost appears to be a surface crack only. Sometimes, this type of small crack happens from a change of environment prior to a piece of wood being properly seasoned or dry.
It is undoubtedly fixable.
Looking good regardless of the crack!
 
Benn sidelined by the holidays and some rotator cuff tendentious but I'm getting back to it.

Had a bit of a snag when cutting out the control cover. I was attempting to do a continuous back cover but the cut was anything clean so I came up with a couple of solutions.

First: Simple wenge cover.
4264447442_a90148b130_b.jpg


Second: Take the original cover - clean it up, glue it into a wenge cutout , then shape to fit the controle cavity.
4264438204_e889d8f3f0_b.jpg

Dont know which one I'll use yet, the solid wenge one fits a bit better.


I was also able to get the headstock roughed in.

Here is the headstock core thinned to 3/8 in. Notice where it meets the neck that the neck area is thinner and then ramps up to the thickness of the rest of the neck. It's a bit hard to see in the pic but was definitely more pronounced in person. This was done on purpose as you can see further down.

4264437904_09b9f9654d_b.jpg


Veneer for the top of the head stock. wenge,maple,wenge,quilted maple.
4263691433_8668dac8d8_b.jpg


Veneer for the backside. Note the little tabs.
4264444760_d4d4e8b1de_b.jpg


Rough looking right after glue up.
4263697045_29d505e268_b.jpg


Back side:
4264446868_2783635303_b.jpg


Side view after clean up.
4264441416_f9d40e6748_b.jpg


So the reason for carving out the neck thinner where the headstock meets the neck is to allow the back side veneers to fill in the gap in thickness. Once the veneer is glued on the rest of the neck can then be shaped around it.

Roughing it in before the headstock shape is cutout,
4263691113_b8aa53db5a_b.jpg


Headstock cutout and neck shaped around the veneer. This is not completely done yet but it's pretty close.
4263696703_672ae9eecc_b.jpg


Here's a side view where you can kind of see how the veneer fills in the area that was thinned out.
4263694753_04503c4e98_b.jpg


And this is a quick look at how things are shaping up.

4264440422_e1cd1a4540_b.jpg