

Enjoy the benefits of a premium membership!
Upgrade Account
-
TalkBass has been independent since 1998. Add your voice.
Create a free account to reply to discussions, view embedded media, and browse with fewer display ads.
Join free Log in
Want zero display ads or expanded classifieds tools? Compare plans.
You are using an out of date browser. It may not display this or other websites correctly.
You should upgrade or use an alternative browser.
You should upgrade or use an alternative browser.
My New Studio Build (perhaps overly detailed)
- Thread starter silky smoove
- Start date
More options
Who Replied?
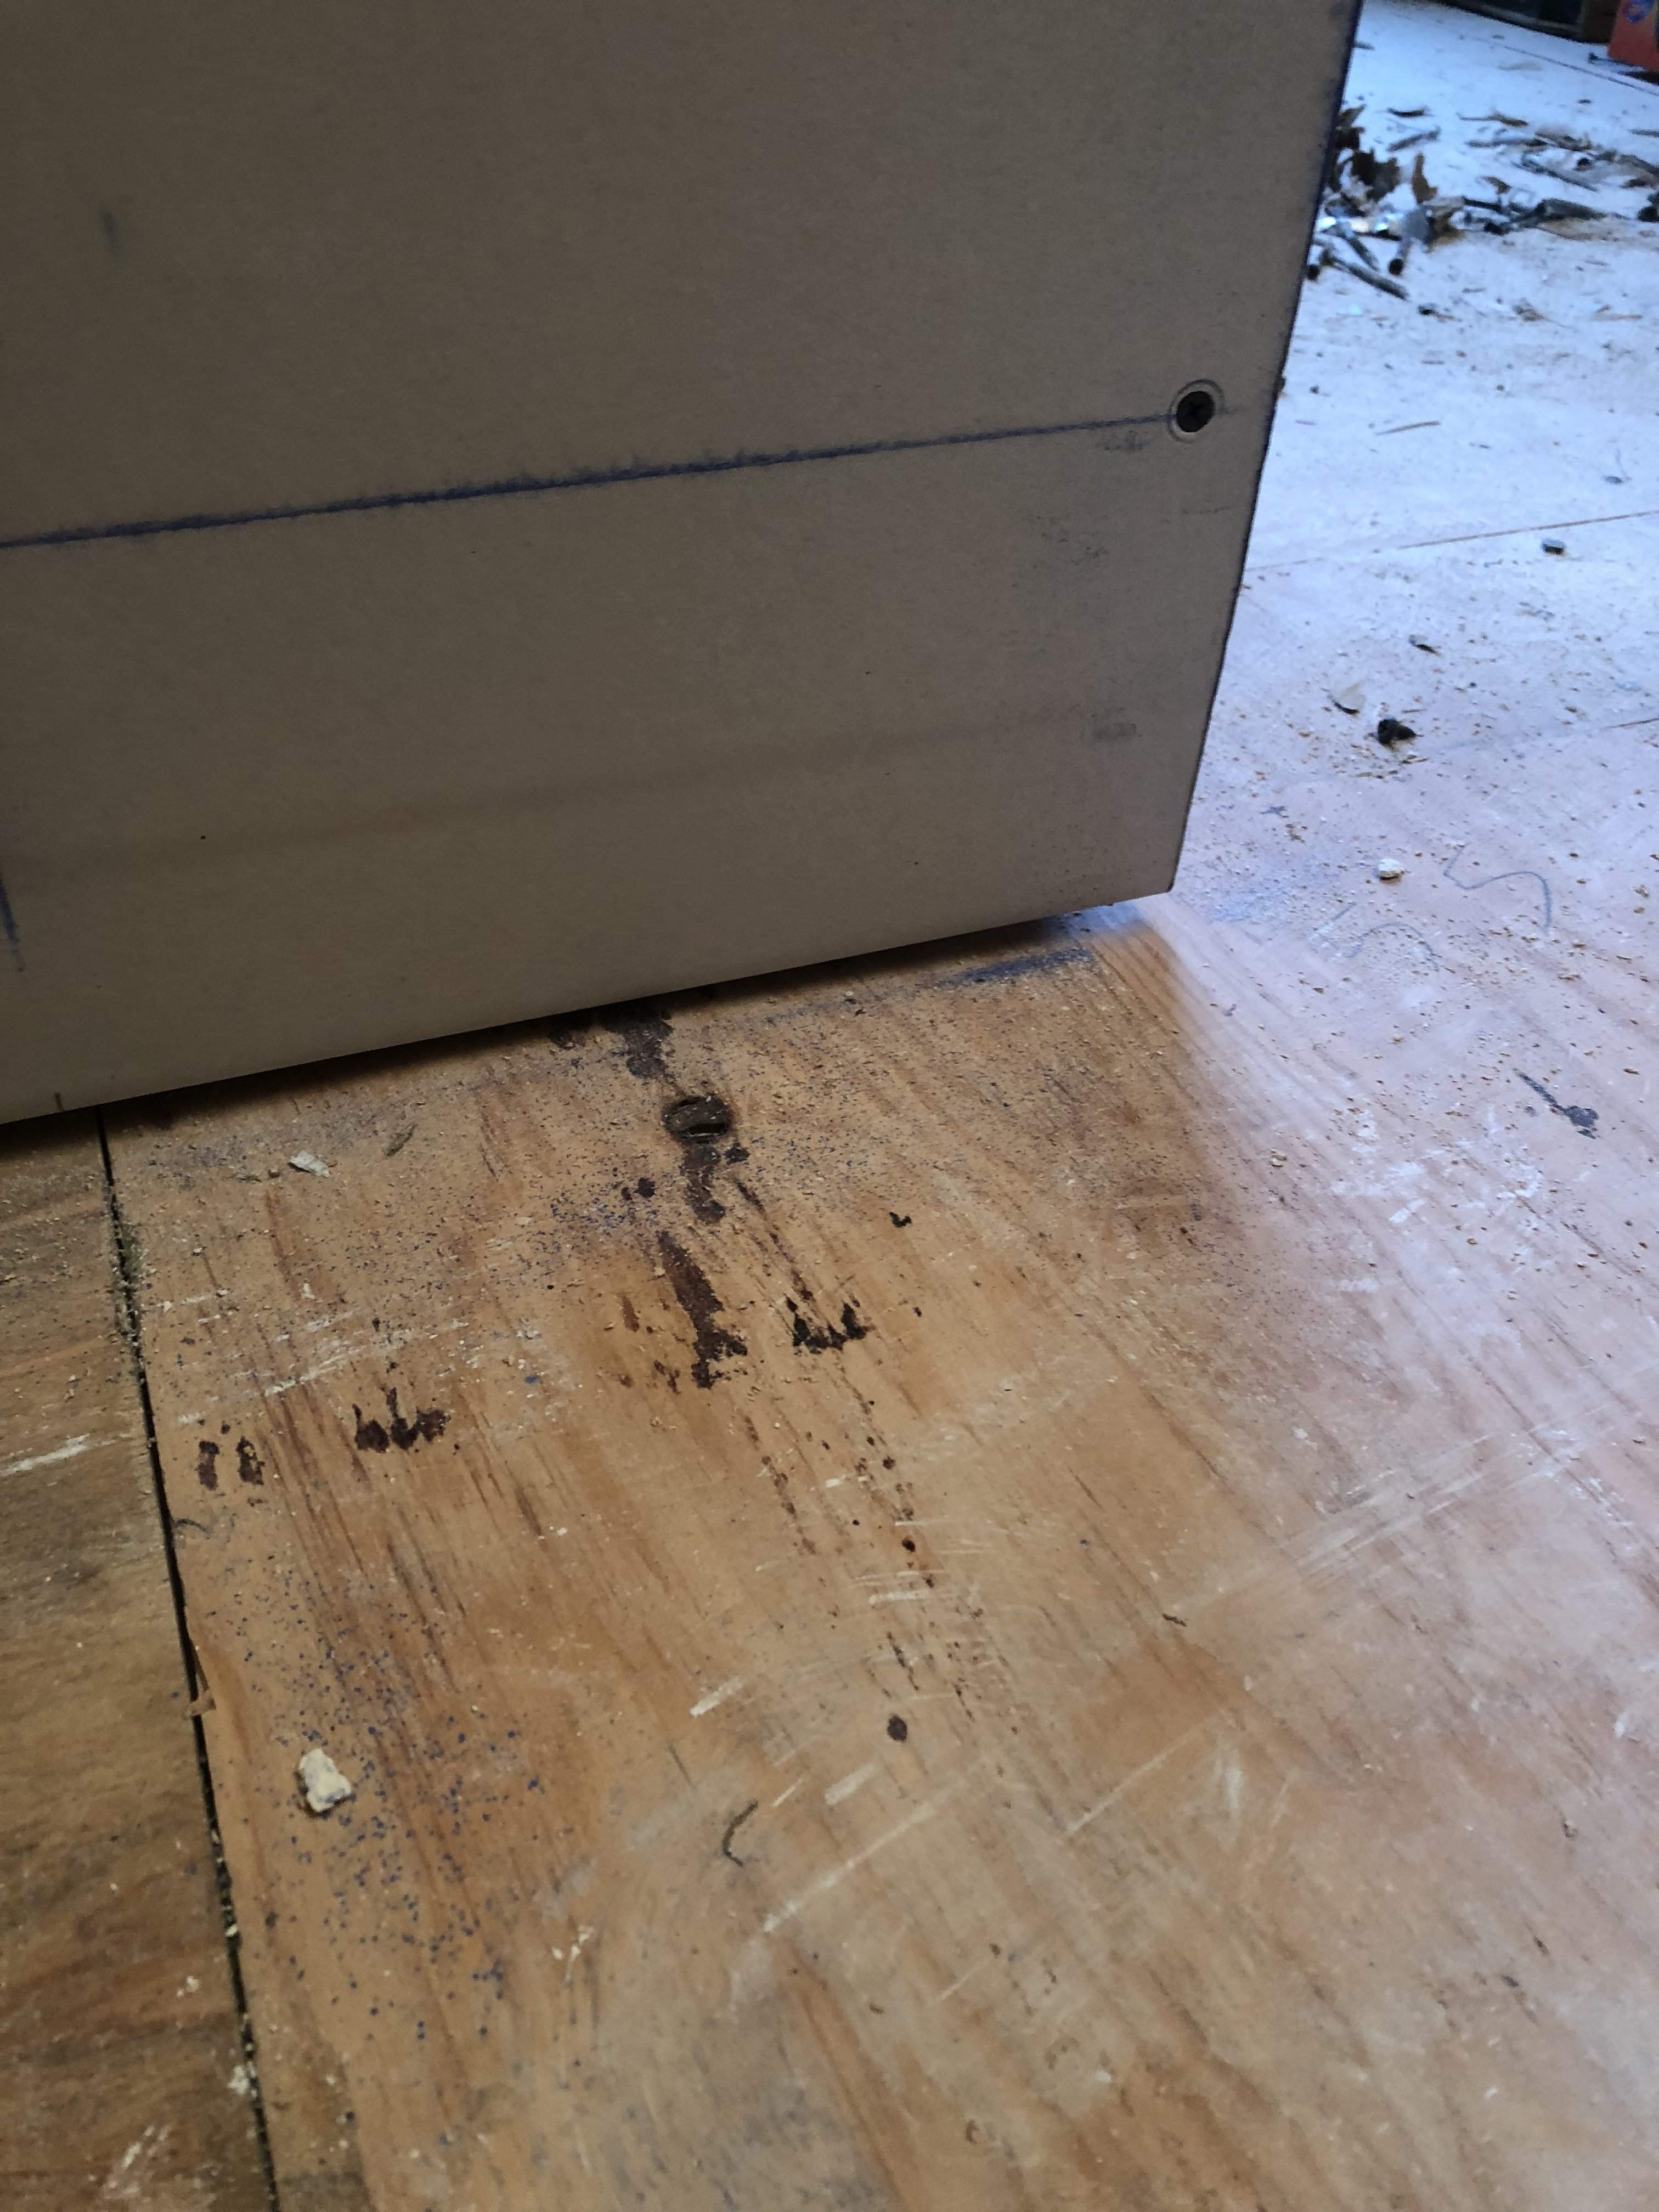
1/4” gap at the floor and on all abutting walls and ceilings. The gap gets filled with foam backer rod and acoustic sealant when it’s all assembled.
Yeah, baby!
There's light at the end of the tunnel and it ain't no train.
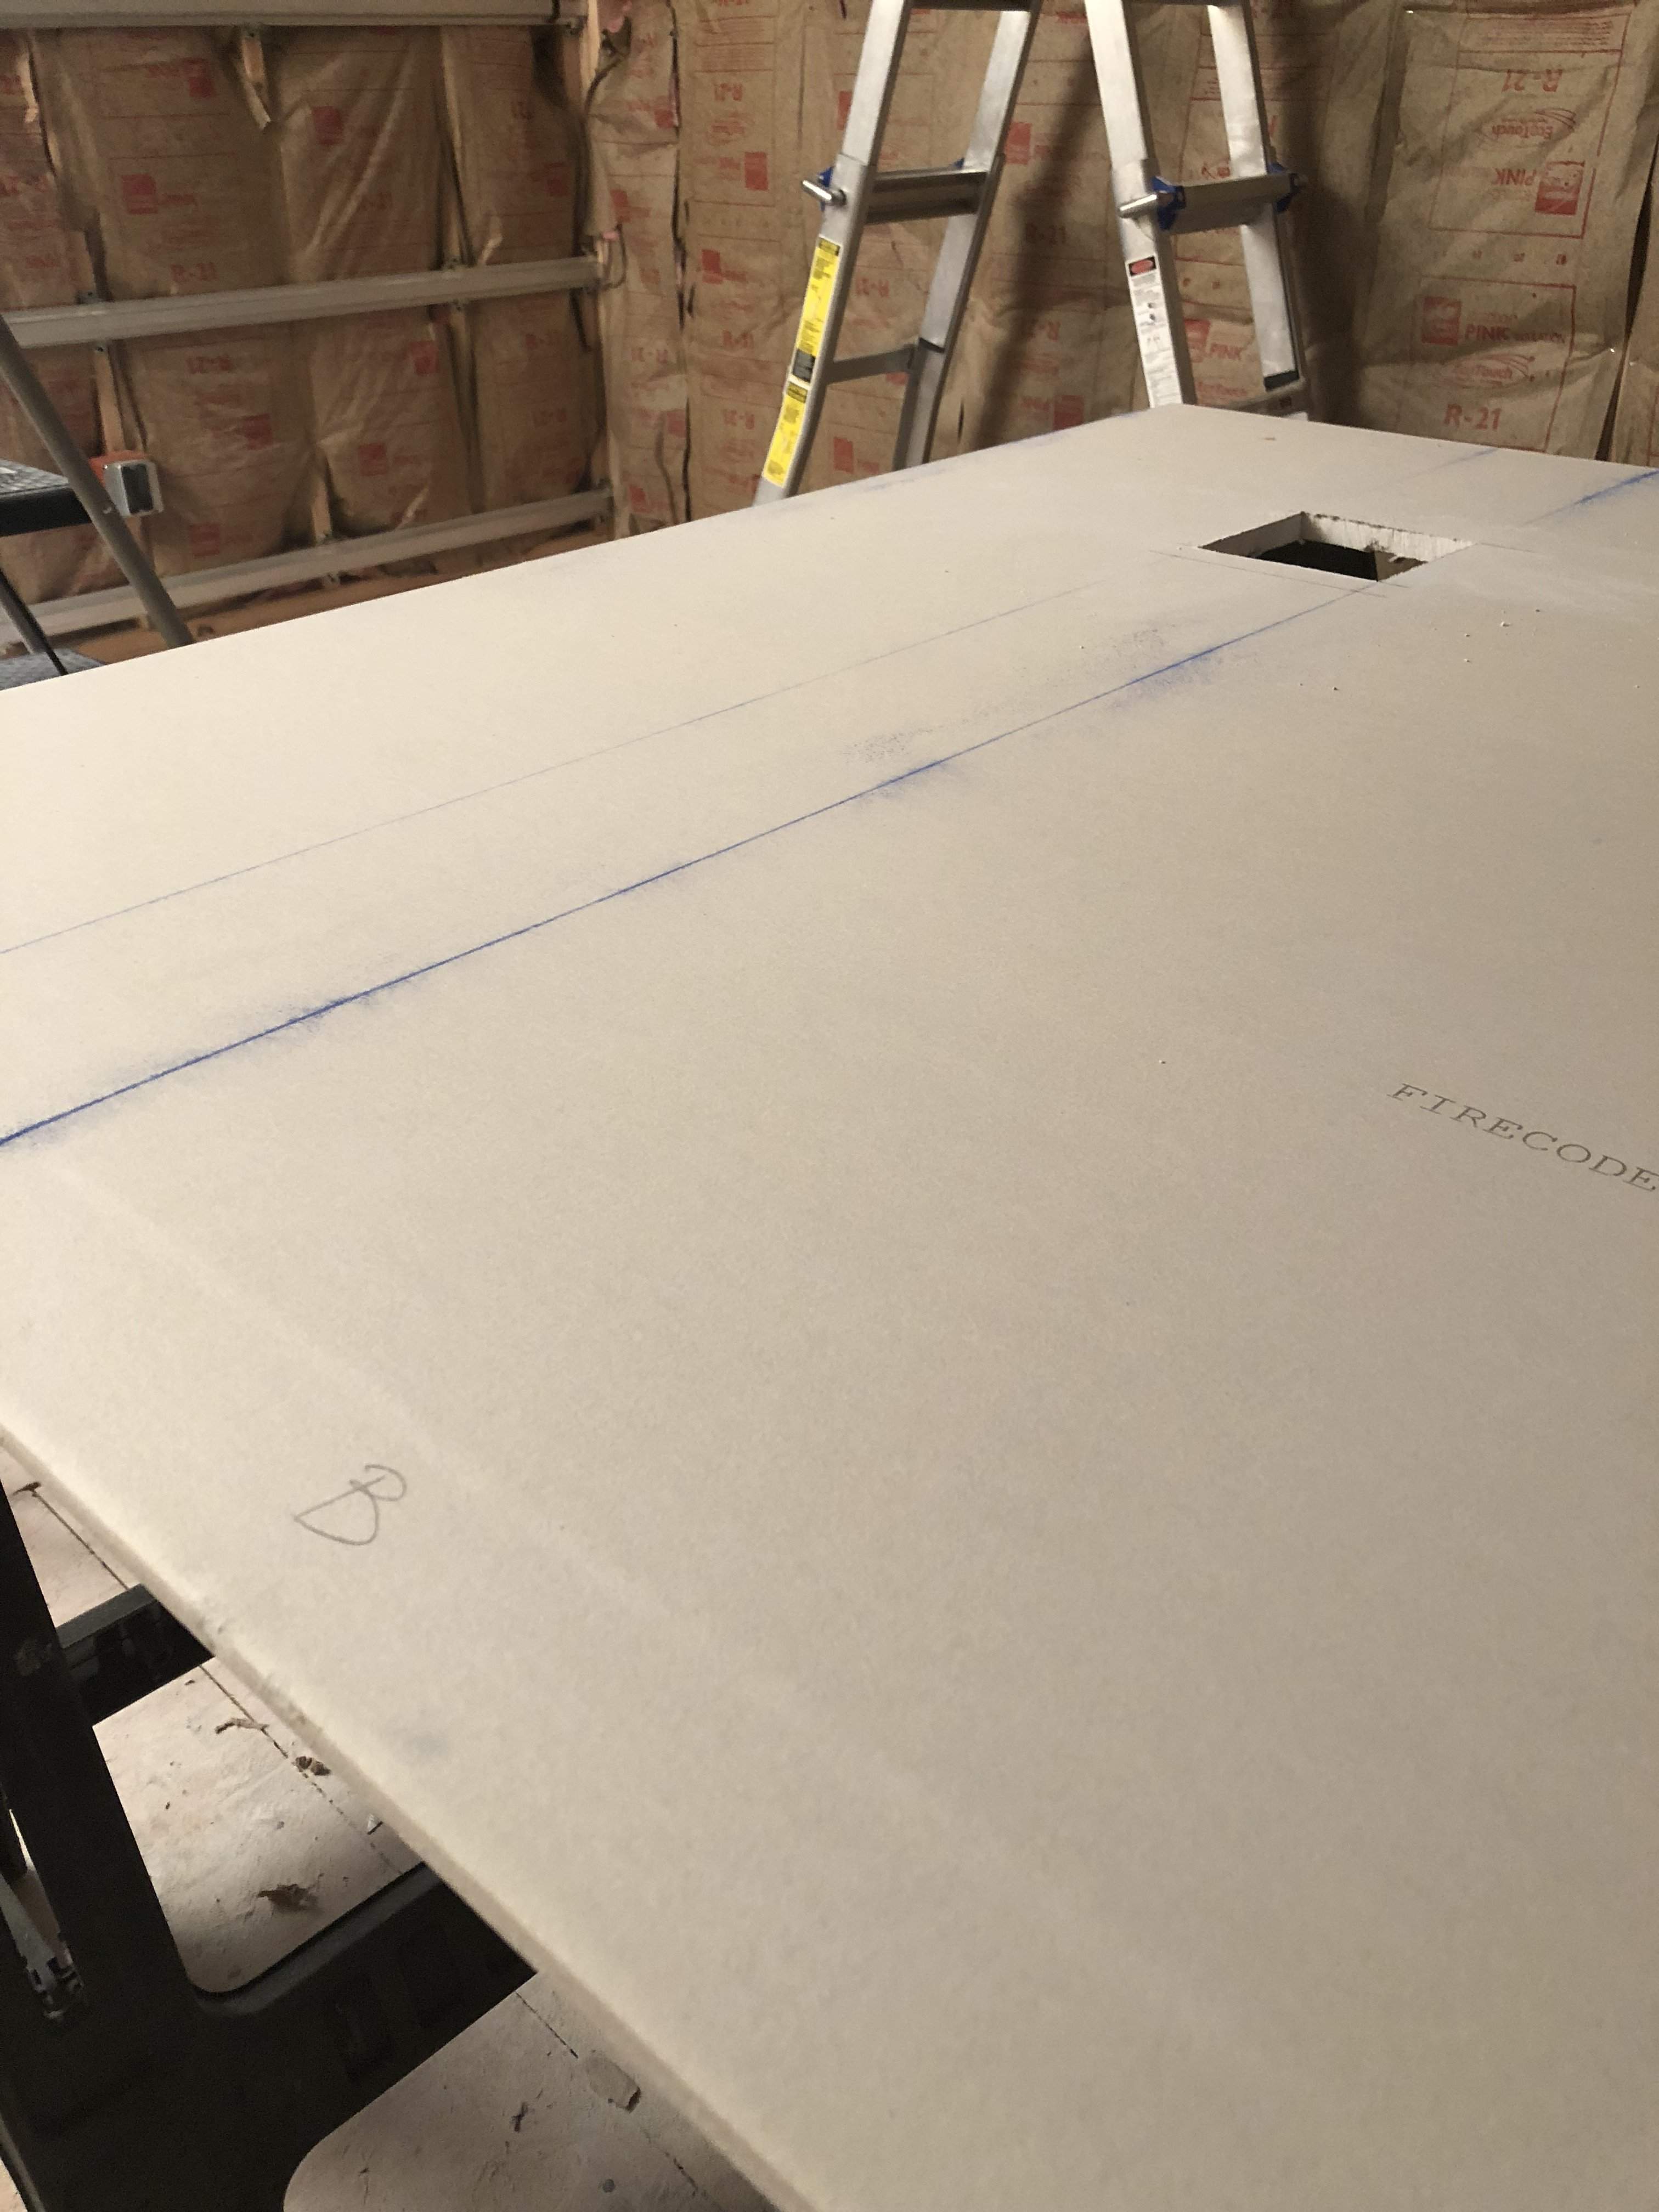
This was my sign to stop for the night. See the letter B in the foreground indicating it’s the bottom of the panel? See the hole cut in the top of the panel? See the electrical outlet box near the floor on the left hand side of the photo? Yep... I can’t tell top from bottom, time to call it a night!
Last edited:



Although seeing the room get progressively smaller can be stressful.
Possibly this is balanced out by the shrinking of the materials stockpile.
Funny you should mention it. The stockpile has shrunk considerably. I was using it as a place to stack all sort of odds and ends (a 3/4 empty bucket of drywall mud, a couple of trowels, tin snips, safety glasses, a speed square, etc.) and last night I was forced to slide all of it back a few sheets so I could continue pulling from the pile. It was at that moment that I realized how much drywall I’d gone through and how much smaller the pile looked. It’s a pretty small space (live room finished space will be roughly 13’-3” x 19’-2”), so any reduction of materials is quite noticeable. Once the south wall is finished and I get the lid done I’ll be able to remove the drywall hoist, which I found to be quite the nuisance yesterday when working on the wall.Possibly this is balanced out by the shrinking of the materials stockpile.
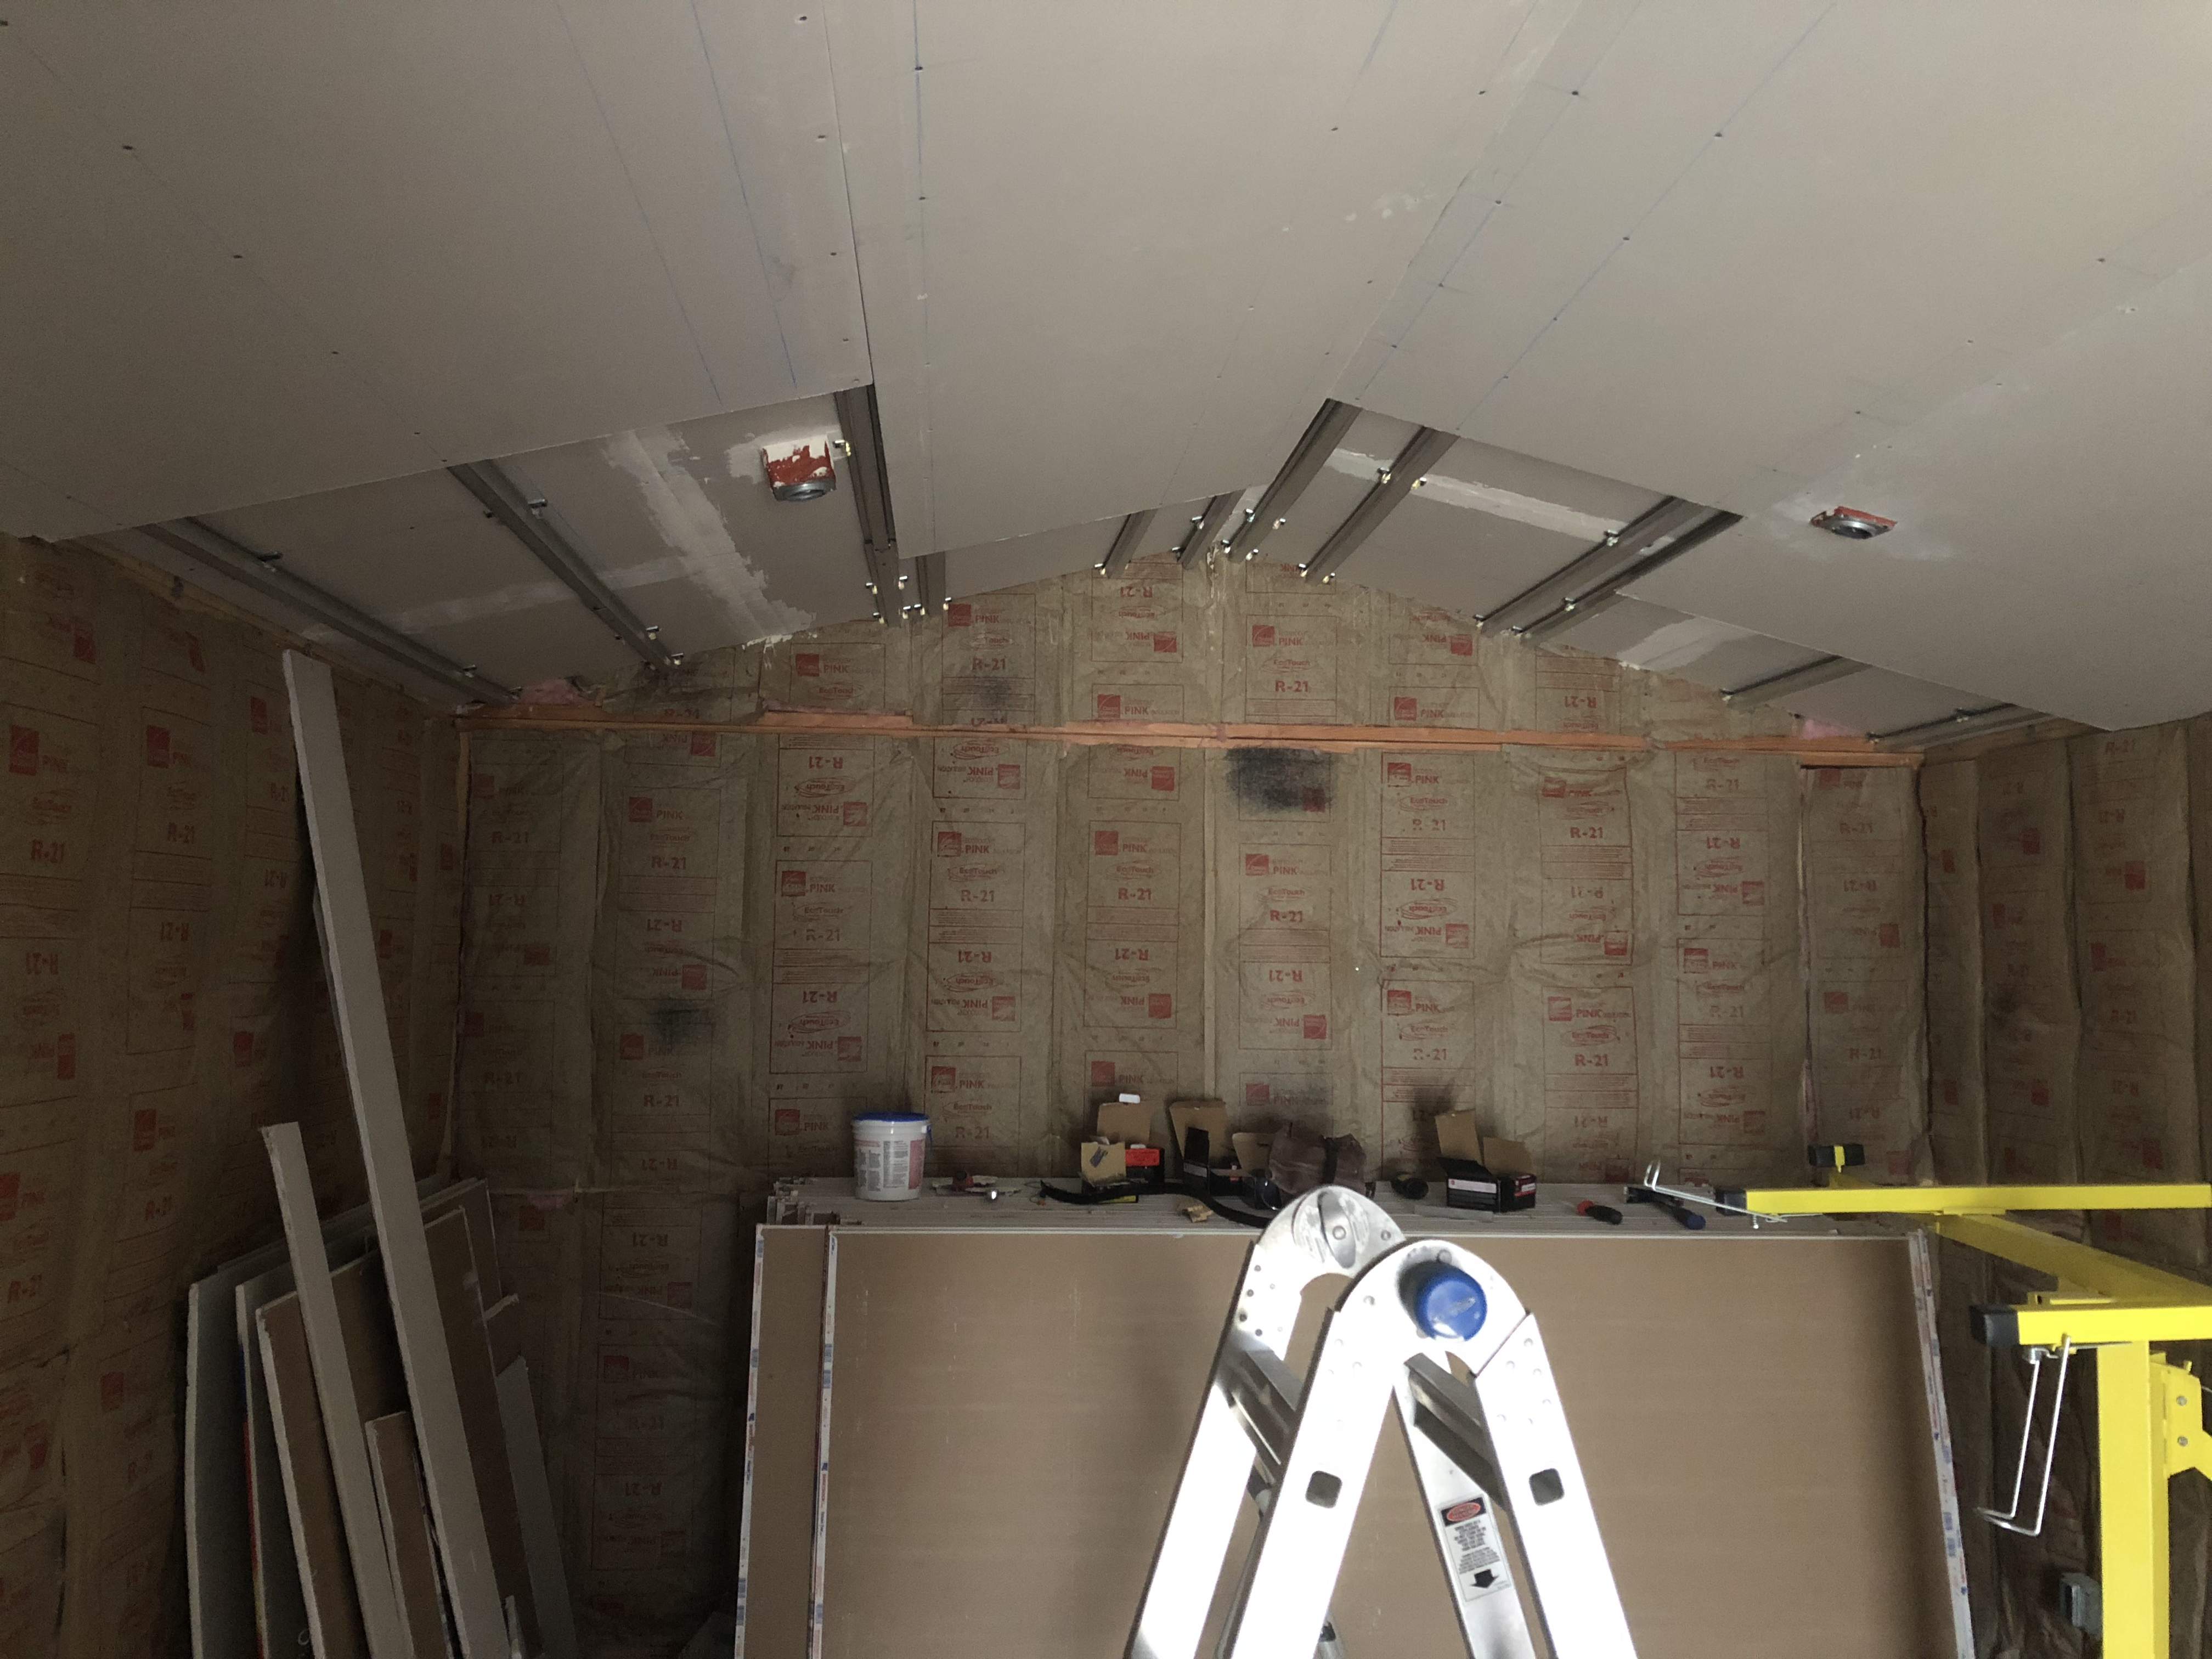
Had to stop progress on the southern wall until I finish the lid. I need to place a bead of Green Glue sealant (different than their damping compound) along the ridge before placing the upper triangle of the southern wall. I don’t want to open a tube just to put a bead a few feet long in place. I’ll finish off the lid this weekend, get it sealed and then work on finishing the southern wall. From there it’s on to the northern wall, which will take some careful planning as it’s where the HVAC mounting and penetrations happen.
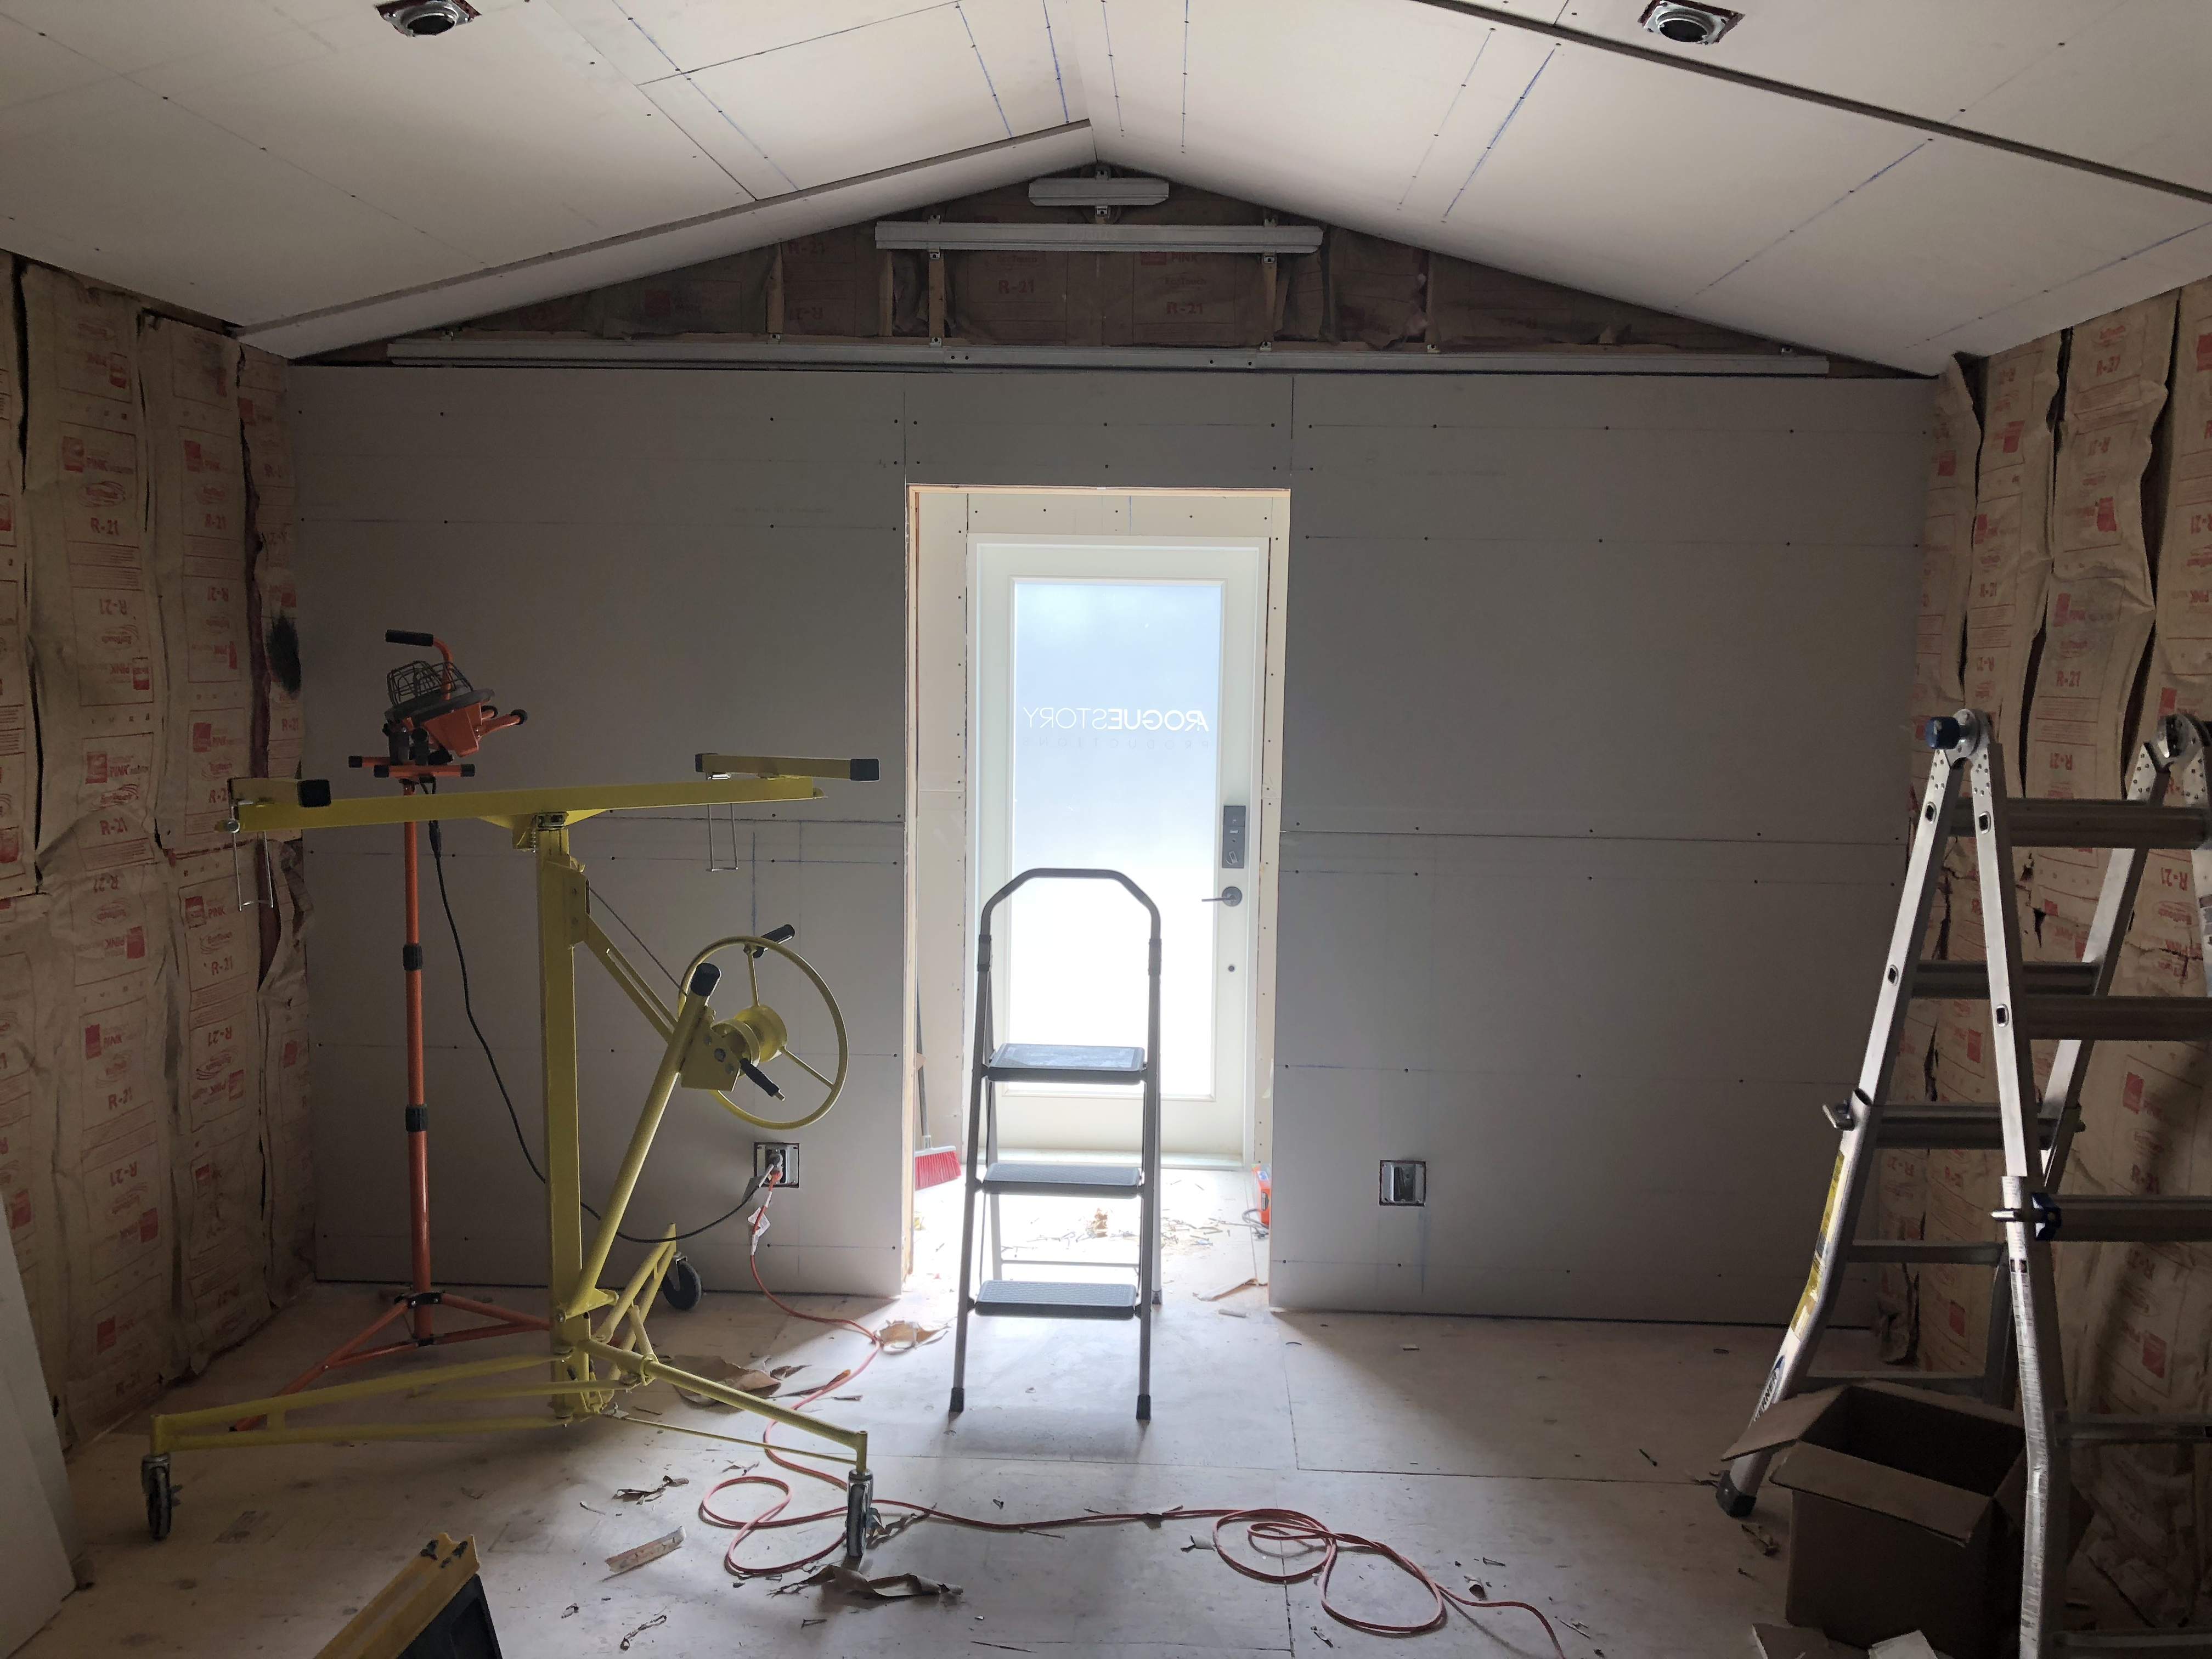
Current state of the lid. Four more pieces to completion. I’ll have to move my stockpile and get rid of some cuts beforehand, but it’s quite close.
My wife snapped some action shots and took some video while I was working today.
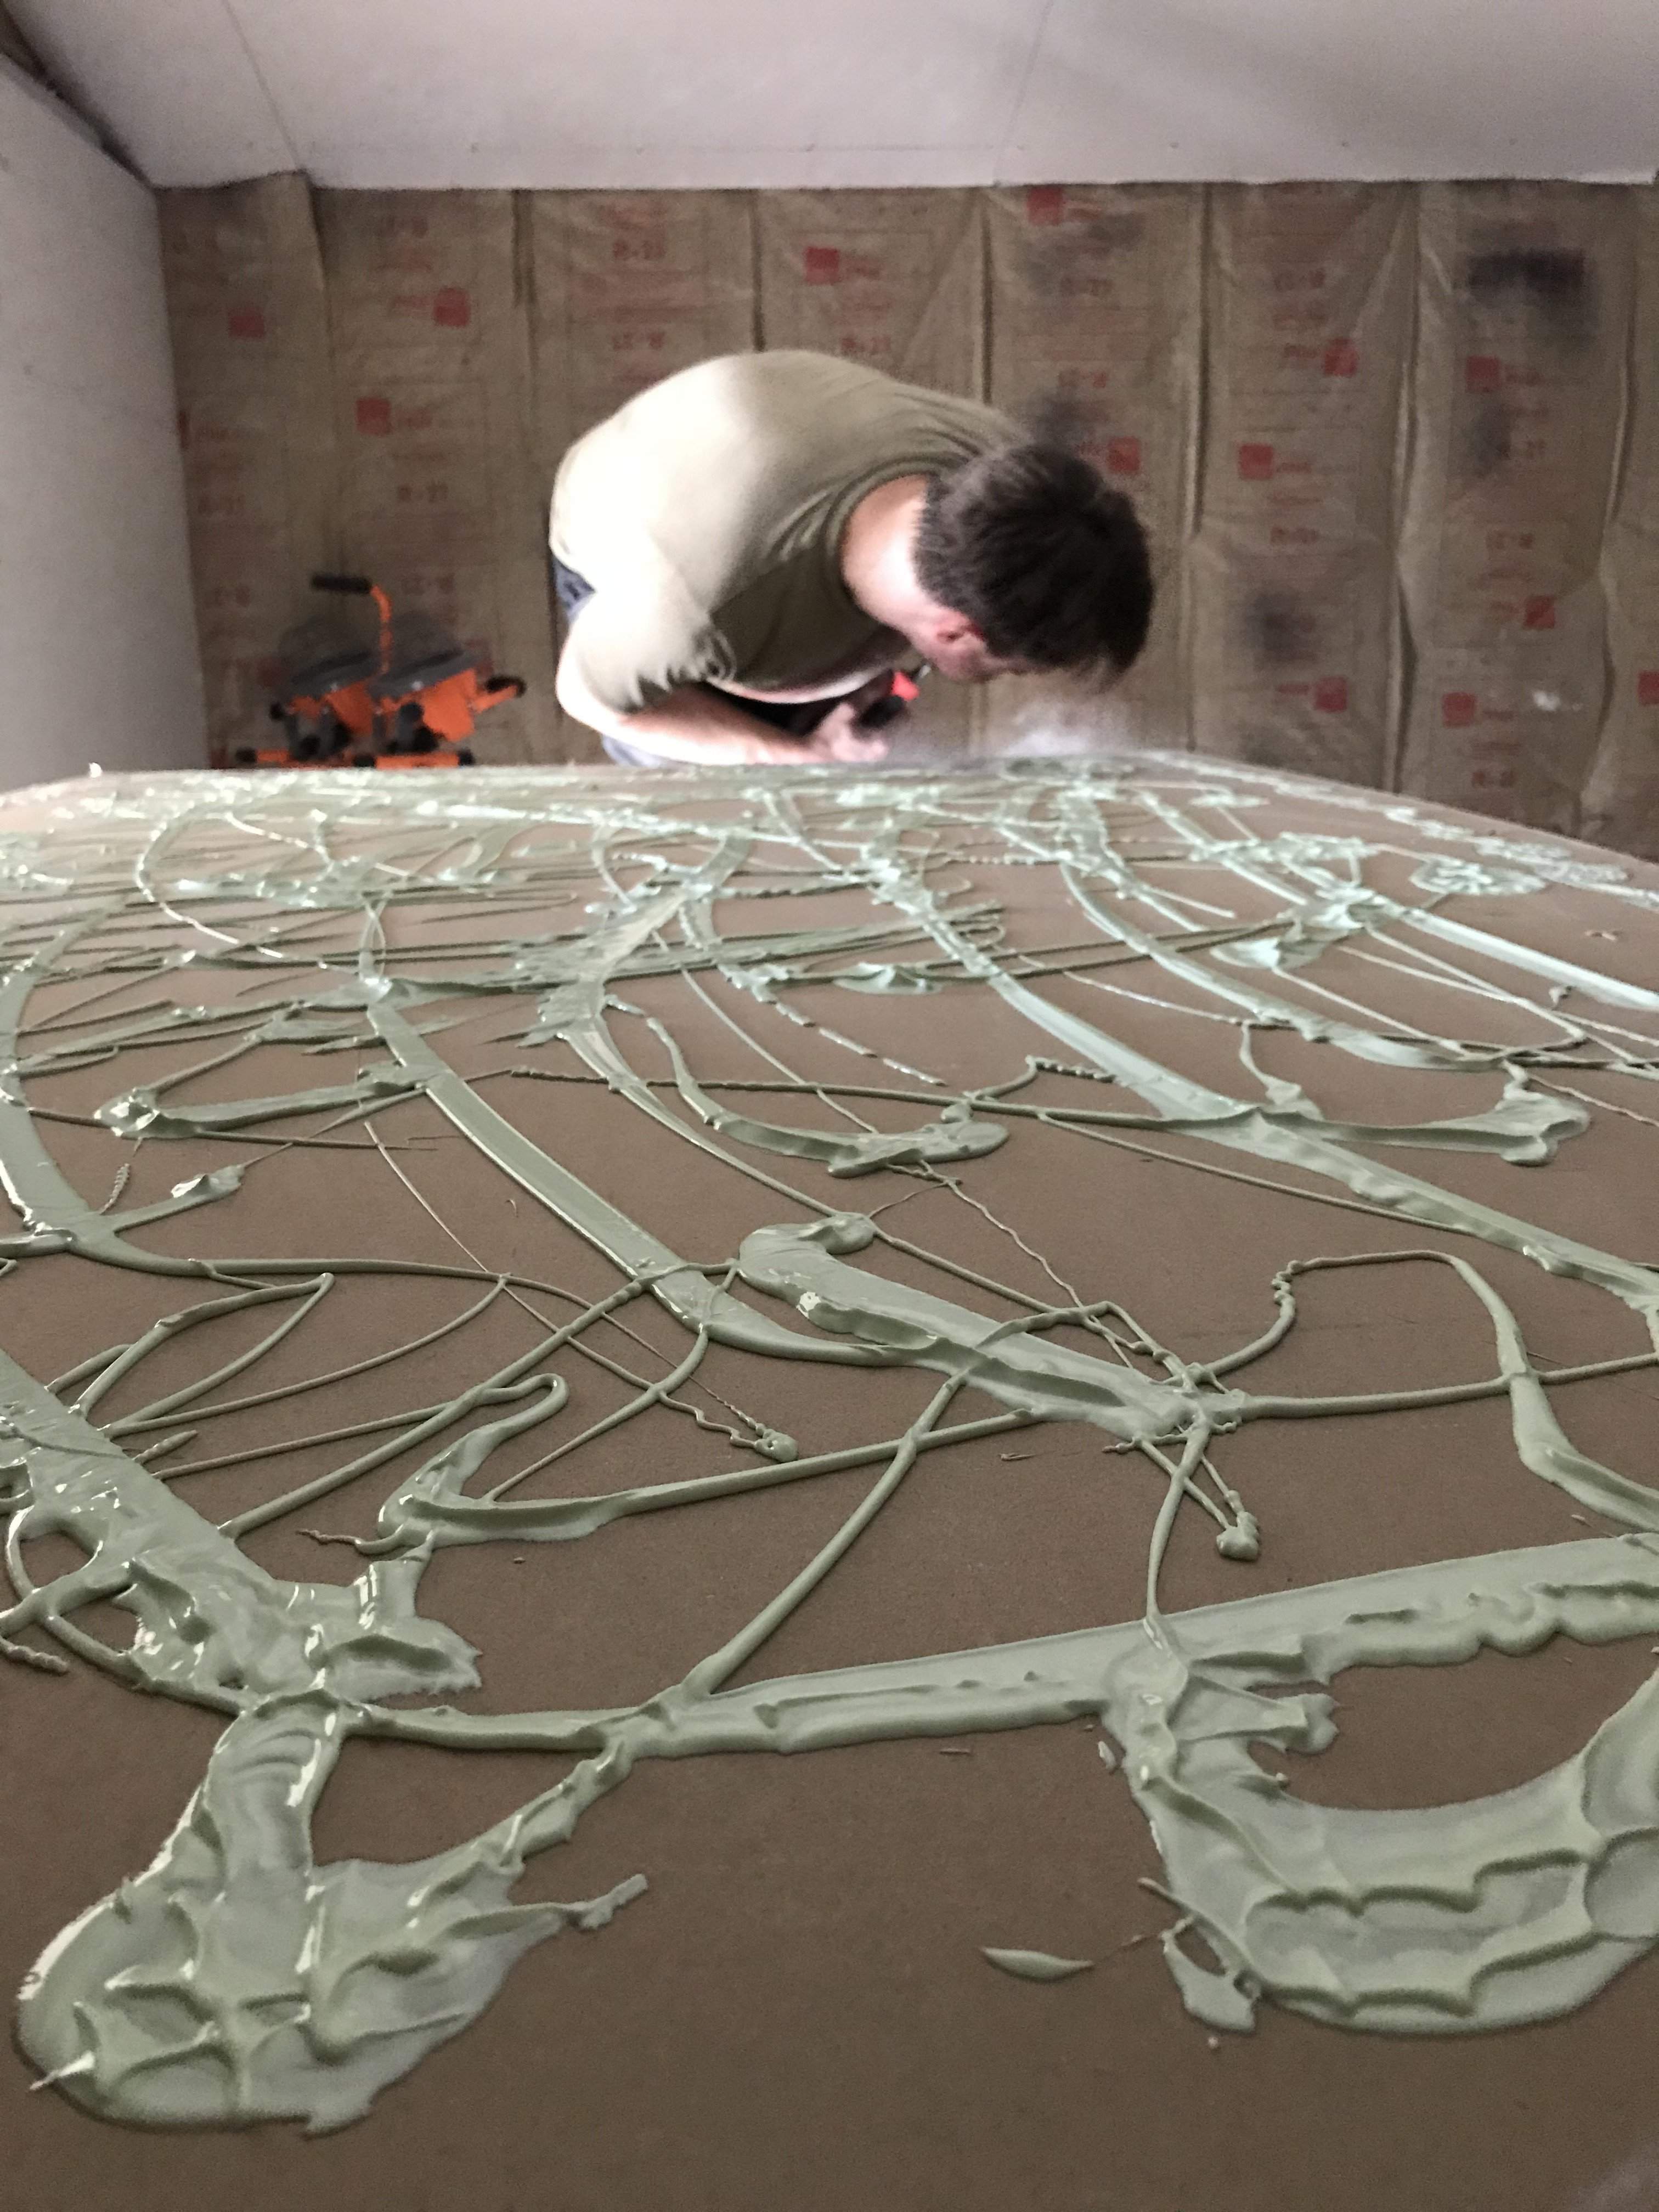
After I’d Green Glue’d a panel I realized that the top needed to be trimmed with my hasp saw to correct for a slight angle on the adjacent panel. I took it down, sawed it down and my wife thought the action shot of me blowing the dust off was the way to go.
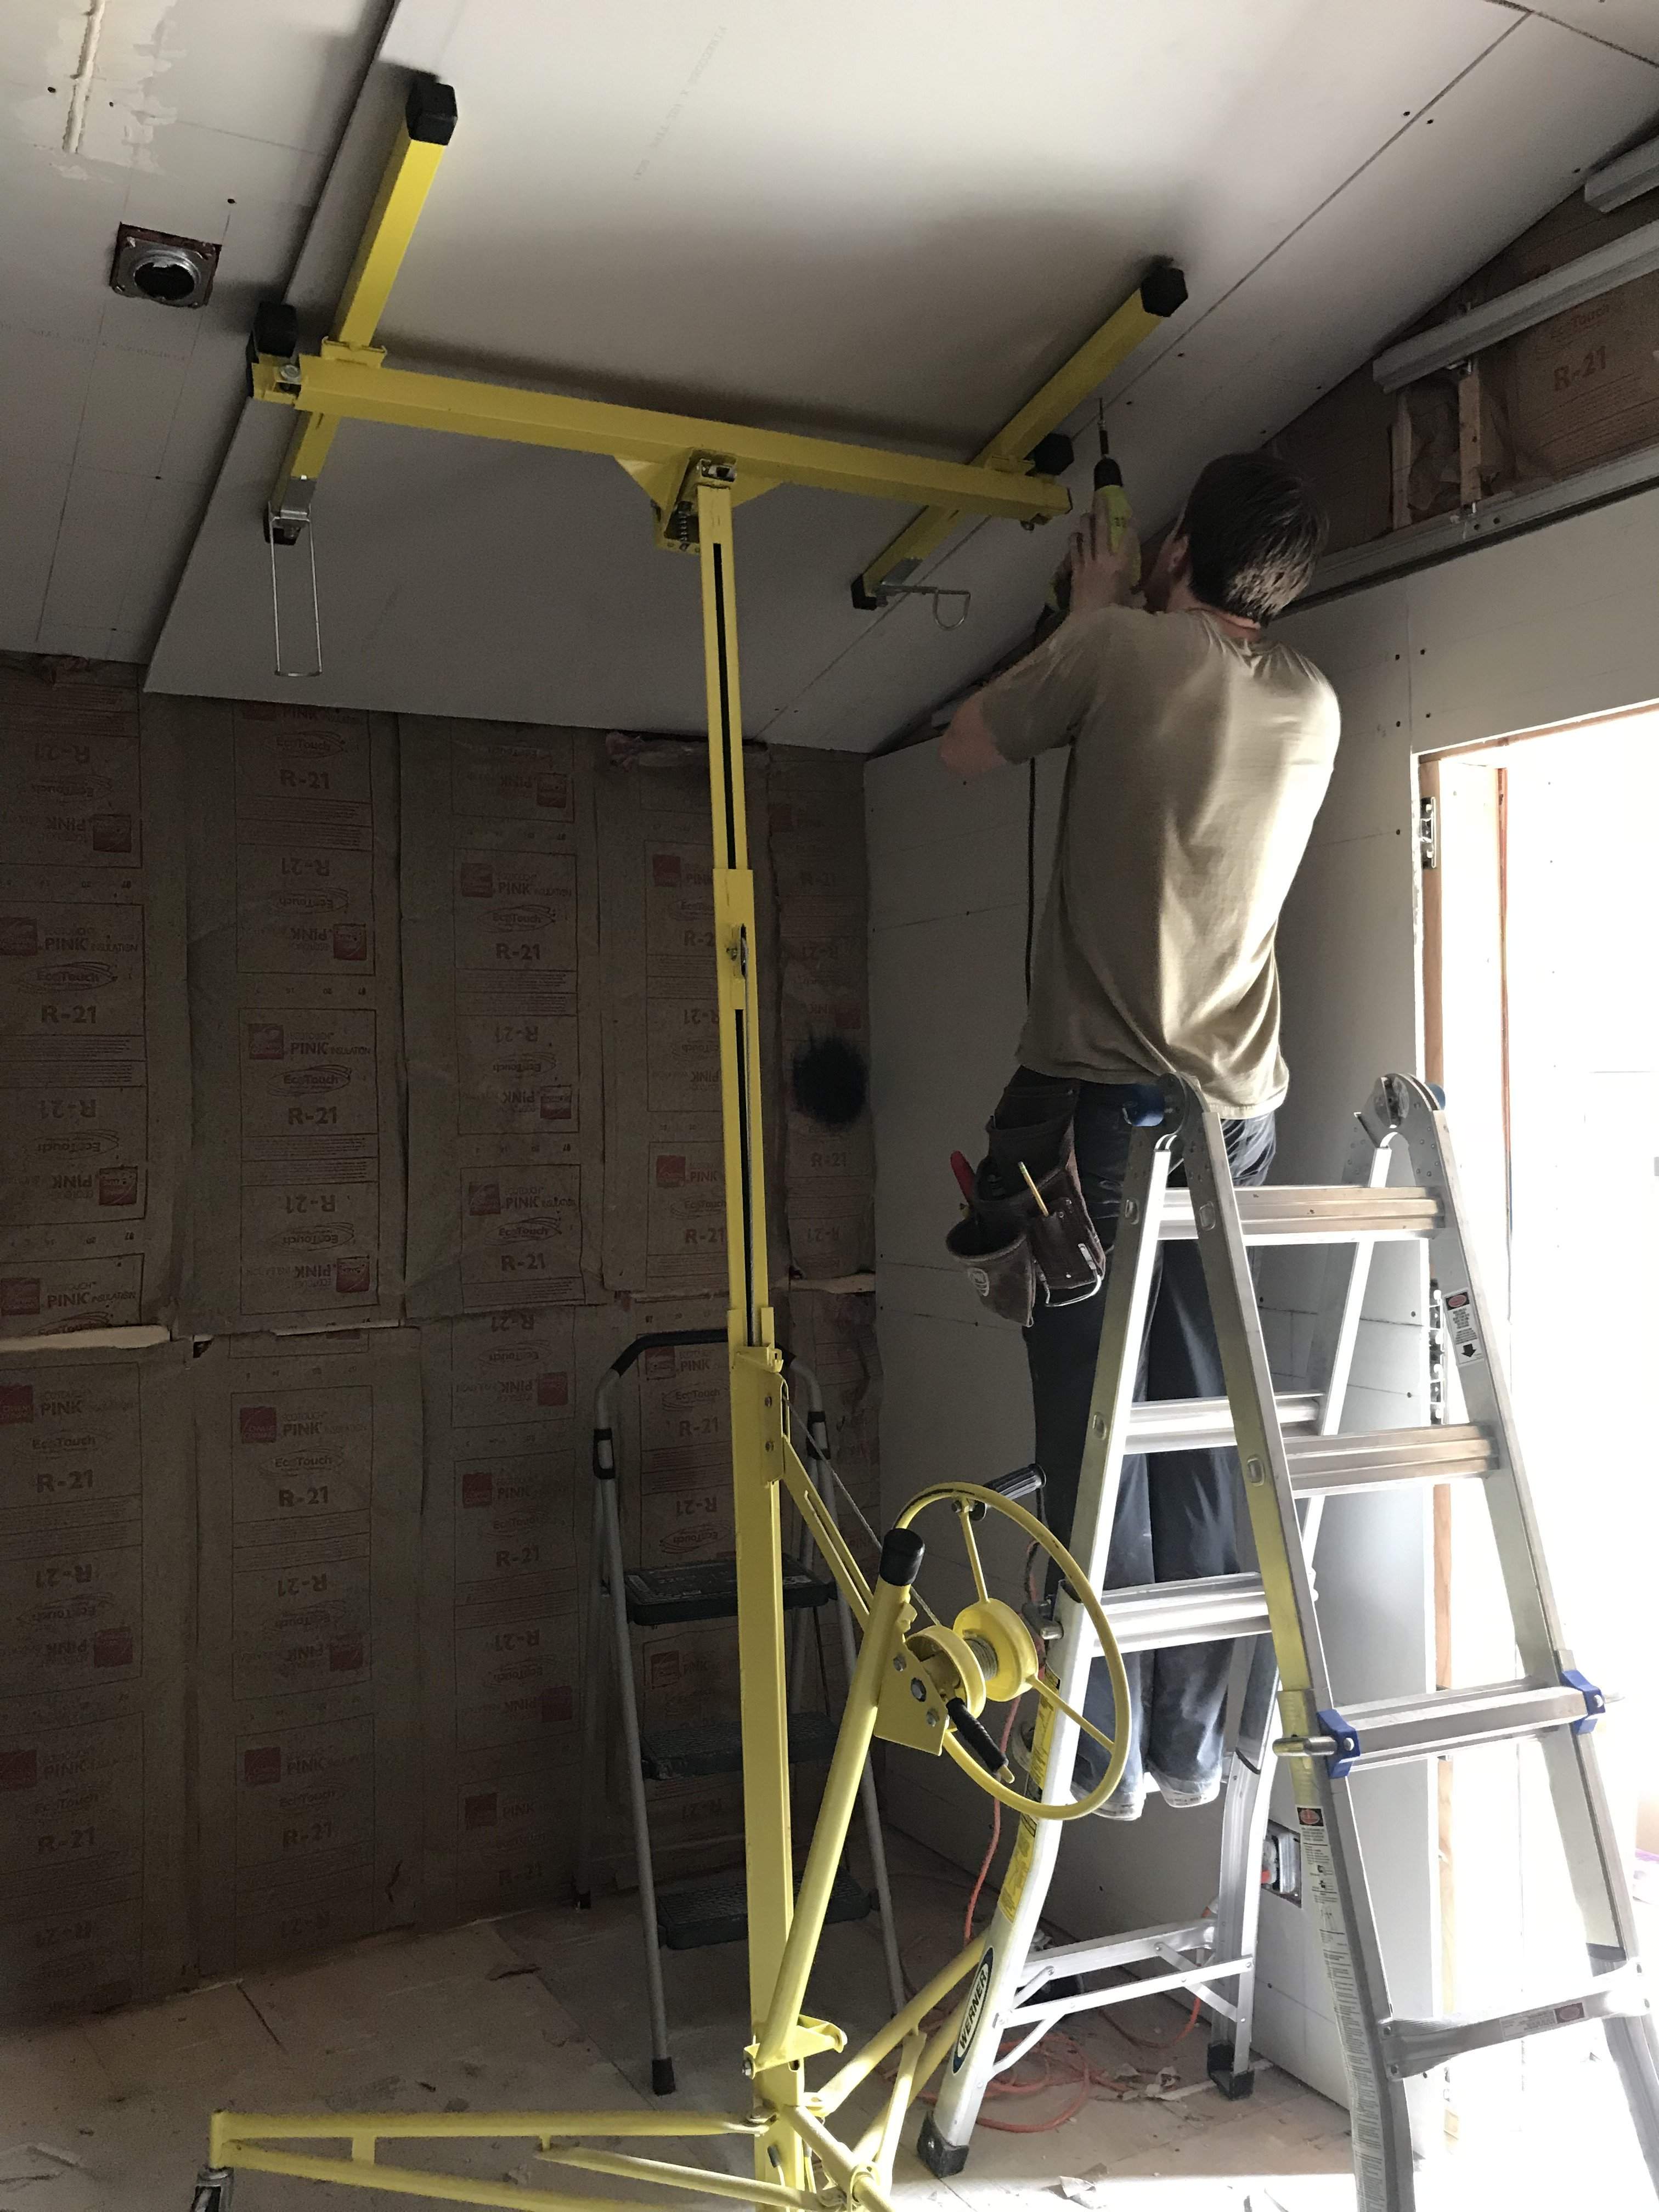
Using the hoist on panels rotated in this orientation is a MAJOR pain, but the butt seams end up much nicer as a result due to the perpendicular orientation to the channels. @peterpalmieri had the same thought earlier.
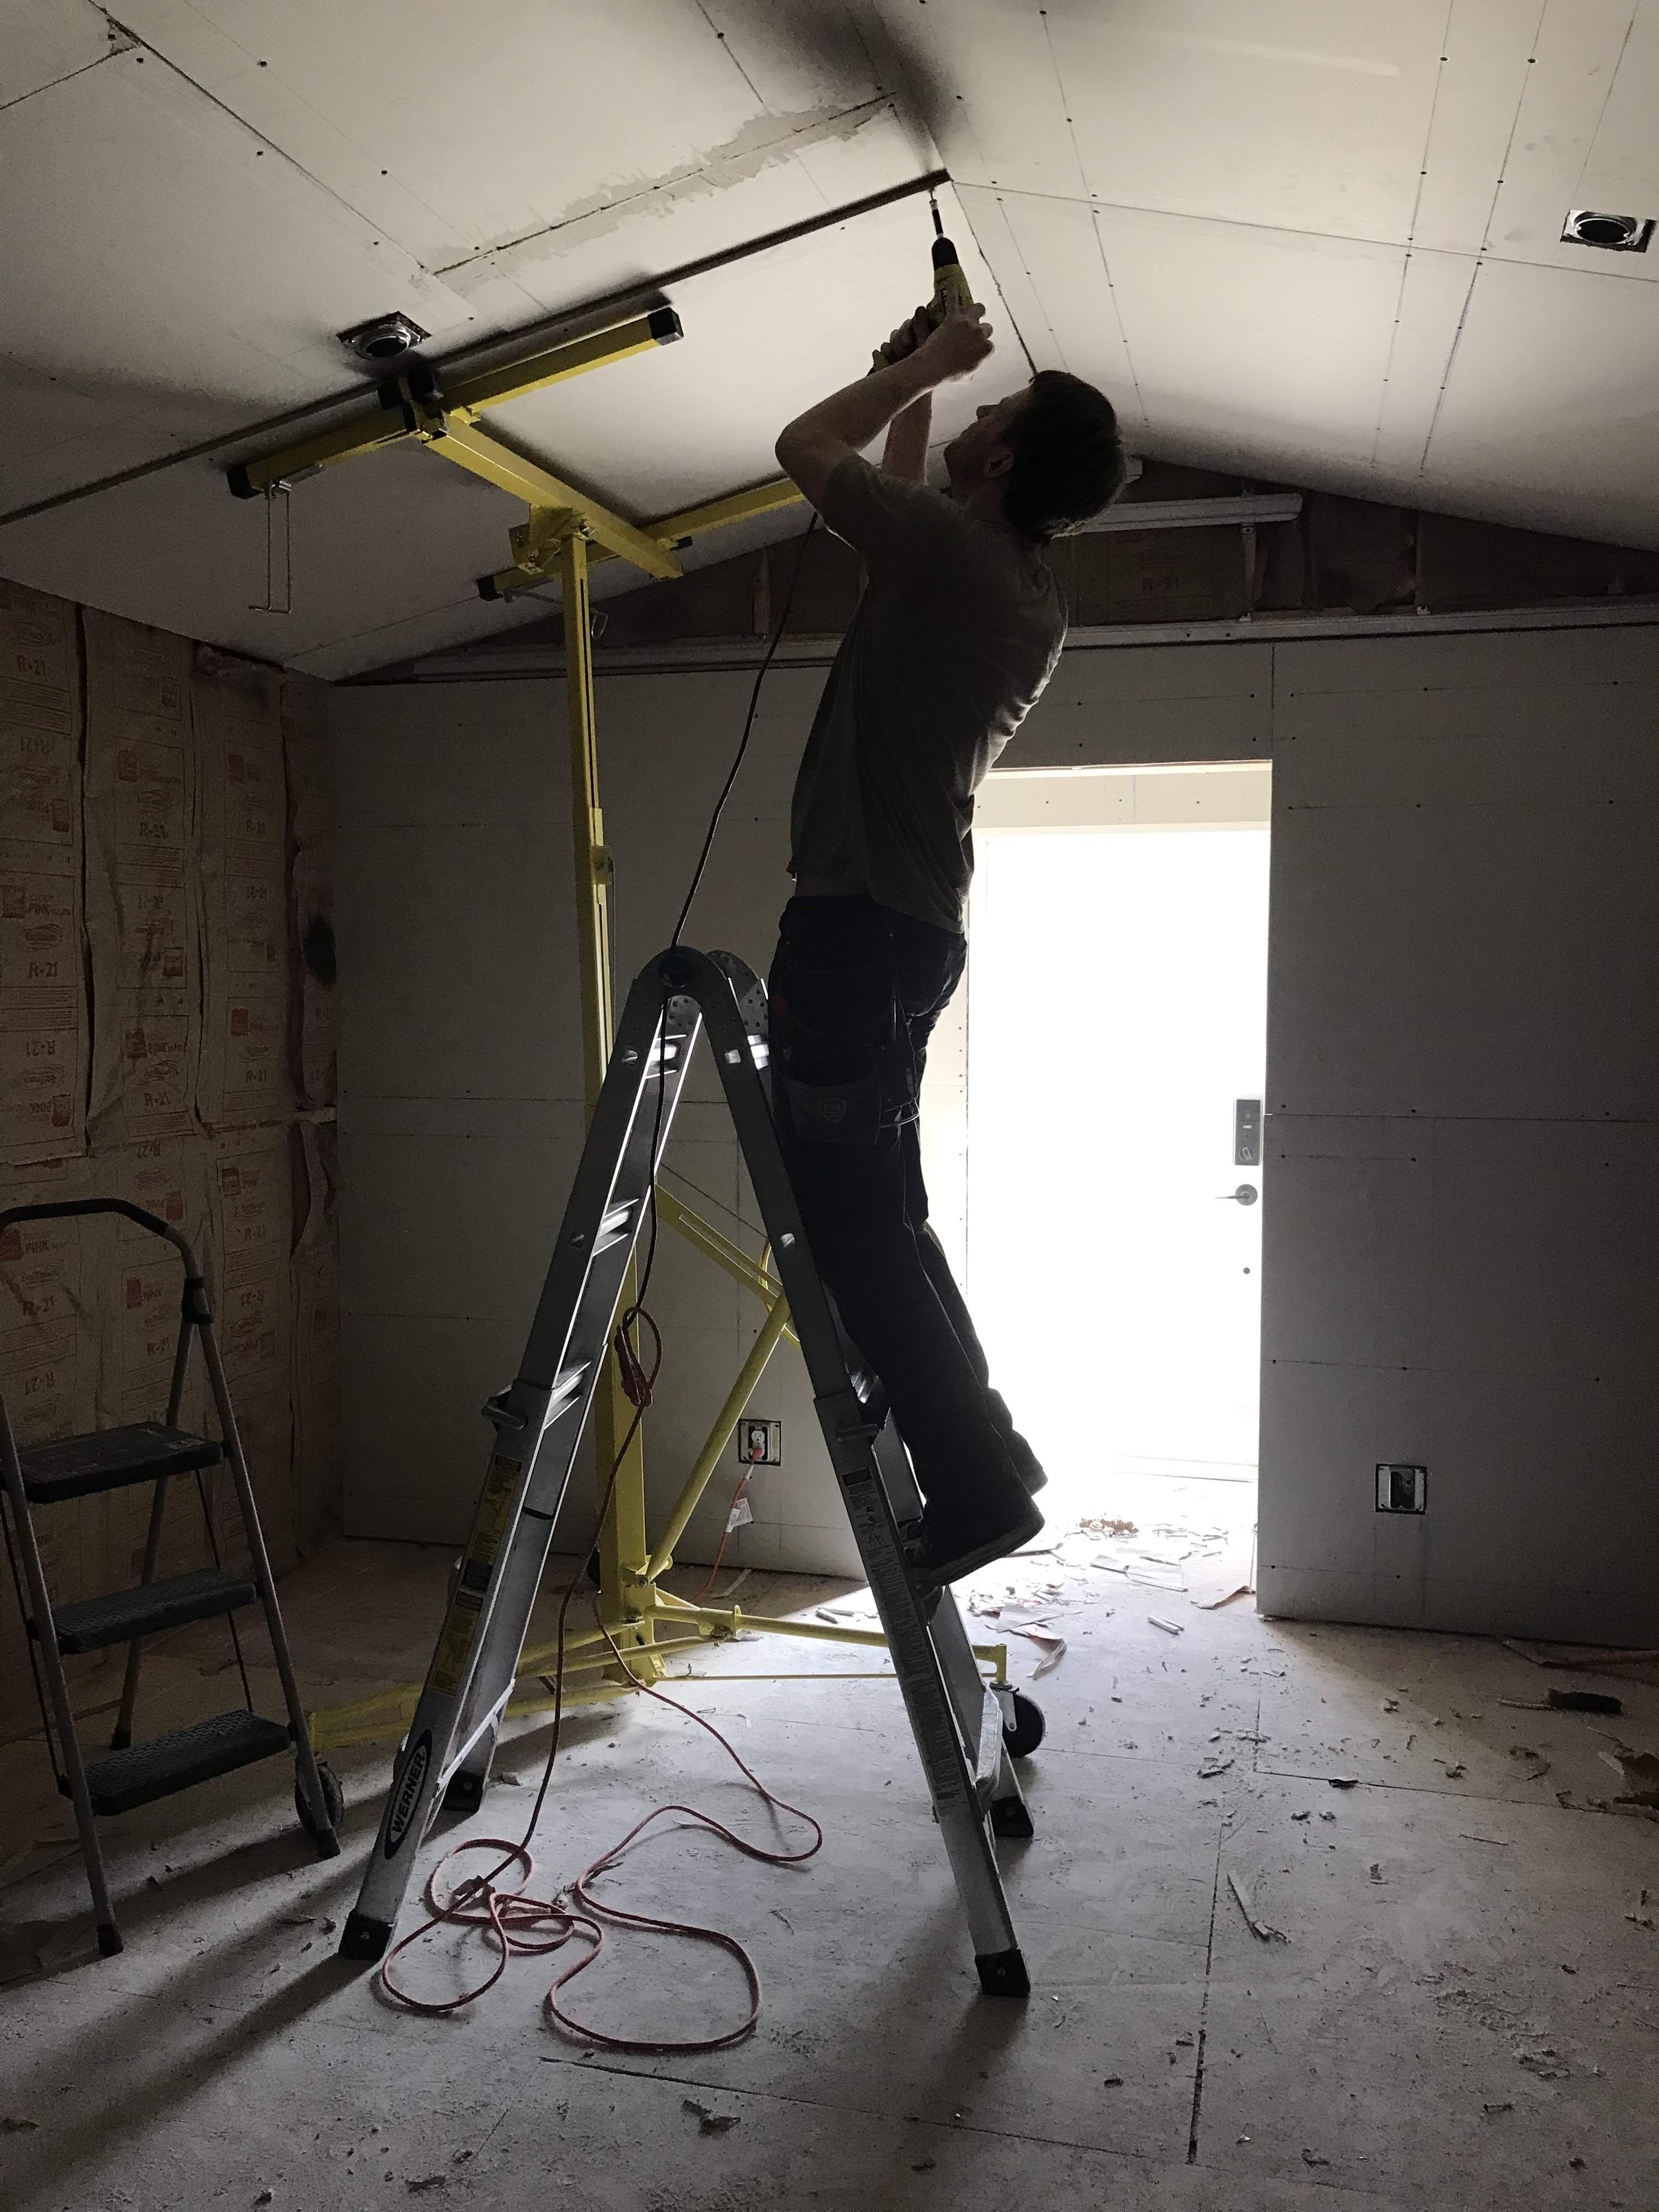
It’s like a bad 80s album cover.
Here’s a look at how much of a pain using the hoist is with the panels in this orientation. It’s much harder than I make it look. Soundtrack courtesy of John Hiatt.
Screwin’ around... get it? Soundtrack courtesy of Cream.
After I’d Green Glue’d a panel I realized that the top needed to be trimmed with my hasp saw to correct for a slight angle on the adjacent panel. I took it down, sawed it down and my wife thought the action shot of me blowing the dust off was the way to go.
Using the hoist on panels rotated in this orientation is a MAJOR pain, but the butt seams end up much nicer as a result due to the perpendicular orientation to the channels. @peterpalmieri had the same thought earlier.
It’s like a bad 80s album cover.
Here’s a look at how much of a pain using the hoist is with the panels in this orientation. It’s much harder than I make it look. Soundtrack courtesy of John Hiatt.
Screwin’ around... get it? Soundtrack courtesy of Cream.
Last edited:
I forgot to mention that I also relocated my drywall stockpile to the eastern wall. I can now finish everything but the western wall without having to move it again. By the time I get to the western wall the stack will be small enough that the final relocation will be a relatively minor effort. Consider me VERY excited about that development.

Yesterday was supposed to be another big work day, but we hit a record high temperature for 5/13 here in Seattle (85F), so my wife and I opted to take advantage of the sunshine. I’ll be back to it tonight after work.Come on, more updates! Seeing all the new pictures, videos and even soundtracks, I got me some popcorn.
I suck. How many times have I made this same mistake? How many times will I make it before all is said and done?
The hole on the right side of the panel is for the light box that lines up with the left side of the panel.
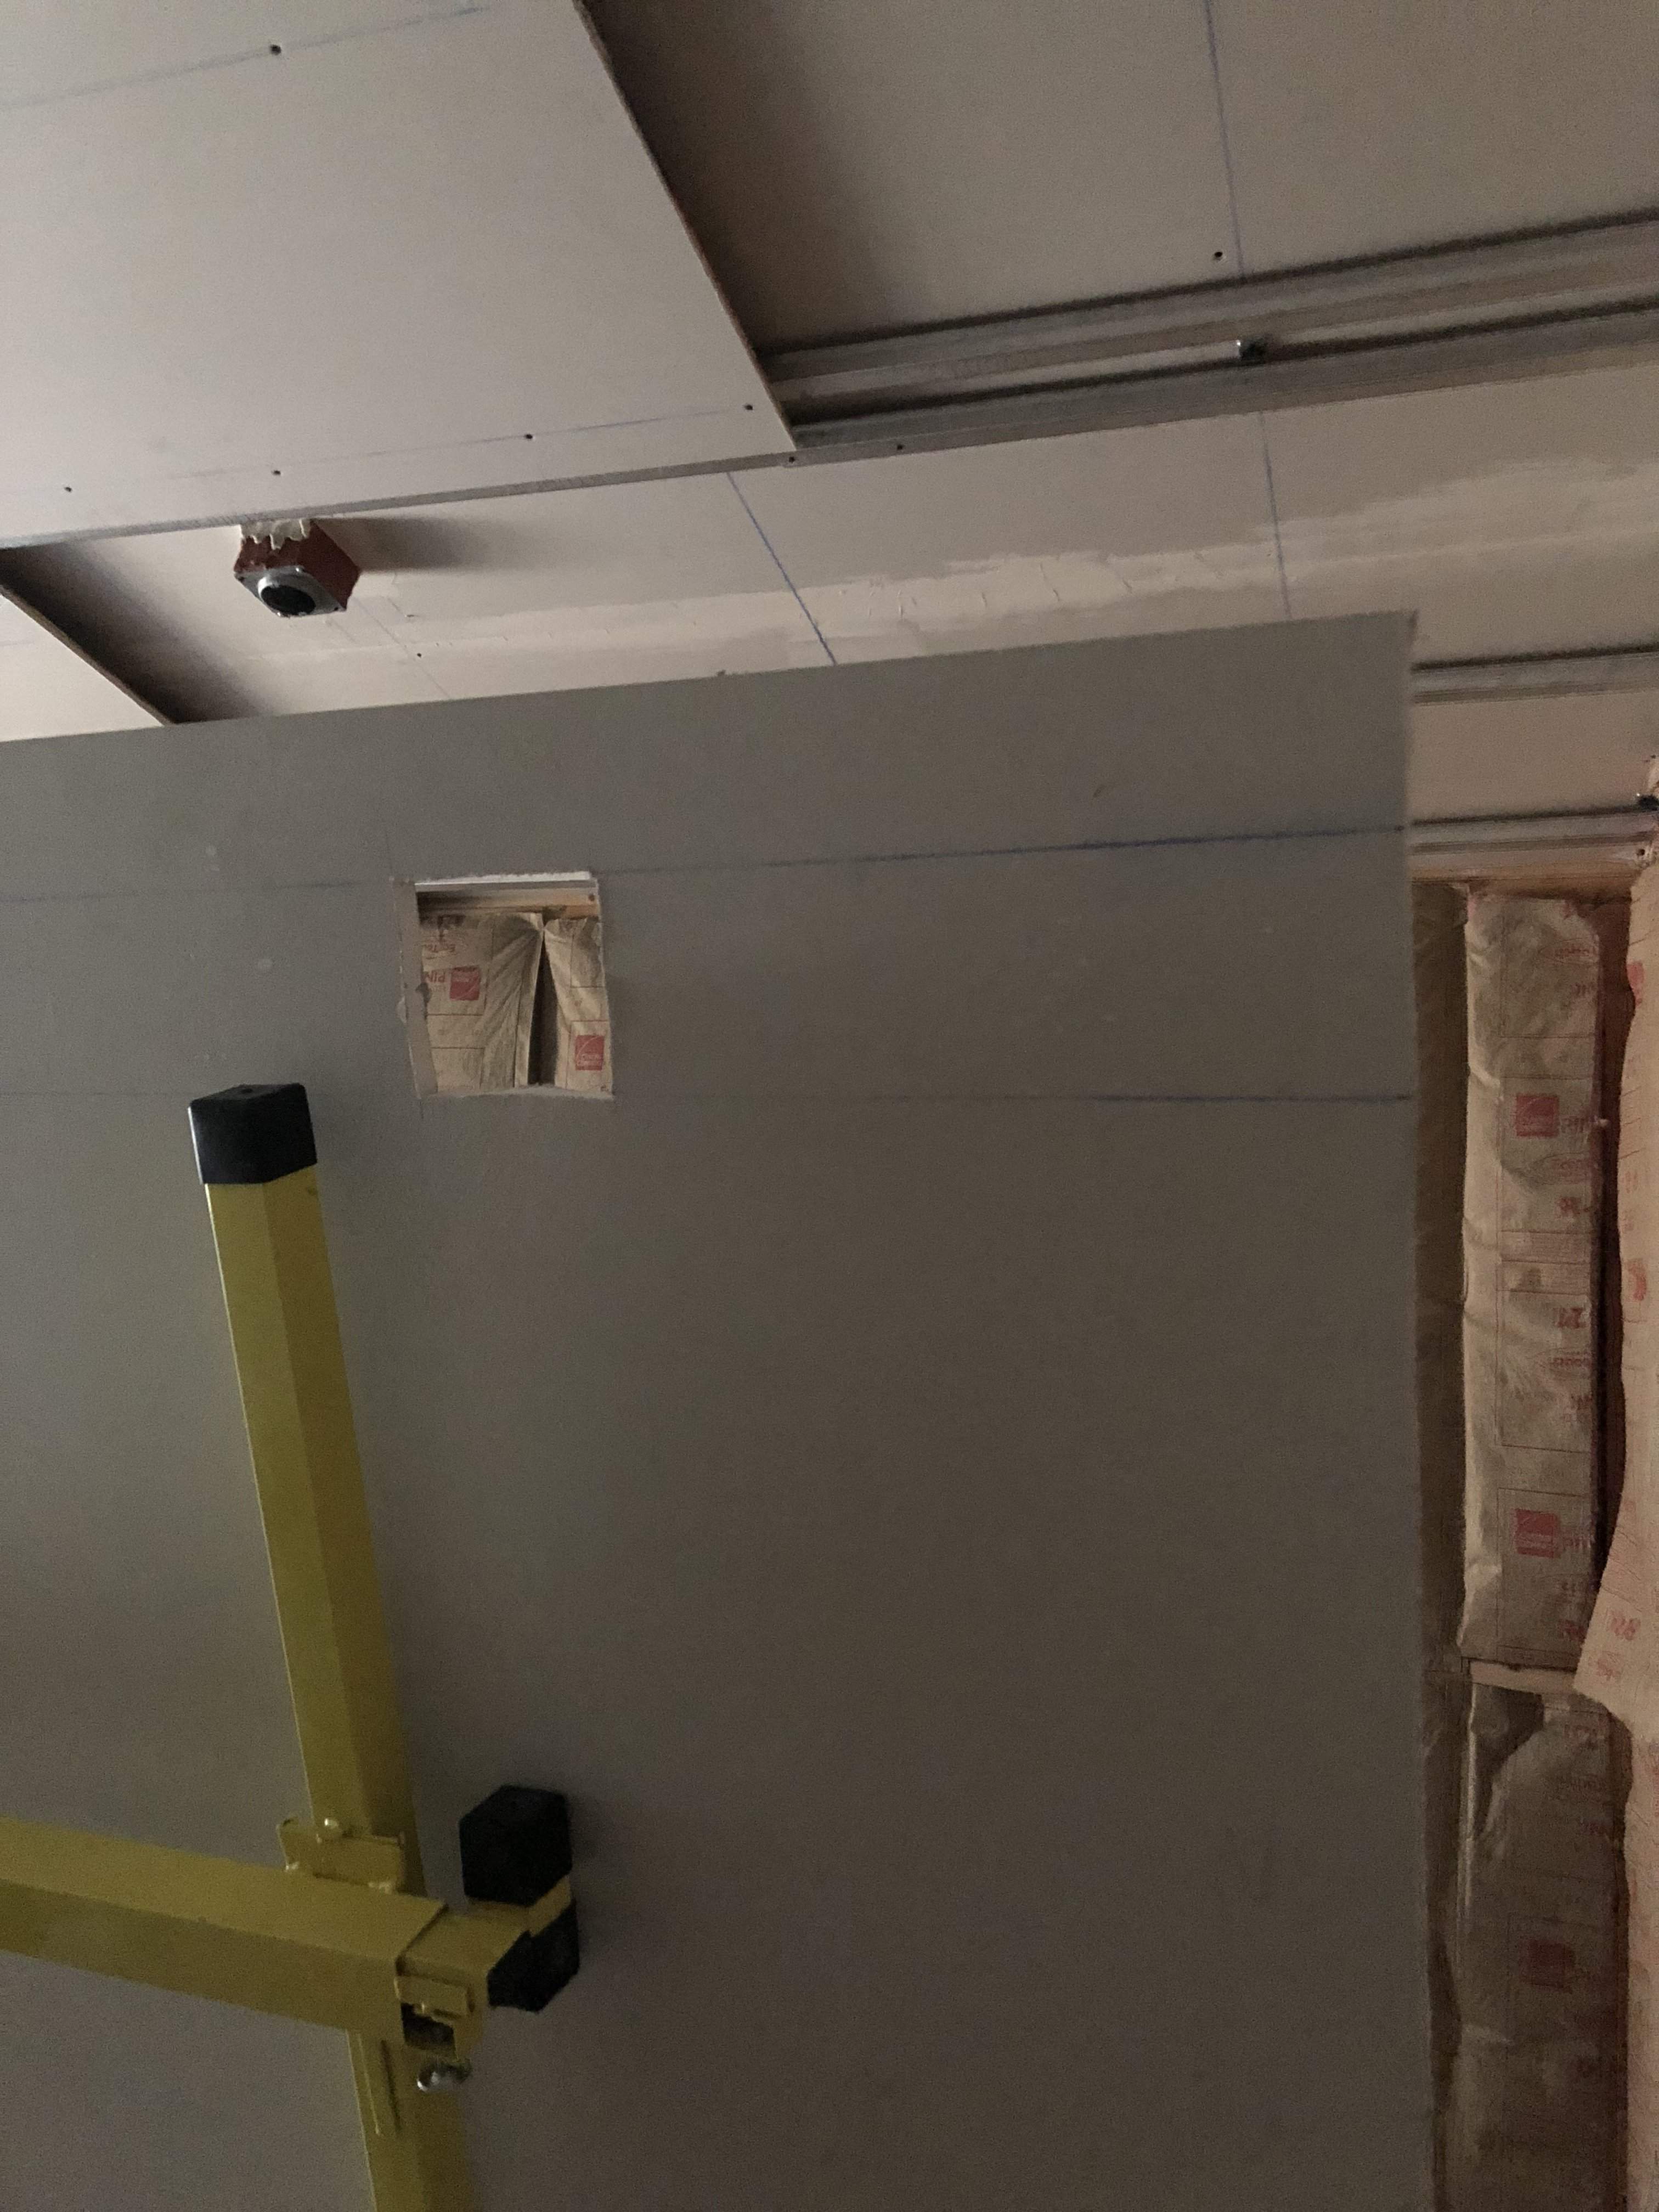
The hole on the right side of the panel is for the light box that lines up with the left side of the panel.
Don't beat yourself up. I can barely hang a painting.
Mirror image thinking is counter intuitive.
Mirror image thinking is counter intuitive.
Twice? Amateurs. Three! Four!! FIVE CUTS!!!You know what they say, measure once, cut twice.


