• TalkBass has been independent since 1998. Add your voice.
    Create a free account to reply to discussions, view embedded media, and browse with fewer display ads.
    Join freeLog in
    Want zero display ads or expanded classifieds tools? Compare plans.

Remake of the first Brooks bass

Basvarken

Commercial User
Dec 3, 2010
1,743
10,606
Velp Rockcity
www.thegibsonbassbook.com
Disclosures
Hobby Luthier / Gibson Bass Book
The birth of a new Brooks bass:
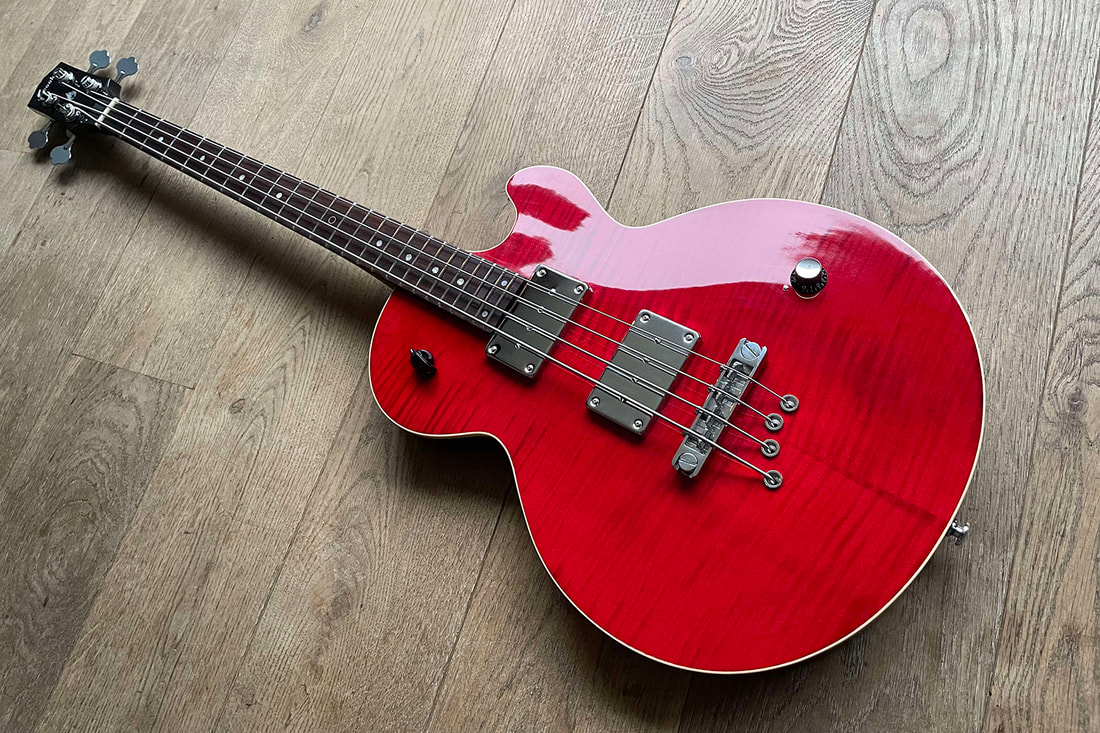
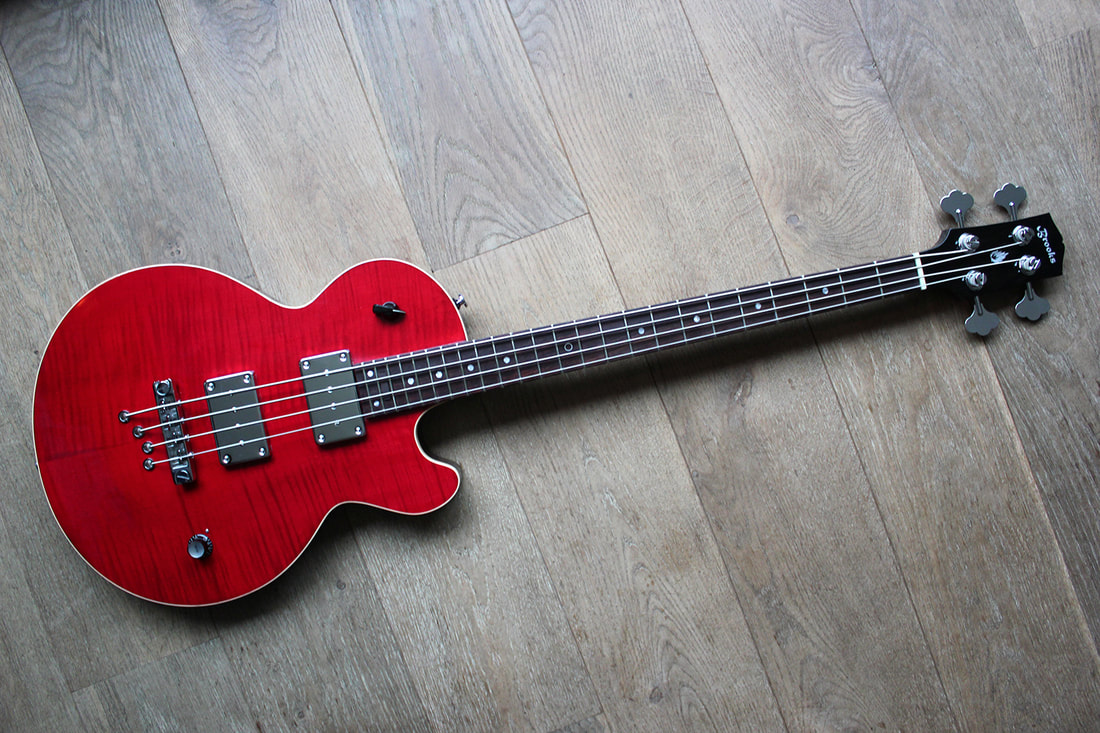
Ladies and Gentlemen I give you the Brooks 1.2.

It's a remake of the very first bass I built (now 14 years ago).
But with a few modifications.

- 30 1/2" scale
- Two piece mahogany body. Chambered
- Flamed maple top. Bookmatched
- Colour of the top: Wine red.
- Colour of the back and neck: Walnut
- Three piece mahogany neck
- Dual action Spokewheel truss rod
- Rosewood fretboard
- Cream colored binding
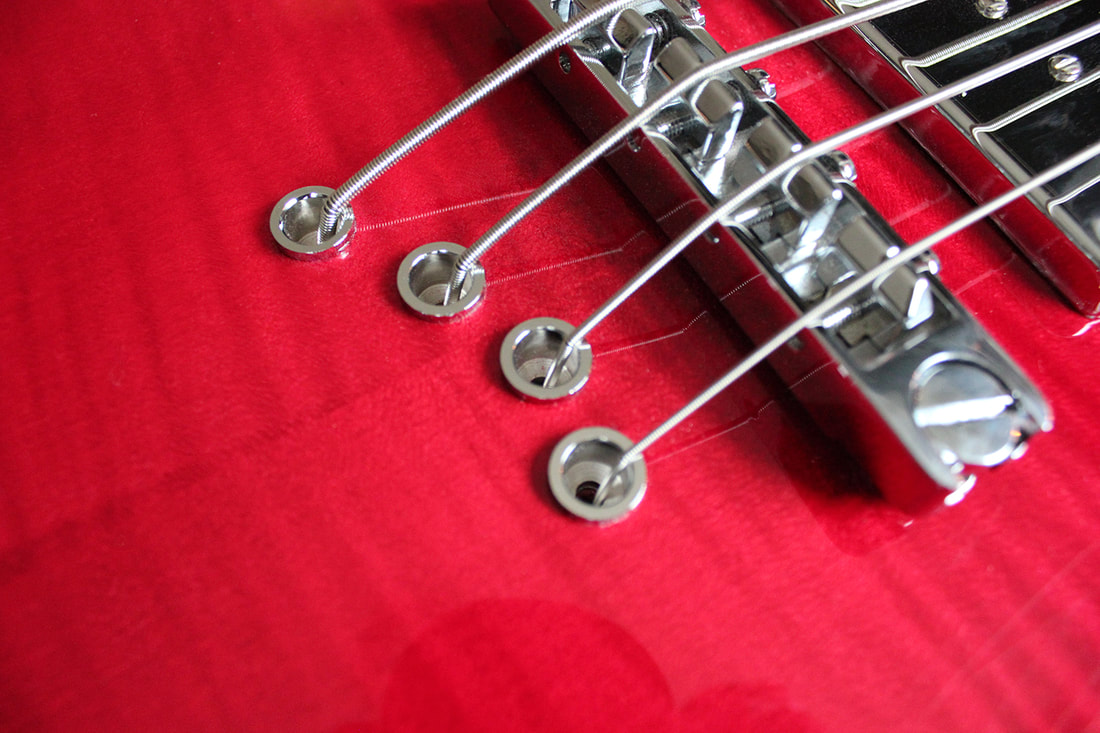
- Guyker two point bridge.
- String through body ferrules
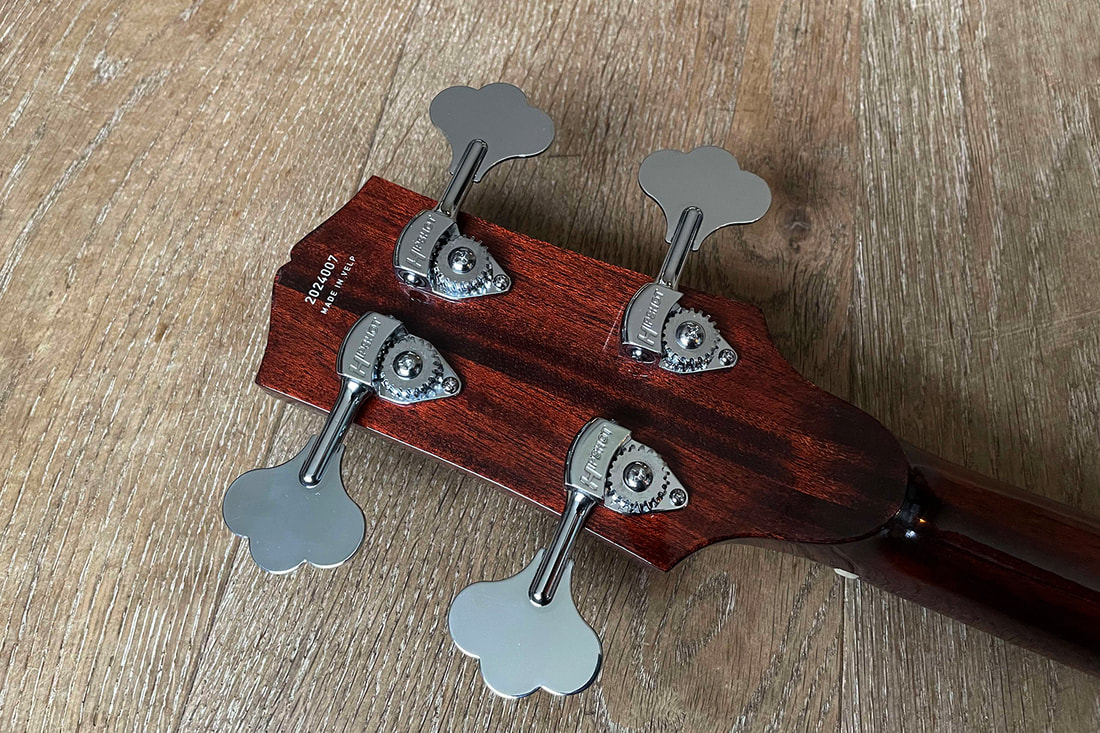
- Hipshot tuners
- Bone nut
- Artec sidewinder humbuckers AlNiCo
- 6 way rotary switch
1. Neck humbucker
2. Outer coils as humbucker
3. Both humbuckers
4. Neck humbucker + inner Bridge coil out of phase
5. Inner coils as humbucker
6. Bridge humbucker
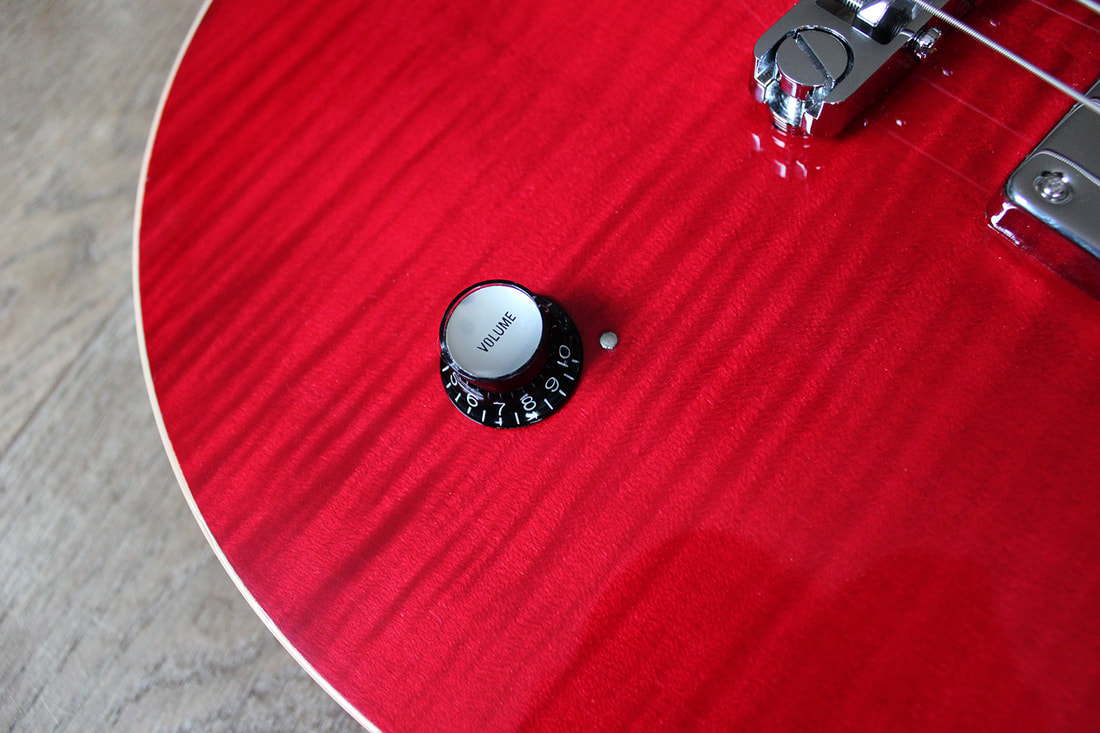
- Volume pot CTS 500k
- Hidden Tone pot CTS 500k
brooks-1-2-front-full3-1500_orig.jpg

brooks-1-2-body-1500_orig.jpg

brooks-1-2-headstock3-1500_orig.jpg

brooks-1-2-head-back-1500_orig.jpg

brooks-1-2-back2-1500_orig.jpg

brooks-1-2-front-1500_orig.jpg

brooks-1-2-ferrules-1500_orig.jpg

brooks-1-2-volume-1500_orig.jpg

brooks-1-2-mudbuckers-1500_orig.jpg

brooks-1-2-tone-pot-1500_orig.jpg

brooks-1-2-back-detail-1500_orig.jpg


I'll post pics of the build process in several posts below.
 
About one year ago I got an email from a gentleman from France who had found my website and he asked me to do a remake of the Brooks 1.

This is the very first bass I ever built. Based on my personal favorite: my 1969 Gibson Les Paul bass.

brooks-1-with-new-pickups1500_orig.jpg


Guillaume told me his new years resolution was to quit smoking. And as a reward for himself he wanted me to build this bass.
In June he was confident he had quit smoking for good. And he placed the order.
Since I was busy building two other bass guitar, I told him I would be able to start the build in the fall of this year.
It gave me time to order all the parts and the wood.
In october I started the actual build.

First off was the fretboard.

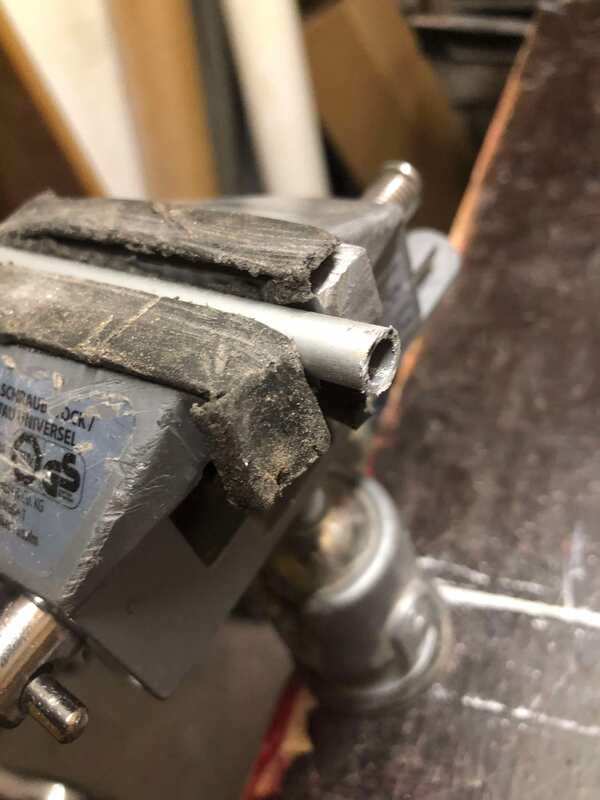
Made the ring inlay for the 12th position. I use an aluminum tube for this.
And for the inside of the ring I made a rosewood circle.

brooks-1-2-12th-ring-tube_orig.jpg


brooks-1-2-12th-rosewood-dot_orig.jpg


After that I drilled the holes for the regular dot inlays

brooks-1-2-fretboard-drilling-position-holes_orig.jpg


Glued the abalone dots and the aluminum ring in and sanded everuthing to the desired radius(16")

brooks-1-2-inlays-ready_orig.jpg


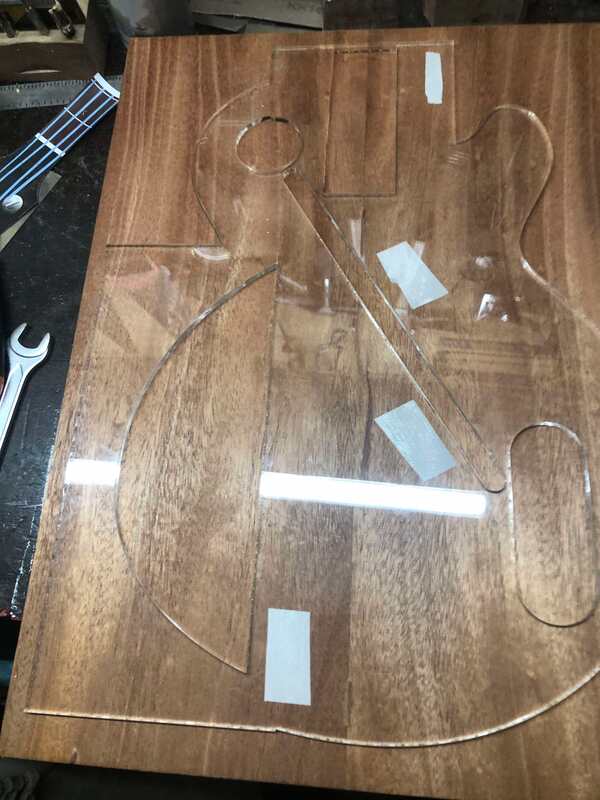
At the FabLab I lasercut templates (the 15 year old templates were no longer usable)
I used plexiglass. Laser cutting works extremely well with this material. And laser cutting MDF is not allowed, because it emits toxic gas.

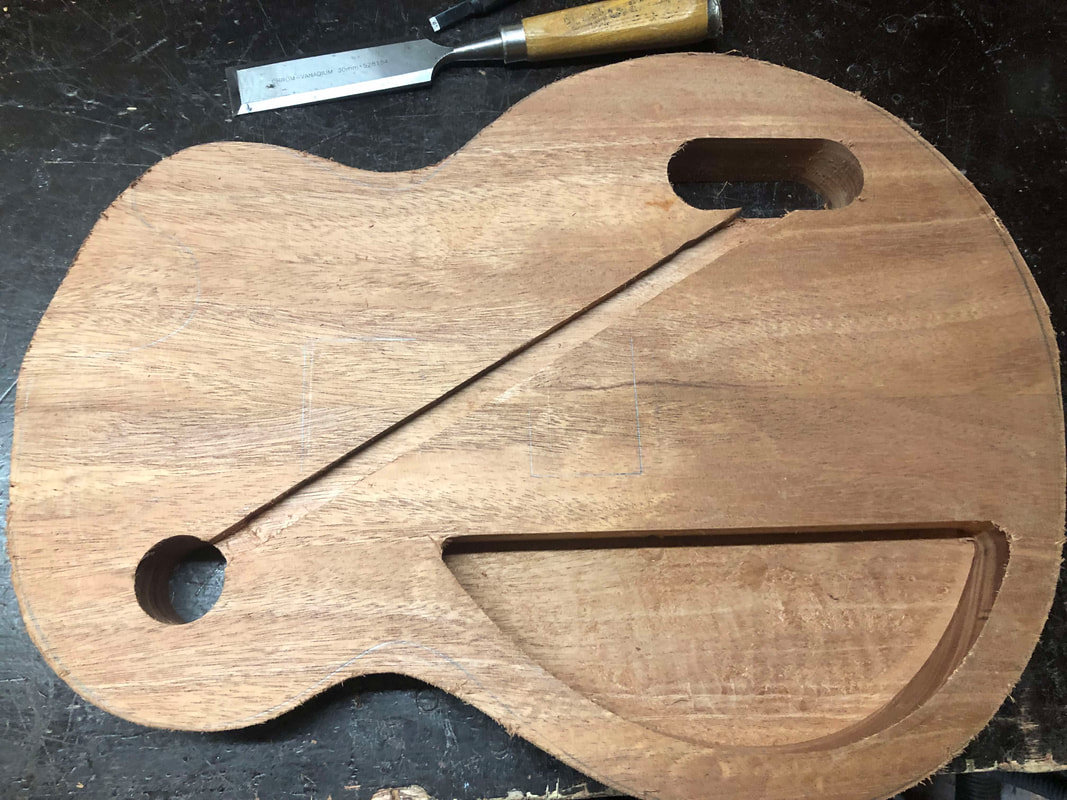
First thing I routed was the wiring channel which runs in a diagonal line across the body.

brooks-1-2-template1_orig.jpg

brooks-1-2-template-channel_orig.jpg
 
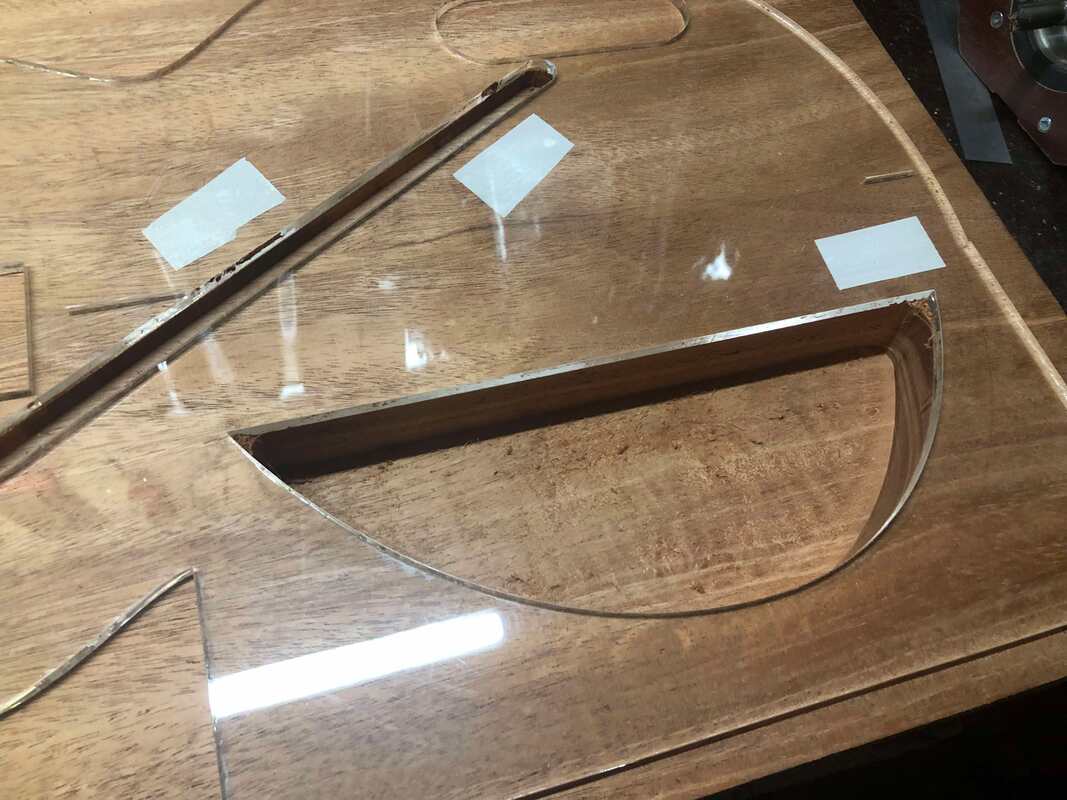
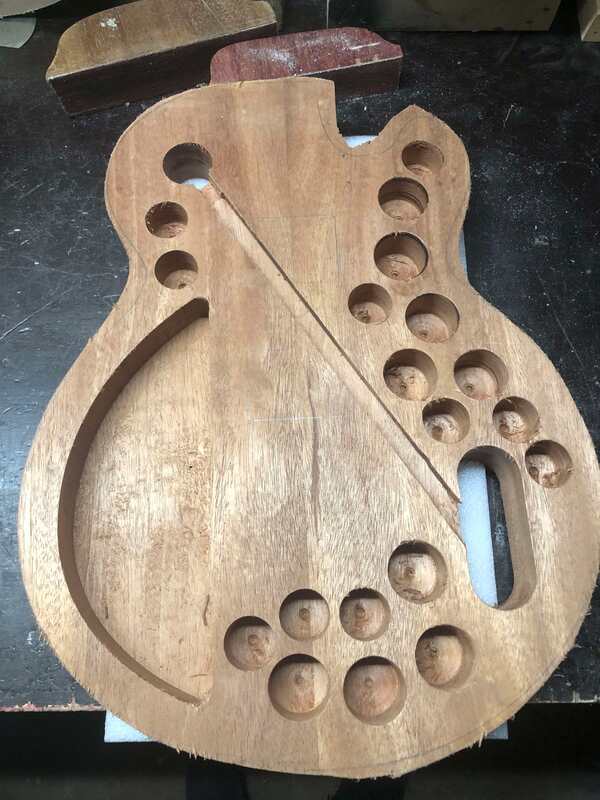
After that first channel was routed I started to work on the weight reduction. I was going to route a large tone chamber in the upper bout of the body.
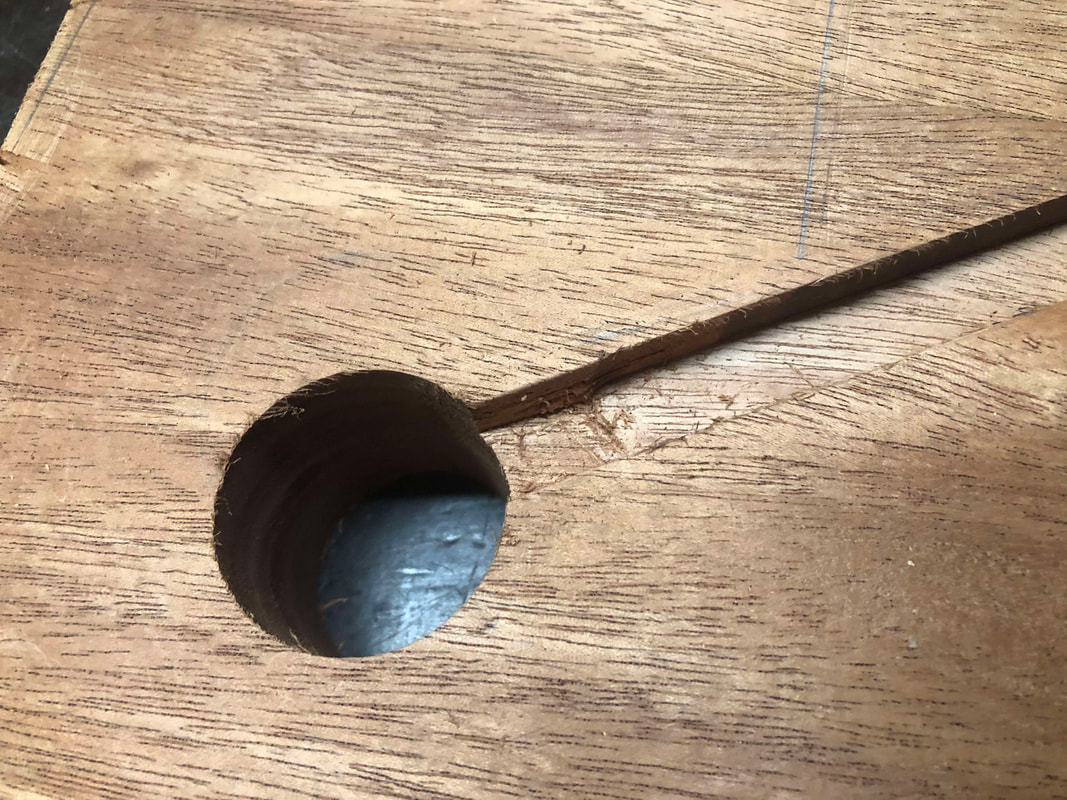
I first used Forstner bit to drill away most of the wood in that area. Then cleaned up the tone chamber with the router.

brooks-1-2-forstner-chamber_orig.jpg


brooks-1-2-template-chamber_orig.jpg


brooks-1-2-channel-and-chamber_orig.jpg


Routed the hole for the rotary switch on the upper horn. And chiseled the last part of the channel away by hand

brooks-1-2-chiseled-the-channel_orig.jpg

brooks-1-2-routings_orig.jpg


Roughly cut out the outline shape.
I weighed the body and came to the conclusion it was going to be too heavy.
So I decided to do some more weight relief.
Made sure i didn't drill where any structural parts would be mounted.

brooks-1-2-weight-reduction_orig.jpg


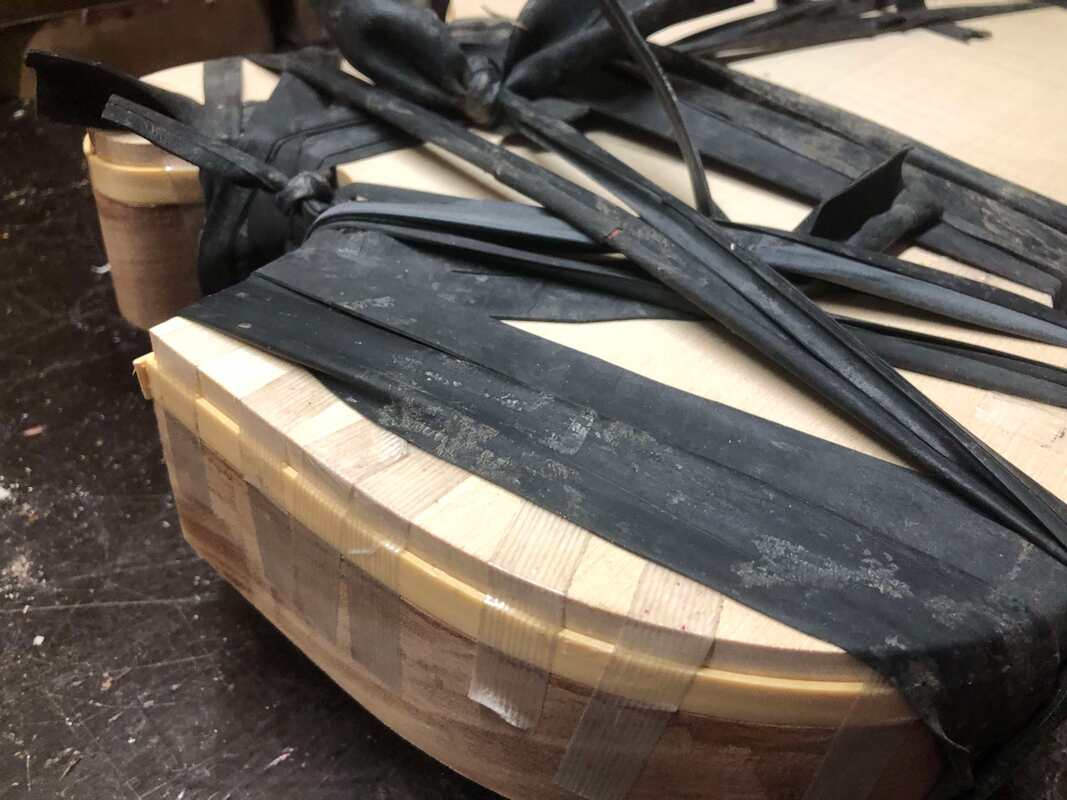
Next step was to glue the thick flamed maple top onto the body

brooks-1-2-glueing-the-top_orig.jpg


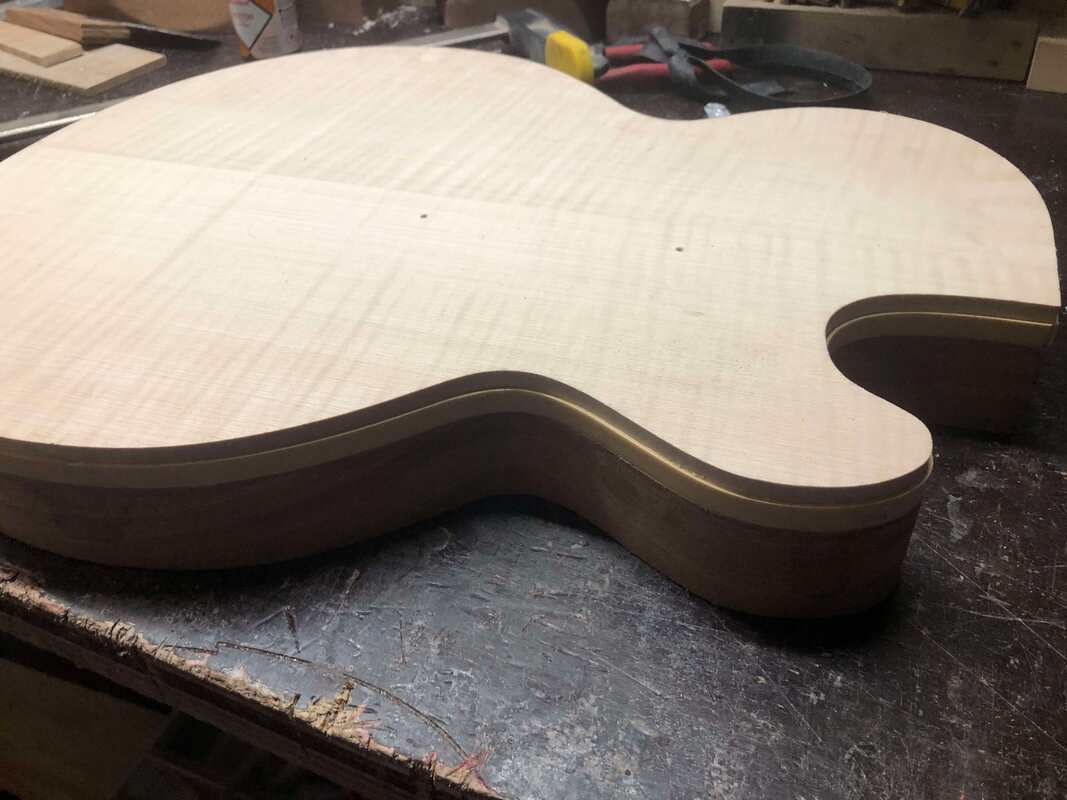
And then routed along the body outline template. Sorry, no pics of the actual routing.

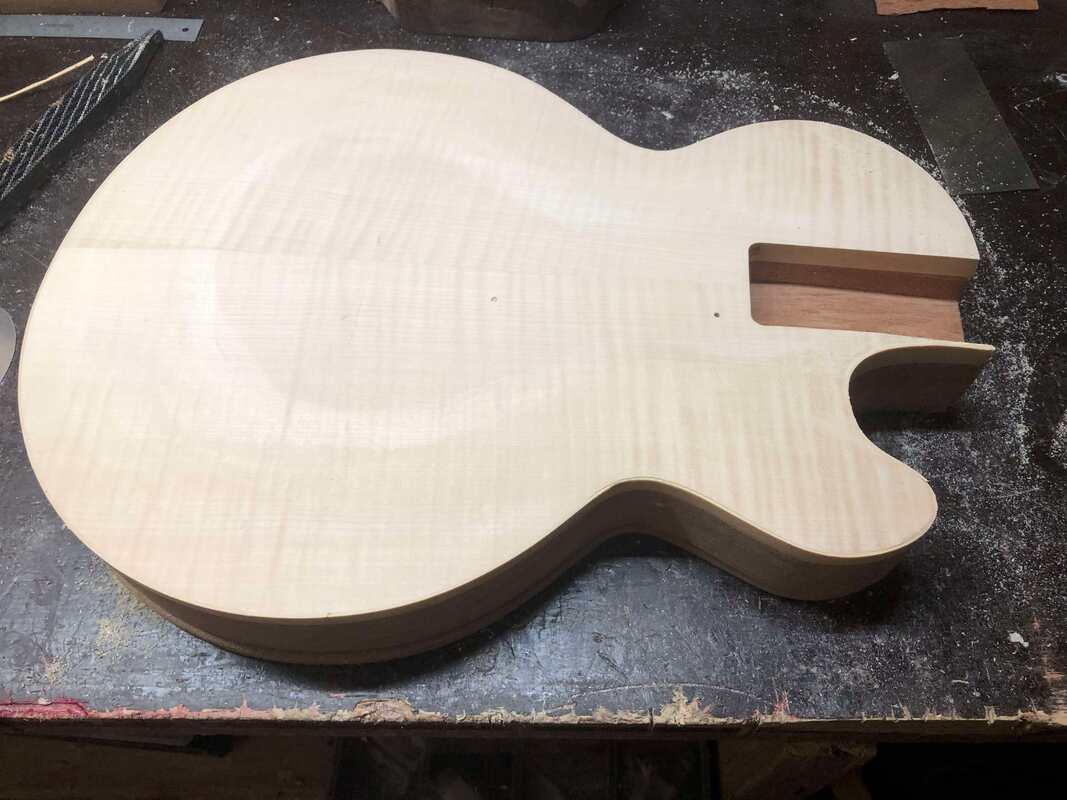
brooks-1-2-body-outline-ready-before-thickness_orig.jpg
 
Last edited:
Switched back to the fretboard again

Hammered in the frets.

brooks-1-2-fretting-fretboard_orig.jpg


And made the trussrod access slot. Plus (rosewood) cover.

brooks-1-2-trussrod-cover-loose_orig.jpg

brooks-1-2-trussrod-cover_orig.jpg


Routed the trussrod slot in the neck blank. And chiseled the part for the spokewheel by hand.

brooks-1-2-spokewheel-truss-rod_orig.jpg


Glued the fretboard on (sorry again, no pics)

And then made the side position markers

brooks-1-2-side-dot-holes_orig.jpg


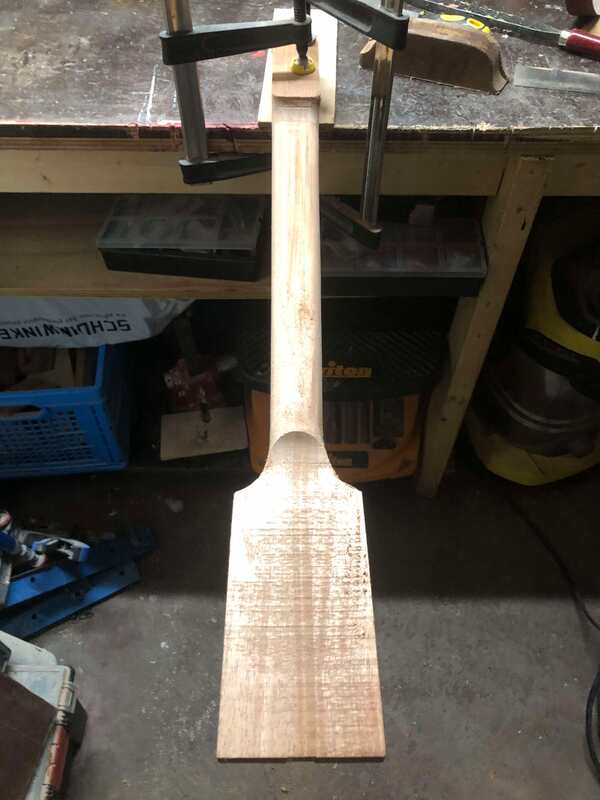
Started the shaping of the neck. Using a Shinto raps, spokewheel plane and cabinet scraper.

brooks-1-2-shaping-neck-profile_orig.jpg


Routed the neck pocket

brooks-1-2-routing-neck-pocket_orig.jpg


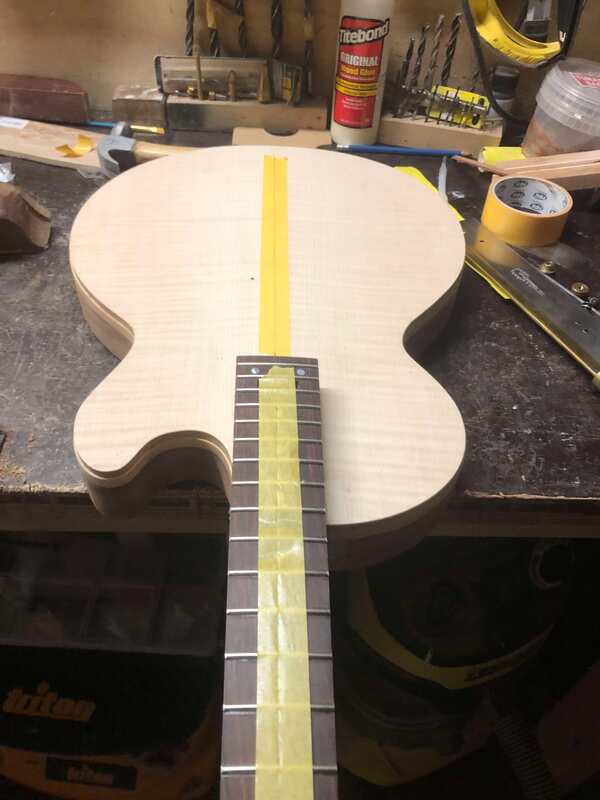
And stated make the heel fit. Nowhere near yet in this pic ;-)

brooks-1-2-neck-alignment_orig.jpg


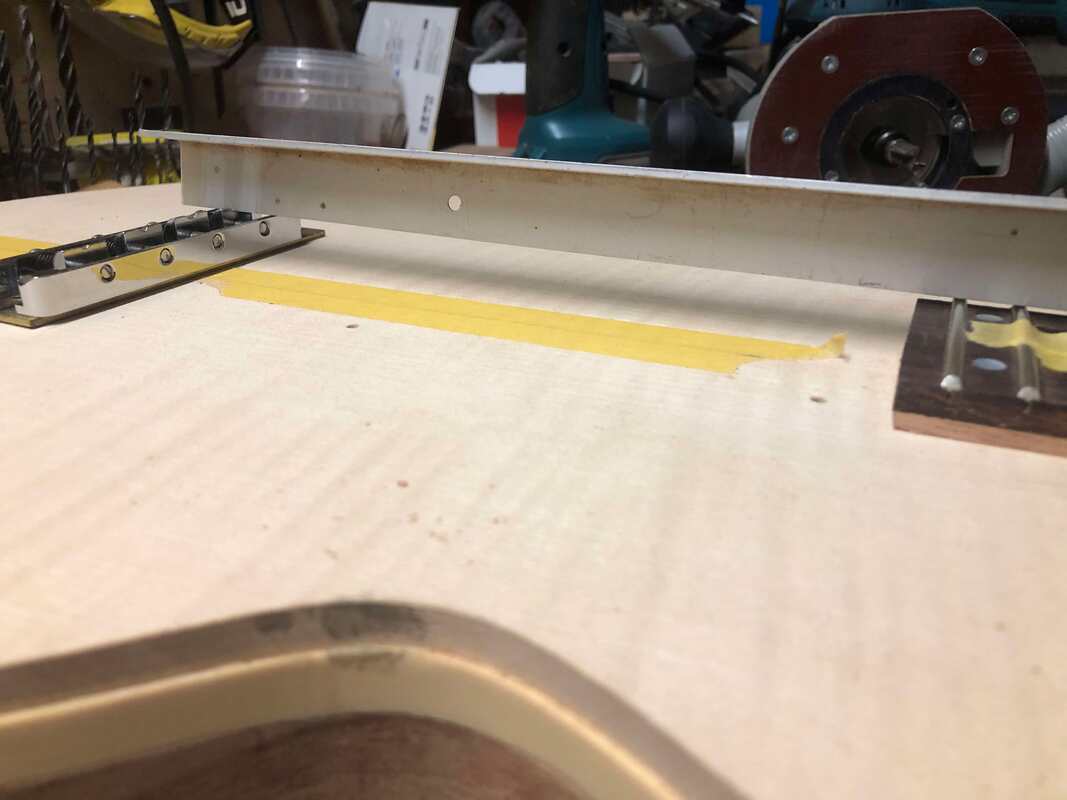
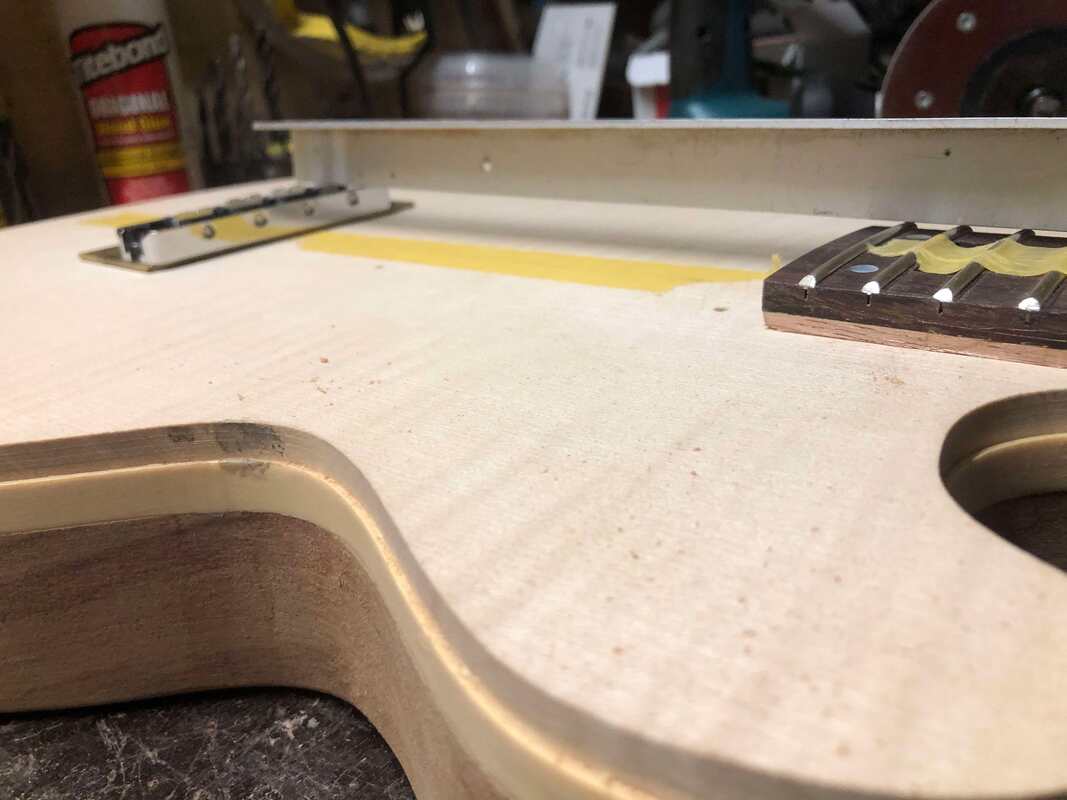
Getting closer to the desire angle. Note how I have the bridge on a pice of brass to emulate the bridge stud thickness.

brooks-1-2-neck-angle_orig.jpg

brooks-1-2-neck-angle2_orig.jpg


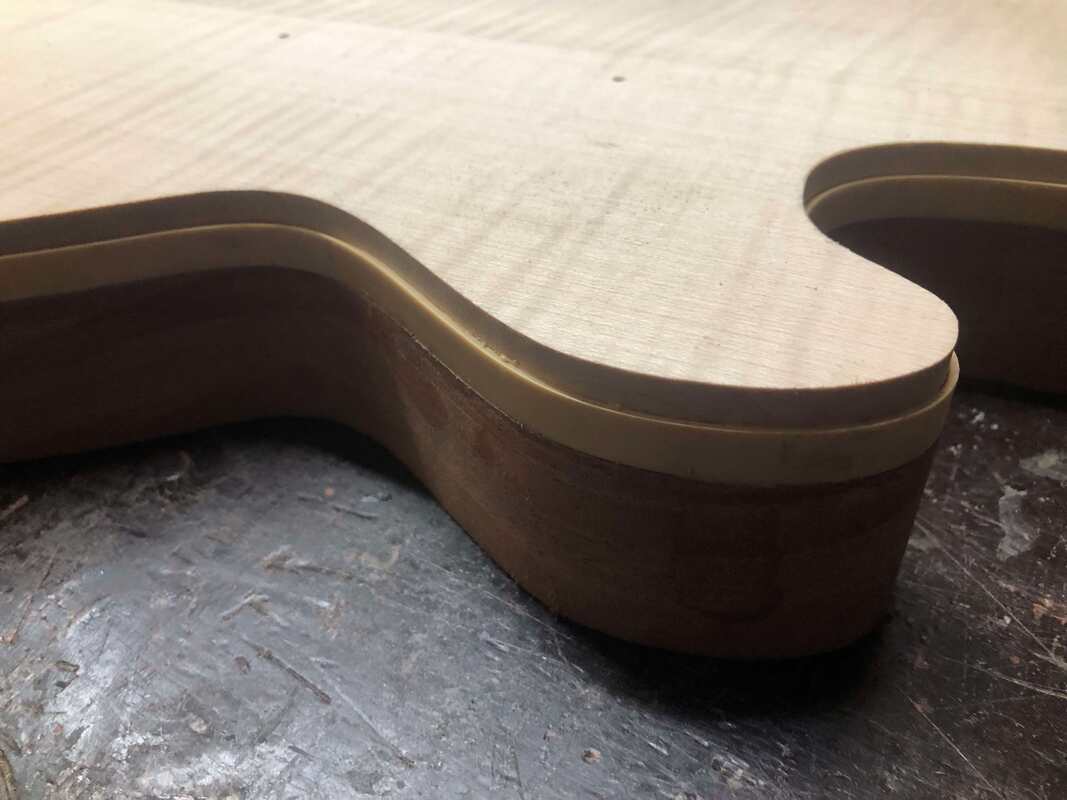
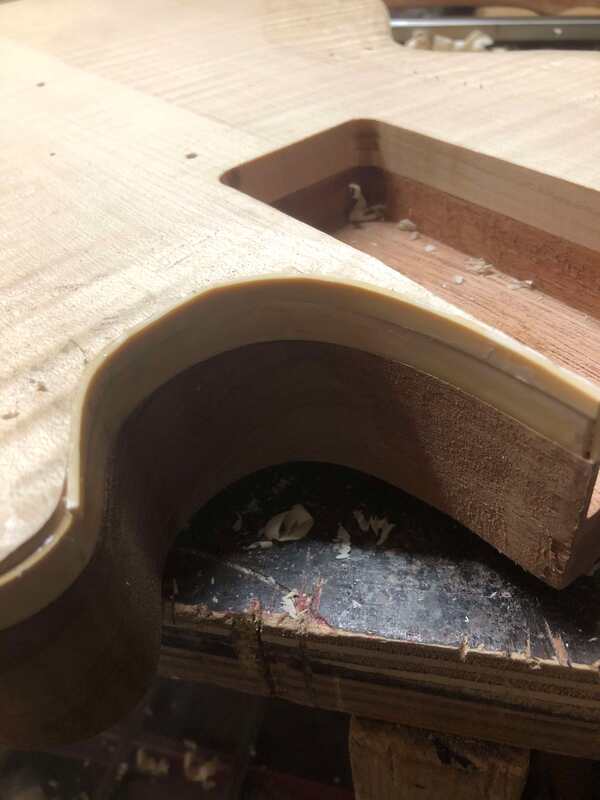
Needed to create some extra height for this part of the binding

brooks-1-2-extra-tall-binding_orig.jpg
 
Took the finger plane and got to work to create the contouring of the top.

brooks-1-2-contouring-the-top_orig.jpg

brooks-1-2-contouring-the-top2_orig.jpg


Routed the pickup cavities

brooks-1-2-routing-pickup-cavities_orig.jpg

brooks-1-2-pickup-cavities-routed_orig.jpg

brooks-1-2-pickup-cavities-routed2_orig.jpg

brooks-1-2-holes-drilled_orig.jpg


Drilled the holes for the rotary switch ans Volume pot

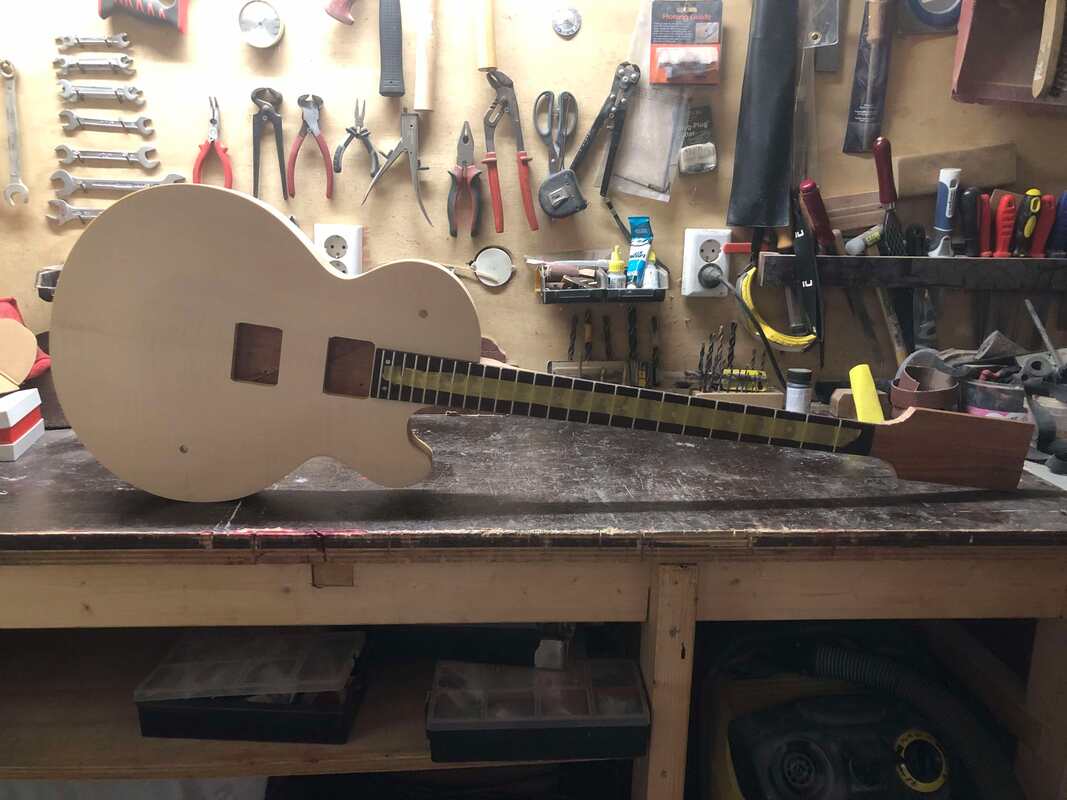
brooks-1-2-neckjoint-dry-fit2_orig.jpg


Dry fitted the neck. Started to look like proper bass already!

brooks-1-2-les-paul-shape_orig.jpg


Took the neck back out to work on the headstock.
Glued the ebony faceplate on.

brooks-1-2-faceplate-glue-up_orig.jpg


Drilled the holes for the machine heads

brooks-1-2-headstock-outline-shape_orig.jpg

brooks-1-2-drilling-tuner-holes_orig.jpg

brooks-1-2-drilling-tuner-holes2_orig.jpg


I always drill from two sides. Making the holes on the back a slightly narrower diameter. The Hipshot Ultralite tuners have a very small footprint, and if you drill the hole as wide as the bushing on the front you will see gaps.

brooks-1-2-headstock_orig.jpg


Made some paste with rosewood dust and wood glue to fill up the gaps underneath the fret tangs.

brooks-1-2-filling-fret-gaps_orig.jpg


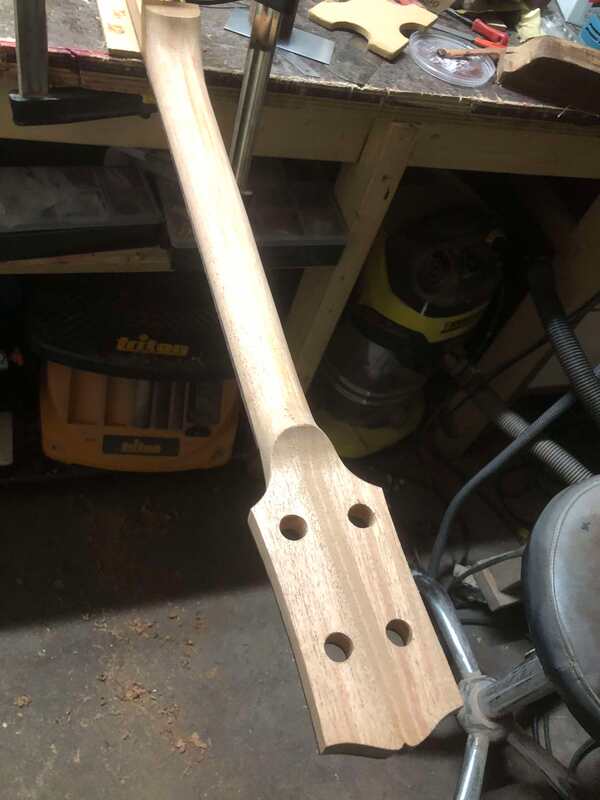
Then did the final profiling of the neck

brooks-1-2-headstock-shape_orig.jpg


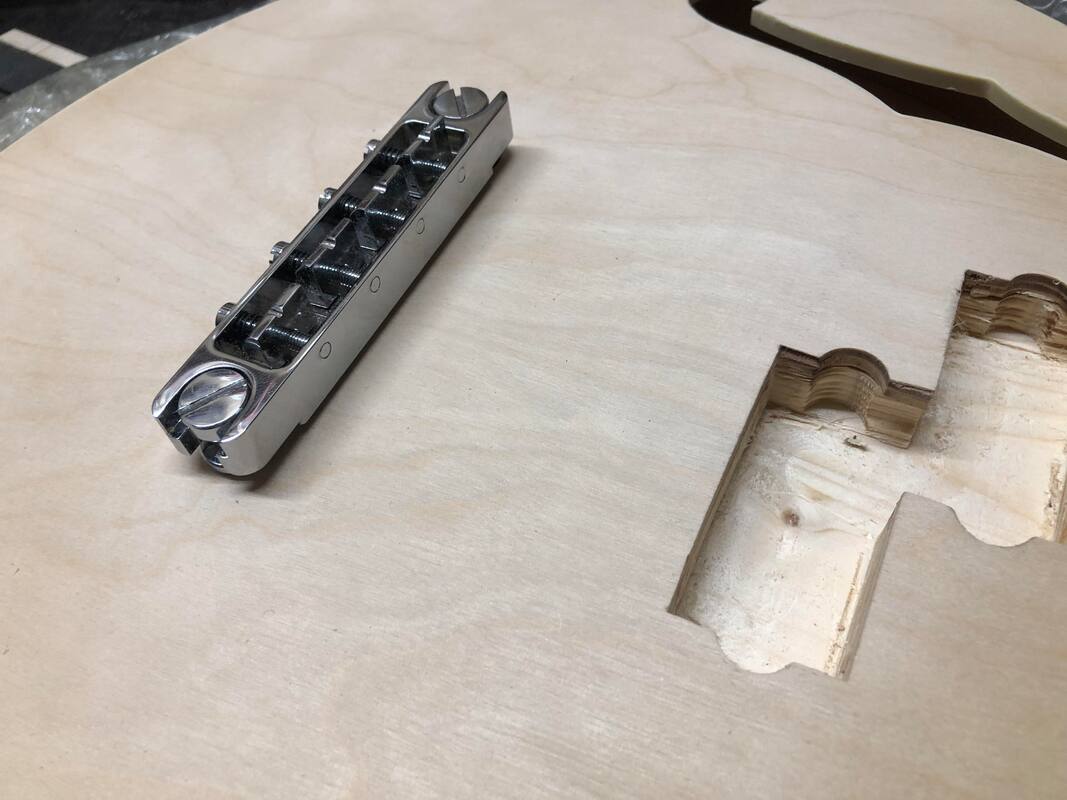
While I test fitted the neck once again I noticed the string spacing of the bridge was not going to workout with the pickups.
So I decided to buy a different bridge. Instead of the wide travel Thunderbrid bridge that I had planned originally I chose to use a Guyker two point bridge. The latter has a narrower string spacing, which would work better with the Mudbuckers.

(Pic from another build)
brooks-pb-2-bridge-in-place_orig.jpeg


Then drilled the bridge stud holes. And string-through-body holes

brooks-1-2-all-holes-drilled_orig.jpg
 
Last edited:
Before I set to work on the pore filling I decided to make the hole for the rotary switch a bit wider.
Not only for better access in the wiring process, but also because this was going to accommodate an Apple Air Tag.
I made a hidden compartment in the back controls cover.

brooks-1-2-closed-toggle-cover_orig.jpg


Then did the pore filling prior to the staining.


brooks-1-2-pore-filler_orig.jpg


Stained the back, sides and neck in a dark mahogany color


brooks-1-2-dark-mahogany-and-black2_orig.jpg


Stained the top red


brooks-1-2-new-red-stain_orig.jpg


Sprayed several layers of clear


brooks-1-2-building-up-layers-of-clear-back_orig.jpg

brooks-1-2-building-up-layers-of-clear-front-body_orig.jpg

brooks-1-2-building-up-layers-of-clear-front_orig.jpg


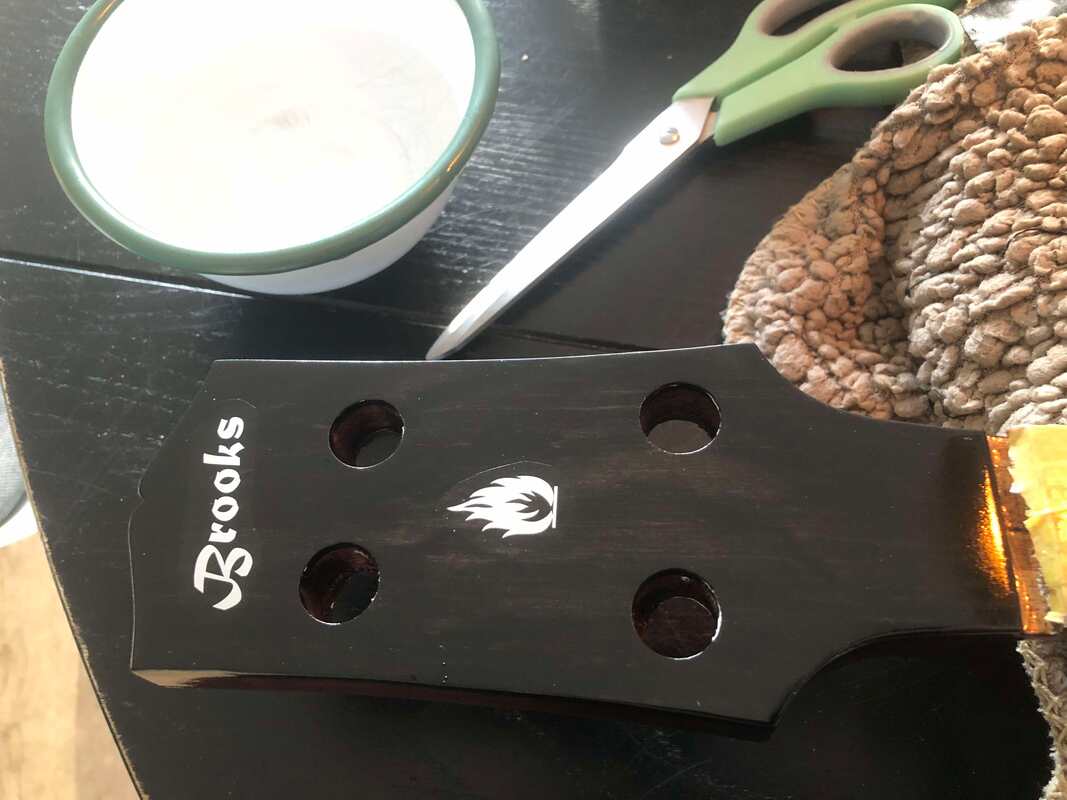
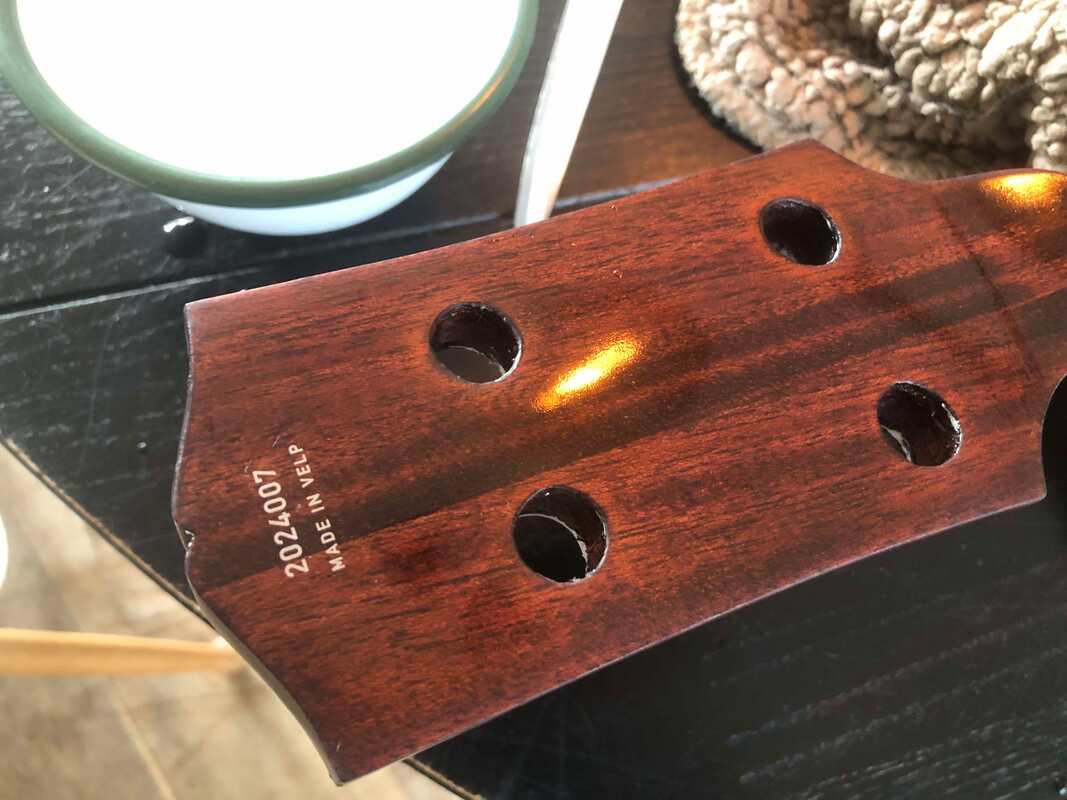
After several layers of clear it was time to aplly the decals

brooks-1-2-logo-decals_orig.jpg

brooks-1-2-sn-decals_orig.jpg


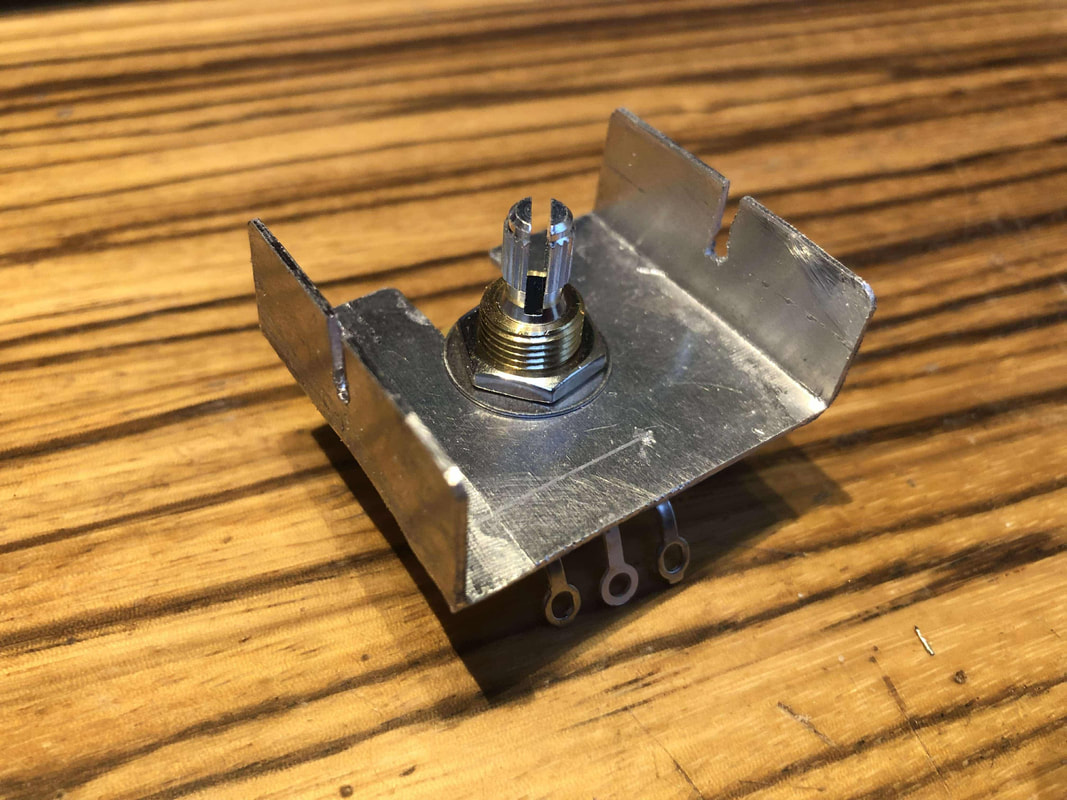
Just like the Brooks 1 that I built 14 years ago, this bass was ging to get a hidden tone knob.
Why hidden? I like the clean look on the top side of a bass. And I very rarely use a Tone pot anyway.

So I made a bracket from a sheet of aluminum

brooks-1-2-tone-pot-bracket_orig.jpg


And mounted it inside the controls cavity

brooks-1-2-stealth-tone-pot_orig.jpg


A little hole on the controls cover gives access to the tone pot.

brooks-1-2-tone-pot-1500_orig.jpg


My good friend Sjoerd made a wiring diagram to my specs.
And he took care of the soldering

brooks-1-2-rotary-switch-connections_orig.jpeg


It's a clever switch!

1. Neck humbucker
2. Outer coils as humbucker
3. Both humbuckers
4. Neck humbucker + inner Bridge coil out of phase
5. Inner coils as humbucker
6. Bridge humbucker
 
Last edited:
The birth of a new Brooks bass:
Ladies and Gentlemen I give you the Brooks 1.2.

It's a remake of the very first bass I built (now 14 years ago).
But with a few modifications.

- 30 1/2" scale
- Two piece mahogany body. Chambered
- Flamed maple top. Bookmatched
- Colour of the top: Wine red.
- Colour of the back and neck: Walnut
- Three piece mahogany neck
- Dual action Spokewheel truss rod
- Rosewood fretboard
- Cream colored binding
- Guyker two point bridge.
- String through body ferrules
- Hipshot tuners
- Bone nut
- Artec sidewinder humbuckers AlNiCo
- 6 way rotary switch
1. Neck humbucker
2. Outer coils as humbucker
3. Both humbuckers
4. Neck humbucker + inner Bridge coil out of phase
5. Inner coils as humbucker
6. Bridge humbucker
- Volume pot CTS 500k
- Hidden Tone pot CTS 500k

brooks-1-2-front-full3-1500_orig.jpg

brooks-1-2-body-1500_orig.jpg

brooks-1-2-headstock3-1500_orig.jpg

brooks-1-2-head-back-1500_orig.jpg

brooks-1-2-back2-1500_orig.jpg

brooks-1-2-front-1500_orig.jpg

brooks-1-2-ferrules-1500_orig.jpg

brooks-1-2-volume-1500_orig.jpg

brooks-1-2-mudbuckers-1500_orig.jpg

brooks-1-2-tone-pot-1500_orig.jpg

brooks-1-2-back-detail-1500_orig.jpg


I'll post pics of the build process in several posts below.
Beautiful
 
About one year ago I got an email from a gentleman from France who had found my website and he asked me to do a remake of the Brooks 1.

This is the very first bass I ever built. Based on my personal favorite: my 1969 Gibson Les Paul bass.

Guillaume told me his new years resolution was to quit smoking. And as a reward for himself he wanted me to build this bass.
I had this amazing bass for free if you consider that the total cost equals what I would have spent on cigarettes during one year :roflmao:.
Good for my motivation, good for my health, good for my finance, familly happy.
 
About one year ago I got an email from a gentleman from France who had found my website and he asked me to do a remake of the Brooks 1.

This is the very first bass I ever built. Based on my personal favorite: my 1969 Gibson Les Paul bass.

brooks-1-with-new-pickups1500_orig.jpg


Guillaume told me his new years resolution was to quit smoking. And as a reward for himself he wanted me to build this bass.
In June he was confident he had quit smoking for good. And he placed the order.
Since I was busy building two other bass guitar, I told him I would be able to start the build in the fall of this year.
It gave me time to order all the parts and the wood.
In october I started the actual build.

First off was the fretboard.

Made the ring inlay for the 12th position. I use an aluminum tube for this.
And for the inside of the ring I made a rosewood circle.

brooks-1-2-12th-ring-tube_orig.jpg


brooks-1-2-12th-rosewood-dot_orig.jpg


After that I drilled the holes for the regular dot inlays

brooks-1-2-fretboard-drilling-position-holes_orig.jpg


Glued the abalone dots and the aluminum ring in and sanded everuthing to the desired radius(16")

brooks-1-2-inlays-ready_orig.jpg


At the FabLab I lasercut templates (the 15 year old templates were no longer usable)
I used plexiglass. Laser cutting works extremely well with this material. And laser cutting MDF is not allowed, because it emits toxic gas.

First thing I routed was the wiring channel which runs in a diagonal line across the body.

brooks-1-2-template1_orig.jpg

brooks-1-2-template-channel_orig.jpg
Damn Rob. That is beautiful!
 
The birth of a new Brooks bass:
Ladies and Gentlemen I give you the Brooks 1.2.

It's a remake of the very first bass I built (now 14 years ago).
But with a few modifications.

- 30 1/2" scale
- Two piece mahogany body. Chambered
- Flamed maple top. Bookmatched
- Colour of the top: Wine red.
- Colour of the back and neck: Walnut
- Three piece mahogany neck
- Dual action Spokewheel truss rod
- Rosewood fretboard
- Cream colored binding
- Guyker two point bridge.
- String through body ferrules
- Hipshot tuners
- Bone nut
- Artec sidewinder humbuckers AlNiCo
- 6 way rotary switch
1. Neck humbucker
2. Outer coils as humbucker
3. Both humbuckers
4. Neck humbucker + inner Bridge coil out of phase
5. Inner coils as humbucker
6. Bridge humbucker
- Volume pot CTS 500k
- Hidden Tone pot CTS 500k
brooks-1-2-front-full3-1500_orig.jpg

brooks-1-2-body-1500_orig.jpg

brooks-1-2-headstock3-1500_orig.jpg

brooks-1-2-head-back-1500_orig.jpg

brooks-1-2-back2-1500_orig.jpg

brooks-1-2-front-1500_orig.jpg

brooks-1-2-ferrules-1500_orig.jpg

brooks-1-2-volume-1500_orig.jpg

brooks-1-2-mudbuckers-1500_orig.jpg

brooks-1-2-tone-pot-1500_orig.jpg

brooks-1-2-back-detail-1500_orig.jpg


I'll post pics of the build process in several posts below.
Absolutely Gorgeous! :woot:
Congrats on your new acquisition!
 

Latest posts