• TalkBass has been independent since 1998. Add your voice.
    Create a free account to reply to discussions, view embedded media, and browse with fewer display ads.
    Join freeLog in
    Want zero display ads or expanded classifieds tools? Compare plans.

Rhiannon and Galadriel

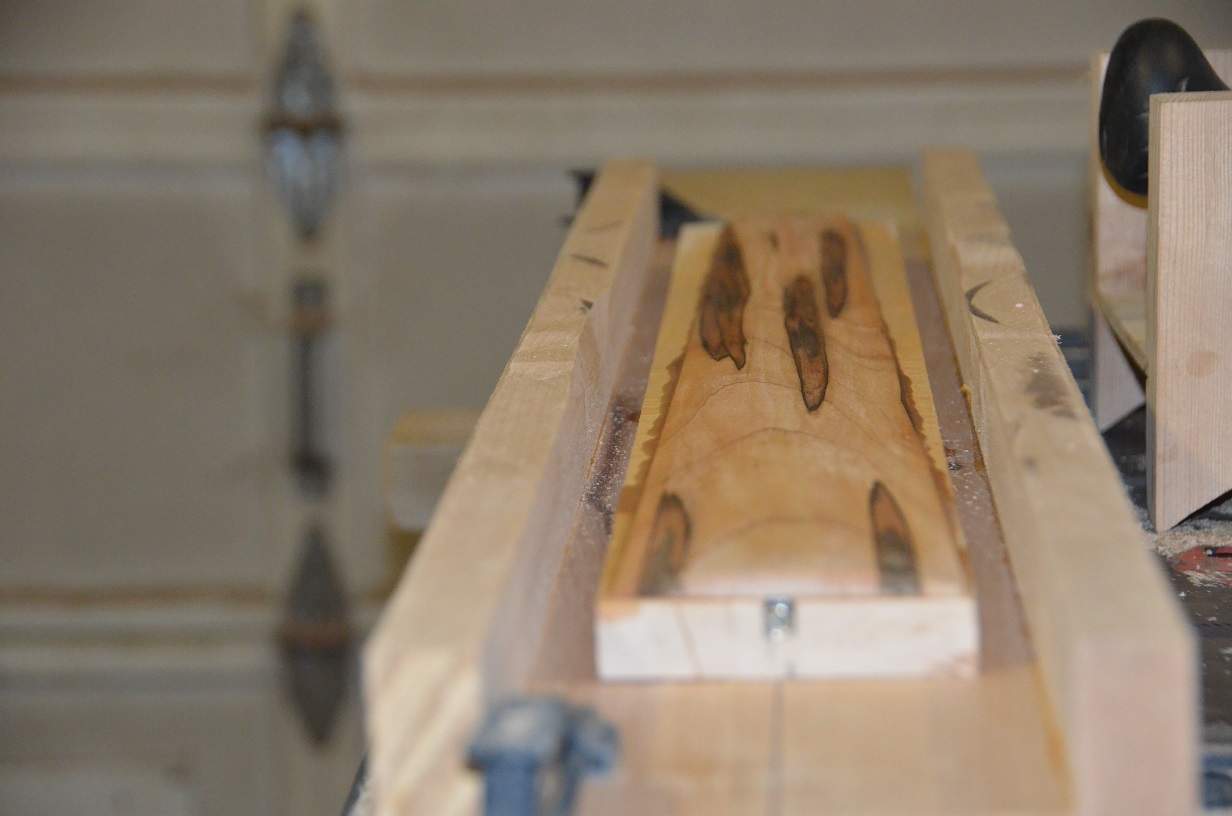
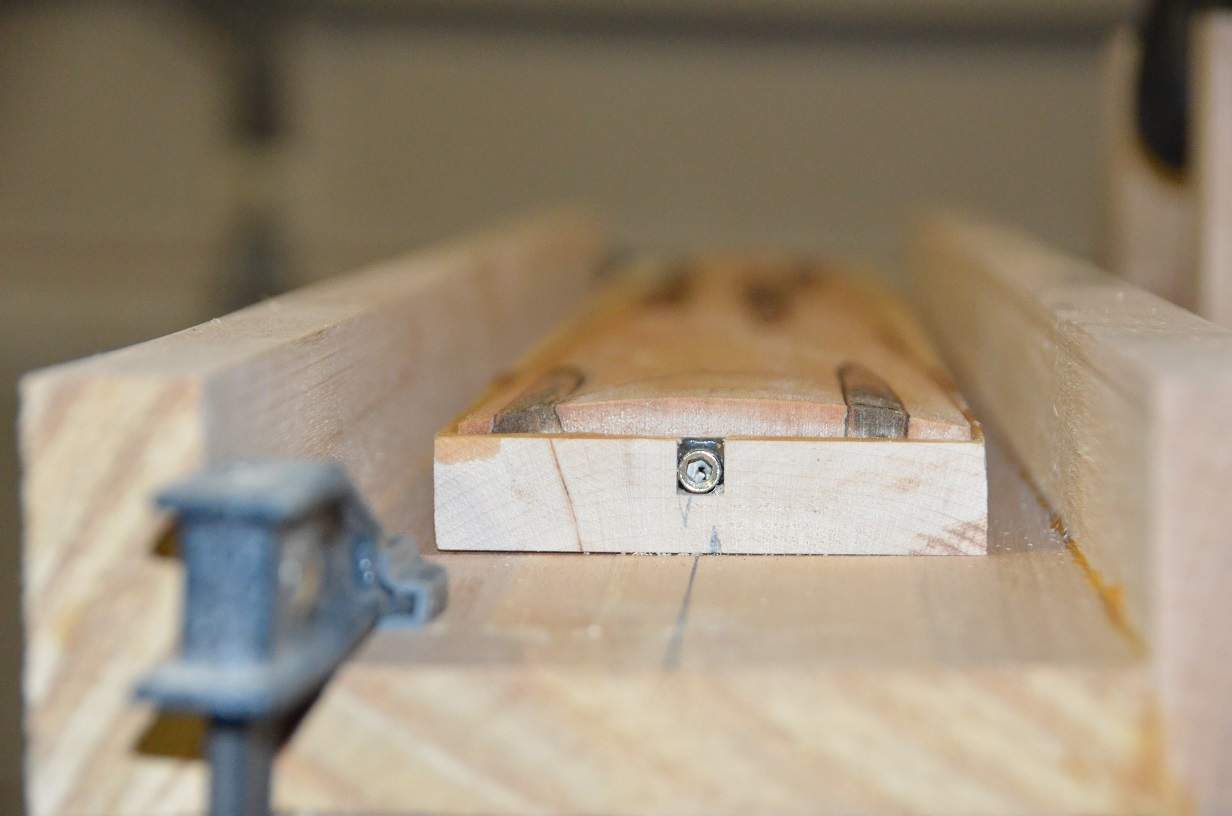
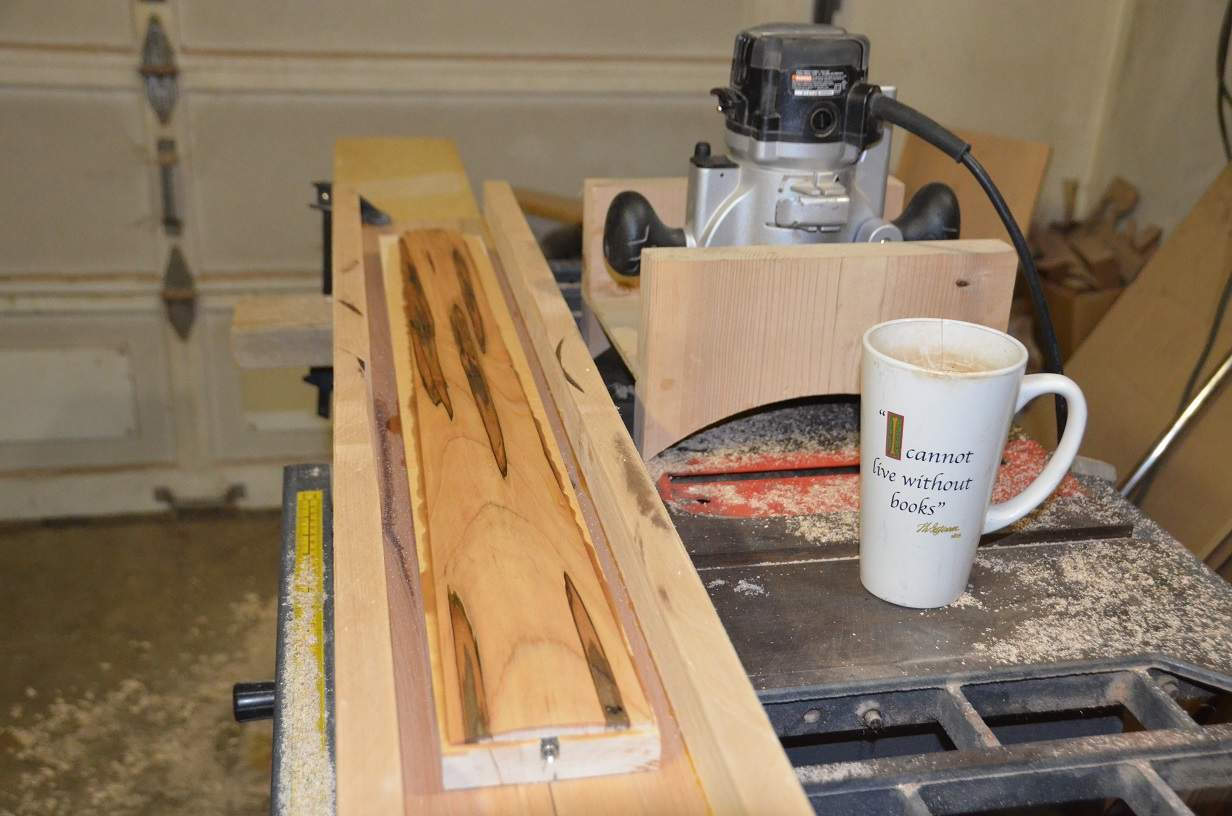
With more than a little trepidation I used my new fangled radius jig and routed out the 7 1/4" radius on the ambrosia maple. It went much better than last time, and the tearout I had feared might be the outcome did not occur. It may be that my cautious approach of stepping gradually into the cut helped a great deal, but I can tell you that the amount of effort expended was very small for such lovely results. When comparing the sweat and frustration of my manual attempt to the effort required with the jig, the jig wins hands down. It still needs a bit of fine tuning with a radius block, but we are 95% there.

I noticed that the fingerboard moved 1/4" north up the neck under the clamps, and I will have to set my brain to figuring out how best to remedy that. A truss rod cover that extends the fingerboard a bit would correct the issue, so I am not worrying about it overmuch.

A little naptha was applied and the SLR brought out - here's the results:
DSC_0174.JPG

DSC_0176.JPG

DSC_0175.JPG
 
The neck pocket has been routed, and the jack hole drilled. The pre-routed wire cavities meet perfectly in the middle horizontally of the jack cavity I am using an electrosocket jack mount for these two basses.

One thing to note is that I am leaving things a bit high on the prototype to allow Ron a bit of room to change some things. If the neck ends up being too high we can drop in down in the neck pocket a bit, and route some material our for the bridges to sit lower. My expectation for this part of the total build process is to get something in Ron's hands we can fine tune, and then I have the exact specs for the main build. I fully expect some feedback and modifications.

I have included a "selfie" to show scale. Ignore the old man in the orange shirt. ;)

DSC_0180.JPG

DSC_0181.JPG

DSC_0182.JPG

DSC_0188.JPG
 
Michael,
:D...nice. Since you have it there in your hands...how is the balance? Did we do well? Just wondering.

Rondo
P.S. that 35" scale looks looooong even headless. lol
I can't tell on balance yet as I haven't gotten the neck crews in yet. ;) Once I get it bolted down I will give you my impressions. The neck is longer that it will end up - there's about 1" to 2" on the head end that needs to be trimmed down, though it does feel long to me....I'm used to a 30" scale. ;)

Here's some pix of what she looks like after a 1/2" roundover. The round over process on the body is magical for me. A blocky shape goes in one end, and out the other comes a sleek and sexy bass shape. It still needs sanding....a lot of sanding. ;)

DSC_0190.JPG

DSC_0189.JPG
 
OK - I got her bolted down and she balances well sitting down. No neck dive to speak of. The bathroom scale shows her in the ball park of 7 1/2 pounds. Some weight will come off with the neck trim at the head and a 3/4" round-over, but the tuners will add a pound or two. She will land in the 9 to 9 1/2 pound mark I suspect. The next step is to get the neck profiled, and start working on getting the headless headpiece installed so I can start working on bridge placement.
 
OK - I got her bolted down and she balances well sitting down. No neck dive to speak of. The bathroom scale shows her in the ball park of 7 1/2 pounds. Some weight will come off with the neck trim at the head and a 3/4" round-over, but the tuners will add a pound or two. She will land in the 9 to 9 1/2 pound mark I suspect. The next step is to get the neck profiled, and start working on getting the headless headpiece installed so I can start working on bridge placement.
Michael,
I can live with 10lbs more or less. I was hoping for lighter but given the scale length, hardware choices, and wood choices, 10lbs is reasonable. Besides, it's soooo killer looking!
Rondo
 
I just profiled the neck, and trimmed off the excess. The bathroom scale put her at 6 1/2 to 7 pounds sans hardware, but I don't trust my scale for precision. ;) It's heavier than I am used to, but it's not unwieldy by any means. Here are some updated pix:

DSC_0192.JPG

DSC_0191.JPG
 
Last edited:
  • Like
Reactions: Hamish MacCleod
While I doubt anyone really wants to see another shot of my ugly mug, with everything trimmed up to the "destination" size I thought it might be helpful to get an idea of how things are shaping up size wise. As a reference I am about 5' 10" tall, and weigh 150 pounds.

DSC_0194.JPG

DSC_0195.JPG
 
Having chosen some fairly soft maple for the fingerboards the subject of protective coatings has been on my mind today. The fingerboards for both basses are a softer maple, though only Galadriel will be strung with rounds. I am opting for a CA glue coating. I have read a ton about CA coatings for fingerboards, but as I have not actually attempted this I decided to go with the advice of @Big B. who posted the following in the kit build @eightyearsapril has been working on:

I generally apply between 12-15 very thin coats. I'll apply a nice bead of glue down each side of the fingerboard and quickly use a paper towel to spread it across the fingerboard. Make sure to use paper towels and not a rag as cotton and CA react badly and can burn you. Also make sure to use a fresh paper towel for each coat. You should be leaving a wet surface but no puddles of glue, as if you had wiped the fingerboard with a wet rag. If you see any built up glue be sure to wipe off the excess before it can dry. Its a lot easier than sanding it off after it dries. The first few coats will be uneven as the glue soaks into the wood but after about 5 coats you should have a nice film built up.

After 5 coats I like to use a high grit sandpaper to smooth out the surface. I'll then add 5 more coats and resand. after 10-15 coats you can wetsand the board and then polish it up to whatever sheen you want. That seems like a lot of work but the glue dries so quickly when spread that thinly that you can easily apply a coat every 10 minutes or so. I would expect one small tube to equal one coat so I usually buy three 5 packs per bass. As to witness lines between coats, it's not an issue that I've had.

Thanks @Big B.!
 
Today additional parts arrived from AllParts, as well as a second Lace Alumitone Bassbar 4". @rondodunbar has decided to move forward with equipping both basses exactly the same, so this build has jumped from being a single build with a prototype to a two bass build.
 
  • Like
Reactions: ctmullins
Today additional parts arrived from AllParts, as well as a second Lace Alumitone Bassbar 4". @rondodunbar has decided to move forward with equipping both basses exactly the same, so this build has jumped from being a single build with a prototype to a two bass build.

As Michael progressed with the prototype build [now Galadriel] it was obvious that these basses were going to be special. Michael gave me the opportunity to acquire Galadriel and adding her to my family was simply a 'no-brainer'. Rhiannon will be strung with Rotosound 88's and Galadriel will have TI Jazz rounds. The idea of two virtually identical basses with different strings and going through different preamps will give two very different voices to them while maintaining very much the same feel. A total win for me. :hyper:
Rondo
 
Fantastic! Looking very cool. You can't go wrong with maple and walnut; yum, two of my favorites! I imagine these will be fairly bright instruments though. Well, maybe the chambering will temper that a bit.
 
Fantastic! Looking very cool. You can't go wrong with maple and walnut; yum, two of my favorites! I imagine these will be fairly bright instruments though. Well, maybe the chambering will temper that a bit.
EQ...baby! EQ. Rhiannon will probably run through a VTDI VT Deluxe or a VTRM [more at the B15 sound], while Galadriel will probably go through an RPM/RBI run in parallel. Both will be pushing a Carvin DCML 3000 and one or two Carvin 1523 cabs. I also have a vintage Acoustic 370 and 106 215 cabinet, so we'll see. :D
Rondo
 
  • Like
Reactions: ctmullins