• TalkBass has been independent since 1998. Add your voice.
    Create a free account to reply to discussions, view embedded media, and browse with fewer display ads.
    Join freeLog in
    Want zero display ads or expanded classifieds tools? Compare plans.

Ricky Build

Thanks Gilmourisgod for encouraging me to post this. Ive been checking out your builds and I hope to eventually get to your level!! Actually there are a ton of great builds here so thanks to everyone for inspiration + advice.

This is not my 1st build but i am still deep in the novice zone. For me the hardest part is balancing inexperience, lack of patience and low budget with my expectations. Also this will be short as i am 1/2 way done, and didnt take many pics.

First - im not ready to build a neck. I will try it soon, but for now while im learning i ordered 2 complete rick style necks from an "overseas" supplier. Actually this is the 2nd + 3rd ones i've order from same supplier. 1st was OK, just some minor finishing + fret level. These next 2 were horrible. I wont get into it but i got what i paid for.... Too bad there really aren't any options these days for a complete through body neck ...

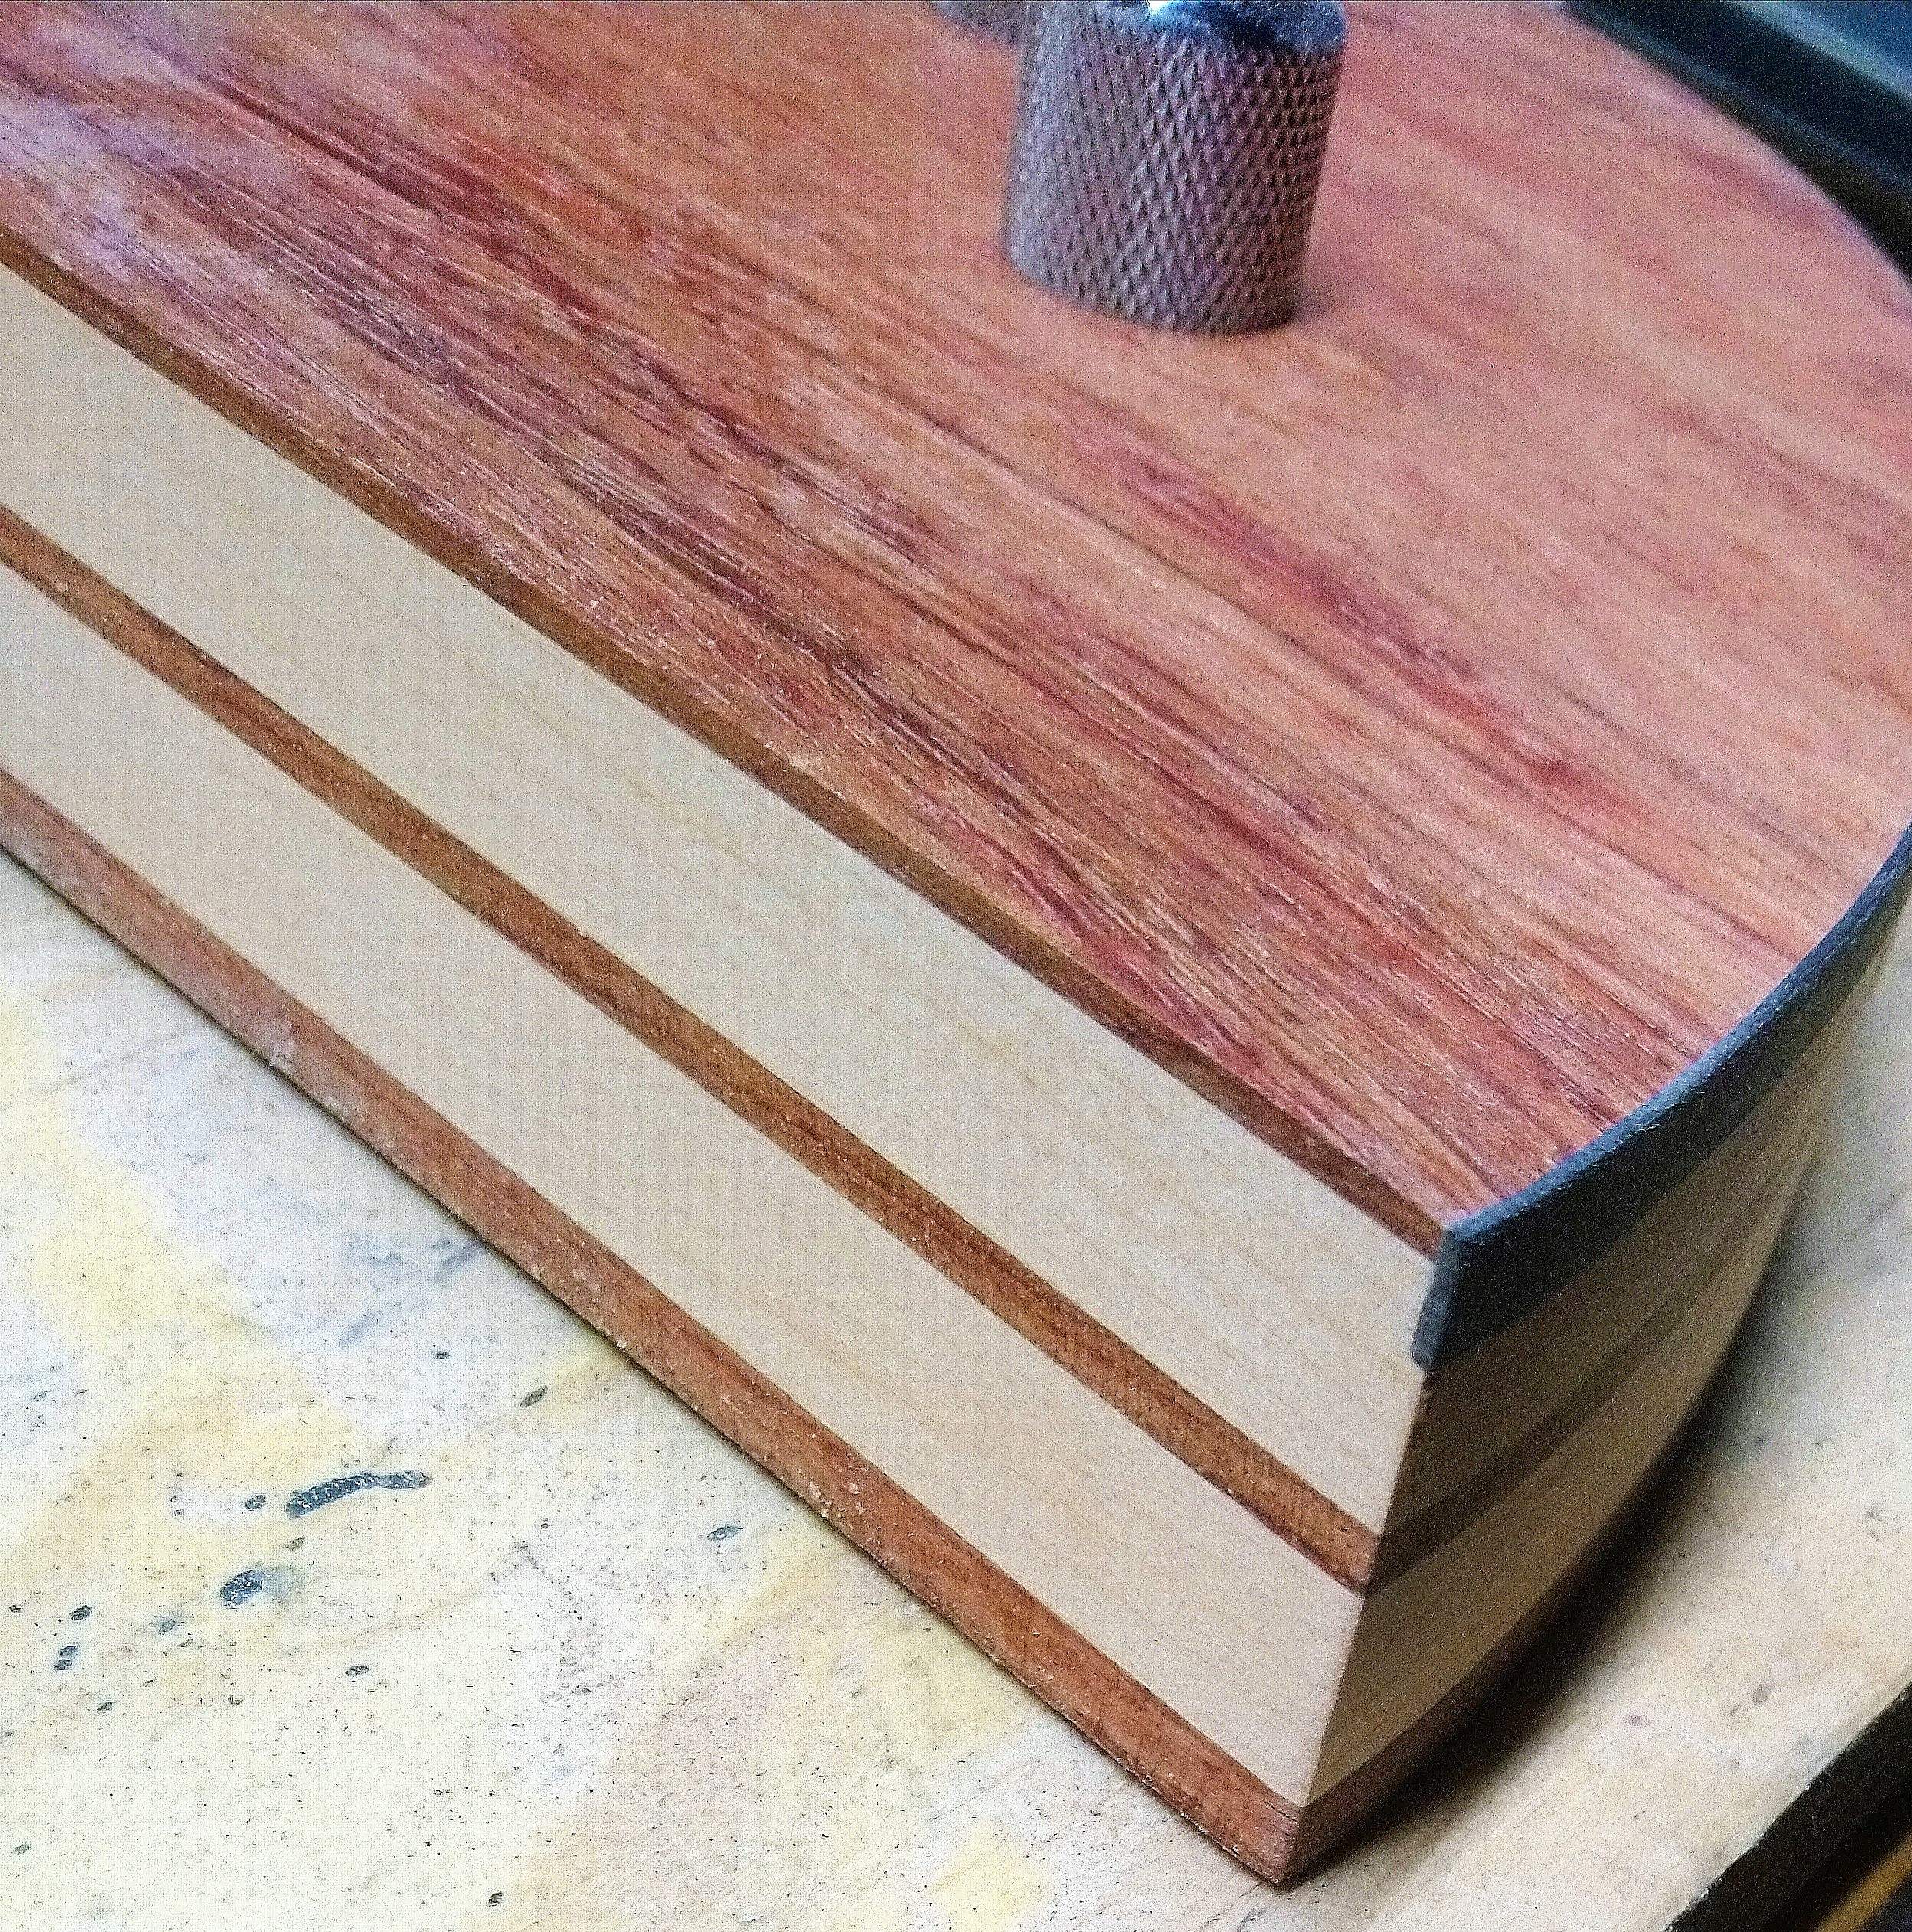
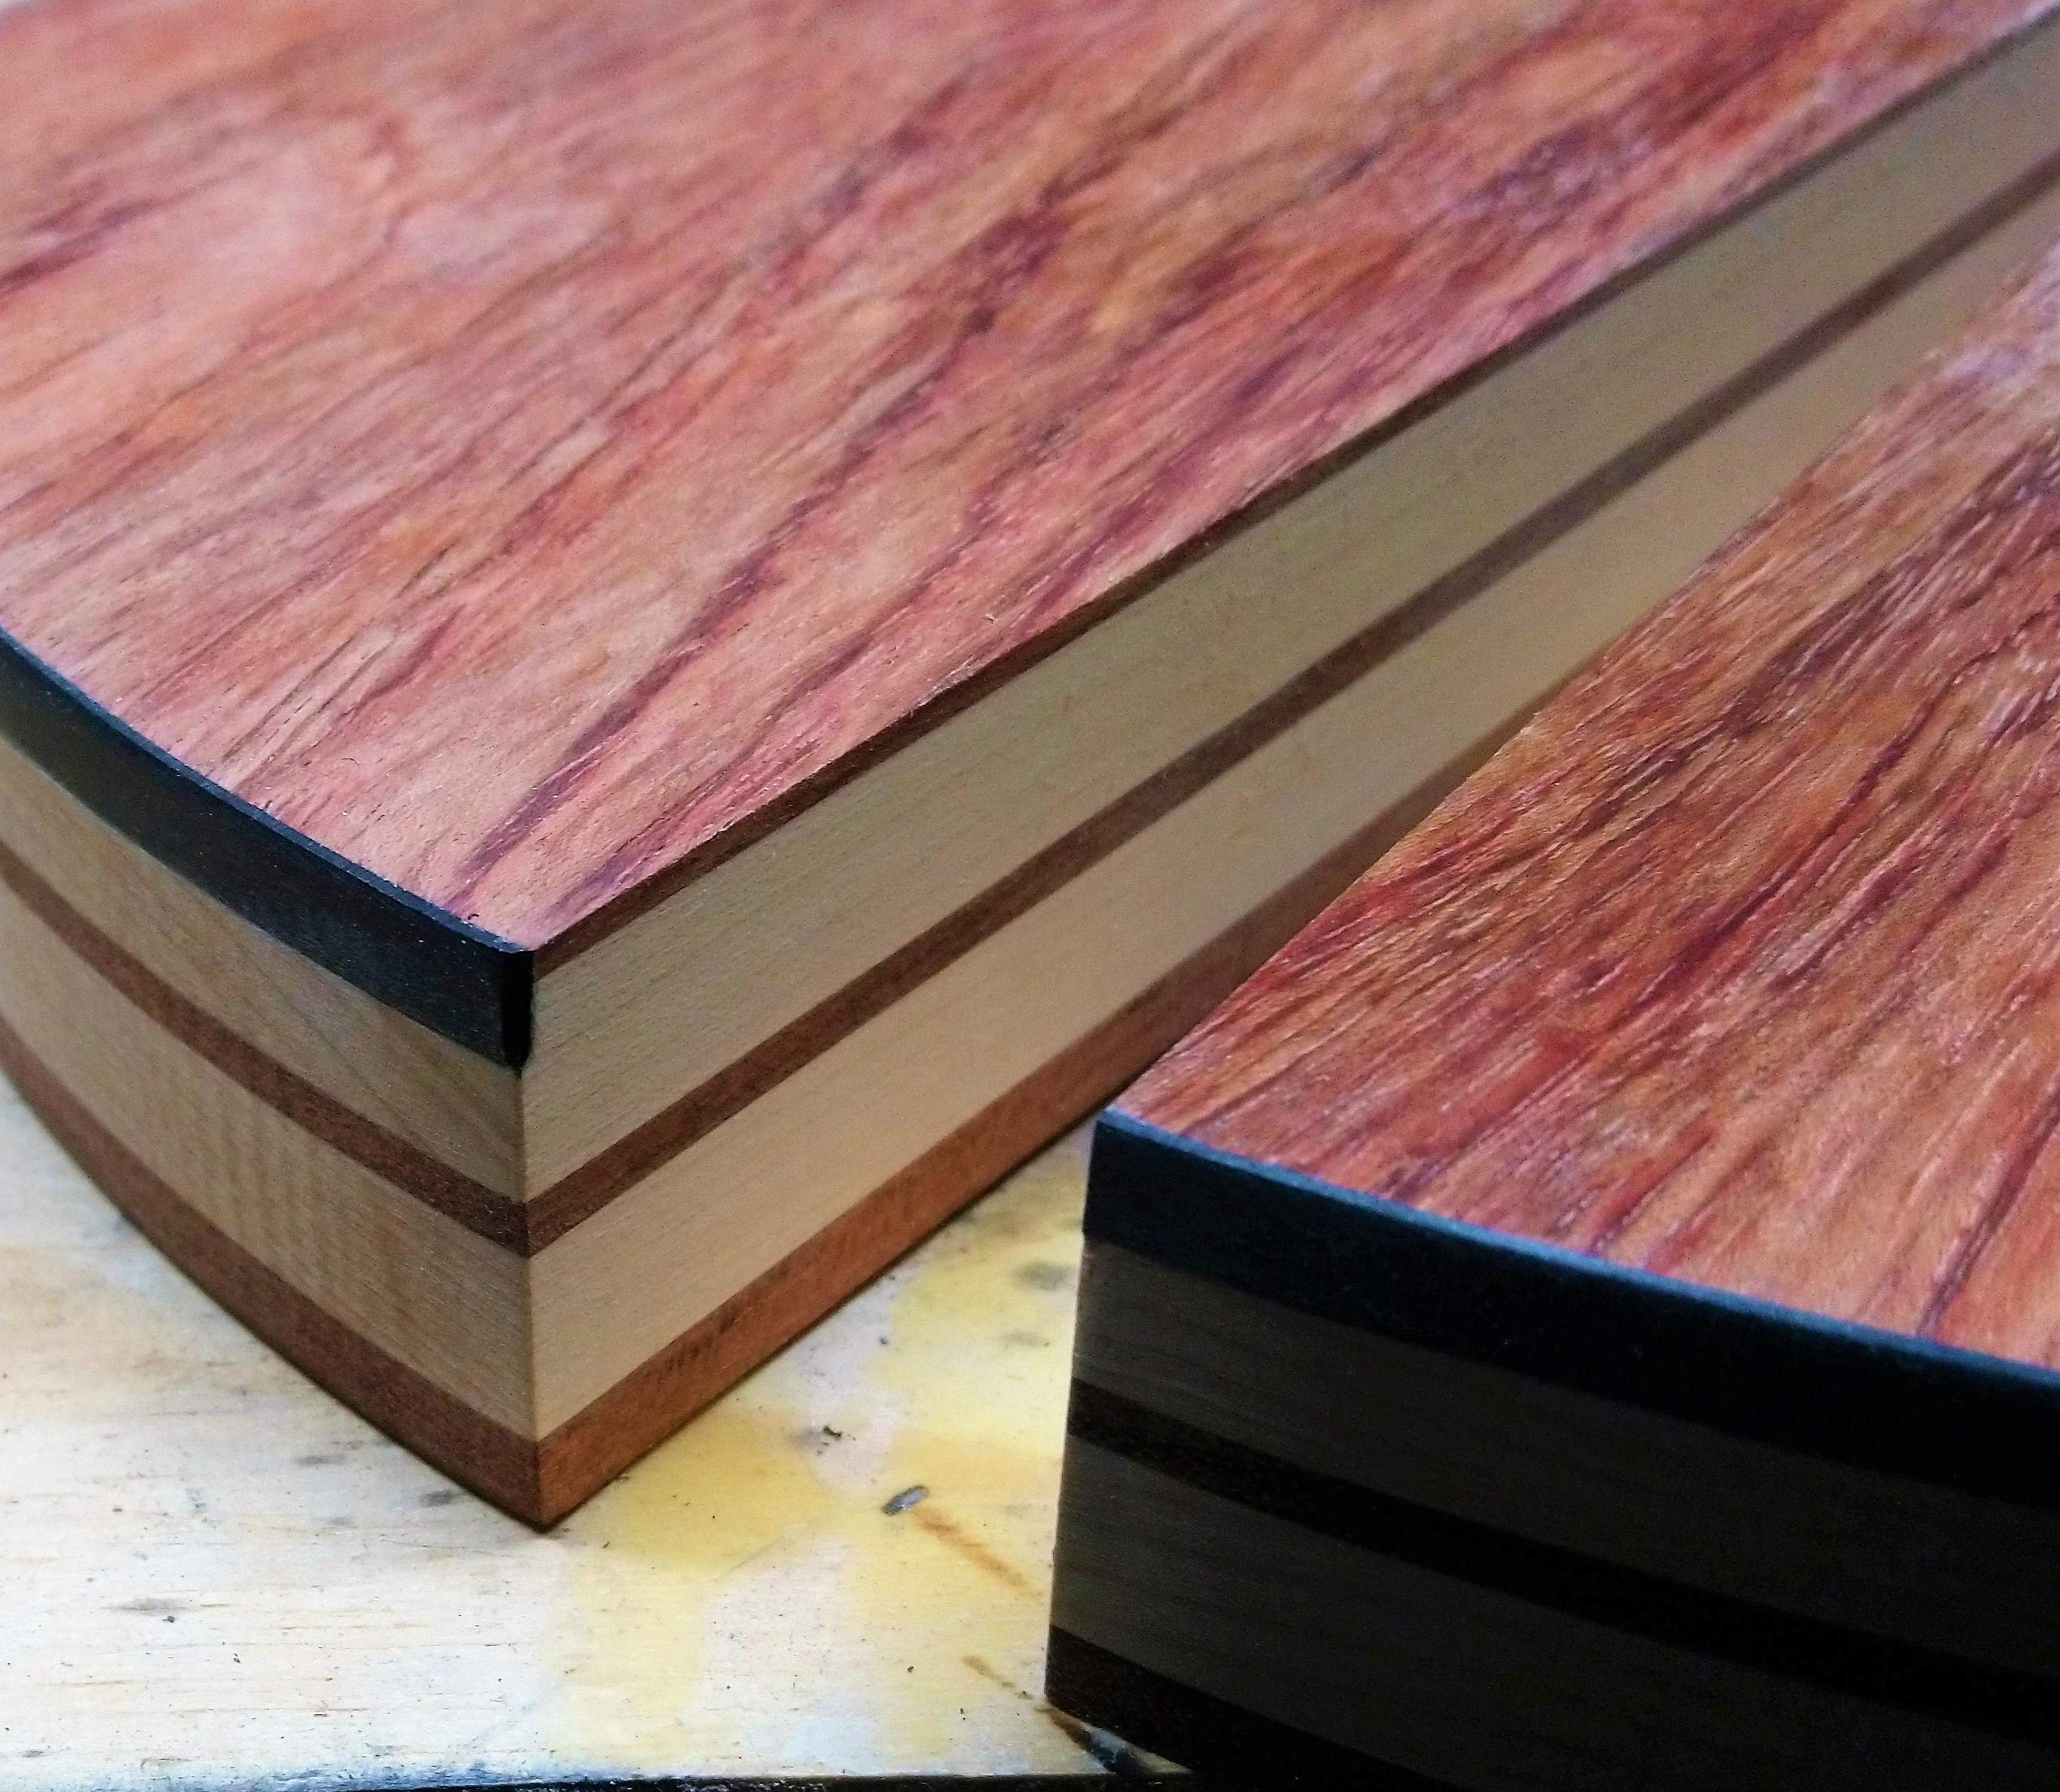
But before the neck came in, i started on the body wings. Ordered bubinga and maple from woodnshop on ebay. Glued, shaped, + added binding
_20191231_160240.JPG
_20191231_160549.JPG


More to follow..
 
The Hossenfeffer I was my first real full build. I'd done bodies, but no necks. I made a LOT of mistakes. That whole HF I build thread is a catalog of errors and repairs. Thank God for bondo and paint! Ask anybody on TB, amateur luthiery is mostly about work arounds due to lack of tools/time/funds and fixing mistakes. Pros just make fewer catastrophic mistakes, and are better at fixing them. Building a neck is hard, but you seem to have the mindset of precision required, it's not orders of magnitude harder than the body. The HF1 neck is good, but not perfect, the HF II a little better. The Primate can be taught! More process photos please.
 
Thought maybe i would back up a bit and talk about plans for hardware. Since this is not a pro or expert level build, i will be using inexpensive / generic parts. It wouldn't make sense to spend big bucks at this point.

Starting with the bridge, I have used this bridge on other projects and LOVE it. Found a supplier on ebay selling these for around $20. It is the same bridge I bought once [for much more] from a certain US based direct to consumer company that used to start with a "C", but changed name now starts with a "K". Finish is decent, design is simple, and I will be using the through body routing option... When the saddles are locked down, they do NOT move. I thought about an Allparts ric bridge because i prefer the traditional ric shape, but functionally and price wise i keep going back to this one.

DSC_0315.JPG
DSC_0316.JPG
DSC_0317.JPG
 
As far as pickups go - i have 2 sets i will be choosing from. I'll probably try both... I have used both of these pickups on other projects, and they both sound good to me. The toasters are the same pickups that come on the neck position of the Chinese copies. Most reviews seem to say they don't sound too bad for what they are, and i had good luck with them on another project so i ordered 2 more sets with the necks.
The chrome top pups are humbuckers i found on ebay for another project. They sound good too, the size and price was right so i ordered another set. Again really don't know much about pickups so ordering blindly because the size and price probably seems silly. But i think i lucked out because they fit, look and sound good for my needs.

DSC_0313.JPG
DSC_0312.JPG
 
  • Like
Reactions: Reedt2000 and Beej
I recently used the chrome tops on a short scale bass and they are fine. Also being four conductor I wired in some coil tapping switch pots for that option. With a blend I can have a coil from each and still be humbucking and pan from one single coil to the other. Haven't played with it enough yet to determine what sounds I like.
 

Attachments

  • IMG_6251.JPG
    IMG_6251.JPG
    549.9 KB · Views: 36
I recently used the chrome tops on a short scale bass and they are fine. Also being four conductor I wired in some coil tapping switch pots for that option. With a blend I can have a coil from each and still be humbucking and pan from one single coil to the other. Haven't played with it enough yet to determine what sounds I like.

Cool - thanks for the info. Ill search for a build thread on that one. Looks awesome and i love the bridge set up.

I'm way behind on Pickups and wiring. So far ive been using Jazz wiring and I like the simplicity. I get that there are ways to get more sound options, but I'm not there yet.
 
Last edited:
  • Like
Reactions: wraub
Cool - thanks for the info. Ill search for a build thread on that one. Looks awesome and i love the bridge set up.

I'm way behind on Pickups and wiring. Sofar ive been using simple Jazz wiring and I like the simplicity. I get that there are ways to get more sound options, but I'm not there yet.
It's over in this build thread "Time to complete some old projects". Here's the wiring for the pickups and switches. I used a pair of pots with push/pull switches on them. You can run to a blend like I did or to volume pots for each pickup. This arrangement gives you humcucking when the pickups are tapped and panned to the center on the blend pot (or at full volume if two volume pots are used.
IMG_6254.JPG
 
It's over in this build thread "Time to complete some old projects". Here's the wiring for the pickups and switches. I used a pair of pots with push/pull switches on them. You can run to a blend like I did or to volume pots for each pickup. This arrangement gives you humcucking when the pickups are tapped and panned to the center on the blend pot (or at full volume if two volume pots are used.
View attachment 3744826

Thats awesome - thanks! Seems like a good way to go since pups i already have will work like this. So it's a matter of getting 2 volume pots with push/pull switches? If so any particular ones i should be looking for?
 
What about these pickup rings? I really don't know why i made these but i think i wanted the pickups to be level or slightly above the rings when adjusted + a nice solid mount. Made from 1/4" ABS and still needs to be sanded + polished. Something different i guess and also places to rest thumbs. Ill make them shorter if needed, or scrap them altogether if i burn out on the idea..

DSC_0314.JPG
 
Lets talk about these necks... I mentioned i ordered 2 Rick style necks from an overseas supplier. This is actually the 2nd and 3rd neck i ordered from them. The 1st neck was ordered a yr ago, and was already used on a build. It was decent - especially for the $$. These next 2 necks were like i said - not so good.

Claims to be 3 pc maple with rosewood [?] fingerboard . 20 fret 33-1/4 scale

DSC_0323.JPG


Here's some issues: Sides need to be sanded to match width of the fingerboard

DSC_0324.JPG


Sides needs to be filled in towards the back - should have been finished right to the end
DSC_0325.JPG

not pretty
DSC_0326.JPG


....?
DSC_0327.JPG

...??
DSC_0329.JPG

...????
DSC_0330.JPG


Much of this i corrected the best i could on the neck im using for the build in this thread. But when it comes time to use this neck, I'm thinking about removing the binding altogether. Any thoughts?
 
Last edited:
Yeah, I think that has to go in the "Got what you Paid For" category. Of course, nobody else makes Ric necks, so waddaya gonna do? It looks like you did a nice job on the body binding, you could probably tease that neck binding off and re-do it, but a PITA with the frets already in place. Another approach would be to dissolve some fine black PVC binding shavings in acetone to the consistency of toothpaste, and then trowel that into any tiny gaps between the FB and binding. The acetone "welds" the goop to the binding, that's how I do mitered corners with binding, nearly invisible join. Not much you can do about the chip-out along the binding/neck joint. Some of it may come out when you sand the neck beam flush with the fingerboard, other small chips can be filled with CA glue, but don't use any accelerator (unless it's Glu-Boost CA), it will go cloudy on you. You may be able to drop-fill the chips with CA and let dry clear. I was able to fill one bad chipout on the HF II with a maple strip, but I can still see it faintly. You are going to be doing a full fret level and polish anyway, might as well clean the whole thing up.

These binding miters were pretty tight, but using white PVC in acetone goop covered up any small sins. I did the same thing using cream binding on the HFII.

h70D468.jpg
 
Thanks Gilmourisgod - good ideas. And nice work BTW. Ultimately i would like binding and a laquered / clear finish over the fretboard. Here's a plan, might be the most work but biggest payoff.. Remove binding, remove frets, sand the fretboard to really be sure its REALLY good. Then redo the binding, grain fill and clear coat over the fingerboard, install, level + polish new frets.
If i wanted to do all that, would that be the correct order?
 
Last edited:
Thanks Gilmourisgod - good ideas. And nice work BTW. Ultimately i would like binding and a laquered / clear finish over the fretboard. Here's a plan, might be the most work but biggest payoff.. Remove binding, remove frets, sand the fretboard to really be sure its REALLY good. Then redo the binding, grain fill and clear coat over the fingerboard, install level + polish new frets.
If i wanted to do all that, would that be the correct order?
That sounds spot on. For the boo-boo at the back end you could thin out the neck blank and add a nice piece of wood to the back to bring back to the thickness you want? Tie it in with the body wing wood maybe?
 
  • Like
Reactions: wraub