Enjoy the benefits of a premium membership!
Upgrade Account
-
TalkBass has been independent since 1998. Add your voice.
Create a free account to reply to discussions, view embedded media, and browse with fewer display ads.
Join free Log in
Want zero display ads or expanded classifieds tools? Compare plans.
You are using an out of date browser. It may not display this or other websites correctly.
You should upgrade or use an alternative browser.
You should upgrade or use an alternative browser.
Ricodyne Bass #2
- Thread starter Wademeister63
- Start date
More options
Who Replied?
... What are you going to use for the electronics; pickups, active or passive.
I want to start off with them as similar as possible so I can get a good feel for what differences I hear in the wood. I'll start off with the same setup for these as I have on my avatar bass- DiMarzio Split P and Ultra Jazz pickups wired passive. I'll leave room for a preamp and battery so I can easily do some modifications after I get familiar with each one.
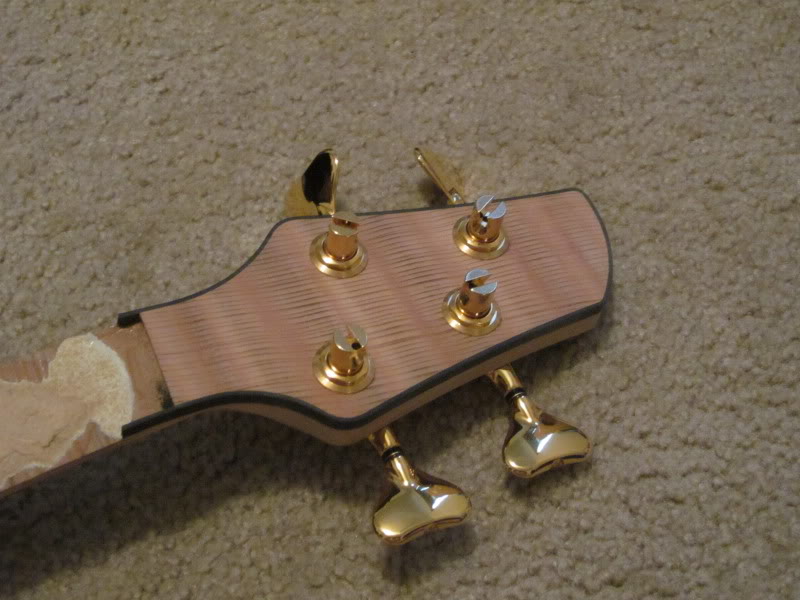
Got the headstock binding on! I like these tuners a lot but they're a little heavy. Got the Res-O-Lite gotoh's in chrome for the maple/bloodwood neck bass.
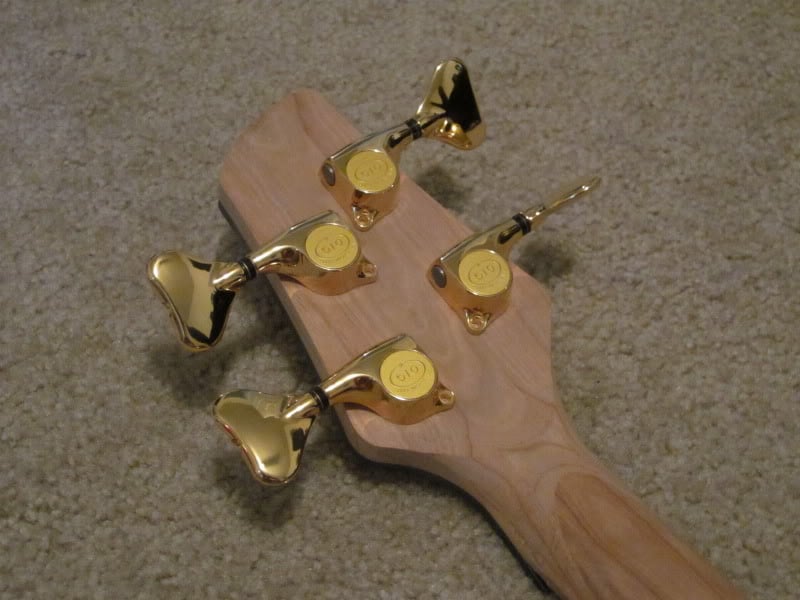

I got all that ugly bondo off there at last!
Completed steps 6 and 7, part of #8
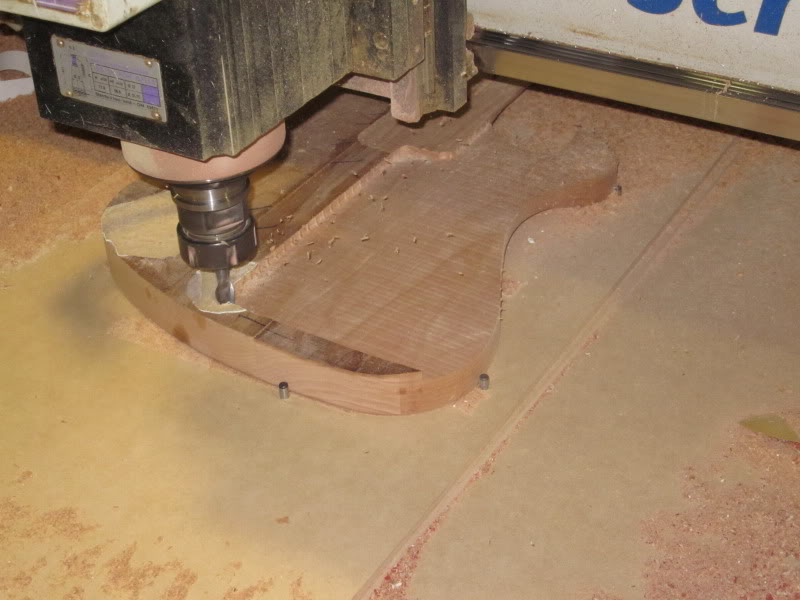
Cut quite a bit of thickness off the top and put the radius on...
Love those action shots with the chips flying. I can't believe my camera snapped a still shot of that endmill at 12,500 RPM!
Hand drilled the hole for truss rod adjustment. I'm hoping this will finish out well enough to not need a cover. The headstock face will have a nice radius all around the access cutout when it's all done.
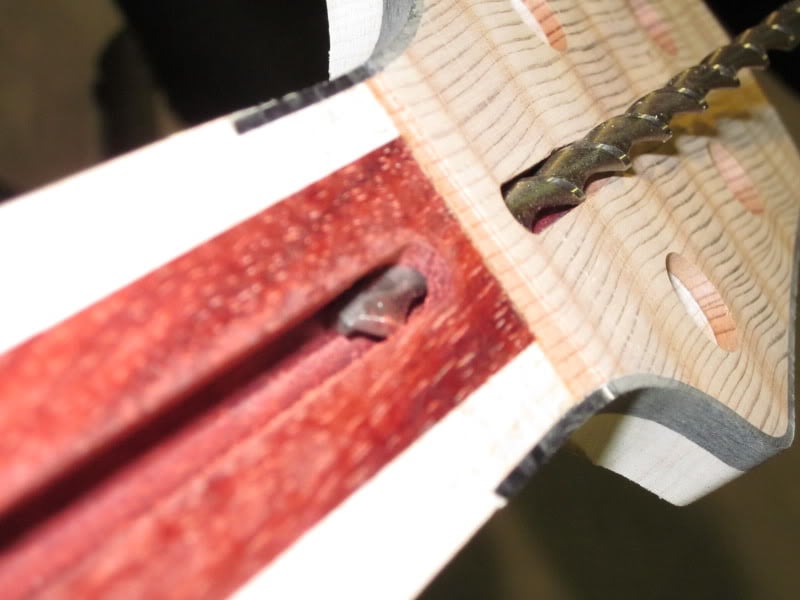
Got the truss rod channel a bit too tight and had to sand and scrape the inside a bit but it's still a nice snug fit. The first neck I built had a rod rattle so I've been careful to get everything good and tight since then. Got the allen wrench in there to be sure everything is lined up right. Also the slots on the body are for the wiring. Ground wire to the bridge and a channel for each pickup. And a location hole to keep the top from slipping around when I glue it down.
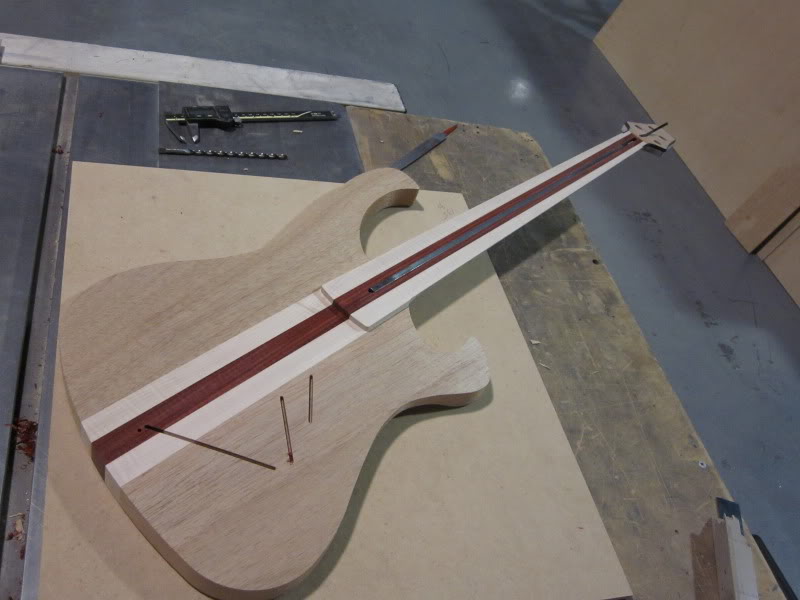
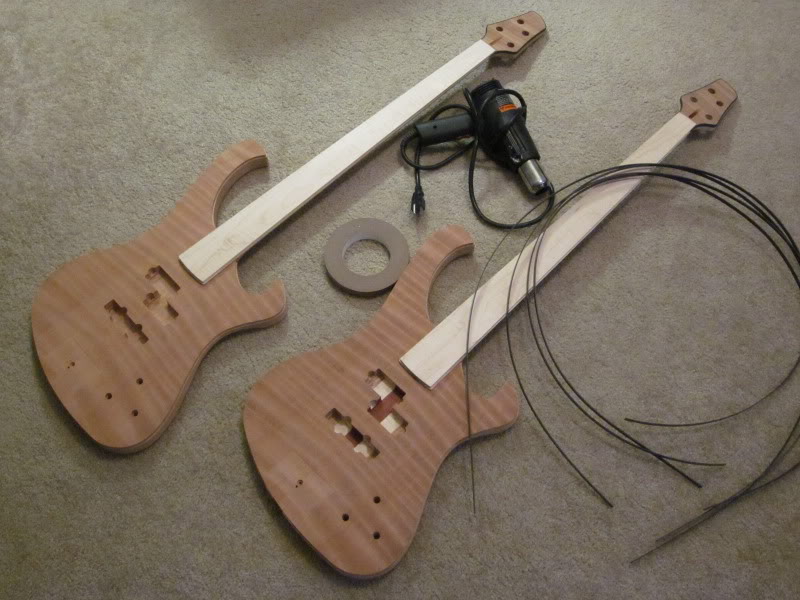
Starting to take shape! I've got the tops trimmed to fit around the neck but oversize all around the body. They're just posing for the pic right now, hope to have them and the fretboards glued on in the next few days.
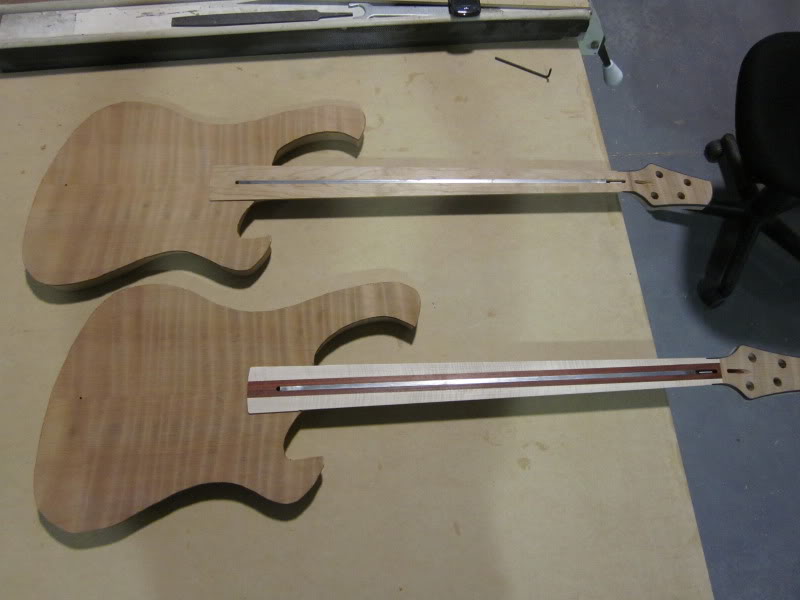
Mmmm, fretboards... I like this piece of maple. Not over the top but somehow seems happy.
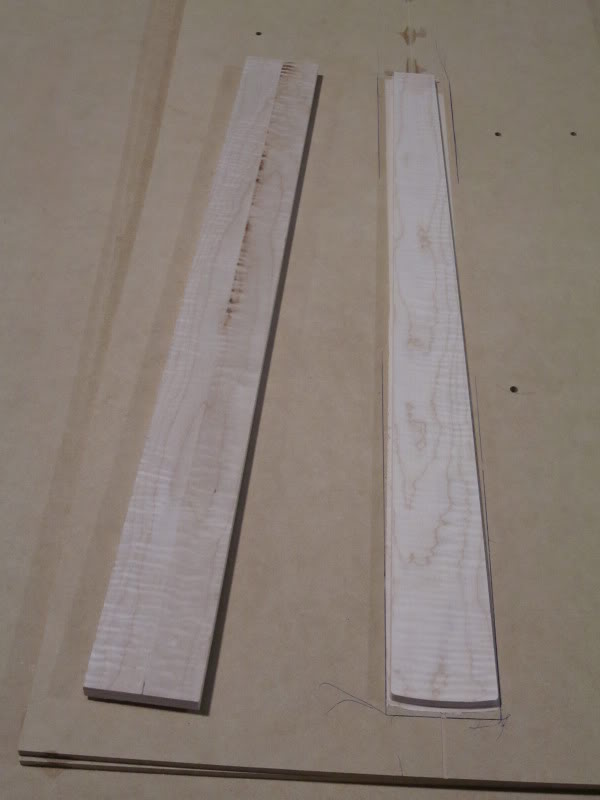
Completed steps 6 and 7, part of #8
Cut quite a bit of thickness off the top and put the radius on...
Love those action shots with the chips flying. I can't believe my camera snapped a still shot of that endmill at 12,500 RPM!
Hand drilled the hole for truss rod adjustment. I'm hoping this will finish out well enough to not need a cover. The headstock face will have a nice radius all around the access cutout when it's all done.
Got the truss rod channel a bit too tight and had to sand and scrape the inside a bit but it's still a nice snug fit. The first neck I built had a rod rattle so I've been careful to get everything good and tight since then. Got the allen wrench in there to be sure everything is lined up right. Also the slots on the body are for the wiring. Ground wire to the bridge and a channel for each pickup. And a location hole to keep the top from slipping around when I glue it down.
Starting to take shape! I've got the tops trimmed to fit around the neck but oversize all around the body. They're just posing for the pic right now, hope to have them and the fretboards glued on in the next few days.
Mmmm, fretboards... I like this piece of maple. Not over the top but somehow seems happy.

I wish I had enough foresight when I was a kid to ask my parents for a nice CNC machine for Christmas. 
Wow! They look amazing! I really like the shape of the bodies, and I also like the headstock binding
same here!
I wish I had enough foresight when I was a kid to ask my parents for a nice CNC machine for Christmas.
same here!
I wish I had enough foresight when I was a kid to ask my parents for a nice CNC machine for Christmas.
Good idea! I did get a dremel tool kit when I was about 12. I think that was my all-time favorite gift

what computer program are u using to model the bass???
I use Mastercam for the modeling/cad work and all the machine code generation. It's not great for rendering but it does cover a lot of ground
Wow, it's been wood-MANIA for me this weekend. Started off by getting the tops and fretboards glued up... The tops were sanded flat to .160" thickness and clamped on the pre-shaped body. I used 1/4" MDF plates with packing foam top and bottom to pull the top down nice and snug all over. It worked pretty well. No gaps around the edges, no hollow spots that I could hear by knocking and no voids visible where I cut through the top.
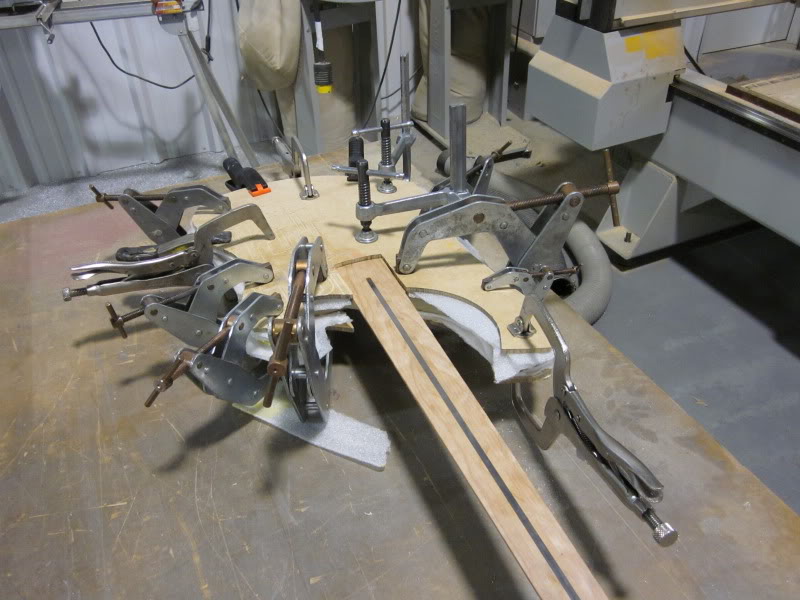
Then put the shape on the fretboard and routed for pickups etc. This is one dead true neck
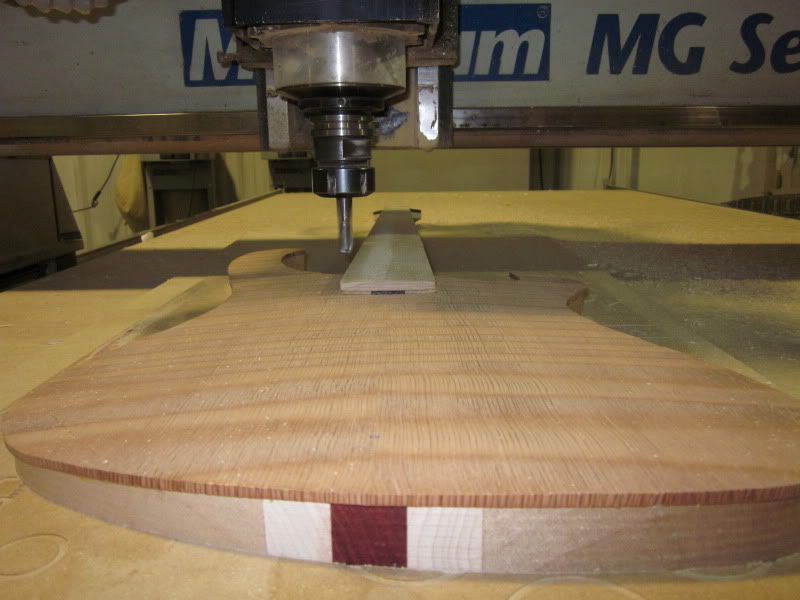
The easy way to cut the binding channels...
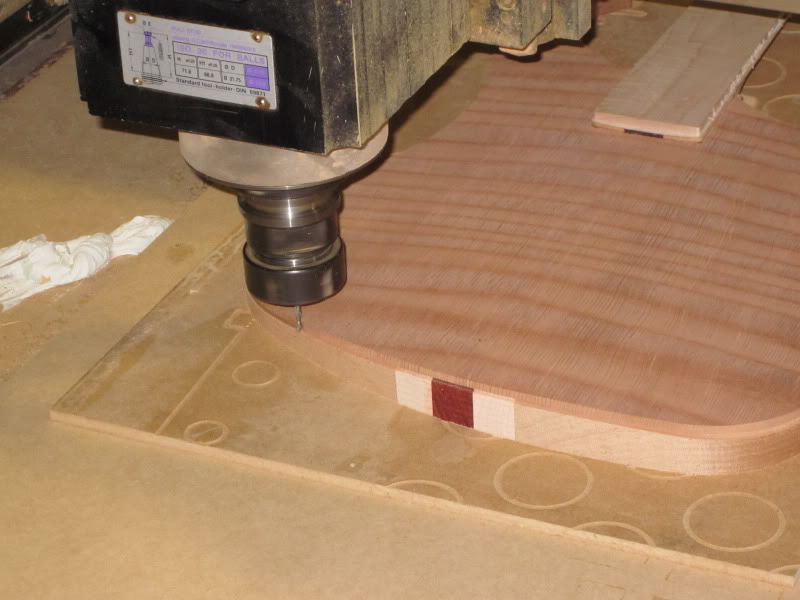
Won't be too long now before I get to see this wood with some finish on. Getting especially excited about it now since it's become more guitar than lumber
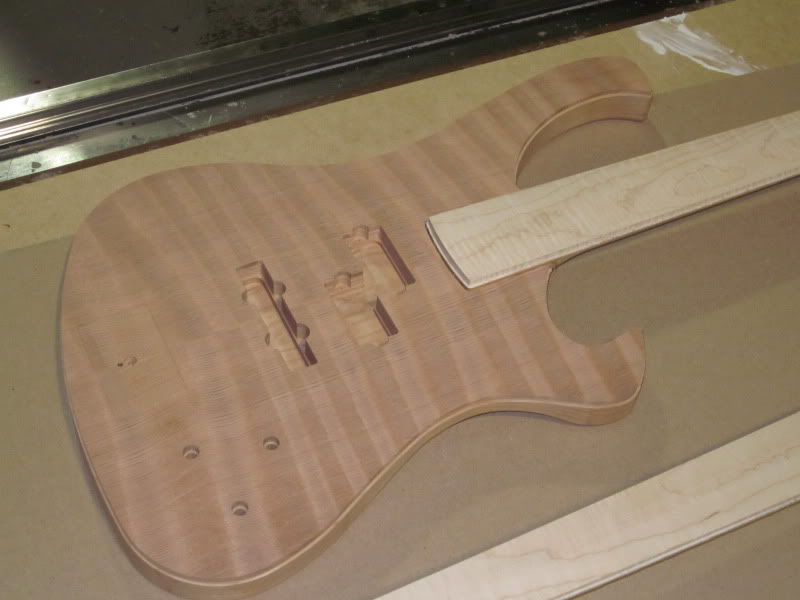
Ready to start binding. Pretty tired so I'll wait to start this step. Maybe after the pizza arrives I'll be ready to go at it again. I'd really like to get this wrapped up since I have the heat gun borrowed and this redwood is so fragile the edges practically chip at will.
Then put the shape on the fretboard and routed for pickups etc. This is one dead true neck
The easy way to cut the binding channels...
Won't be too long now before I get to see this wood with some finish on. Getting especially excited about it now since it's become more guitar than lumber
Ready to start binding. Pretty tired so I'll wait to start this step. Maybe after the pizza arrives I'll be ready to go at it again. I'd really like to get this wrapped up
since I have the heat gun borrowed and this redwood is so fragile the edges practically chip at will.

Got the binding on! I hadn't planned on binding the fretboard but the moment I saw it on top of the neck I knew what I had to do.
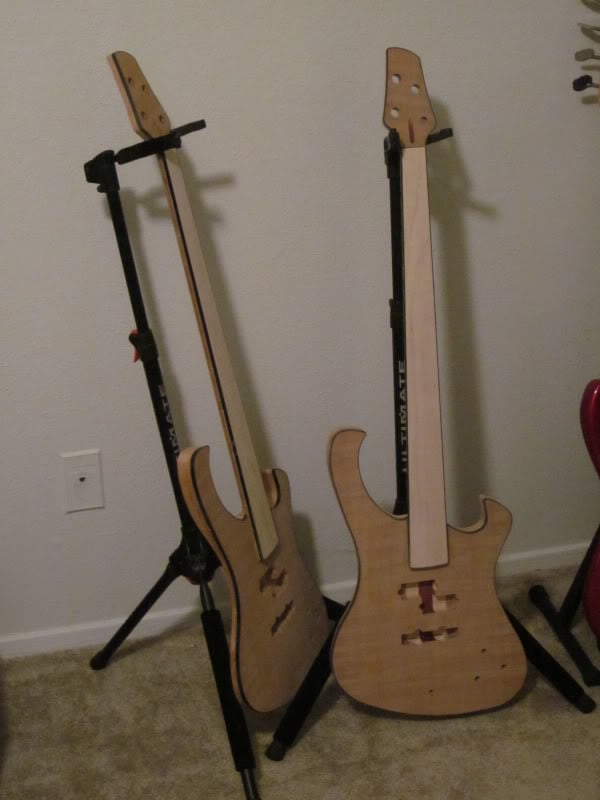
So, this basses are going to be passive? i see only 3 holes for controls...
Since you're throwing in a Split P and an Ultra Jazz, i think you should do a Push/Pull volume knob for each one to have a series/parallel!
It is going to be passive with V/V/T controls and the pickups will be wired series/series just like the bass I'm playing now. Of course the cavity is quite large as you can see so mods later on are certainly not out of the question! One thing I have found though is that the pot selection gets pretty limited when you mount them in a thick top like I'm doing. I didn't want to get thin enough for the standard pots since this redwood is so soft, but that's all good for now. If I decide to use push/pull pots or a blend pot or something I'll have to do some searching. May have to order from an electronics specialty place instead of a luthier type supply.
I made some progress today!
No more boring pix of the thing on the machine, just results this time =)
Cut electronics cavity, fret slots, inlay sockets and paua inlay for one of them. I wasn't too sure about that paua abalam when I first got it, but it seems to really look good on my fretboard. Just laying in the sockets for the pic, I'll glue them all in after the other sisters' inlay is cut...
The other one is getting white pearl. Pretty sure at least, since I have some really nice looking stuff left over from my knife making days about 15 years ago... I've seen a lot of white pearl blocks on maple boards and really liked them but if I drop them in this one and it doesn't look right I'll order some black lip. I'll have that figured out in the next few days.

So, a Ric-oid clone with T-40 pickups and electronics.
Right now, I hate you so much.
SUPER SWEET, I dig!