• TalkBass has been independent since 1998. Add your voice.
    Create a free account to reply to discussions, view embedded media, and browse with fewer display ads.
    Join freeLog in
    Want zero display ads or expanded classifieds tools? Compare plans.

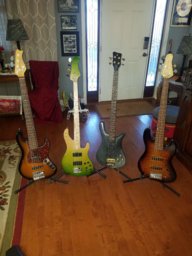
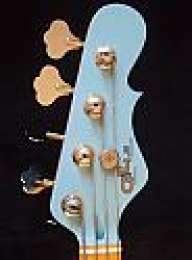
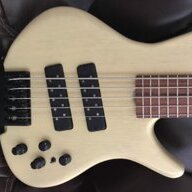
Roscoe pictures (from Roscoe Forum)

Maybe this will help ease you over the edge Ryan ....
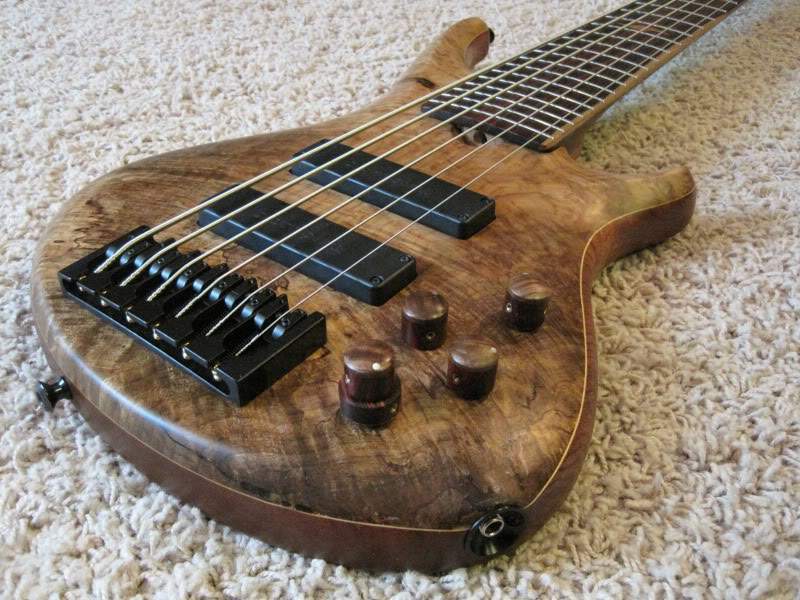
attachment.jpg

Ease? More like, shove! Beautiful.
 
This is one of the studio pix for the album we're recording. The aforementioned producer/engineer I told you about, who was all crazy in love with the tone? His face says it all. He's actually saying, "I've got to get one of those Roscoe things!" True story.
 

Attachments

  • studio1.jpg
    studio1.jpg
    56.7 KB · Views: 185
Didn't know where to post as there's no Roscoe in Action thread so I'll put it here. Not exactly in action, but ready for action from a fill-in gig last night...

8641997891_94ae9a1777.png


I ended up playing the fretless all night. That is such a killer bass.

 
Thanks. I'm always amazed at how well the little GB mini stack works. a Pair of 10's and a 300 watt amp. The B string still thundered. Well, as much as a 300 watt 2x10 can thunder, but no one was complaining!
 
The THG knobs arrived yesterday for my Koa/mahogany LG-3005. Roger did his usual awesome job on them!

I posted these pic's on the Roscoe Club Thread on the Basses forum but you know that I've got to post 'em here too! :)
attachment.jpg


attachment.jpg
 
Finally ready to show mine.

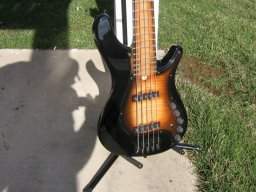
It's a SKB-3006 #4591. I picked it up in a trade last Sept and wasn't sure if I was going to keep it or sell/trade it right away. It played and sounded great but had a lot of miles on it. A few dings on the top, a lot of fingernail scratches in the clearcoat, clearcoat chipped off from ramp adhesive, quite a bit of buckle rash on the back, dings/dents on the back of the neck, and the urethane was worn through on the fret-board in several spots leaving it pretty grimy.

Anyway, here is a photo of the front before I set to work on it.

950f4bf7-25f2-4f80-8c6d-07174c3f85d1_zpsda8d6bd4.jpg


020_zpsa32da4ef.jpg

I took it apart and drop filled the dings and clearcoat-less areas with clear epoxy, sanded and buffed until they are nearly gone. Didn't want to defret it so I carefully stripped and sanded the fretboard to bare wood, cleaned with naptha, taped everything off, laid down a good coat of clear polyurethane, then applied some color via airbrush . . . chasing a toasted maple look, similar in color to the body . . ., then applied another couple coats of clear polyurethane.

. . . and the results:

027_zps199efc9f.jpg

026_zps5c64ead9.jpg


The only thing remaining is buffing up the dings on the back, and maybe new saddles, or sanding and buffing them all down to the brass.
 

Latest posts