

Enjoy the benefits of a premium membership!
Upgrade Account
-
TalkBass has been independent since 1998. Add your voice.
Create a free account to reply to discussions, view embedded media, and browse with fewer display ads.
Join free Log in
Want zero display ads or expanded classifieds tools? Compare plans.
You are using an out of date browser. It may not display this or other websites correctly.
You should upgrade or use an alternative browser.
You should upgrade or use an alternative browser.
SBO 2022 - Minimalist Medium Scale - Scratch Build
- Thread starter BishopJP
- Start date
More options
Who Replied?
That knob making post should be a sticky.
Someone else in the LC showed this technique for making knobs in their own thread a while ago, I can't remember who, though.

Fretboards getting glued on...
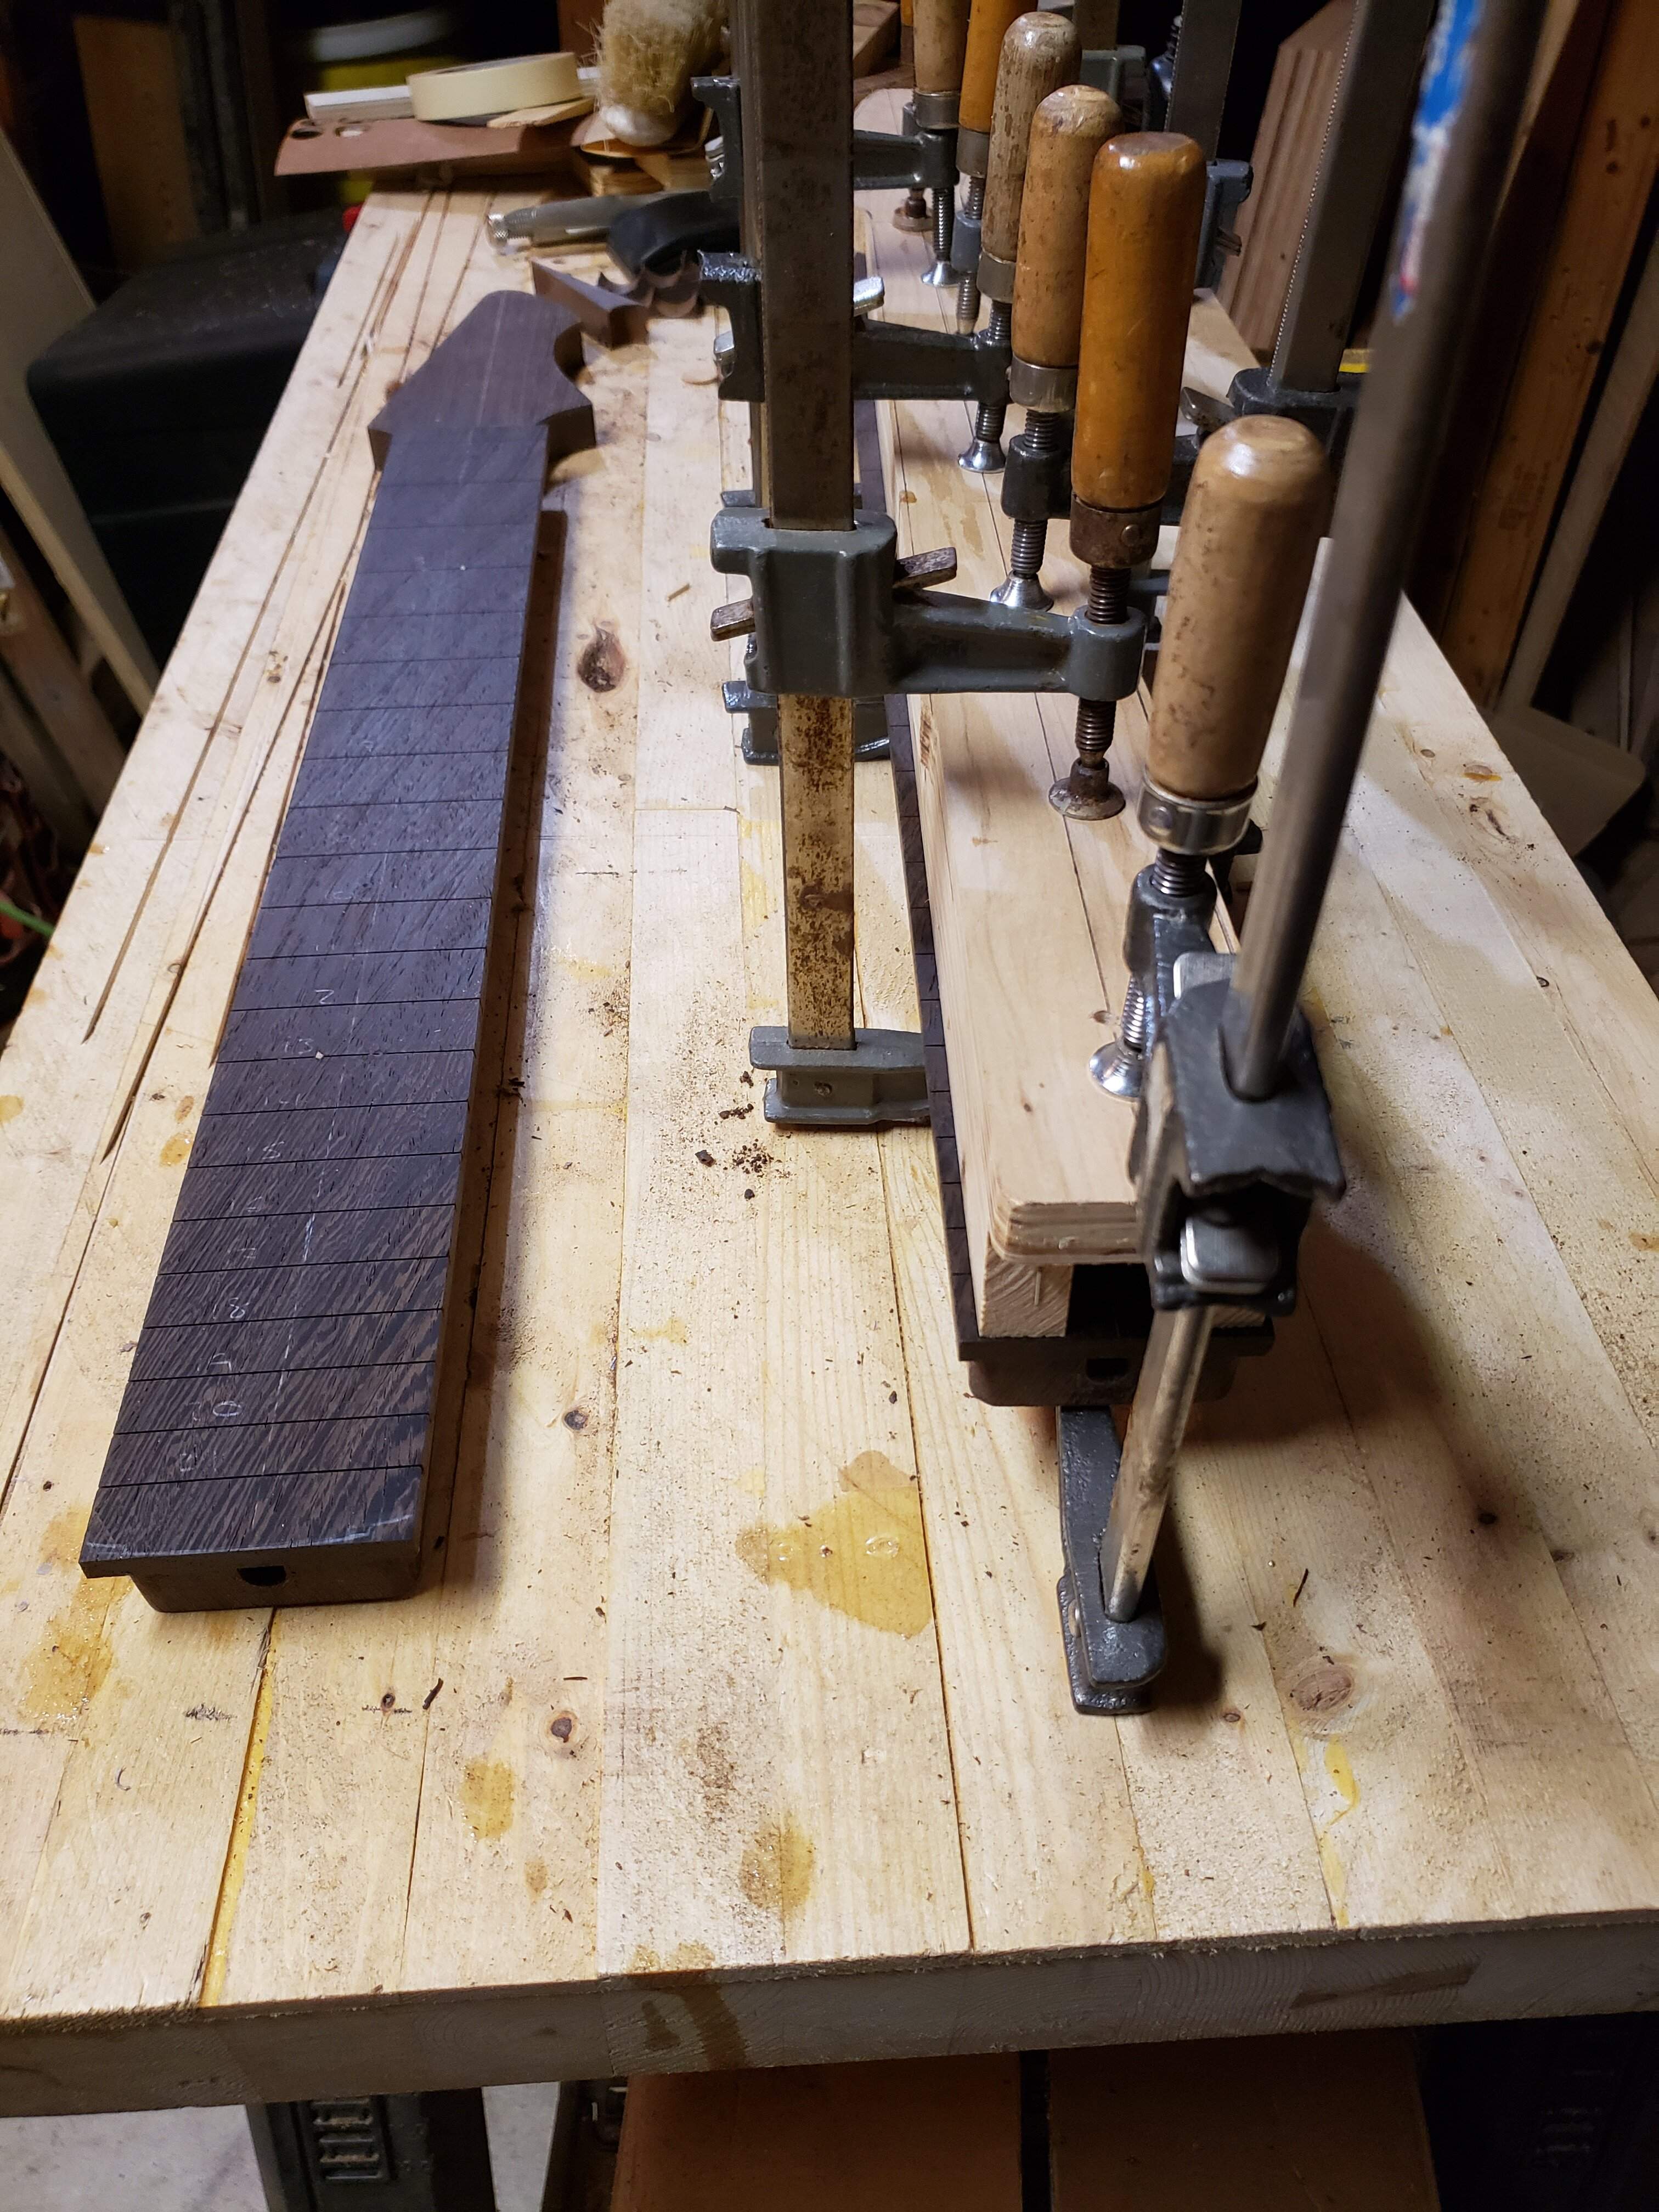
...one in and one out of clamps.
...one in and one out of clamps.
More progress on the necks this weekend.
First, I wasn't quite happy with the thickness of the necks, so I put them in the router planer fixture and took approx 1/6" off the back...

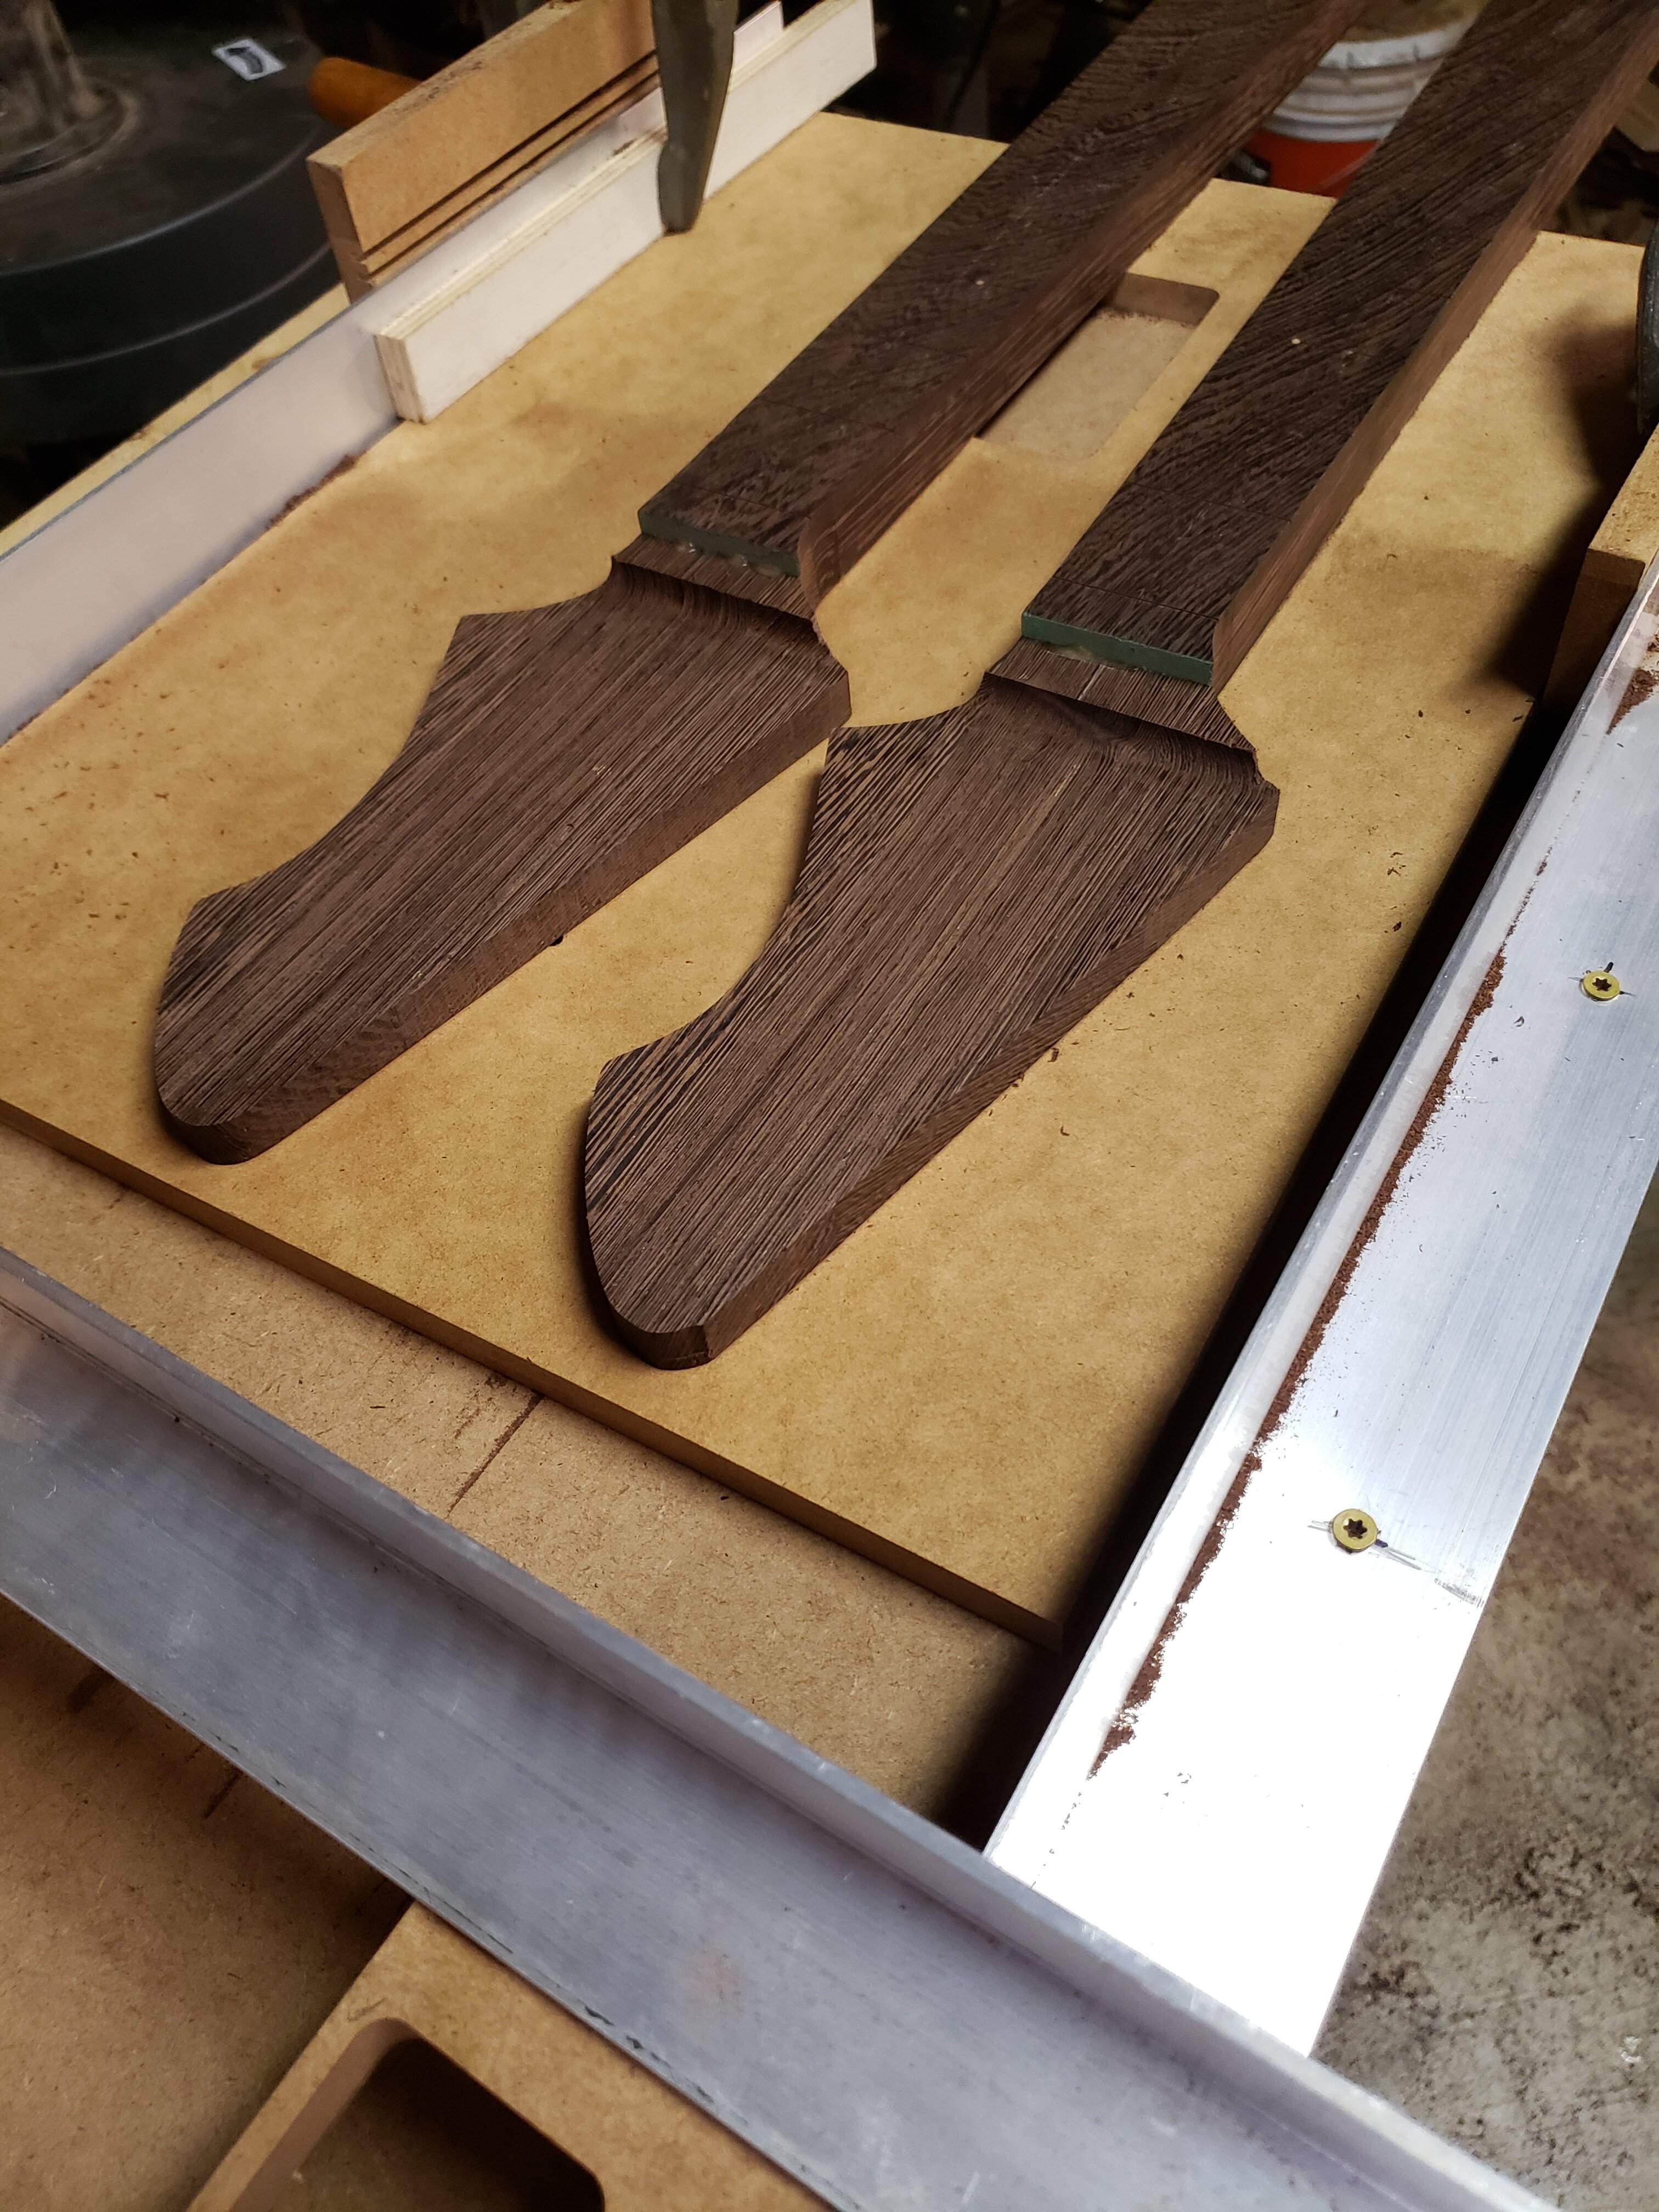
While I had the fixture out, I thinned the headstocks...
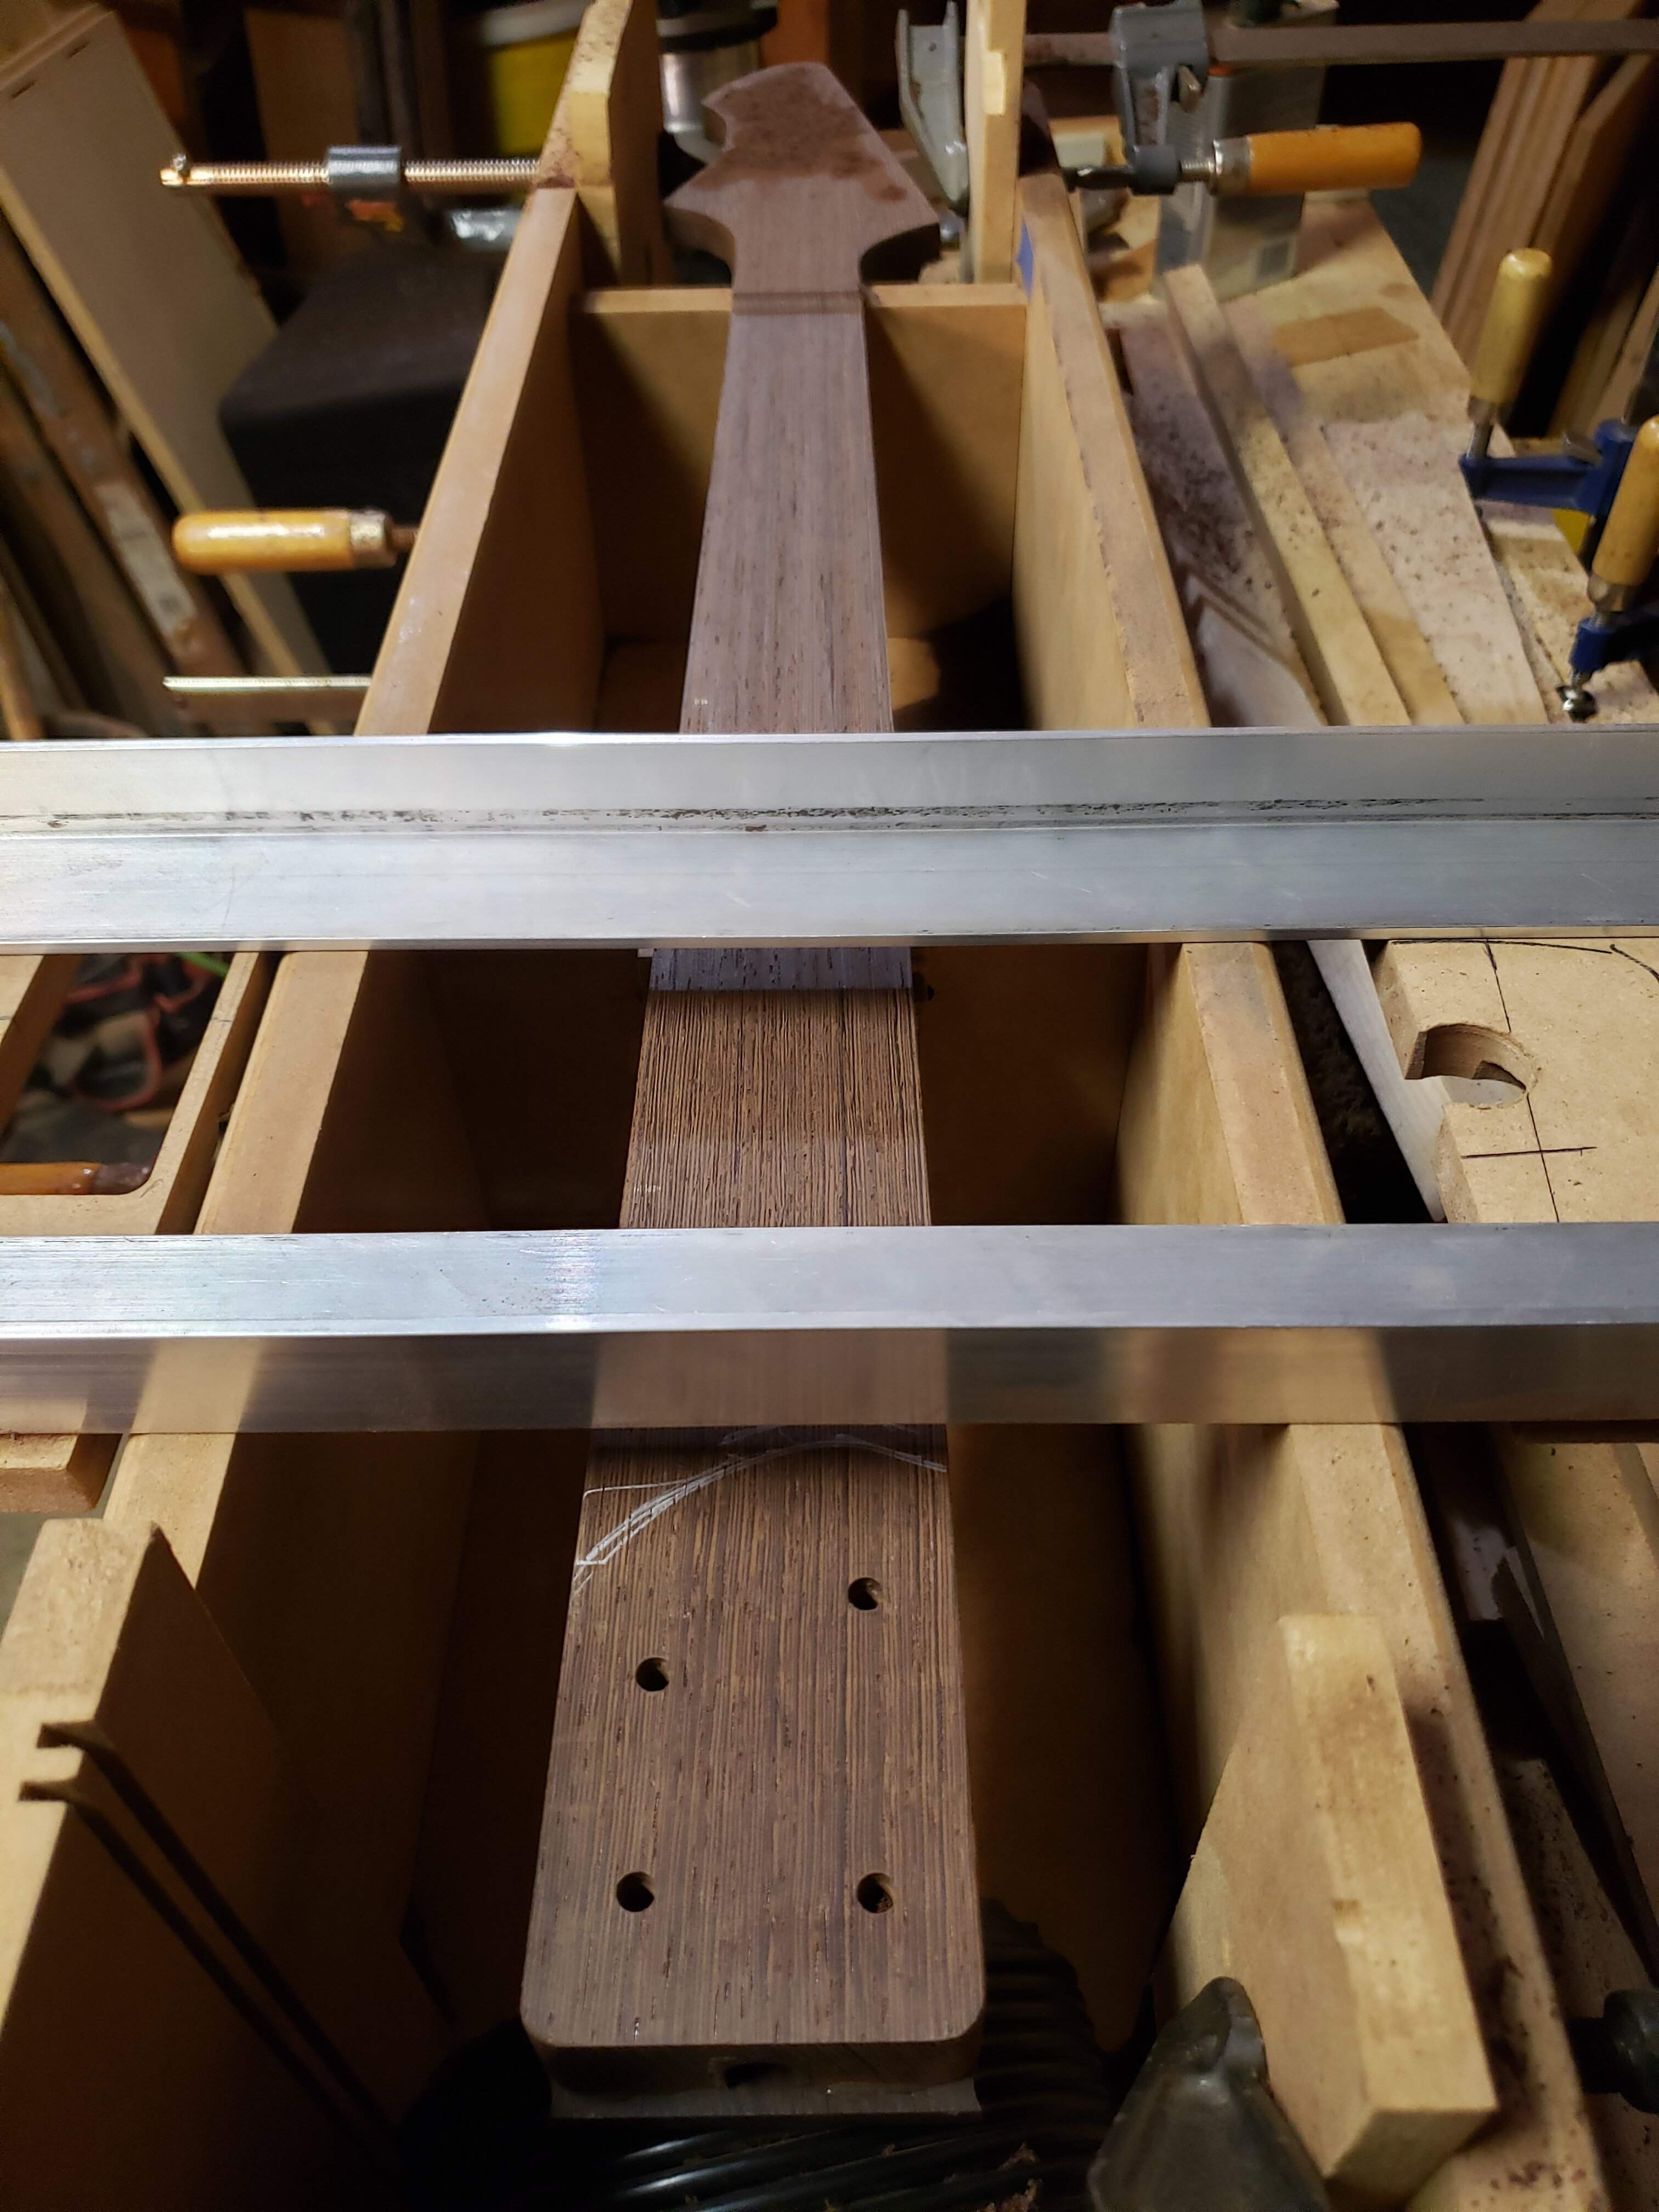
Then I used the neck fixture to route the taper (top-to-back)...
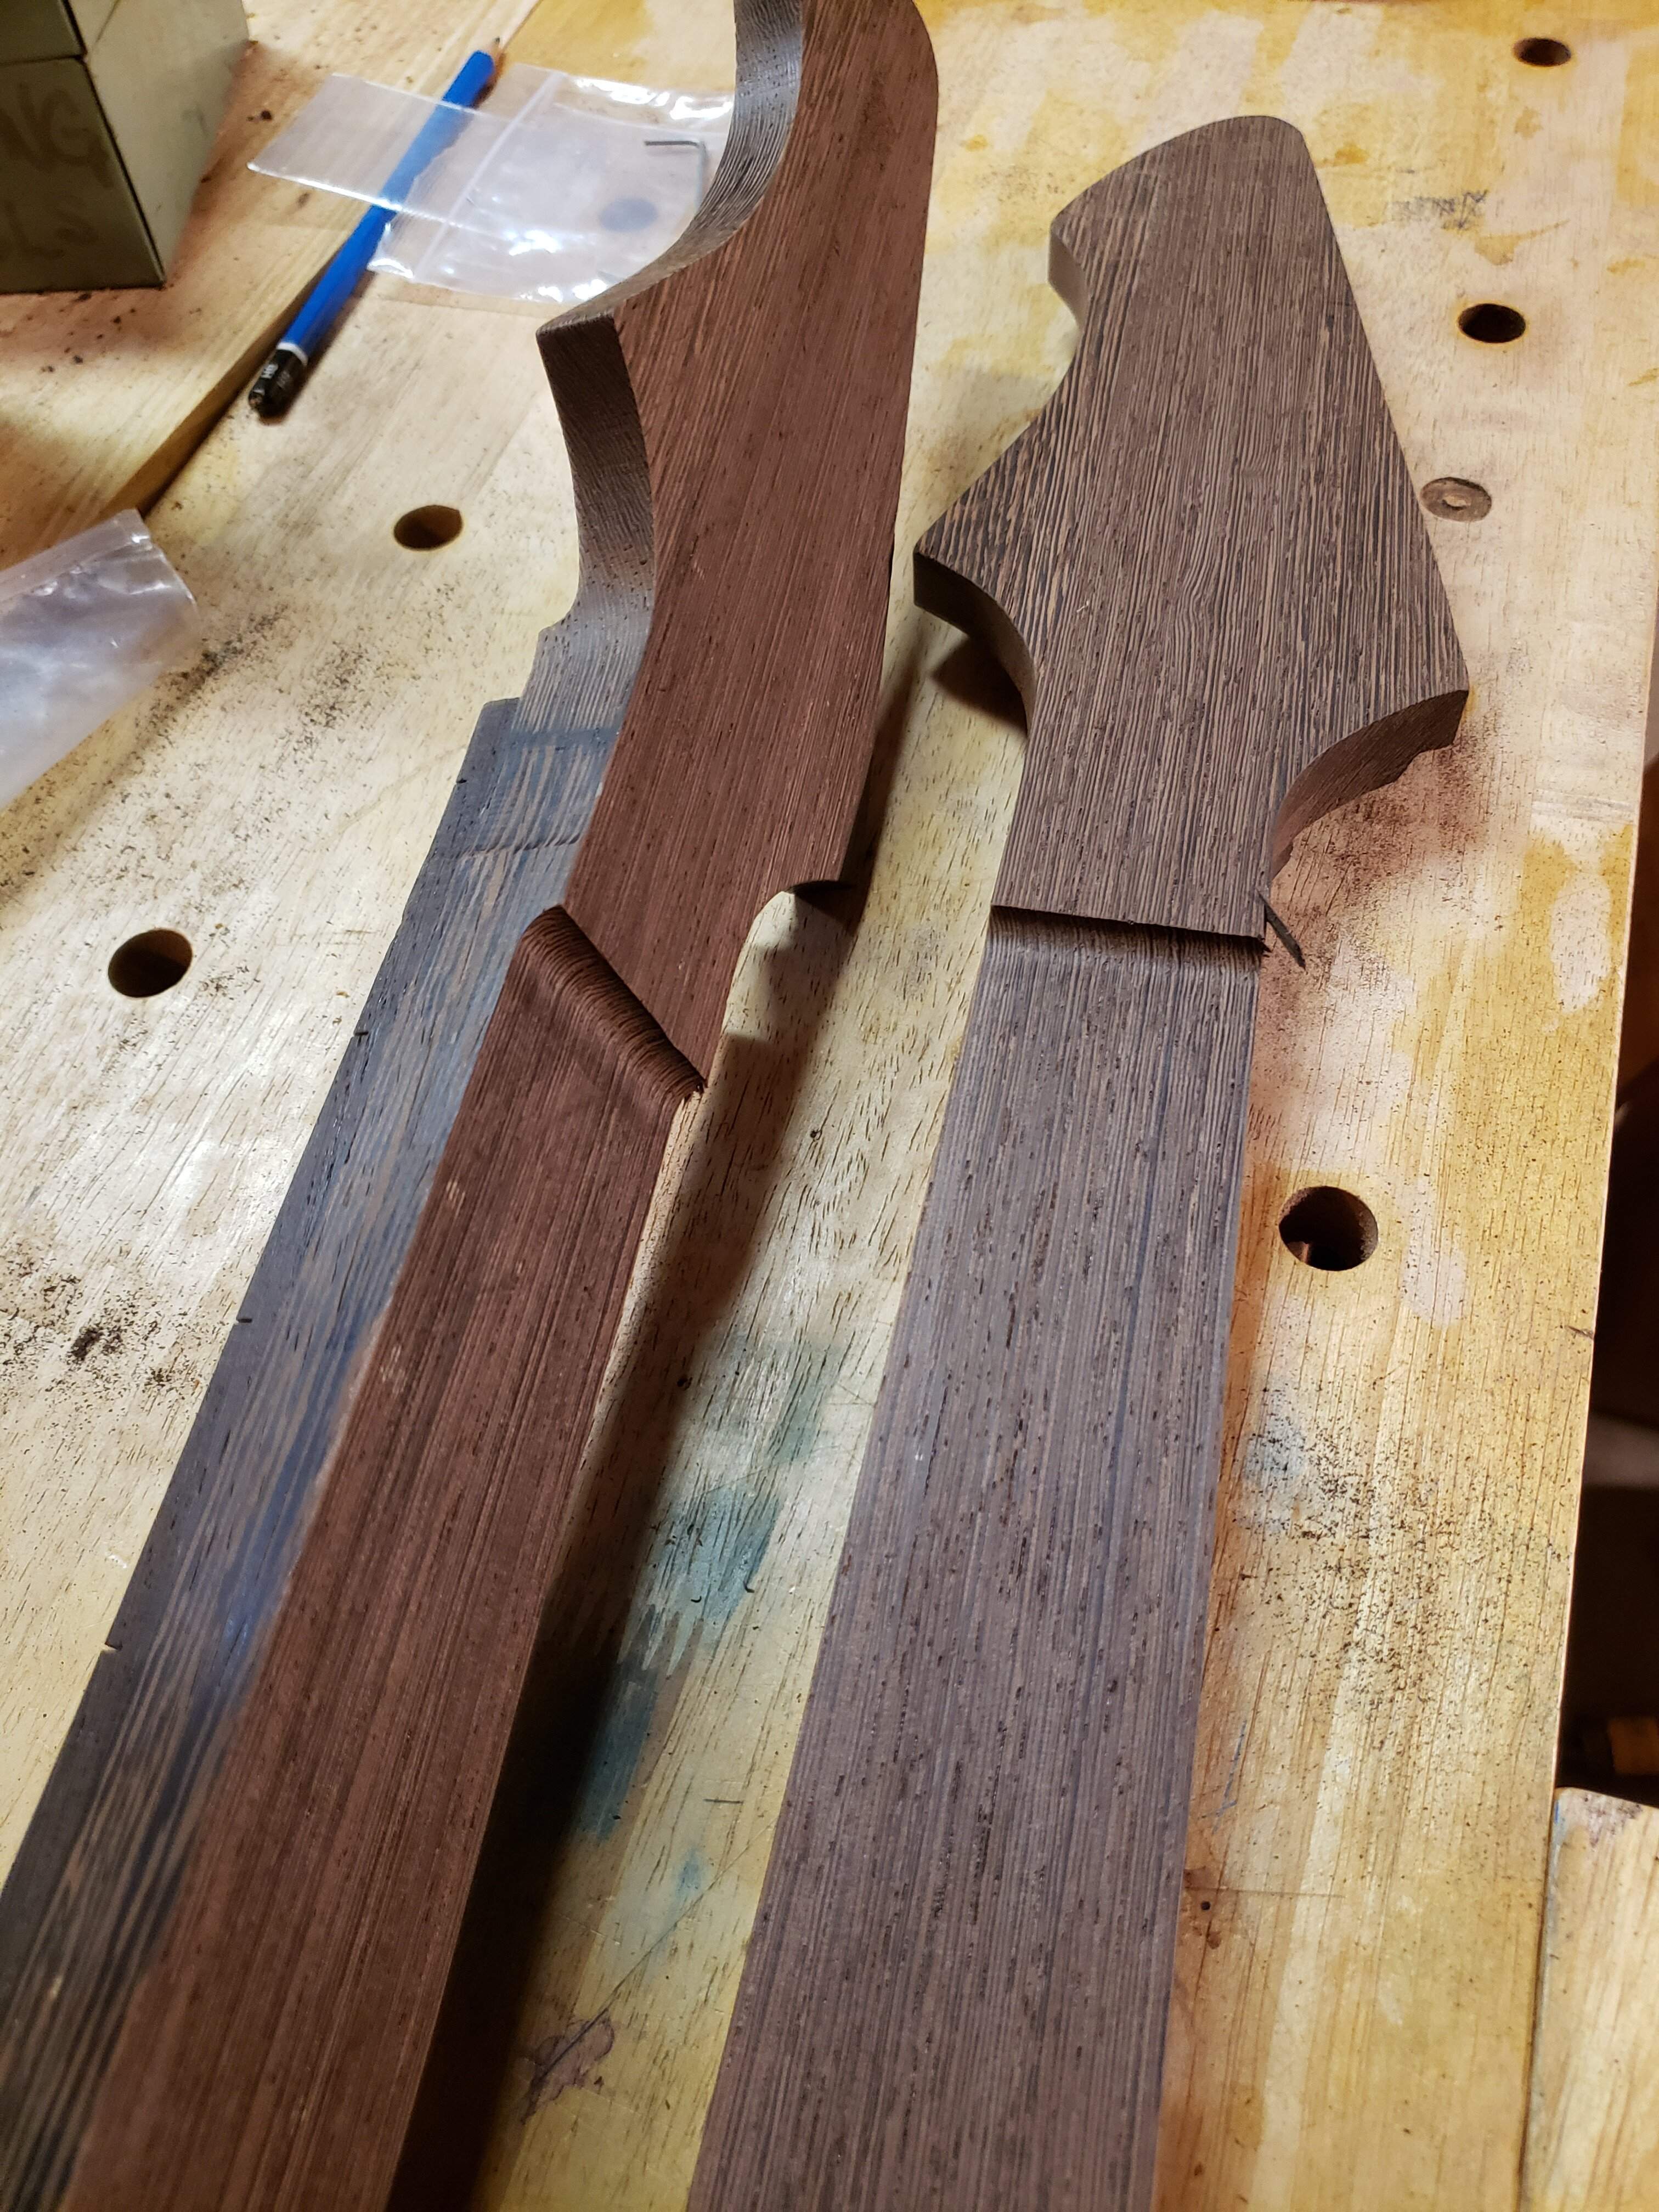
Trying something different with theses necks; the taper is more drastic than my previous builds going from 1-1/16" at the heel to 13/16" at the 1st fret. That is 1/16" thinner at the 1st fret 1/16" thicker at the heel transition.
That's all for now!
First, I wasn't quite happy with the thickness of the necks, so I put them in the router planer fixture and took approx 1/6" off the back...
While I had the fixture out, I thinned the headstocks...
Then I used the neck fixture to route the taper (top-to-back)...
Trying something different with theses necks; the taper is more drastic than my previous builds going from 1-1/16" at the heel to 13/16" at the 1st fret. That is 1/16" thinner at the 1st fret 1/16" thicker at the heel transition.
That's all for now!

More progress on the necks this weekend.
First, I wasn't quite happy with the thickness of the necks, so I put them in the router planer fixture and took approx 1/6" off the back...
View attachment 4768688
While I had the fixture out, I thinned the headstocks...
View attachment 4768689
Then I used the neck fixture to route the taper (top-to-back)...
View attachment 4768690
Trying something different with theses necks; the taper is more drastic than my previous builds going from 1-1/16" at the heel to 13/16" at the 1st fret. That is 1/16" thinner at the 1st fret 1/16" thicker at the heel transition.
View attachment 4768691
That's all for now!
Man, those necks look killer! I need to dig out the wenge on a future build.

Man, those necks look killer! I need to dig out the wenge on a future build.
Thanks!

Have not had a chance to post in a while, things are progressing, though...
On previous builds, when routing control cavities, I felt like the top of the cavity was a little thin and flimsy, even though it was just thin enough to allow the pot shafts to reach through. So, on this build, I decided to make the top of the cavity thicker and rout a recess under the top for the pots to sit in.
Pictures to clarify...
Drill holes for the pot shaft...
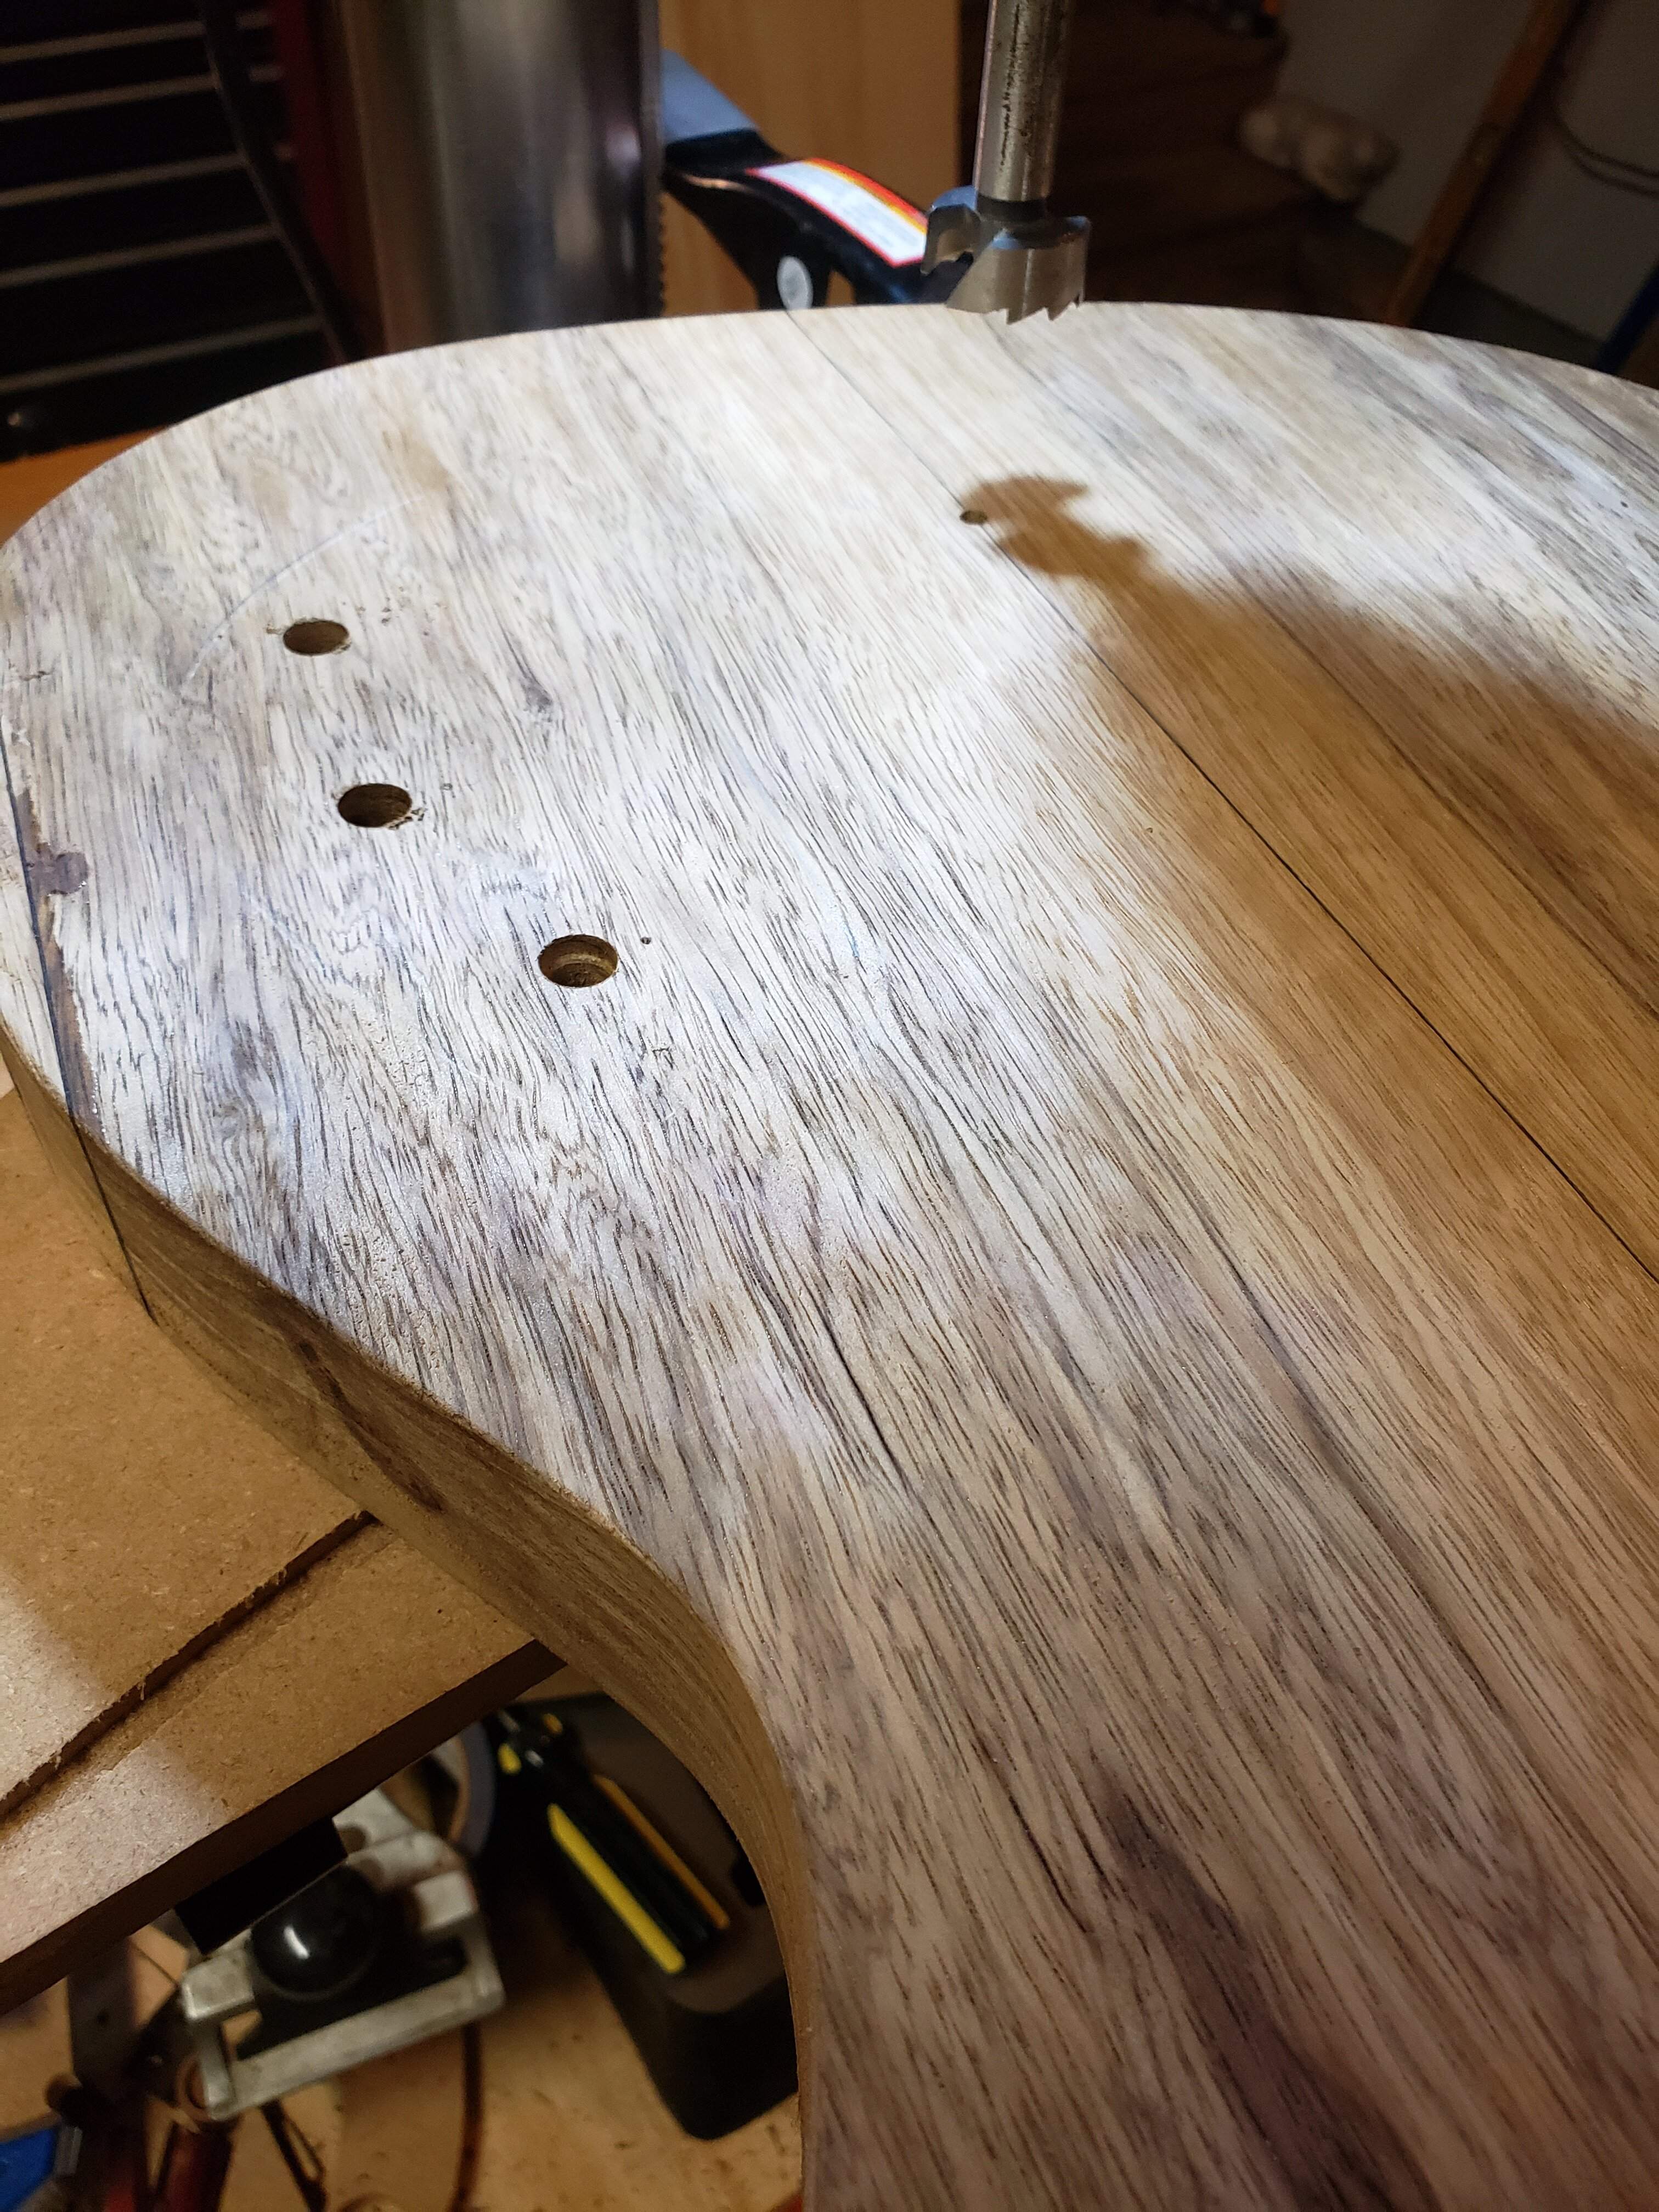 ...using a 3/8" brad-point bit, stopping just short of the back side so just the point pokes through the other side.
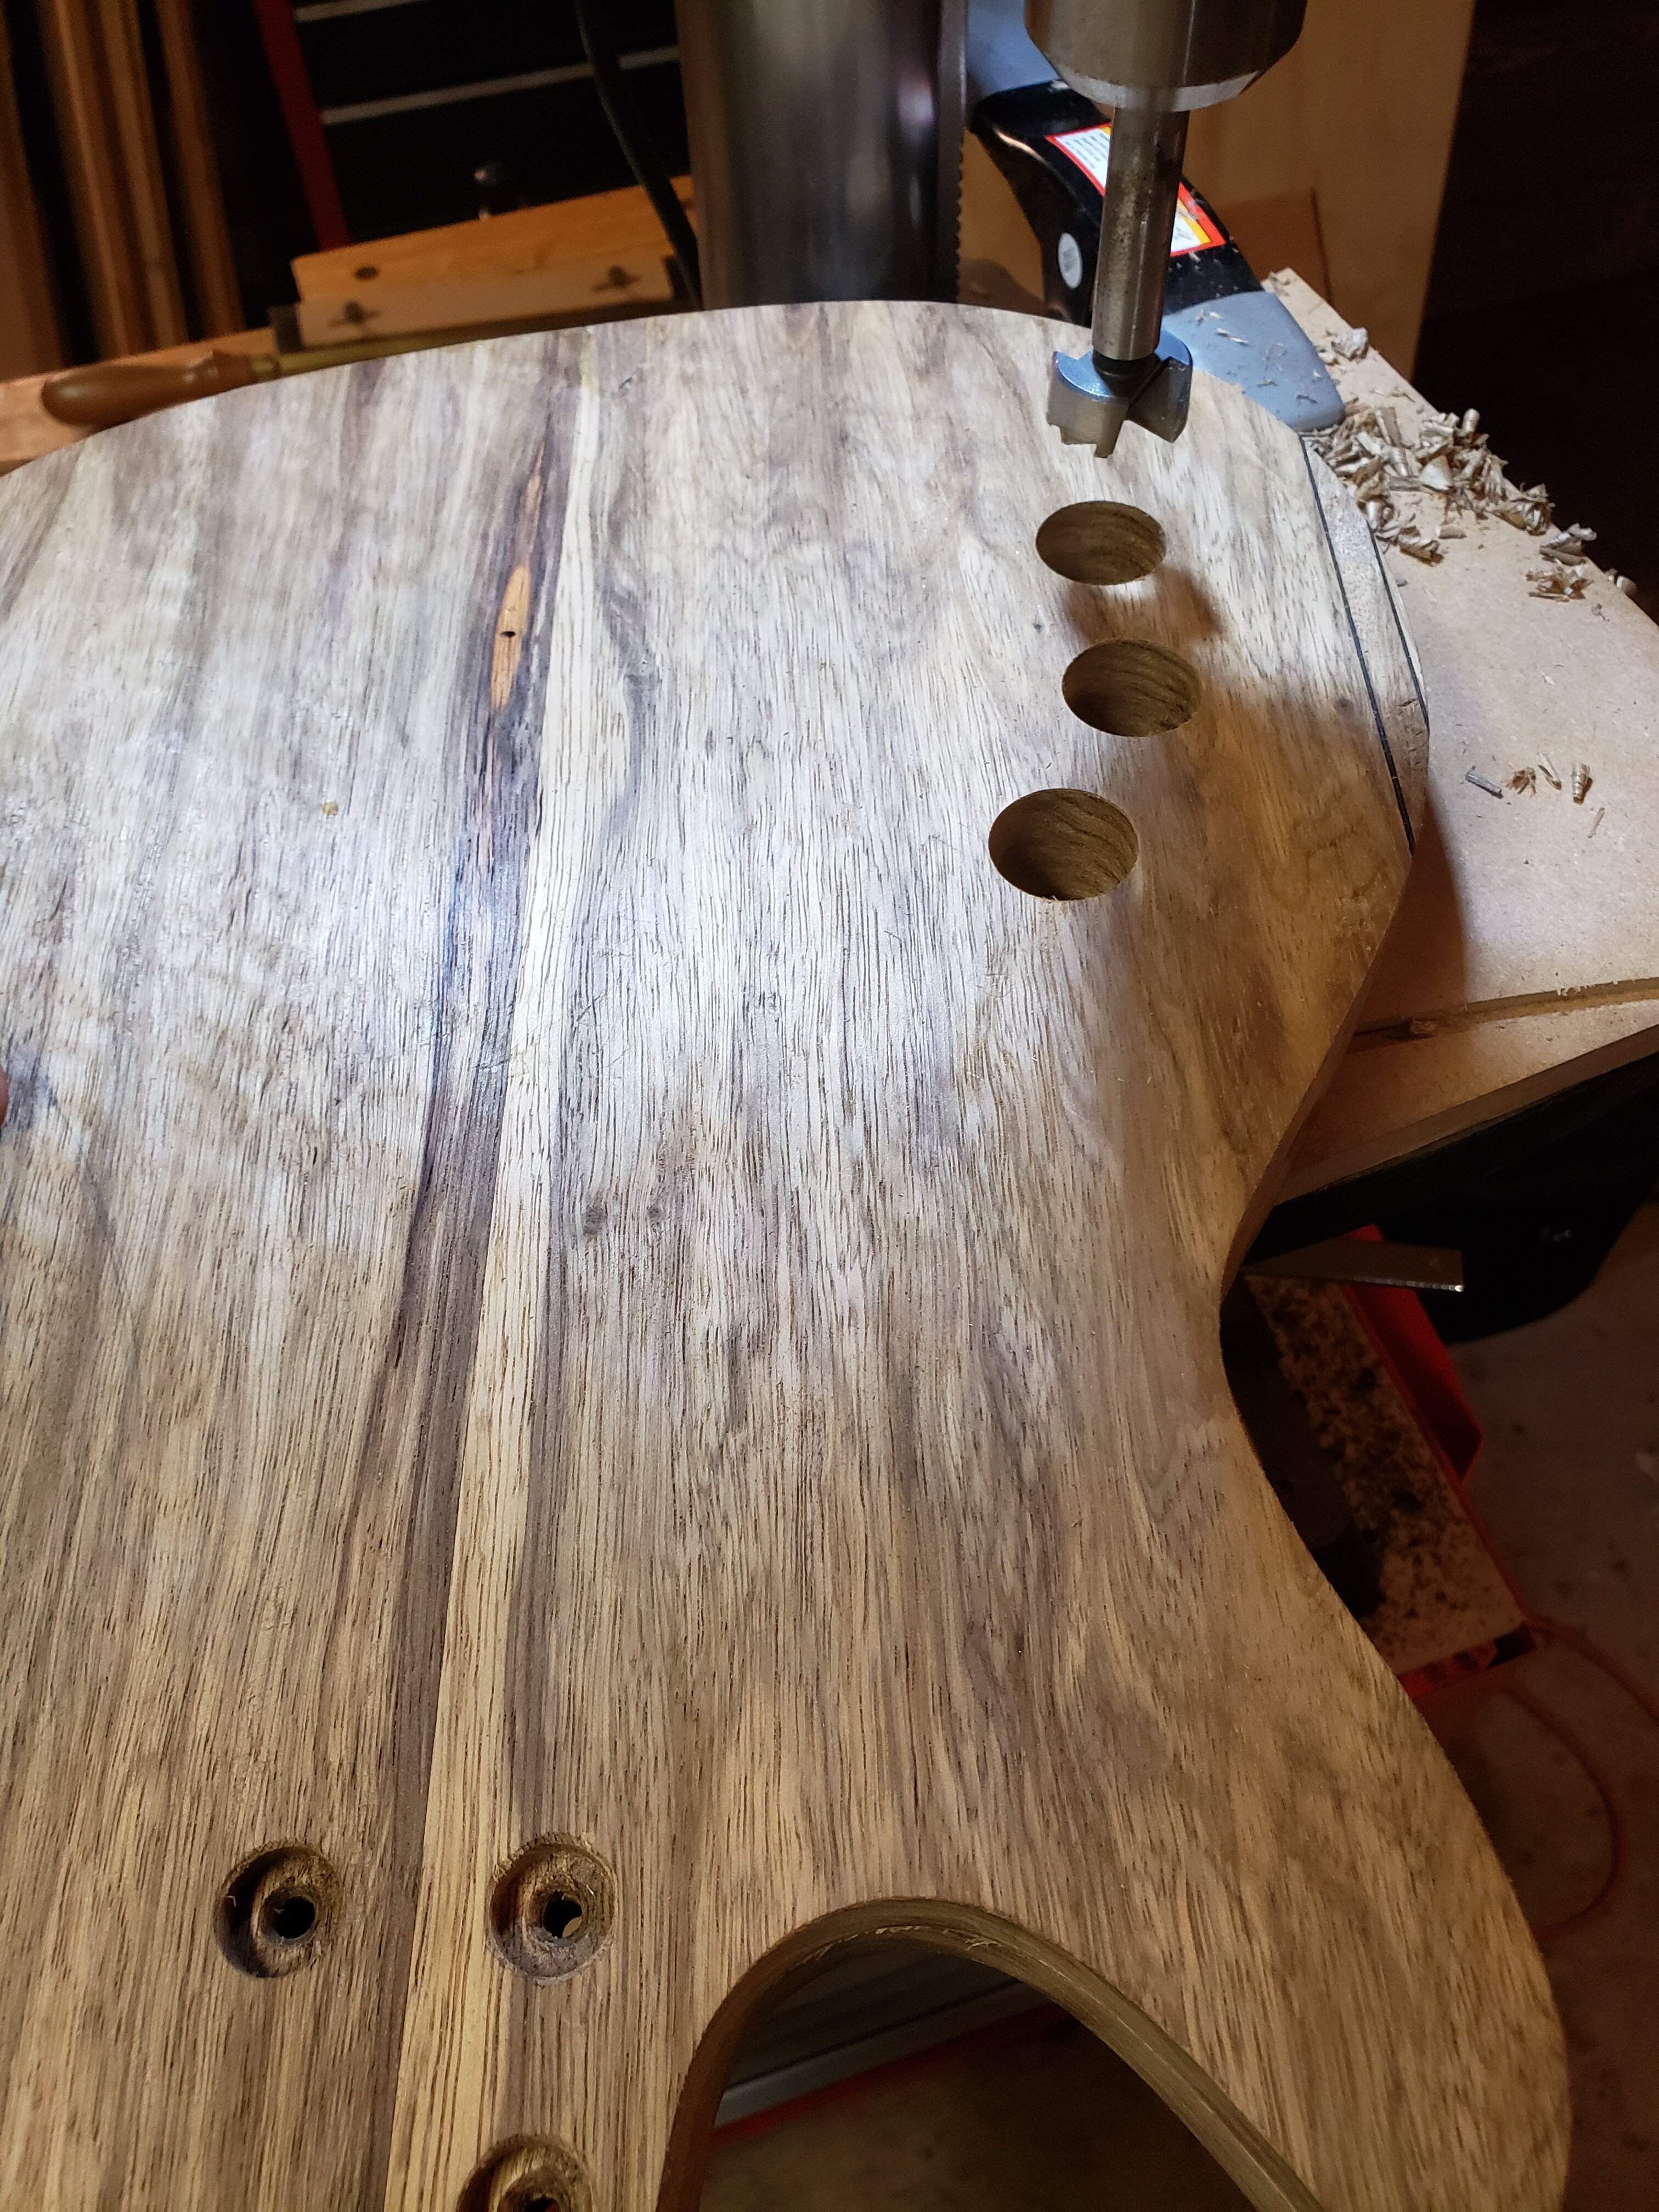
Using the mark from the 3/8" bit, I drilled a counter bore with a 1" forstner bit, stopping approx 3/8 shy of the top...
I then used a 3/4" bowl bit (this bit gets used a lot!) with a 1/4" radius and routed the recess, leaving 3/16" of top wood where the pots will sit
<not pictured>
I then forstnerred the rest of the cavity...
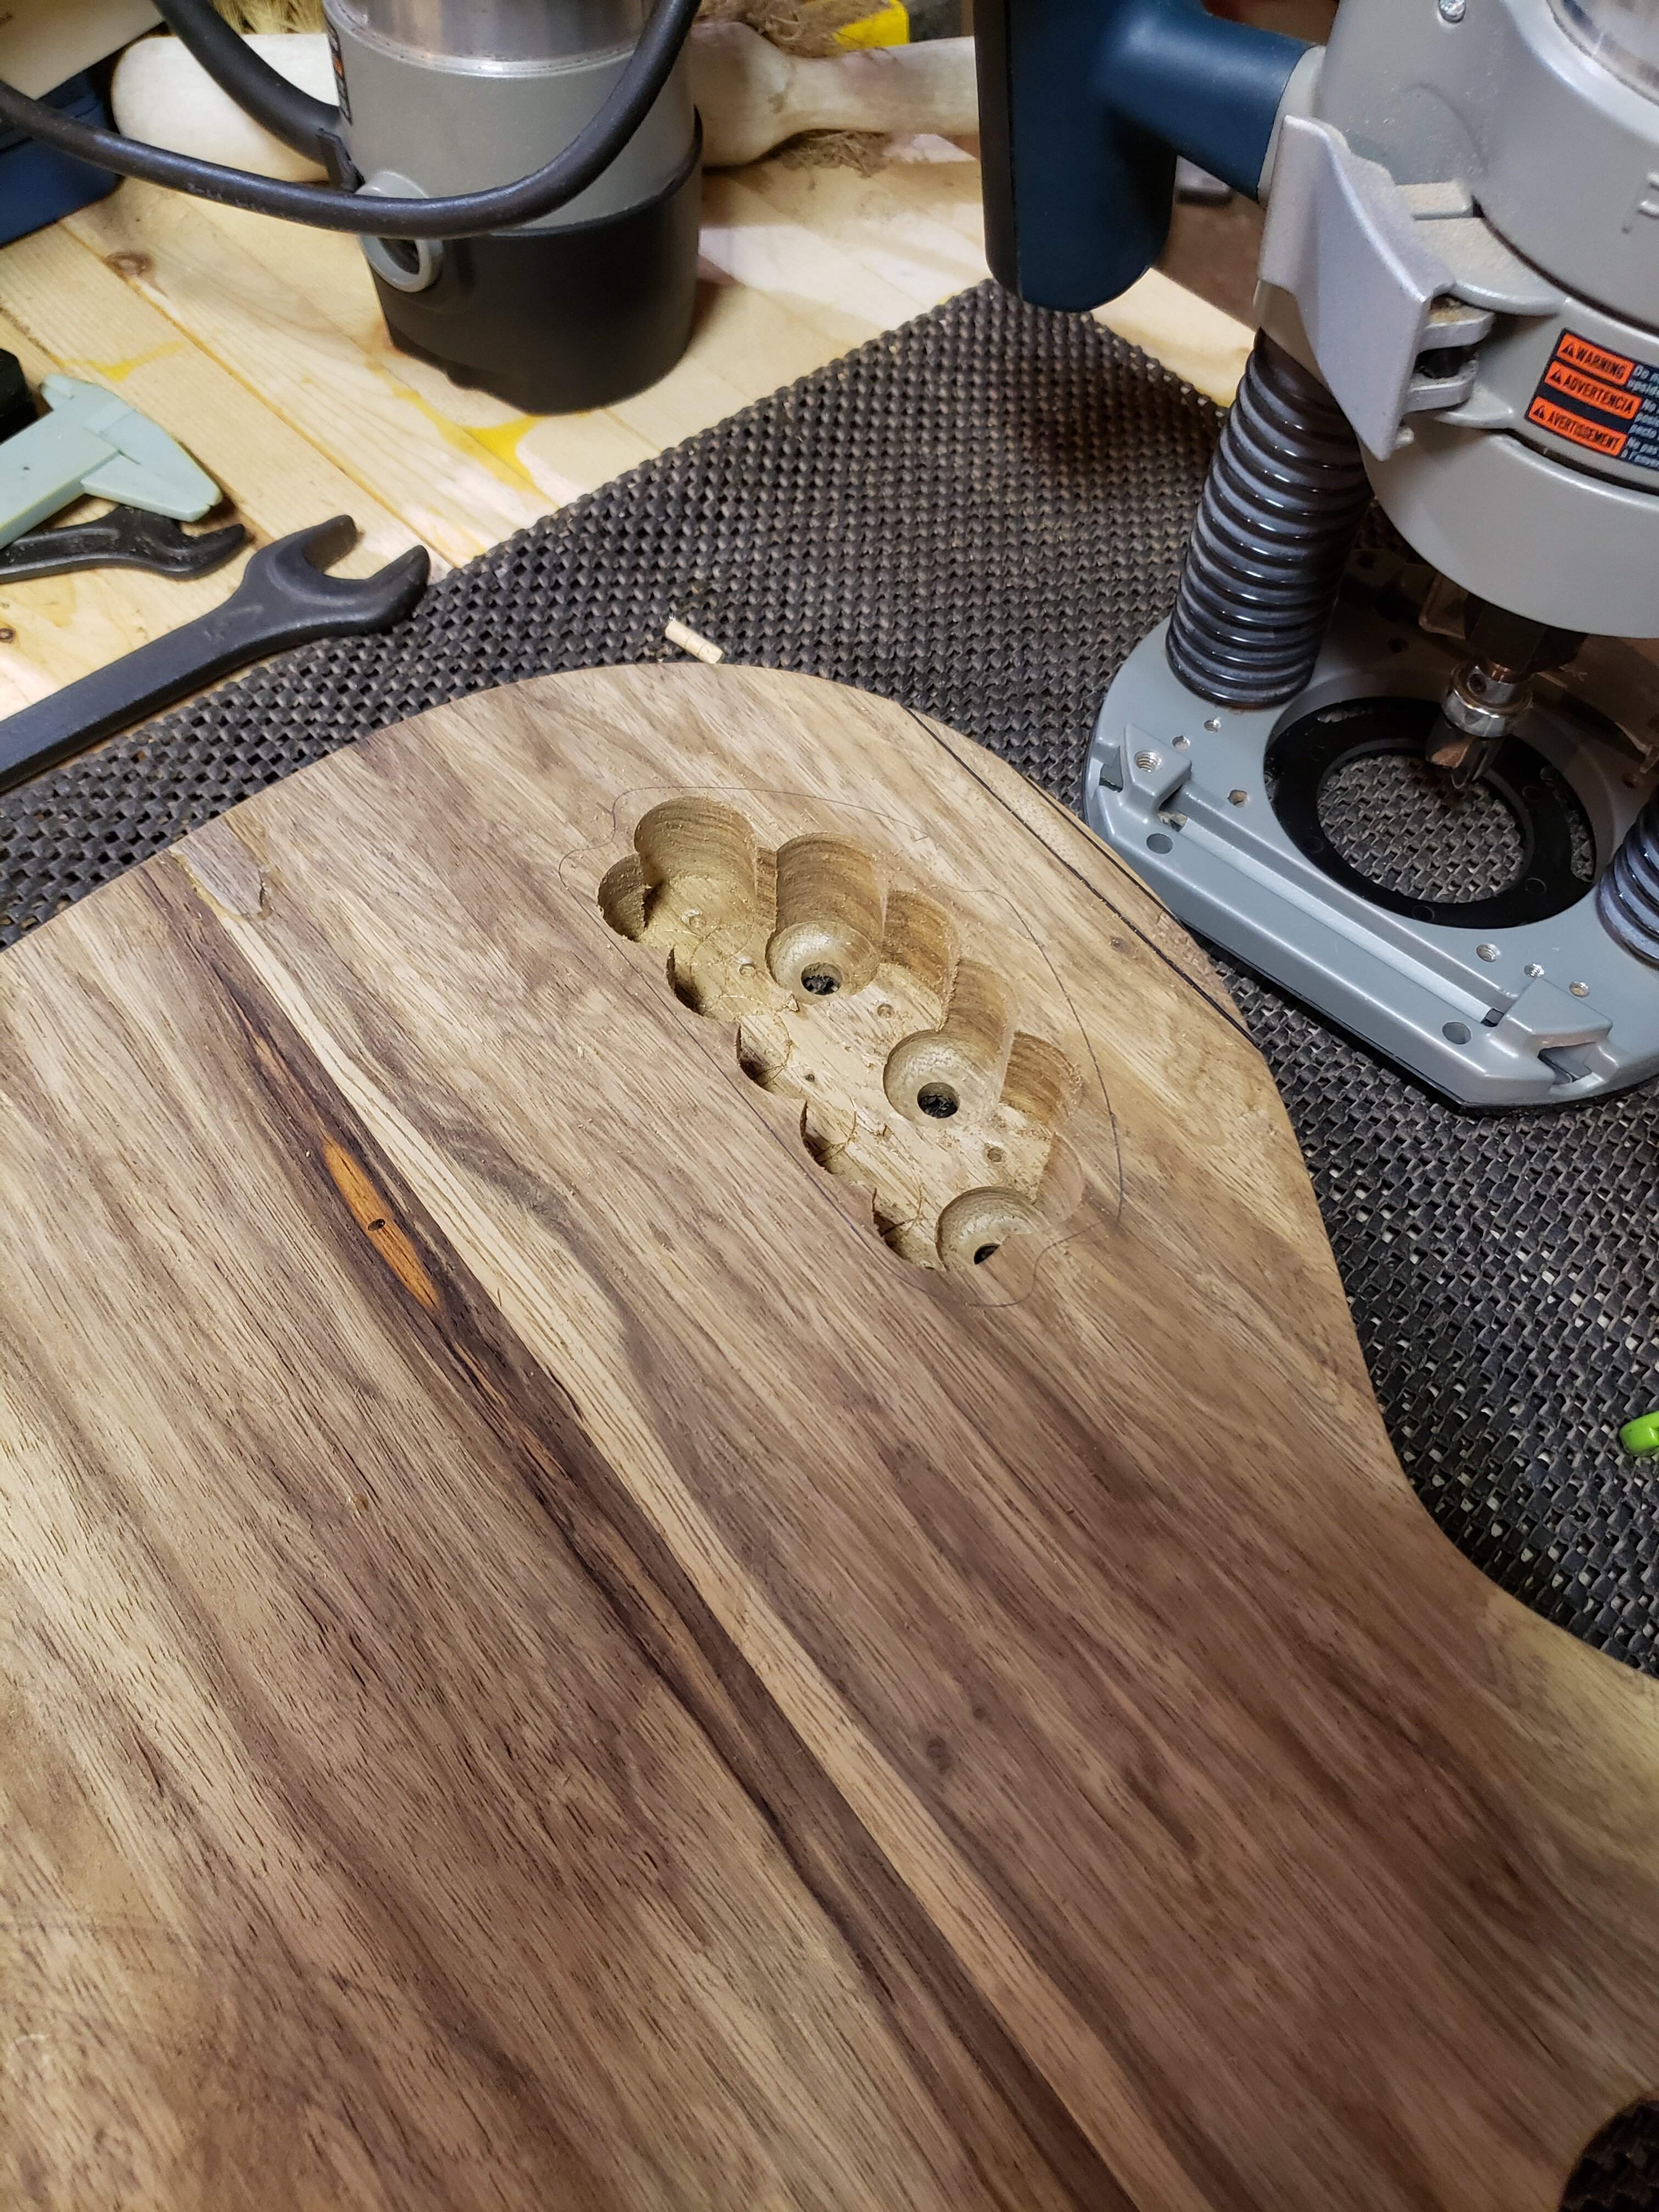 ...here you can see the circular recess.
Then I finished routing the cavity in the normal fashion...
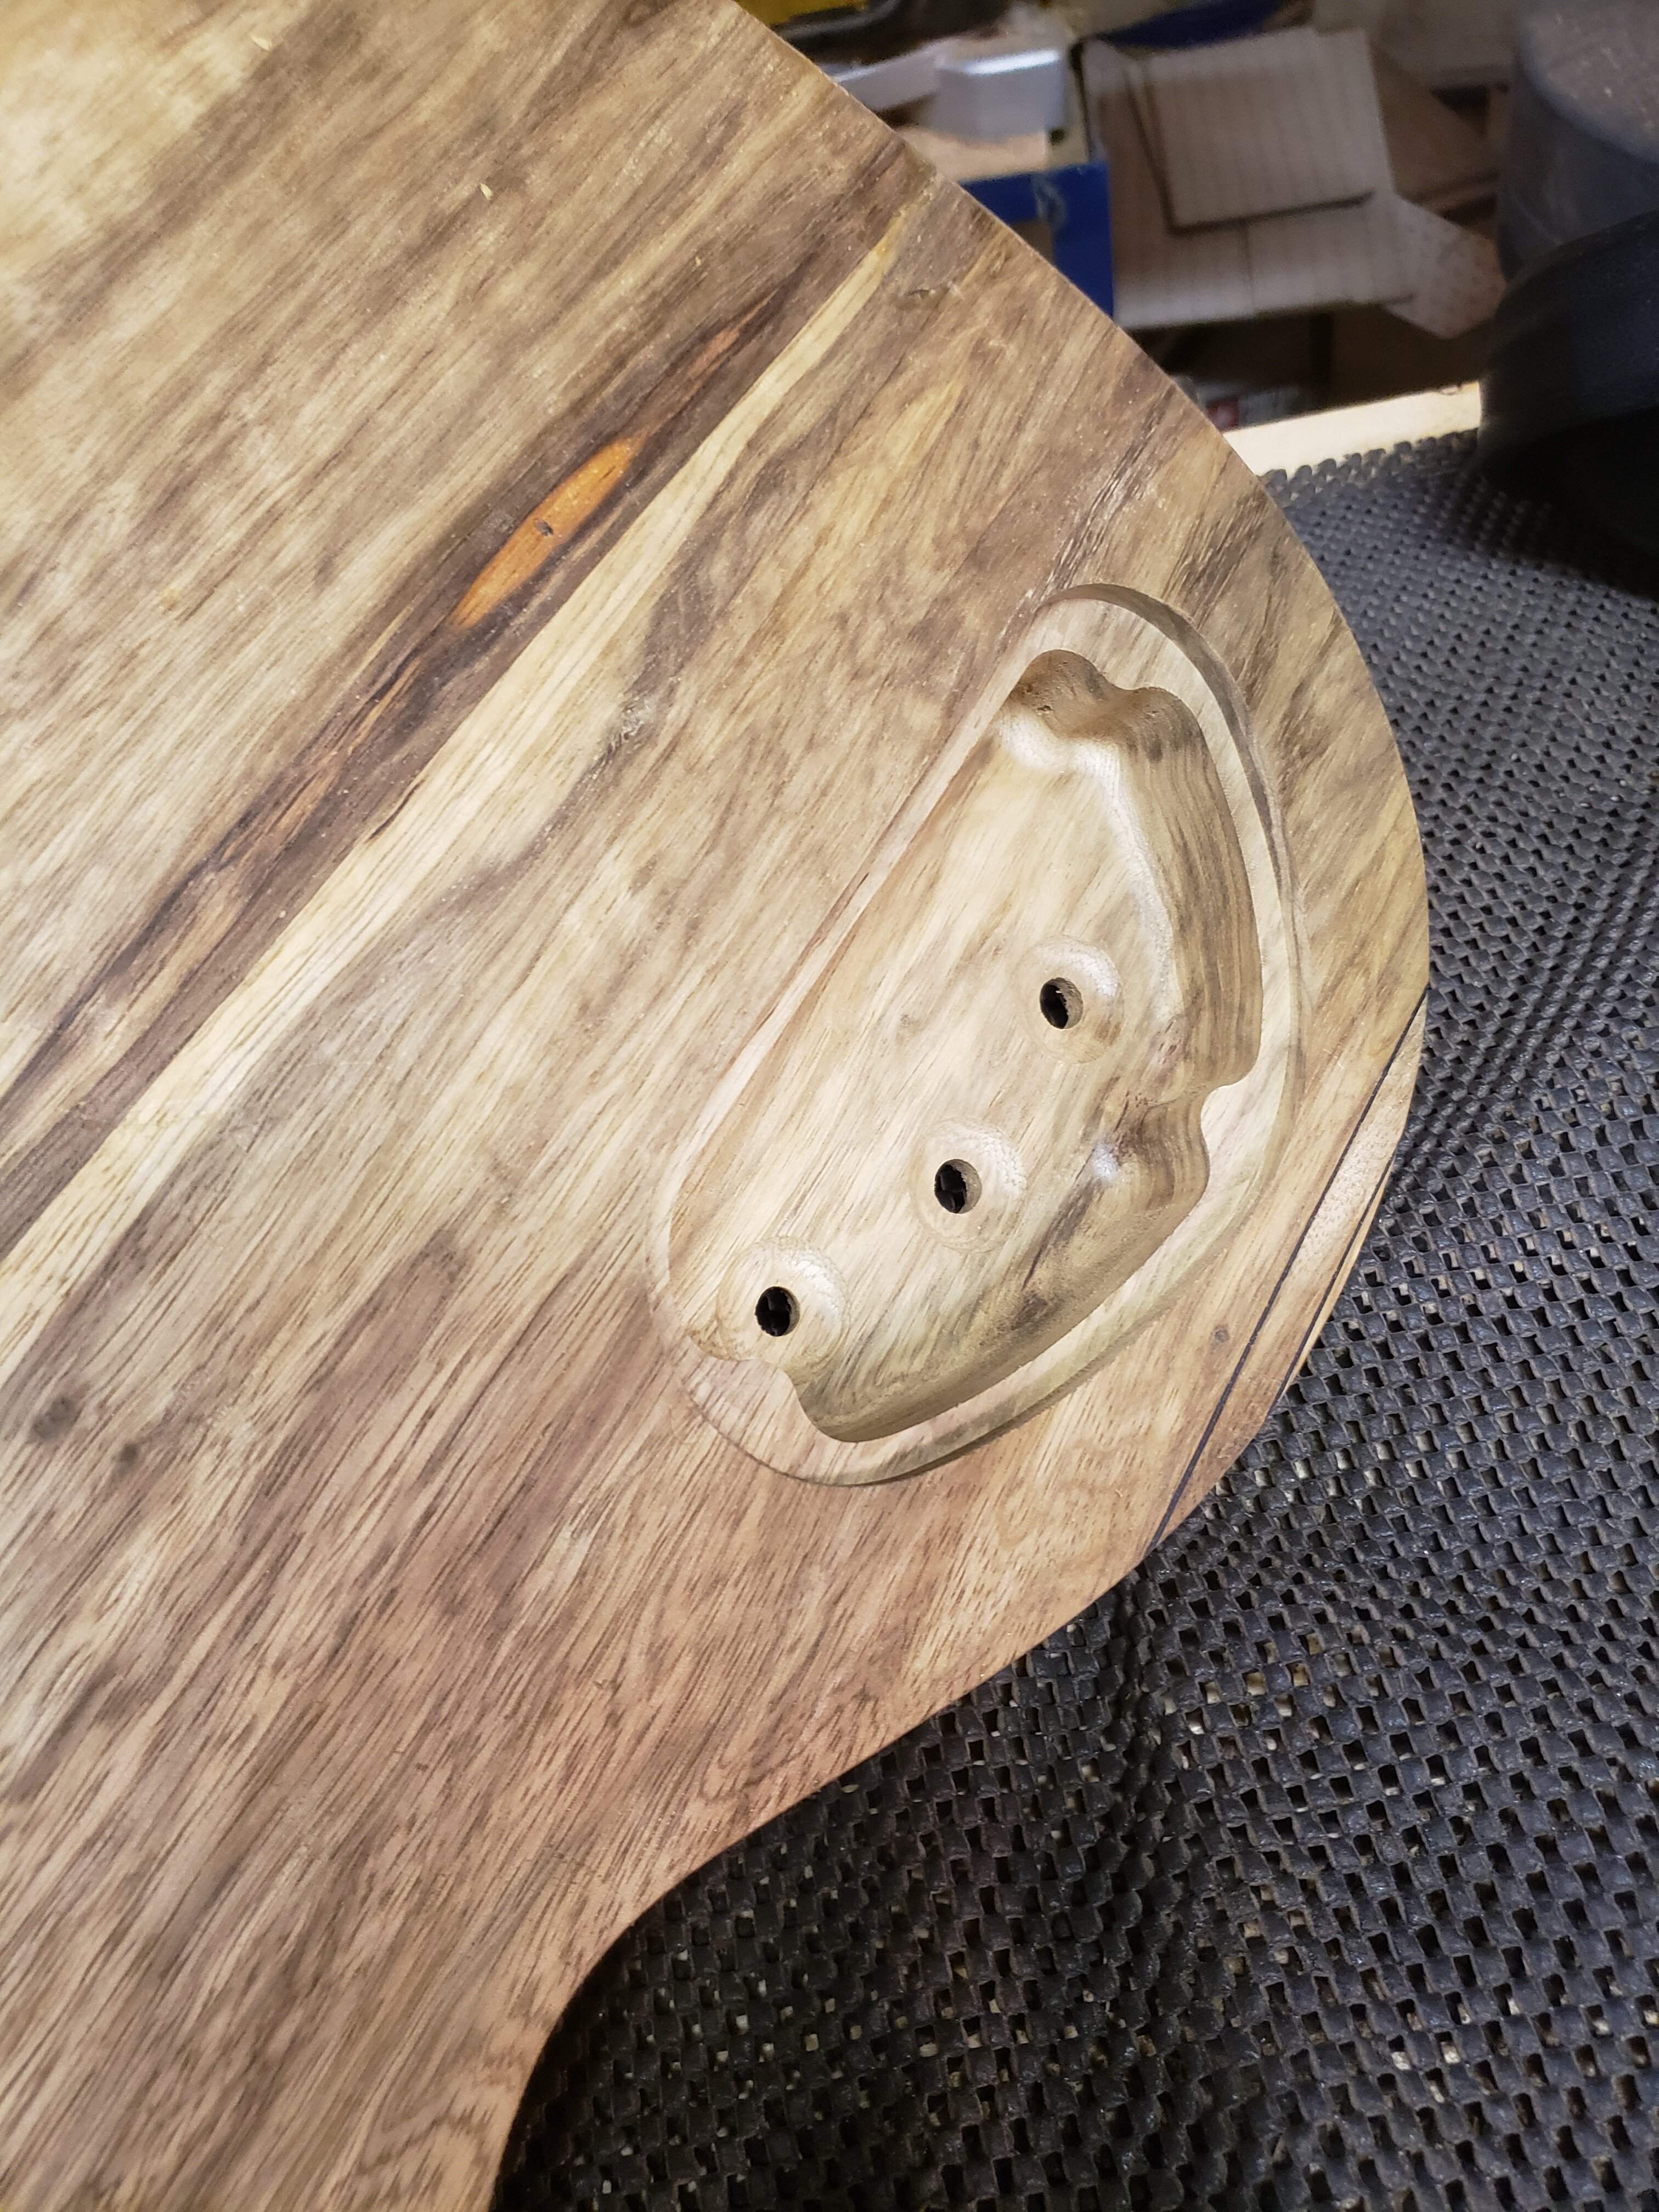
And I did that twice.
I also made a couple cavity covers...
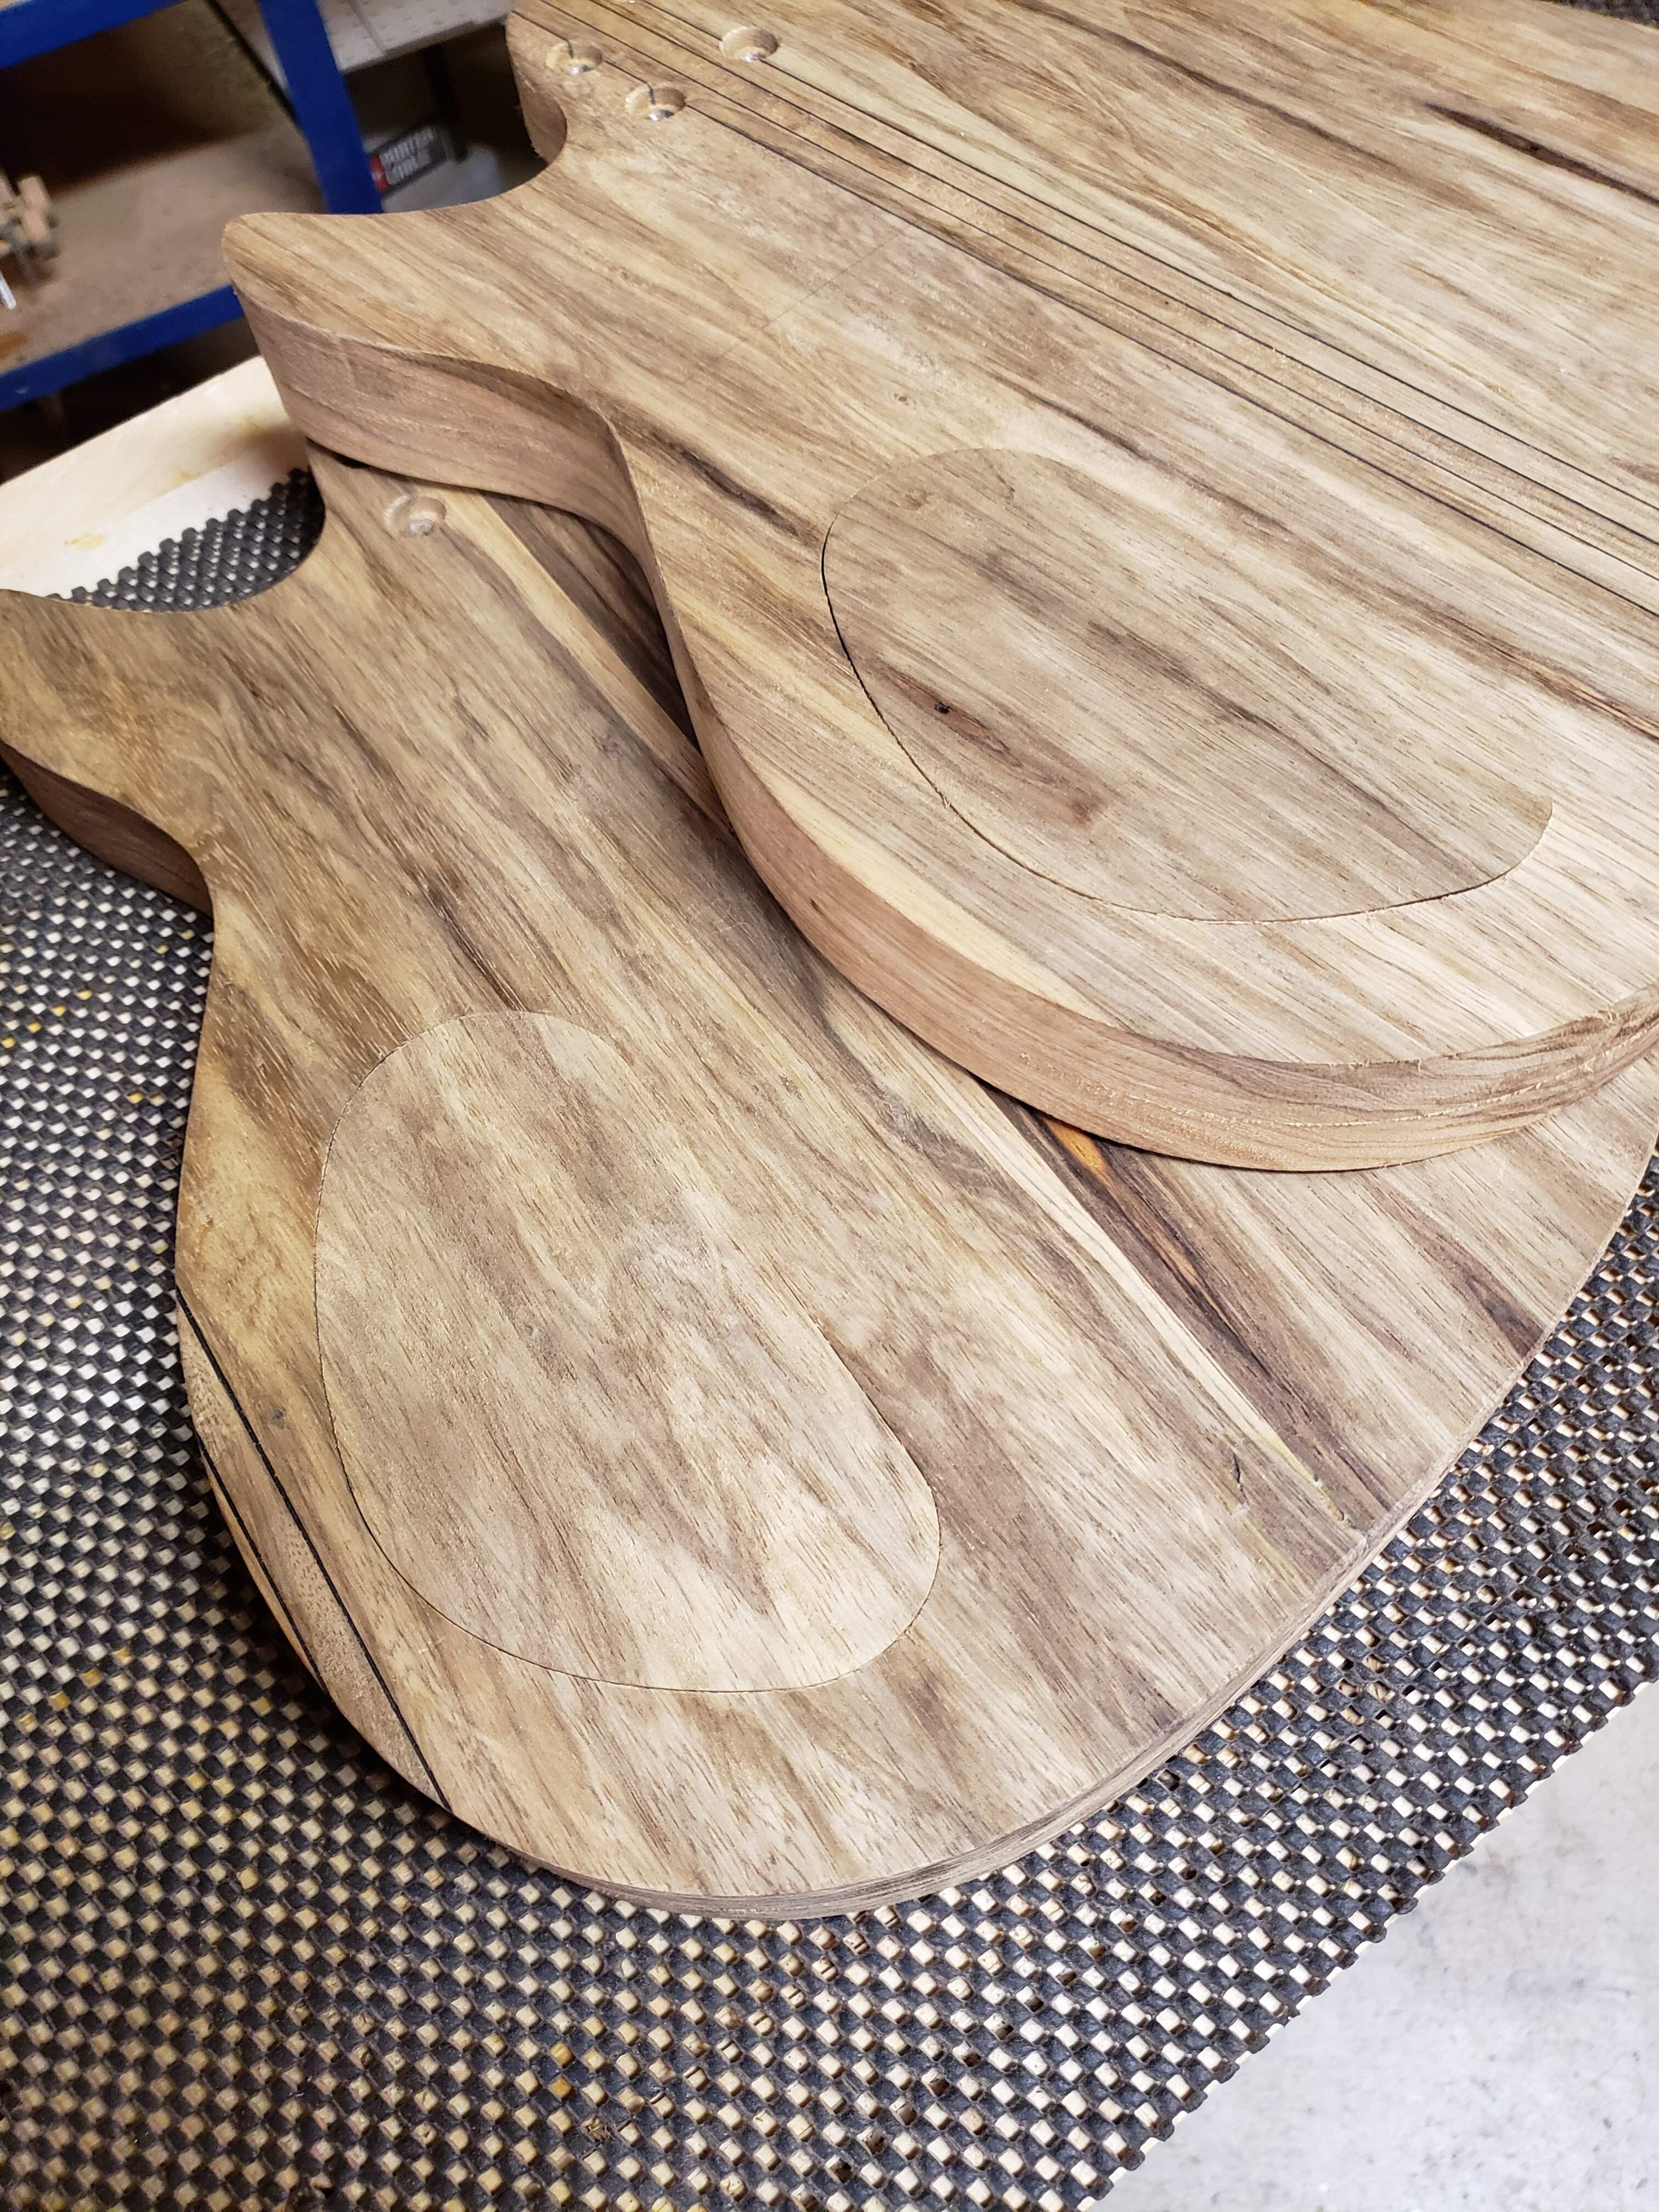 ...they sit a little proud, but that will get fixed.
These covers are made from a 1/4" +/- slice I took off the back when I milled the body blank pieces, but even so, the grain is a little wild so it doesn't quite match.
I also made some 1/4" plugs for fret markers, under the unflinching gaze of the safety inspector...
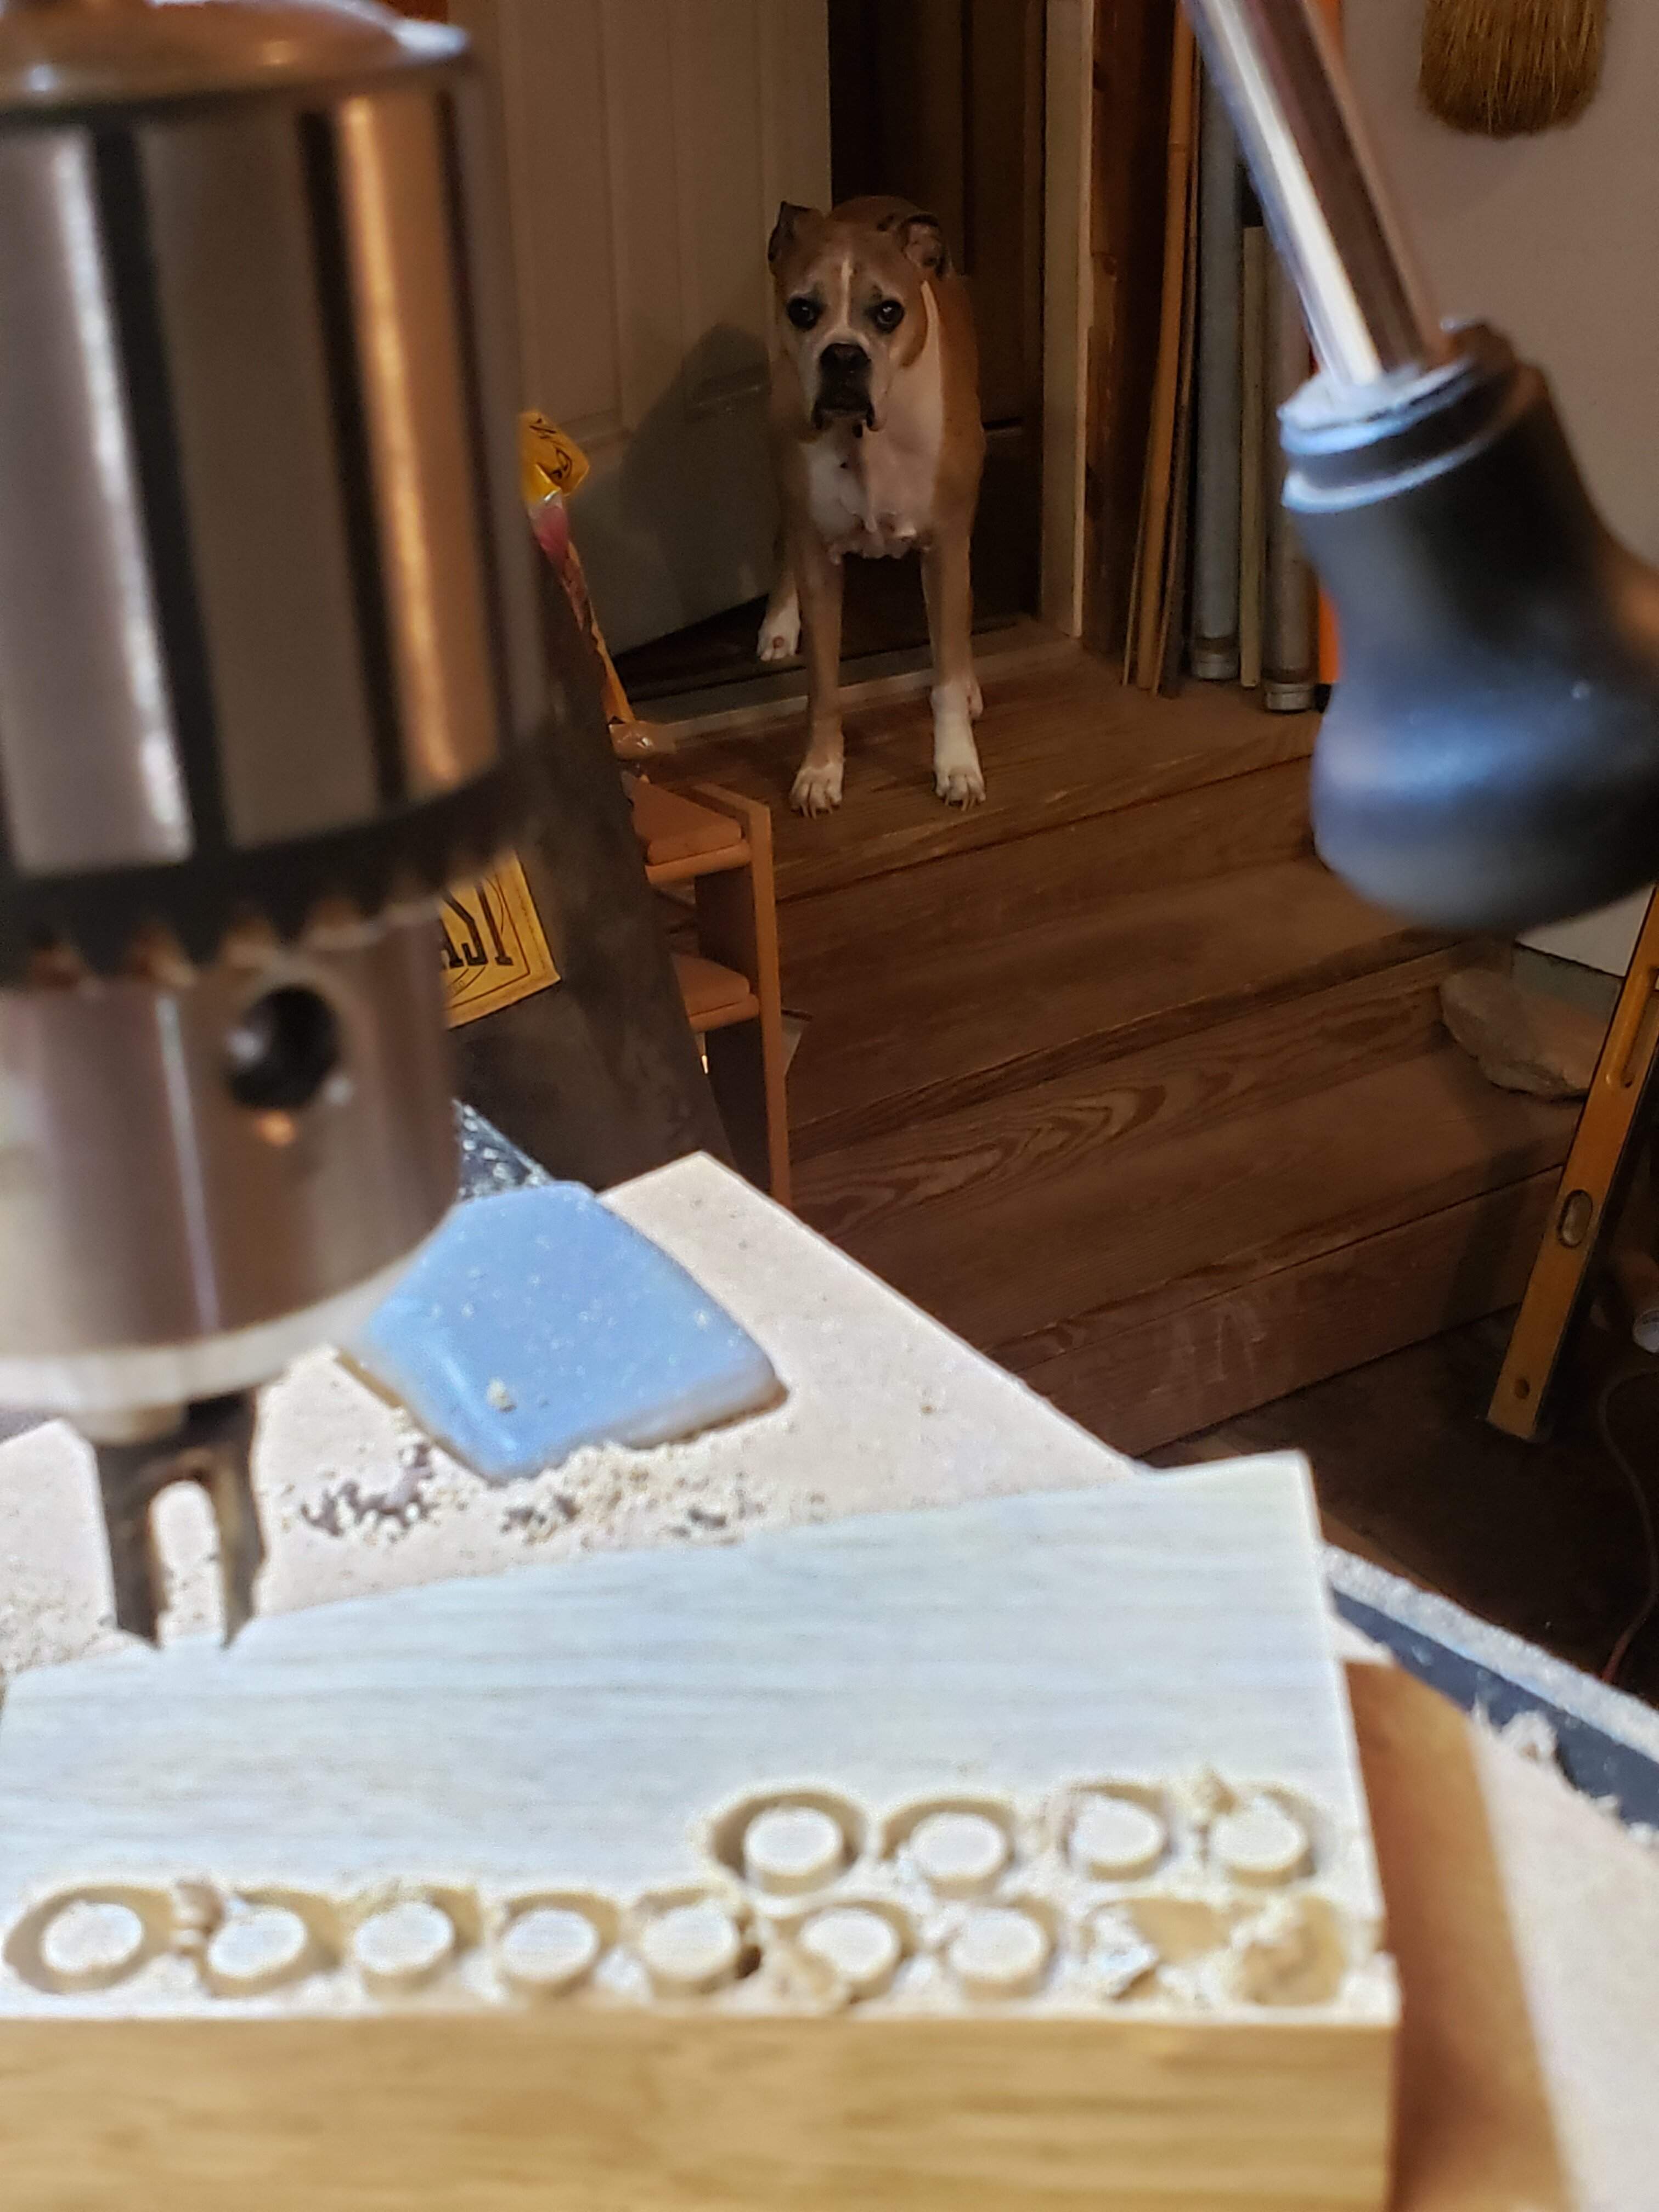
Plugs installed...
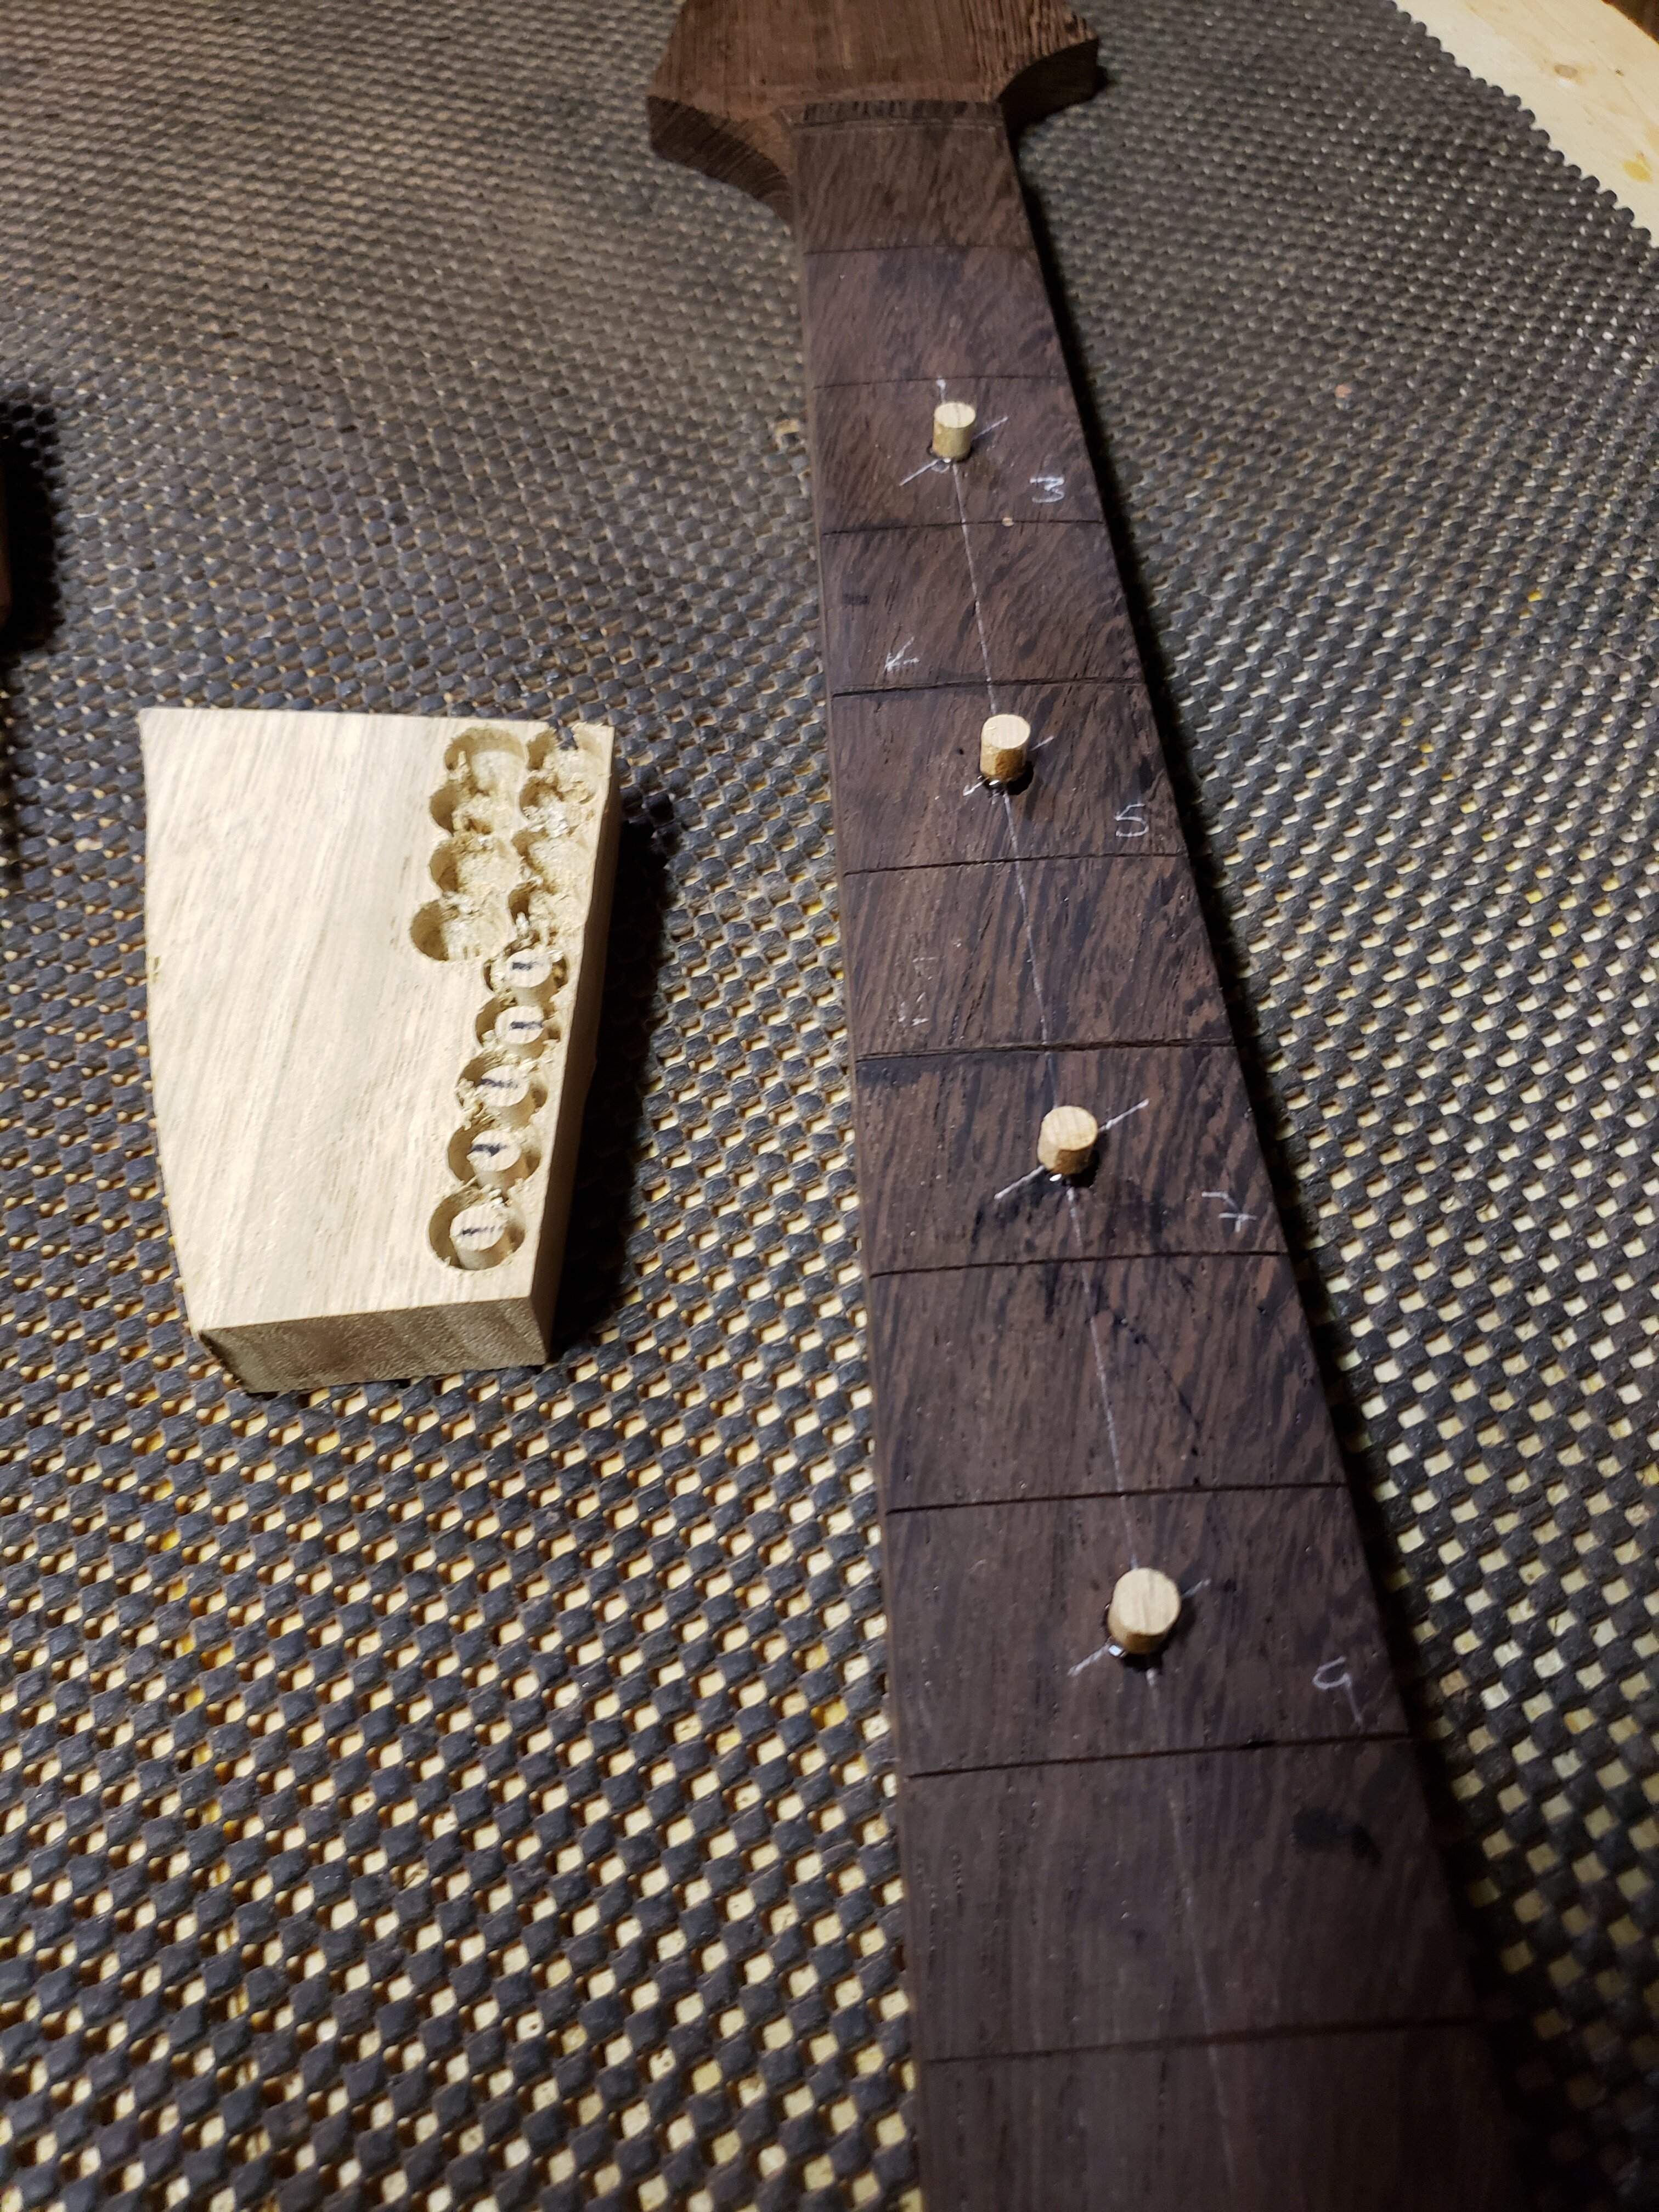
Something I just figured out...
The plugs are tapered for a snug fit; once you break them free, it may not be obvious which end is the narrow end of the taper so I started marking them first.
Slight side track
Hey @RichterScale! This...
...thanks for liking my knobs!
Carry on.
On previous builds, when routing control cavities, I felt like the top of the cavity was a little thin and flimsy, even though it was just thin enough to allow the pot shafts to reach through. So, on this build, I decided to make the top of the cavity thicker and rout a recess under the top for the pots to sit in.
Pictures to clarify...
Drill holes for the pot shaft...
Using the mark from the 3/8" bit, I drilled a counter bore with a 1" forstner bit, stopping approx 3/8 shy of the top...
I then used a 3/4" bowl bit (this bit gets used a lot!) with a 1/4" radius and routed the recess, leaving 3/16" of top wood where the pots will sit
<not pictured>
I then forstnerred the rest of the cavity...
Then I finished routing the cavity in the normal fashion...
And I did that twice.
I also made a couple cavity covers...
These covers are made from a 1/4" +/- slice I took off the back when I milled the body blank pieces, but even so, the grain is a little wild so it doesn't quite match.
I also made some 1/4" plugs for fret markers, under the unflinching gaze of the safety inspector...
Plugs installed...
Something I just figured out...
The plugs are tapered for a snug fit; once you break them free, it may not be obvious which end is the narrow end of the taper so I started marking them first.
Slight side track
Hey @RichterScale! This...
...may have been intended as a compliment and I missed it 'cuz I'm clueless, so...That knob making post should be a sticky.
...thanks for liking my knobs!
Carry on.


I imagine that unflinching gaze must be almost creepy at times.
Yes, I tell her to "stop being a creep" all the time, but she doesn't listen...
Face dots are finished...
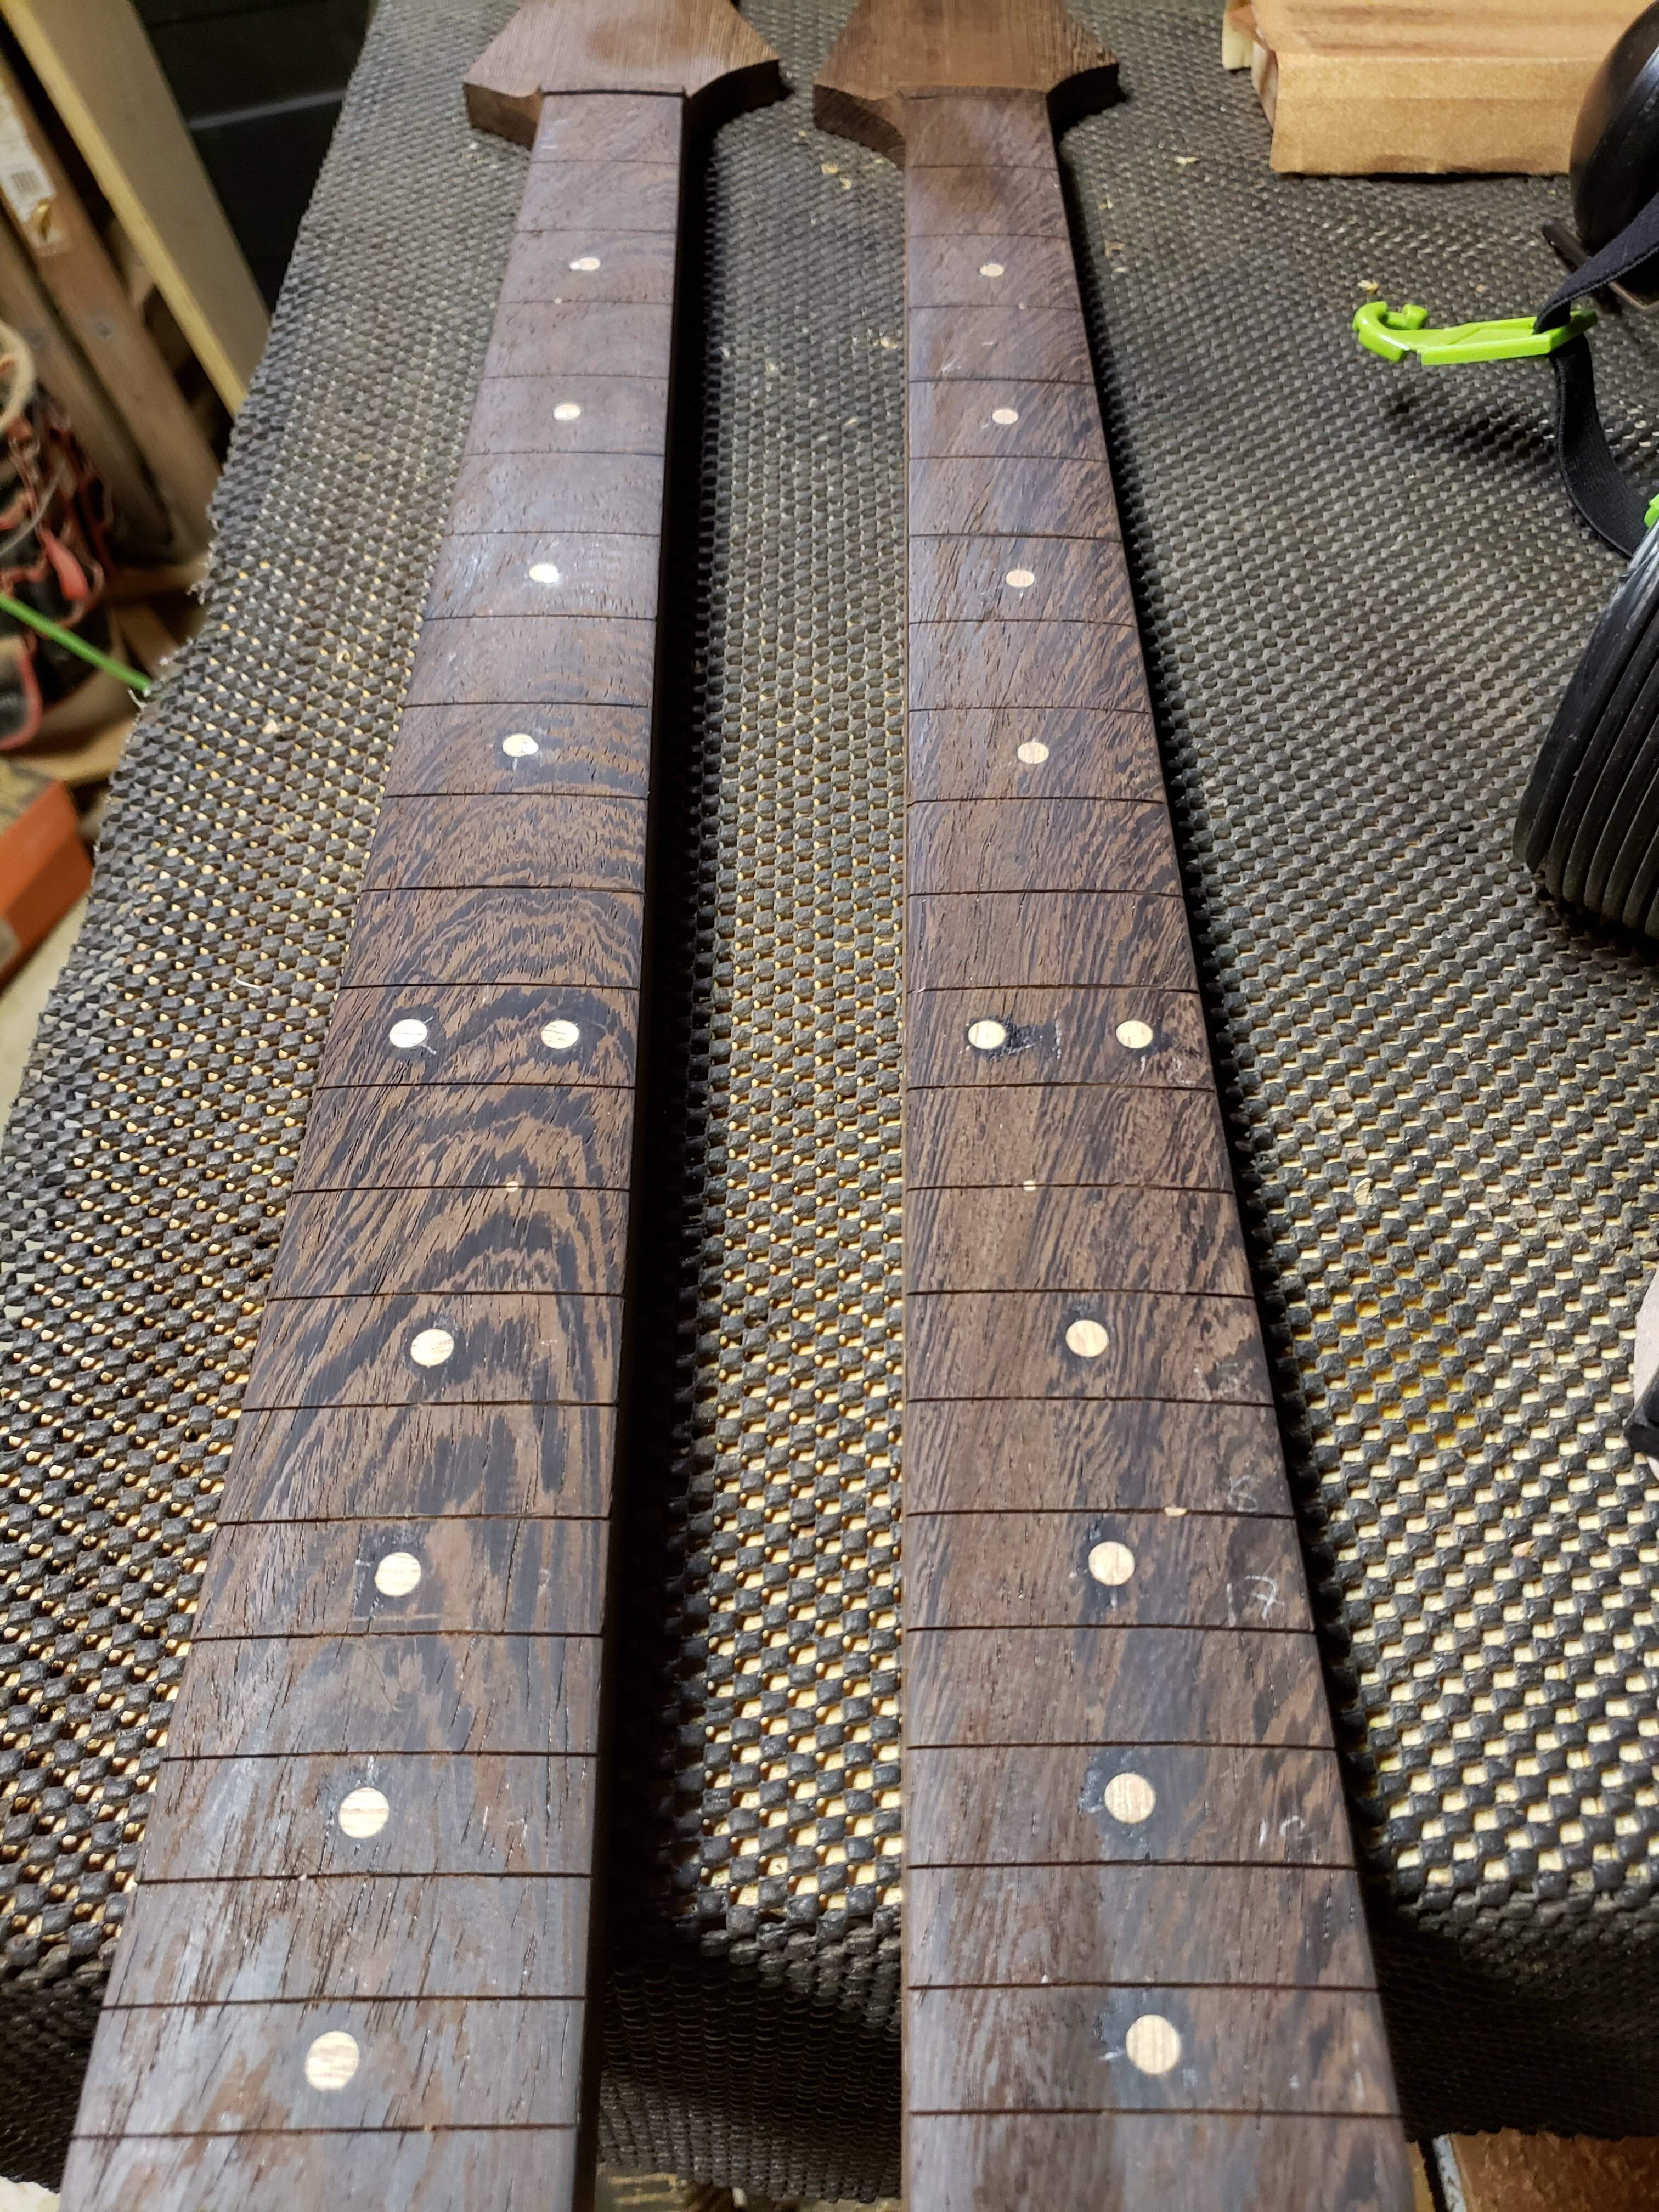
...tried to do a thing with the face dots...
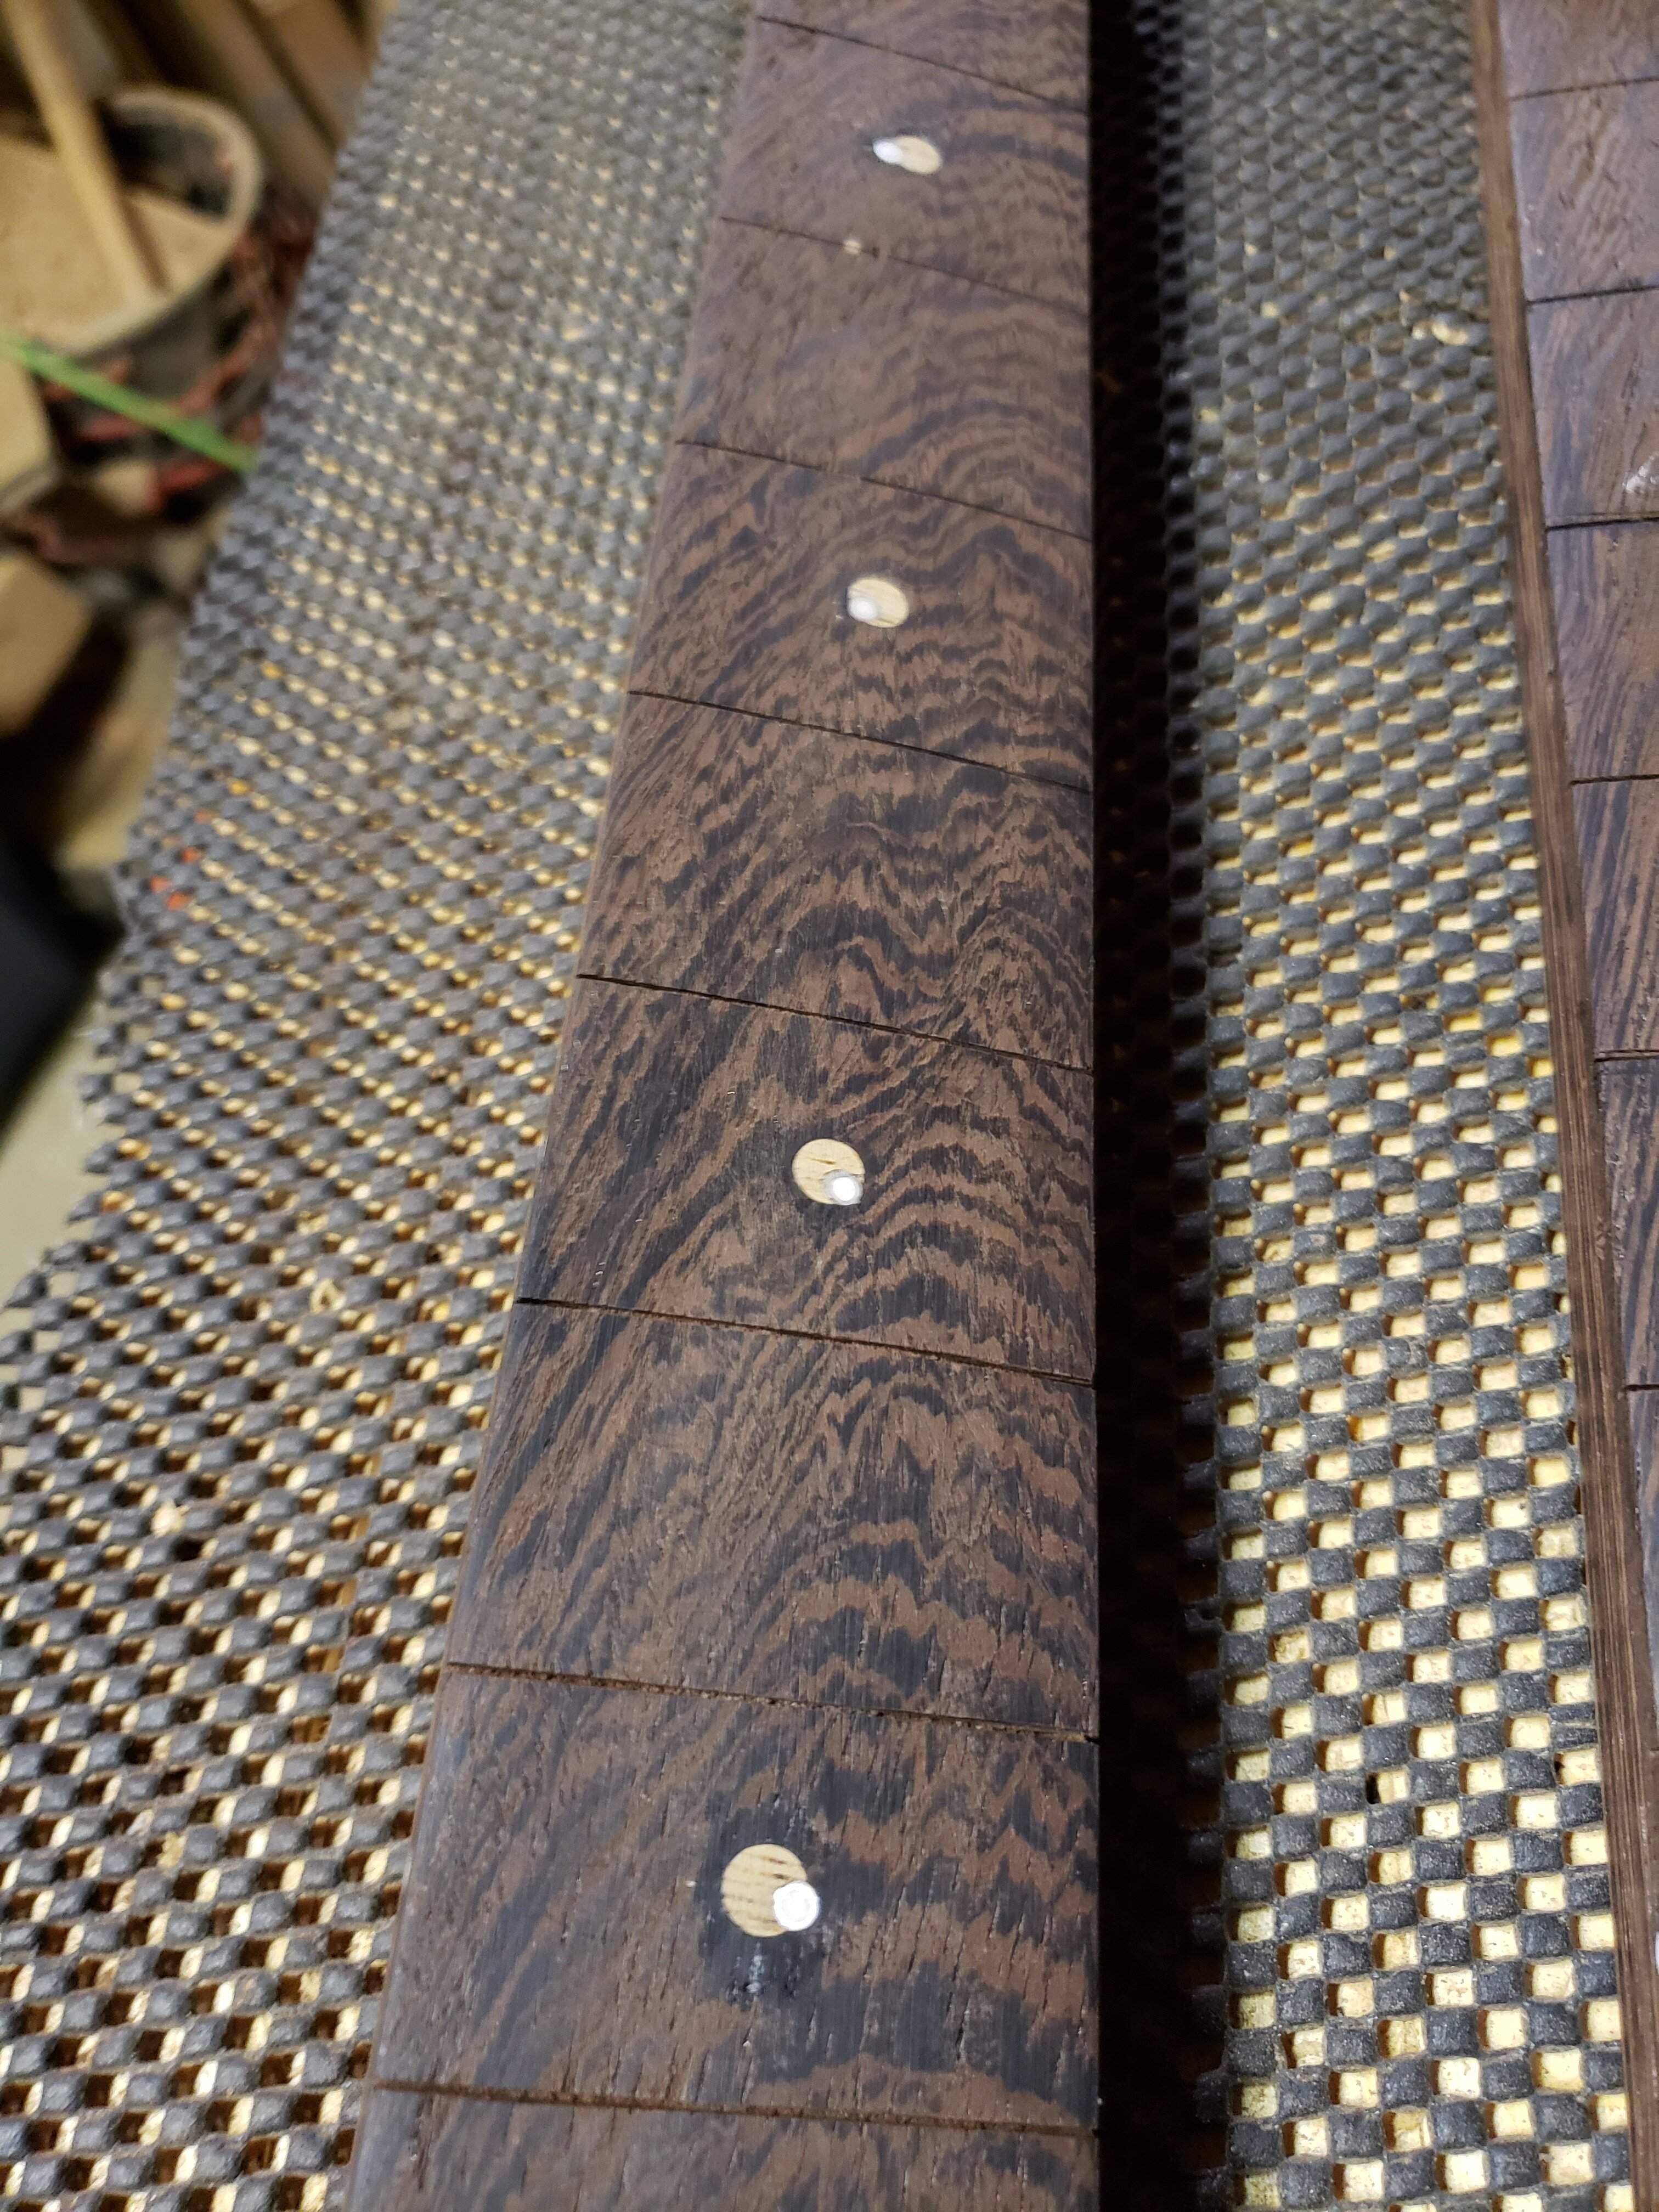 ...the idea was that the small dots would loook like a moon orbiting a planet. I don't really like the way it turned out.
I almost finished the side dots...
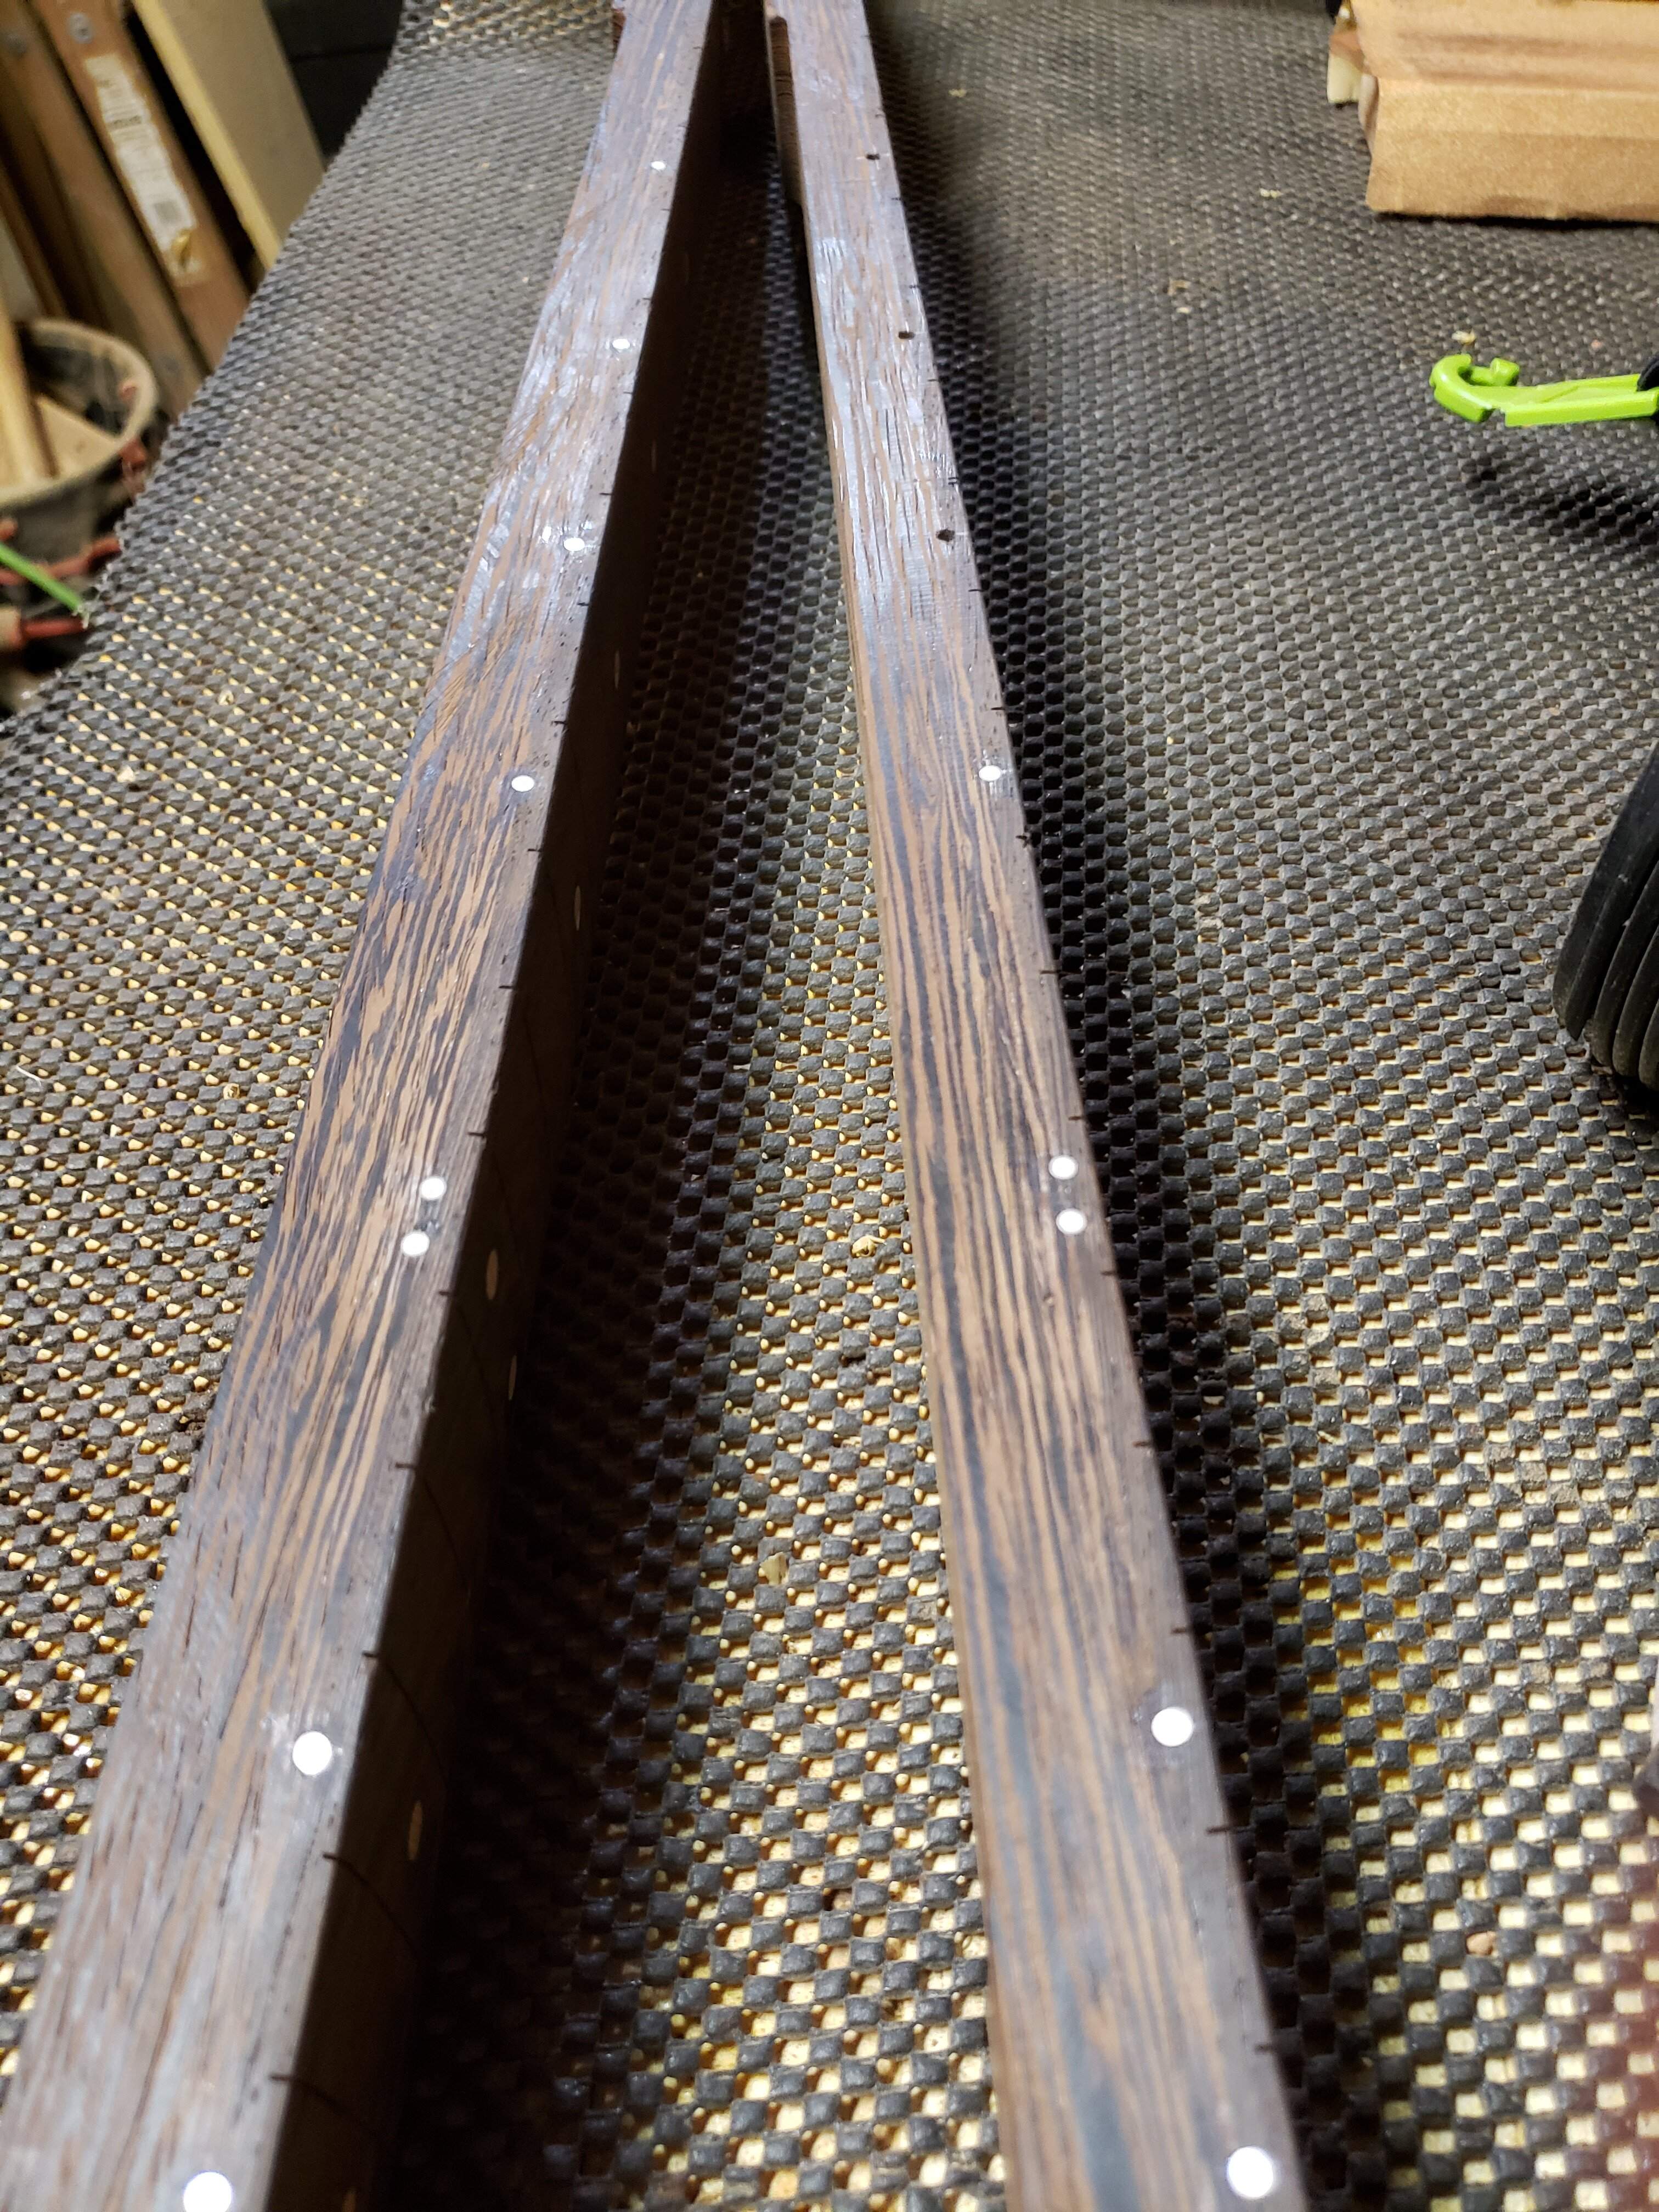 ...I ran out of side dot material with 3 left to go. If I hadn't done the "moons" on the face dots...
I'll set the necks aside and work on the bodies until I get more side dot material.
Just for fun...
 ...here's my dog creeping, at my shop this time.
...tried to do a thing with the face dots...
I almost finished the side dots...
I'll set the necks aside and work on the bodies until I get more side dot material.
Just for fun...

Face dots are finished...
View attachment 4783848
...tried to do a thing with the face dots...
View attachment 4783849 ...the idea was that the small dots would loook like a moon orbiting a planet. I don't really like the way it turned out.
I almost finished the side dots...
View attachment 4783857 ...I ran out of side dot material with 3 left to go. If I hadn't done the "moons" on the face dots...
I'll set the necks aside and work on the bodies until I get more side dot material.
Just for fun...
View attachment 4783858 ...here's my dog creeping, at my shop this time.
Nice work! I like the idea of the little moon-orbit dots. They just need a little bigger orbit, to make it more distinct. Maybe drill the little dots where they are and refill them with black material. Then put new white dots a little farther out. So it looks like a shadow on the surface of the main dot?
You need to practice staring back at your dog with an equally creepy look, until she blinks and looks away. You can play that game.
Nice work! I like the idea of the little moon-orbit dots. They just need a little bigger orbit, to make it more distinct. Maybe drill the little dots where they are and refill them with black material. Then put new white dots a little farther out. So it looks like a shadow on the surface of the main dot?
You need to practice staring back at your dog with an equally creepy look, until she blinks and looks away. You can play that game.
I like the shadow-of-the-moon idea, I'll have to try a few more samples before I pass on the idea.
Not sure I have the patience to stare down my dog!

FWIW we haven’t been able to have a dog for a couple of years and I miss having the old man (see my avatar) come out in the garage. He was typically good company and if I dropped something he immediately ran over and pointed it out so I could find it. Ok, ok, sometimes I had to get him to spit out whatever it was so I could have it back but, still….
Body work has re-commenced.
Forstnered the pick-up cavities...
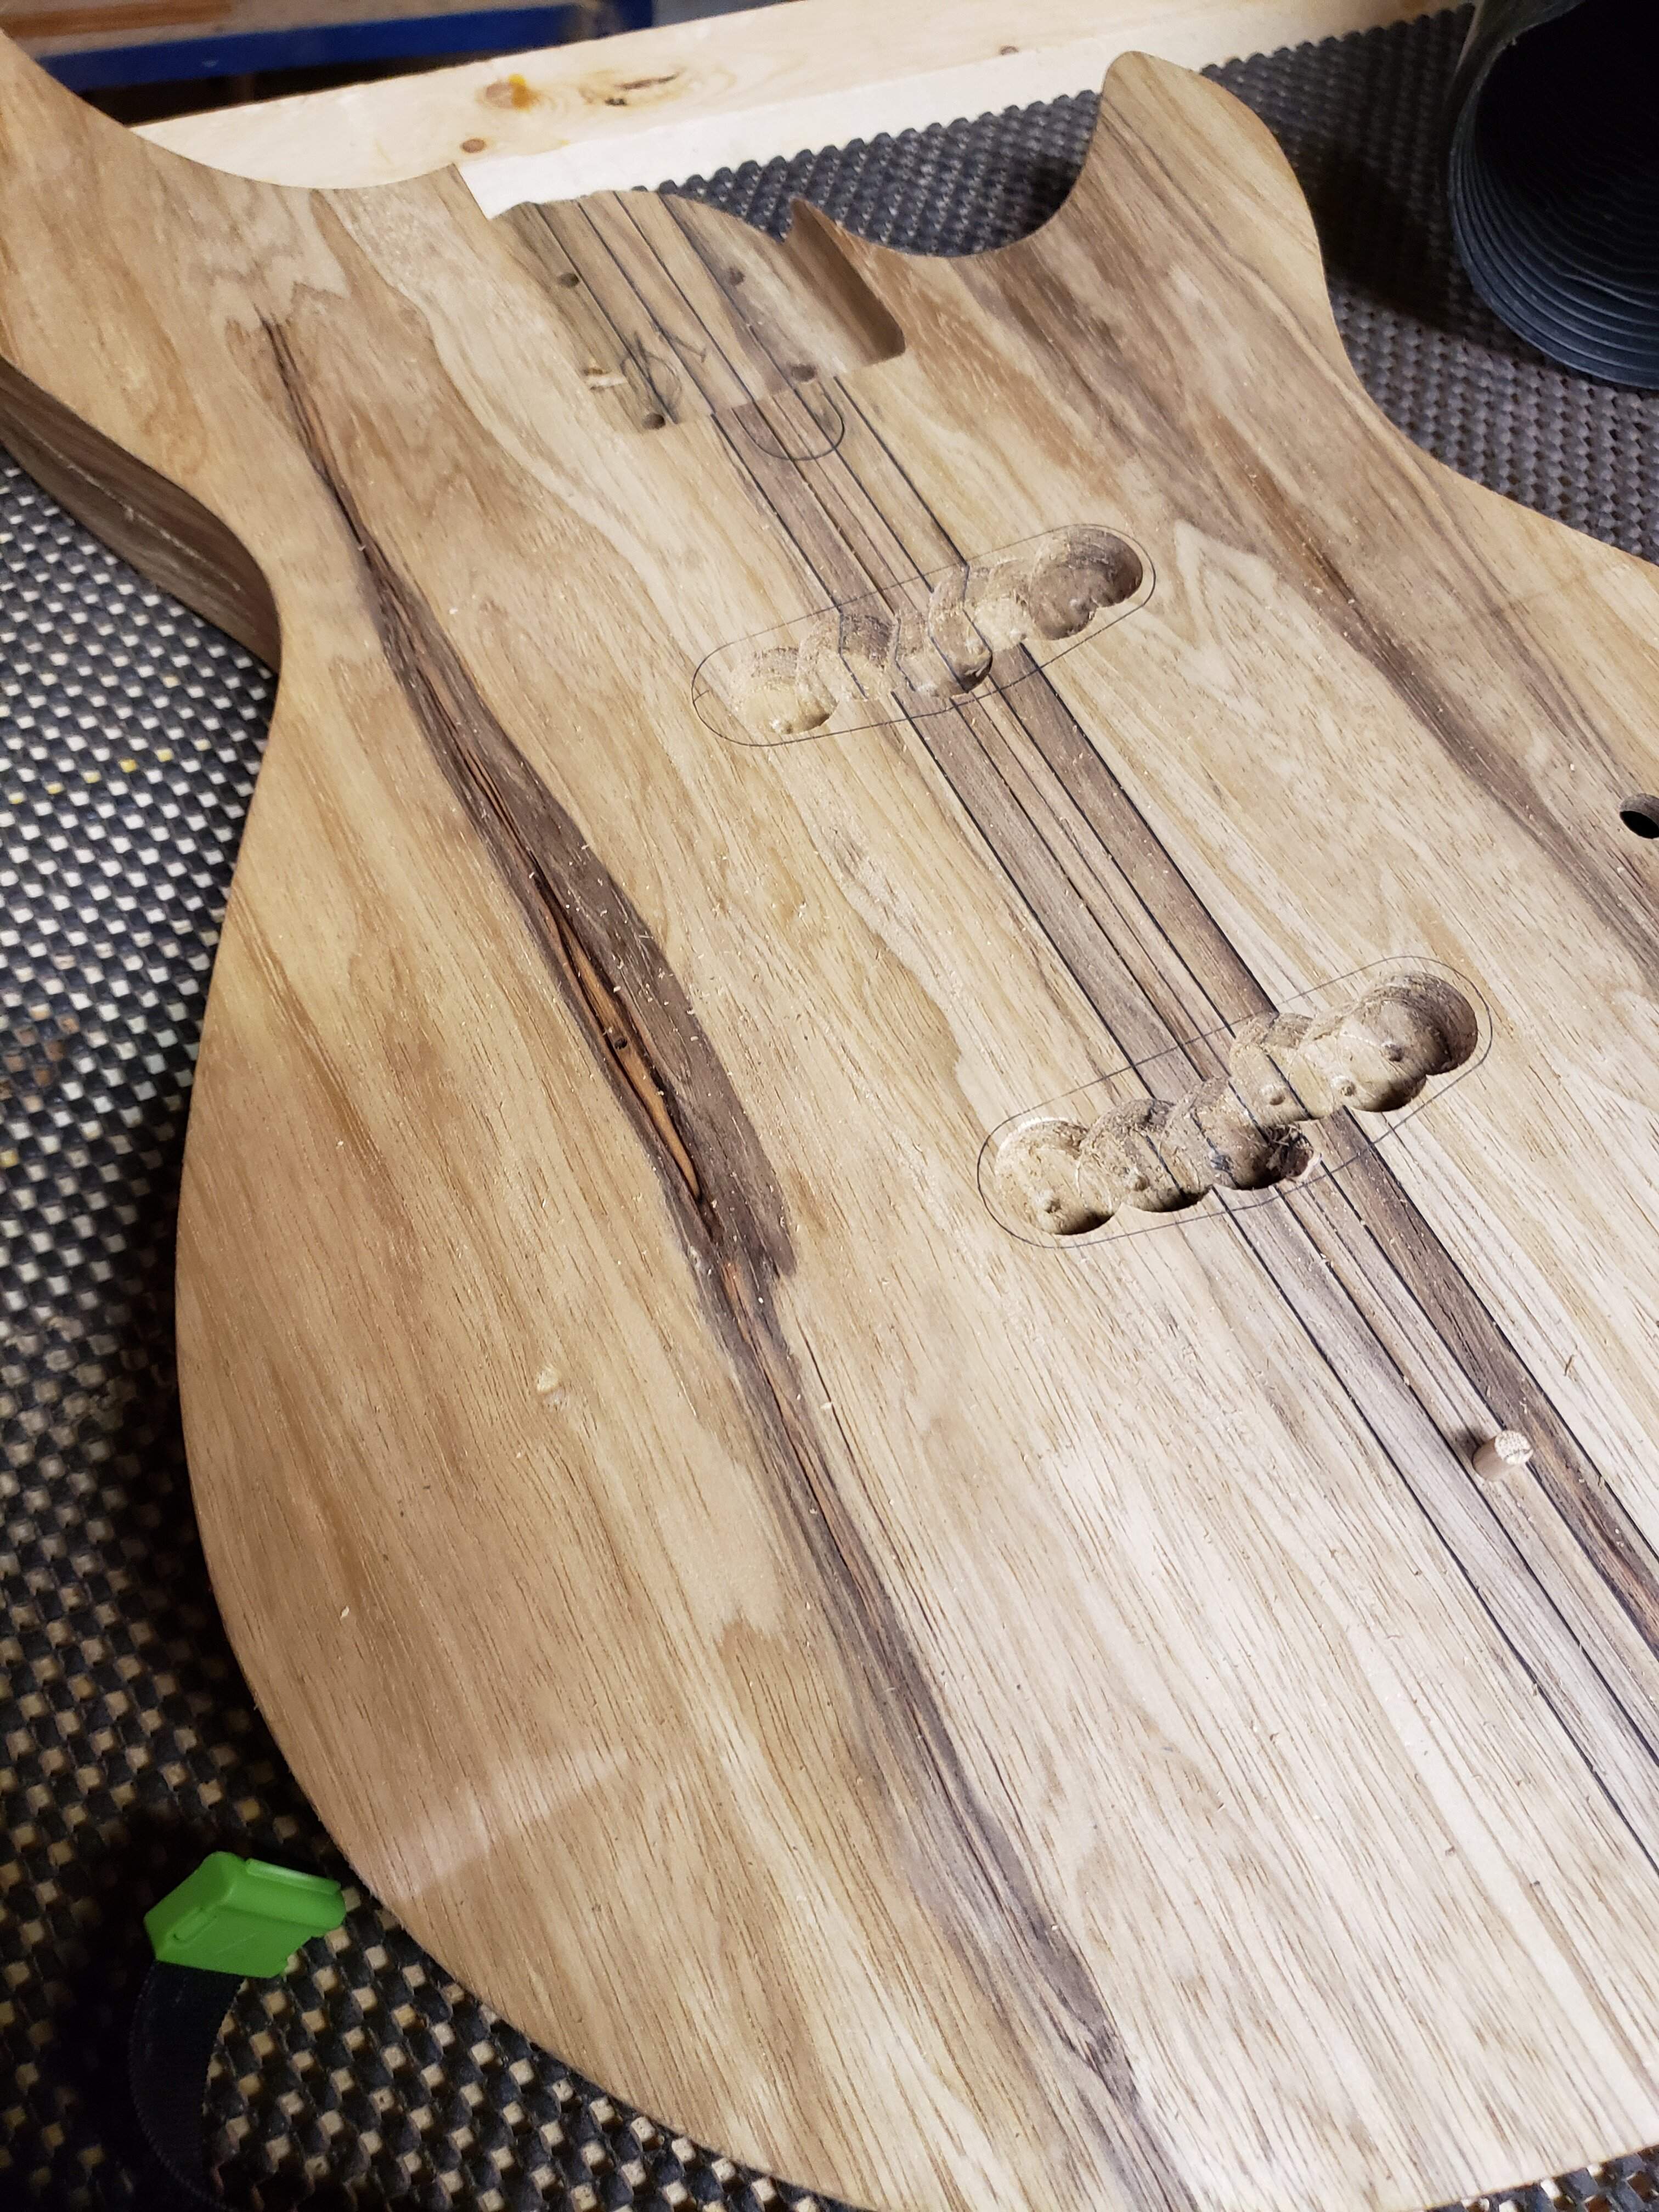
...and routed with a template bit, in the usual fashion.
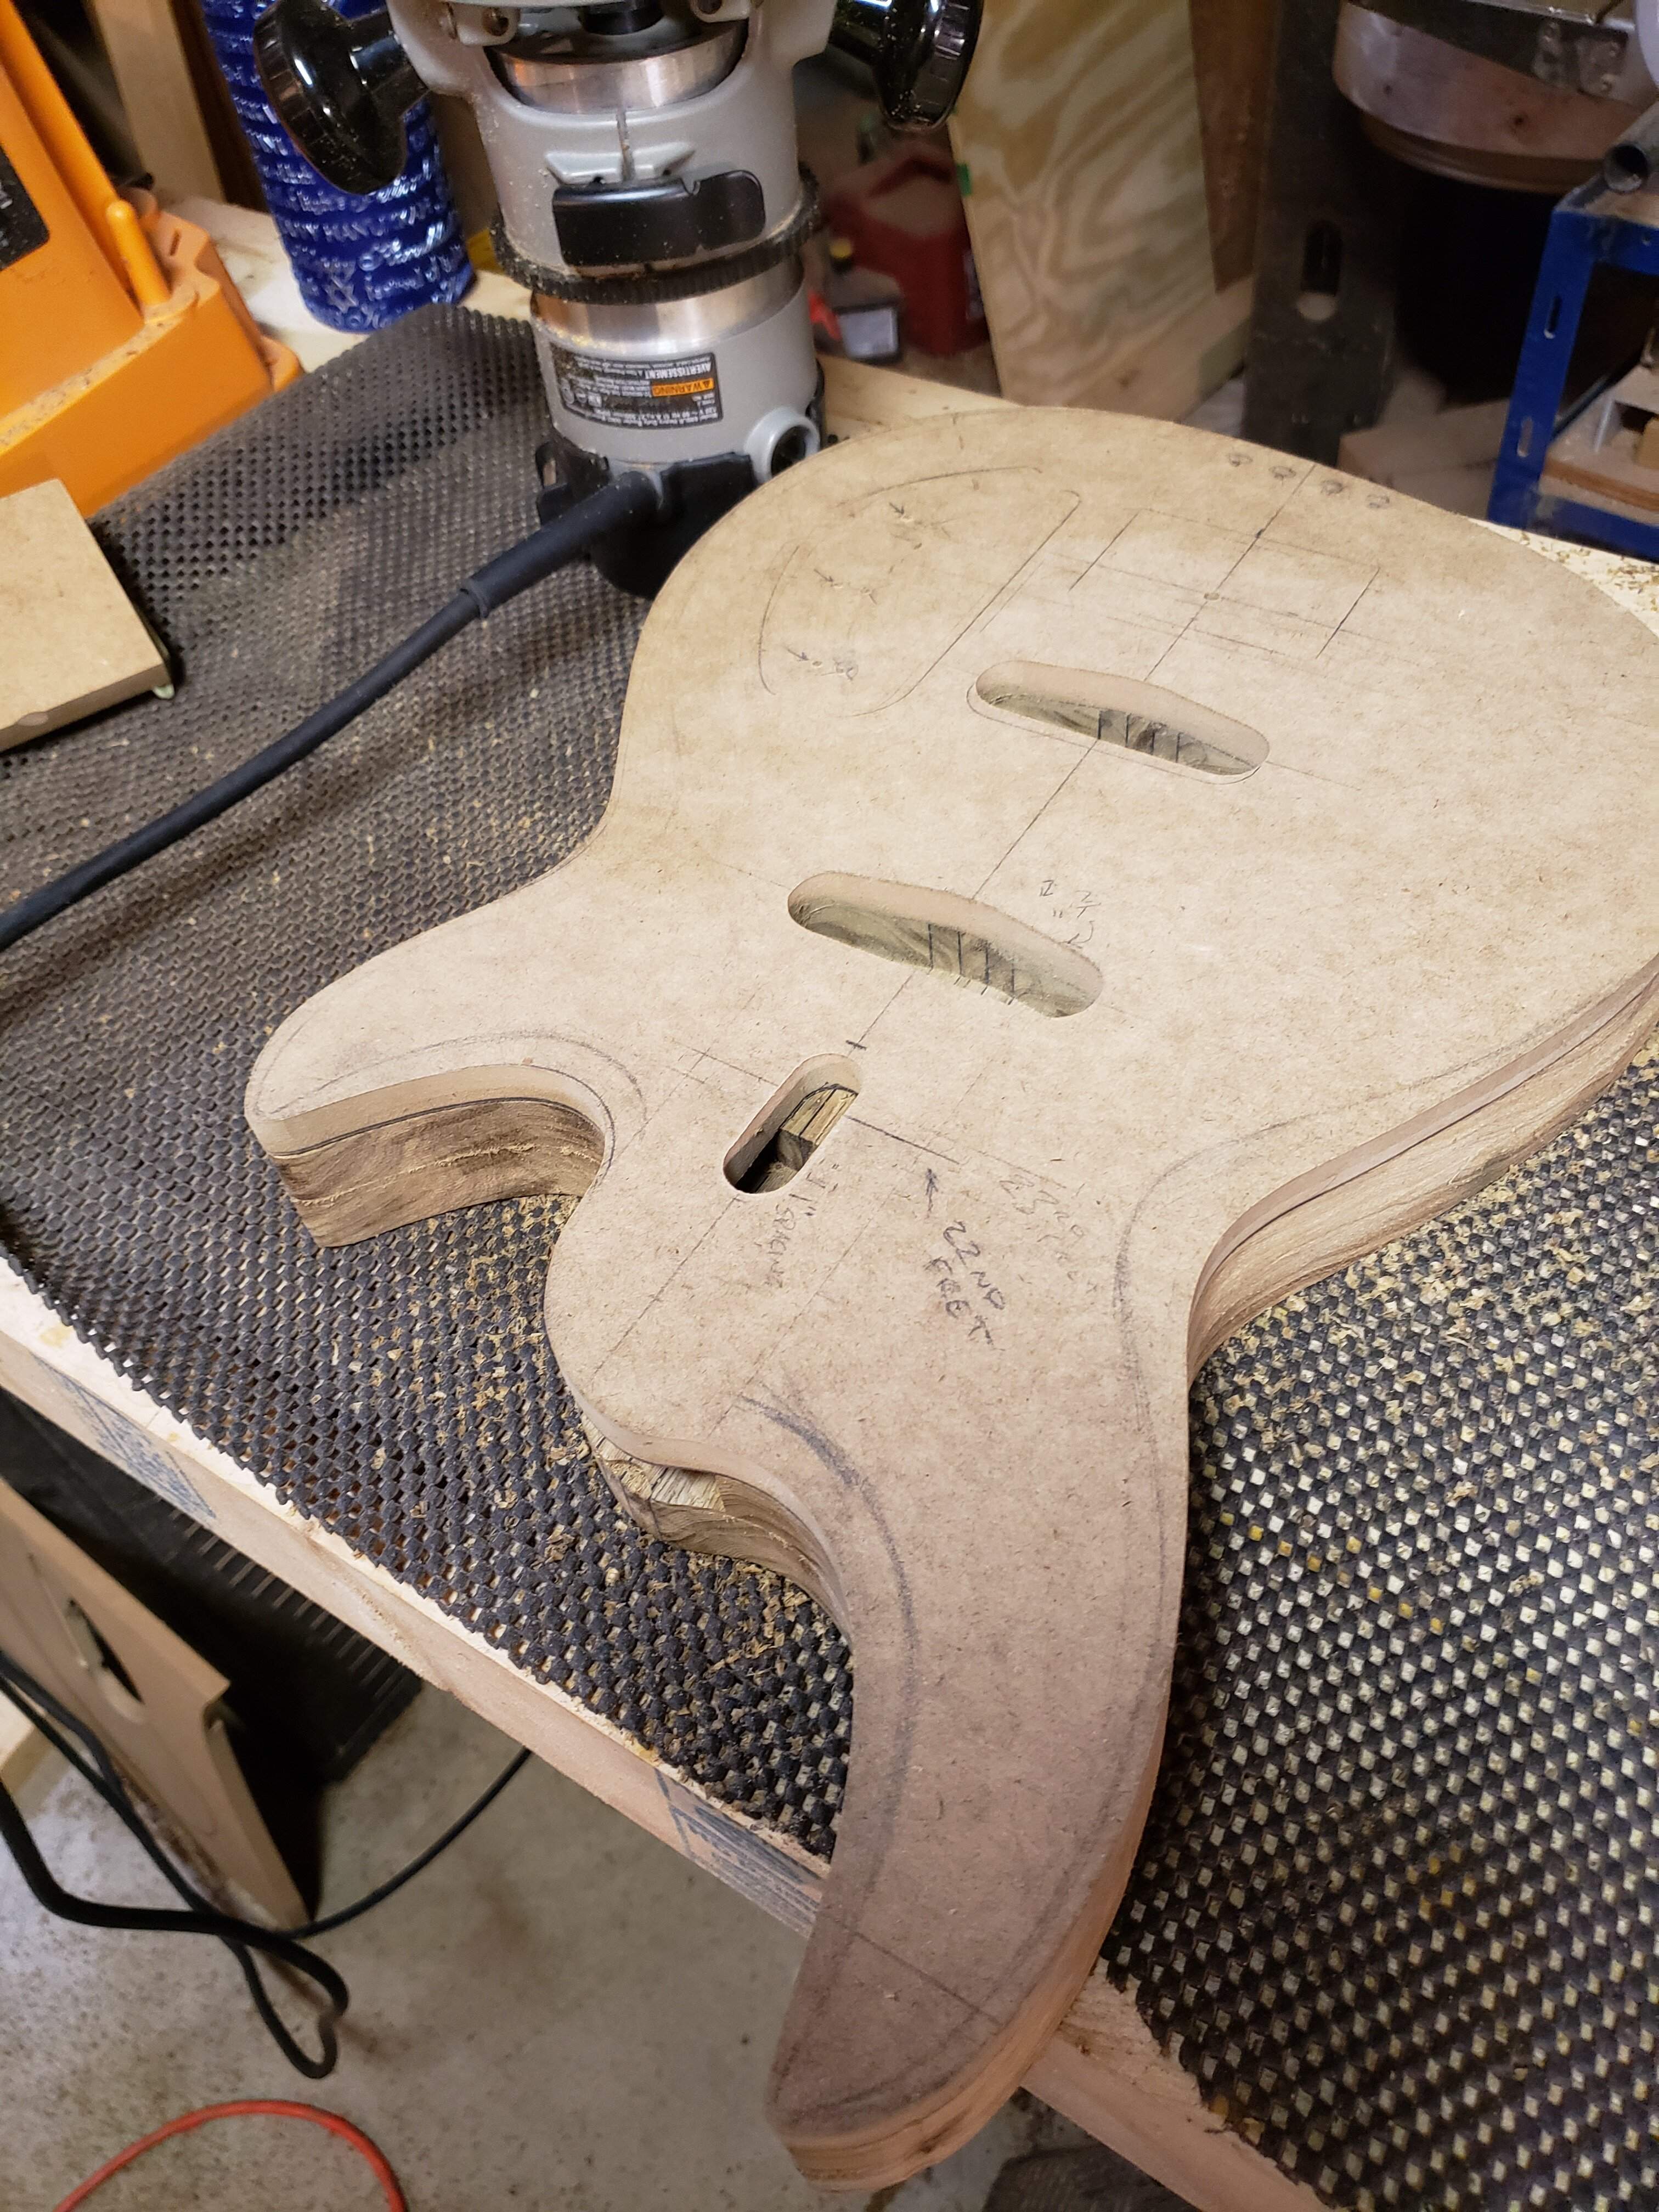
Drilled wiring channels...
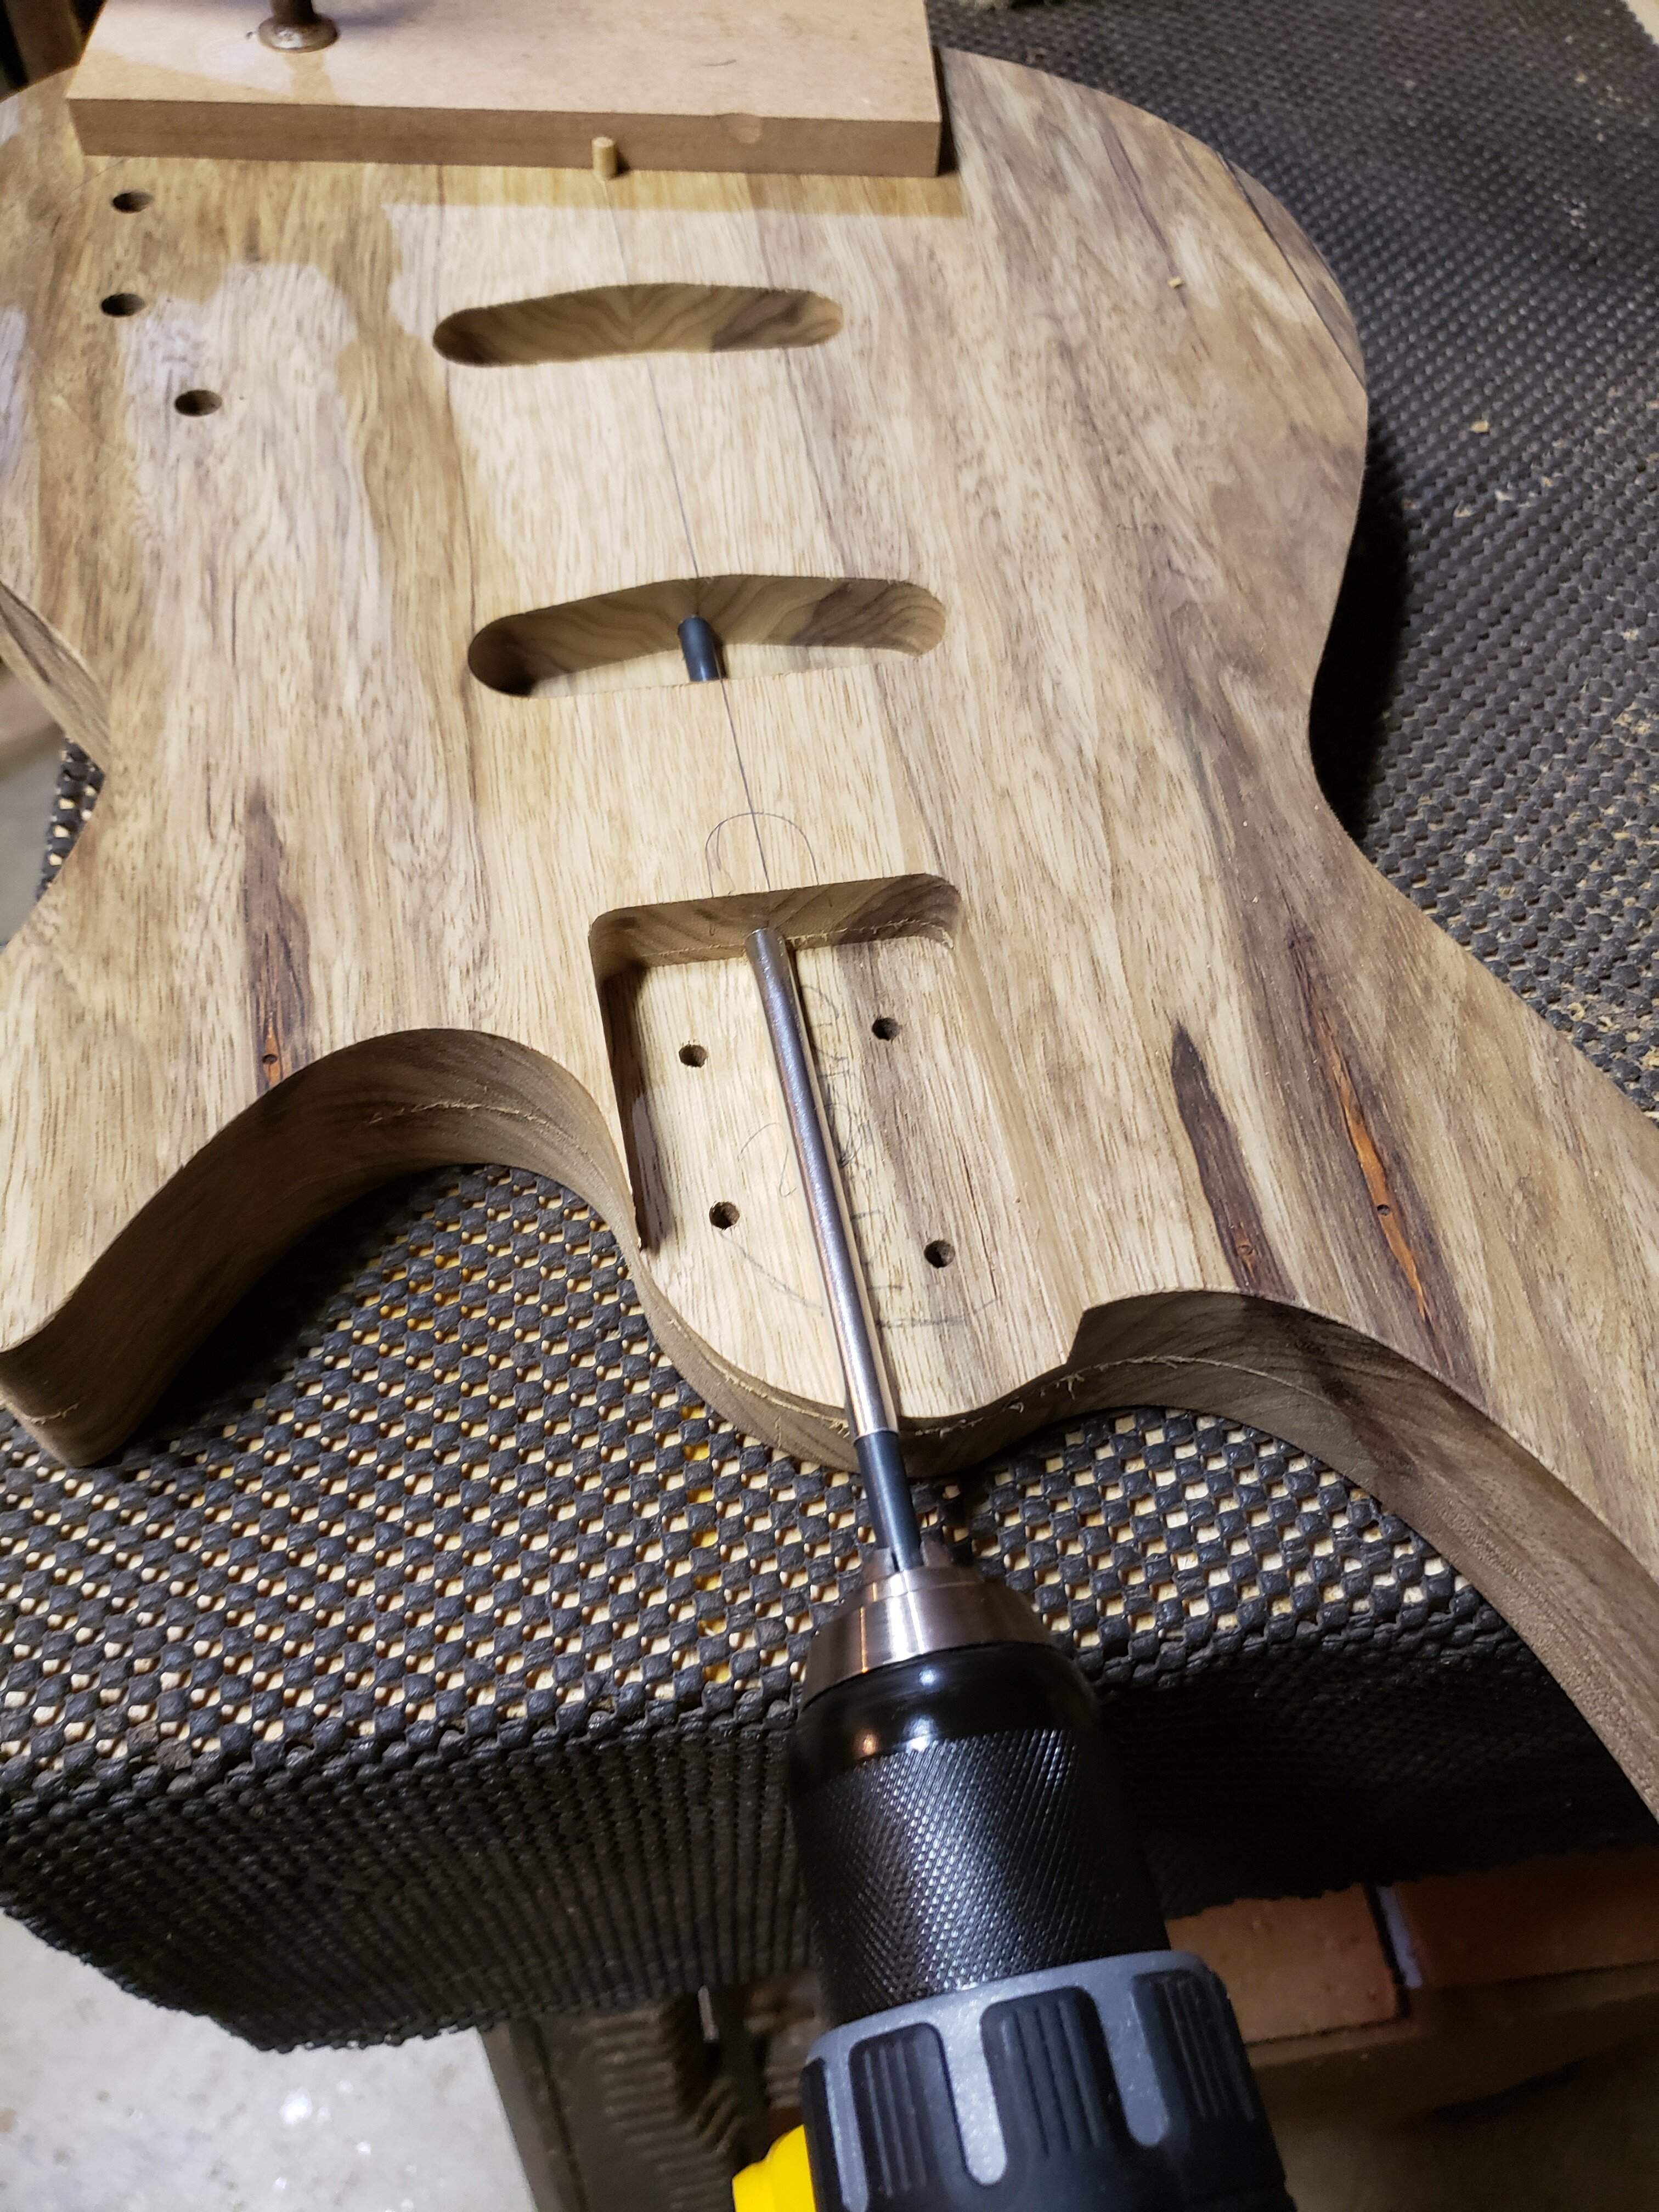
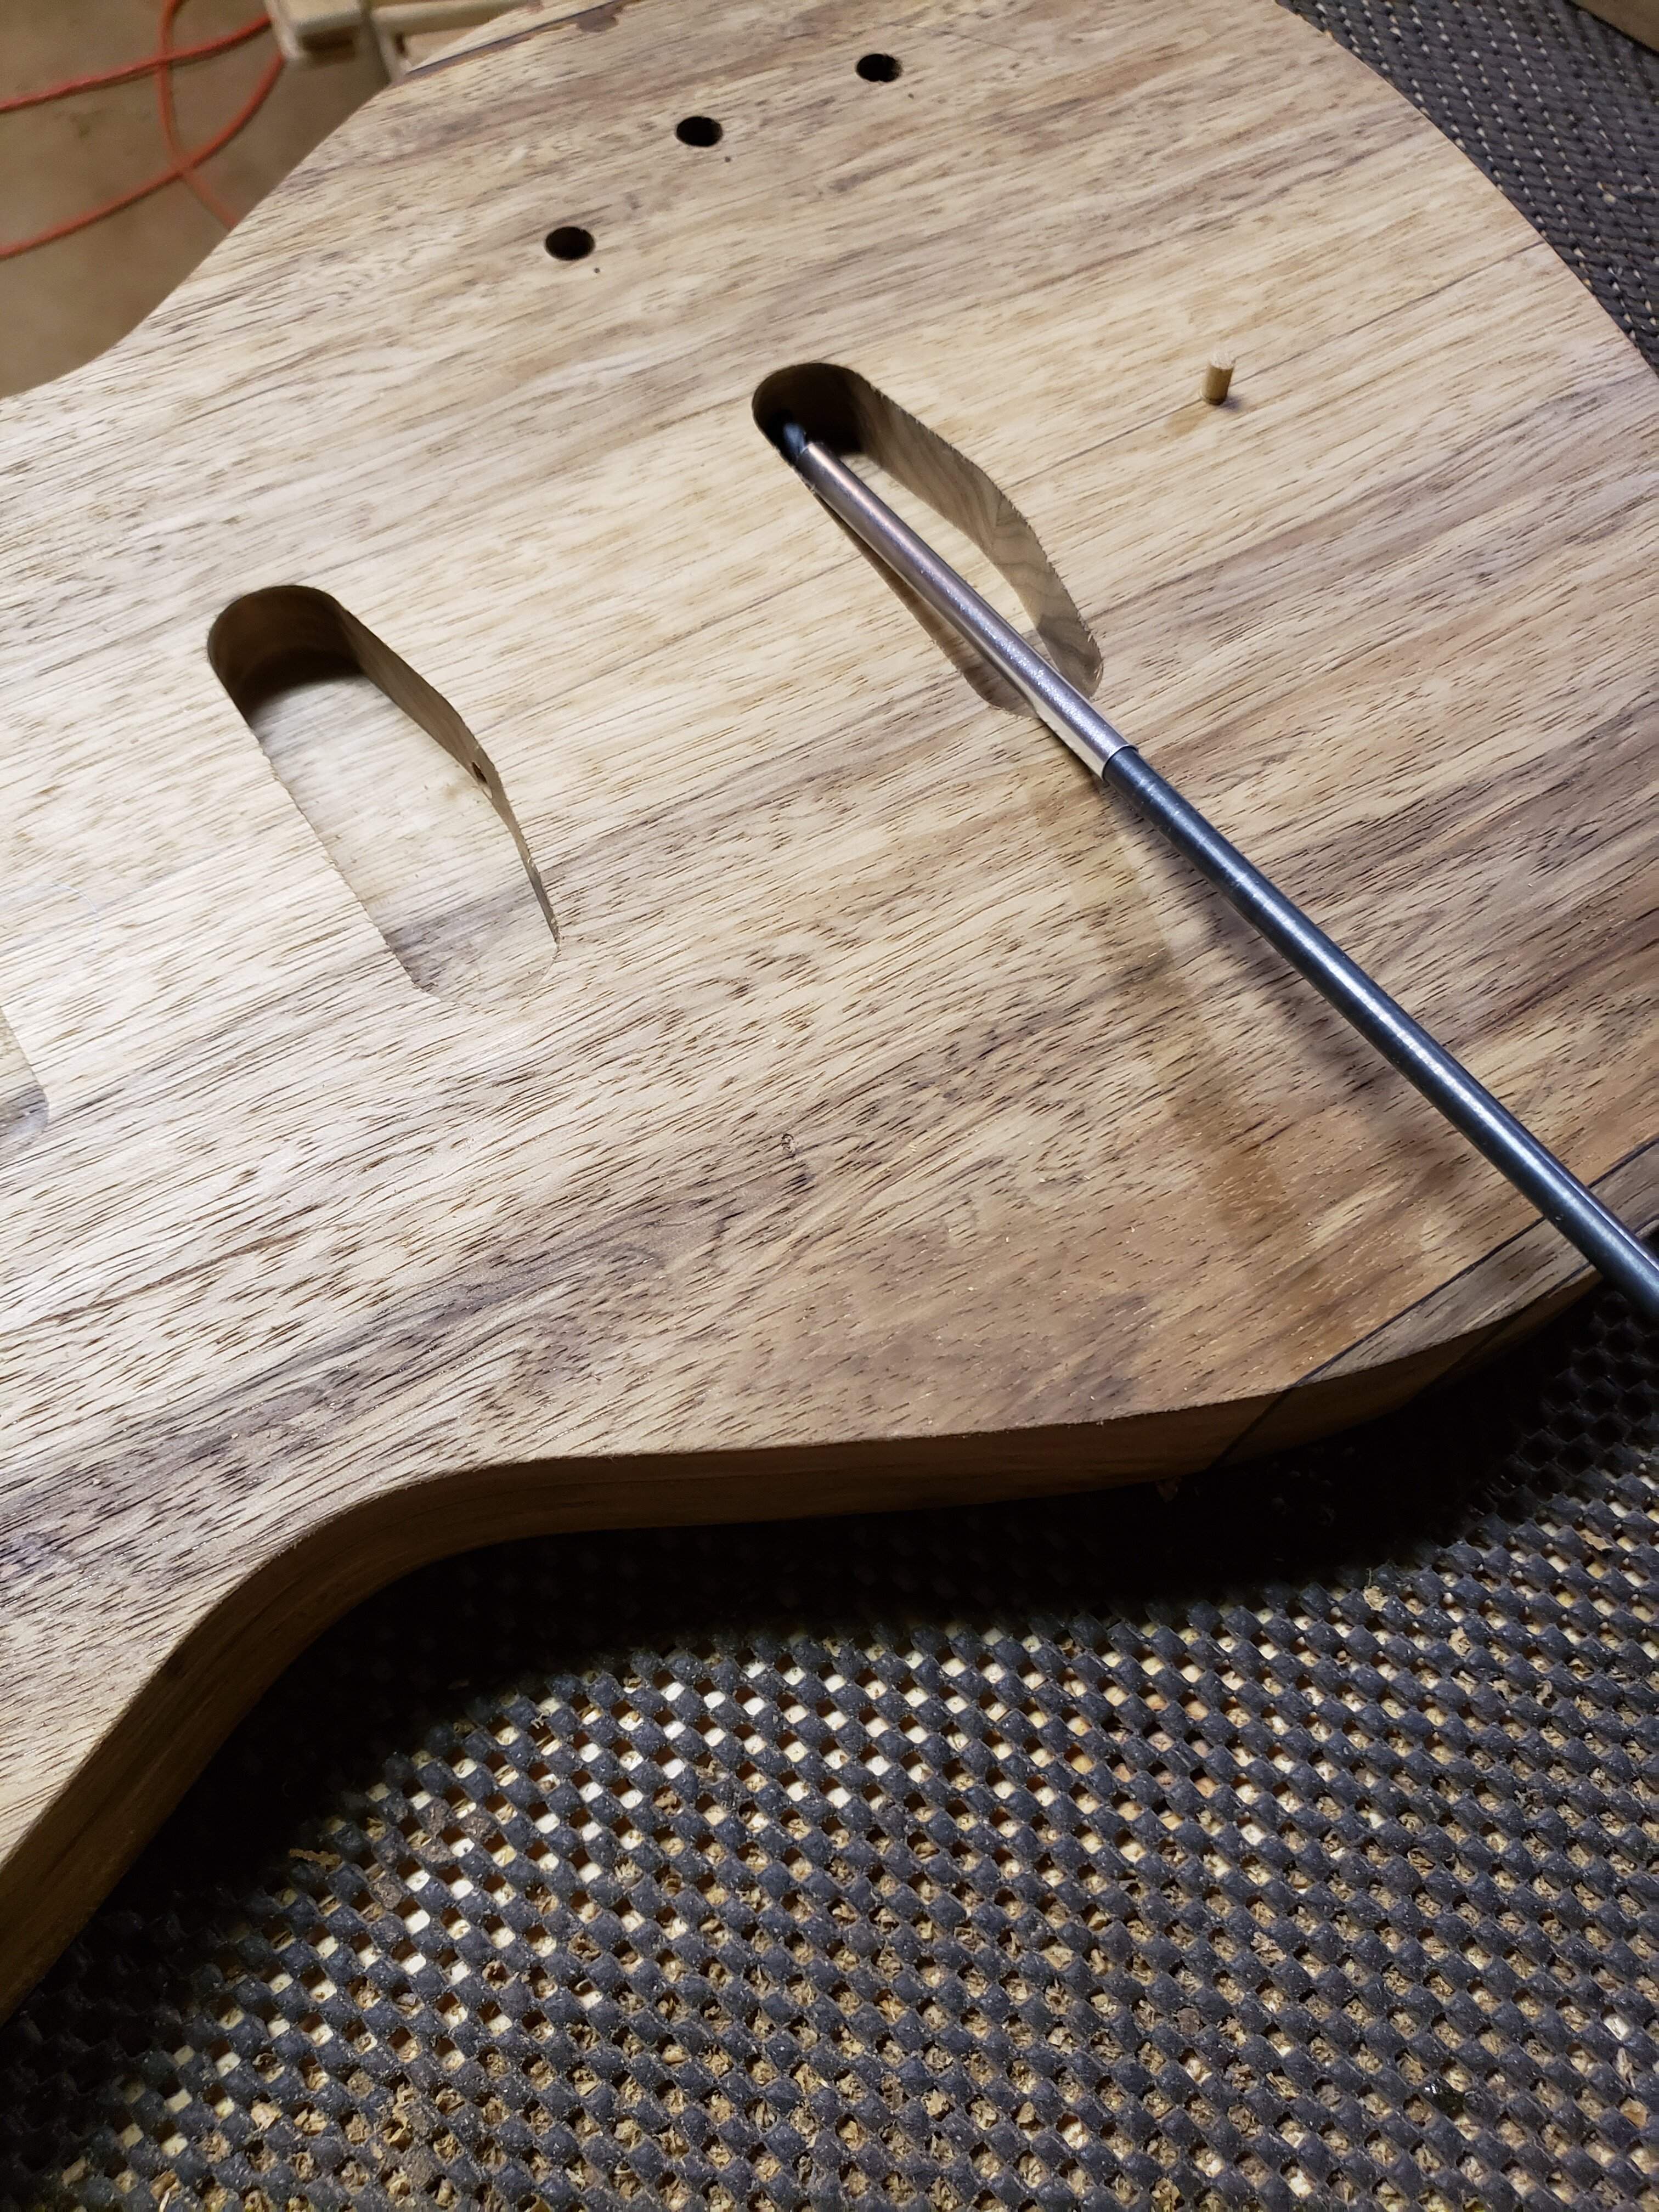
...and drilled through to the control cavity.
Using a guide bushing and the template, I routed for the truss rod access...
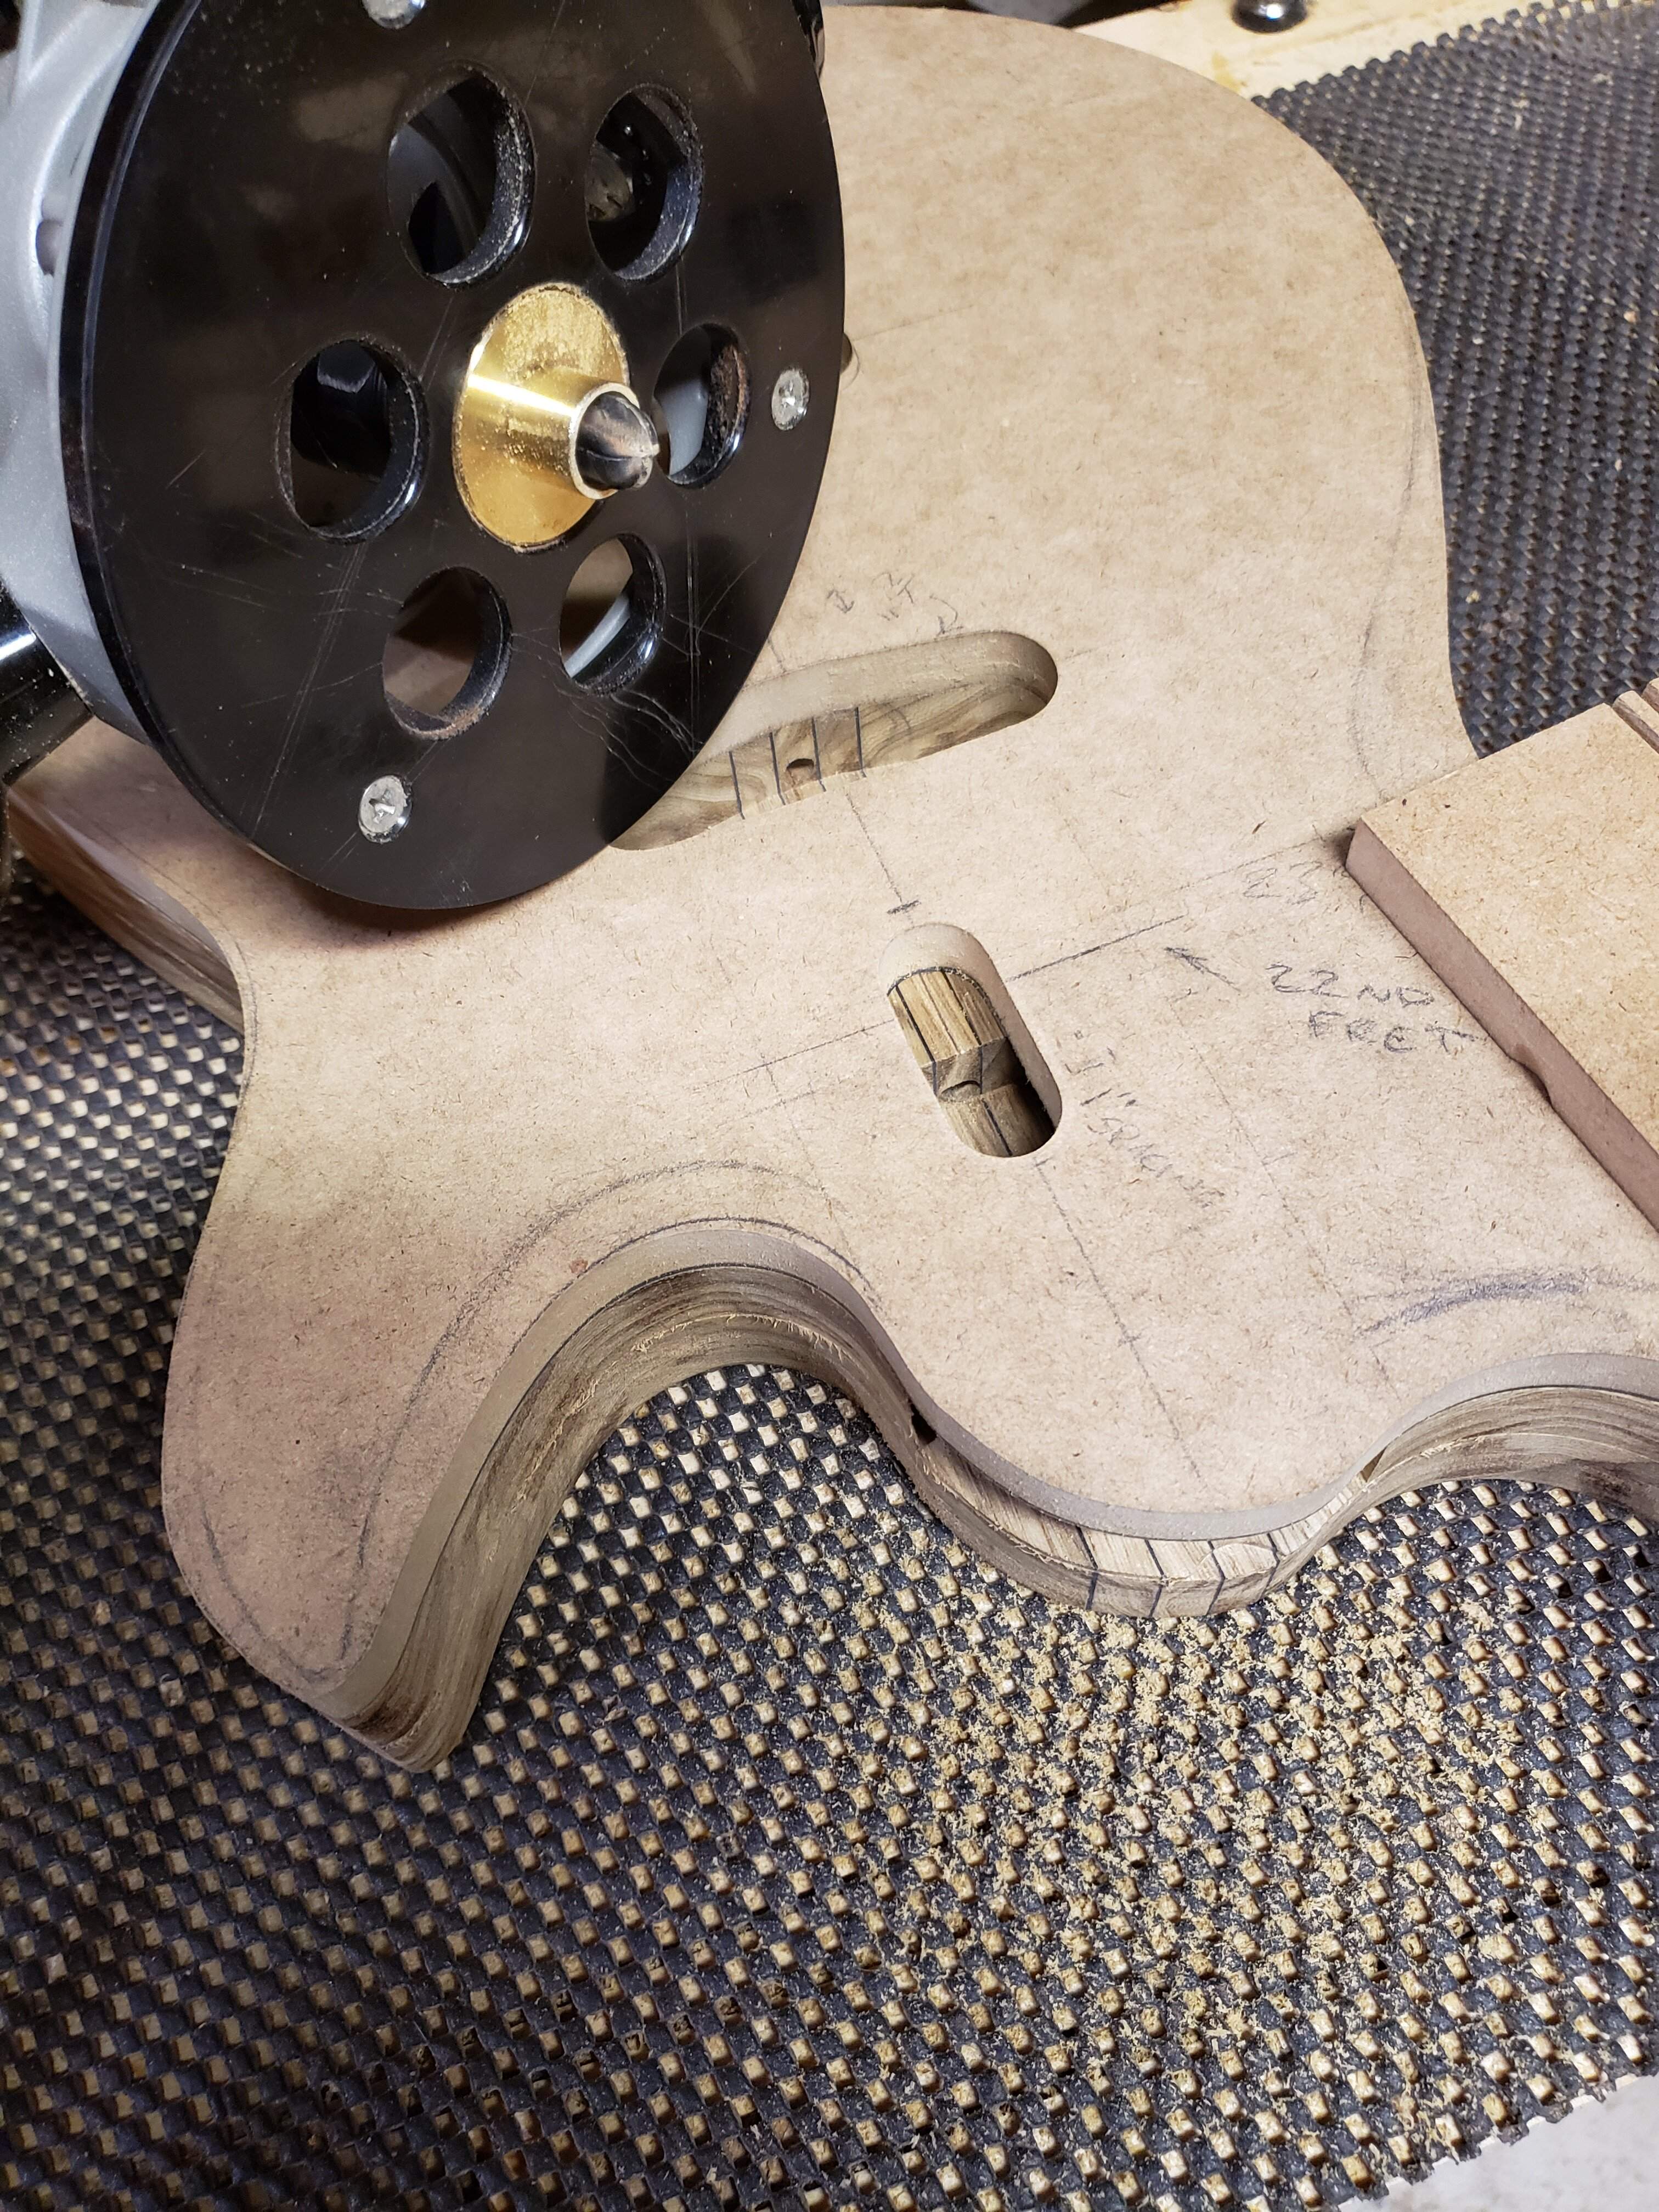
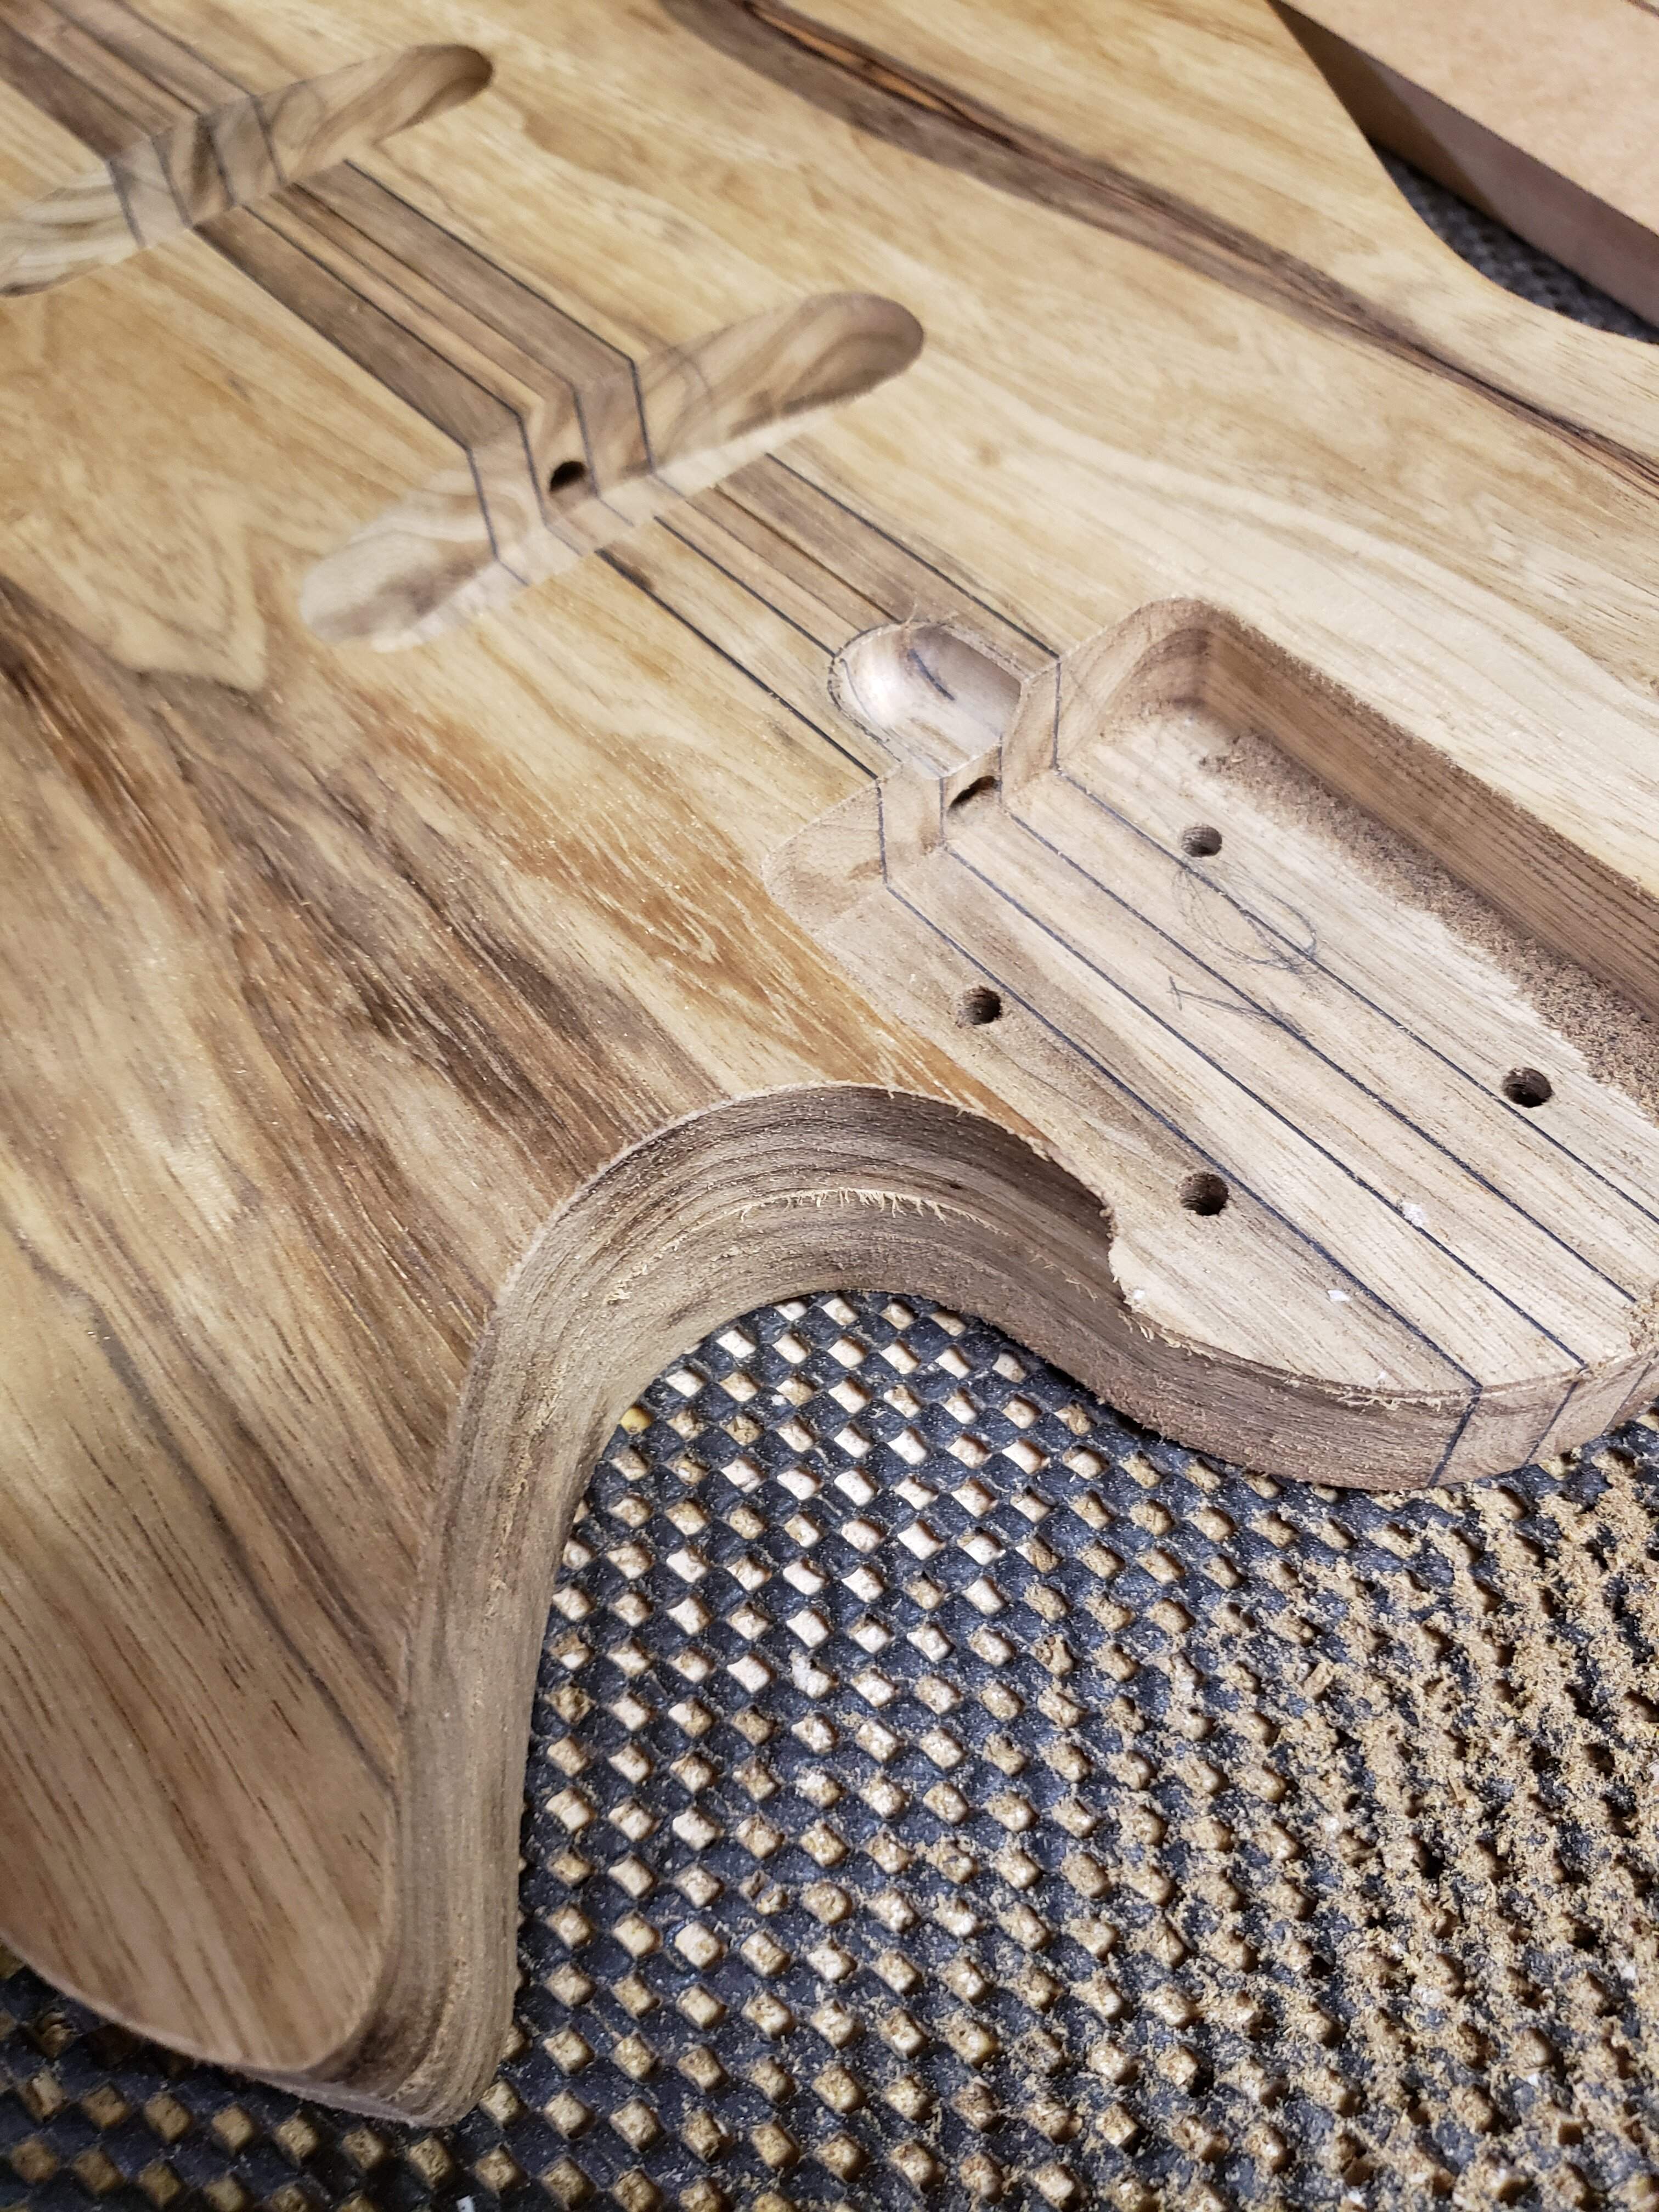 ...access granted.
Started the round-overs...
 ...using a 1/2" radius bit, stopping shy of a full round-over leaving a hard edge at the top.
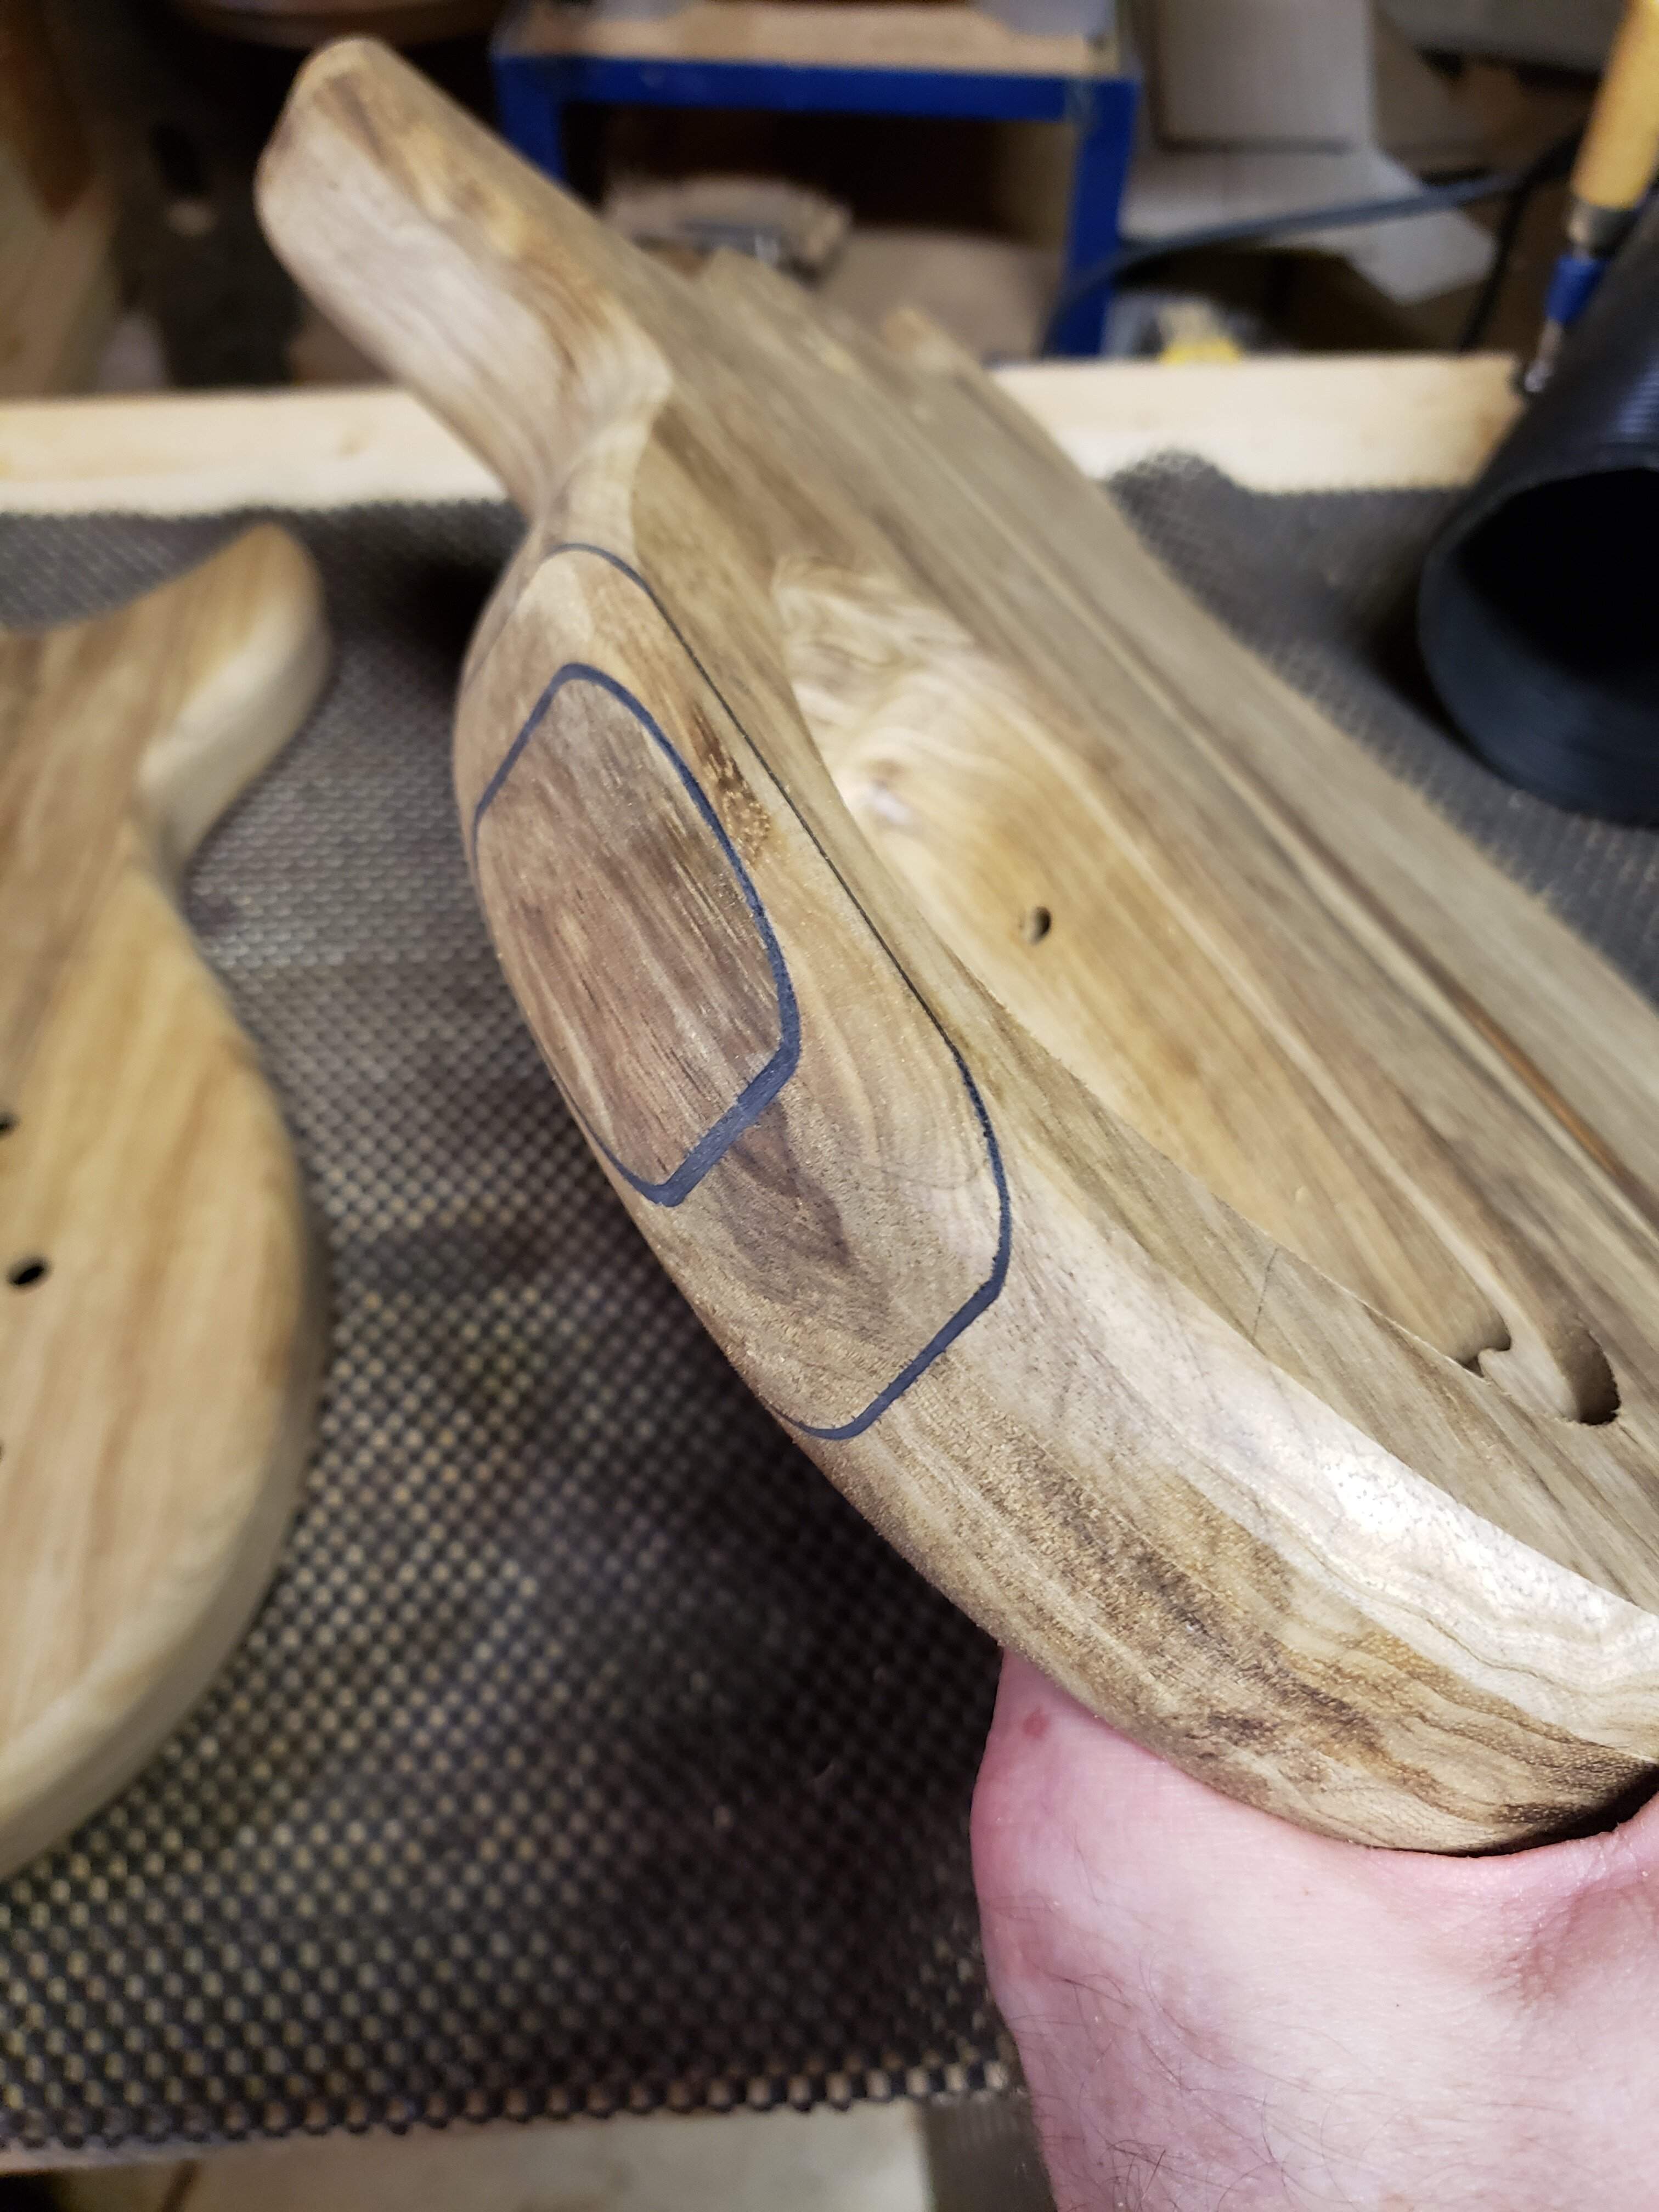 I'm liking this detail!
Forstnered the pick-up cavities...
...and routed with a template bit, in the usual fashion.
Drilled wiring channels...
...and drilled through to the control cavity.
Using a guide bushing and the template, I routed for the truss rod access...
Started the round-overs...
FWIW we haven’t been able to have a dog for a couple of years and I miss having the old man (see my avatar) come out in the garage. He was typically good company and if I dropped something he immediately ran over and pointed it out so I could find it. Ok, ok, sometimes I had to get him to spit out whatever it was so I could have it back but, still….
Is that a yellow lab? Great dogs! I had one years ago...
I used to have two boxers, but the old man "went off to college" a couple years ago. He was a sweet old boy and he could come in to the shop and be cool.
This one?! I have to watch her like a hawk! She will attempt to eat anything small enough and low enough to the ground! This includes, so far, a charcoal briquette (eaten), bits of wood (eaten), a rock (attempted) and even got a couple slurps of rum out of a glass when someone turned their back at the wrong time!

Very cool! Dual SCPB pickups?Body work has re-commenced.
Forstnered the pick-up cavities...
View attachment 4784048
...and routed with a template bit, in the usual fashion.
View attachment 4784049
Drilled wiring channels...
View attachment 4784050
...and drilled through to the control cavity.
View attachment 4784051
Using a guide bushing and the template, I routed for the truss rod access...
View attachment 4784052
View attachment 4784053 ...access granted.
Started the round-overs...
View attachment 4784054 ...using a 1/2" radius bit, stopping shy of a full round-over leaving a hard edge at the top.
View attachment 4784055 I'm liking this detail!
Cool. There’s a builder I follow on social media who does that a lot, and it sounds great. They liked it so much I think they made it the standard pickup compliment on one of their models.Yup!
Do you have a RWRP pair (a la single coil jazz bass), or will each pickup be hum cancelling?
Last edited:
Is that a yellow lab? Great dogs! I had one years ago...
I used to have two boxers, but the old man "went off to college" a couple years ago. He was a sweet old boy and he could come in to the shop and be cool.
This one?! I have to watch her like a hawk! She will attempt to eat anything small enough and low enough to the ground! This includes, so far, a charcoal briquette (eaten), bits of wood (eaten), a rock (attempted) and even got a couple slurps of rum out of a glass when someone turned their back at the wrong time!
He was Lab and Visla (might have spelled that wrong) hound. We had his mom too. He was a good dog. A spaz until he was about 4 but smart and obedient. Oddly, didn’t like getting in the water, say a lake or creek, but would spend all day “attacking” the sprinkler.
The bodies look good. I like the black veneer accents. On the pickup wire drilling, that sleeve covers the shank on the aircraft bit and keeps it from marking the body? Very creative. I like and may steal it.
Latest posts
-

-

-
 Post a funnier picture than the one above - Parallel Universe Edition
- Latest: Just go for it
-

-