
Enjoy the benefits of a premium membership!
Upgrade Account
-
TalkBass has been independent since 1998. Add your voice.
Create a free account to reply to discussions, view embedded media, and browse with fewer display ads.
Join free Log in
Want zero display ads or expanded classifieds tools? Compare plans.
You are using an out of date browser. It may not display this or other websites correctly.
You should upgrade or use an alternative browser.
You should upgrade or use an alternative browser.
SBO24 - Yewphoria
- Thread starter smart51
- Start date
More options
Who Replied?



Yew guys need to cool it with the puns. I love yew though. Apparently the purple streaks are where it's come into contact with metal at some point in the trees life.
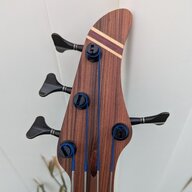
How well does the yew keep its color long term? I don't have any experience with it. I've used mineral stained poplar (my work bench is made of it, if you watch my build thread) but it lost it's color pretty quickly.
This is how the headstock looks after the repairs.
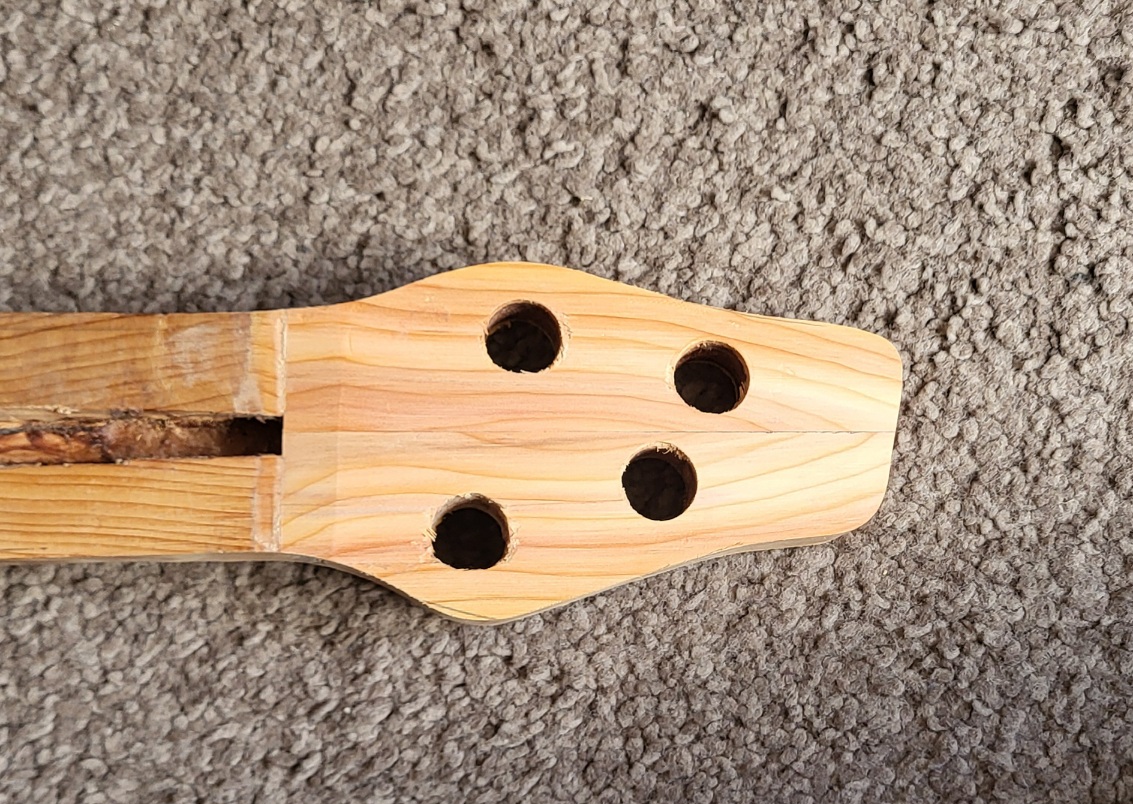
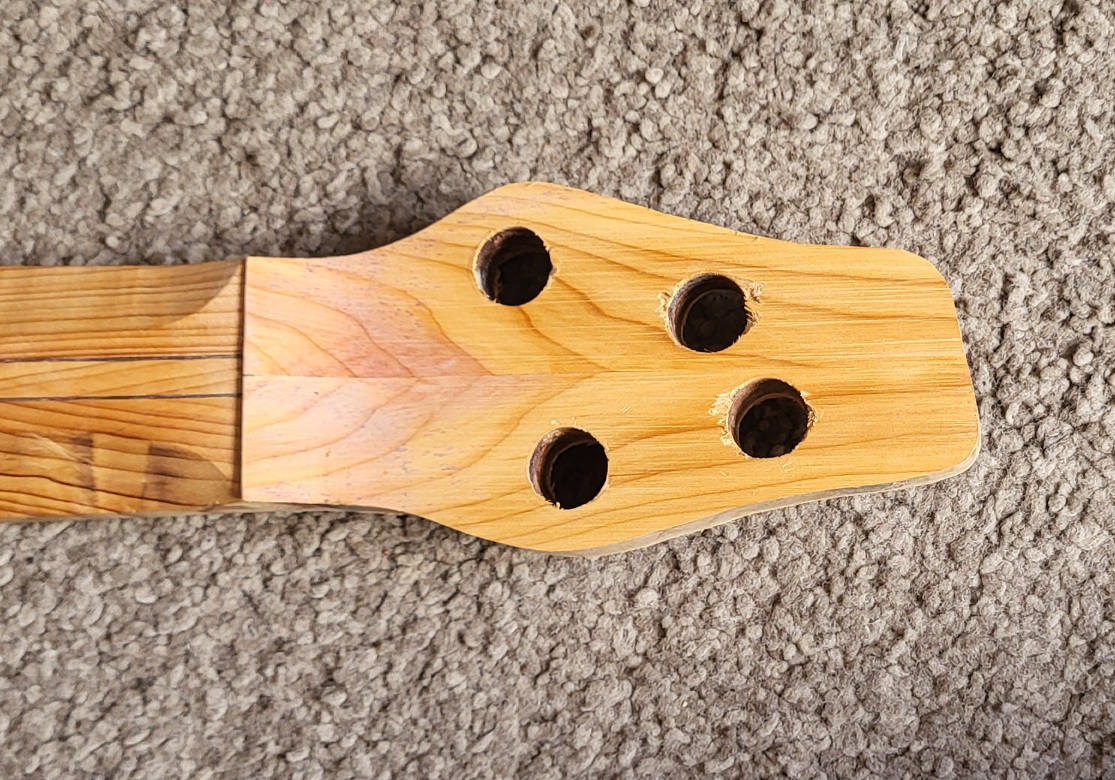
How many mistakes have you made on one job? It started out with a table saw indiscretion, which I fixed by completing the cuts and gluing on new bits with veneer pin stripes.
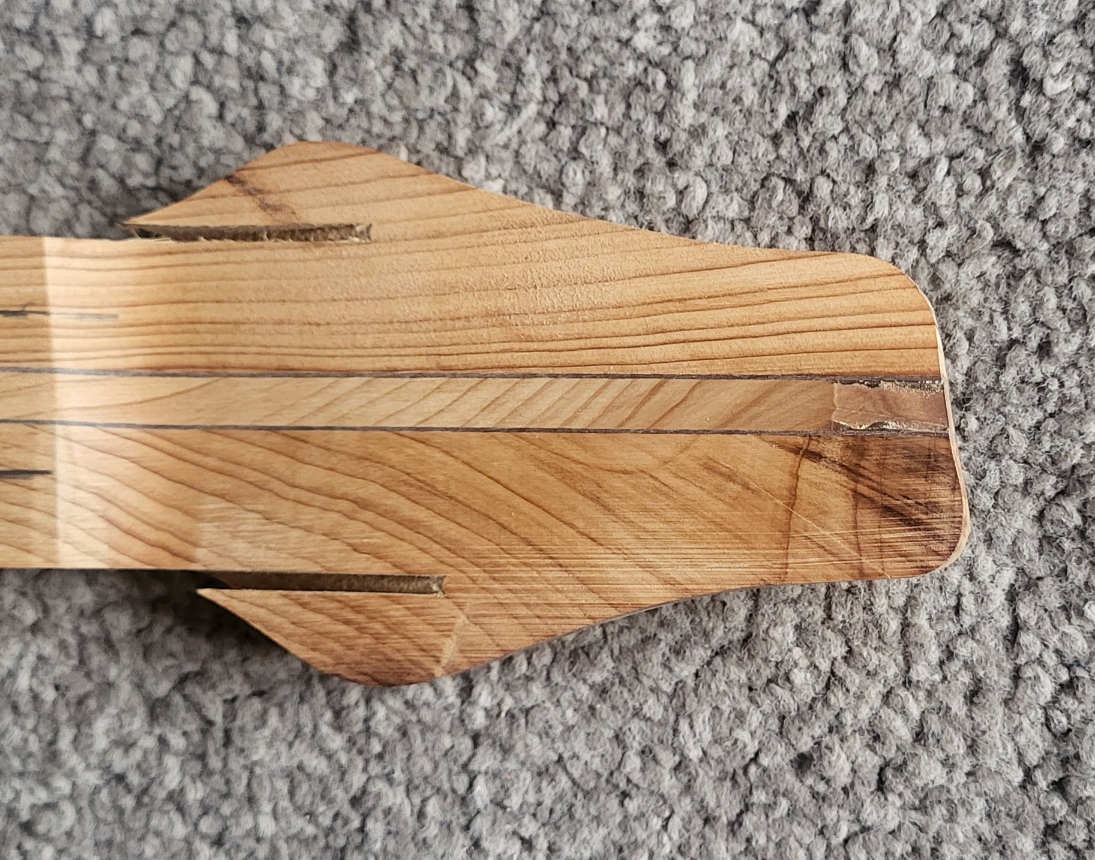
I planed the back of the headstock and pulled out a chunk of the centre stripe at the end. Then I messed up routing the truss rod acces and continued by drilling out the truss rod access badly and messing up the front. Then drilling further and coming out the back. Then I drilled out the machine head holes to 16mm instead of 14mm. The tuner holes were plugged and redrilled. The rear hole was opened out, plugged and covered with veneer, as was the front. It will be fine, but it took time to get here.
How many mistakes have you made on one job? It started out with a table saw indiscretion, which I fixed by completing the cuts and gluing on new bits with veneer pin stripes.
I planed the back of the headstock and pulled out a chunk of the centre stripe at the end. Then I messed up routing the truss rod acces and continued by drilling out the truss rod access badly and messing up the front. Then drilling further and coming out the back. Then I drilled out the machine head holes to 16mm instead of 14mm. The tuner holes were plugged and redrilled. The rear hole was opened out, plugged and covered with veneer, as was the front. It will be fine, but it took time to get here.
Last edited:
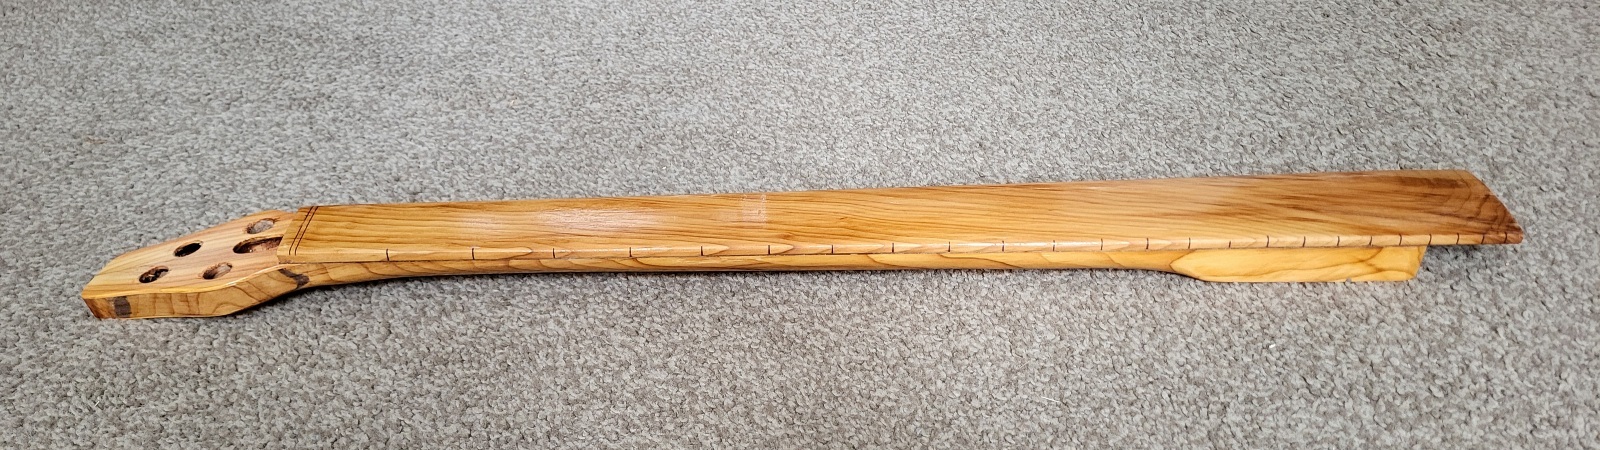
The neck has a coat of varnished, which I've lightly sanded to denib. The pinstripe between neck and fingerboard is subtle. But will be visible when playing. Somehow I glued the fingerboard on 5mm too close to the headstock. I can move the bridge to match but the pickups will have to stay where they are.
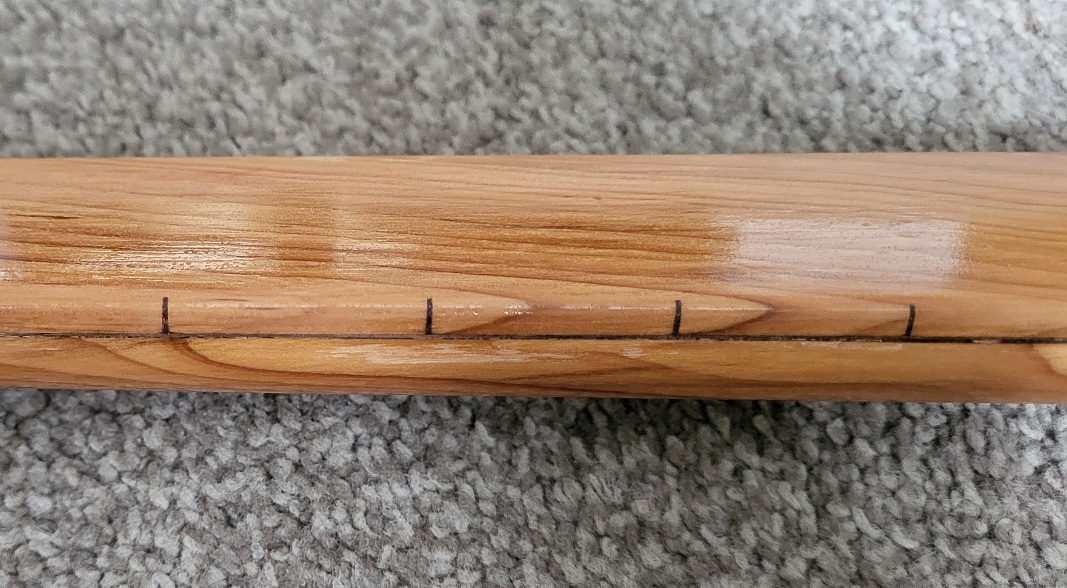
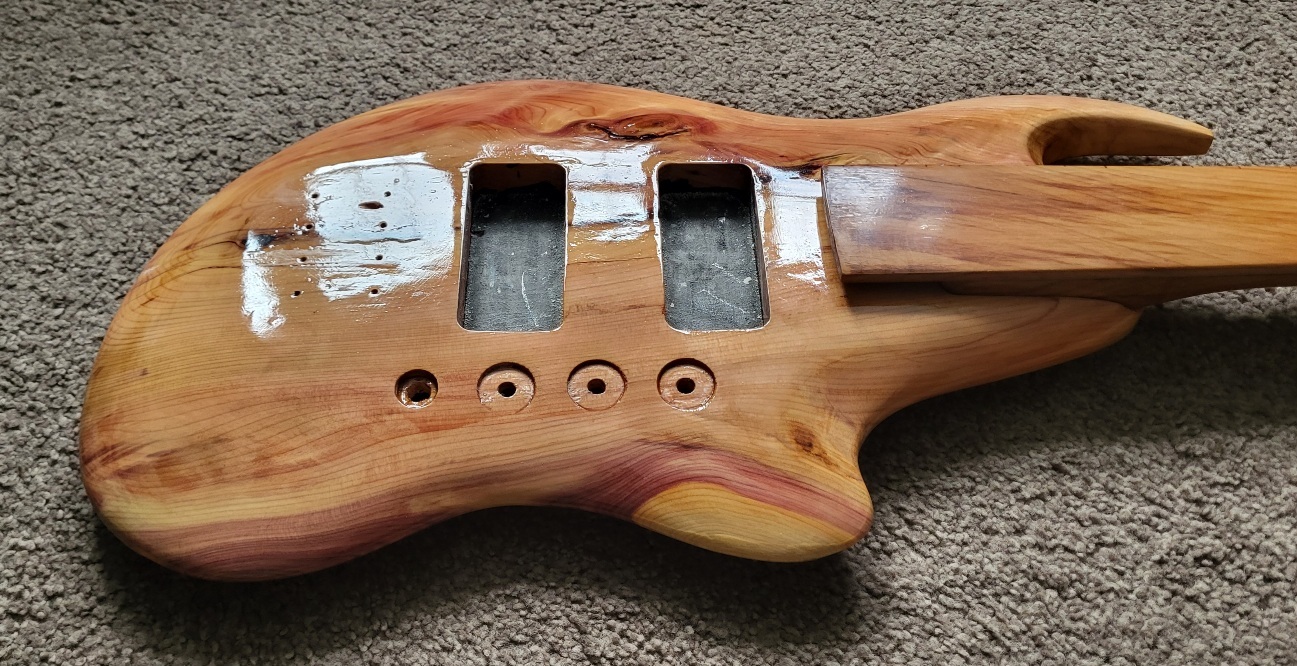
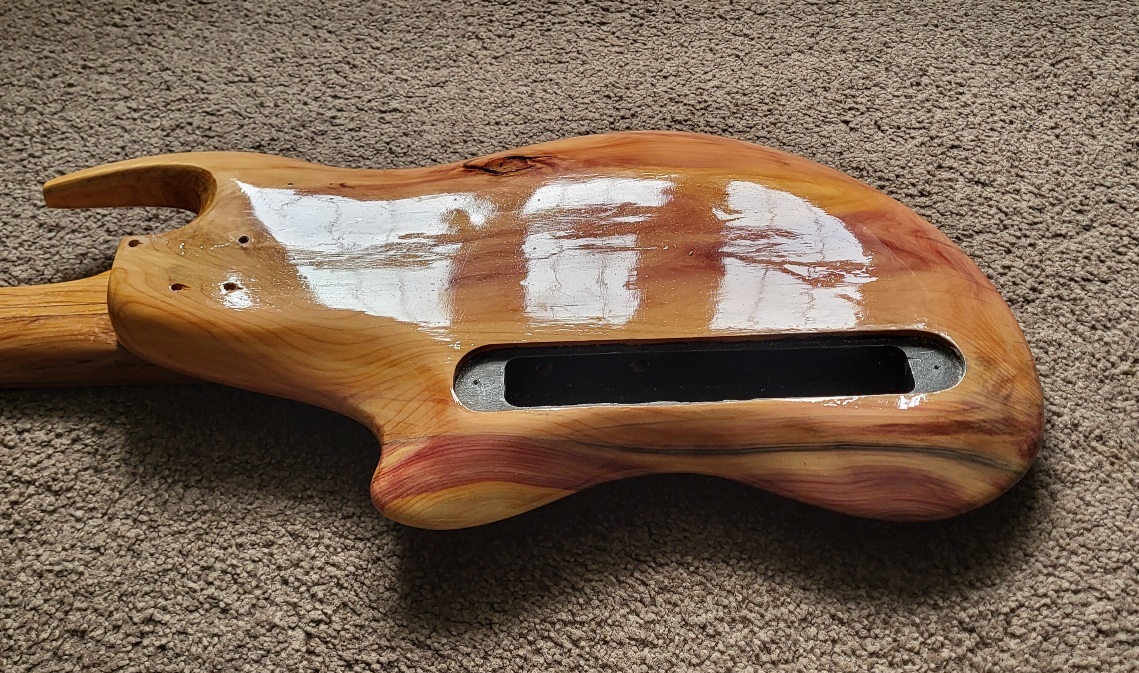
Well I'm disappointed. I bought the wrong polyurethane by mistake. The solvent based stuff is very glossy, but it takes an age to dry and sucks up all the dust out of the air, so it's very gritty. When sanded, you can see where you've gone through the layers, and it doesn't polish up to nearly the same shine as new. And it stinks even after a couple of weeks. It has to come off.
Last edited:

Shame about the poly. For such an organic shape, I'd imagine some kind of oil feels most natural to use to me but I can see the benefit of a mild gloss bringing out the shape and color. Hope attempt number two works out better.

Yeah, oil-based poly needs weeks to cure and I can't lay it on smooth enough to not need to level sand it out, buff and polish. That means laying it on thick, with the plan to remove much of the thickness during level sanding. There are other people here much more skilled than I at this process so maybe some better methods, but that's what has worked for me getting high gloss using poly.
That's a beautiful and unique body! Wow!So I stripped the body and refinished it with car lacquer. The result is a lot better. I'm now thinking whether to do the same to the neck or just leave it.
View attachment 6986940
.
It lives. Dialling in the neck relief has given it plenty of mwah. Its also the first bass I've made where the string height is right in the range of the bridge adjustment, without any fettling needed, which is a nice first. There is a crackle in the electronics somewhere that needs a bit of attention. The control cavity cover needs to be sanded and re-lacquered, and the neck needs to be stripped and refinished, but otherwise we have a bass.
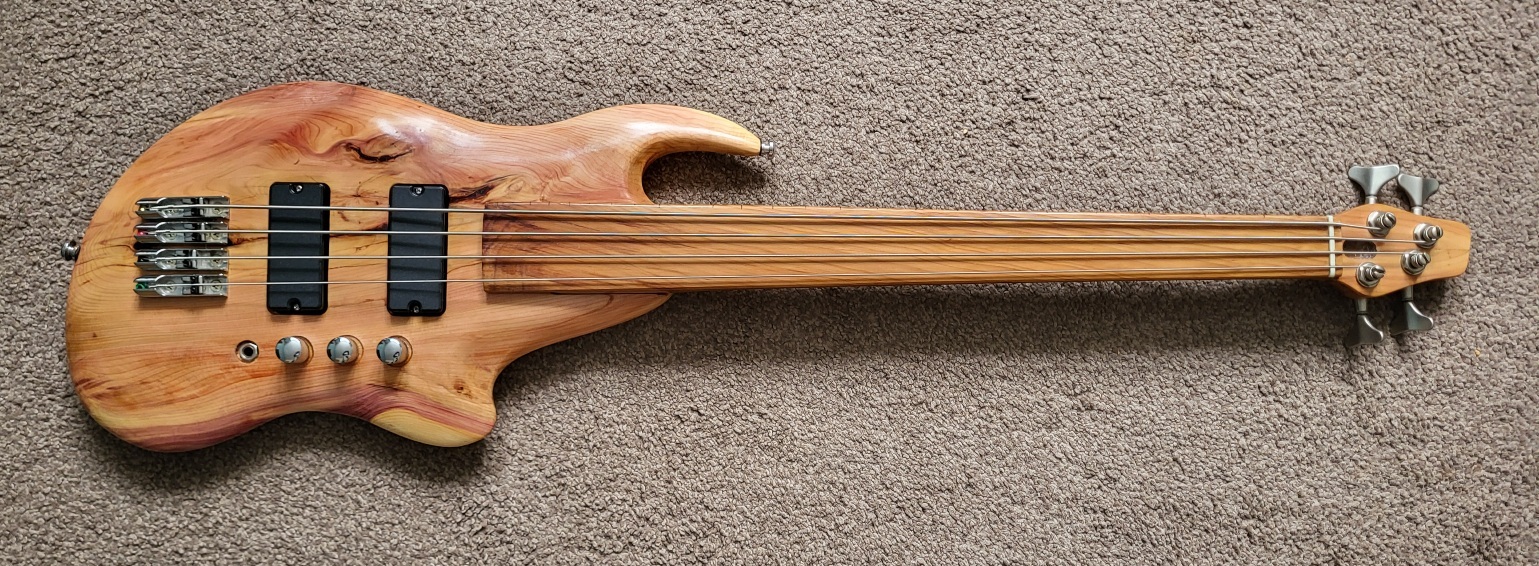


It lives. Dialling in the neck relief has given it plenty of mwah. Its also the first bass I've made where the string height is right in the range of the bridge adjustment, without any fettling needed, which is a nice first. There is a crackle in the electronics somewhere that needs a bit of attention. The control cavity cover needs to be sanded and re-lacquered, and the neck needs to be stripped and refinished, but otherwise we have a bass.
View attachment 6987520
Fantastic! You now know it works! And where the wrinkles remain.
The string alignment is terrific...and oh so important.
A big milestone!
.

Tremendous !!! I wasn’t sure how this was going to turn out, but I’m digging the organic nature of the body shape ! Nice work so far !It lives. Dialling in the neck relief has given it plenty of mwah. Its also the first bass I've made where the string height is right in the range of the bridge adjustment, without any fettling needed, which is a nice first. There is a crackle in the electronics somewhere that needs a bit of attention. The control cavity cover needs to be sanded and re-lacquered, and the neck needs to be stripped and refinished, but otherwise we have a bass.
View attachment 6987520


With your my up the neck so my thumb is touching the heel of the body, my index finger can touch the 19th fret on the E string and my little finger can touch the 23rd fret on the G without stretching.How is the upper fingerboard access? From the pics, it looks a little difficult.
The bass looks great!


