

Enjoy the benefits of a premium membership!
Upgrade Account
-
TalkBass has been independent since 1998. Add your voice.
Create a free account to reply to discussions, view embedded media, and browse with fewer display ads.
Join free Log in
Want zero display ads or expanded classifieds tools? Compare plans.
You are using an out of date browser. It may not display this or other websites correctly.
You should upgrade or use an alternative browser.
You should upgrade or use an alternative browser.
Short scale semi-hollow body build
- Thread starter Jisch
- Start date
More options
Who Replied?

I started to thin out the front plate. I think I will leave it at this thickness until I get the F holes cut, then I'll figure out the rest.
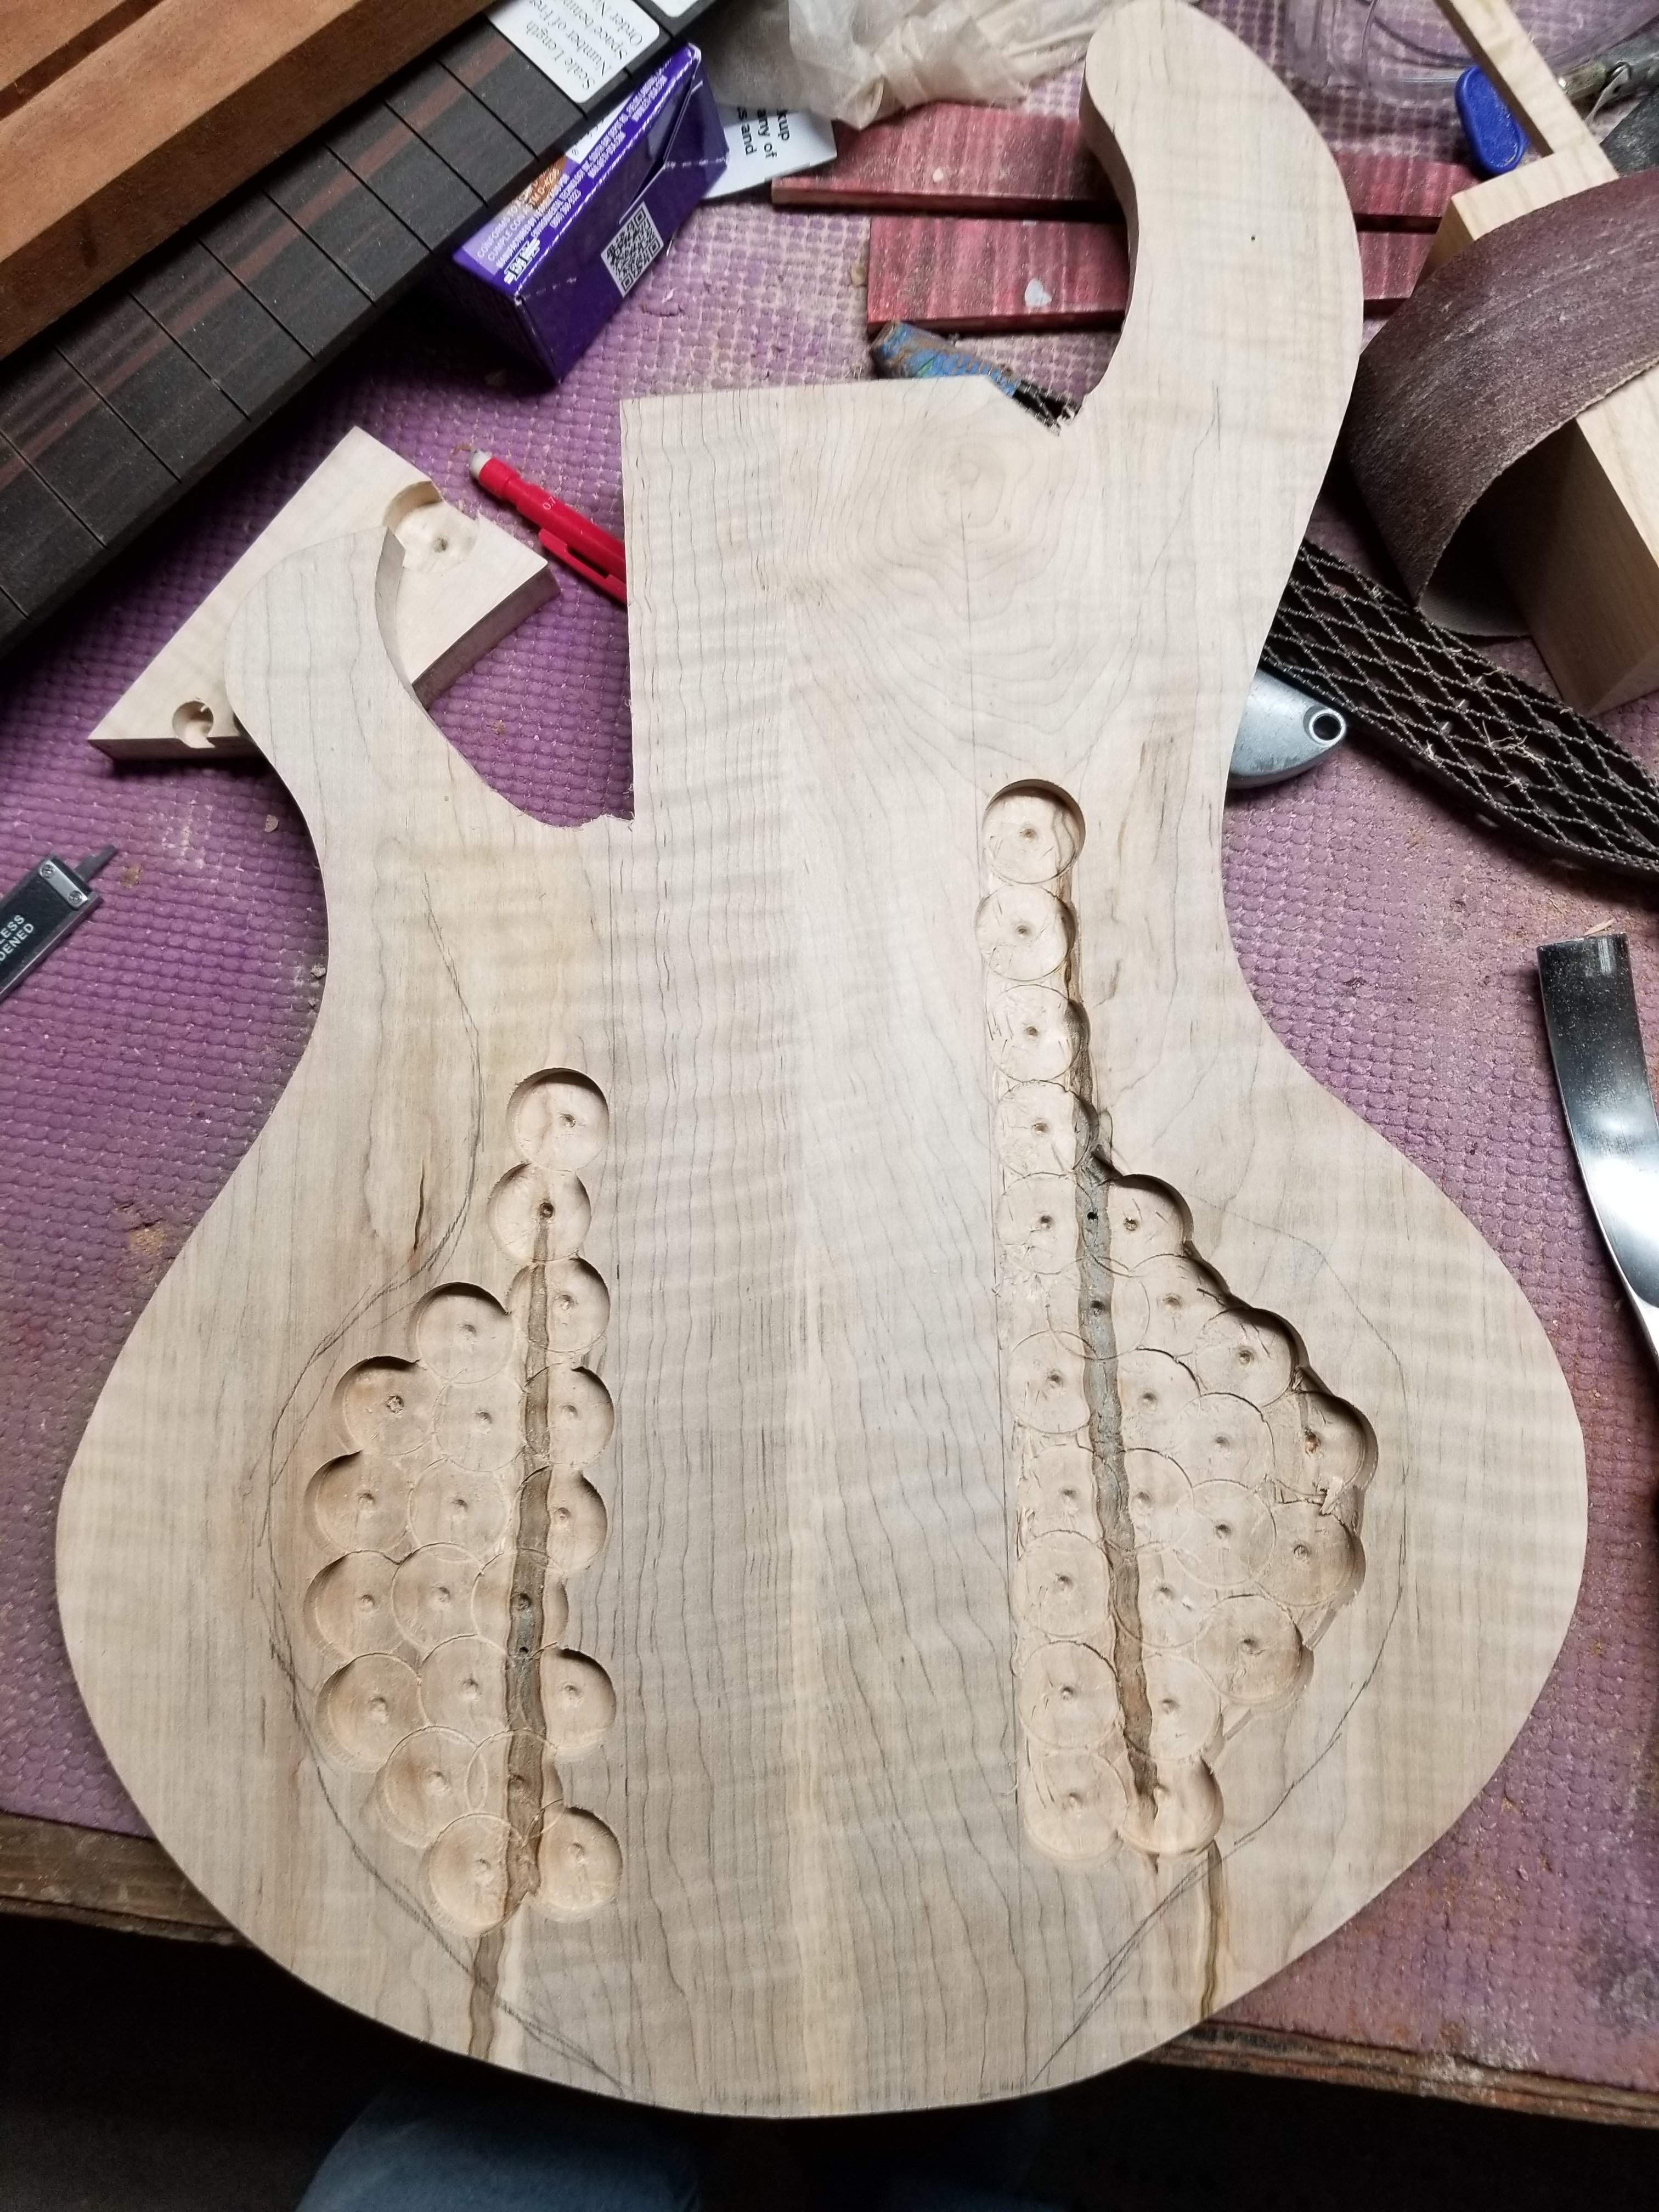
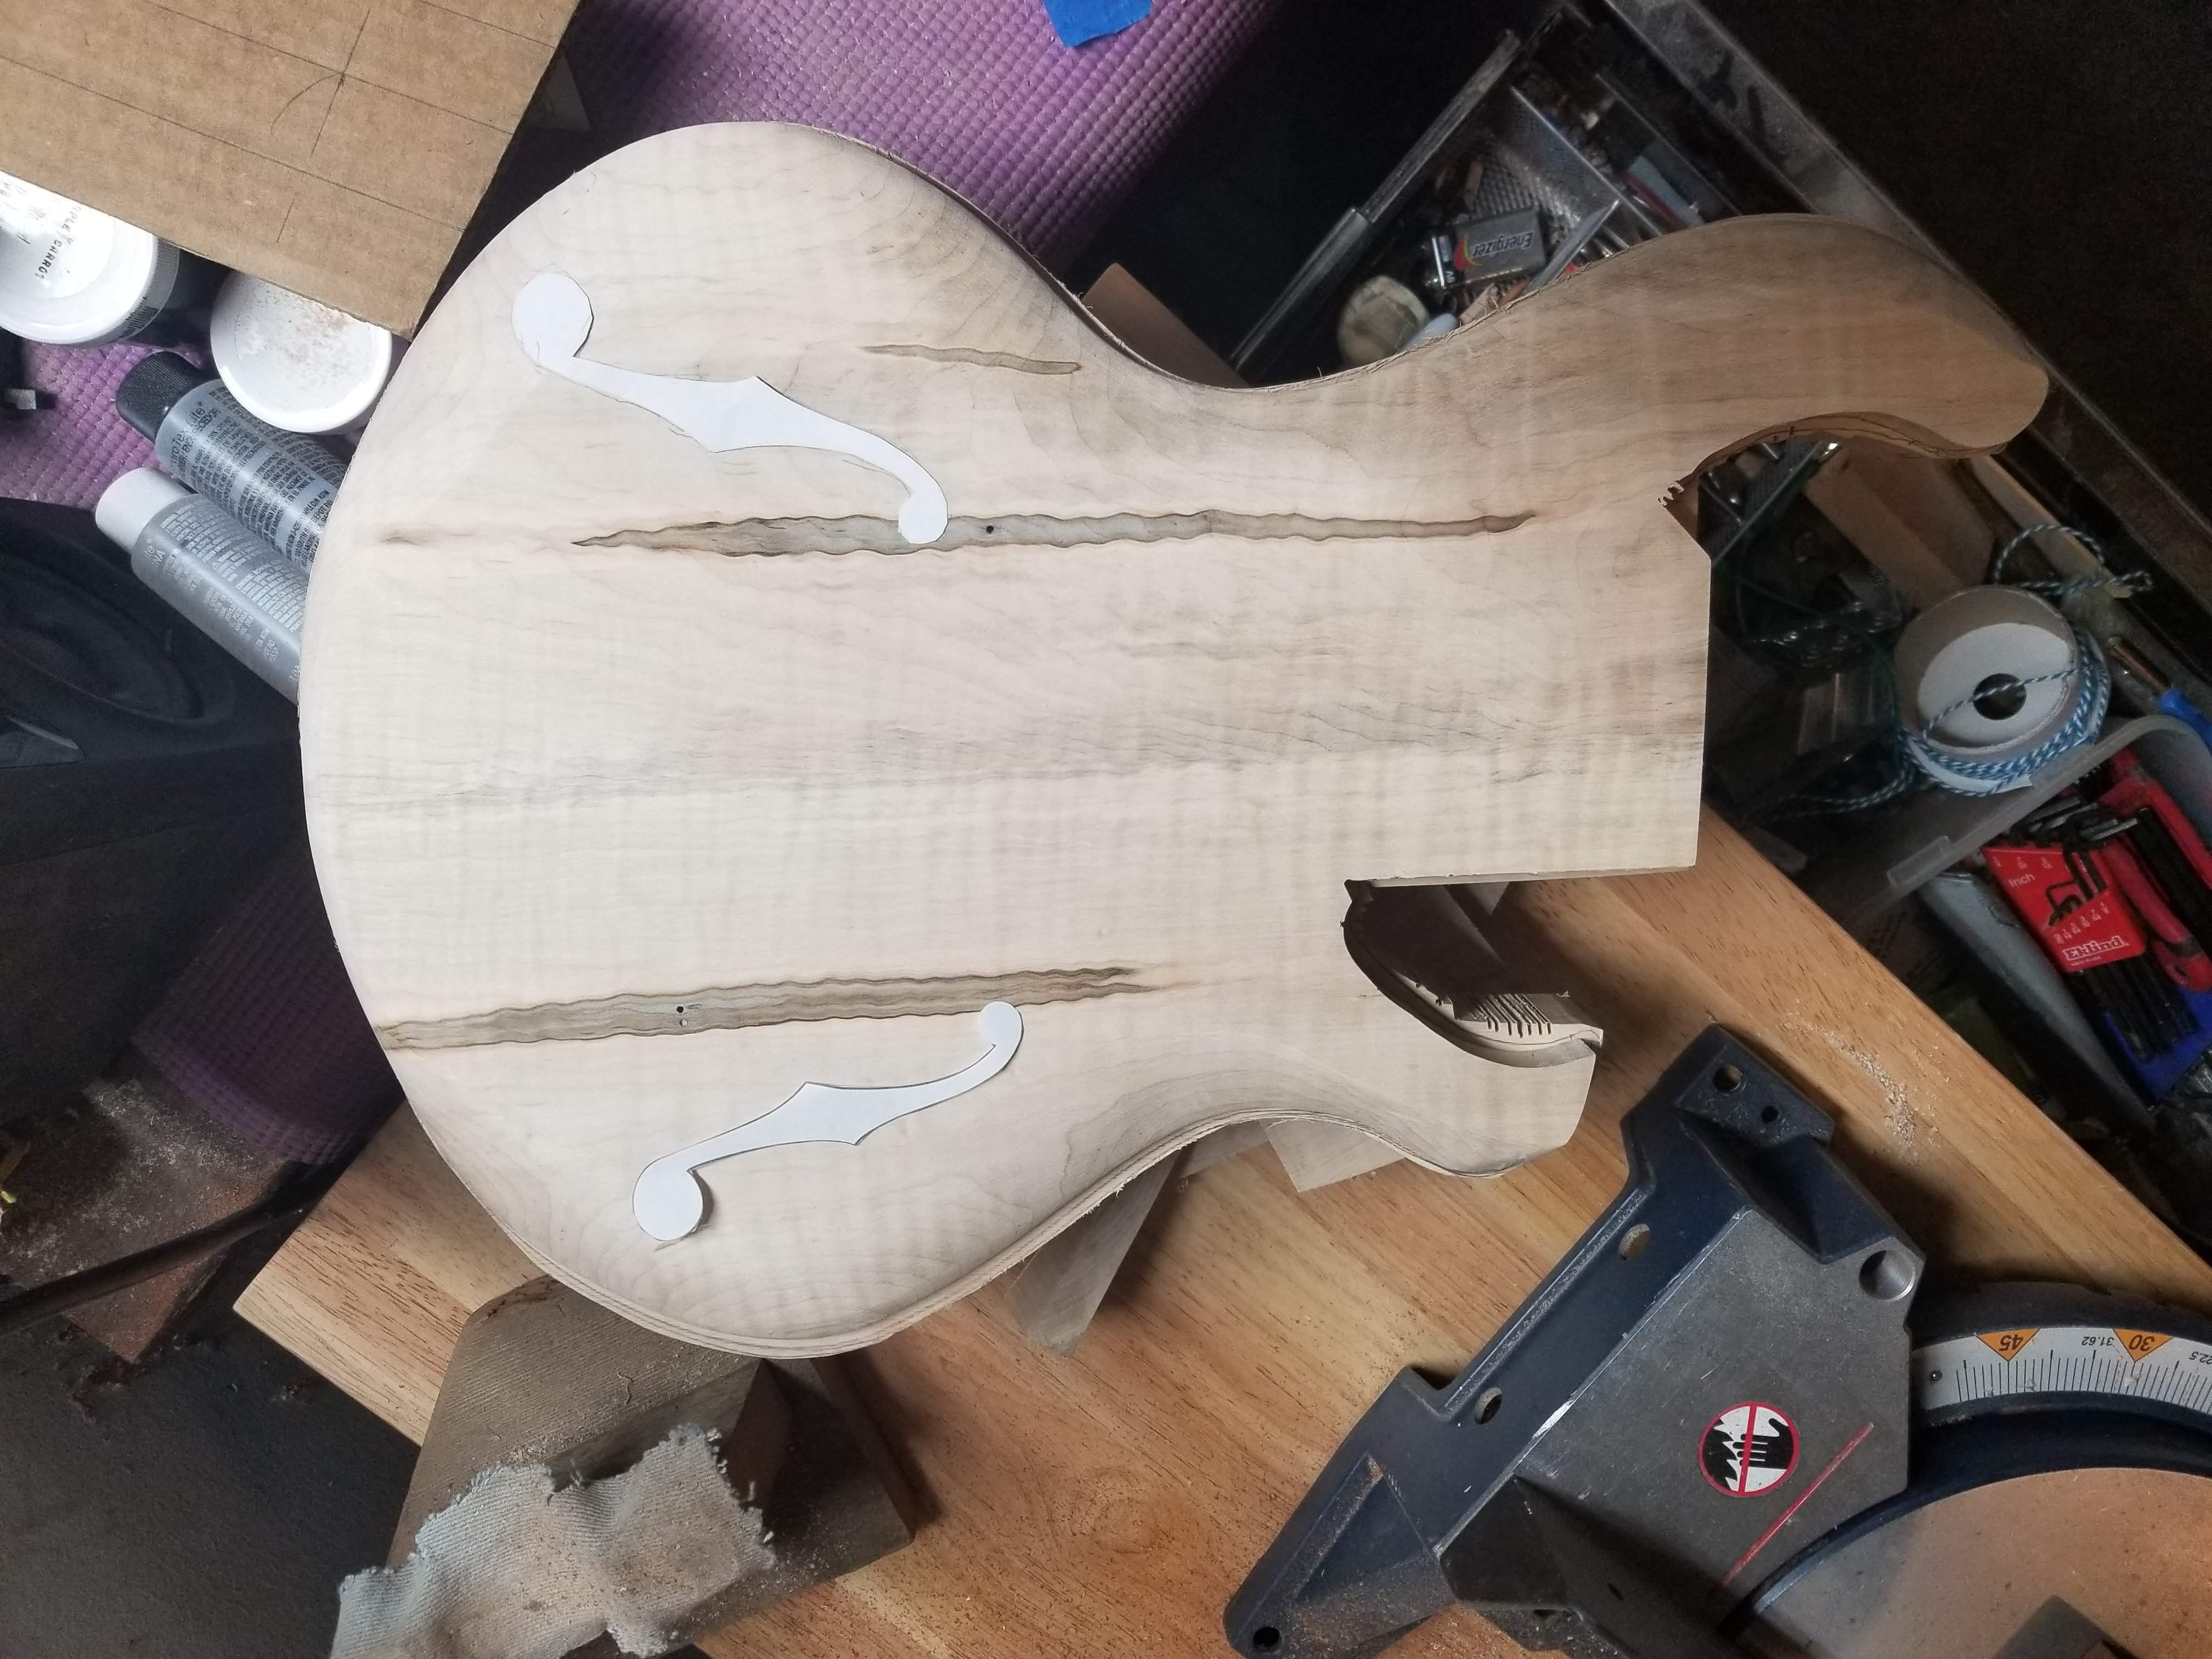
Last night I was messing around with F hole templates. I think I found the right size ones, now I need to figure out placement, I'll have to put everything on the top to see where it lands. Space for knobs is going to be at a premium, I can see it already. That ash back is super heavy, I will chamber that a lot, so this is not only going to look like a hollow body, it will be a hollow body.
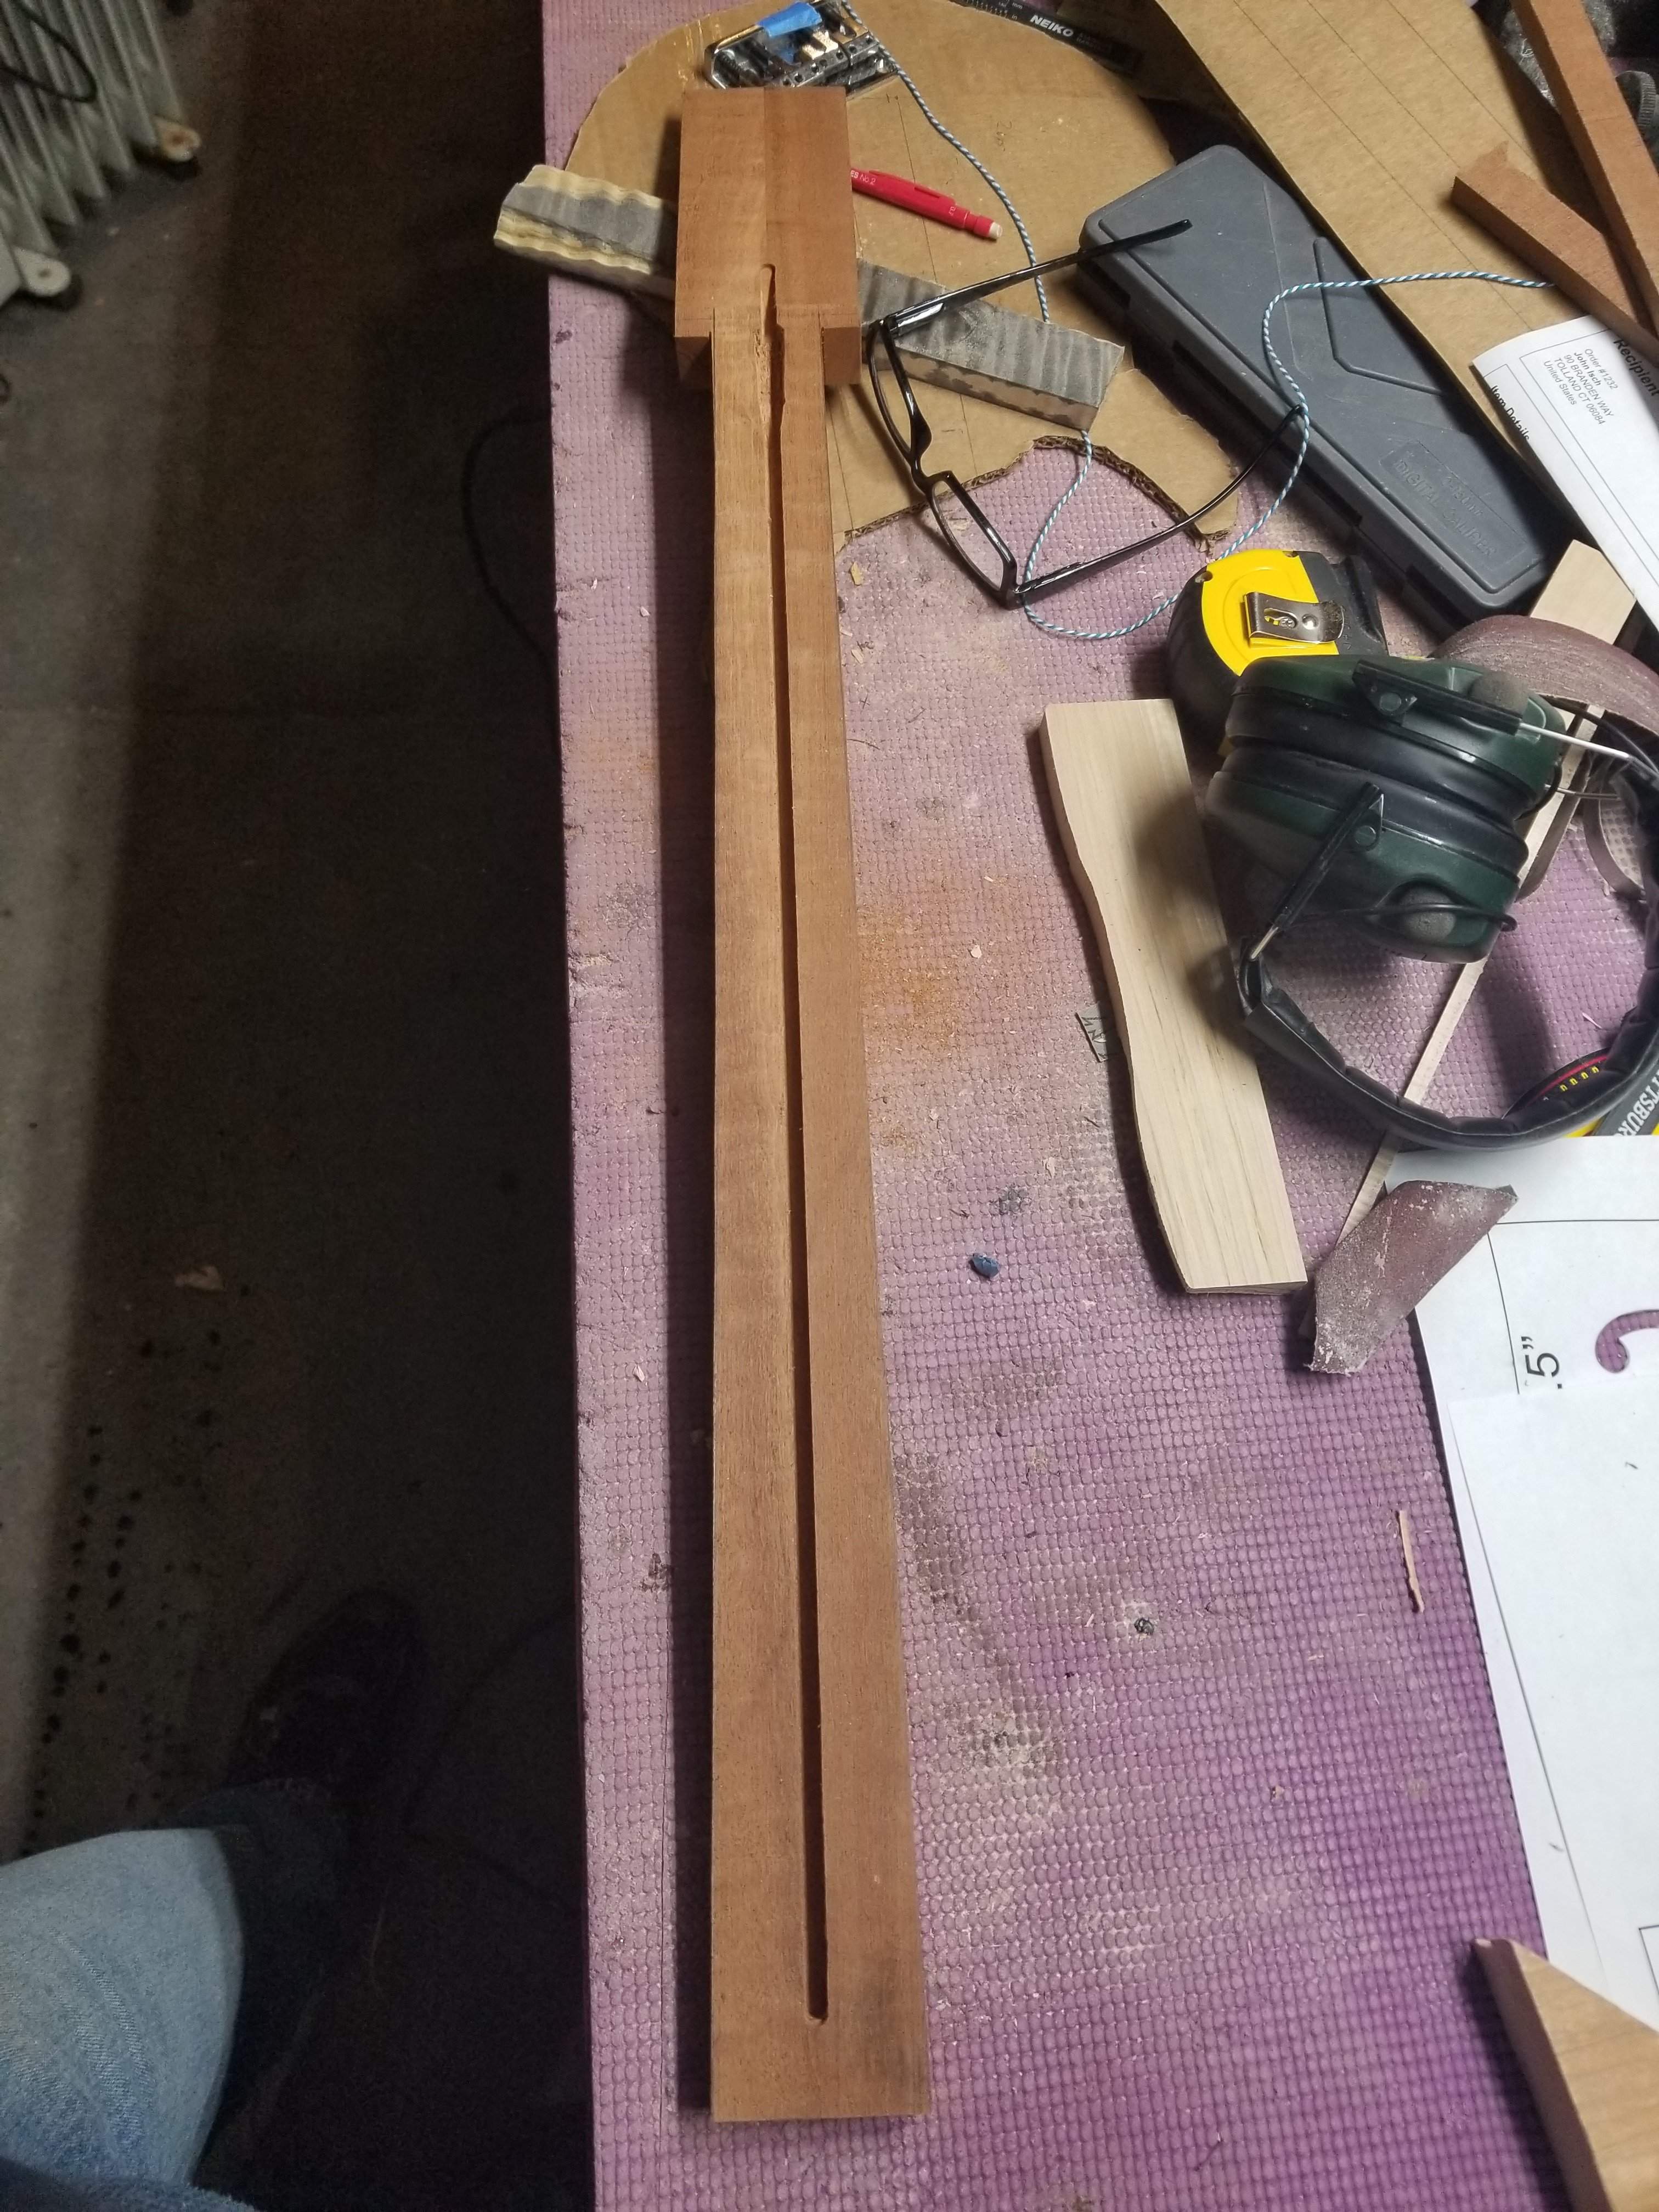
And this morning I cut the sides of the neck blank. I made the nut a bit wider than a "normal" four.
Next up I'll probably hog out the material in the ash, I'm not sure I'll get that done today or not, I've got to travel for work this week, so this may be the last update for a bit.
And this morning I cut the sides of the neck blank. I made the nut a bit wider than a "normal" four.
Next up I'll probably hog out the material in the ash, I'm not sure I'll get that done today or not, I've got to travel for work this week, so this may be the last update for a bit.

"F" holes are so subtle and have such variation I find it one of the most difficult things to commit to. Even the tiny variations in shape can make such a huge impact on your final design.
I'm in the process of doing a CAD drawing of a new semi-acoustic slot head guitar and just went through this. I draw my own variation of the "F" hole in CAD and then shift them around until I come up with something I like. It helps to have another screen open with Google image search results for "Guitar F holes" or something similar to use as a reference.

I'm in the process of doing a CAD drawing of a new semi-acoustic slot head guitar and just went through this. I draw my own variation of the "F" hole in CAD and then shift them around until I come up with something I like. It helps to have another screen open with Google image search results for "Guitar F holes" or something similar to use as a reference.
Last edited:
Agreed. It's a tough thing to get right, and once you start cutting. You're committed"F" holes are so subtle and have such variation I find it one of the most difficult things to commit to. Even the tiny variations in shape can make such a huge impact on your final design.
I'm in the process of doing a CAD drawing of a new semi-acoustic slot head guitar and just went through this. I draw my own variation of the "F" hole in CAD and then shift them around until I come up with something I like. I helps to have another screen open with Google image search results for "Guitar F holes" or something similar to use as a reference.
View attachment 3243151

I should probably take a look at doing something like that, then I wouldn't have to stress about room for the knobs. Hmmm. However once you decide you're not doing F holes then you could do literally any shape, it will take years to decide! 
If you've got some time to kill, there's a good thread (though old) with some examples of F holes here. My two favorites. I am strongly leaning toward the first one:

Thinking that it would be fun to do more effin with the F hole....
As you say....Any shape that you like....within reason.....
As you say....Any shape that you like....within reason.....
Lunchtime diet. A lot more to do, but it's a start

- Apr 18, 2008
- 16,024
- 1
- 31,754
- Disclosures
- I'm highly opinionated and extremely self-assured

I luv little things like this
F holes are an ornamental adaption on electric instruments, from instruments of time past.
If you take a close look at a violin for example, you'll see little notches carved into the sides of the f hole.
This was done intentionally. When the builder had mostly completed the instrument, the notches were put in the F holes to indicate the location of the bridge.
F holes are an ornamental adaption on electric instruments, from instruments of time past.
If you take a close look at a violin for example, you'll see little notches carved into the sides of the f hole.
This was done intentionally. When the builder had mostly completed the instrument, the notches were put in the F holes to indicate the location of the bridge.
Ha! I was trying to figure out what it smelled like, nailed it! Yesterday I burned the edge a bit on the drum sander, ash smells like poo when it burns, bad smell wafting throughout the house.Fun! Bet your house smells like Cheerios now.
I luv little things like this
F holes are an ornamental adaption on electric instruments, from instruments of time past.
If you take a close look at a violin for example, you'll see little notches carved into the sides of the f hole.
This was done intentionally. When the builder had mostly completed the instrument, the notches were put in the F holes to indicate the location of the bridge.
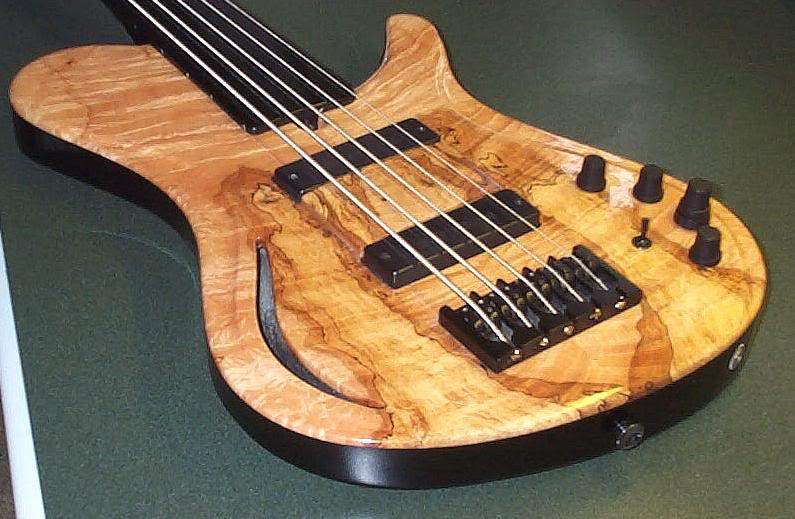
Exactly. The Cad drawing I posted shows that I positioned the "F" hole notches on the centerline for the bridge location. On this short scale fretless bass I was free to put them wherever I wanted:

Never get sick of seeing that one...Exactly. The Cad drawing I posted shows that I positioned the "F" hole notches on the centerline for the bridge location. On this short scale fretless bass I was free to put them wherever I wanted:
View attachment 3245130

Barring the chrome hardware, that is the exact bass that I see in my dreams....drool.....Never get sick of seeing that one...
Let the drooling begin!....

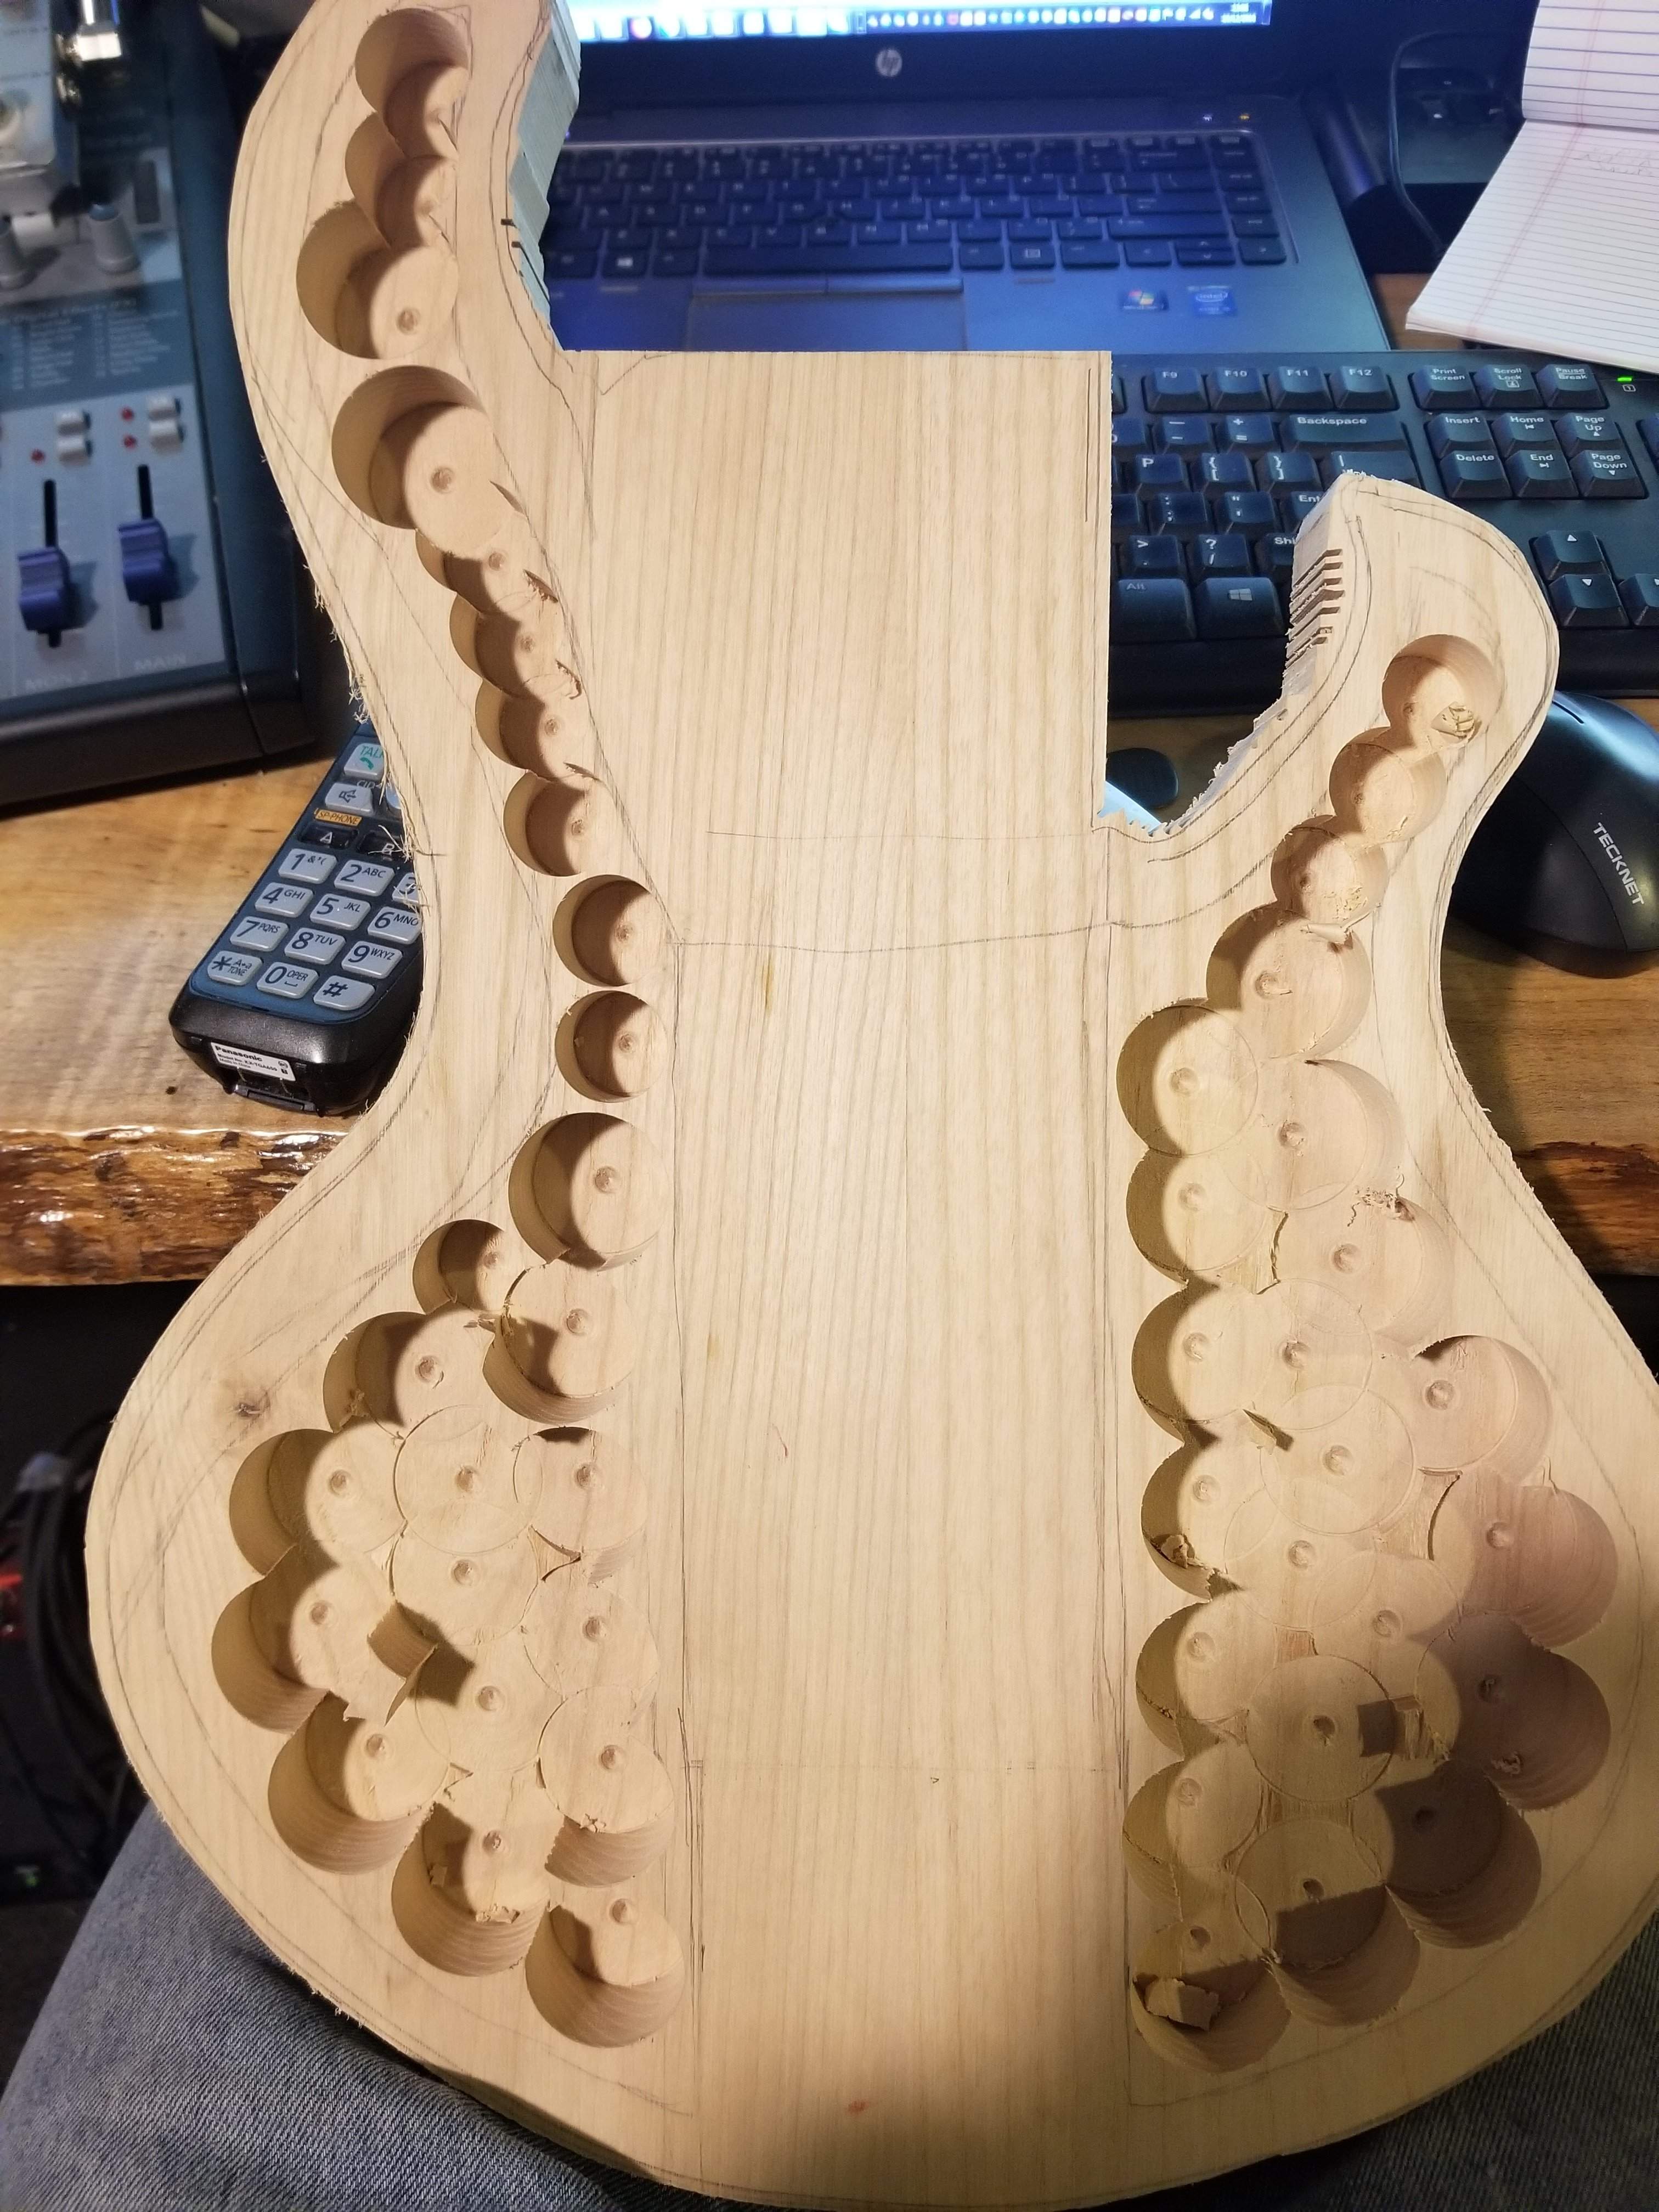
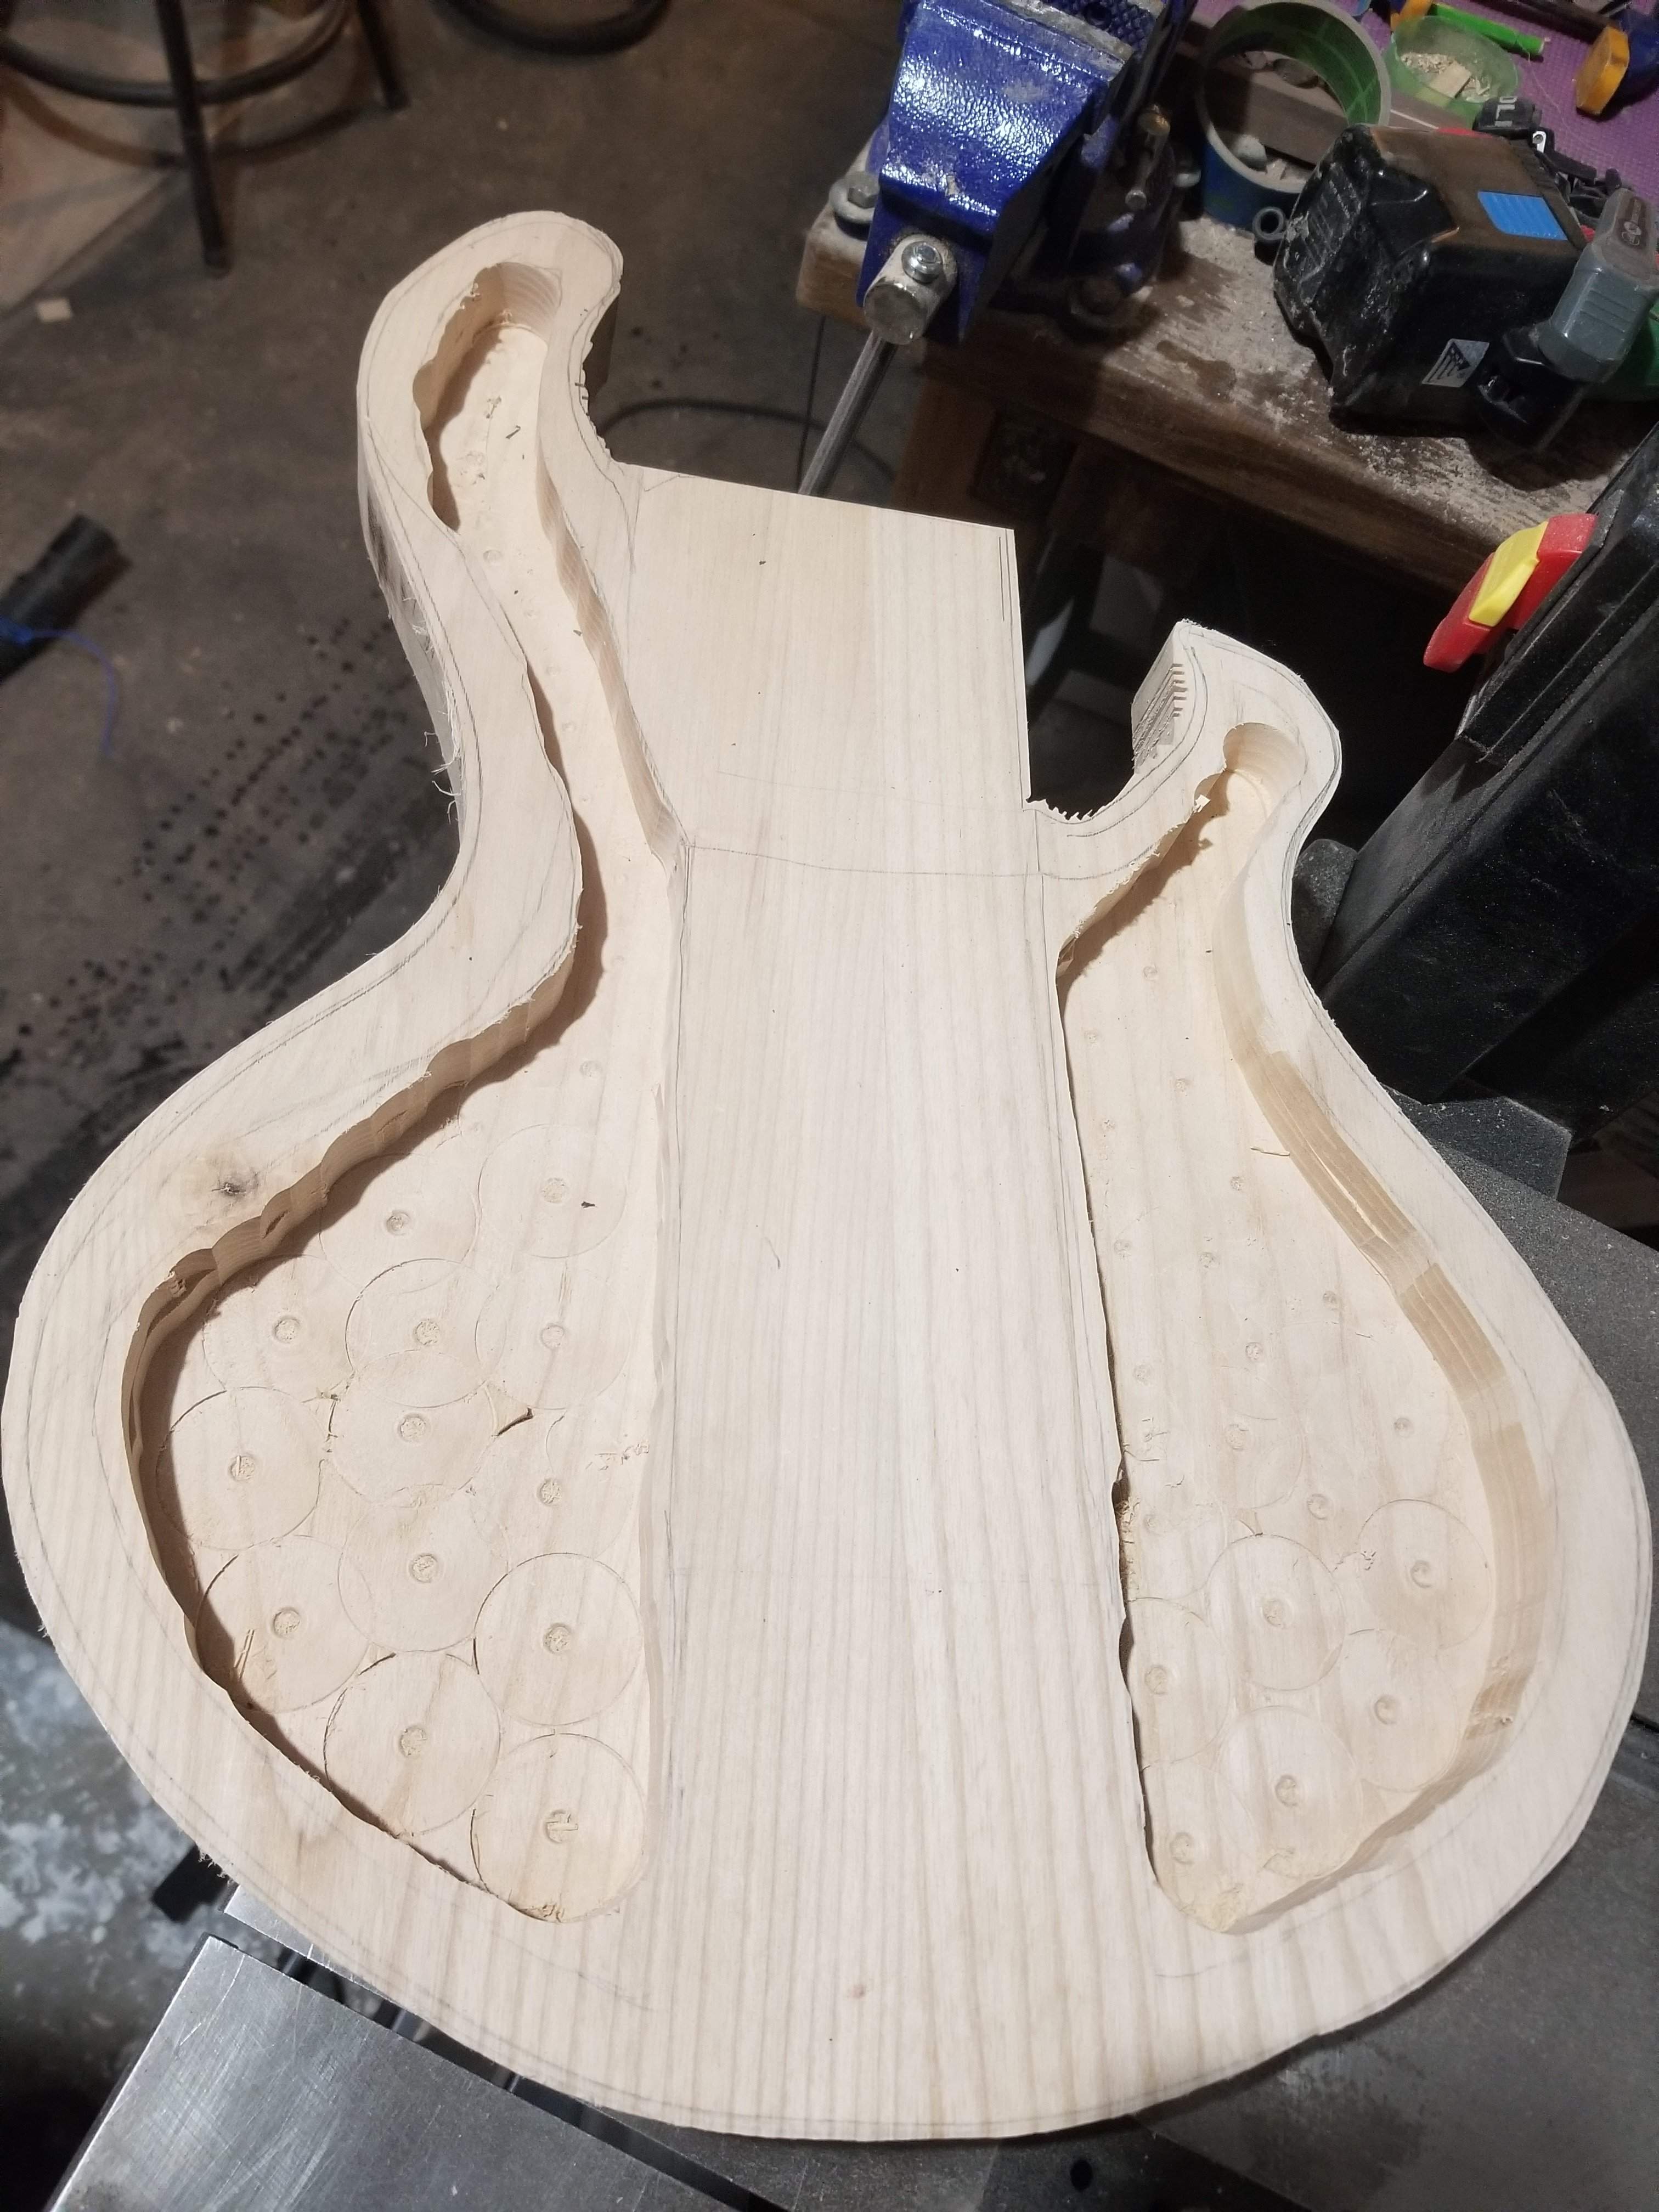
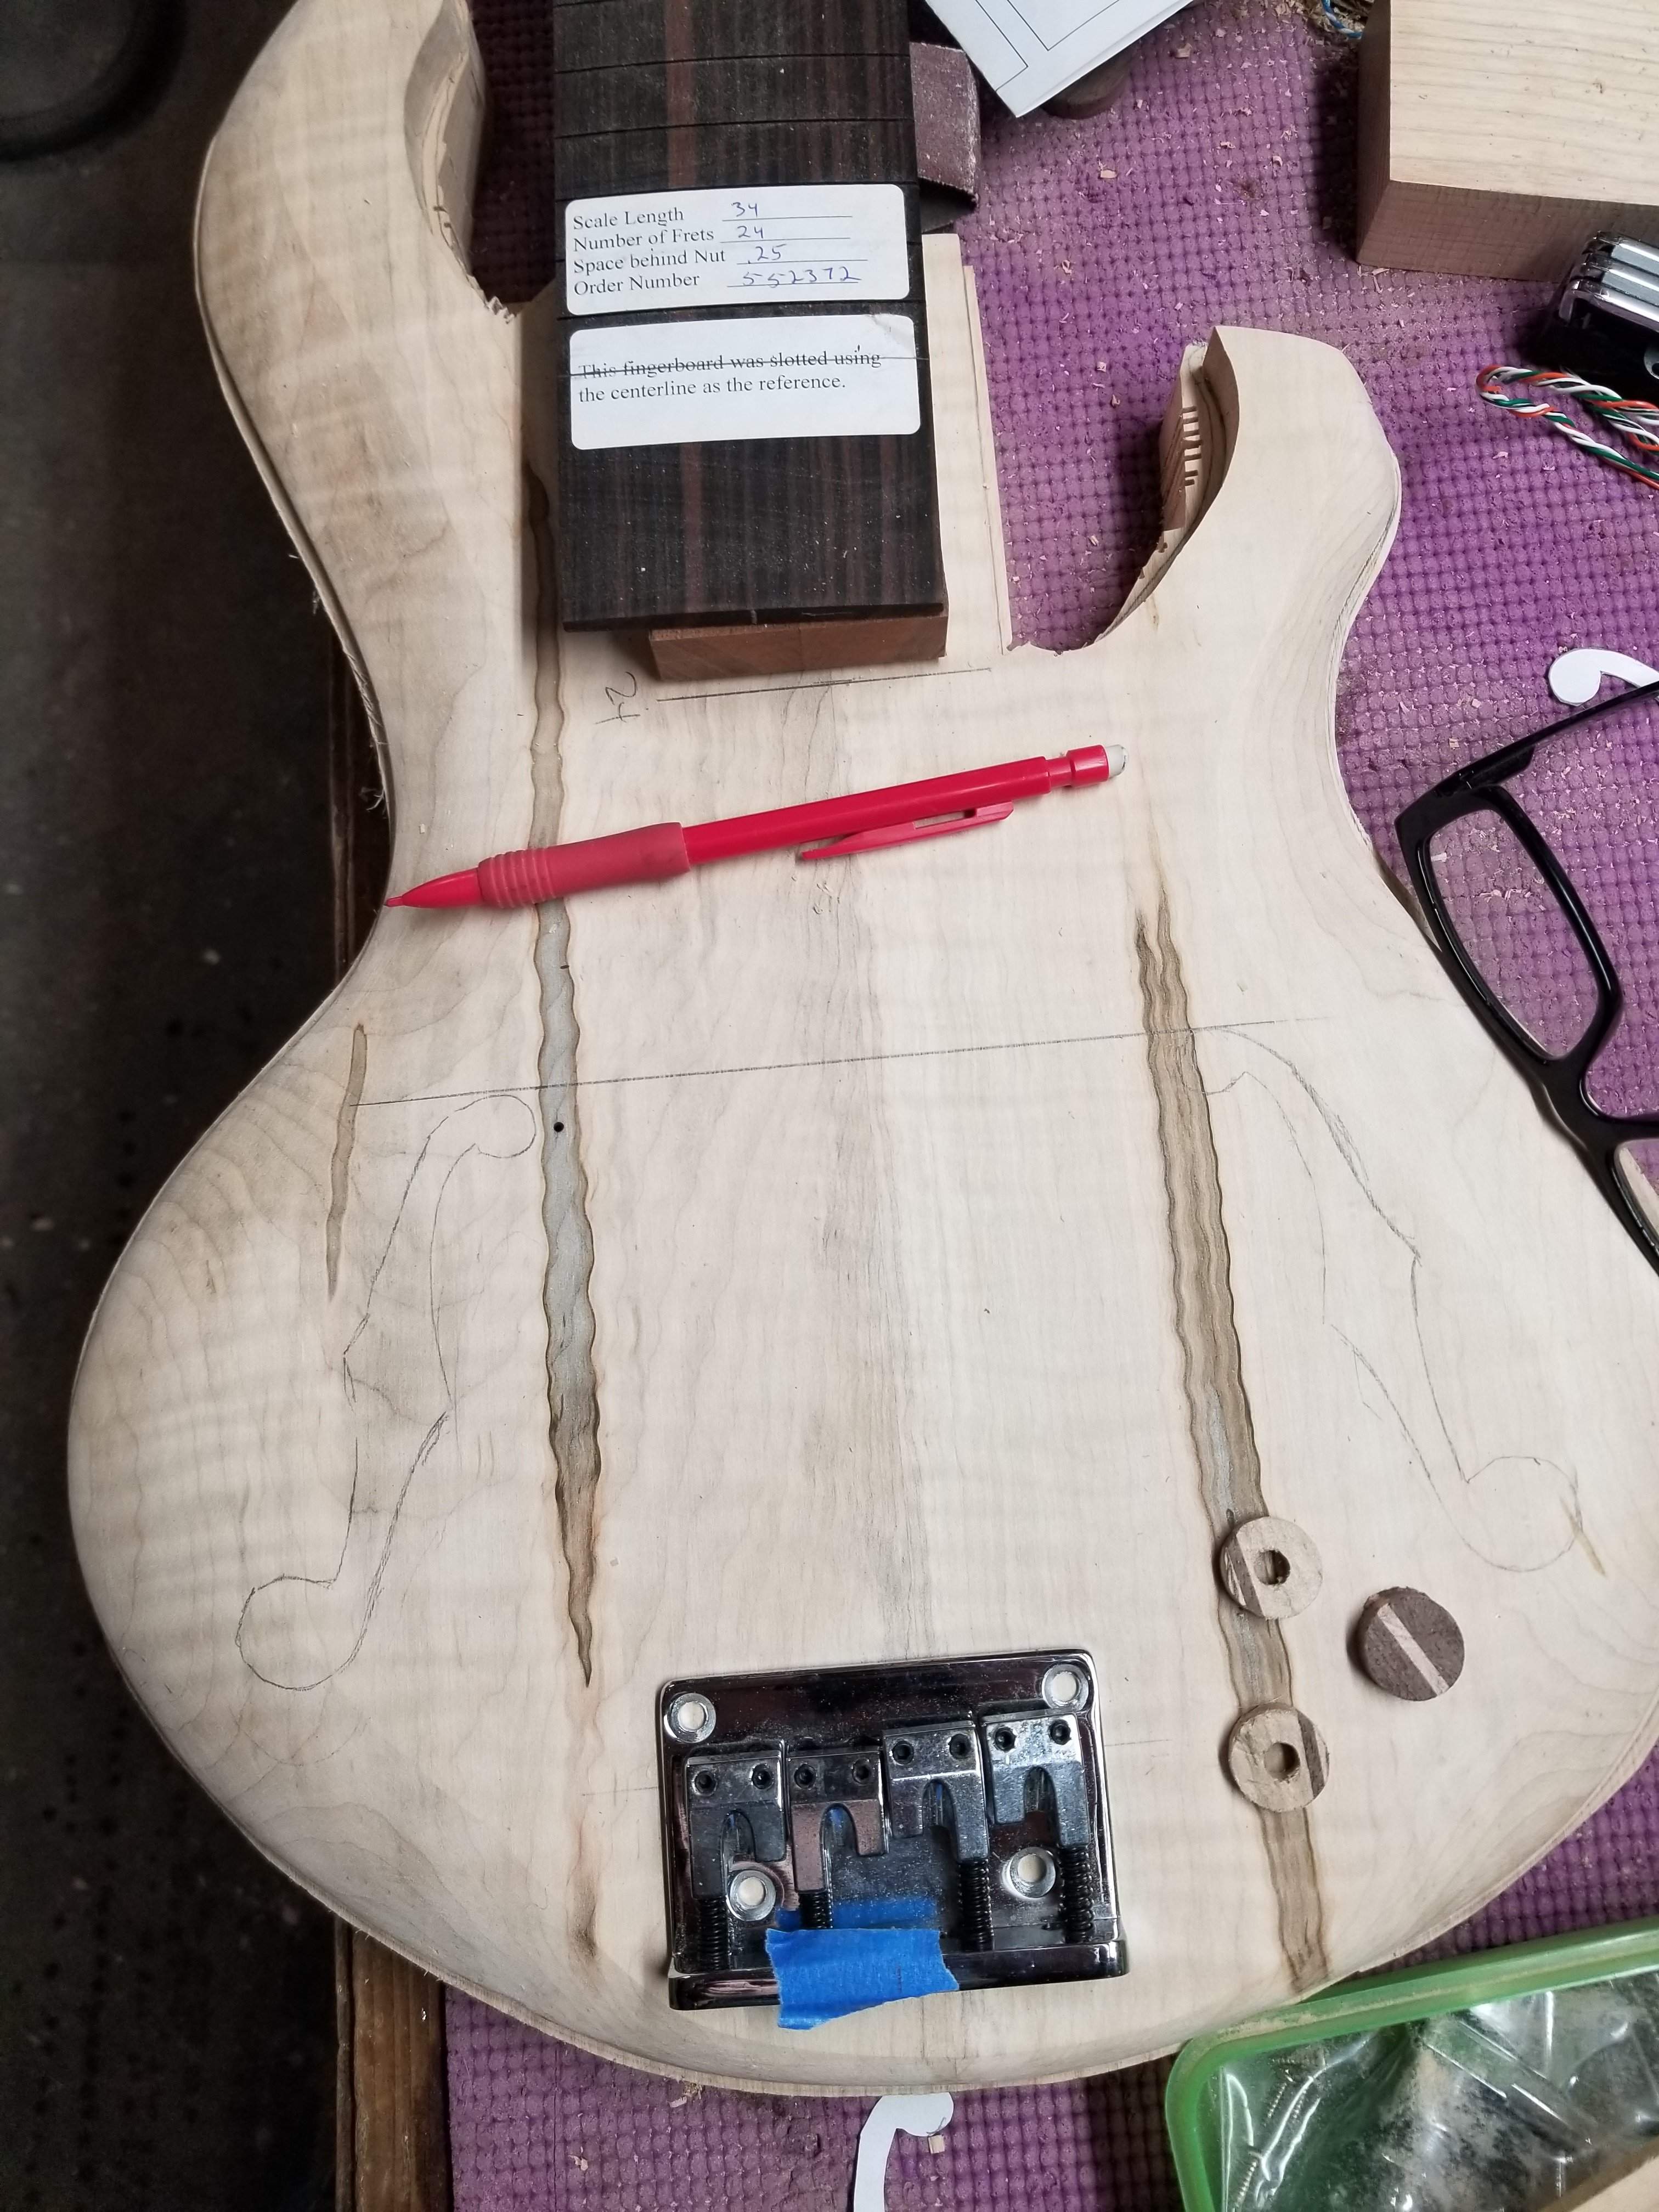
I started cleaning out the inside of the cap and the chambers. Lots more to do (especially on the cap), but it's getting there. I cleaned them up with the router first, then on the cap I used the angle grinder with a flap disc in it. I started working on it with a gouge, then I'll sand smooth. I'll likely have to go a bit deeper on the body so you only see a smooth back through the F holes. I haven't come to any conclusion on the F holes yet. I need to play around with knob placement.
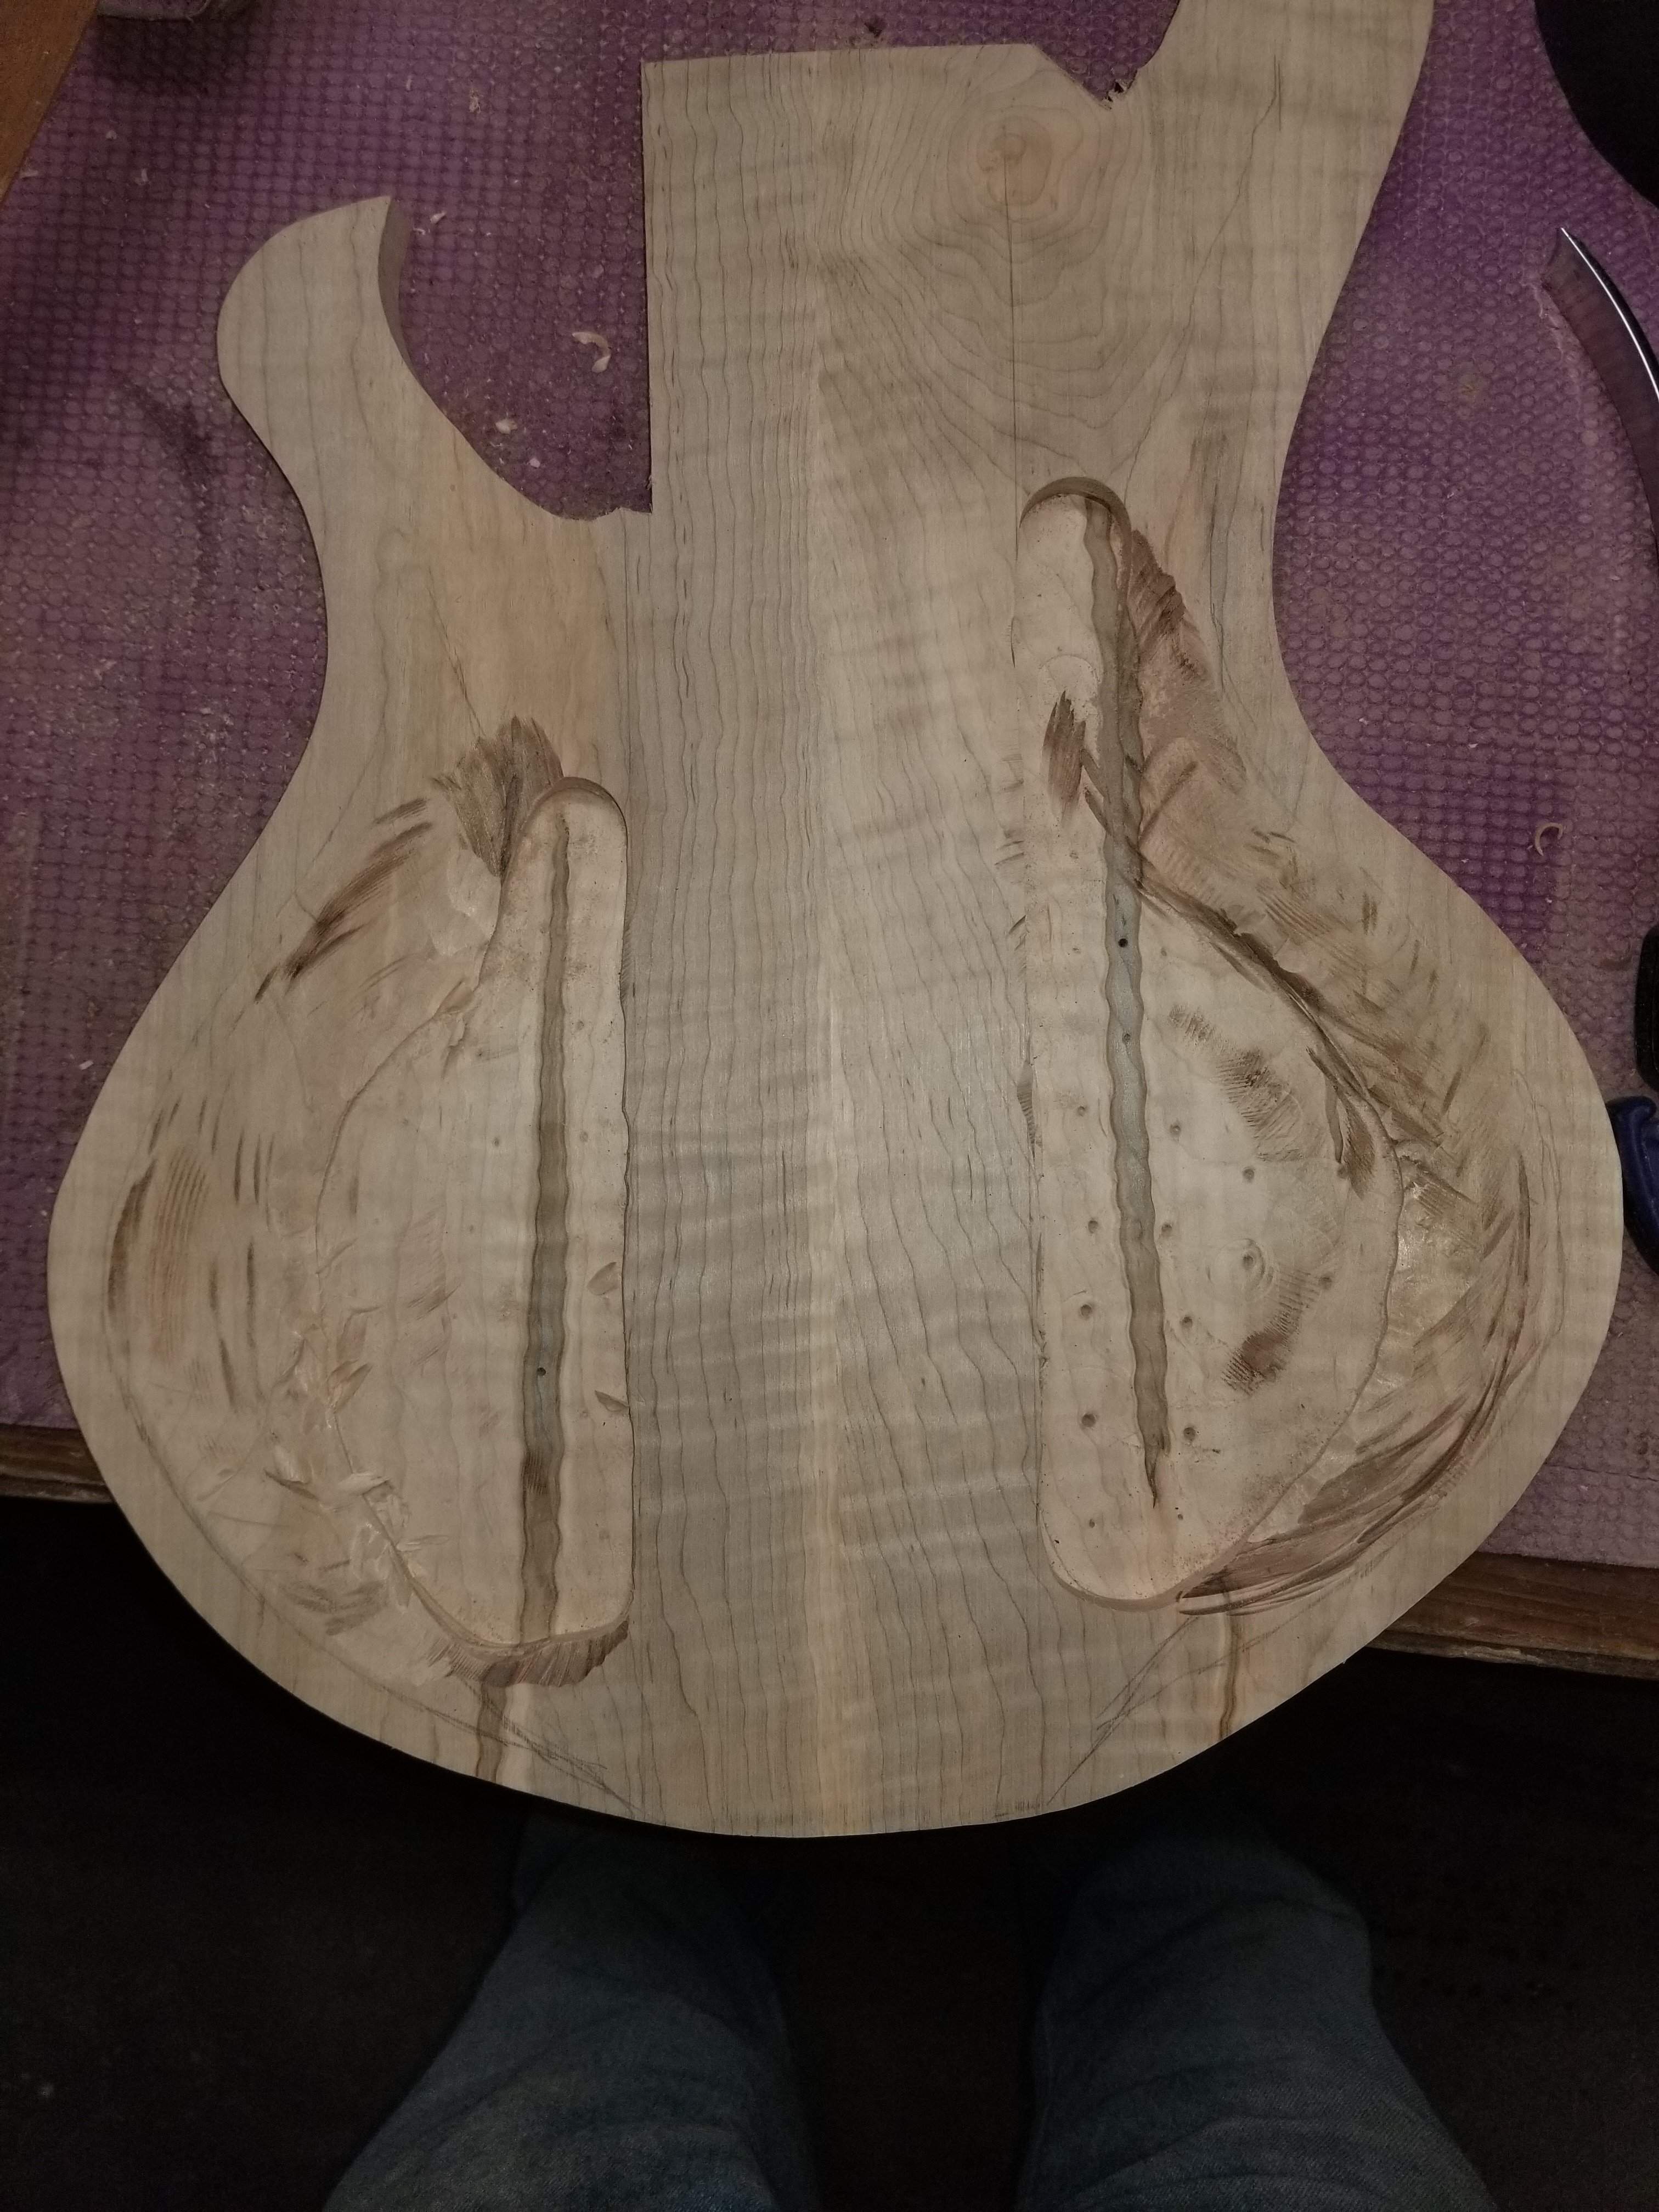
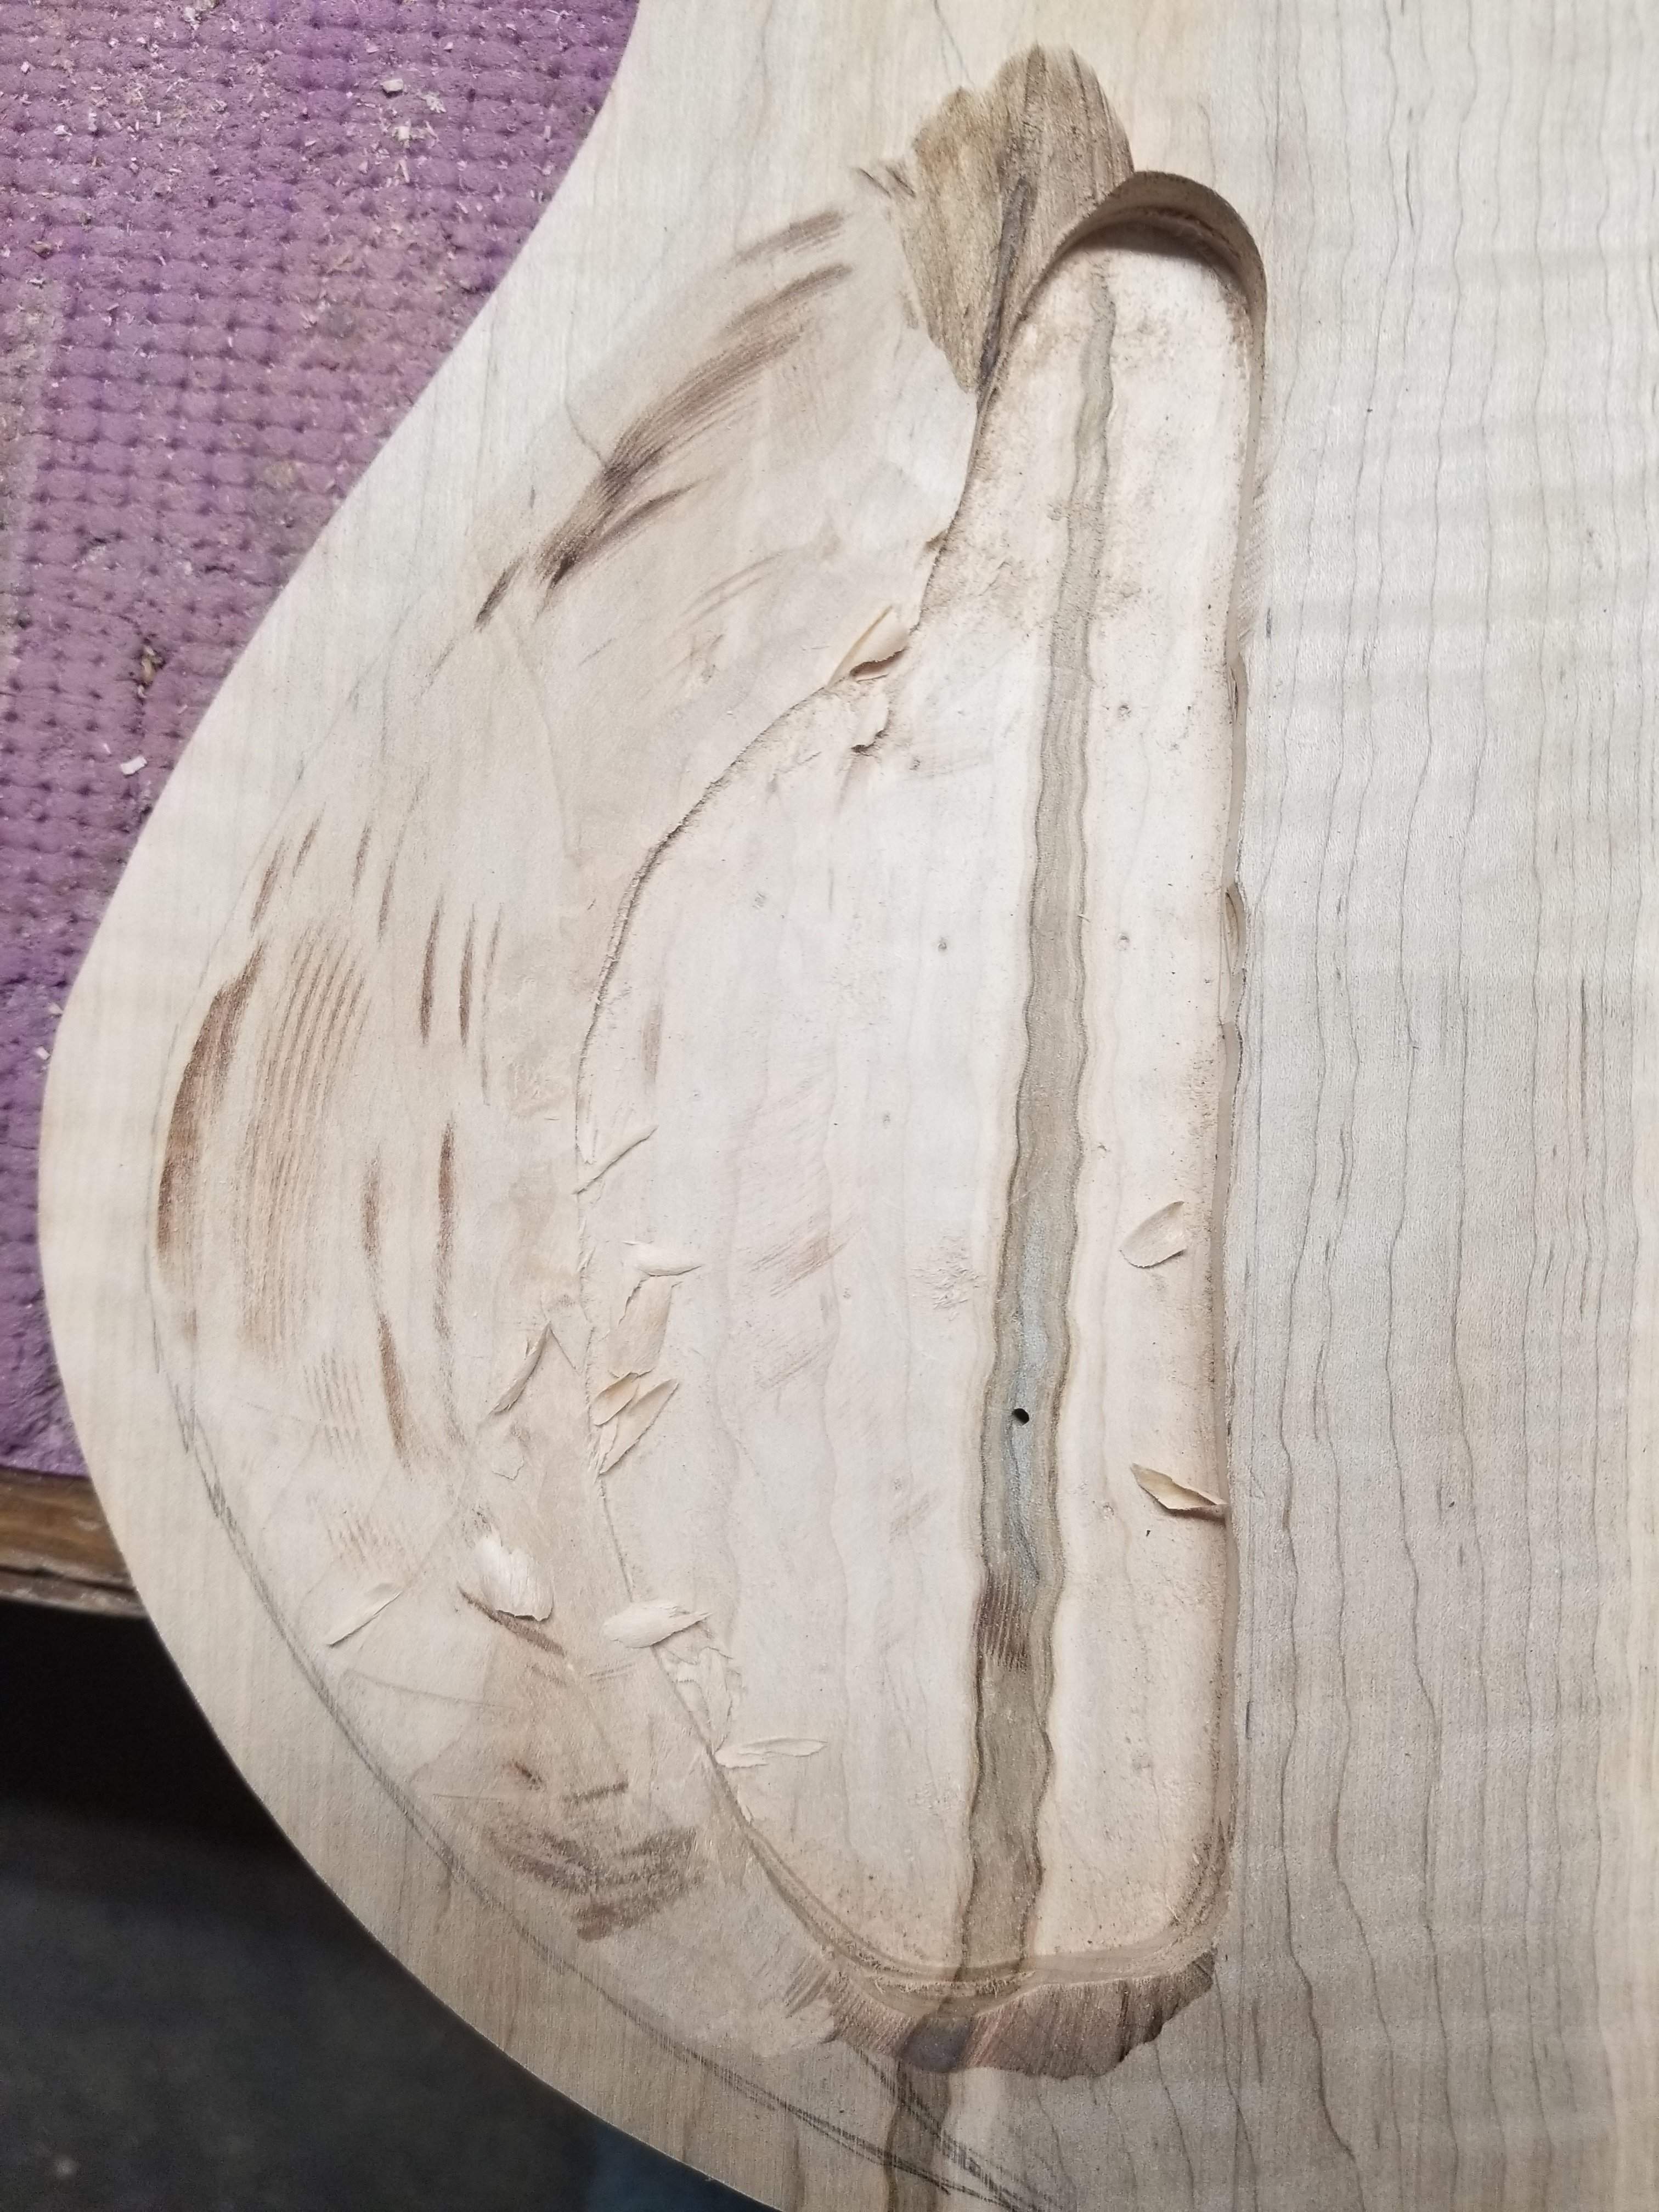
I've thought a lot about this and I decided that I'm going to go with standard F holes. If I put them in the "standard" position so the lower bulb is even with the scale length I run out of room for knobs, so these will be up just a bit, I'll take complaints from the purists in IM.
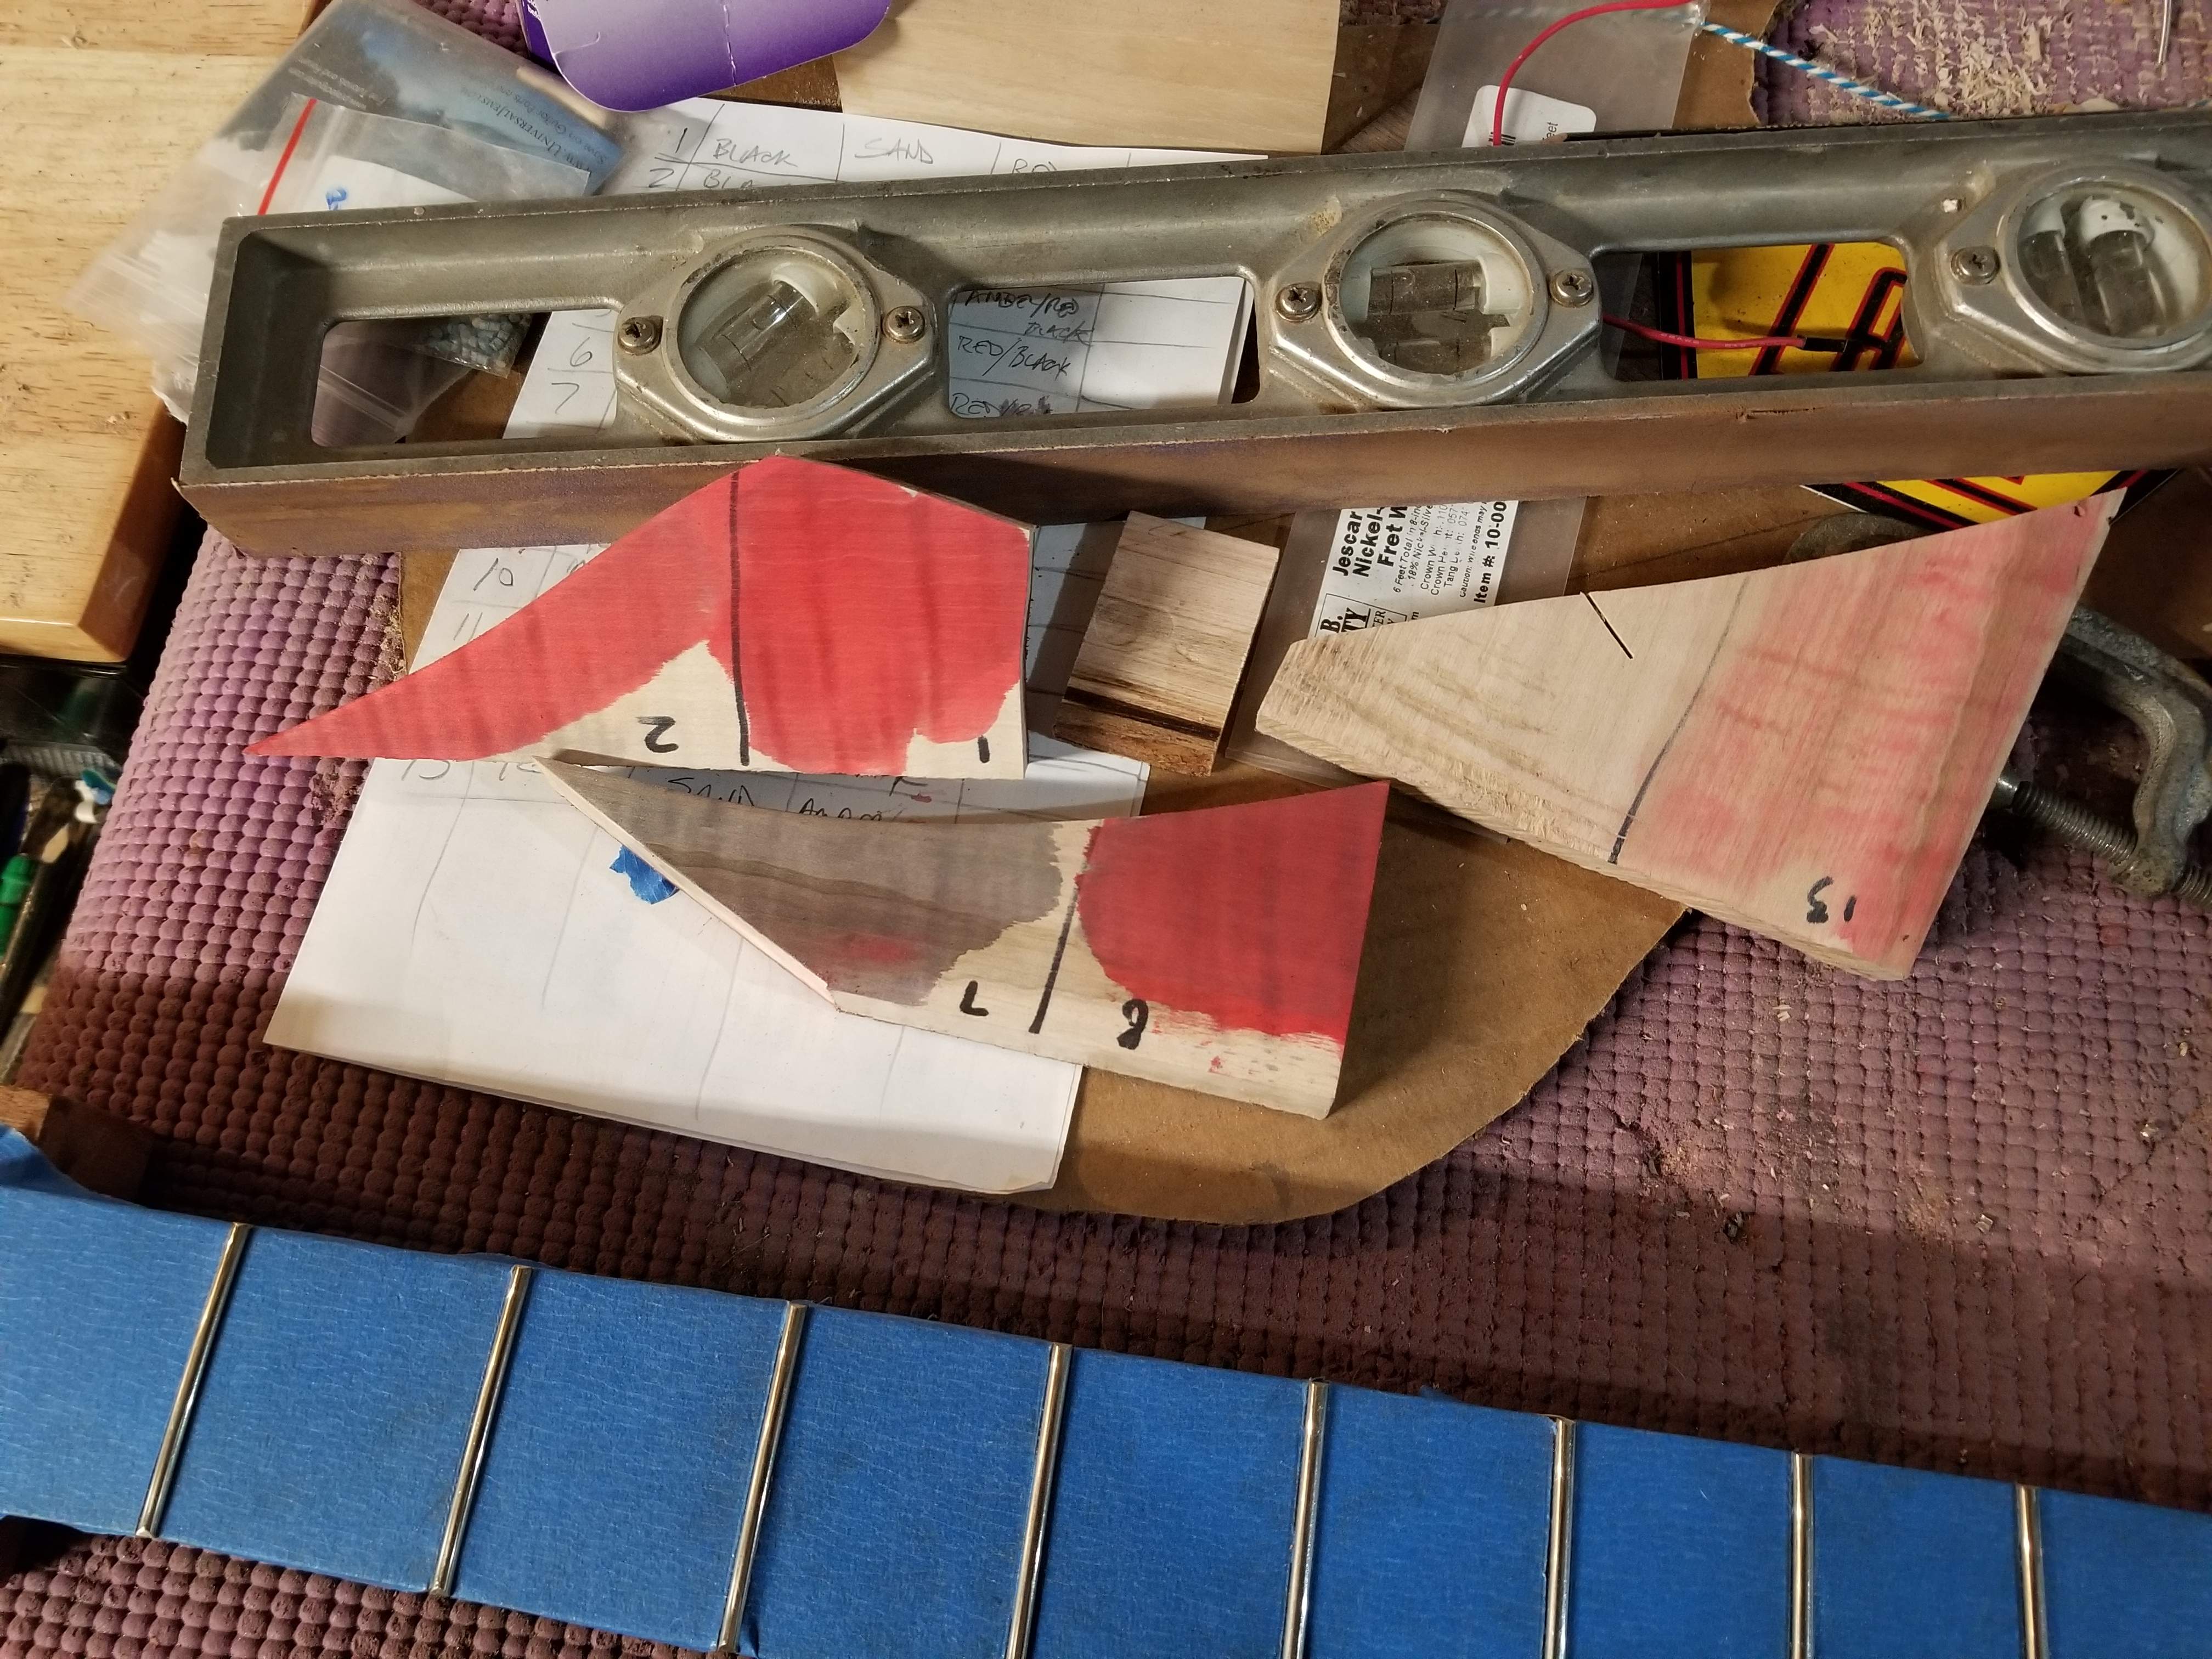
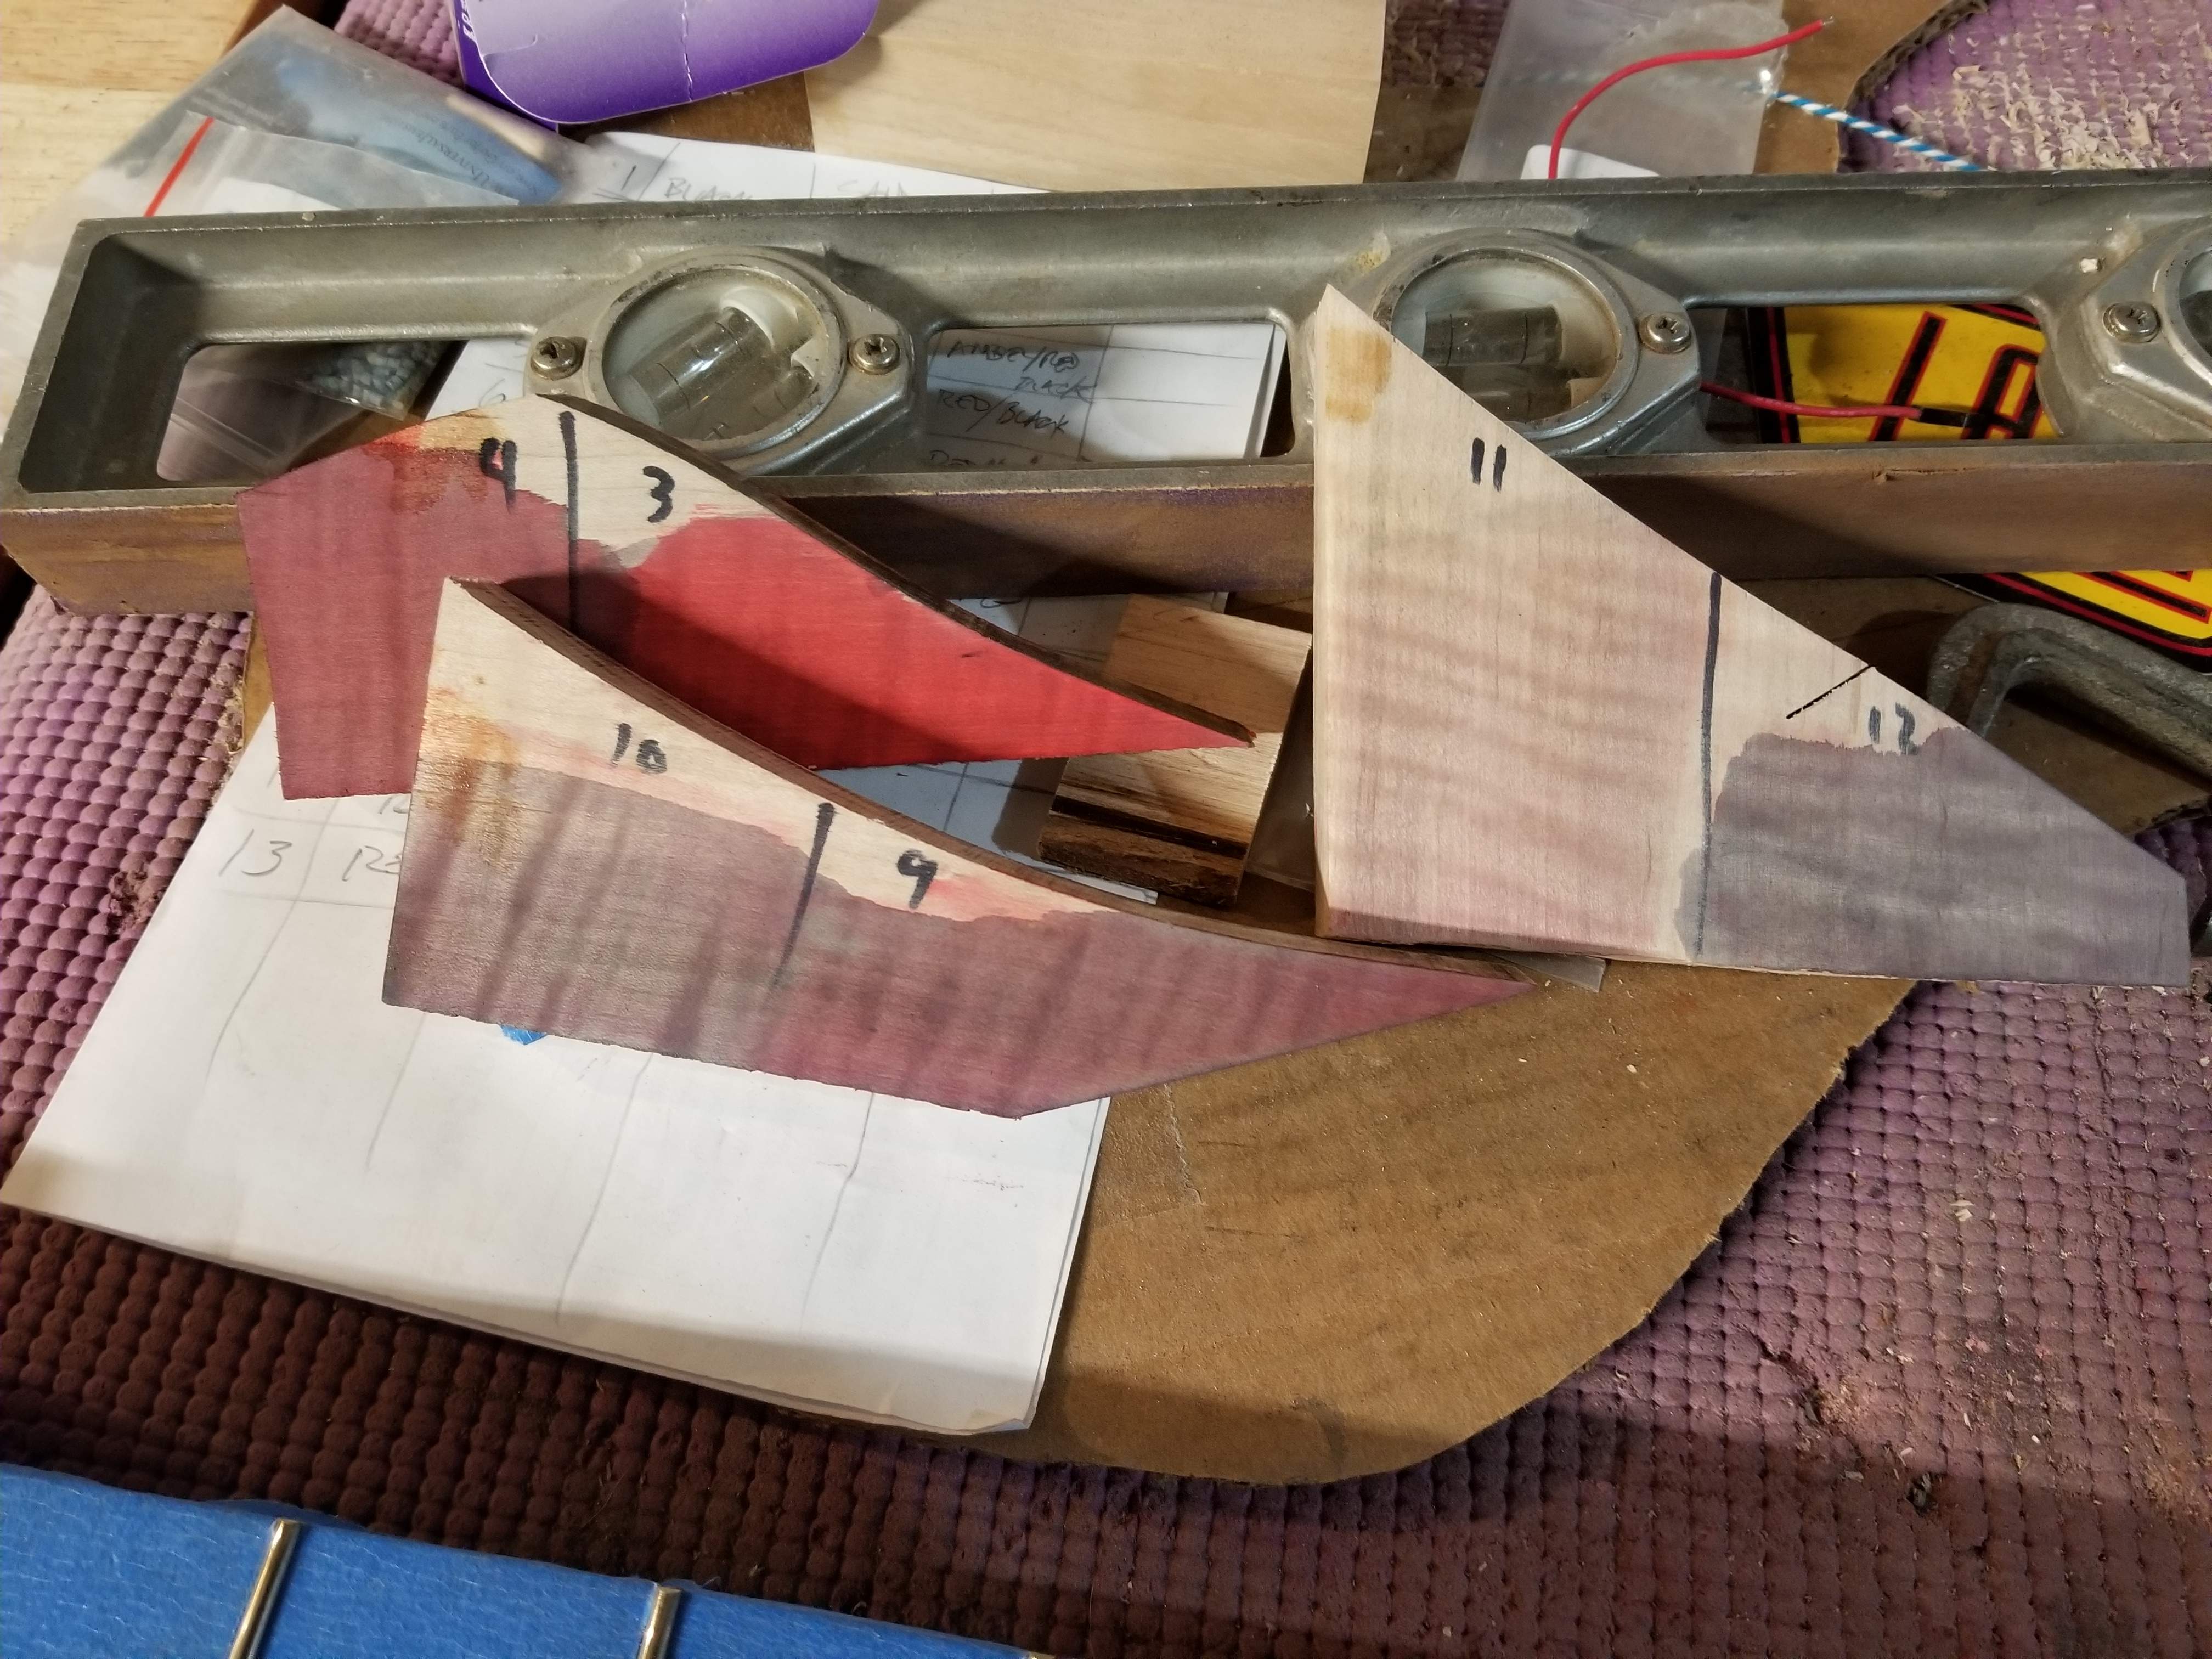
I think I'll wire this one V/V/T - passive, which is a big departure for me. I think every bass I've made has been active. My original intention was to dye the maple top, it's going to take some guts to do that. I do think it will look nice, but there's no going back and that's scary. I was thinking of a reddish amber with black accents on the figuring (i.e. dye and sand back). I'll have to do some tests this weekend.
I think I'll wire this one V/V/T - passive, which is a big departure for me. I think every bass I've made has been active. My original intention was to dye the maple top, it's going to take some guts to do that. I do think it will look nice, but there's no going back and that's scary. I was thinking of a reddish amber with black accents on the figuring (i.e. dye and sand back). I'll have to do some tests this weekend.
Attachments

Busy morning in the shop.
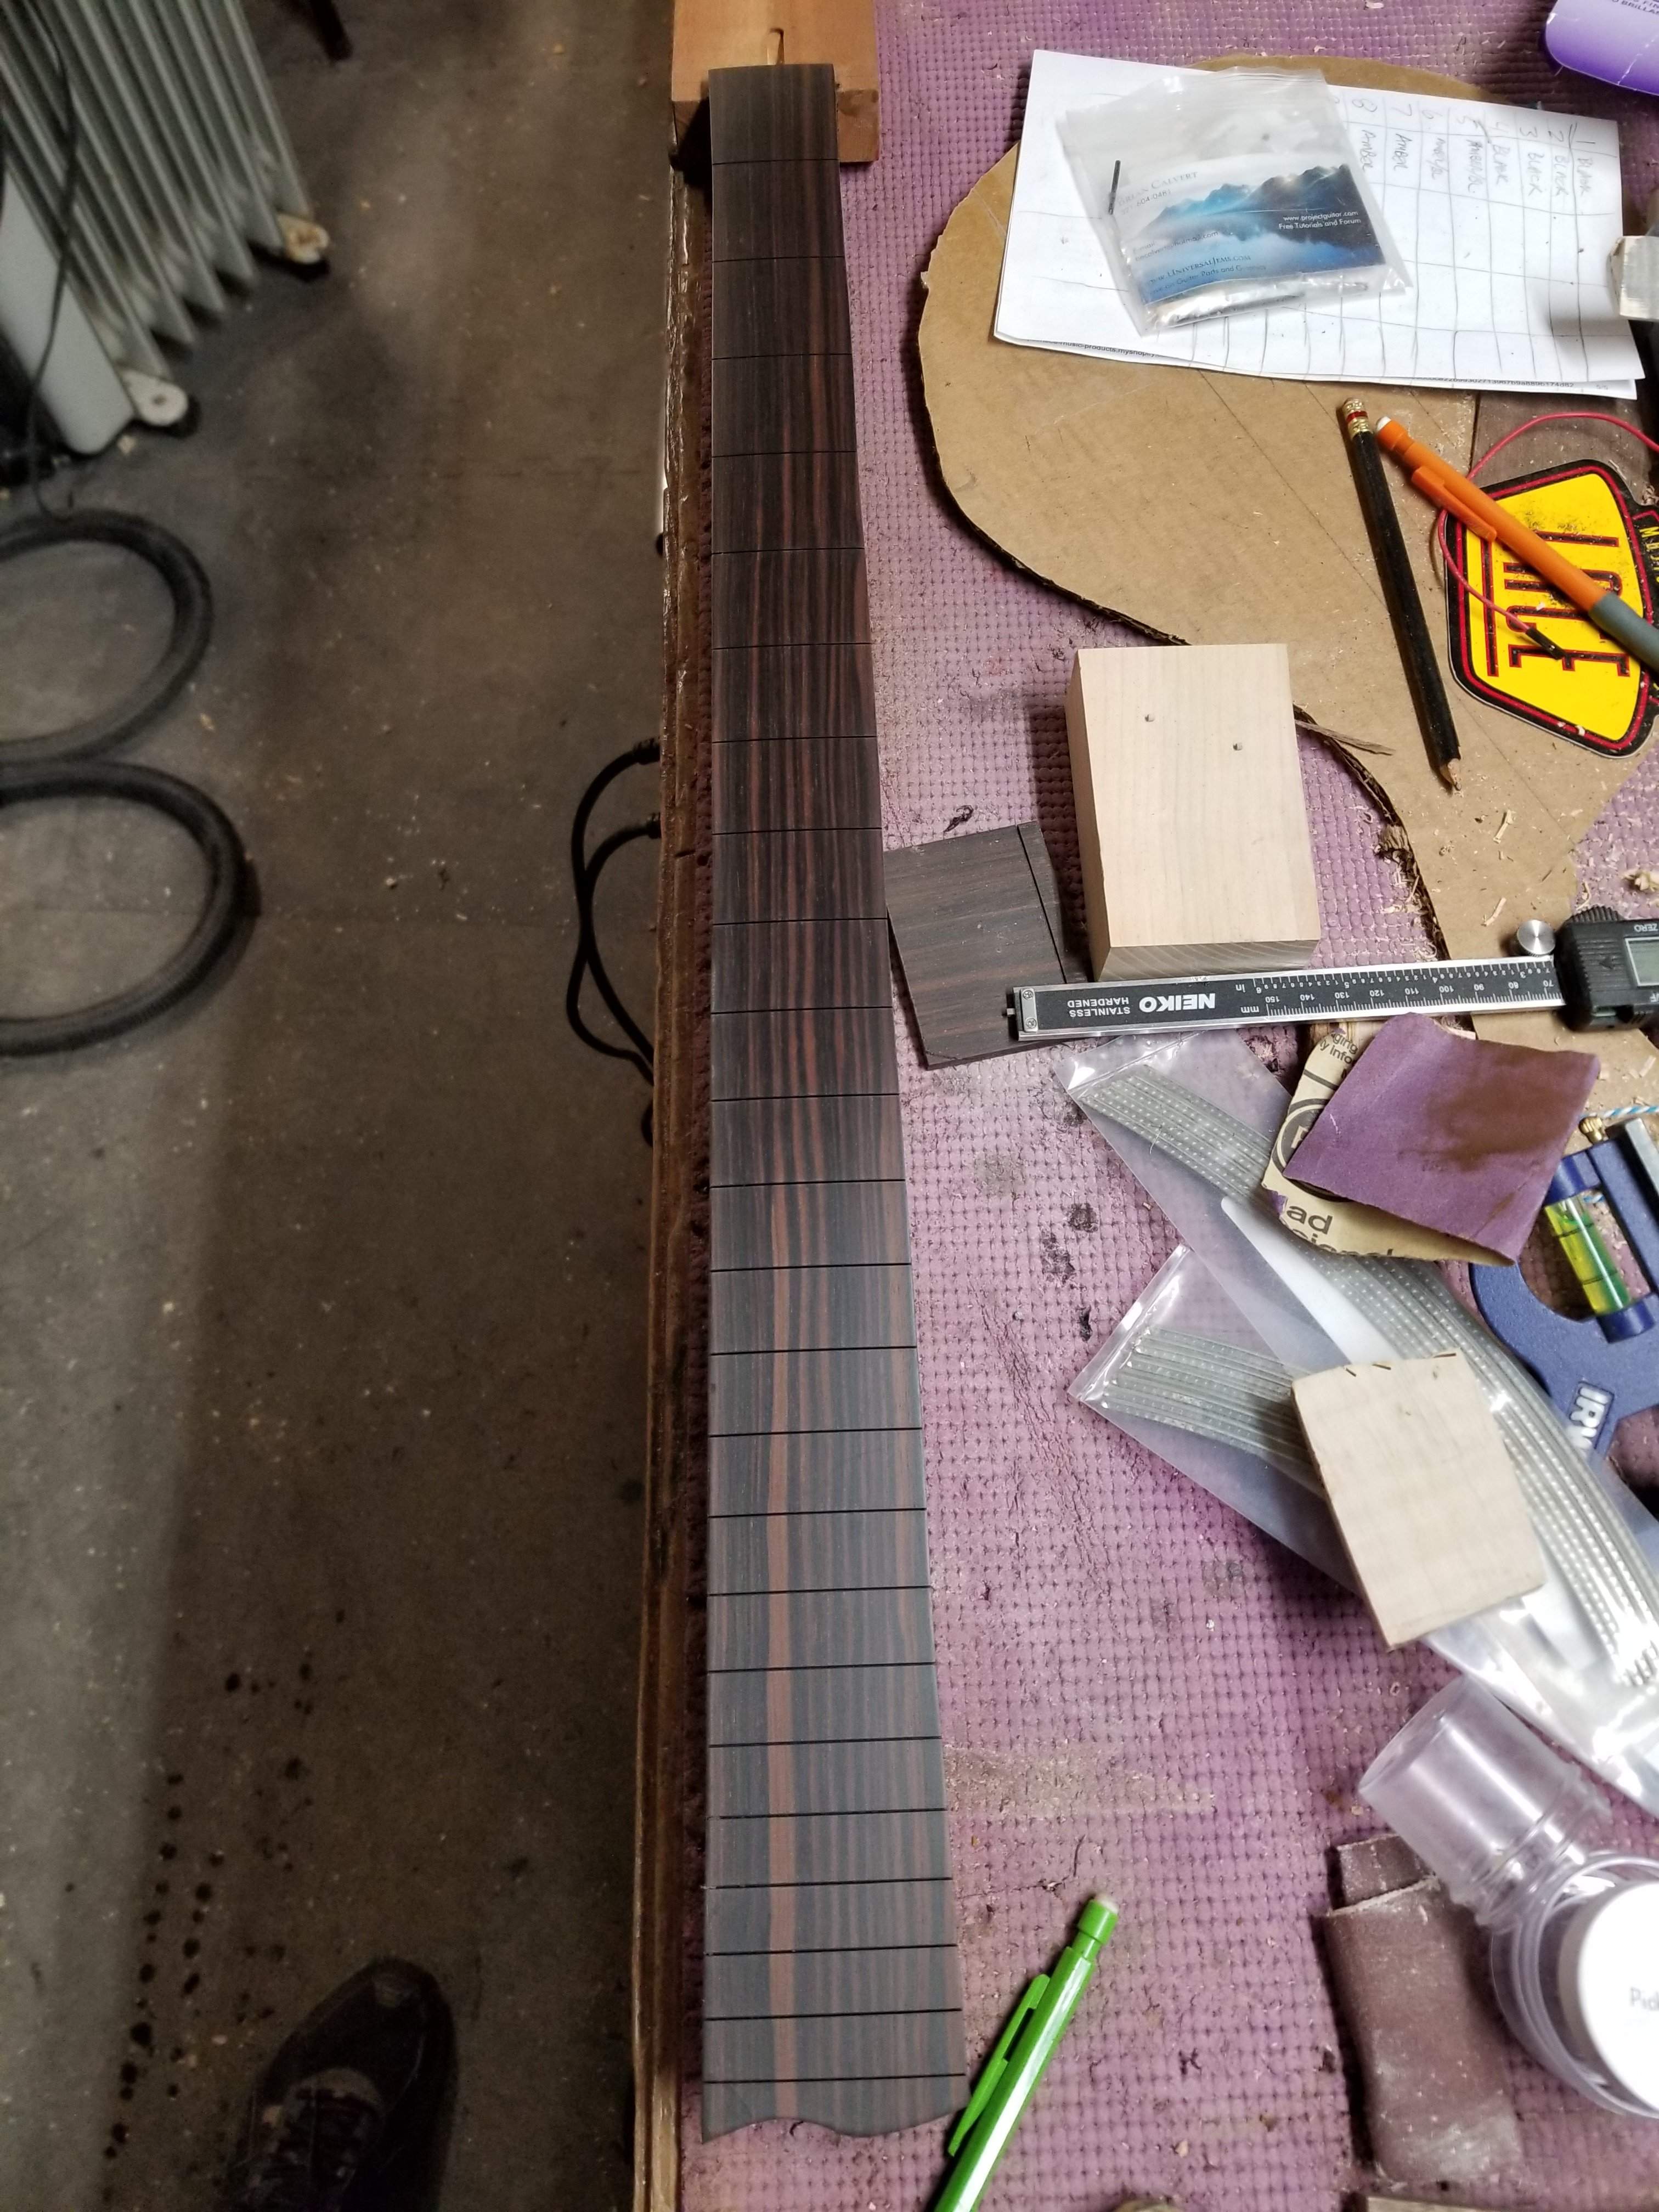
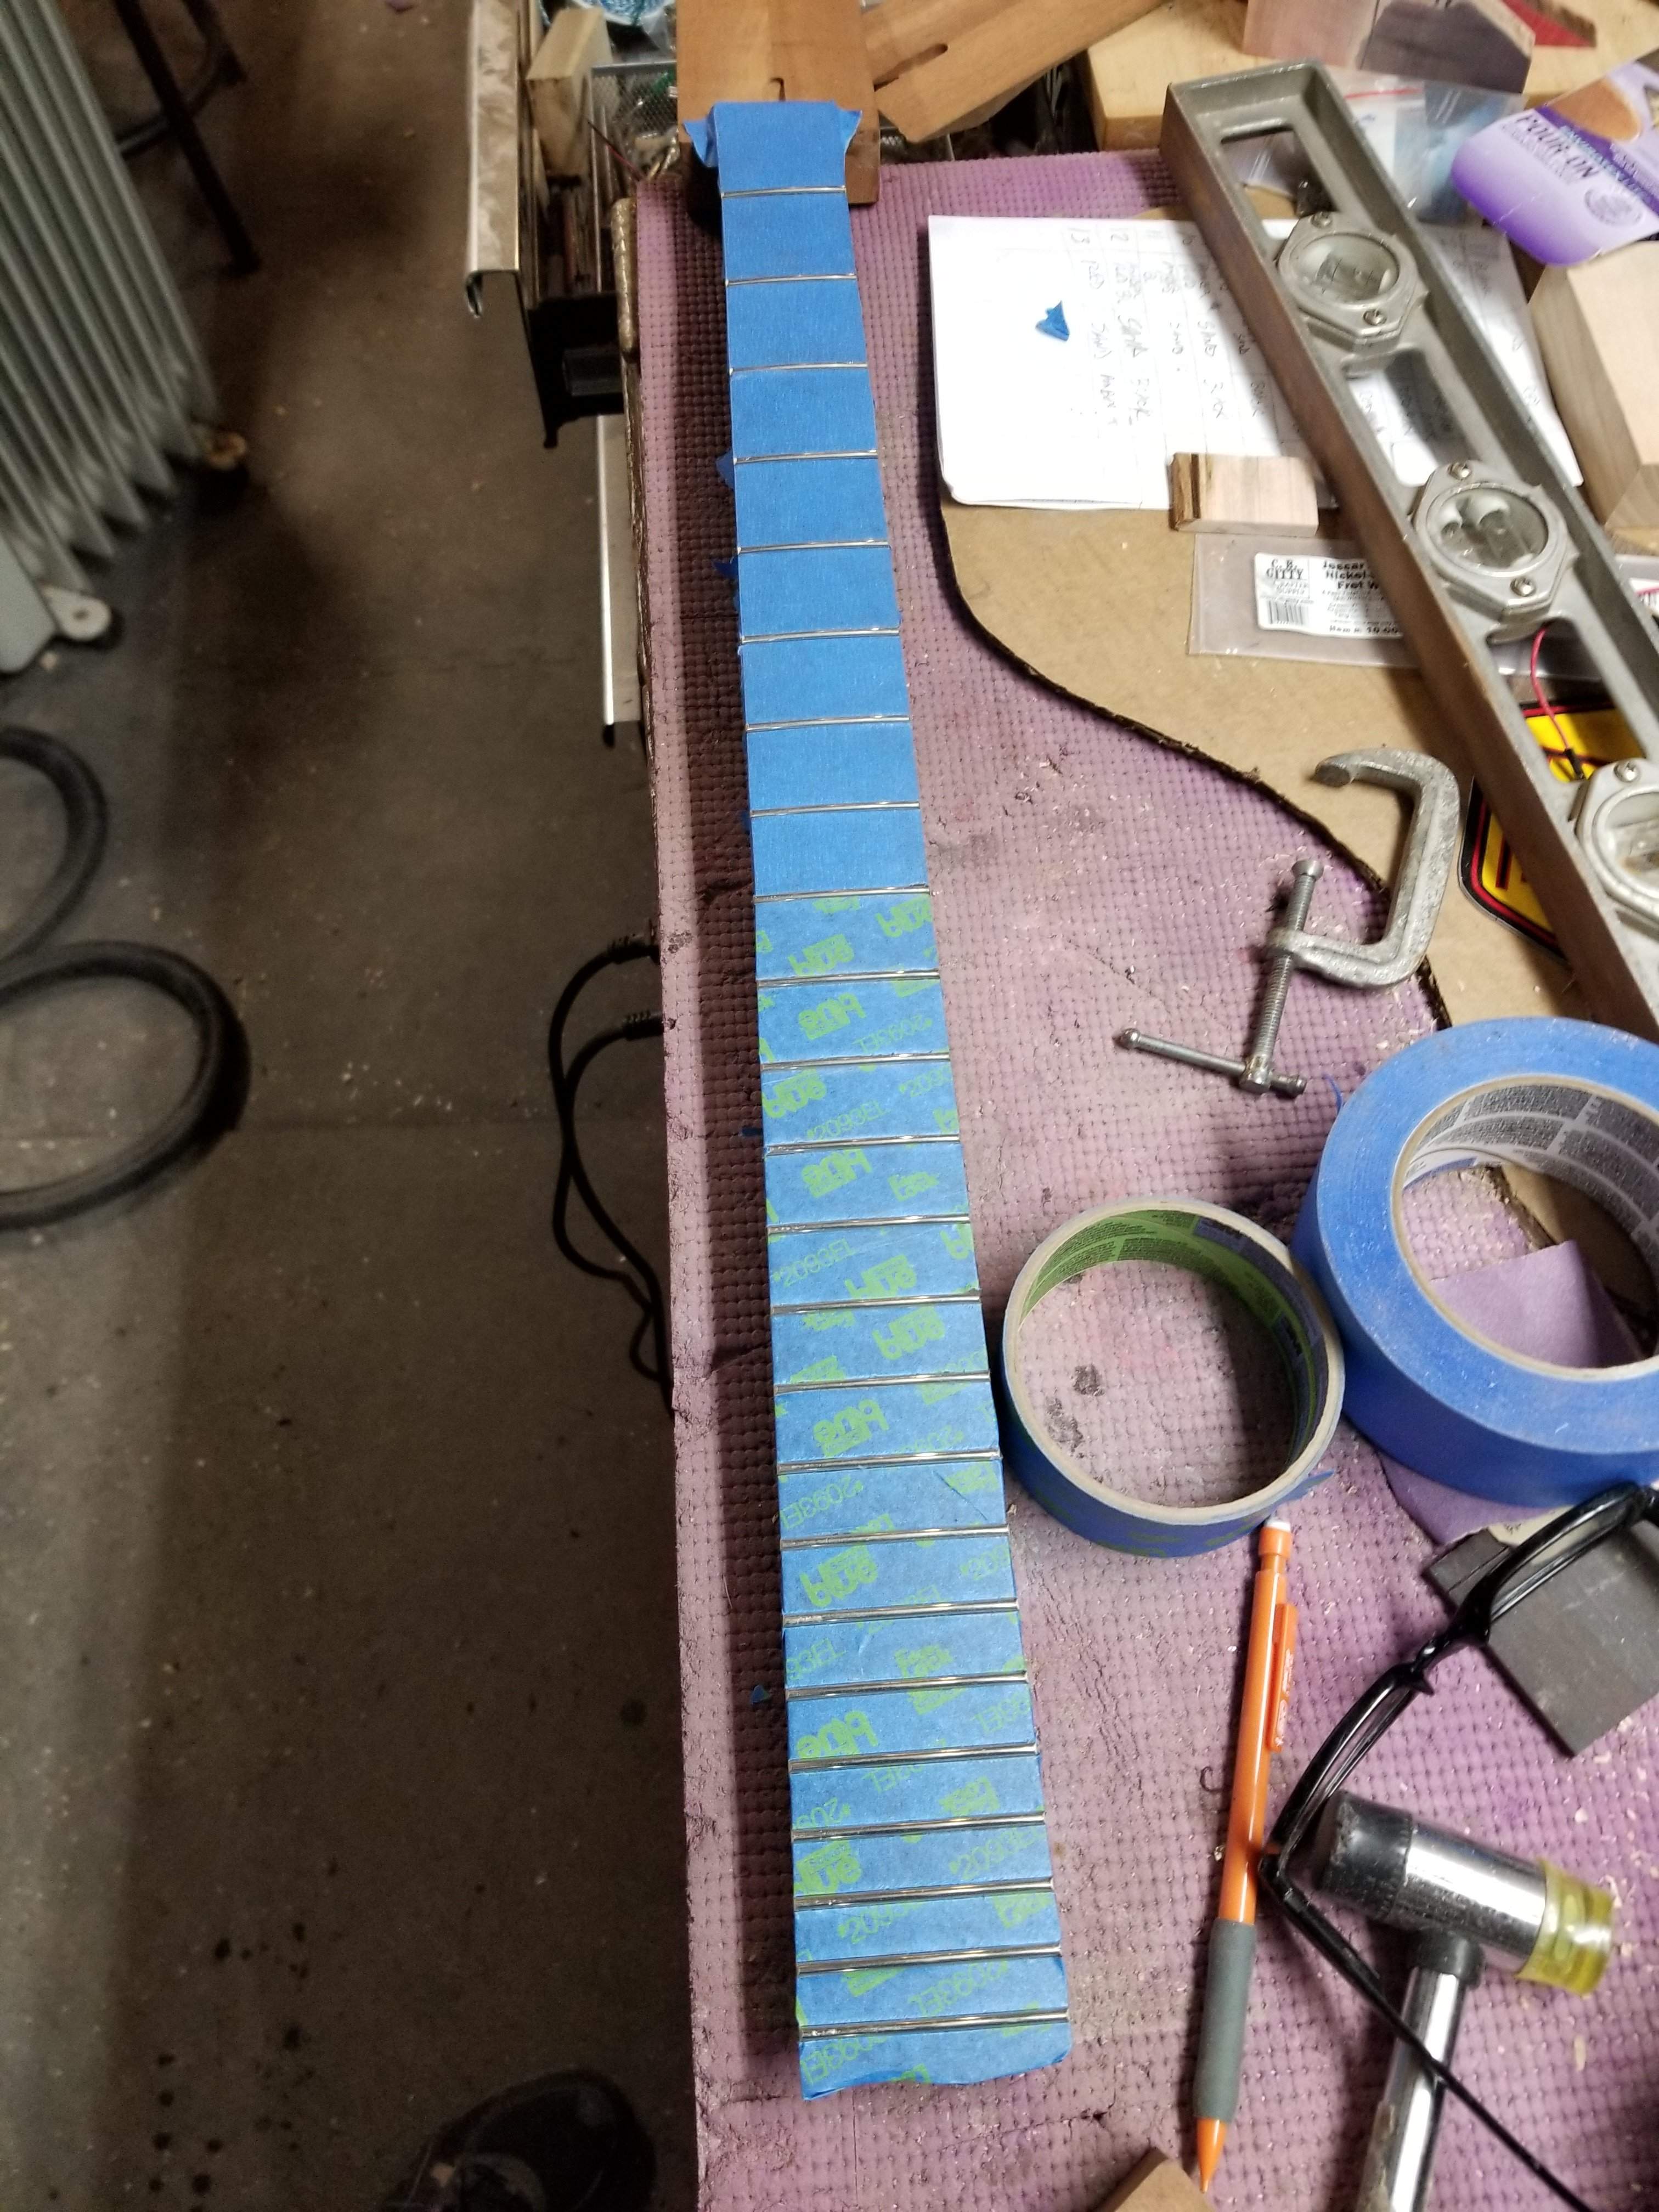
I guess I didn't take any pics, but I trimmed the fretboard and glued it up last night. This morning I started working on frets. First up, polishing the board
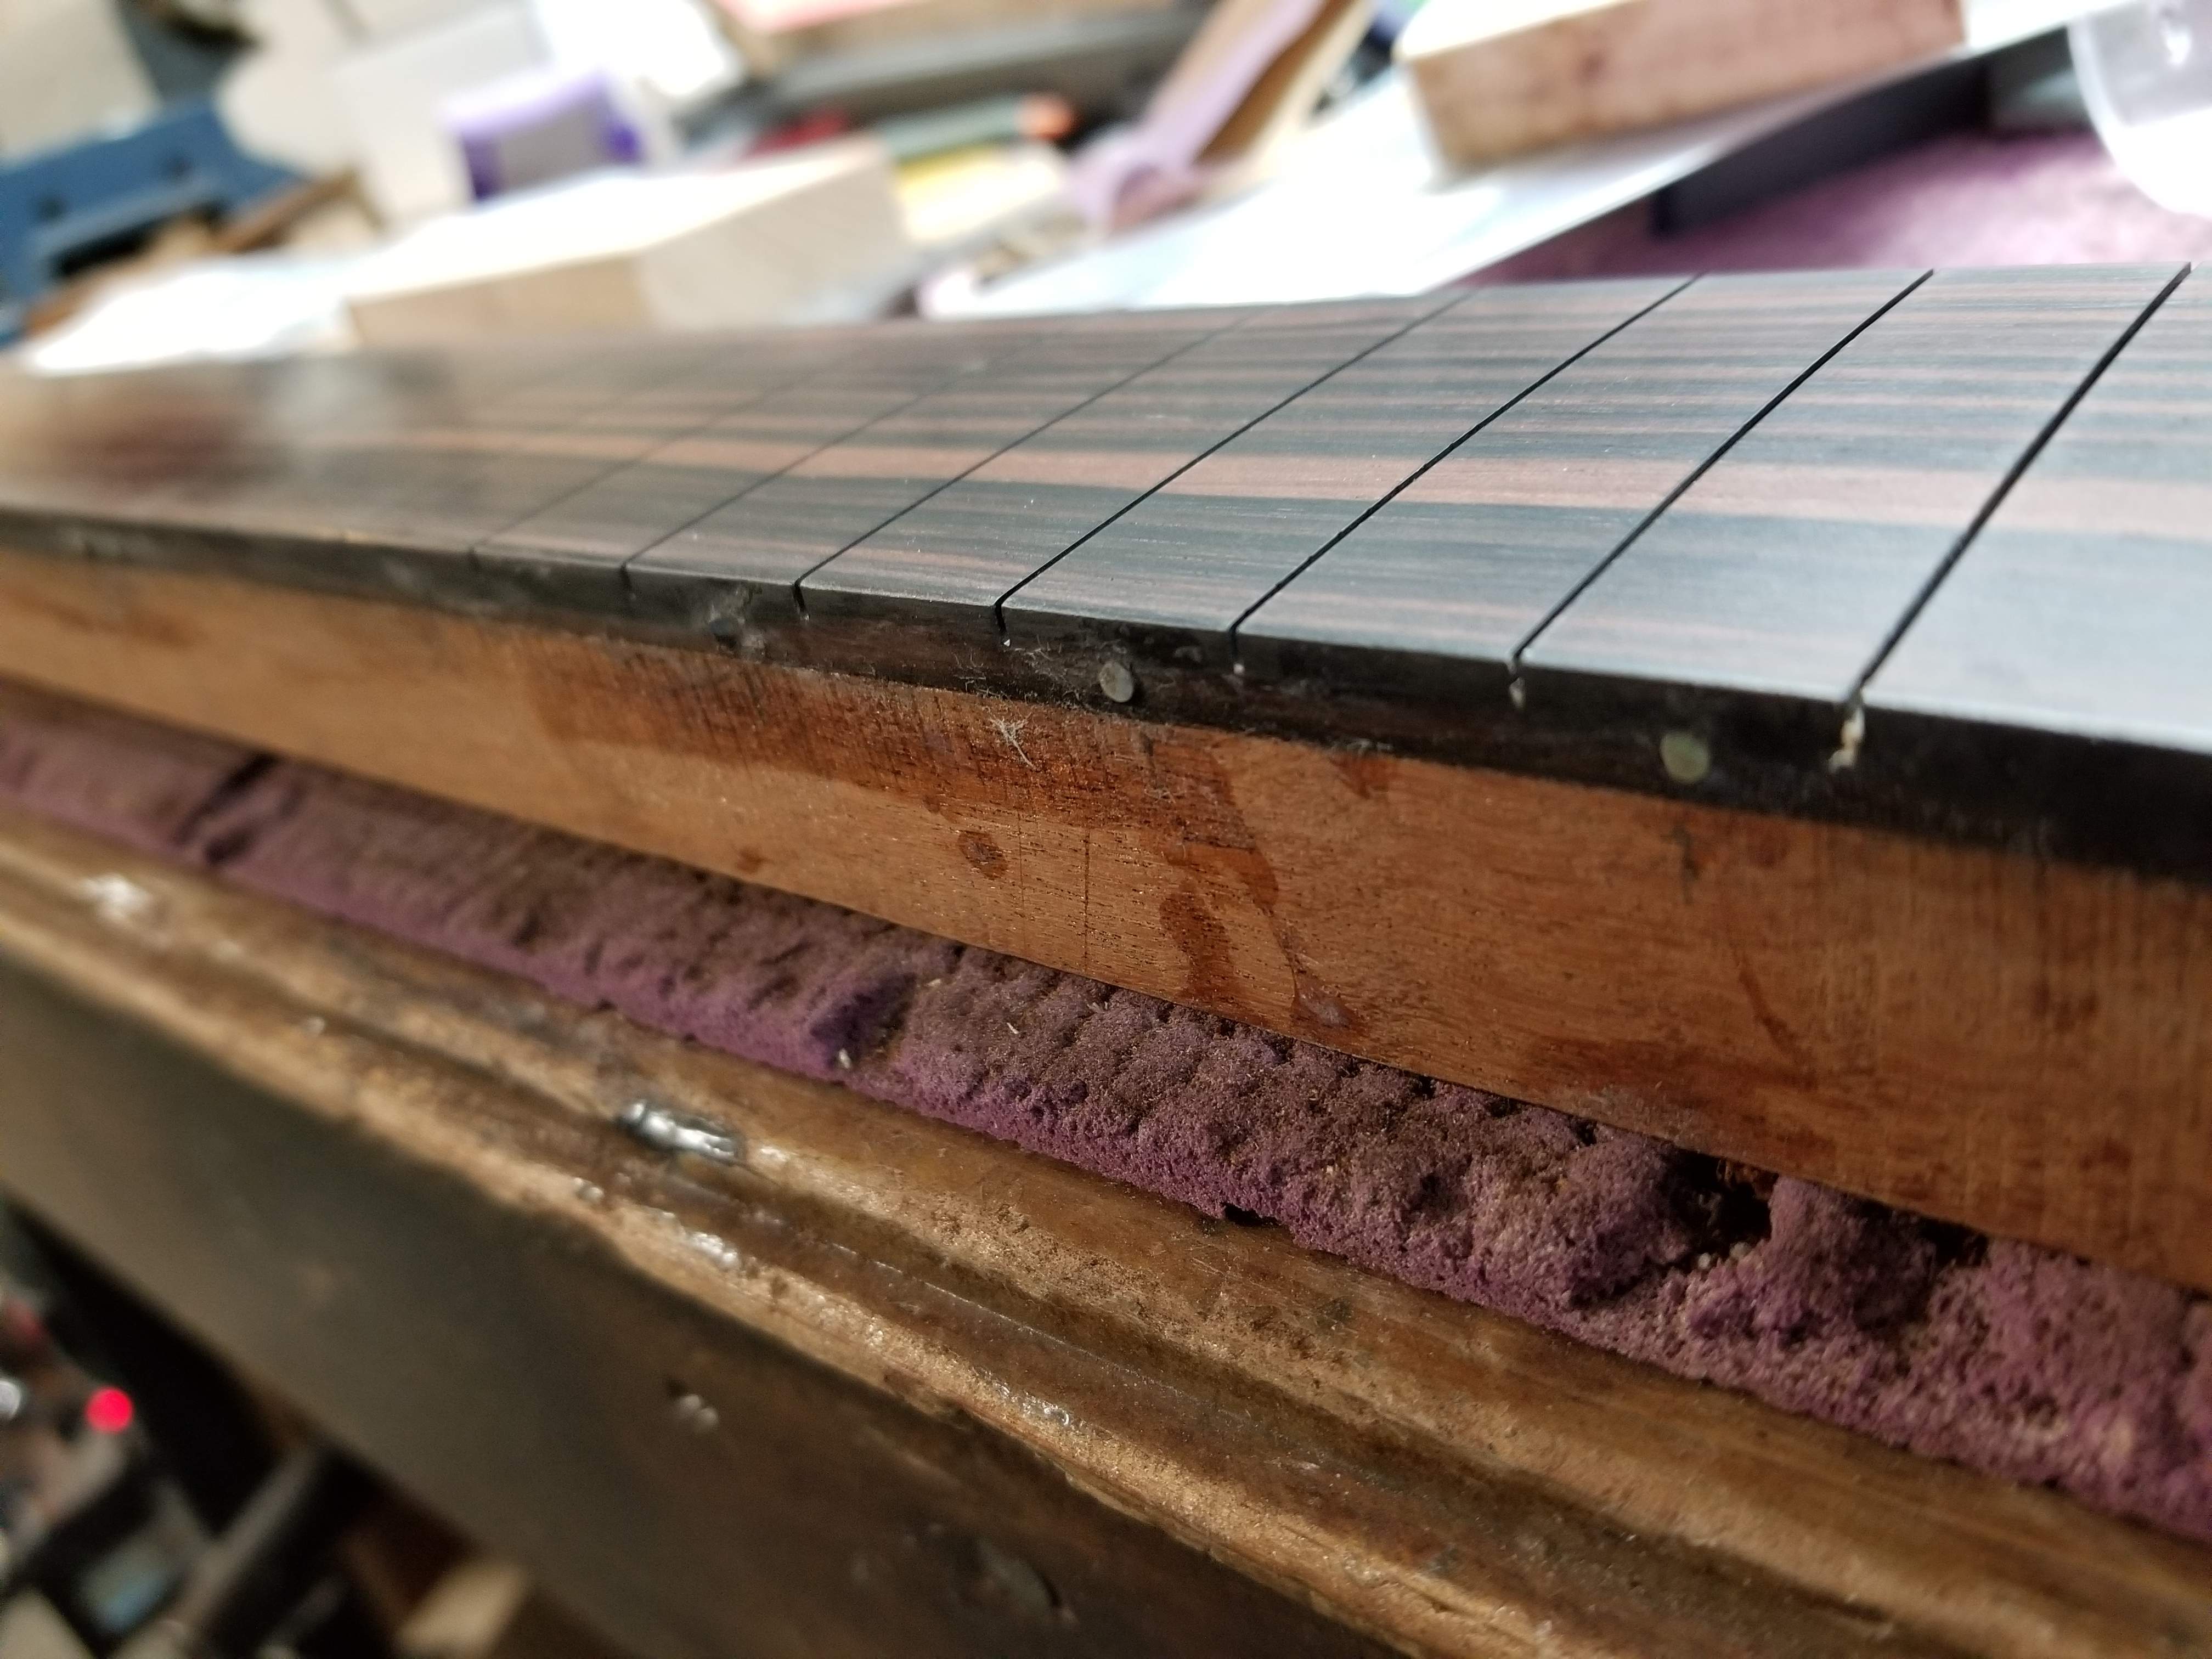
 Then side dots install
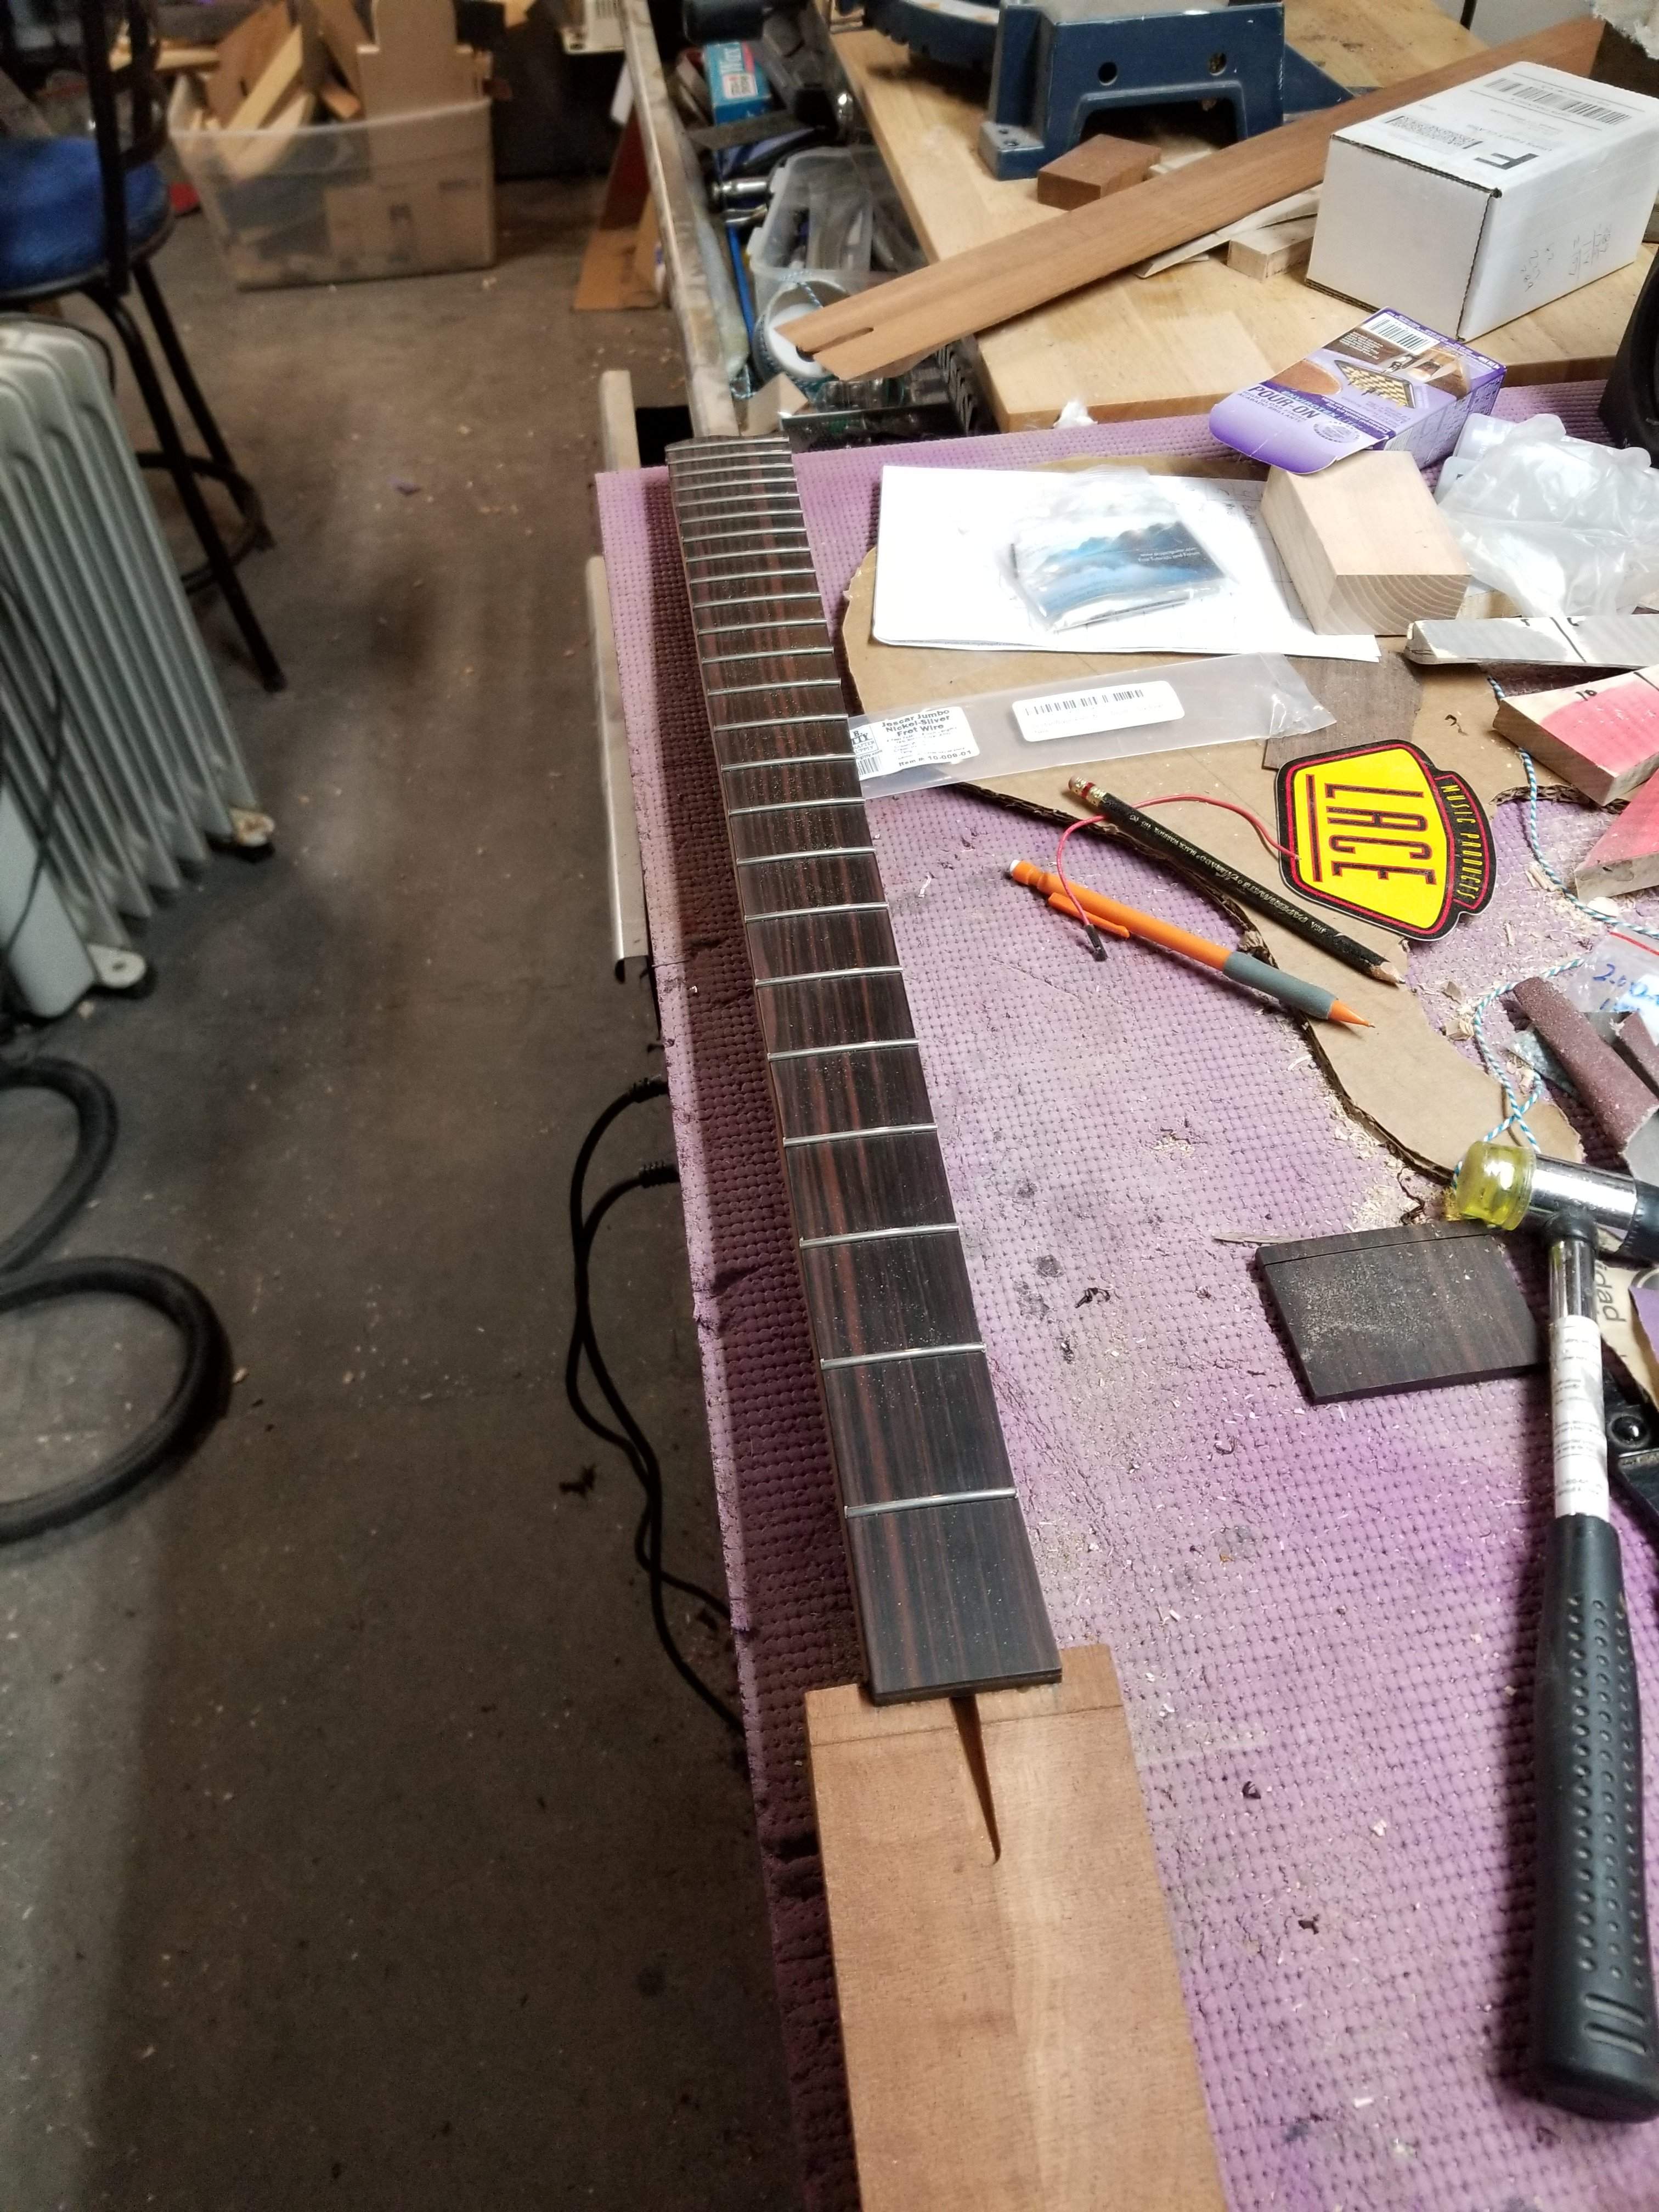
 Then hammering in frets
 Blue tape
 and a few color samples. I don't think any of these are good (maybe 7 or 10), but I'm learning how this dye goes down. I want a reddish hue, but every time I put red down it's entirely too brash. I'll have to keep working at it.
I guess I didn't take any pics, but I trimmed the fretboard and glued it up last night. This morning I started working on frets. First up, polishing the board
Attachments

- Apr 18, 2008
- 16,024
- 1
- 31,754
- Disclosures
- I'm highly opinionated and extremely self-assured
I've done some maple dyes before. Just the dye by itself can look gaudy and bright, but under an oil finish, or even a clear nitro, it warms up quite a bit.
Are using water or alcohol for the dye? If water, it helps to lightly wet the surface before applying the dye. This helps the dye "flow" a bit better, which guards against splotchiness.
Are using water or alcohol for the dye? If water, it helps to lightly wet the surface before applying the dye. This helps the dye "flow" a bit better, which guards against splotchiness.


